StitchYak: How to make a kayak
My project for this week: StitchYak; a lightweight 7.47 ft stitch-and-glue kayak made from 1/8" marine plywood and zip-ties for the stitching.
The assignment of this week was to make something BIG using either the shopbot CNC mill, or the OMAX waterjet cutter. I decided to make a boat; it's quite big: 7.47 ft (2.23 m) long and 2.26 ft (69 cm) wide. I wanted to explore curved forms and structural form finding. I decided to build the boat not only because I love them, but also because boat-building provides a concice, yet doable application of CAD/CAM that concentrates many of the challenges of digital fabrication with surfaces that building industry faces. These challenges are mainly how to construct a thin curved surface out of deveopable surfaces, and how to deal with structural rigidity of the surface.
Inspiration
There are several people in the Media Lab that have previously made boats, namely Kenny Cheung, Nadya Peek, and Peter Smicht. I got inspired by Kenny's previous experience on kayaks and decided to make one (instead of let's say a rowing boat) because it provides a reasonable scale to work with in the context of a Shopbot. Kenny gave me his wisdom on fabrication methods, materials, and structural performance for building kayaks. I also found tons of available detailed resources and videos online for kayak making methods. I decided to use the stitch and glue method because of its simplicity.
Stitch & Glue
Stitch and Glue is a method for building boats and kayaks consisting of two steps: first, you bend and temporarily stich the cut parts together. Next, you apply fiberglass patches along the surface seams between the stiches. Once the patches are cured you remove the stiches and continue covering the entire boat from inside and outside with fiberglass. Fiberglass provides a strong and durable material for structural rigidity. The stiches thus provide a temporal scaffold. The great benefit of this method is time savings because no forwork is required: once assembling (stitching) starts the boat takes magically its shape while all parts come together. In that respect CAD/CAM provides a good boost in the workflow since it allows you to accurately position the holes for the stiches on the parts.
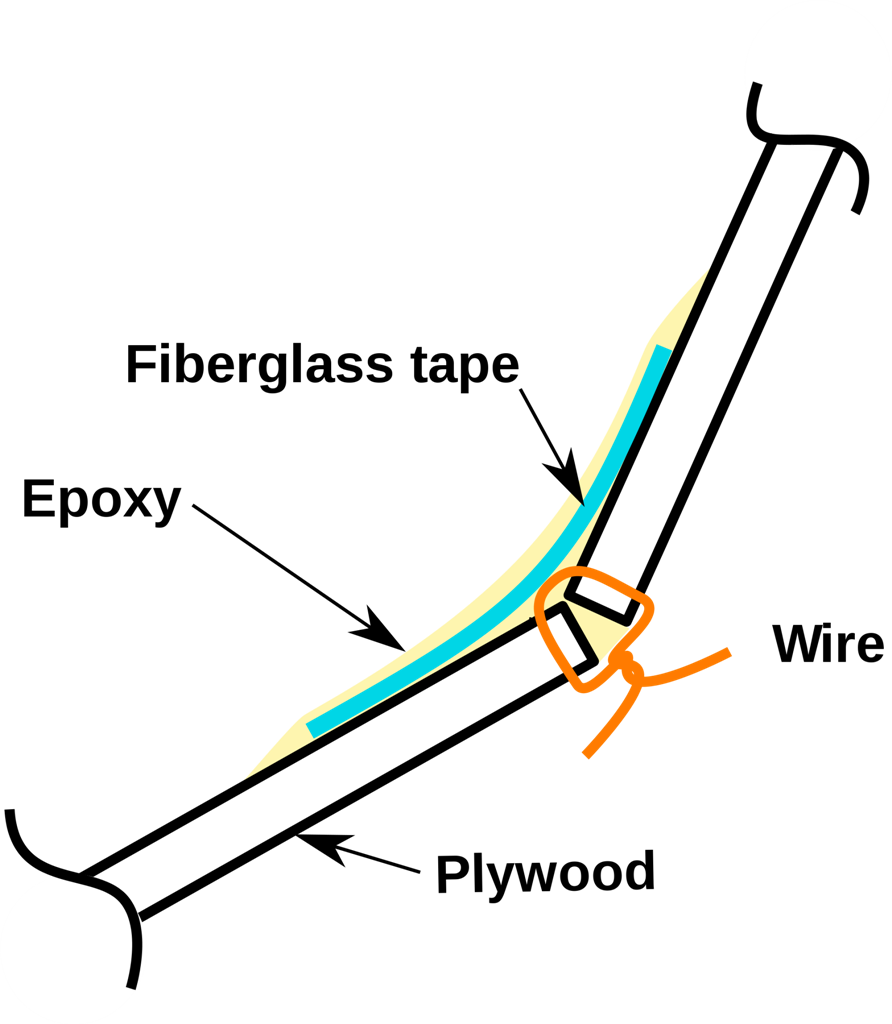
Picture from Wikipedia showing the Stitch and Glue method
Conceptual design
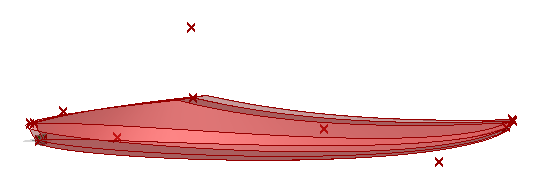
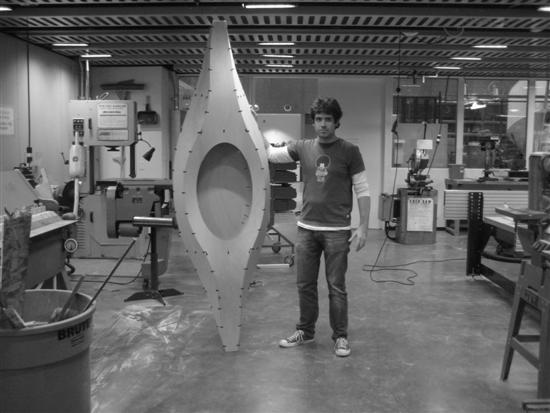
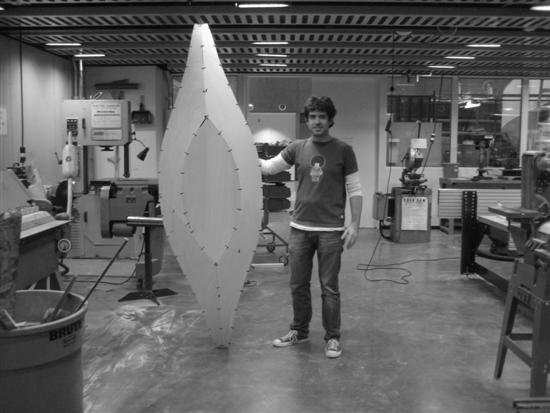
I experimented with many different designs but mainly I ended up with two solutions: One that looks like a surfboard (model on the right) which needs many cross sectional ribs to provide rigidity due to the small curvature of its surfaces. One that looks like a traditional kayak (model on the left) which uses ridges of opposite curvatures to provide rigidity. From the first sketchy physical models it was obvious that this solution combined low weight with good structural performance. Furthermore it is a well tested form for home-made kayaks, so I chose to go with it.
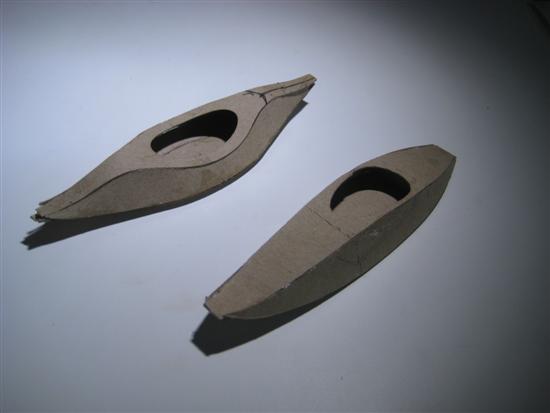
The 2 candidate models
CAD modeling
I made everything in Rhino. Initially I tried to build a parametric model in Grasshopper
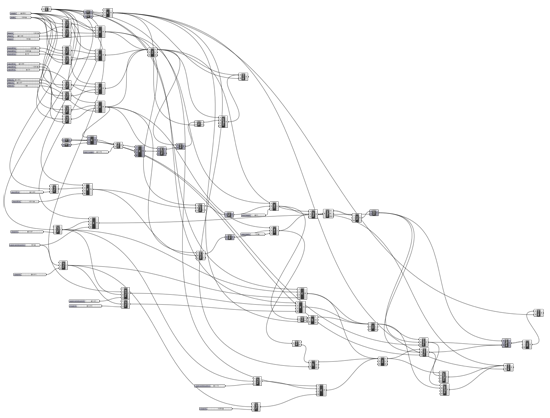
The parametric model got a bit messy and the resulting surfaces I was exporting back to Rhino were full of control points, so I decided to build the model directly in Rhino without Grasshopper. The most important challenge is to ensure that all surfaces were developable (e.g. they were deriving from cones or cylinders), and moreover that the min curvature radius was locally less that the allowing curvature of the 1/8" marine plywood (I found this informaton online).
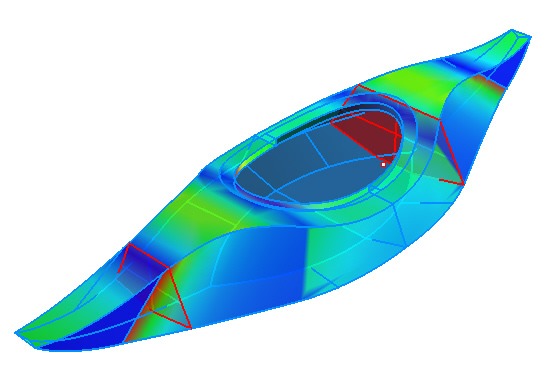
Mean curvature analysis in Rhino
CNC milling
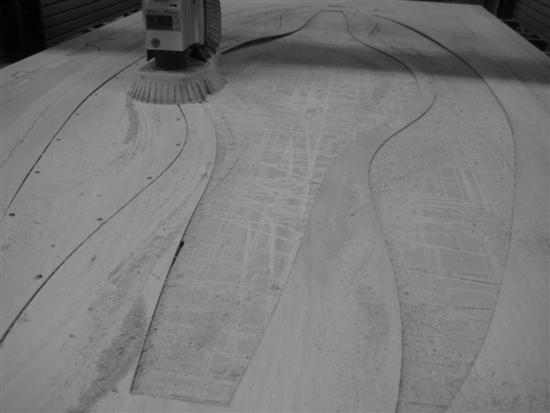
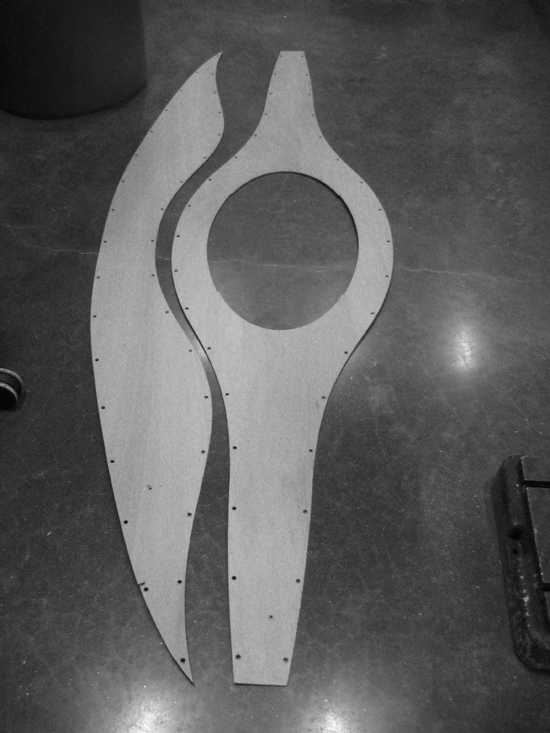
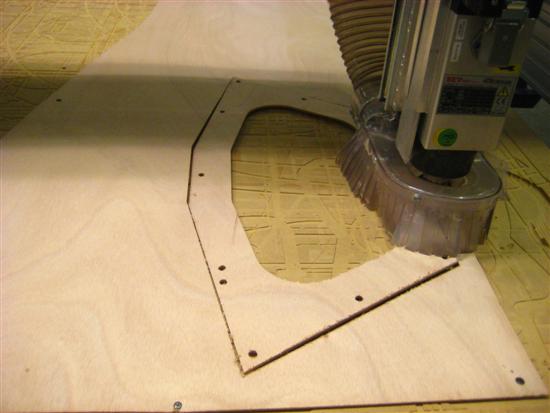
If everything had been more carefully planned machining and assembly would have taken as little as 4 hours. However several things went wrong: First of all, I did not have enough time to develop the cutsheet files for the Shopbot; I wanted to create notched shape edges to allow better positioning and snapping of the curved surfaces together, but instead I made all edges as simple curves. This made the assembly less easy (however still easy enough). Second, I stored the 1/8" marine plywood vertically int he basement of E14 which made the plywood to distort and womble terribly. Because of that I had to put countless screws on the shopbot bed to secure the sheet. However, still once parts were cut they popped up like springs and since my shopbot's safe z (the height that the bot uses to traverse as opposed to cut) was not high enough I accidentaly completely cut in half one of the long side parts of my kayak as the bot's gantry was traversing on top of it. Third, steaming the cut parts would greatly assist their bending, but I didn't have time for this so unfortunatelly some small pieces broke while I was forcing them to bend. Another consequence of that was that the kayak could not take easily its final shape, so I had to design and cut extra cross-sectional parts a posteriori.
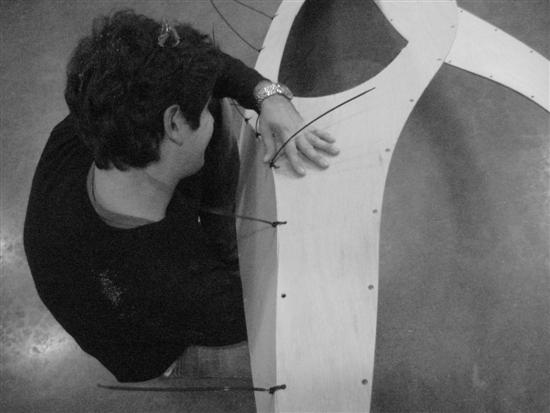
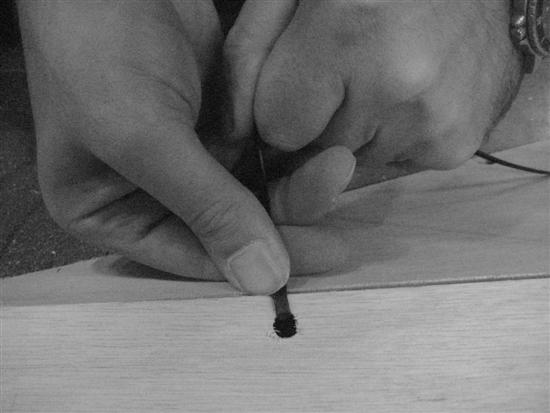
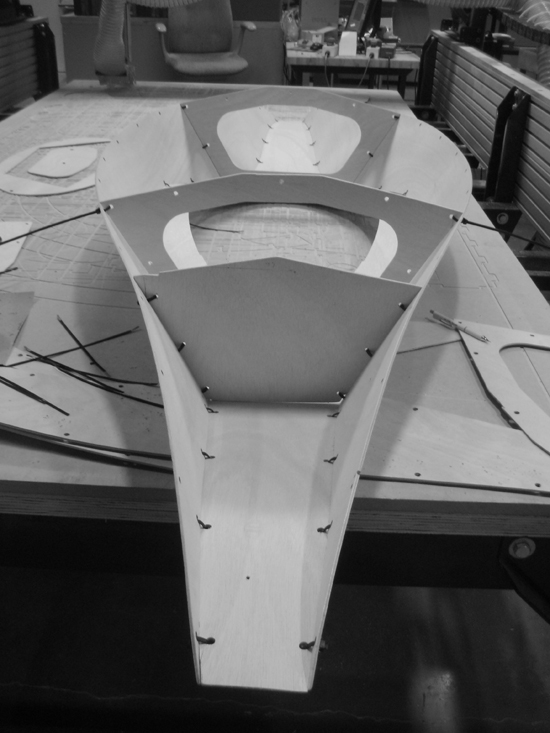
Assembling / Stitching
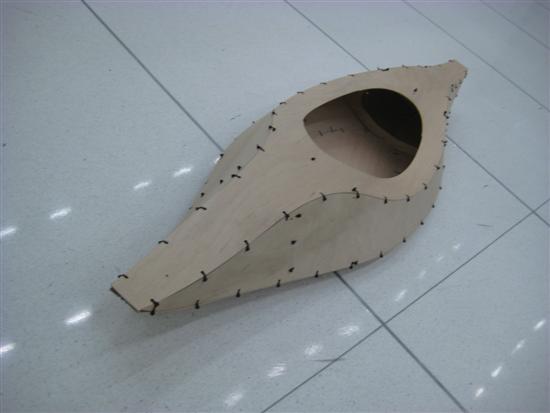
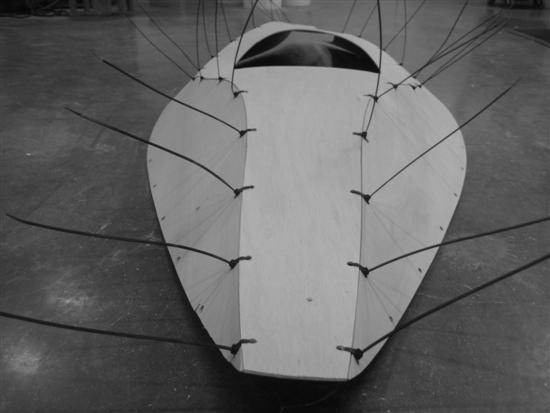
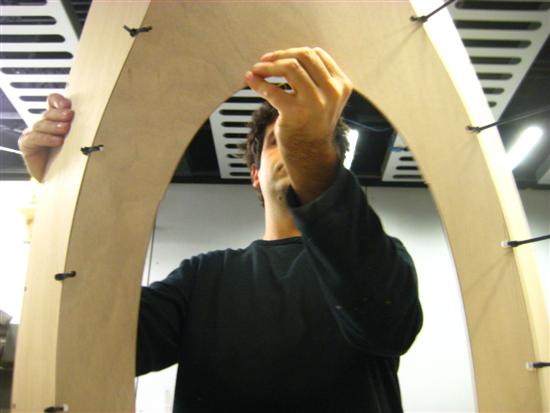
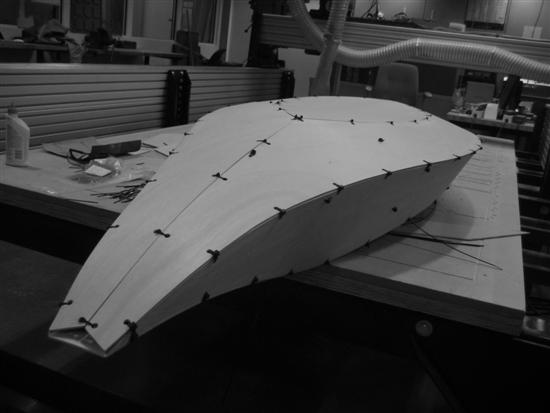
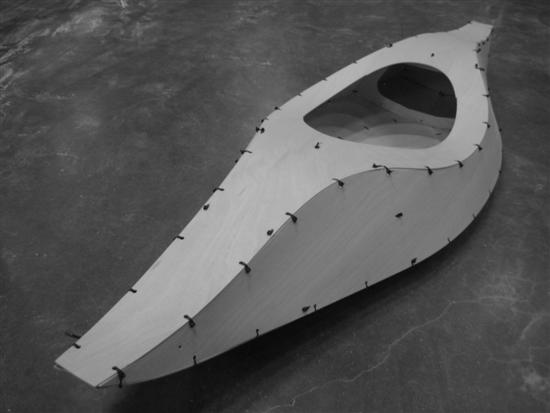
Stitching was extremely easy and fast. Zip-ties worked very well and the kayak took magically the overall shape while fastening the stitches one by one.

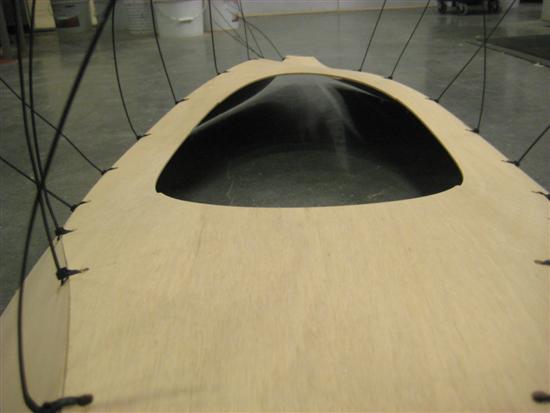


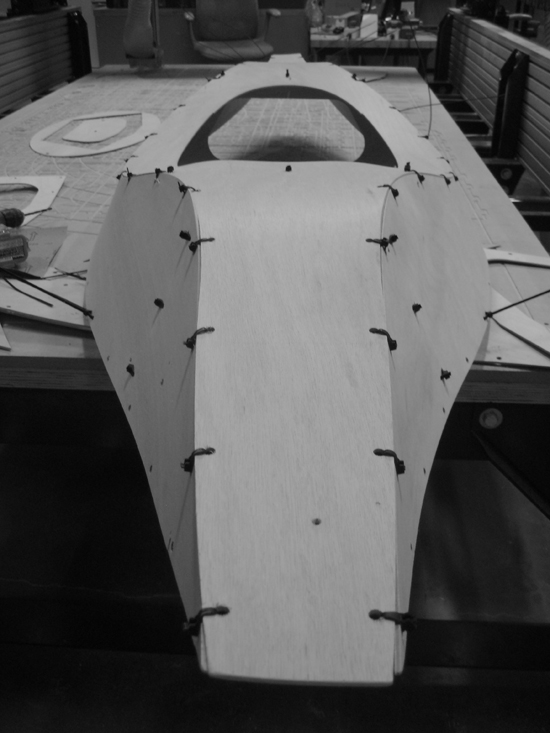
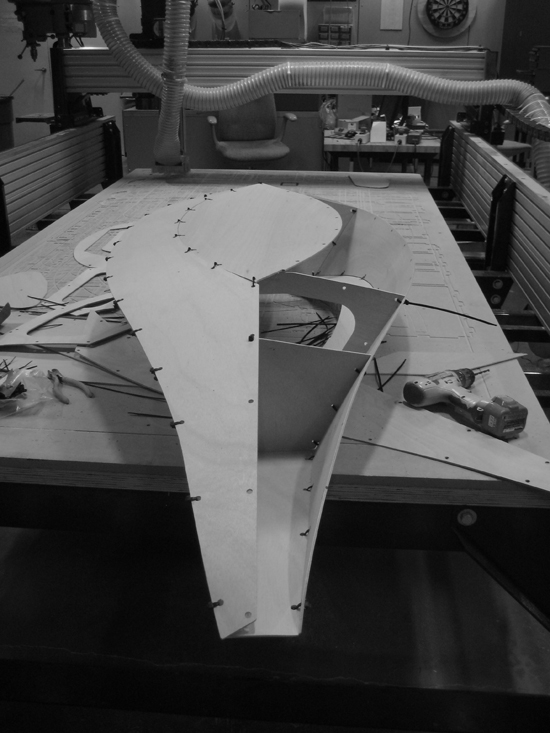
Curvature difficulties due to lack of steaming
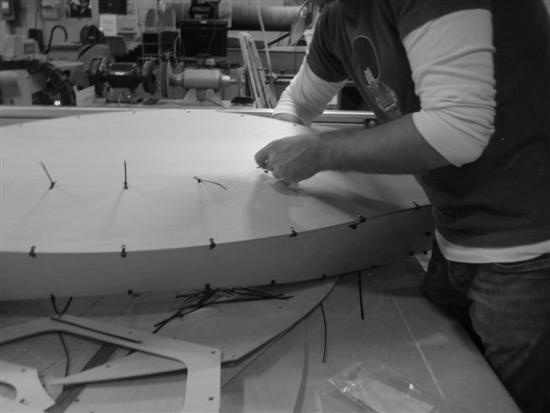
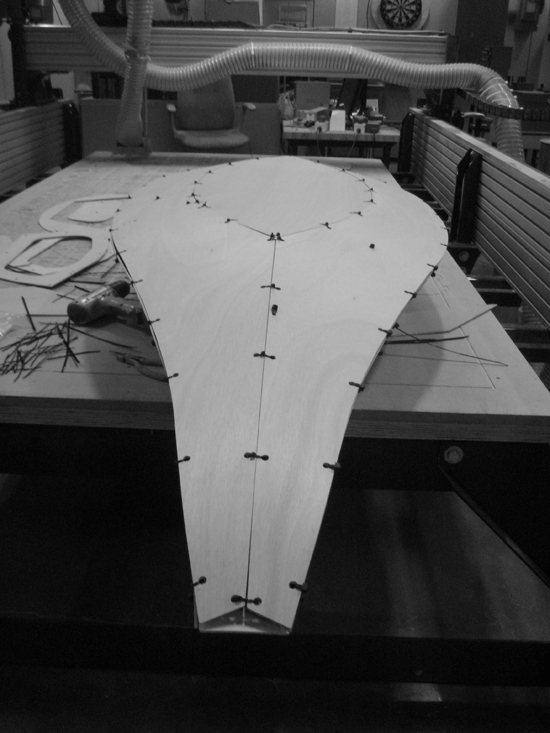
Cutting the extra cross-section ribs to assist form shaping and structural rigidity


Next steps
The next step is obviously to start covering the hull with fiberglass and eventually try it in river Charles!
Videos & Links
No videos, sorry