
Two boards, both crappy
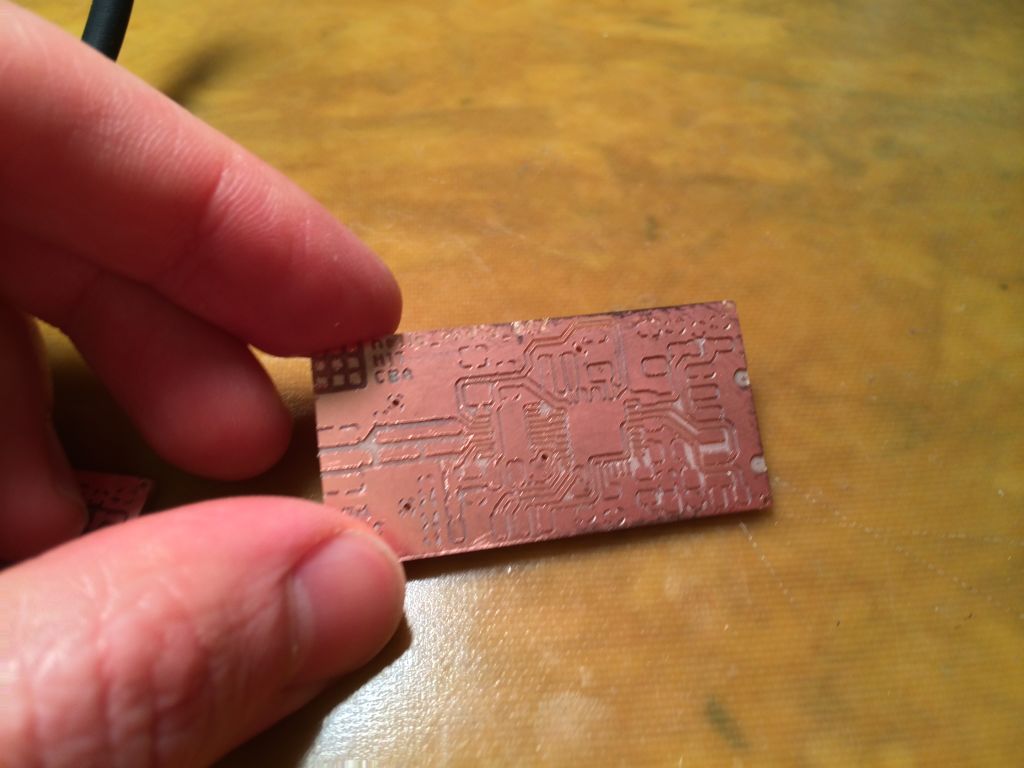
It’s been an interesting week. Spent much time around the milling machines making various circuits and sad to report that some stuff hasn’t totally worked. I am no stranger to networking, but I have never done anything with radio, which prompted me to attempt the hell-o-radio project. But there were problems right off the bat. I made two boards, but they were both ugly as hell.
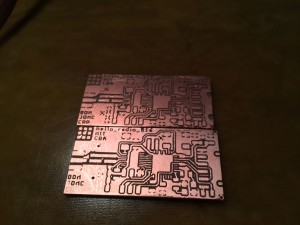
It would seem that because so many people were milling PCBs this week, the endmills were worn and torn, making for poor fabrication with jagged traces and frayed copper everywhere. Instead of milling another pair, I decided to take my chances by attempting to clean the PCBs well and review every trace to make sure there were no short circuits.
What a waste
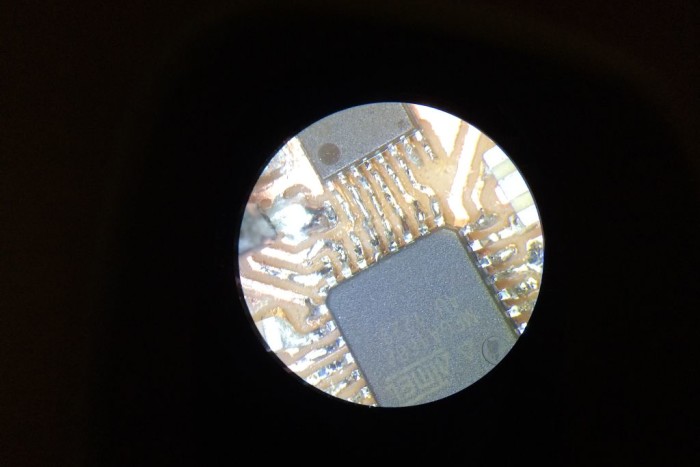
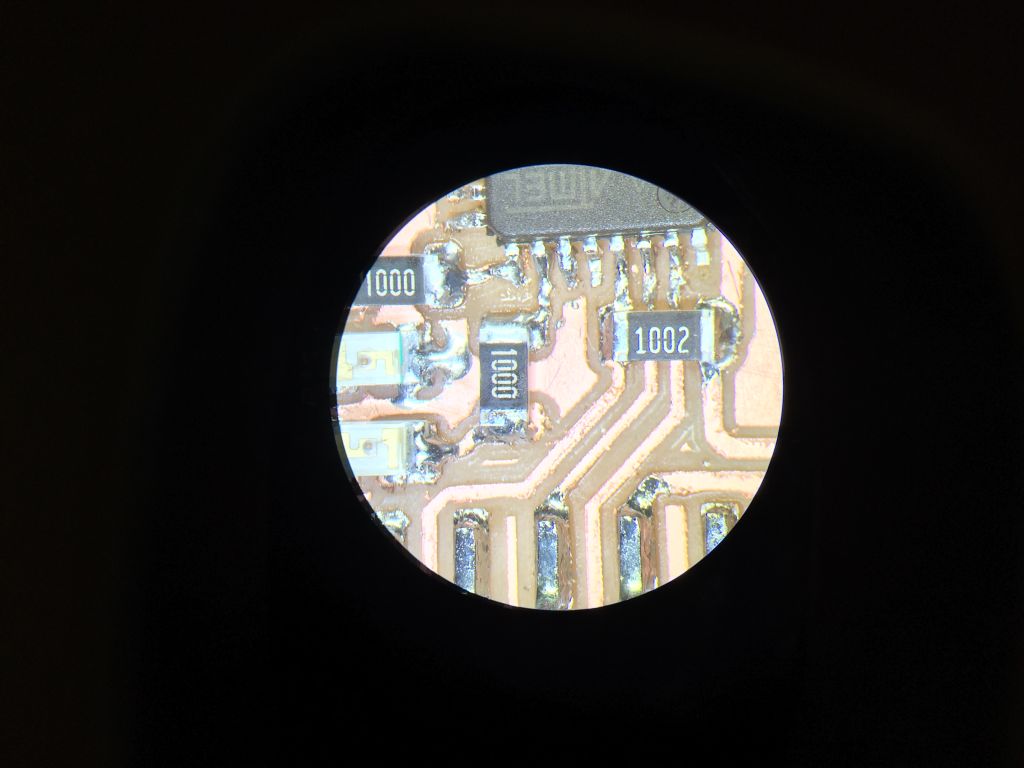
Soldering took a long time, and I soldered both boards at once, maximizing time efficiency. This way, if one mistake is made, at least the mistake will tend to be consistent across both devices. There were many parts on hell-o-radio that were smaller than the friendly 1206 footprint, which made the operation much trickier. After soldering, both boards were exhibiting problems. The first board, which I was never able to get running, programmed fine but never worked and did not respond to the programmer again. I’m working on debugging this one. The second board did not respond to the programmer at all, so Amir suggested that I try to look at the board under the Mantis Elite 3D stereo microscope, and WOW! What an awesome piece of equipment. Under 10x magnification, I was able to see a few problems with my solder: I had forgotten to solder some capacitor joints, and there were some traces that hadn’t milled properly and required scraping/cleaning.

Microscope was in stereo and exhibited motion parallax
What an incredible tool this Mantis microscope is! Not only does it give you a sense of depth, providing stereoscopic viewing, but if you move your head you get motion parallax in both horizontal and vertical dimensions! Cool! So, after analyzing under the microscope I was able to get the 2nd board working. Not bad.
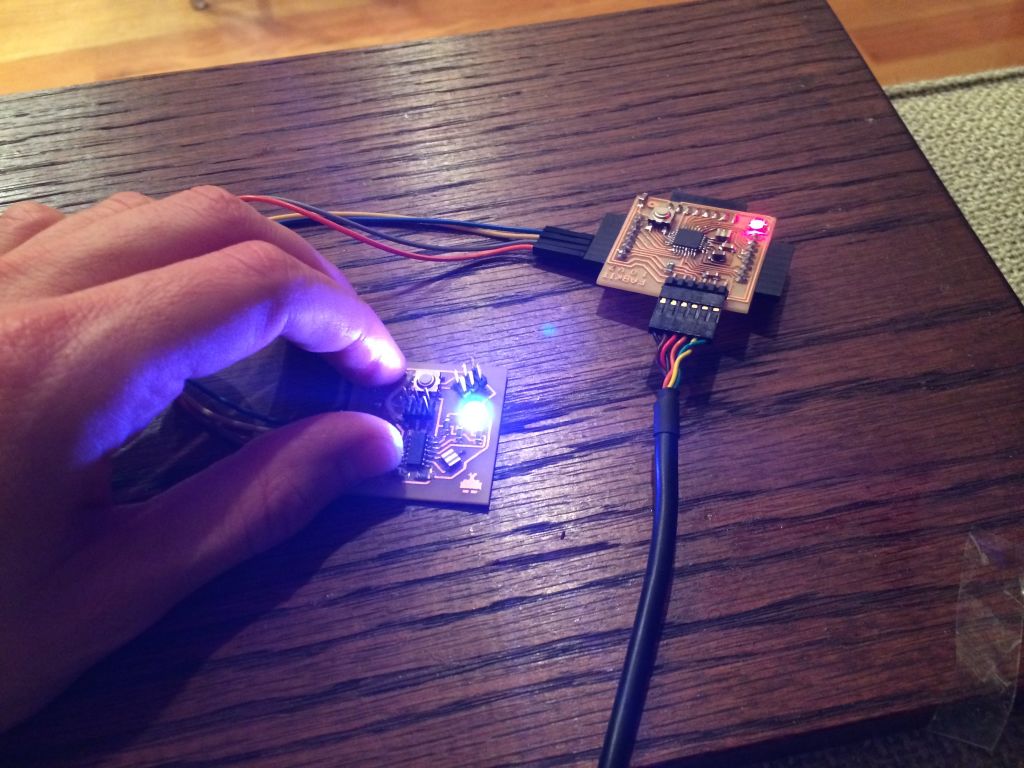
I spent a lot of time trying to debug the first board, but no luck. Will continue to debug, but in order to fulfill my obligation to this project, as well as my final project, I decided to whip up something fast to prove that I could network my previous circuits.
Recall that for the input devices project, I switched to using the ATTINY84, and the reason why was because you could fit 8K (double the amount) of program than the ATTINY44. I had to do this to send serial data to my PC from the device, so that I could measure light levels of the day/night. For my output device, I simply added an ISP header for servo remote control.
Fabduino + SoftwareSerial
This week, I also milled a Fabduino, which is essentially a poor man’s Arduino. Great! I can now talk to as many of my boards as I have pins available on the Fabduino, thanks to the trusty SoftwareSerial library provided by Arduino.
RS-232 done in software, Arduino style
How does it work? Simple. Follow the Fabduino instructions on how to make the board and burn the bootloader. For your low tech ATTINY boards, you can install Arduino with the instructions listed here.
Connect your ATTINY board to the Fabduino, with VCC and GND pins of Fabduino on the respective VCC and GND pins of the ATTINY FTDI header. You can use any of the GPIO pins on the Fabduino with change interrupt support, connect two pins from it to ATTINY GPIOs for Tx/Rx. Just make sure that your Tx/Rx pins are switched so that Tx from one board is connected to Rx of another, and vice-a-versa. Use 9600 baud rate for testing and crank it up if you really need to. For example, my Fabduino code for talking to the ATTINY on pins 10 and 11 would look something like the following:
const int rxPin = 10;
const int txPin = 11;
SoftwareSerial mySerial(rxPin, txPin);
void setup () {
mySerial.begin(9600);
}
void loop() {
if(mySerial.available())
{
//serial read/write code goes here
//Use mySerial.read(); or mySerial.readLine(); to read until the new line character
//and mySerial.write() and mySerial.writeLine() respectively.
}
}
So, in conclusion:
- SoftwareSerial is cool, it allows you to create a serial port from pins in software. That means you can get ATTINY boards to talk to each other in Arduino. Super cool.
- Made two radios, one failed.
- Done just in time for Thanksgiving.
- Mantis Elite stereo 3D microscopes are out of this world
Here’s some closing pictures
-

- Ugly traces
-
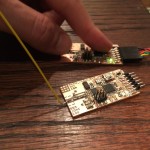
- One board works, one doesn’t
