Read a microcontroller data sheet. Program your board to do something with as many different programming languages and programming environments as possible.
The datasheet for the ATtiny44 is huge. Enormous. But for the most part helpful and a good reference when designing my circuit board.
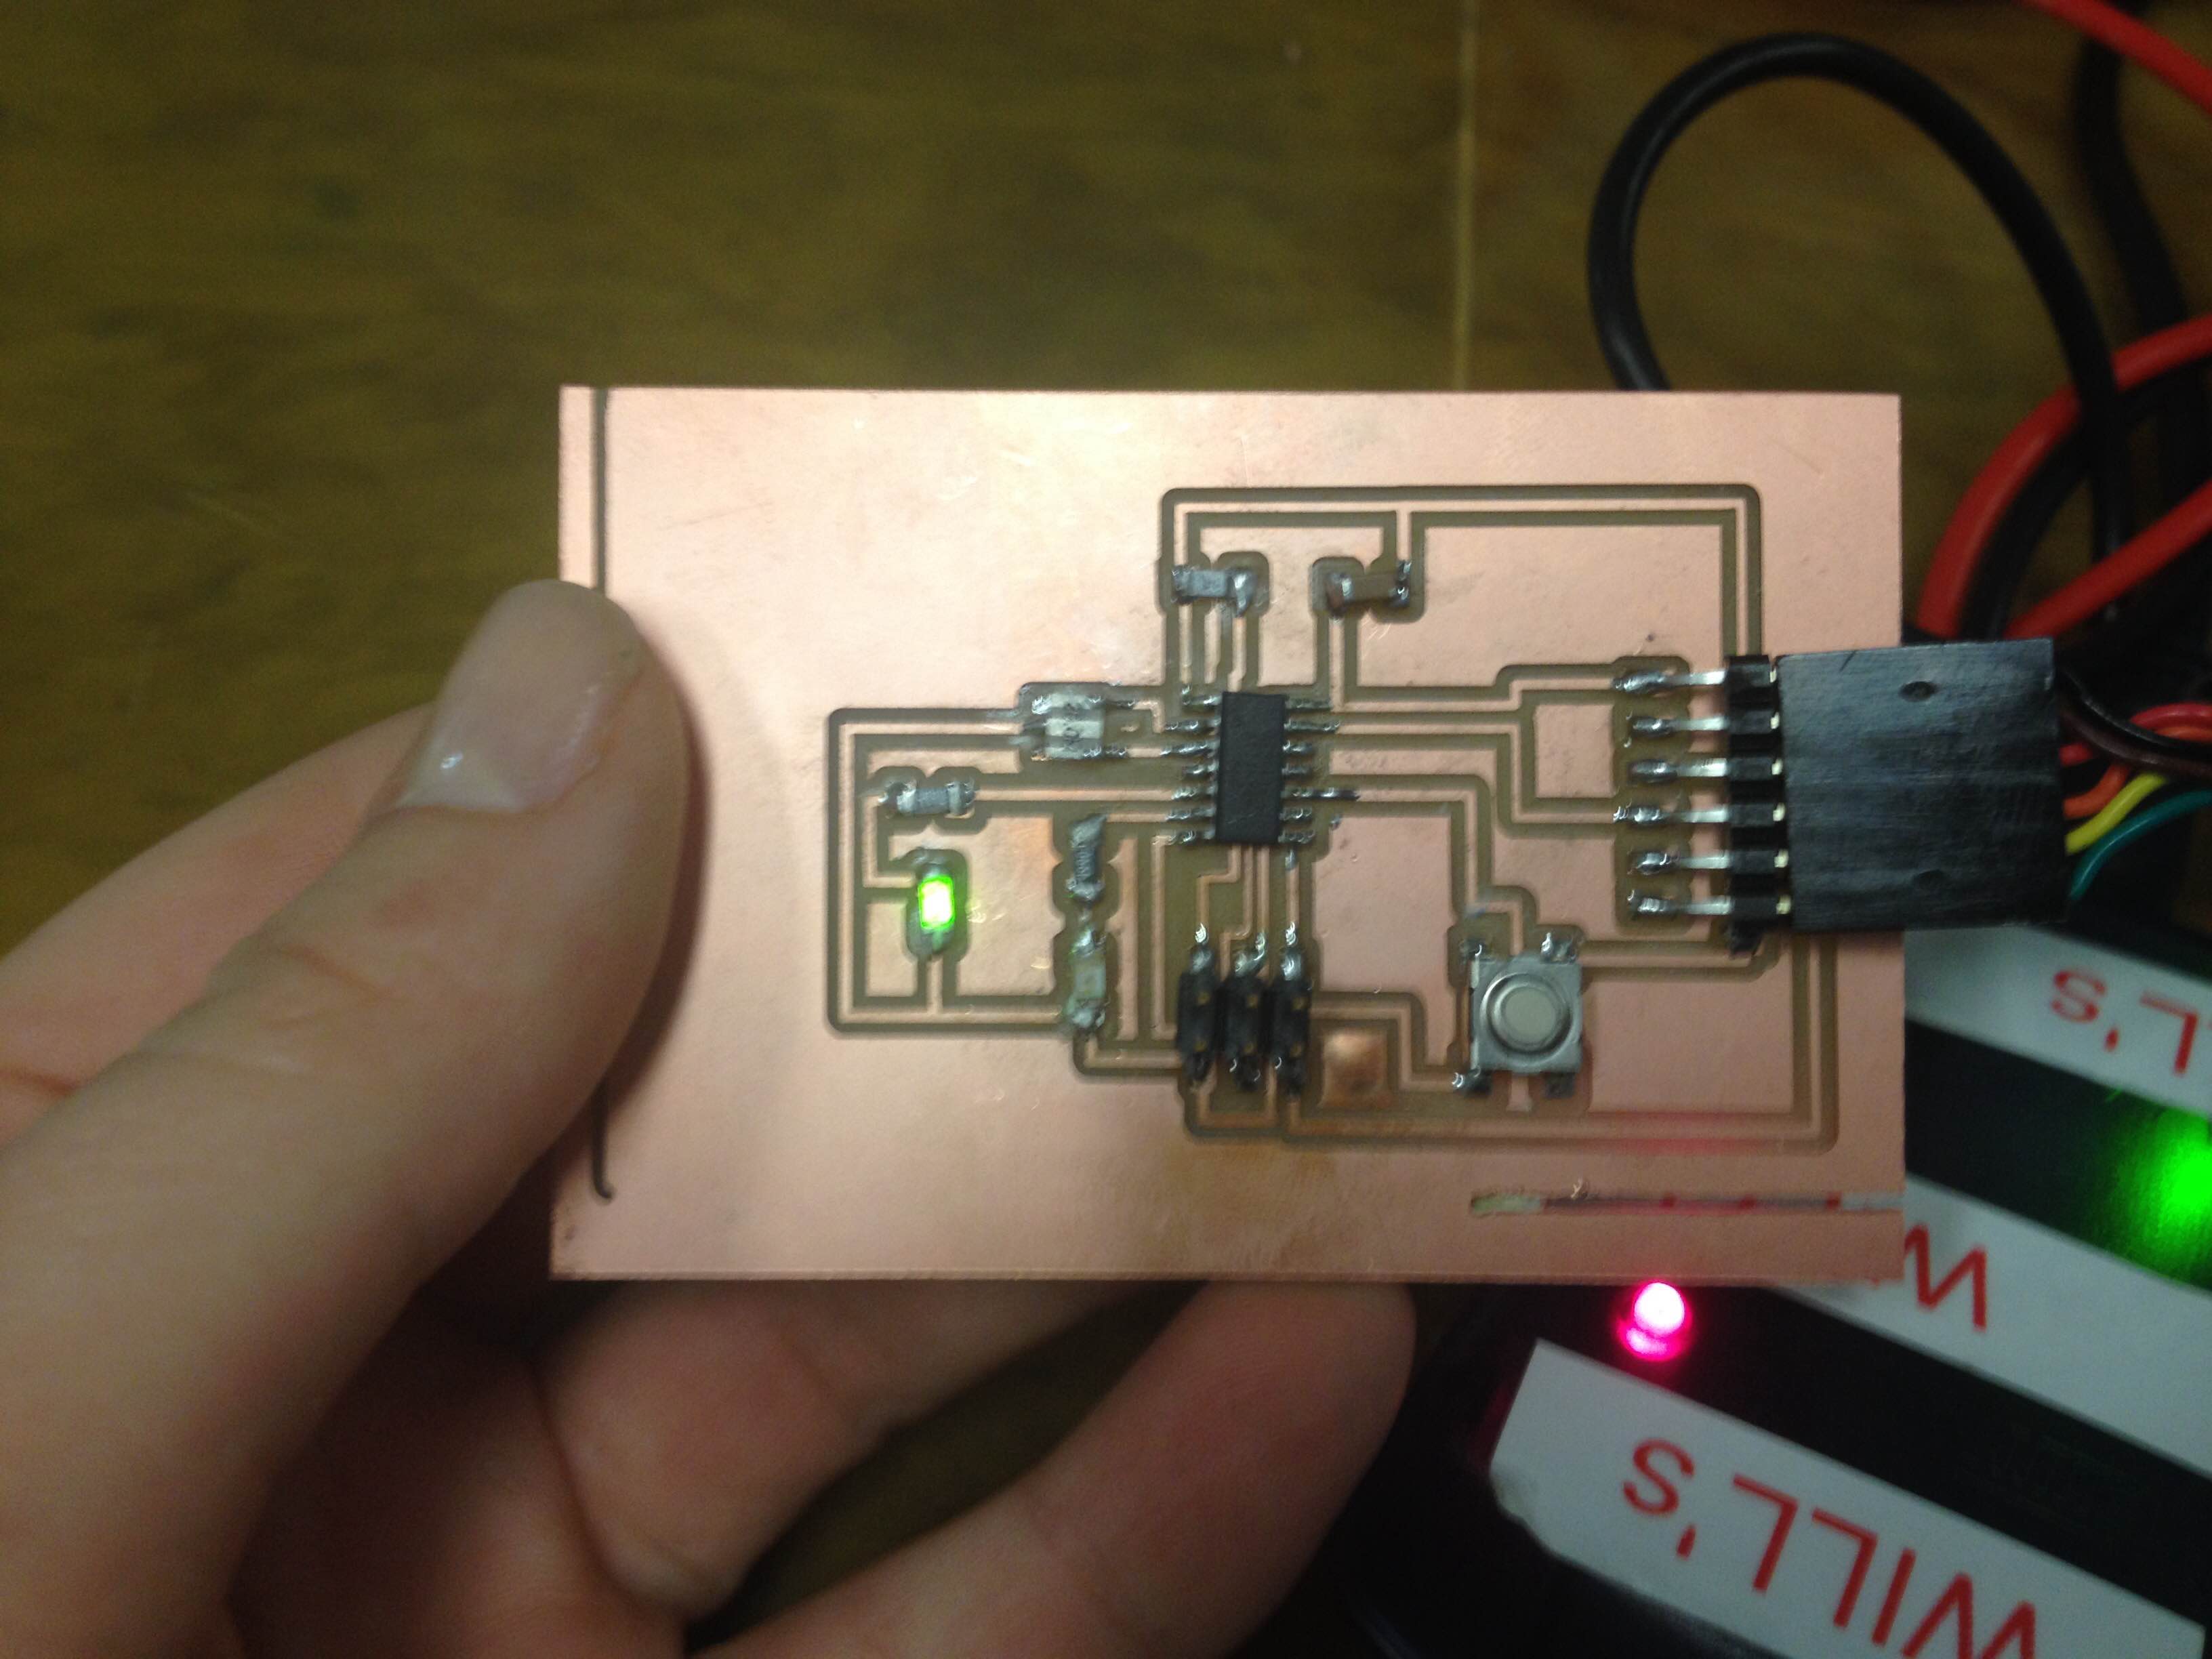
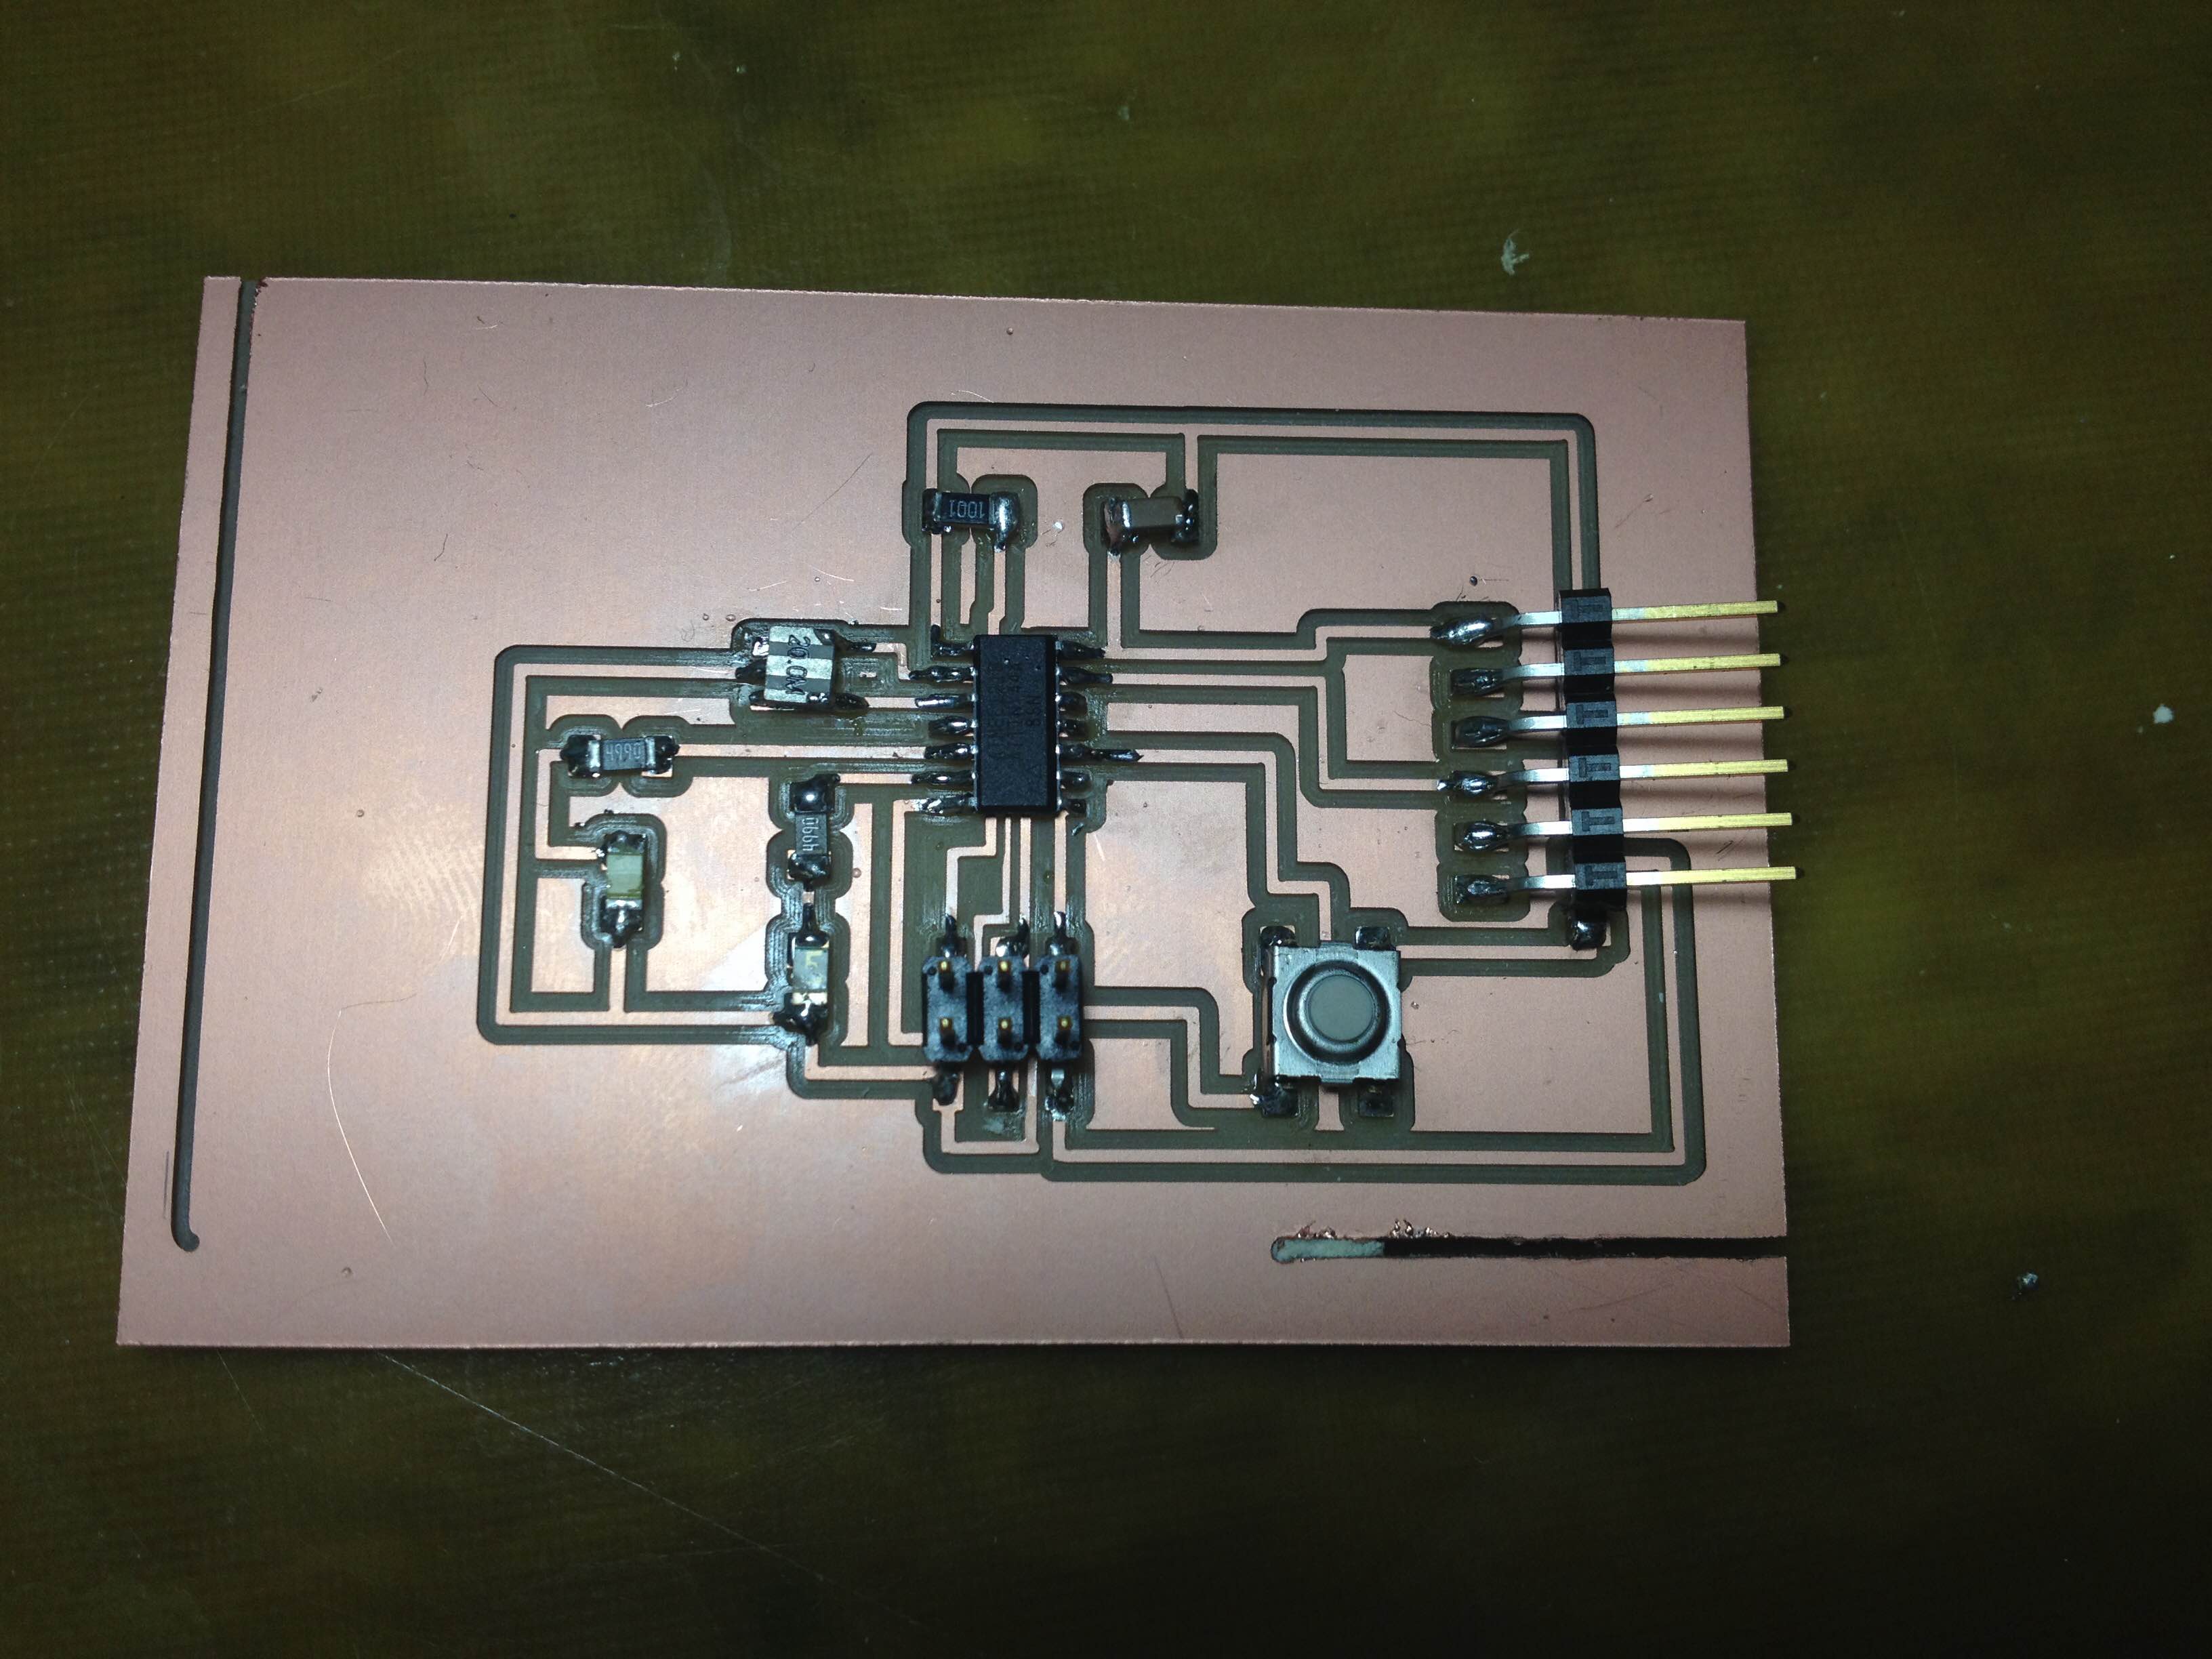
For this week I had big plans. I really wanted to network multiple boards, but unfortuntately, didn't get a chance to mill and stuff additional boards. Soooo....yah. My big task this week? Program the board that I designed and milled in week five. I did have to make a quick soldering fix though, as I accidentally soldered one of my LEDs on backwards.
This is the board I made at the time:
Once I went to program this I realized I had put the LEDs and microcontroller on backwards. Whoops. But luckily, that is nothing that a heat gun can't fix!
Unlike all of the cool kids at school, I don't use a Mac. I don't even use Linux. That's right party people, I use Windows. So at the advice of my pal Will, I decided to start programming with Arduino IDE.
Step One: Download the ATtiny libraries.
Step Two: Under the tools tab, change the board to "ATtiny," the processor to "ATtiny44," the clock to "20 MHz," and the programmer to "USBtinyISP."
Step Three: Realize I didn't bring the necessary equipment home to actually program my board. Shoot.
Step Four: Decide it is all for the best and program the board at work.
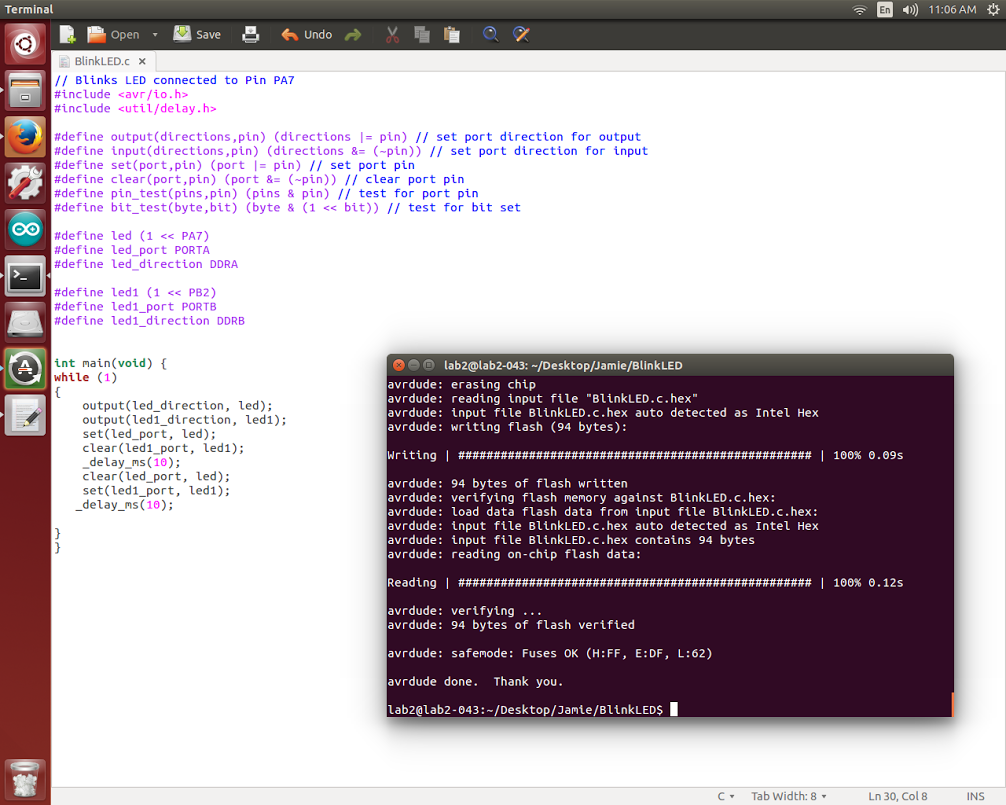
The good news? This is super easy and awesome. After resoldering my board it programmed right away. Big success. Huge. Everything was downhill from there. I grabbed Neil's code and tweaked it slighly, as I have two LEDs. I played around for a bit and had the LEDs blink at different intervals and rates.