Week
two
Computer Controlled
Cutting
Vinlycutting and Lasercutting 💥
highlights
How to "homebrew" a cheap lasercutting machine to make it "quite" precise and safe to work with. I bought a $400 Lasercutter from Amazon to see how far it can go.The result turns out pretty good. However, you will need to tackle at least these 3 step to make it okay to work with. You will see.
How to lasercut a shelf for your vinyle cutting materials After doing a regular modular shelf using my homebrew machine. I decided to make a bigger modular shelf to hold all my vinyle cutting materials.The aim is to make the frame as thin as possible and glow in the dark.
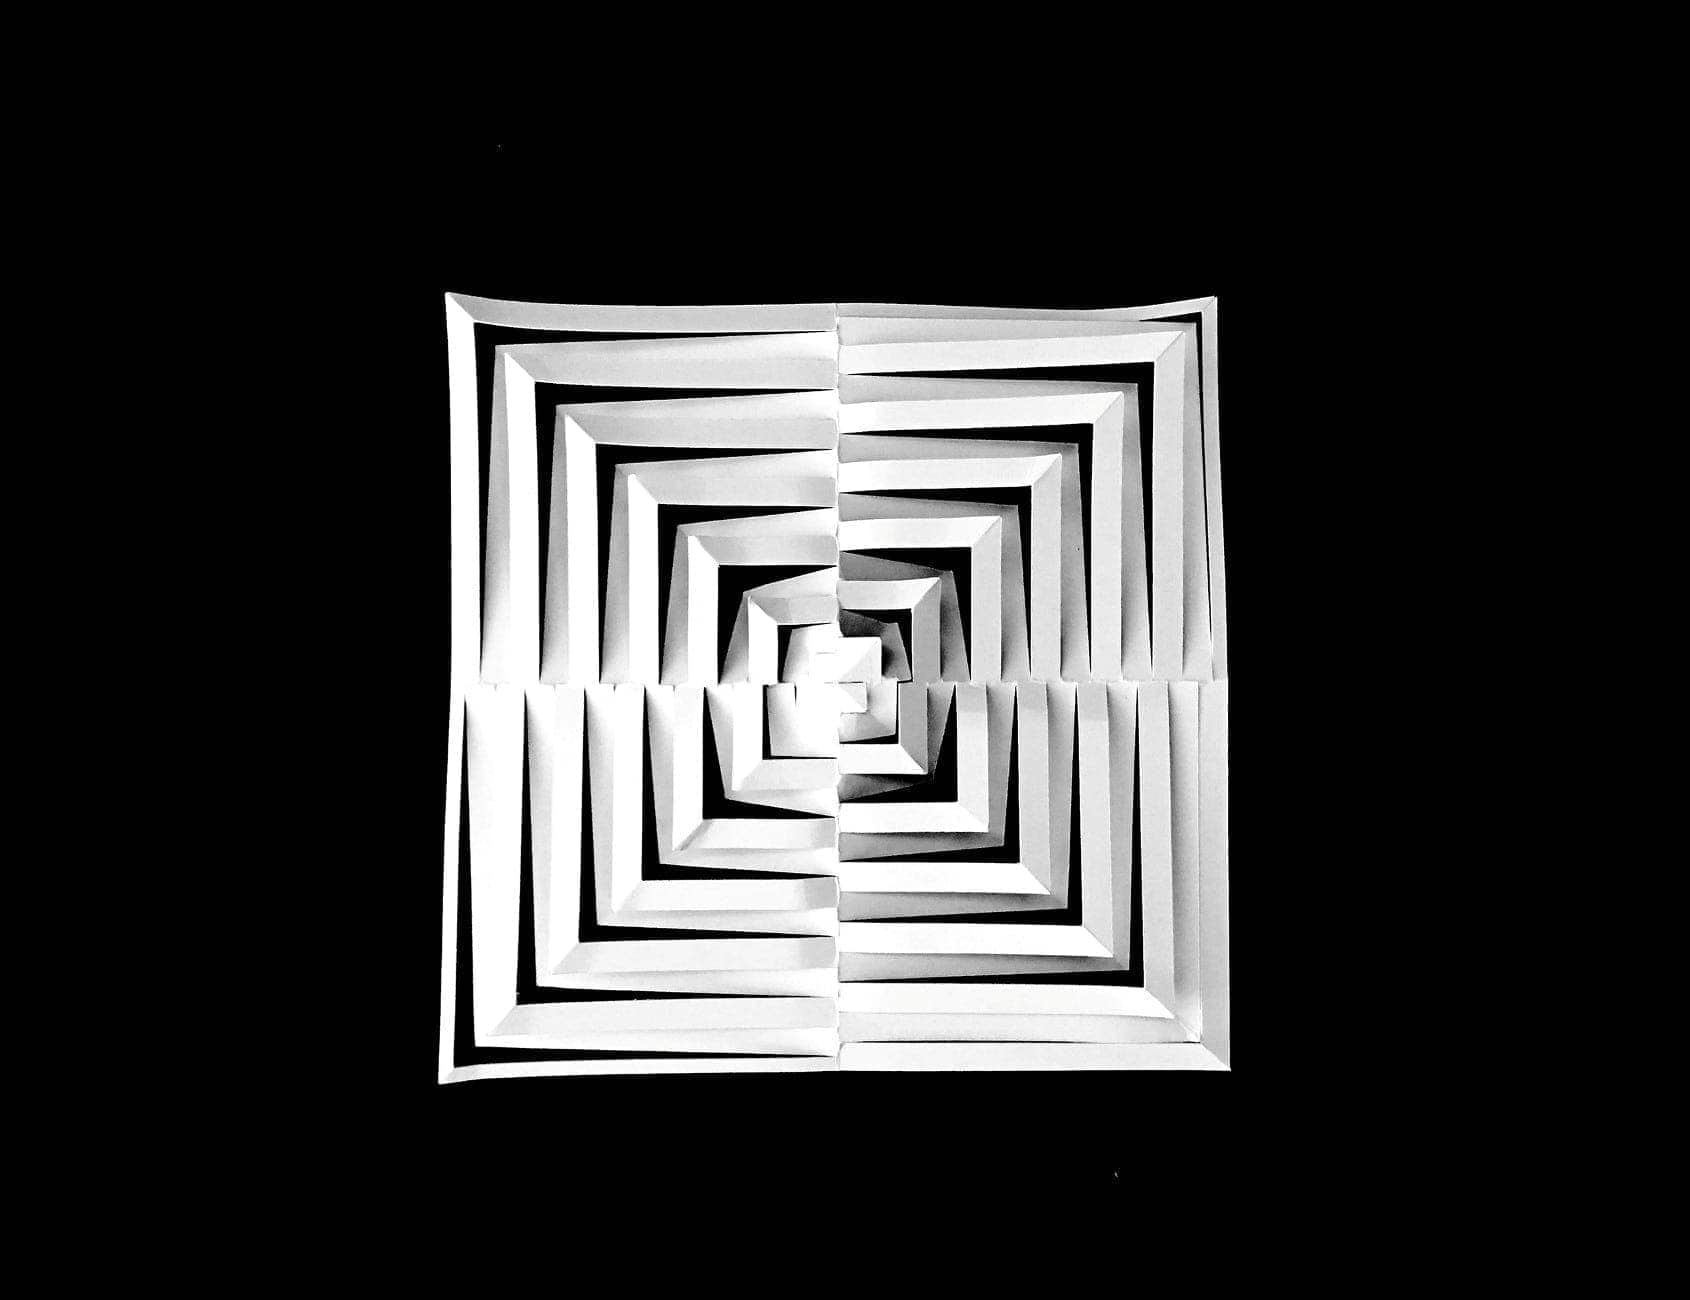
How to design and vinyle cut a pop-up paper structure An design attempt vinyle cutter to produce kirigami. The result is a paper pop-up canopyy-like structure drived by waterbomb folding mechanism.
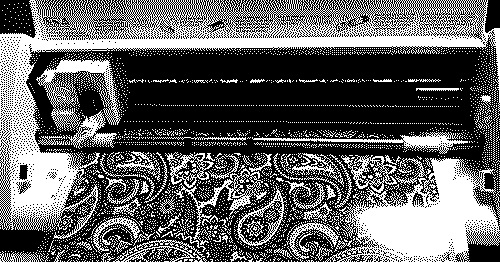
How to design and vinyle cut my Logo for final project I just need to do sth not just for fun but also contribute to the final project.
-
"home brew" laser cutter
-
Me hacking a cylinder-shape air purifier onto the lasercutter to prevent fire alarm from going off
"home-brew" lasercutter
Install proper waste air collector to make sure fire alarm is happy. The $400 laser cutter is equipped with a 40w laser tube, but there is no z axis adjustment or ventilation equipment. So my very first step is to install a proper ventilation and also find a way to absorb the odor and smoke, otherwise the fire alarm or my neighbor will go off anytime when I am cutting. So I was quite lucky to find this cylinder-shape air purifier on Amazon. The air intake of the purifier is solely from the bottom, so it's perfect for my task. I use a aluminum foil pipe to connect the exhaust vent of the lasercutter to air purifier. The result is fairly decent. There is barely no smell when cutting cardboard, but I am not sure about acrylic.
Adjust material bed's height to make sure the laser point is as focused as possible. After fixing the ventilation. The first testcut went quite bad. the material is easily set on fire, for the laser point is not focus. I use paper to test between the lens of the lasercutter. It's centered quite well. So the unfocused result is very likely coming from the last centimeter to hit the material. And this cheap baby doesn't come with a adjustble bed. So I have to find a way to manually adjust the height on the bed. I couldn't find any thin honeycomb that fit the size. So I scavenge a few different thickness of broken glasses. And one of them works pretty well. The laser point is much smaller than before and rarely set the cardboard on fire.
Measure the kurf before CAD the tool path Although the ventilation is fixed and the laser point is as focused as possible. Since everything come with a price, measuring the kurf feels like a very critical task to complete before we use the machine to make any press-fit furniture. So me and my partner Jiabao lasercut a test file and calculate the kurf in order to take that measurement to the design.
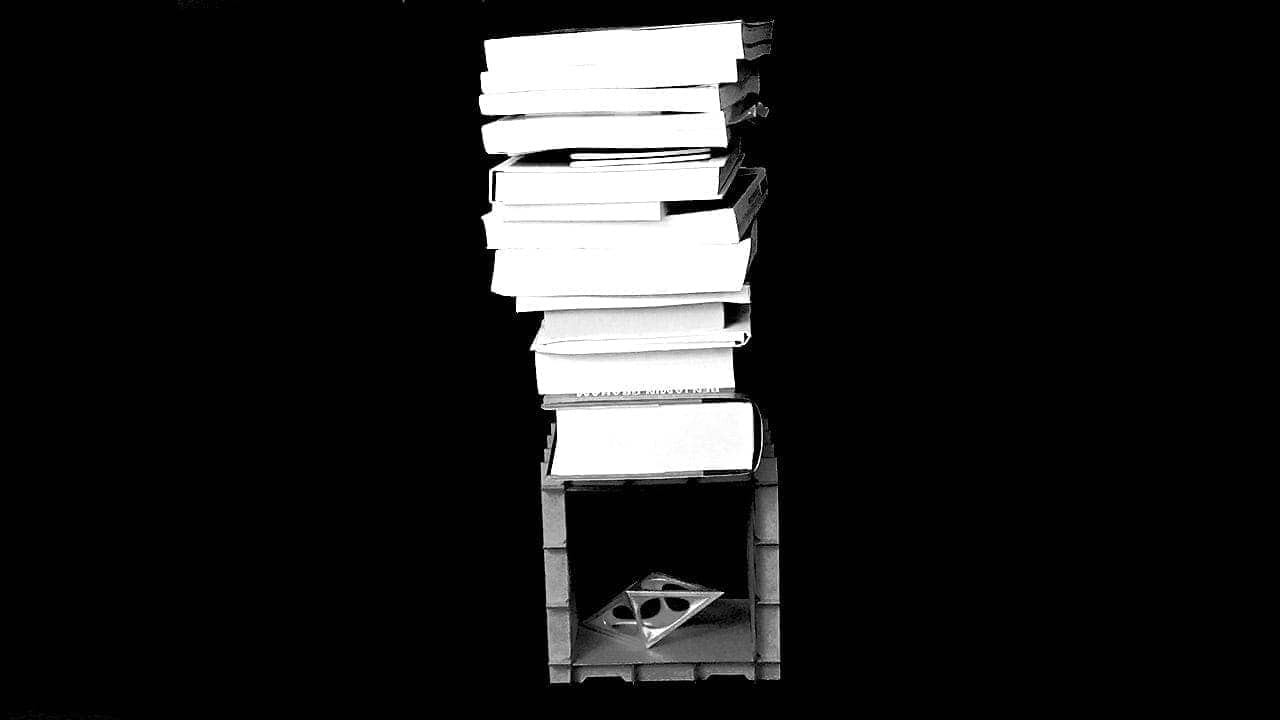
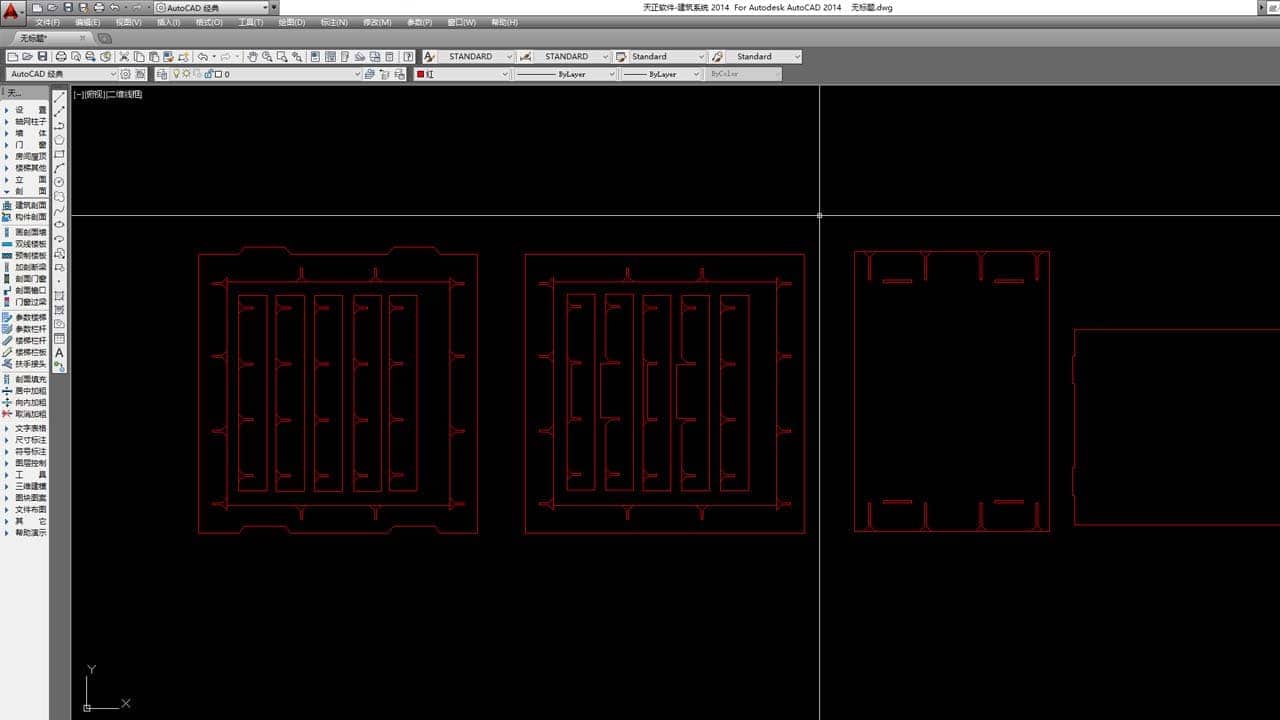
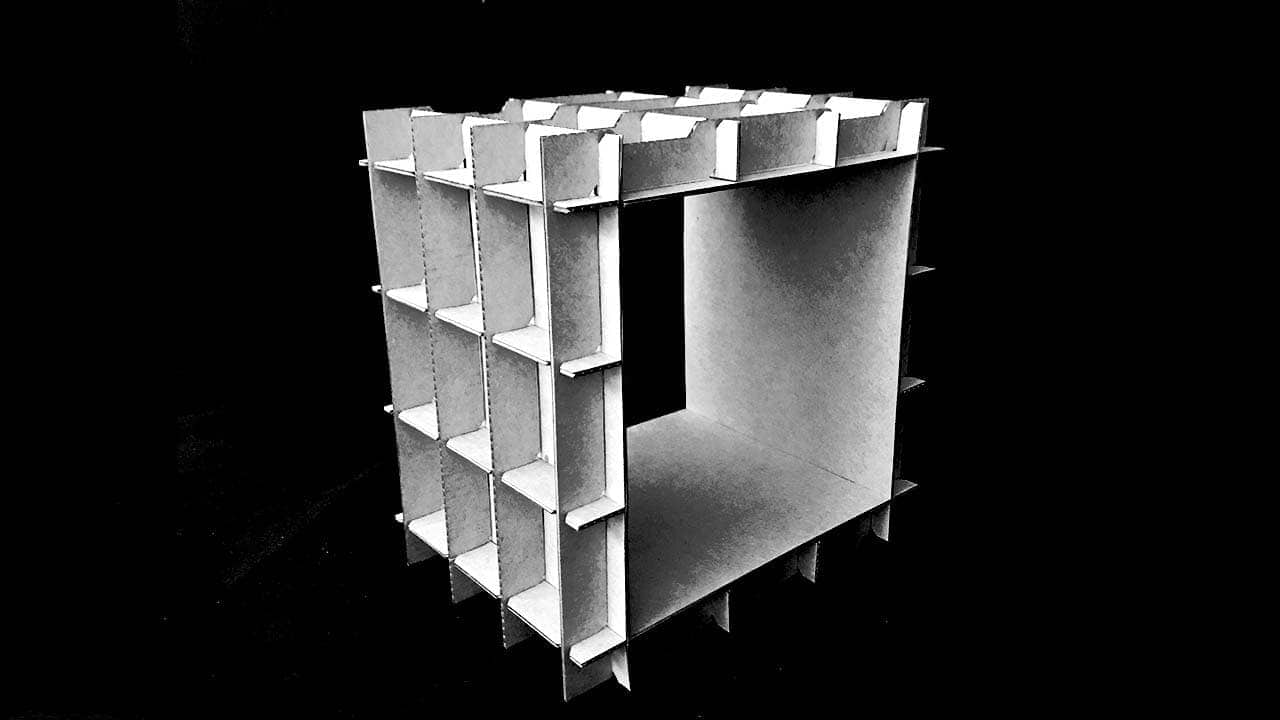
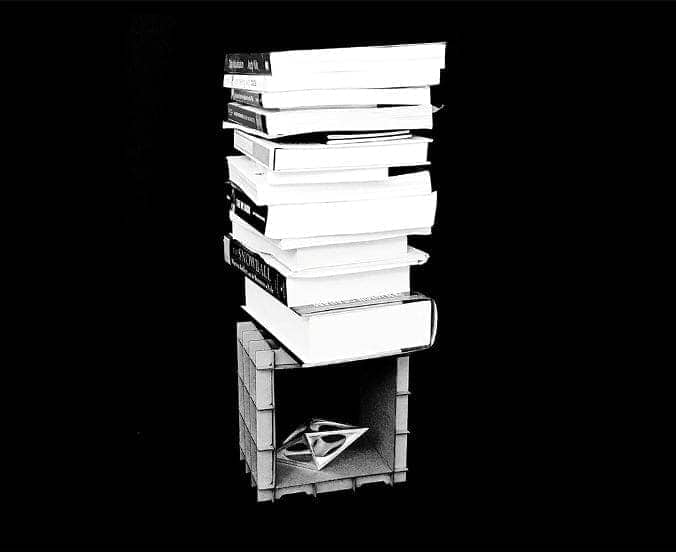
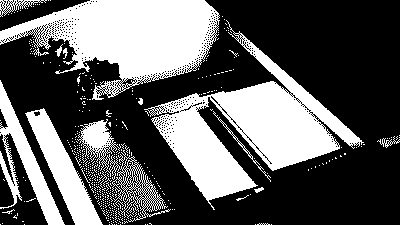
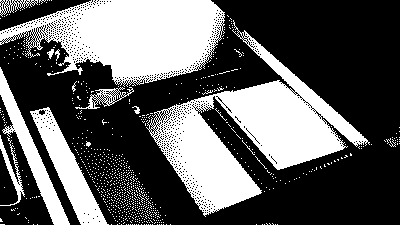
Make a modular pressfit shelf There are multiple examples of creating modular shelf by lasercutting curboard. I decided to learn one of them, model it, CAD the cut file with kurf considerd, and do a quick test cut with my cheap cutter to see wheter the kurf is measured correctly. And then to build my own verison of it using the larger reliable machine. So I quickly sketchup the model, modify and add the notch and kurf manually using Autocad, which is not ideal, and cheap-lasercutted it. The result completely beats my expetation. The structure is very strong to hold at least 15 pounds of books.
-
Glow
-
Glow
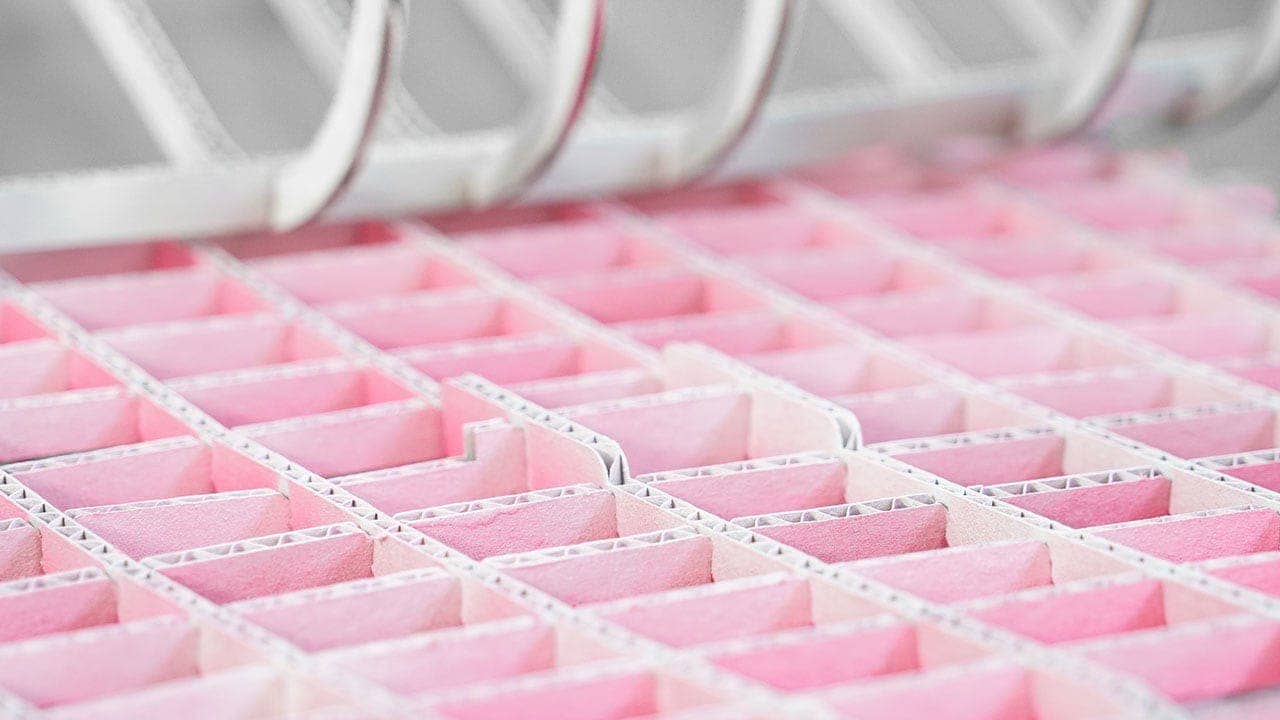
Material Shelf Glow in the dark
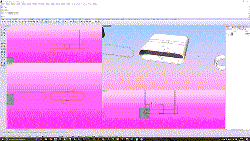
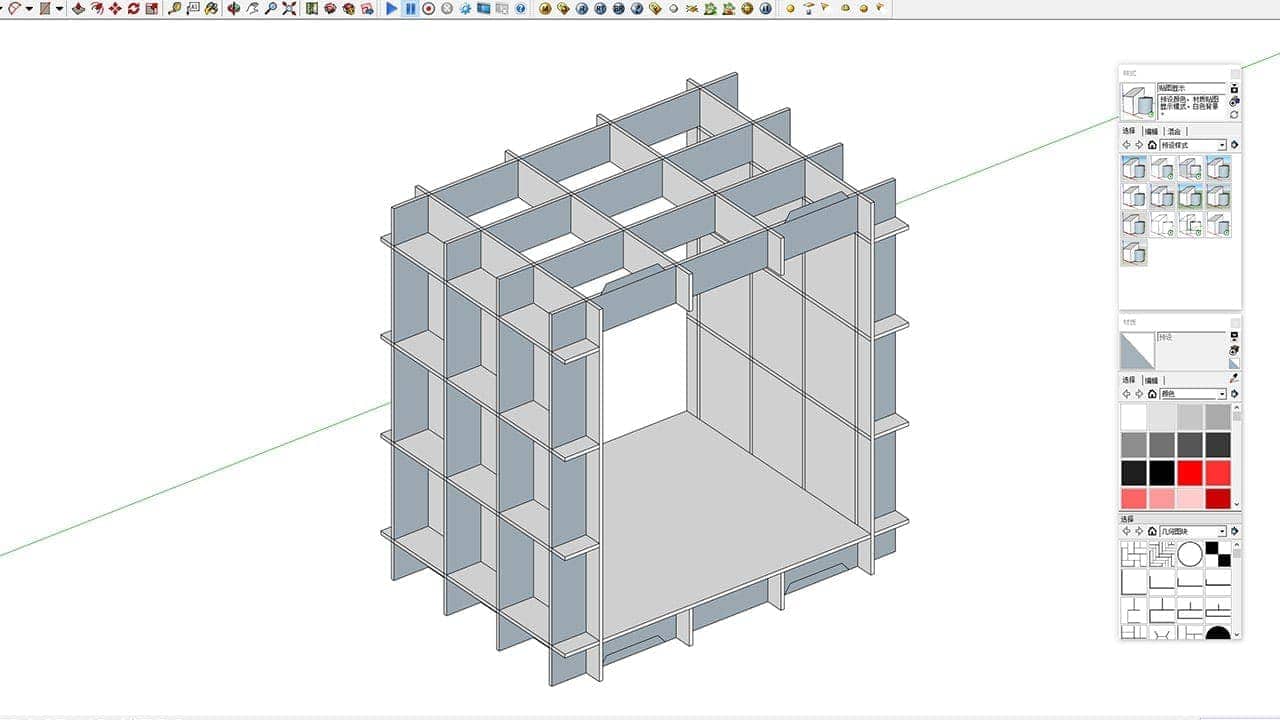
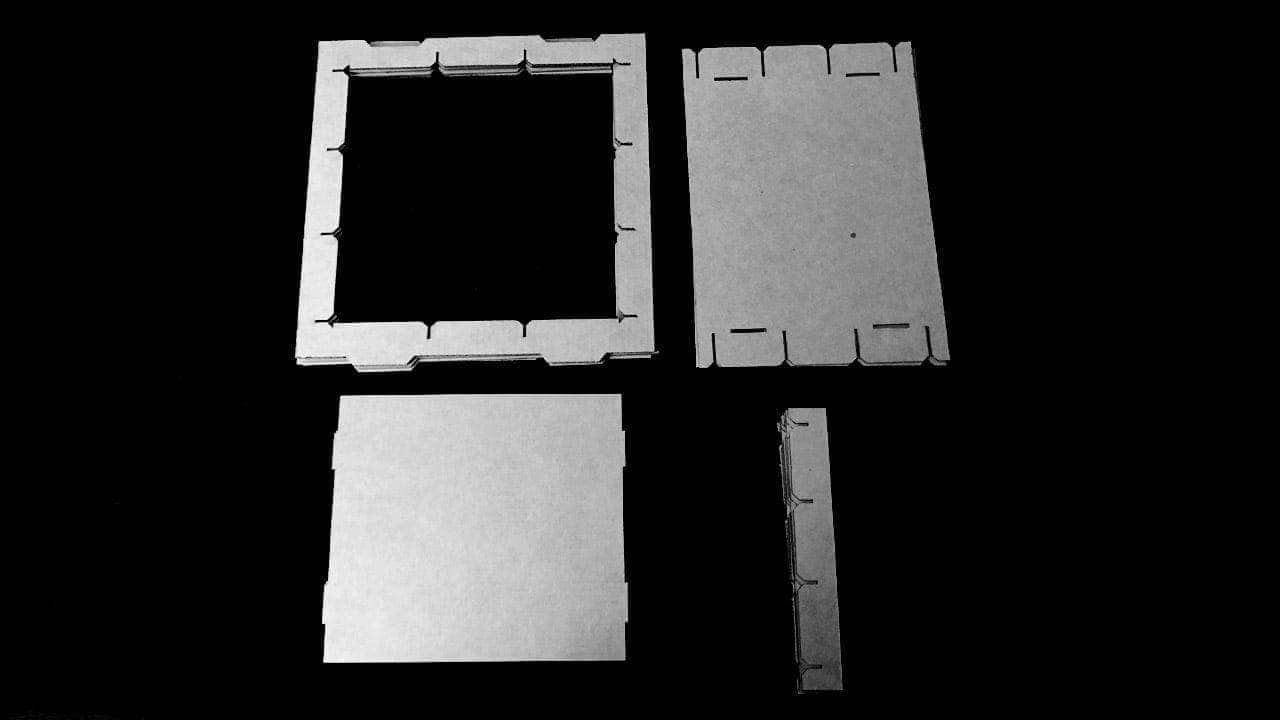
Import Design to Make123d When cutting the modular shelf using the baby cutter. One annoying part to do is manually adjusting all the kurf and notch. They should be 100% designed to be parametric for they are associated with tolerance. I was planning to pull everything off by grasshoper until I find Make123d. It can automatically slash your mesh based model and generate multiple different use 2d material to make the 3d object, and press fit is included. And amazingly, notch and kurf are adjustble and all slices are customzable. Tool path will automatically placed on the material size you choose and can be export as PDF.
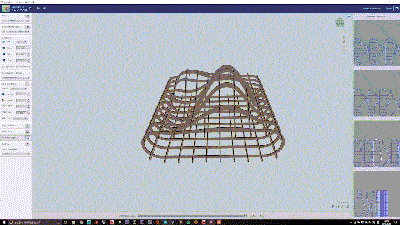
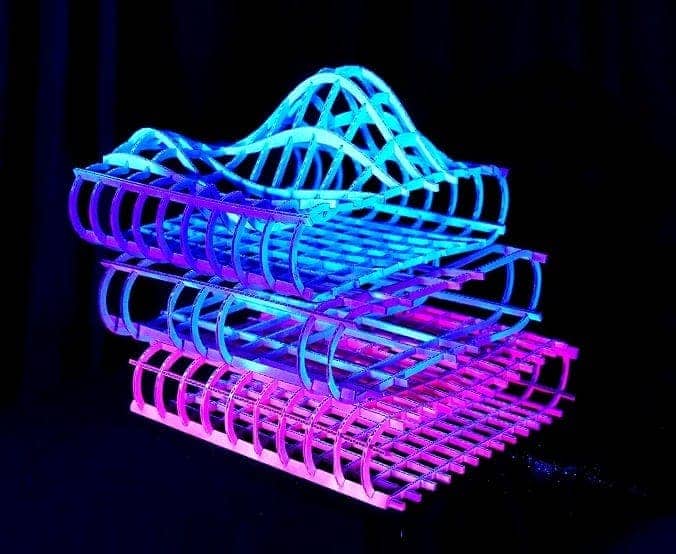
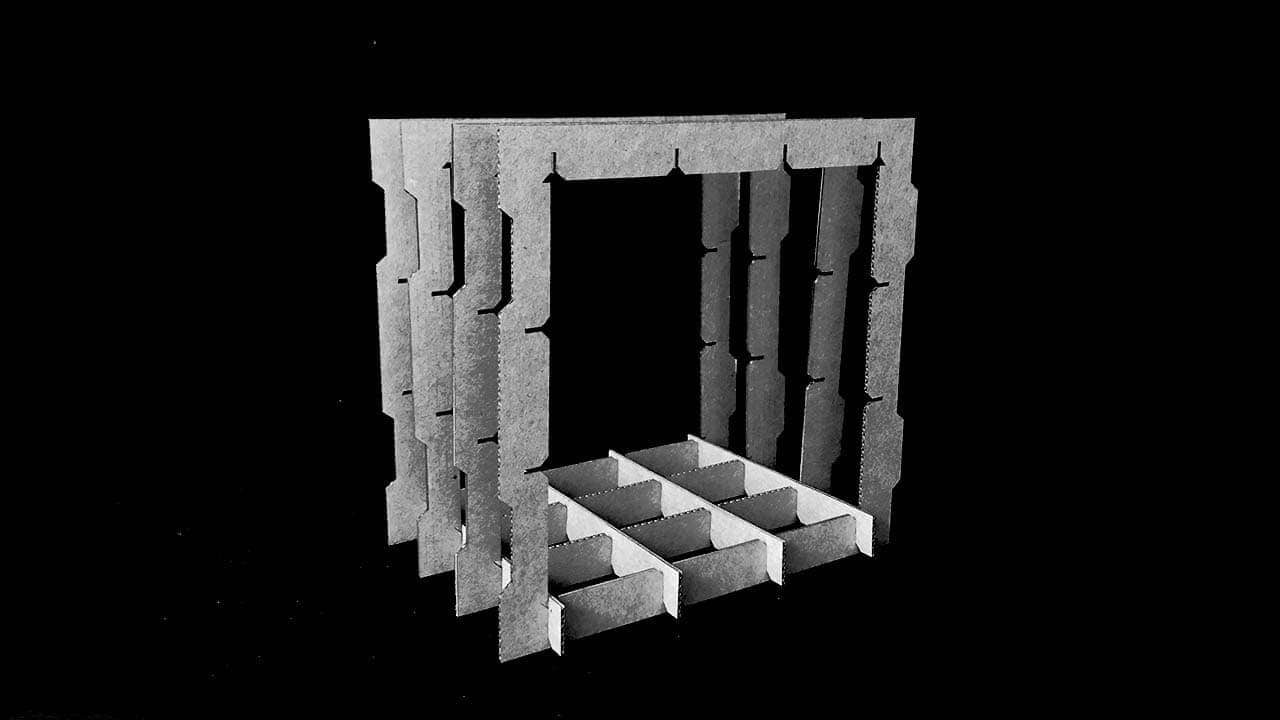
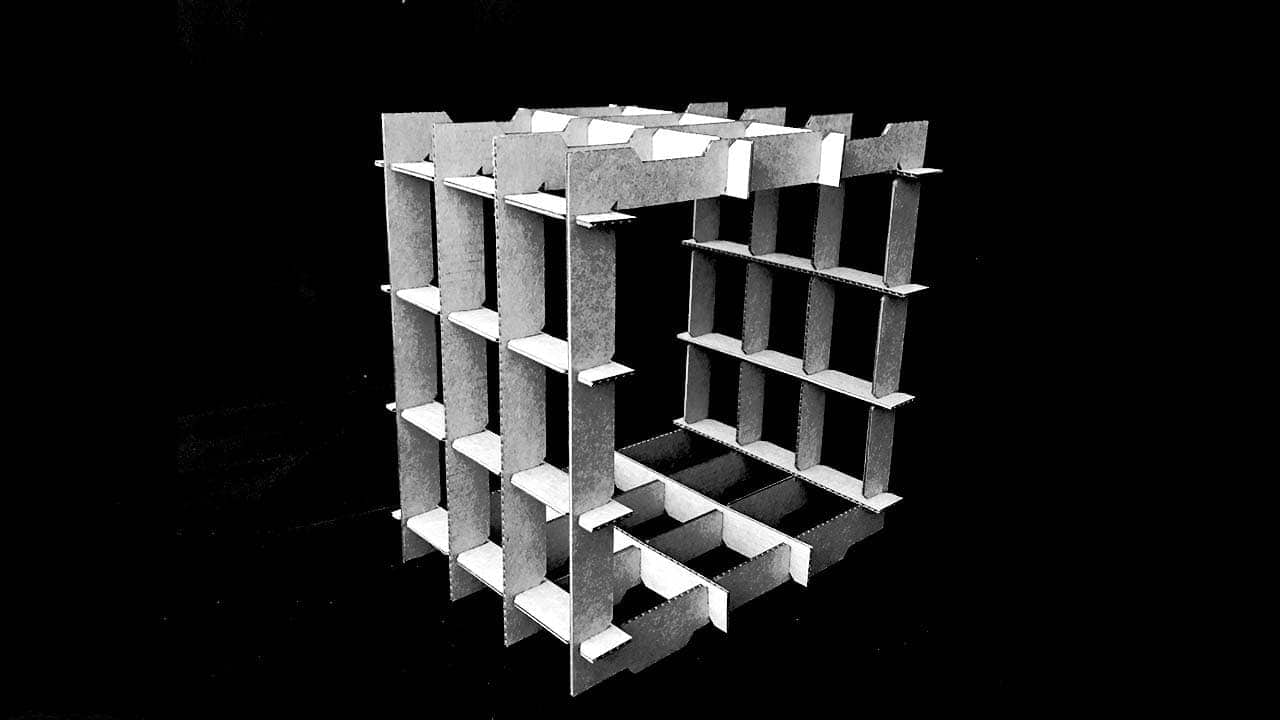
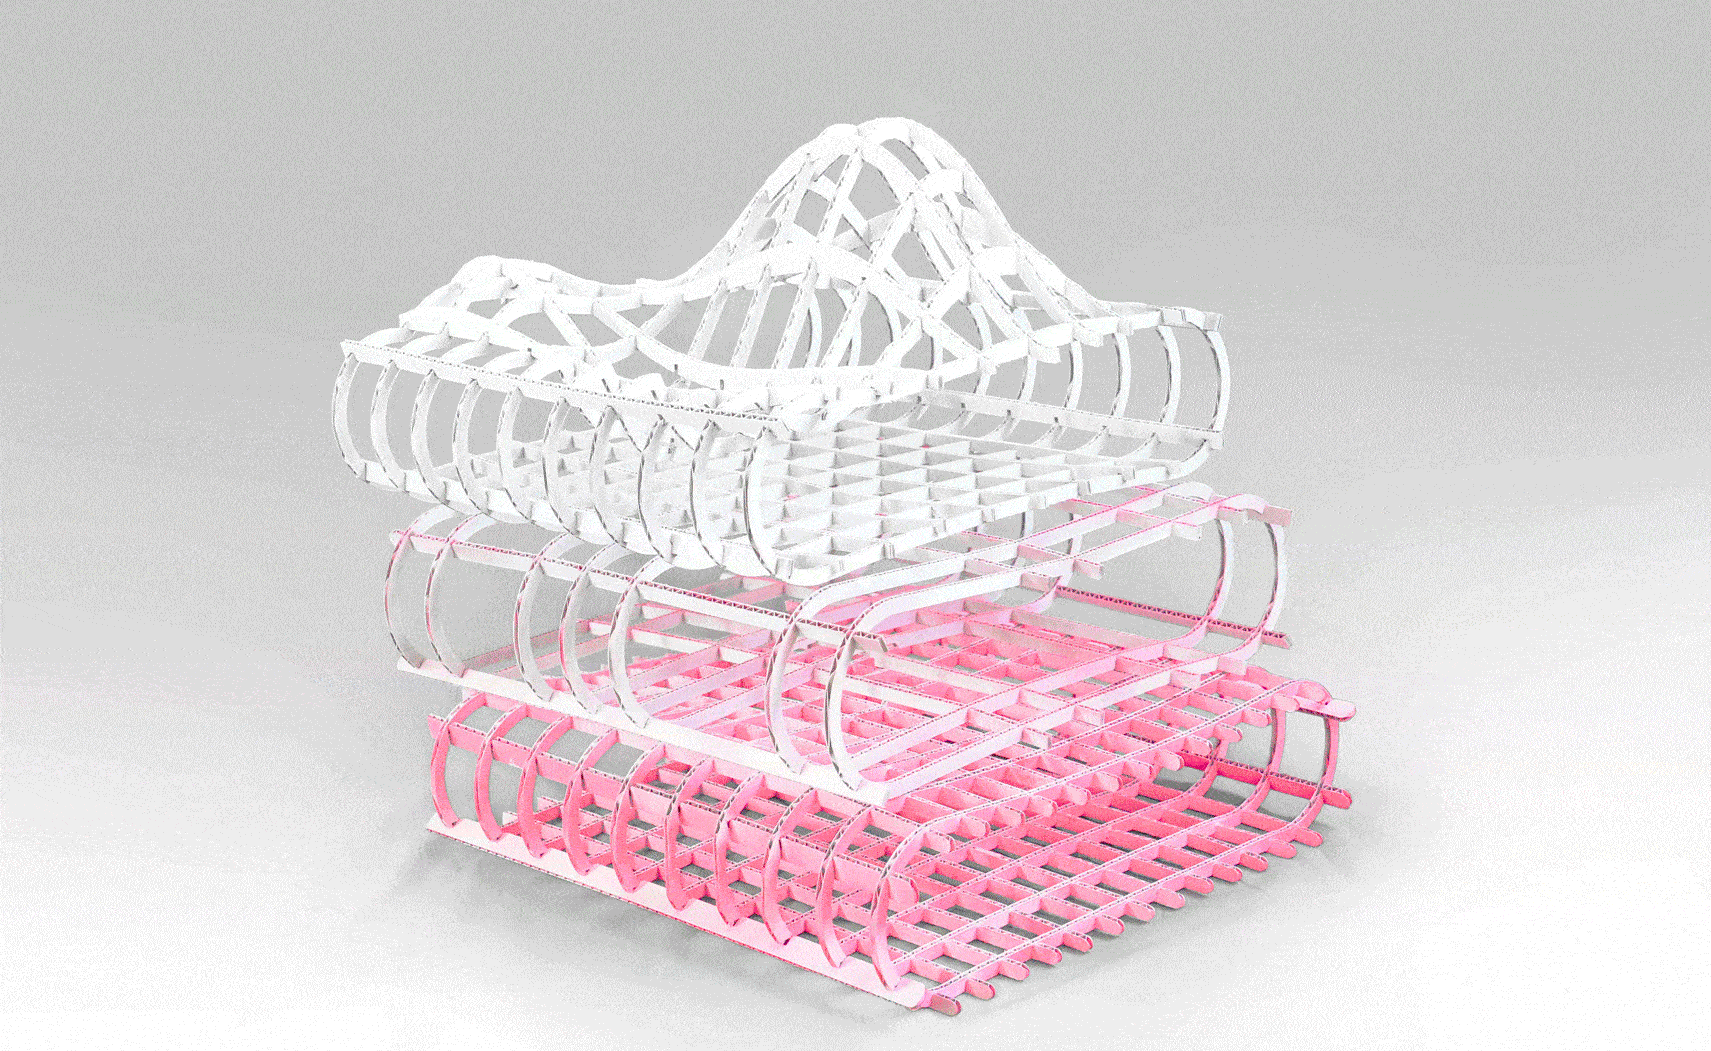
Adjust slice orientation number and rotation Using 123d make, I generate 3 different form of shelf to test the performance difference. One with iregular top surface and 10*10 press-fit grid. The other is also 10*10 slices but without irregular surface, and a similar regular one with less slices of 7*6. It turns out that the iregular one is the strongest, 7*6 is the second and the 10*10 regular is the worse. The reason very likely is 7*6 is enough for making the system tight, the additional frame are only adding more weight to the structure. And the irregular surface performs best for it have more different interlocking angles and prevent skew from multiple directions.
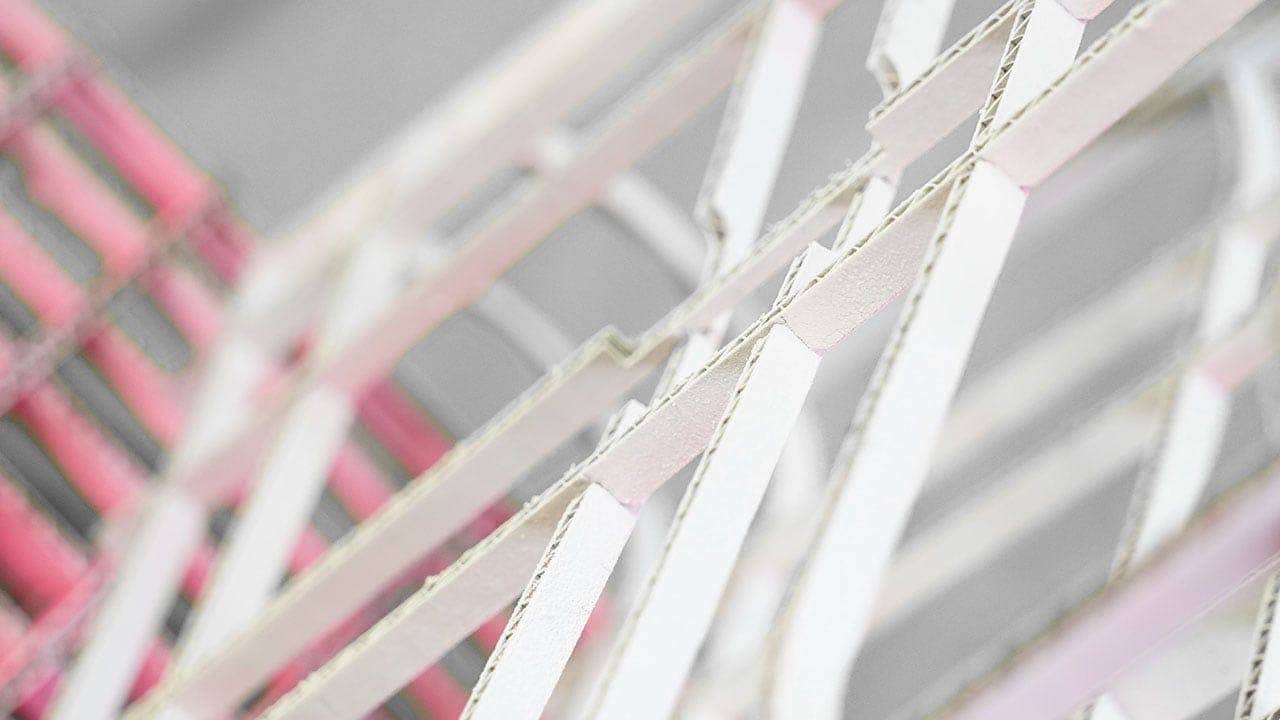
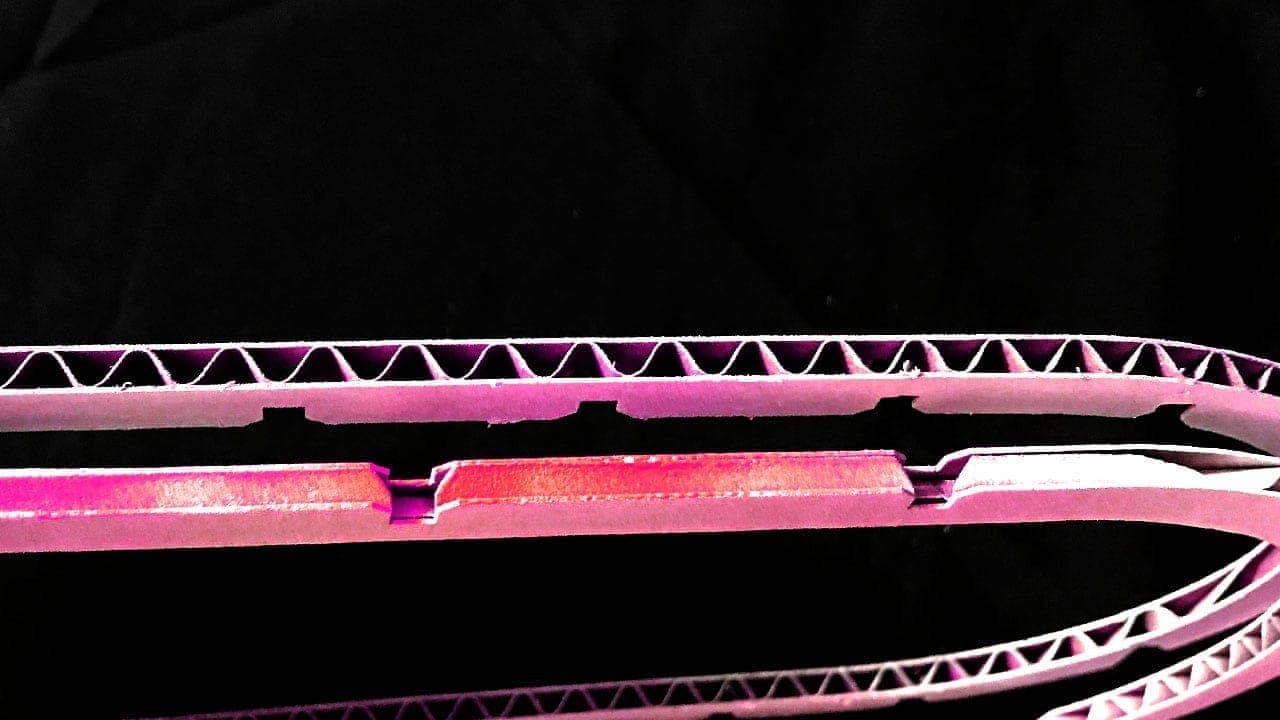
Two details: the stacking joint; the material orientation The material orientation is crucial for press-fit carboard structure,M especially when I already pushed the frame width to limit. Never use horizontally corrugated panel to bear vertical forces.
spray for glowing in the dark Top layer shelf is all white. Middle layer's top and bottome are sprayed in pink and four sides are sprayed white. Bottom's four sides are sprayed pink and top down are white. result showed as follows.
-
"pop-up" structure
-
drived by waterbomb pattern
Paper Pop-up structure by vinylecutting


mountain and valley folds are prepared as dot line in the cad file. Solid line is cut line. Canopy shape is drive by a paper frame has movement of water bomb showed above.
-
"MODU"
-
Building as Modular Gadget
Vinyle cut Final Project Logo
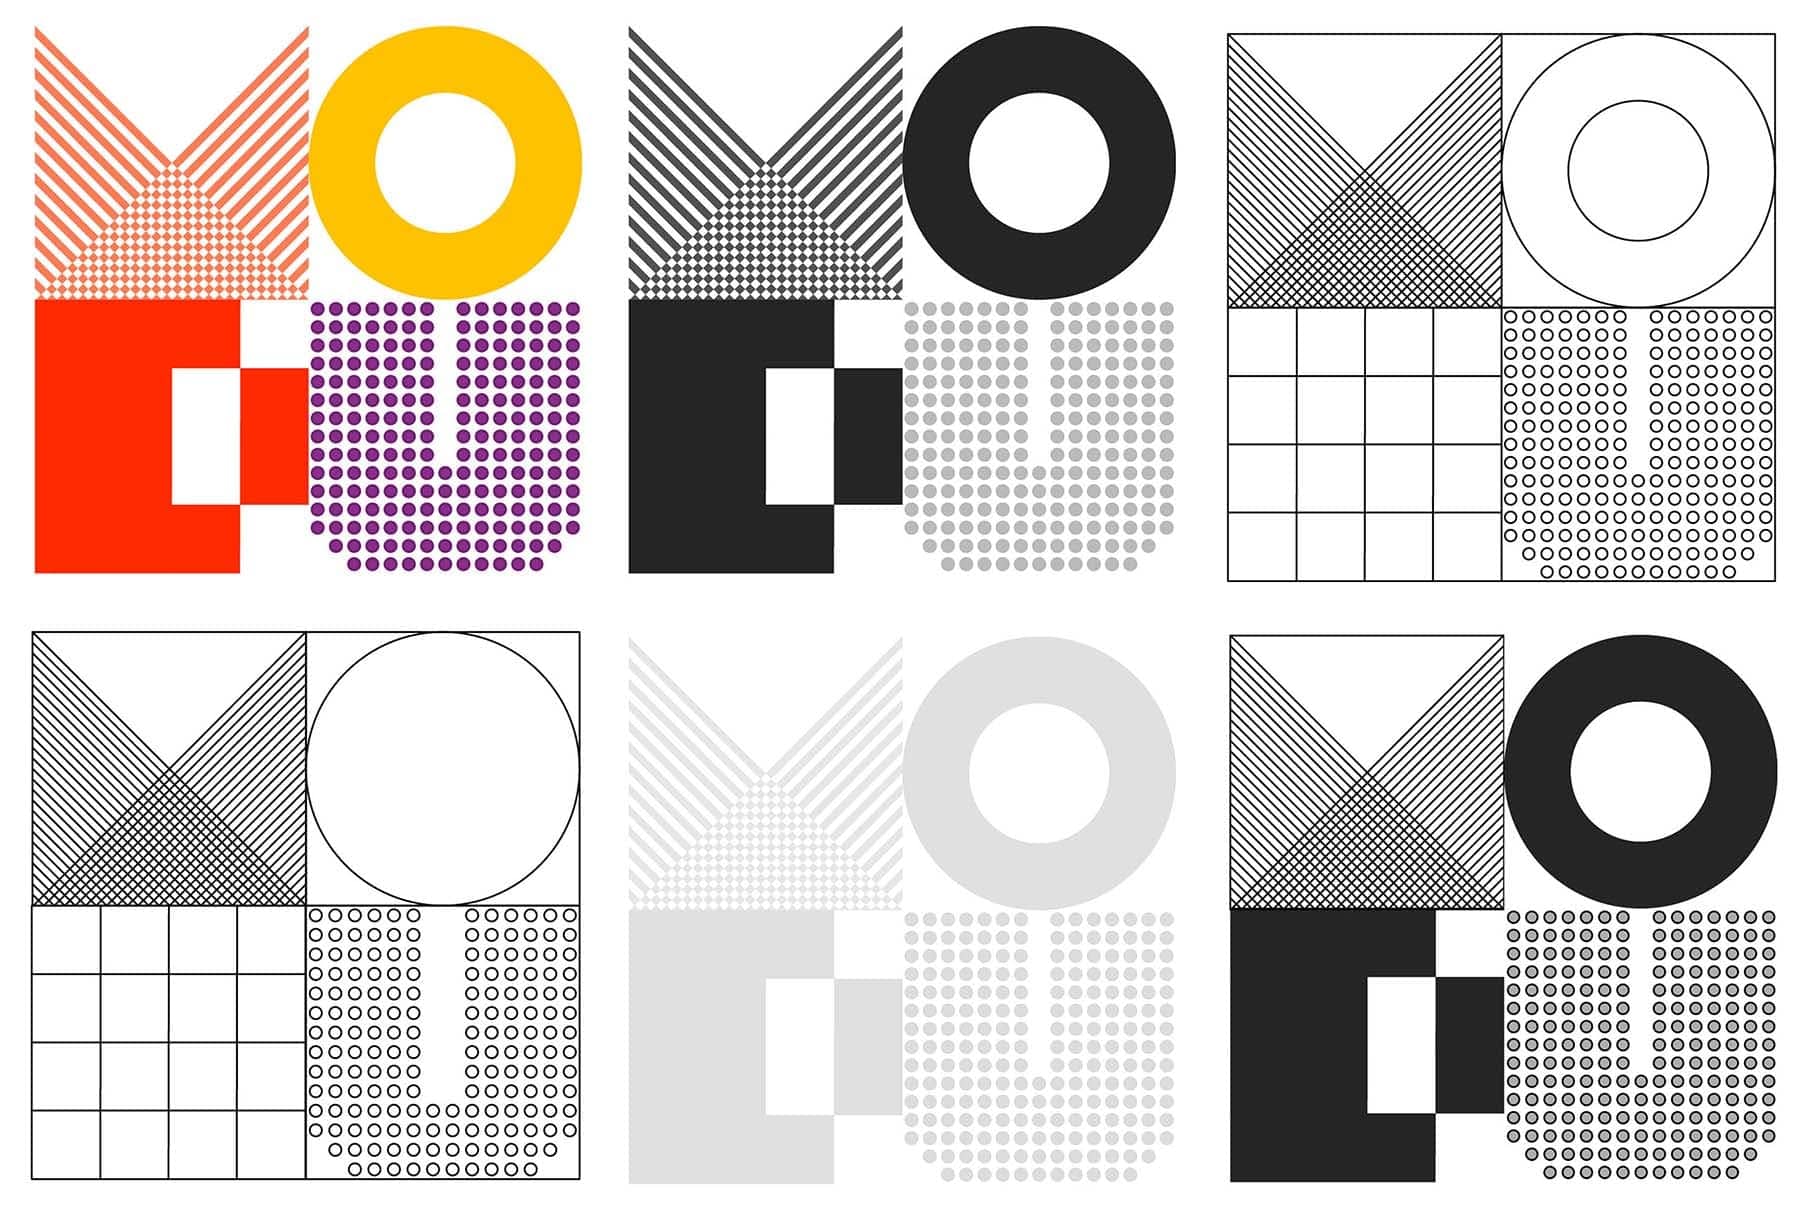
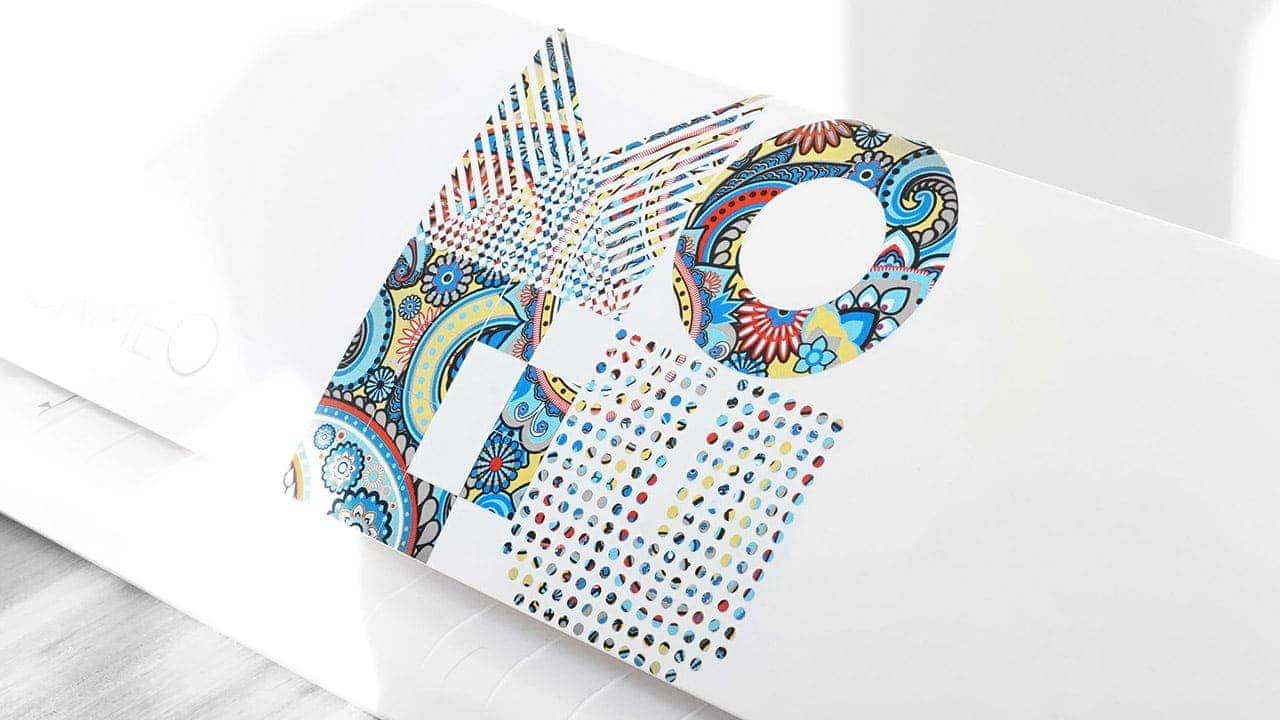
MODU logo concept: each alphabet is an abstract of modular gadget's texture.
the journey is long 🐌