Creating the mold
I decided to create a simple monogram for this week. Started out with my go-to CAD software - SolidWorks. As in some of the previous weeks, I started by defining the stock and the dimensions that I want as parameters so that I could adjust the size once I knew exactly how big a piece of machinable wax we get.
 Here is the 3D model of my mold created in SW. It took a little thinking to make sure the chamfer turns out the way I wanted it to.
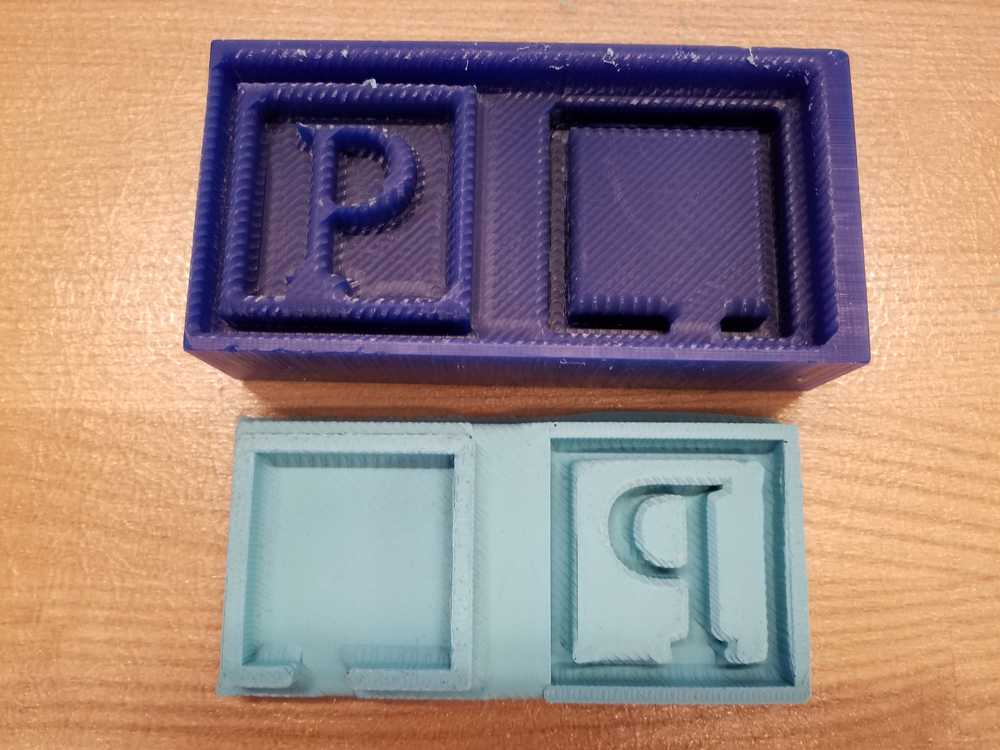
What I did next is to create a solid cuboid and performed a part subtract to ensure that the "negative" mold I get once I pour in the OOMOO is what I actually want. This is seen in the adjacent figure.
Here is the 3D model of my mold created in SW. It took a little thinking to make sure the chamfer turns out the way I wanted it to.
Here is the 3D model of my mold created in SW. It took a little thinking to make sure the chamfer turns out the way I wanted it to.
What I did next is to create a solid cuboid and performed a part subtract to ensure that the "negative" mold I get once I pour in the OOMOO is what I actually want. This is seen in the adjacent figure.
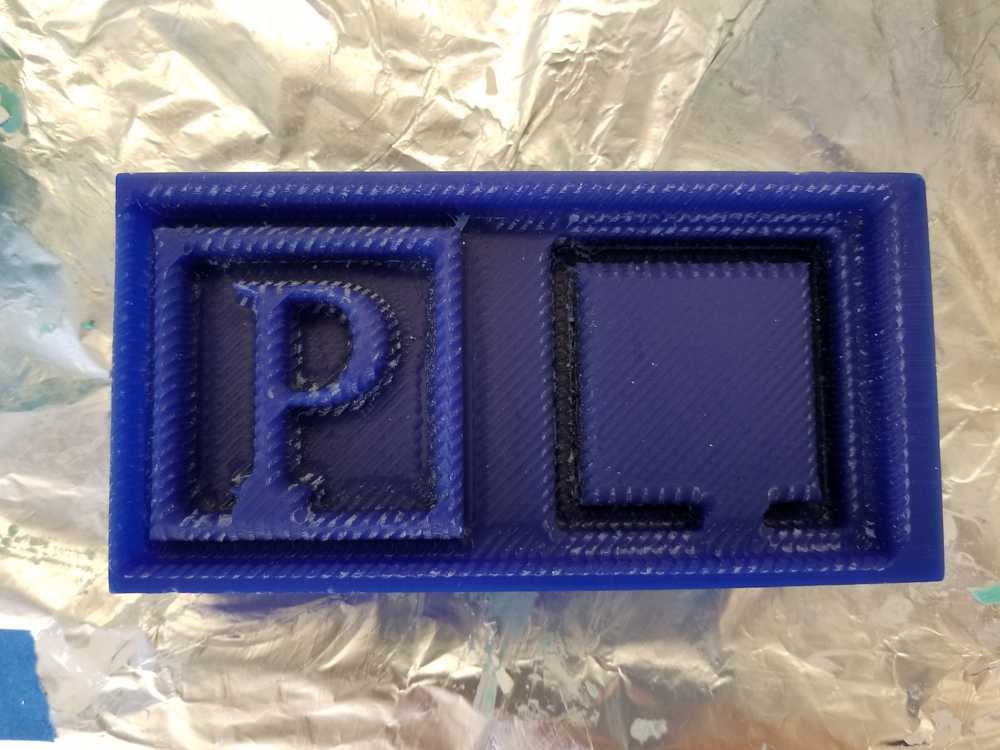
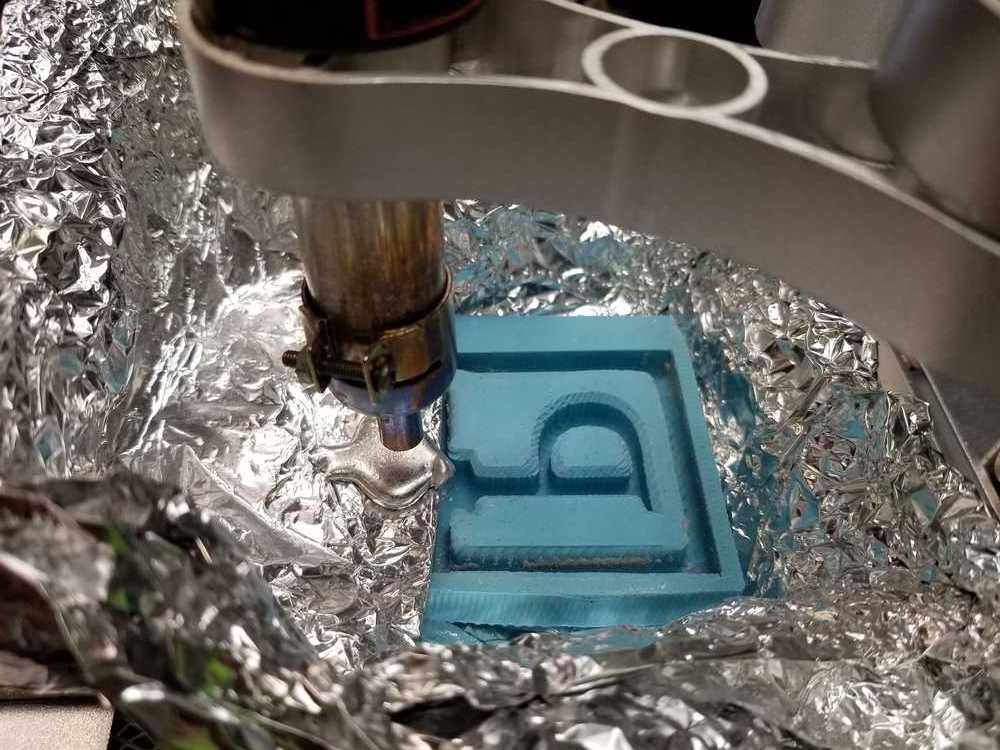
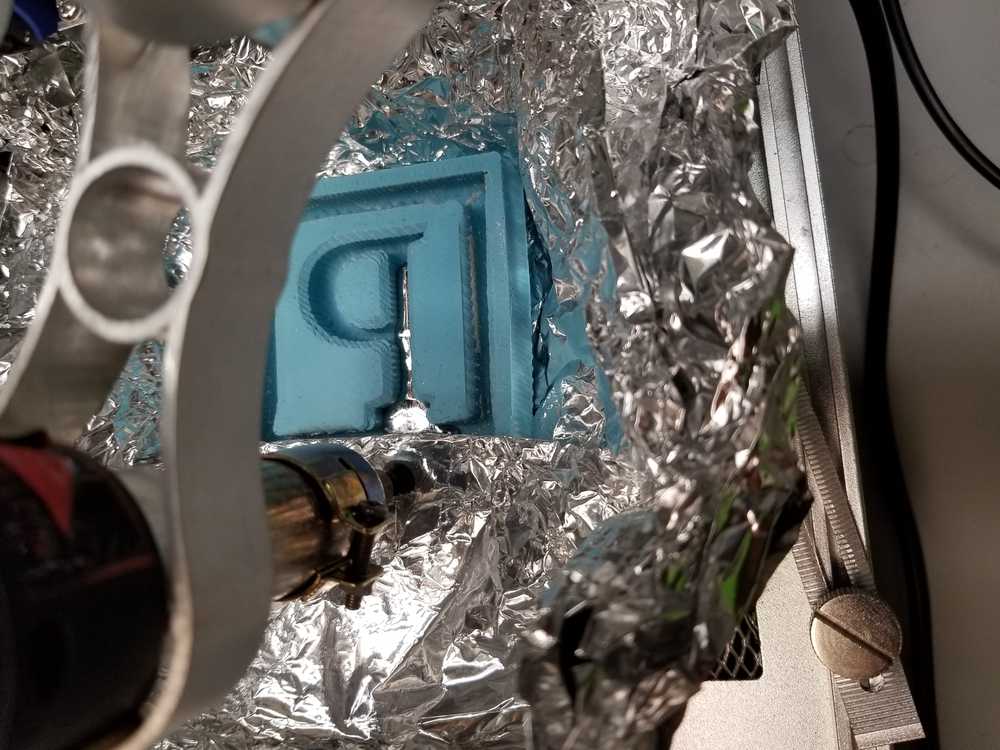
Once this was done, it was time to create an STL and transfer it to the Cut3D software to generate the toolpath. Below are some pictures from the milling process.
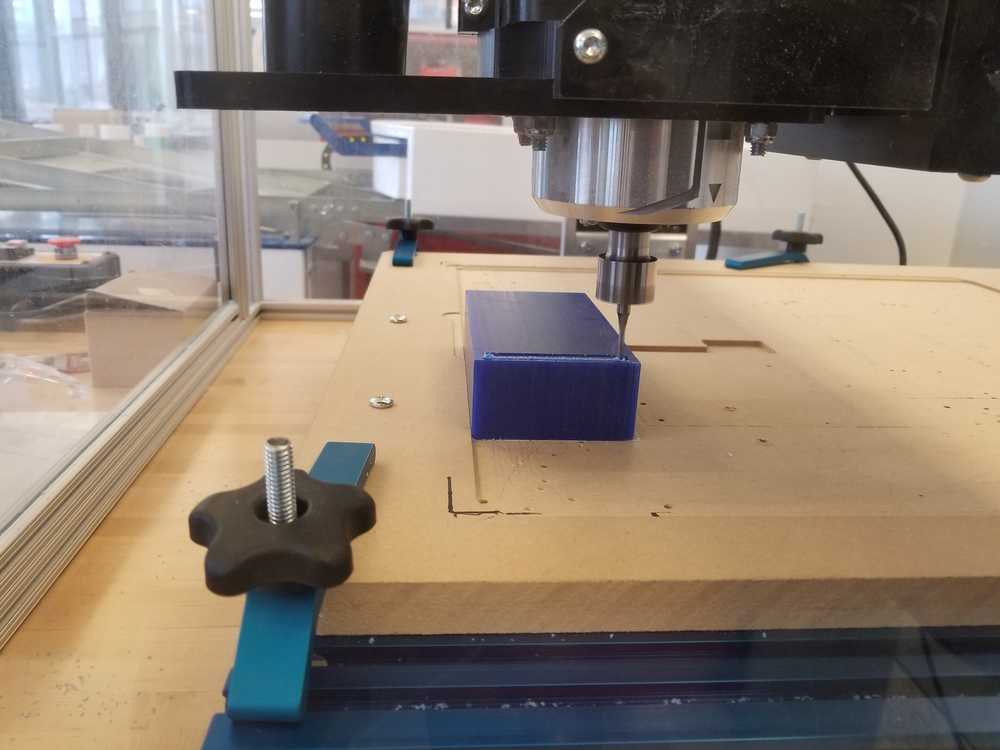
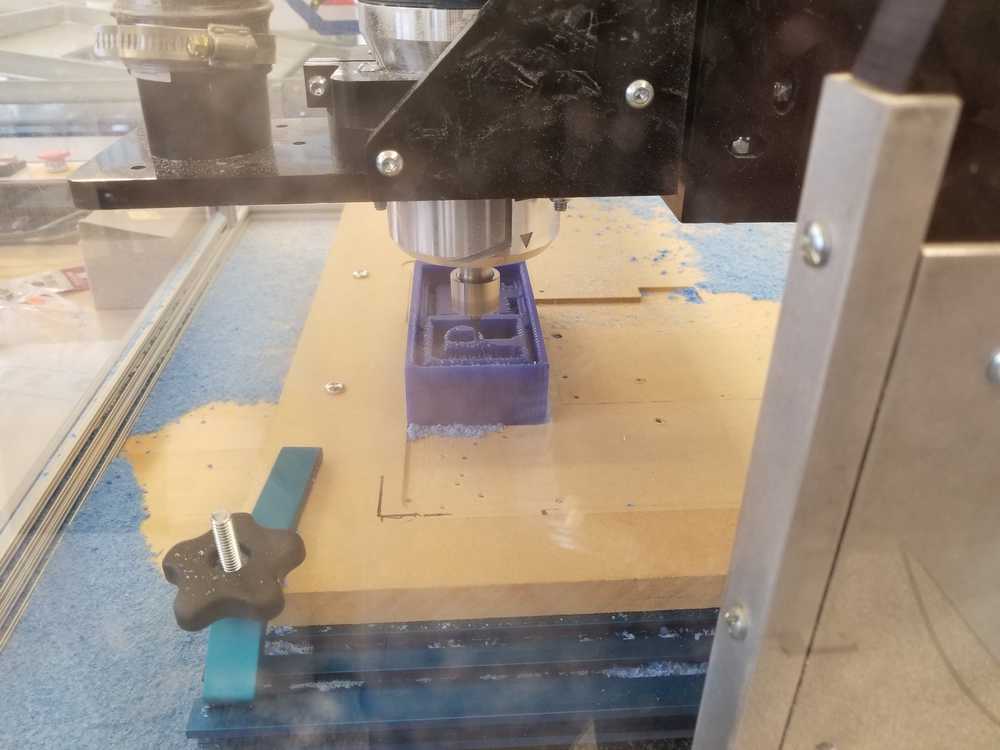
There was some really interesting thing I noticed when I was milling the wax. More on that later if I have time but here is a video of the process.
Casting the OOMOO
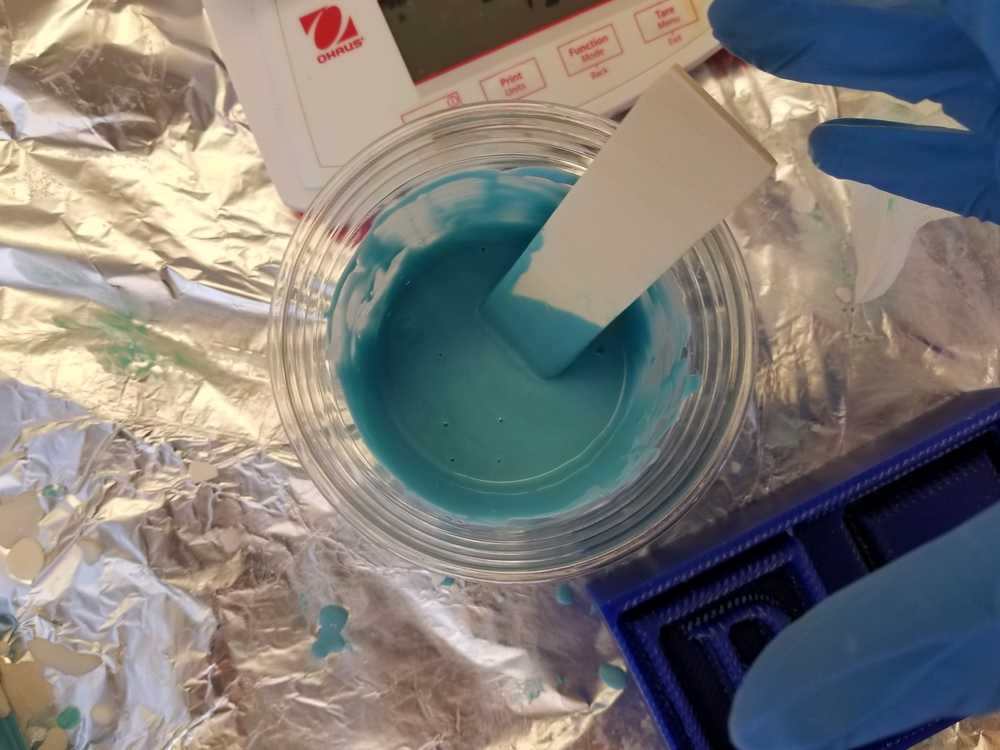
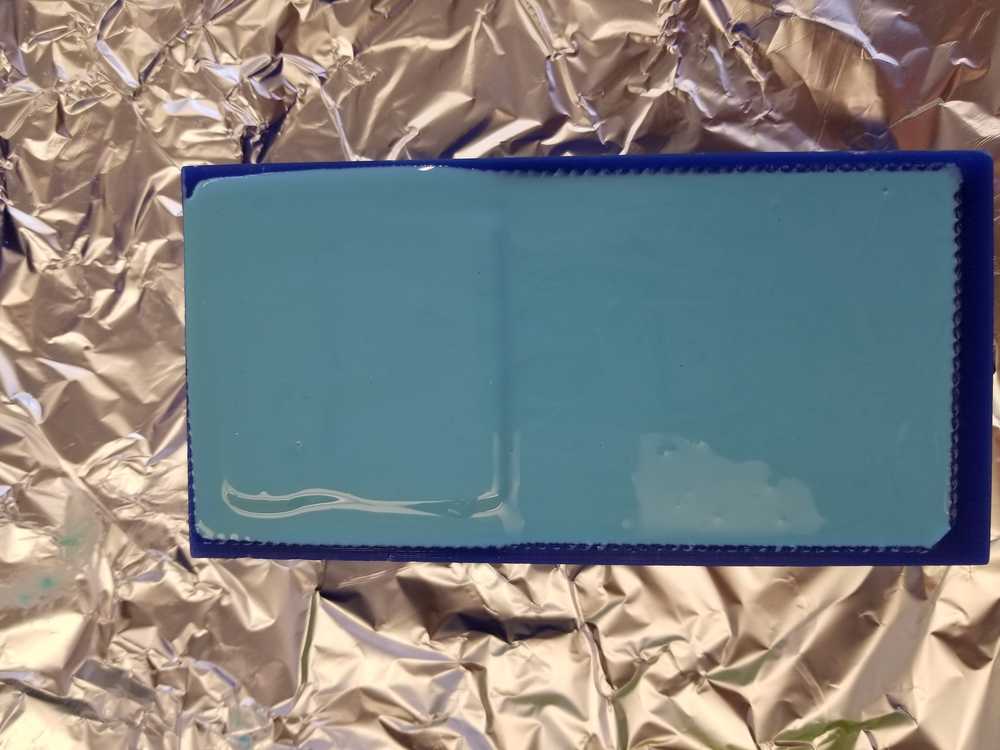
With the wax positive mold ready, I followed the instructions on the OOMOO container and mixed 1:1.3 ratio of Part A and Part B of the resin (by mass) carefully stirred the mixture to prevent any bubbles (shear don't fold). While pouring it into the wax mold I allowed the OOMOO to flow through the mold and kept gently tapping the mold to allow any air bubbles to excape. I also stayed with the mold for about 10 min and popped any bubbles that rose to the surface (probably an unnecessary step since the bubbles that surface would be on the bottom face of the OOMOO mold and hence won't really affect my end product).
Casting Hydrostone
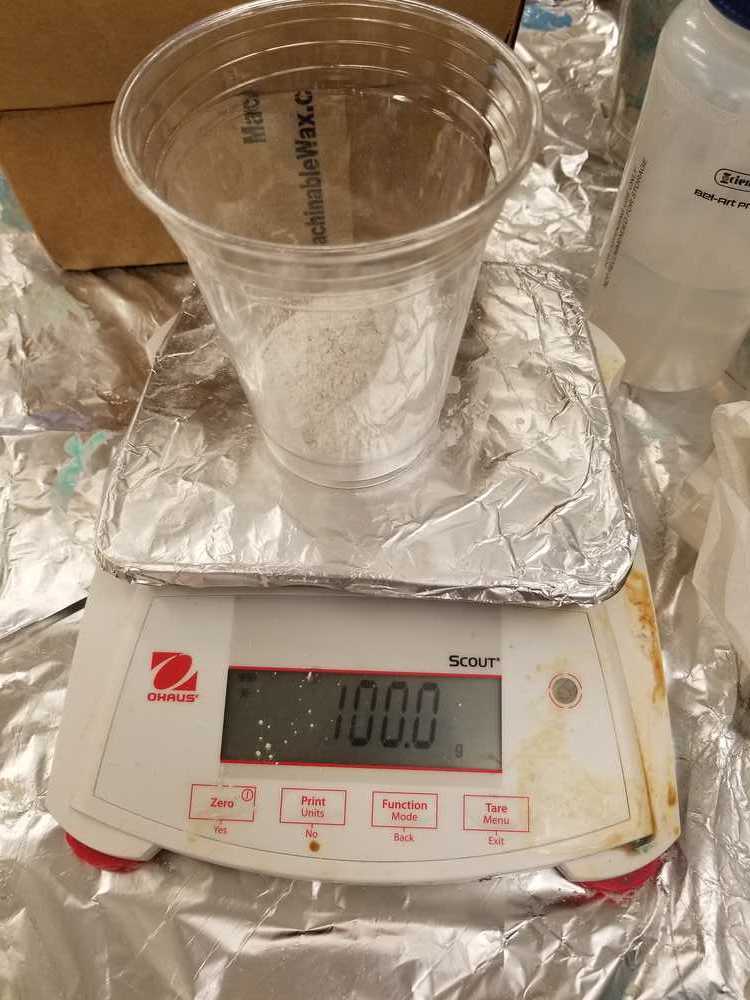
Casting Hydrostone was pretty straight forward, follow the instructions, don't add the water to the powder but always sift/ sprinkle powder into the water and mix slowly. Paster-water suspensions are non-newtonian (as you will feel if you try to mix them vigourosly) so slow gentle motions are more effective.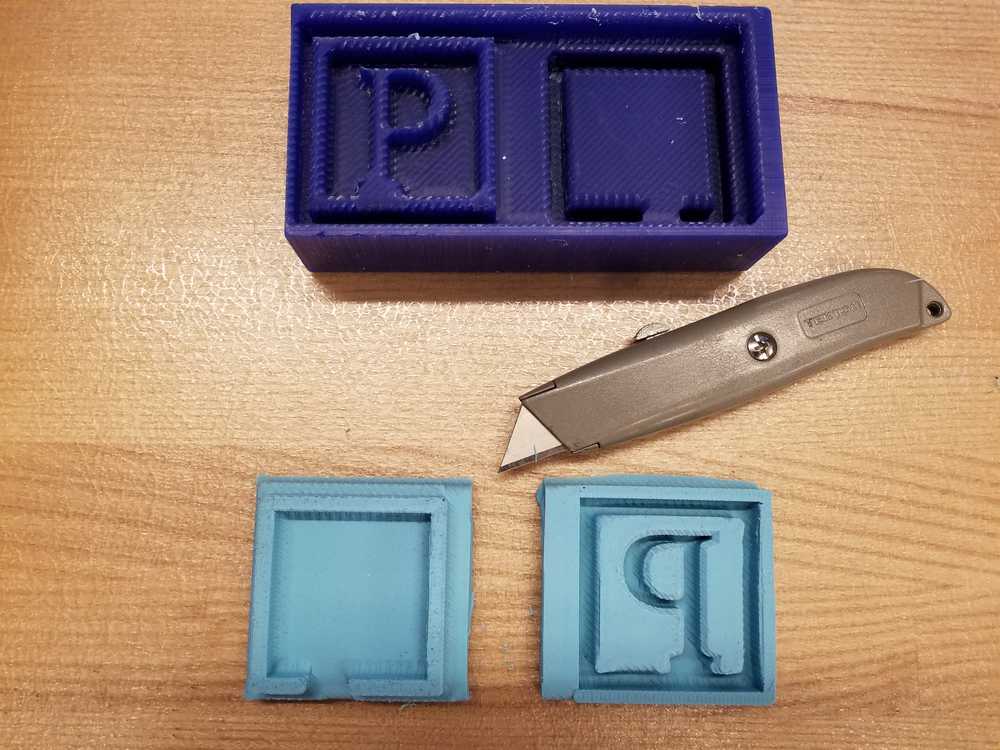
Metal casting
As I was almost done with the cast, my eyes caught something shiny... some metal. So Elliot, Ben and I decided to pioneer a "jugaad" method of casting it, considering we didn't have access to a toster oven or even a reflow oven (which mysteriously disapparated). We started by testing how easy the Bismuth-Tin alloy was to melt. Our first tool of choice was a heat gun at a reworking station. The clamps and set-up at the station helped keep the heat-gun stable. Now this worked if we had a tiny bit of the alloy but it was going to be a very long night, if we wanted to melt significant portions of the ingot. We quickly realised that this was an intersting heat-transfer problem. The hot-air gun could easily go above the melting point of the metal alloy which was ~300F according to the supplier's data sheet. The problem however was the poor heat transfer coefficient of the air. So well, we can't really do much about the h but we could increase the realtive velocity of the air to get better heat-transfer. So we pulled out a big heat gun.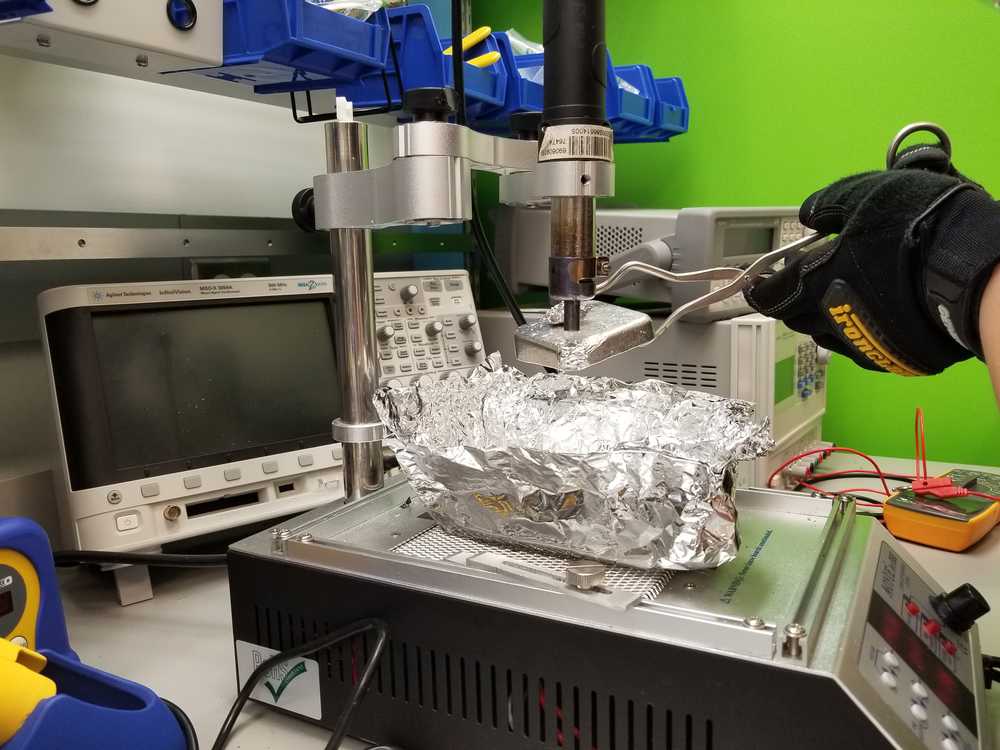
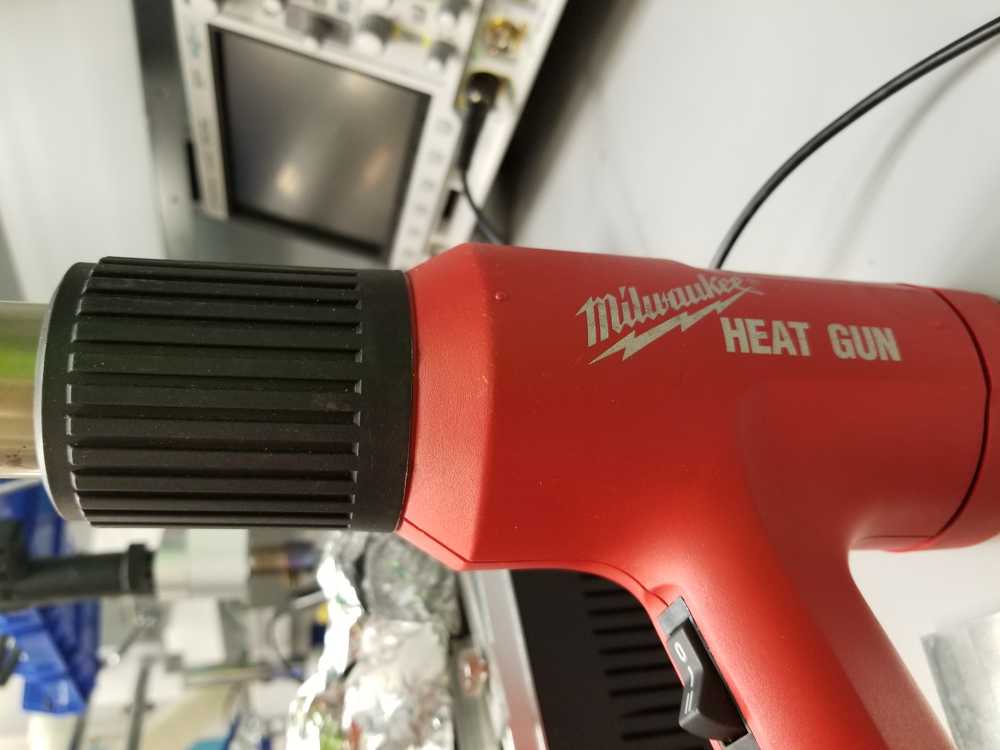

I'm running out of time here, so here's a video to show you how we made the final set up with aluminium plates to provide a raised platfrom, aluminium foil to become our metal casting channel, and the heat gun as our heat source.