SCROLL
finalProject 0000 0001 CAD 0010 cutting 0011 programmer 0100 3Dprinting 0101 elecDesign 0110 makeBig 0111 embedProg 1000 moldCast 1001 inputs 1010 outputs 1011 networks 1100 machine 1101 interface 1110 wildcard 1111 notesfinalProject notes
1000
Molding and Casting
Seeing as this is the week of Halloween I would like to make a festive decoration for my desk.
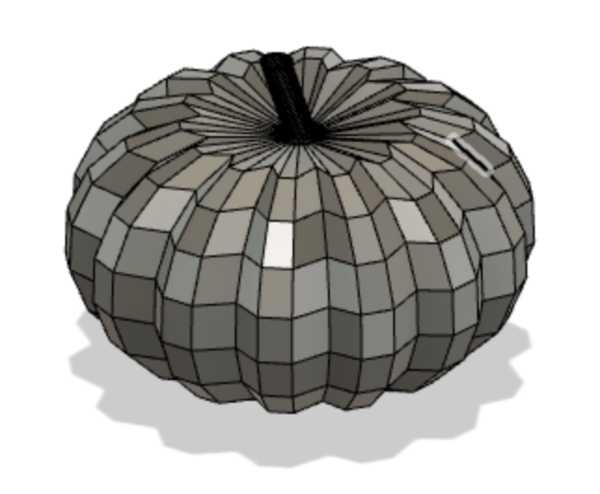
I want to use this week to further up-skill myself with Fusion360 so I'm going to start by drawing a pumpkin in Fusion.
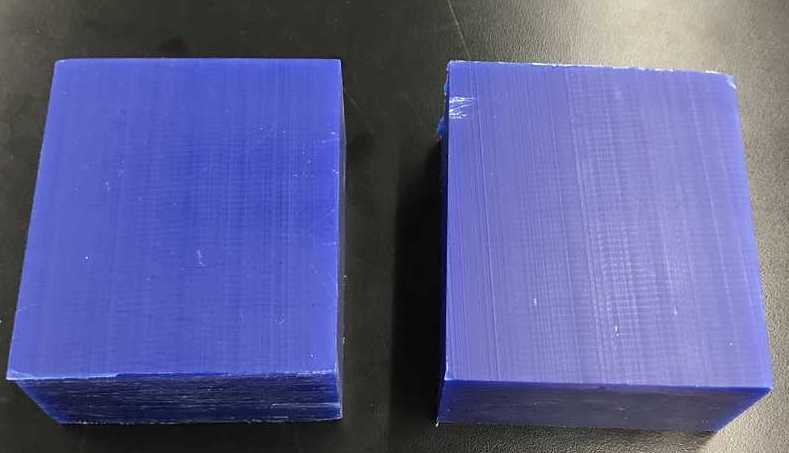
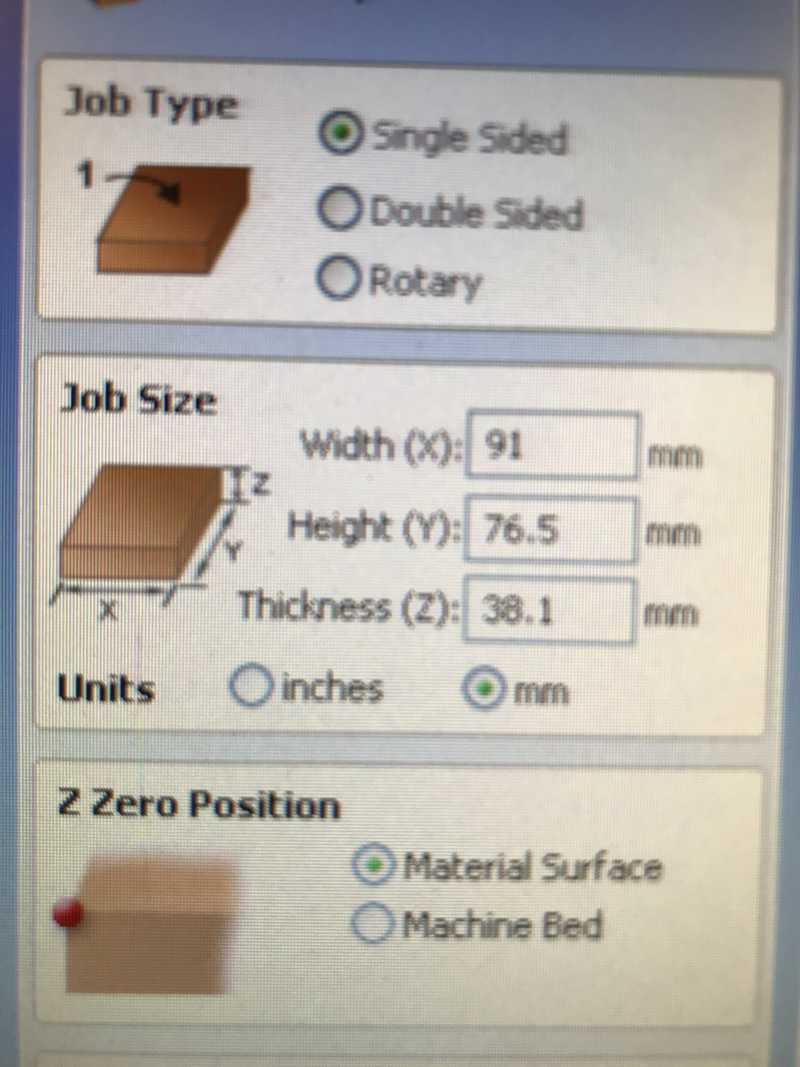
The wax blocks we have to use are 90 x 76 x 38mm. Each half of my design must stay within those dimensions. I.e. I should probably keep both the height and width of my pumpkin under ~60mm
Drawing
Used this tutorial as a guide
- Assemble > New Component
- Click "Sketch" in tool bar, select right plane
- Create (dropdown) > Spline > Control Point Spline
- Draw the outline arc
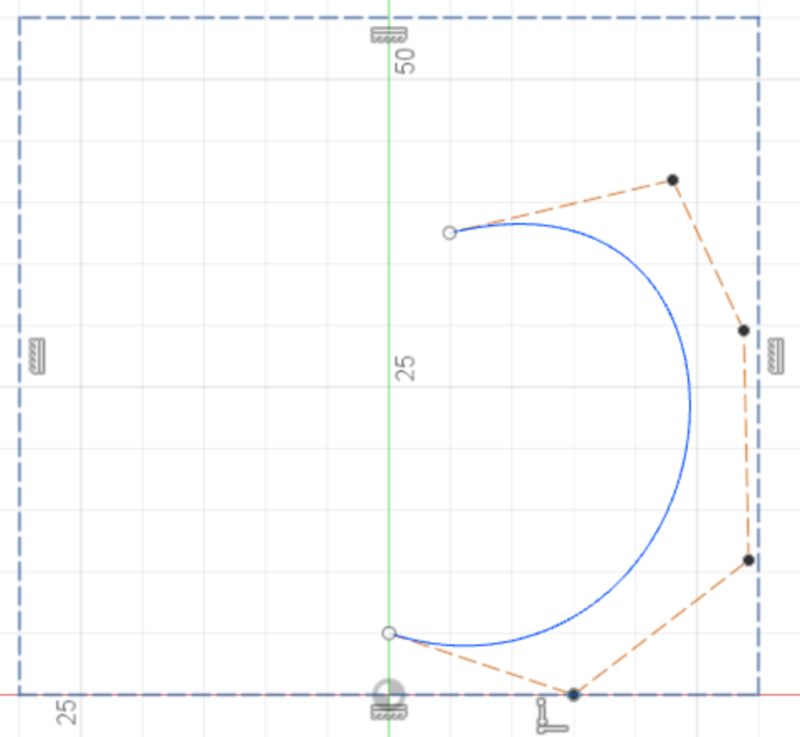
Click finish sketch
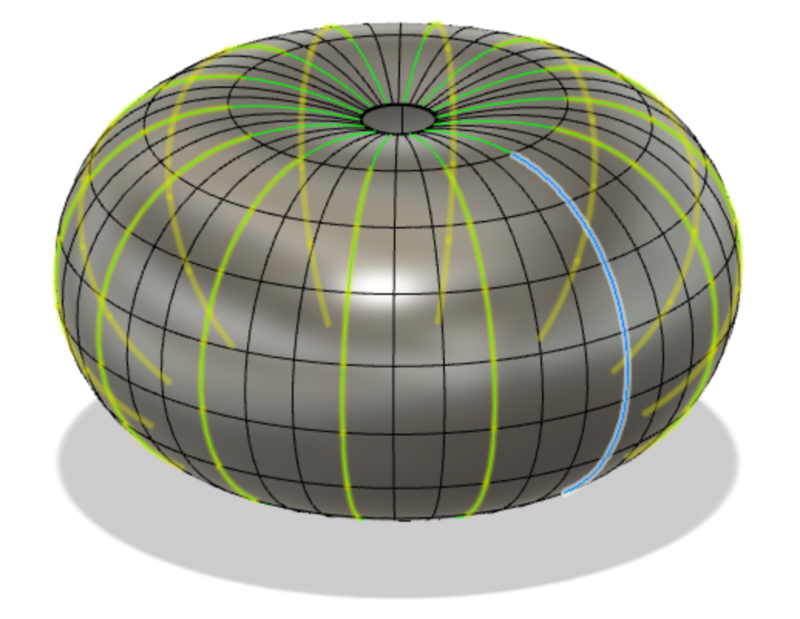
Click Create form
Create (dropdown) > Revolve
- Choose revolve axis
- Faces = 9
- Spacing = Curvature
- Faces = 14
- Symmetry = Circular
- Symmetry Faces = 3
- Click Ok
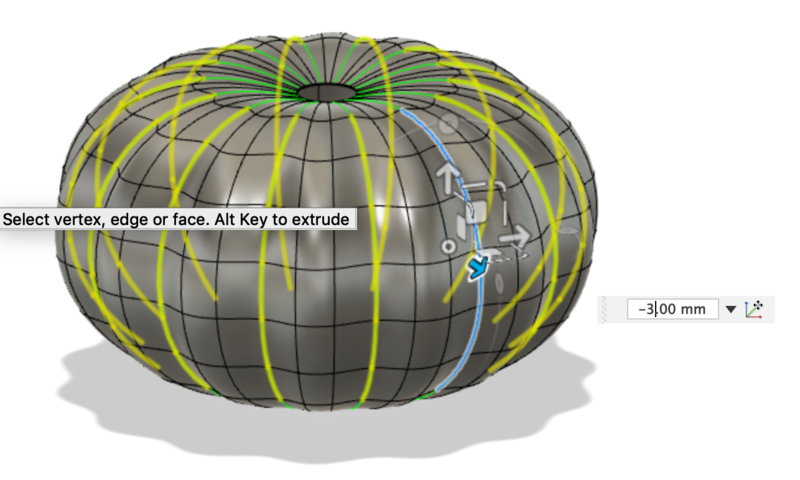
Go to top view
Shift select a (green) symmetry line for the section that doesn't wrap on top of or under the pumpkin
Right click > edit form
- Move in by 3
Symmetry (drop down) > Clear symmetry
Double click on stem hole
Right click edit form
- Click center circle
- Hold option and drag circle in a bit
- Release option and drag circle in a bit more
- Hold option and drag up arrow
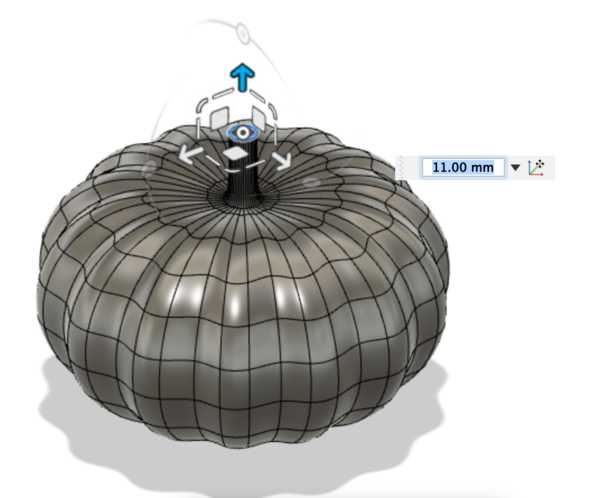
- Use planar direction squares to change angle of stem to your liking
- Click
ctrl+++1to change to box view
Select > select priority > select face priority
Select > Selection filters > select through
Right click > edit form > rotate a bit to give it character
Click
ctrl+++3to revert to normal viewSelect ring at top of stem
- Edit form > hold
optionand scale in slightly so edge is rounded - Release option
- Repeat to close ring in a bit more, release
- Repeat scale but type in 0 and this will close hole completely
- Edit form > hold
Modify (dropdown) > thicken
- Type = soft
- Thickness = 2mm
Click
Finish Formin tool bar
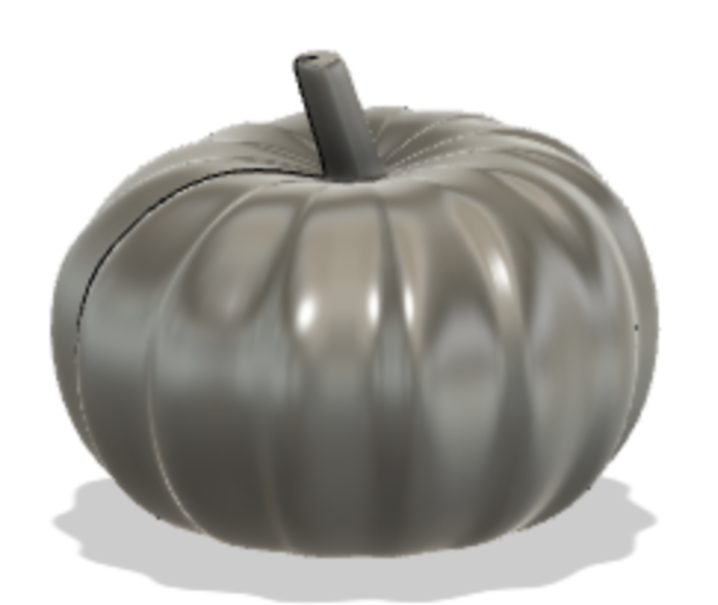
Export as STL
Preparing for Cut
Opening Aspire and setting my material size to that of my wax block
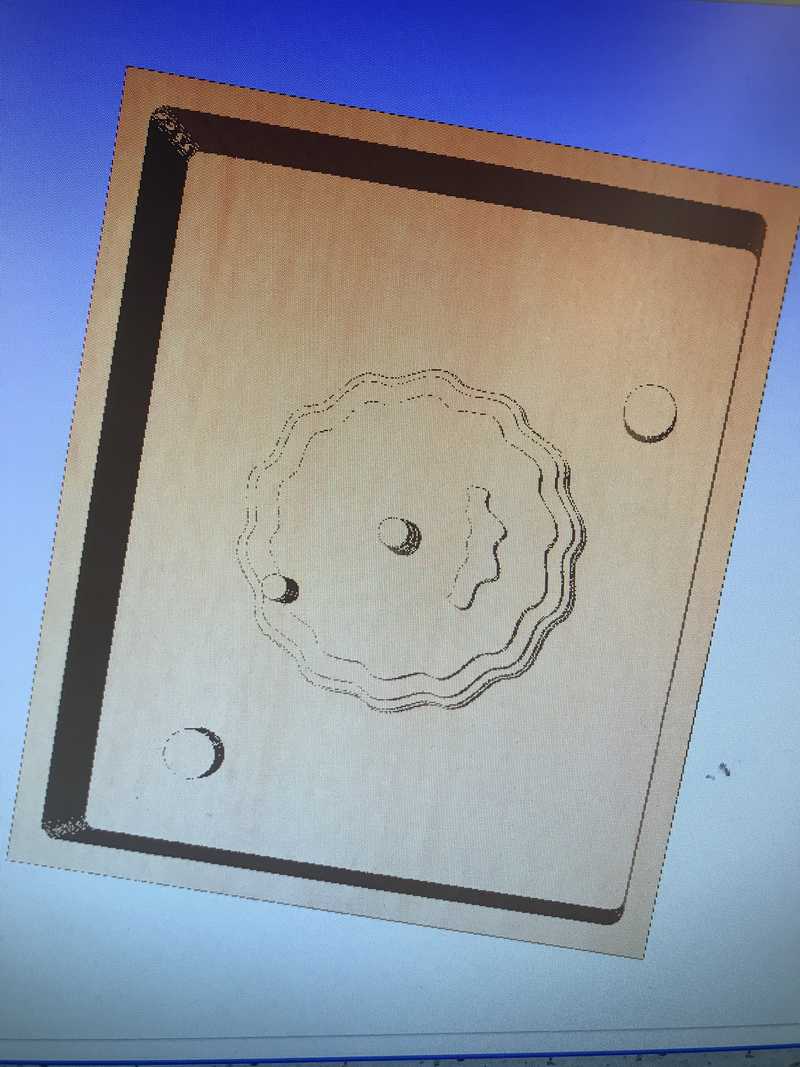
Importing my STL into Aspire and adjusting its size to fit inside the material block
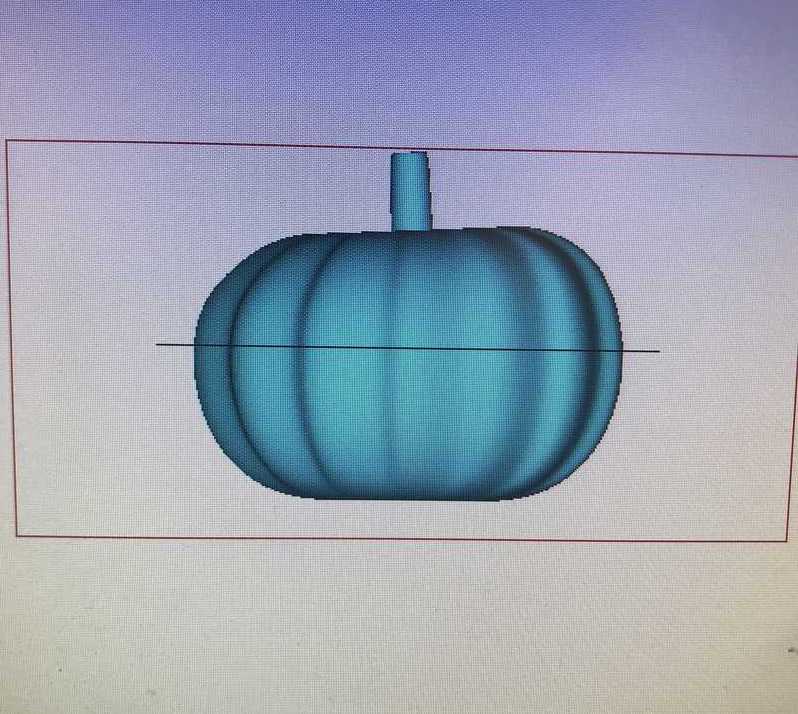
Adjusting location of my pumpkin relative to zero plane using - the pumpkin will be truncated along this plane
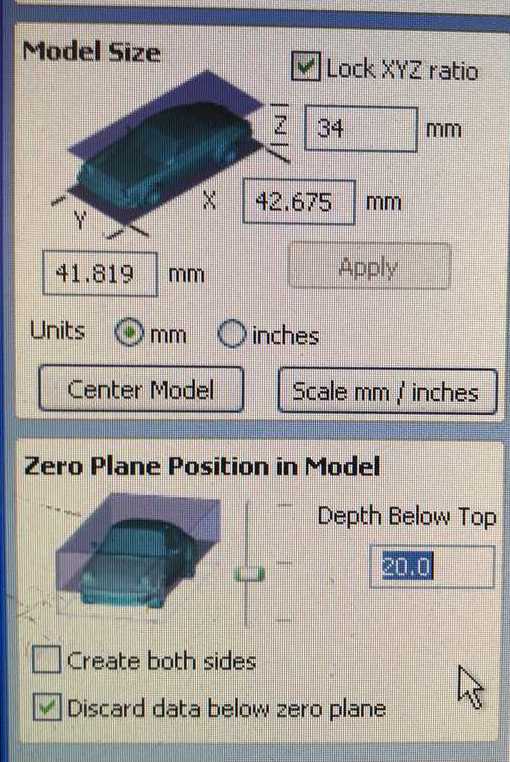
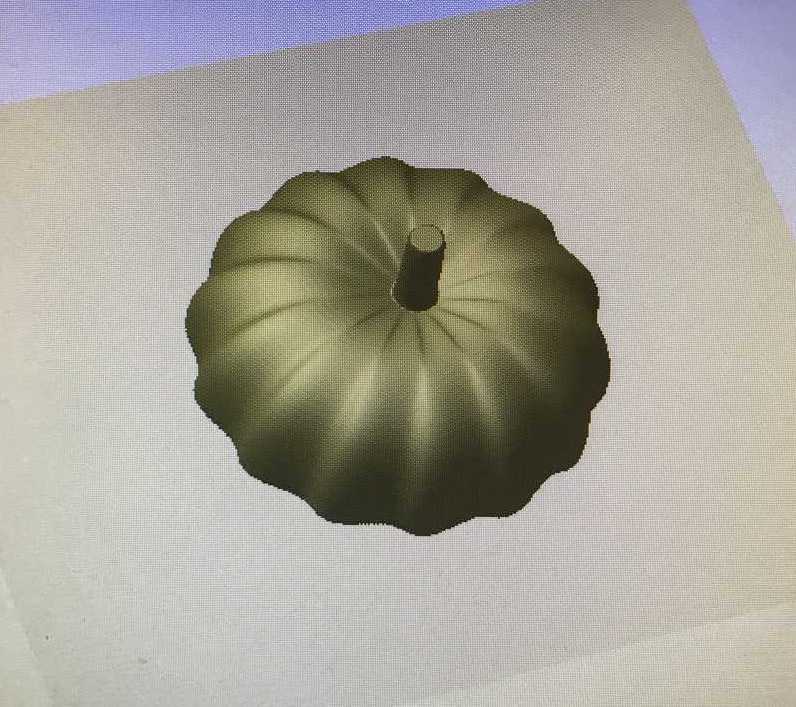
Clicking OK to view truncated 3D model
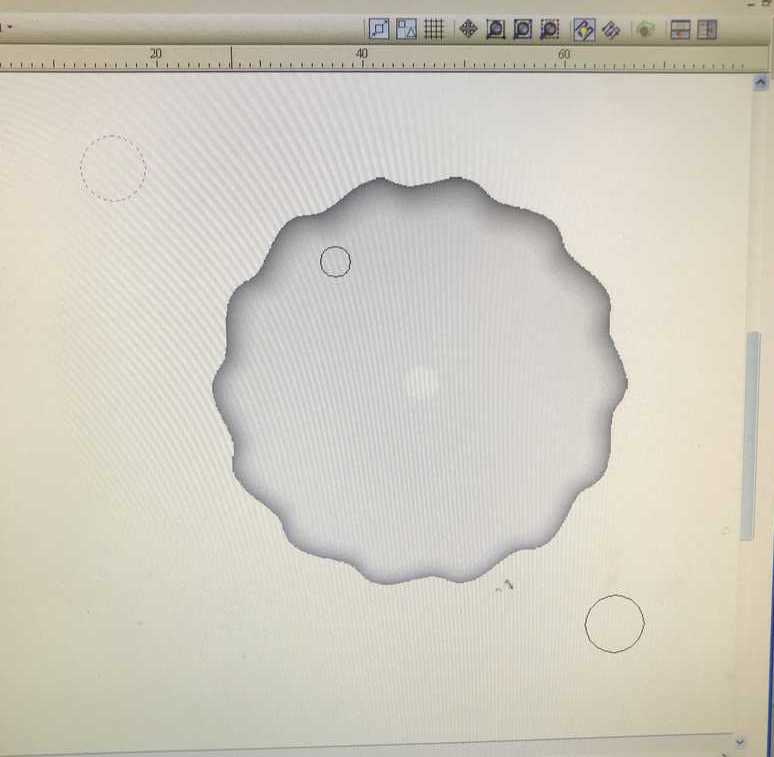
Need to add a vent. Navigating to 2D view page and adding a 3mm diameter circle on top of my pumpkin. On modeling tab I am using extrude tool to extrude circle into an 11 mm cylinder.
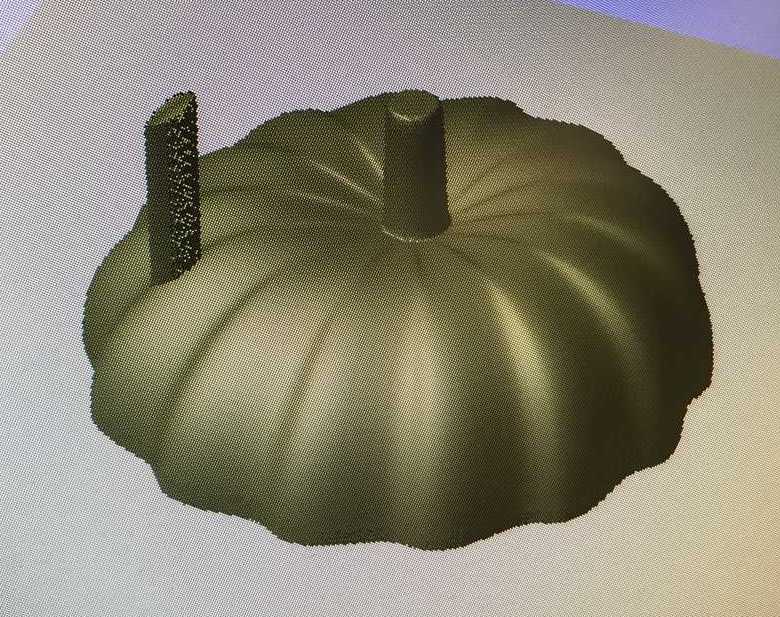
Also going to add two circles in corners of material. These will be depressions in the eventual mold into which I will insert bits of dowel rod to keep the two halves of the pumpkin mold aligned.
Opening up the Toolpaths menu to calculate my two paths. I will need a rough cut and a finishing cut. First I will calculate the rough cut.
I setting a boundary offset for my cuts so that side walls will be left around the pumpkin. These will hold the silicone when creating the mold.
Clicking calculate and previewing tool path.
Saving tool path and repeating process for finishing cut.
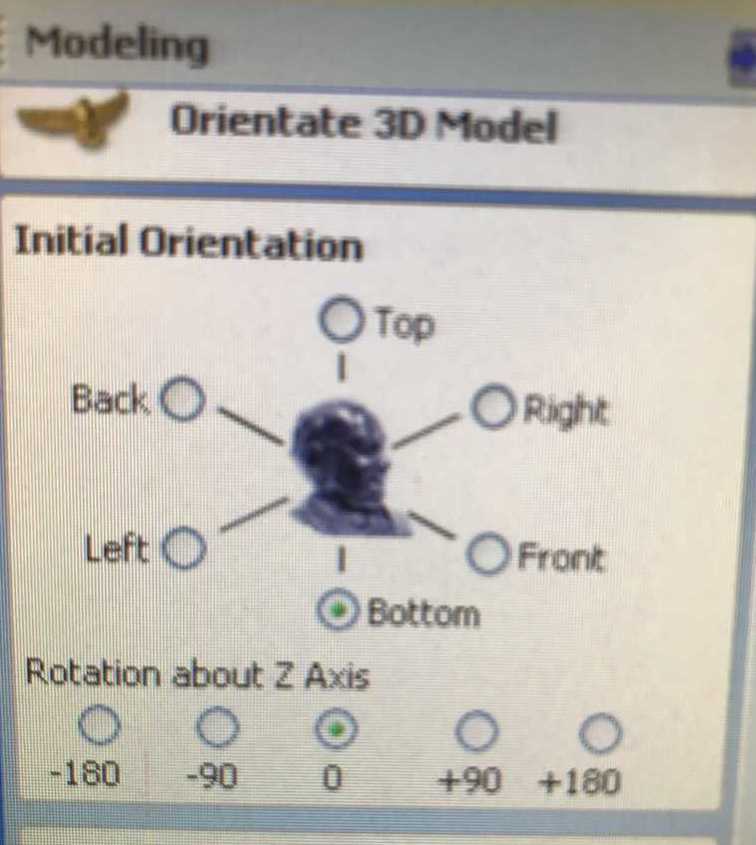
I then repeated the entire process for the bottom half of the pumpkin. The only difference was selecting Bottom just after reimporting the pumpkin STL.
Cutting
Following the cut setup process from Make Something Big week, I started the cut.
Note: This GIF is meant to display the setup, please ignore the shakiness! Your shopbot should NOT look like this when cutting!
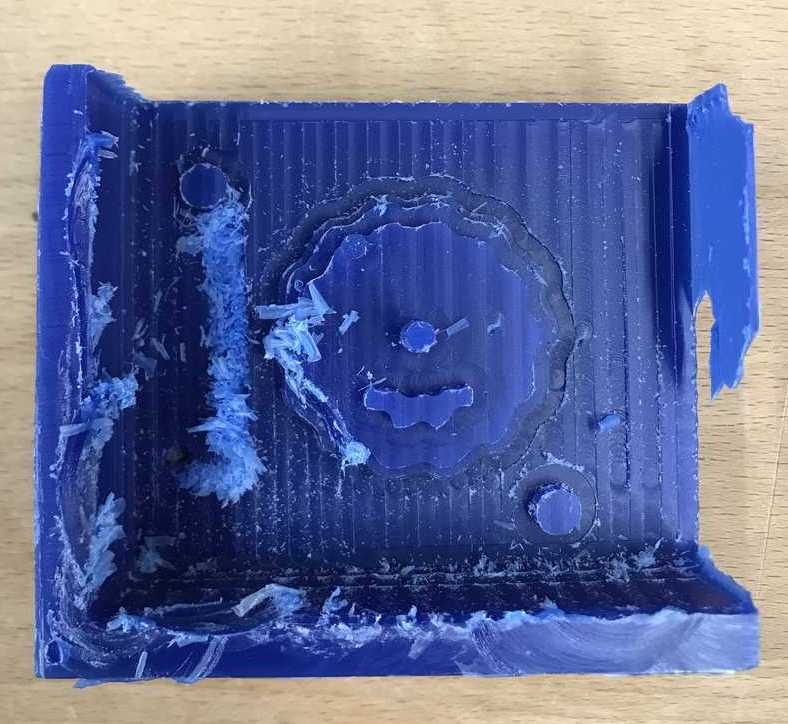
The first rough cut did not go well. Two things went wrong.
- Material size was entered incorrectly (this explains why there are two sides sans wall)
- The drill bit was too high in the spindle collar. The bit could not reach the lowest points of the cut and so the collar began hitting the walls of the wax and ruining the job.
I remade a tool path with the proper material dimensions and made sure to zero the mill bit exactly on the bottom left corner of the wax.
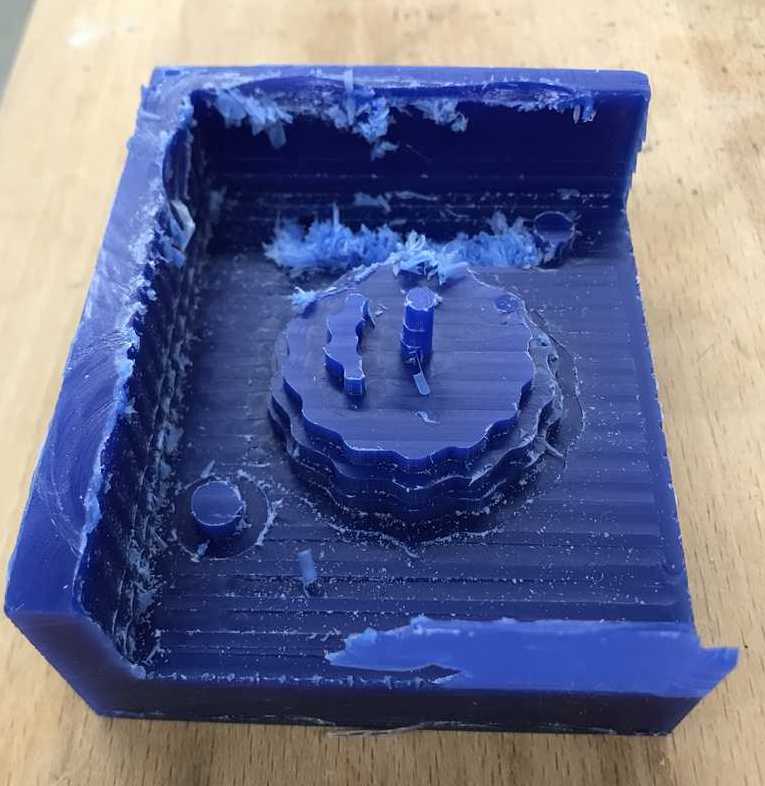
The second attempt was more successful.

I polished the wax with a heat gun, waving it across the was to melt the white flakes.
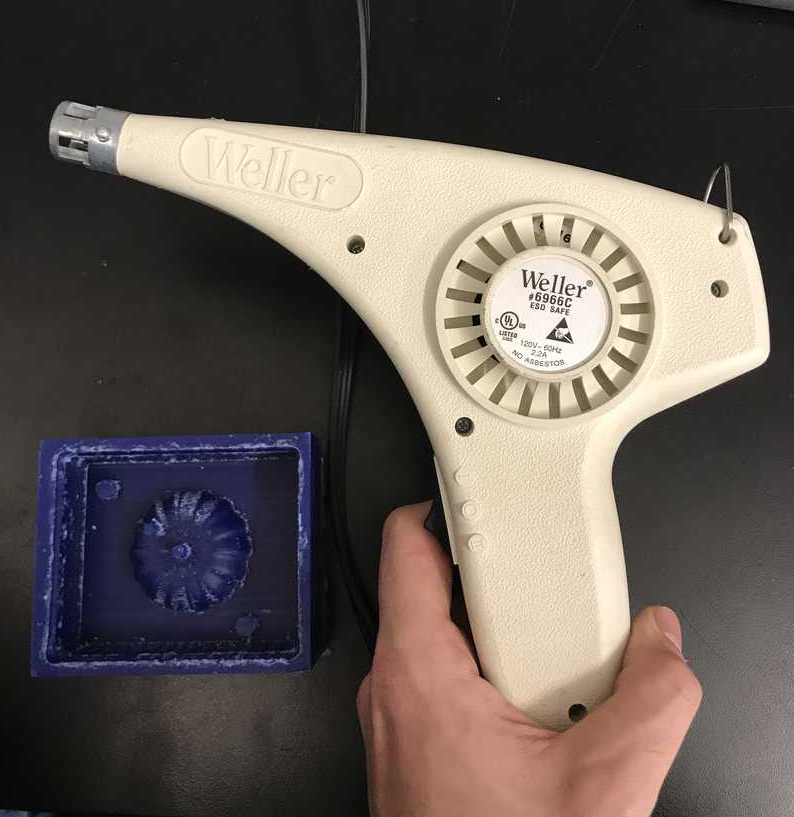
I did the same for the bottom half, but didn't pay close enough attention and melted one of my dowel protrusions

Pouring Silicone
Using Smooth-On's OOMOO 25 Silicone Rubber to make my pumpkin mold.

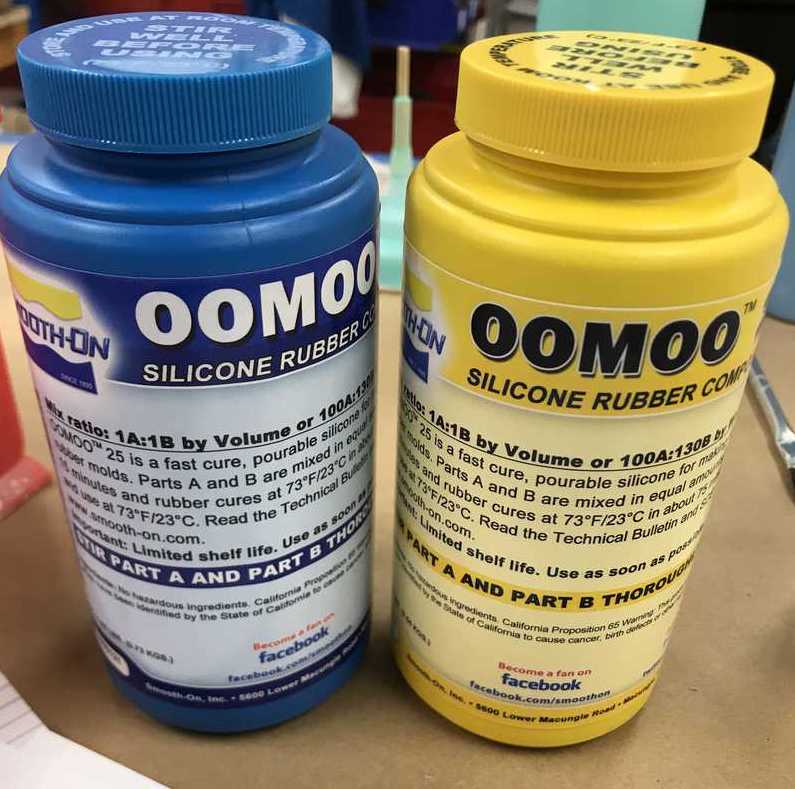
Mixing instructions can be found on Smooth-On's data sheet.
1A : 1B by volume
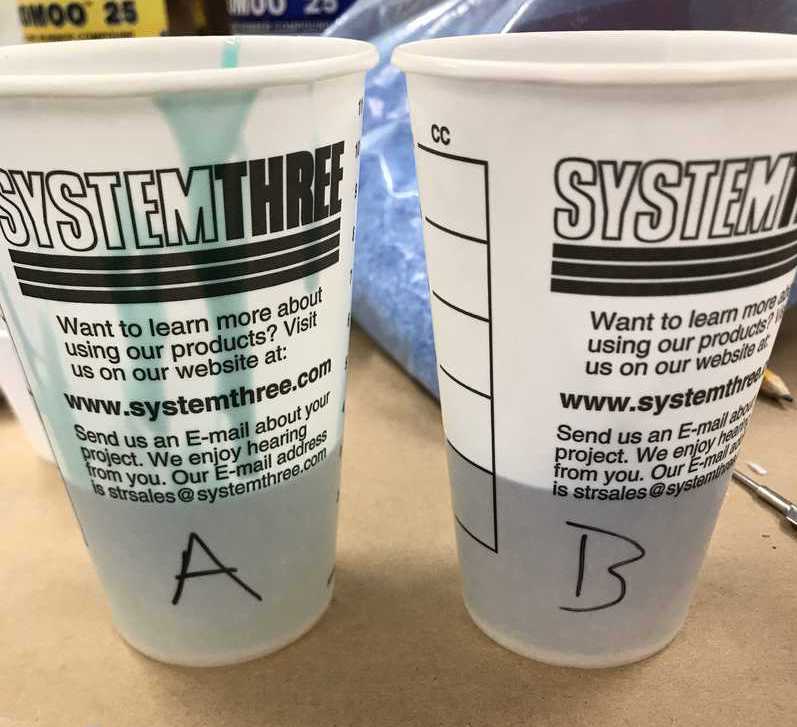
Pre-Mixing
Fully Mixed and poured. Unfortunately, I may have been over zealous with the mixing and introduced quite a few air bubbles into the mix.
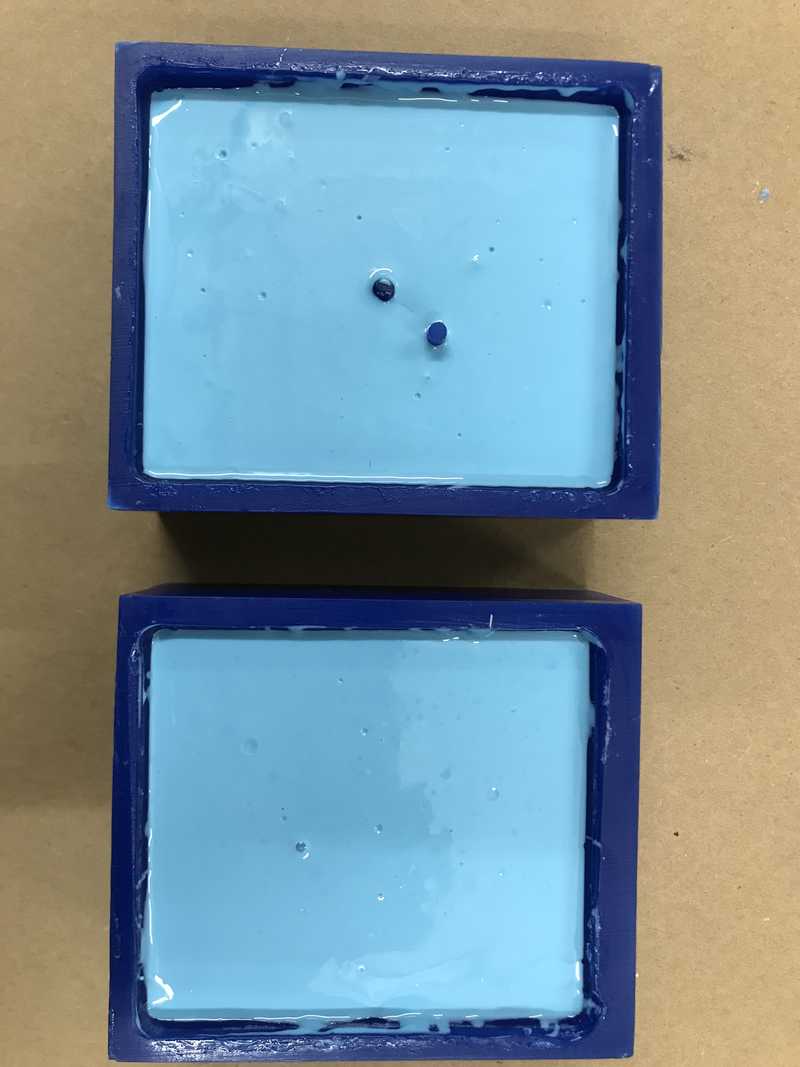
Leaving to set overnight...
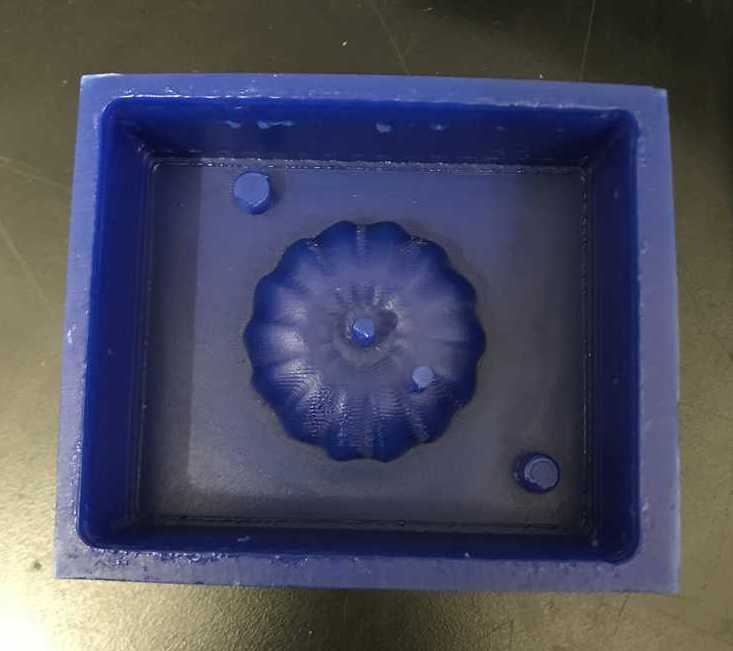
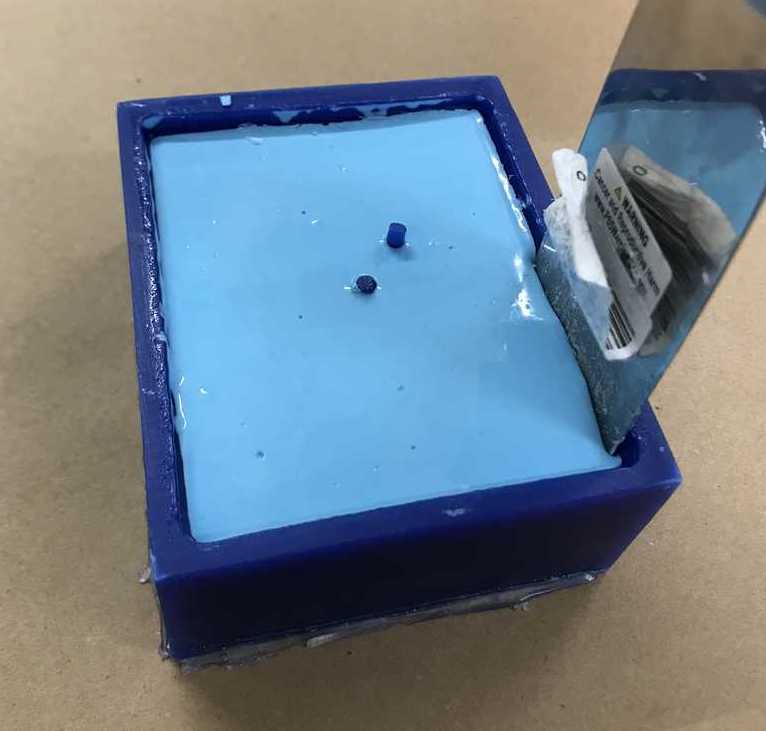
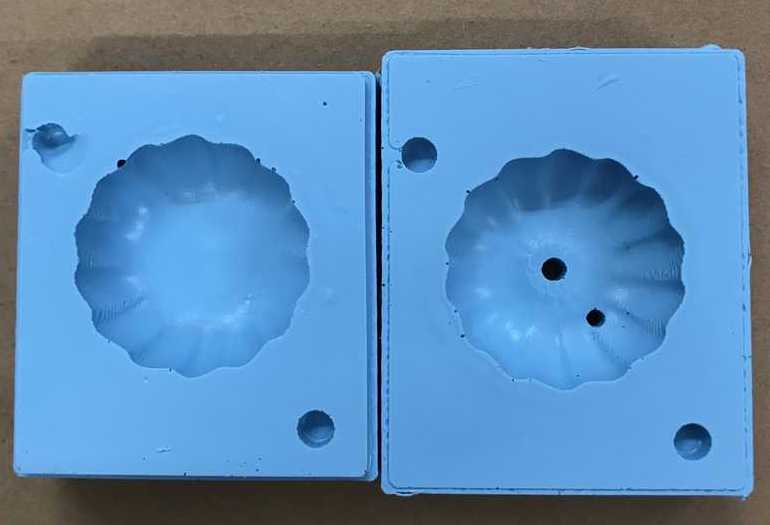
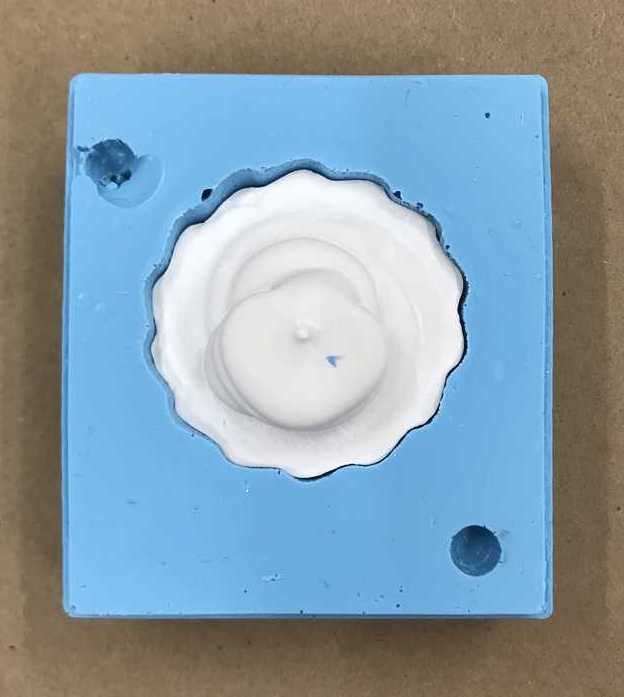
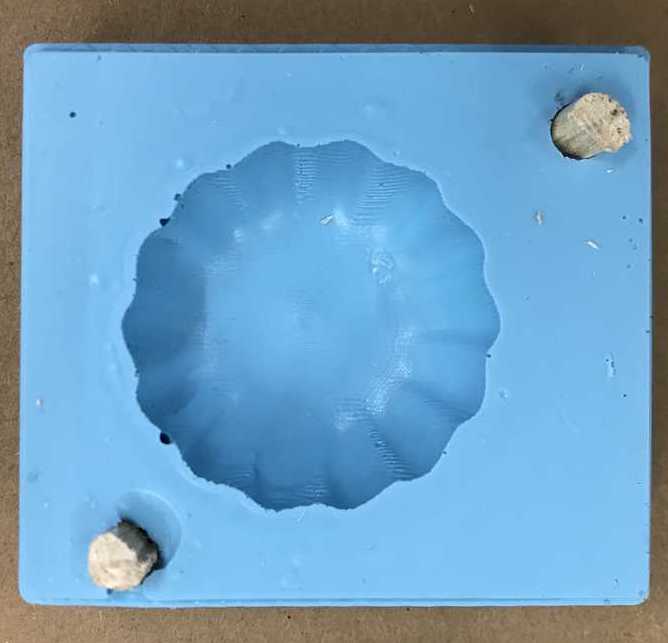
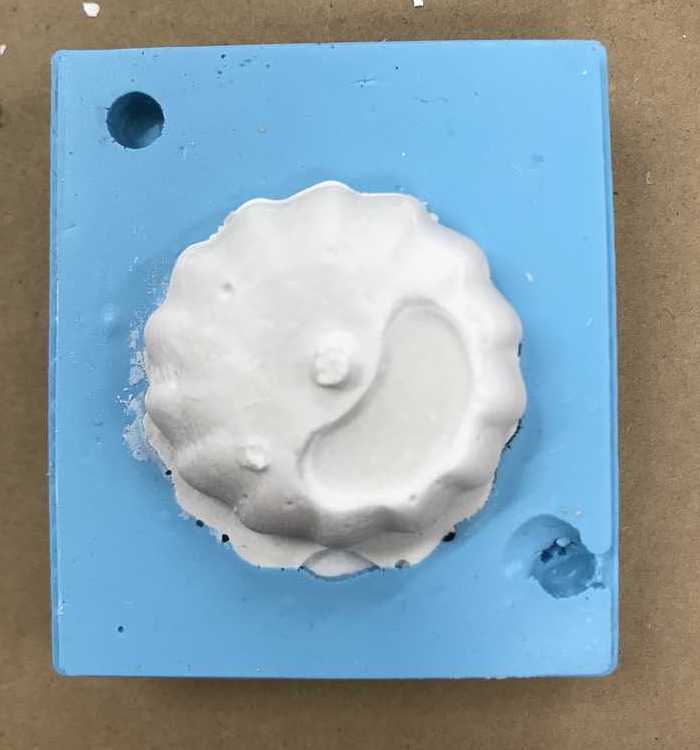
Removing silicone mold:
Casting
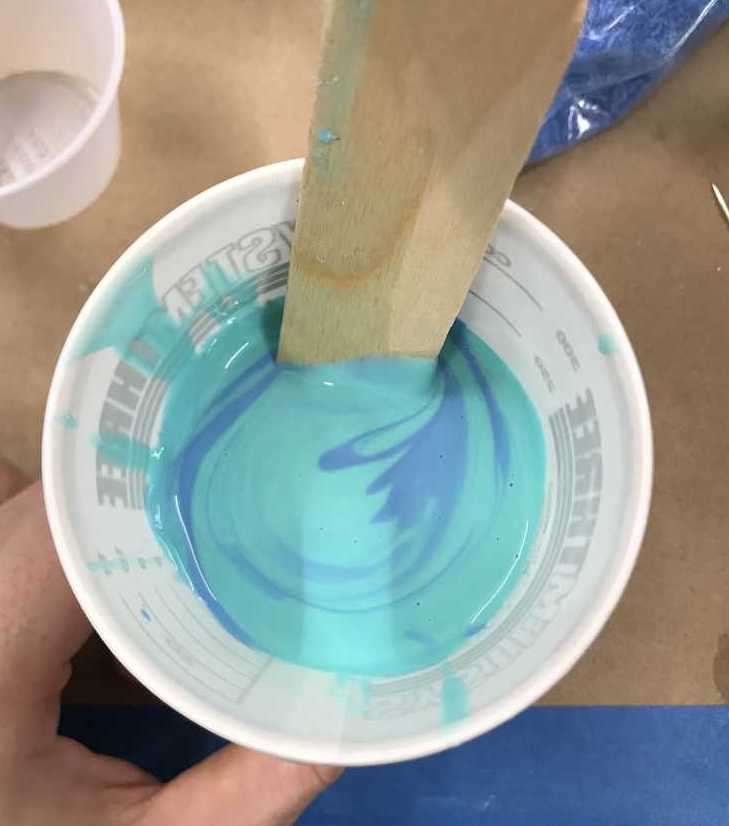
I'm going to cast my pumpkin in drystone.
The recommended ratio is 32 parts water for every 100 parts powder by weight
The official instructions advise slowly sprinkling the powder into the water. I found this to be quite effective as the powder is mostly soaked by the time you start mixing.
I first decided to eyeball the volume I would need to fill the mold. This didn't end up well as I only had enough to fill half the mold.
I encountered another issue. The depressions meant to hold the dowel bits for keeping the mold aligned were on the opposite sides. I forgot to flip their location in Aspire for each half. Another solution would be creating 4 holes evenly spaced.
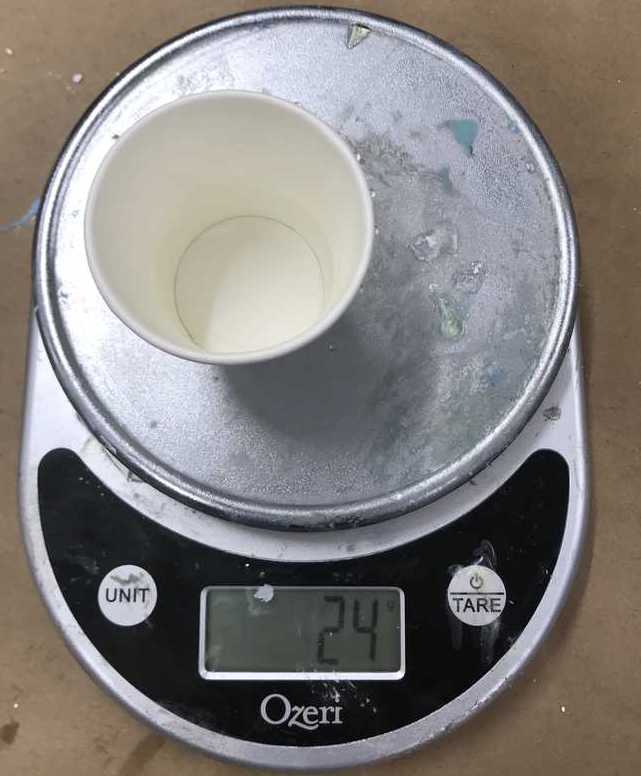
Second Attempt
Measure out triple the amount: 24g water, 75g powder

This was how the dowels were supposed to work...
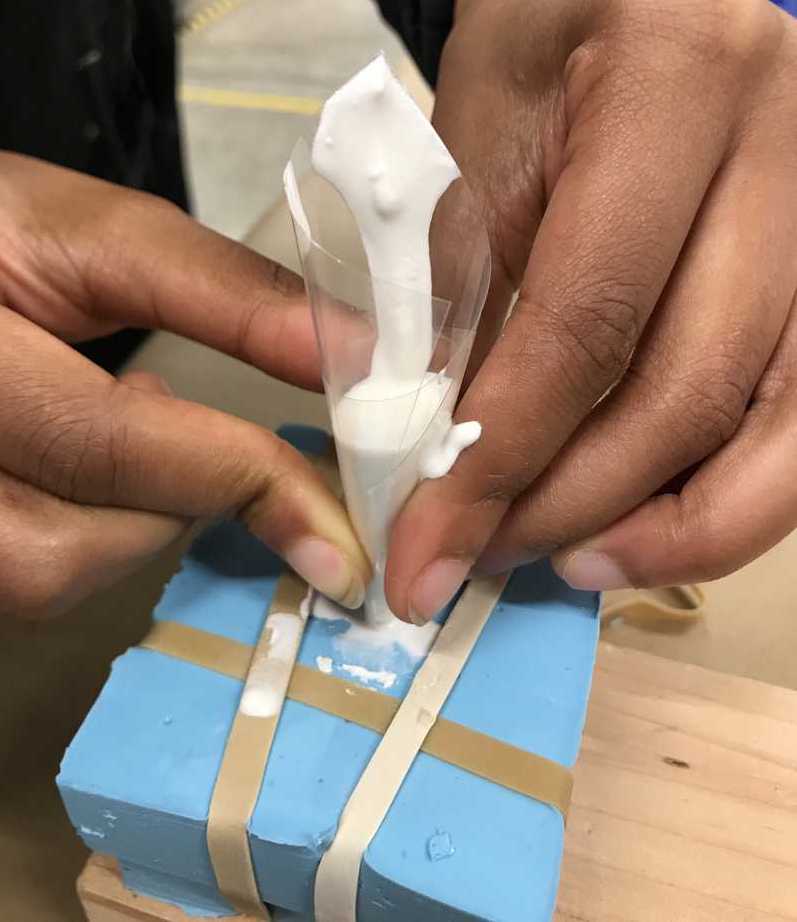
Because the holes did not line up and I didn't want to waste this mold, I decided to eyeball the alignment and hope that it didn't move while the drystone set. I used rubber bands to hold the halves together, which, in retrospect, I should not have done as they slightly deformed the mold.
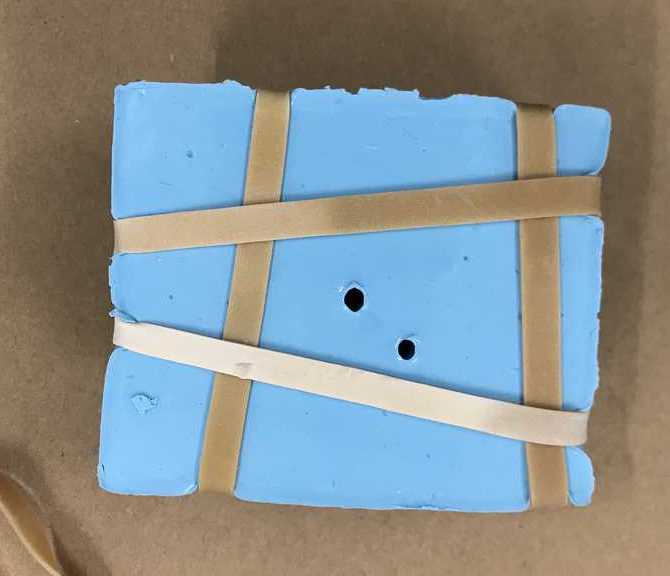
I made a makeshift funnel out of some waste plastic sheet and used a chopstick to jiggle the drystone mixture down into the mold.
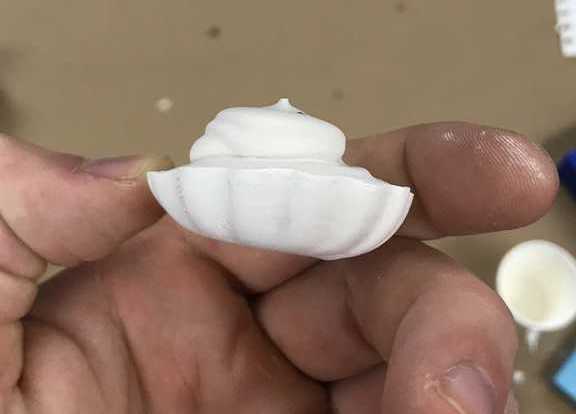
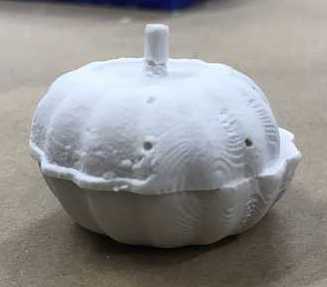
Final product
Reflections
Next time:
- Make 4 evenly spaced protrusions in Aspire (for the dowel connectors)
- Mix more silicone/dry-stone than you need just in case
- Be more careful when "polishing" with heat gun
- Make funnel that is substantially wider at the top than the one I made. I still had to be relatively cautious with my pour
- Mix and pour quicker (the dry stone mixture became too stodgy to pout after ~10 min)
- Use a flat faced clamp/ vice grips to hold the mold together to limit the deformation of the silicone.
- Create a second vent in the mold to release air that might not be able to reach the vent that is currently there
- Mix silicone in a way that doesn't fold it over, thereby trapping air and leaving air bubbles in the mold
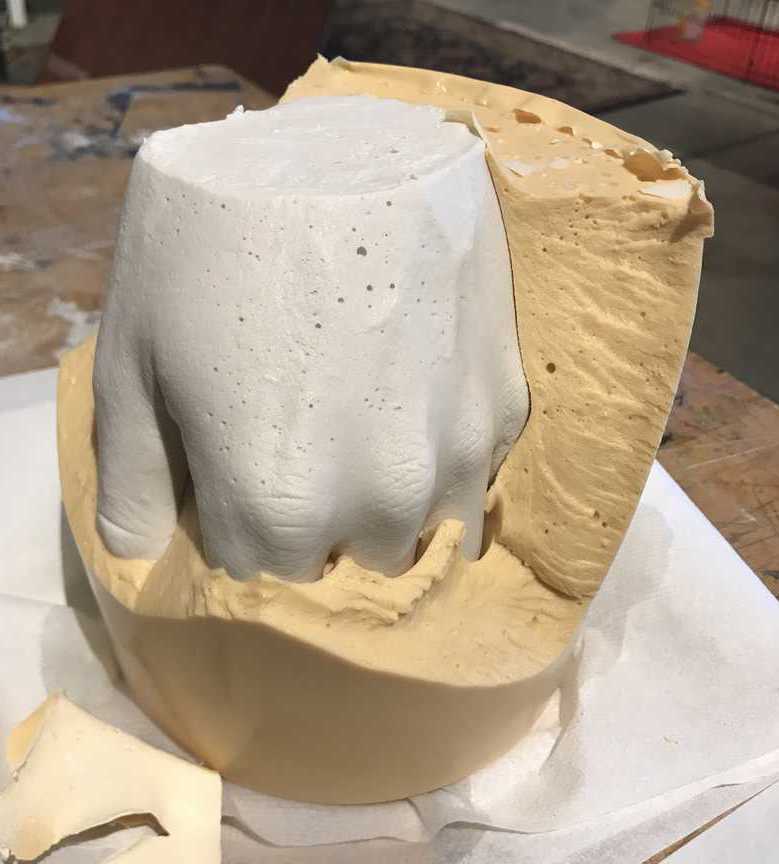
Extra: Life Casting
Thought I'd play around with alginate and make a one-use mold of my hand:
I first coated my hand in a thin layer of vaseline and and held it still in a tub of alginate mixture for 10 or so minutes.
I carefully removed my hand and poured in the unset drystone mixture
Left it for about 24 hours
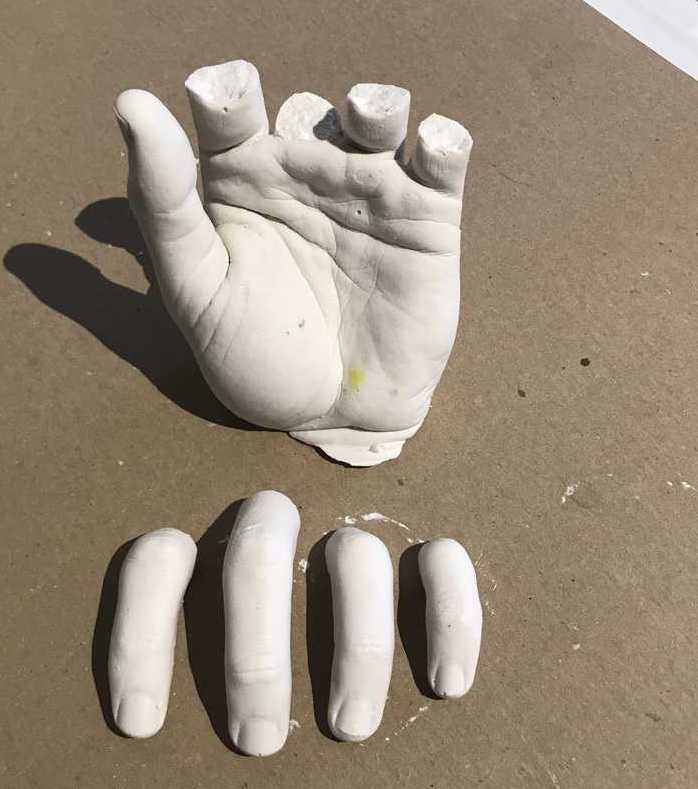
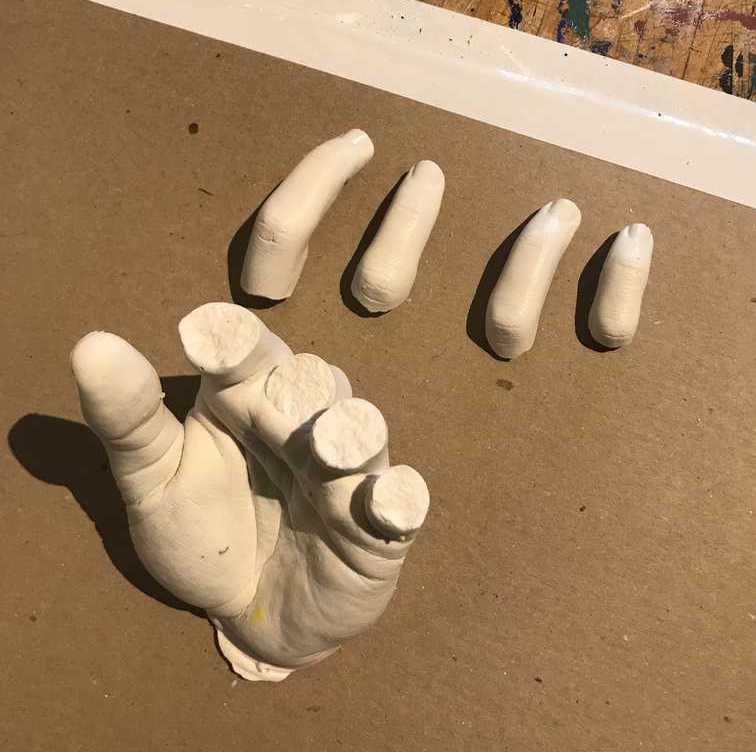
Then I removed chunks of alginate by hand in order to free the cast.
Unfortunately I broke the fingers off in this process...