Week 6: Molding and Casting
Project Inspiration
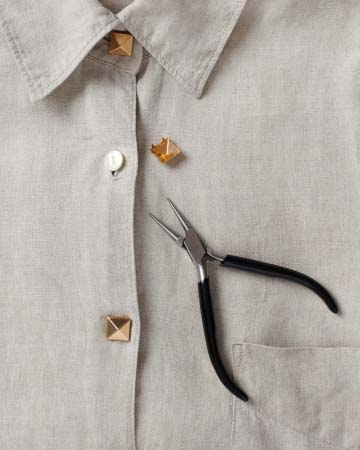
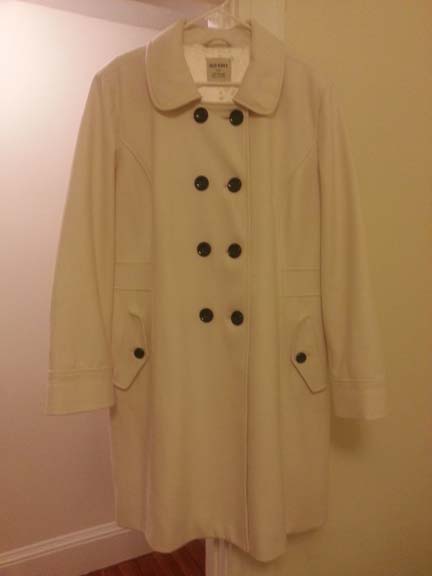
This week's assignment was inspired by our lady of crafting and entertaining, Martha Stewart. Specifically, her craft for Studded Button Shirts. This involves putting pyramid nailheads over the buttons on a shirt, bending the little feet back with pliers, and living your life like the unmitigated badass you are. I wanted to do this to a winter jacket of mine, and thought of it the last day of the 3D printing assignment. But by that point it was too late. And though nailheads can be found as large as I need, it's of course more fun to cast your own!
Molding Rigid Buttons
The nailheads Martha suggests are clearly not cast. They are likely shell molded to cut down on weight, material used, etc. The nailheads also fit over buttons, leaving the original buttons intact. I was less comfortable with this because my buttons are large, and I wasn't sure I could mold such thin pieces. And since this is a molding assignment, so I decided to a mold an entirely new button.
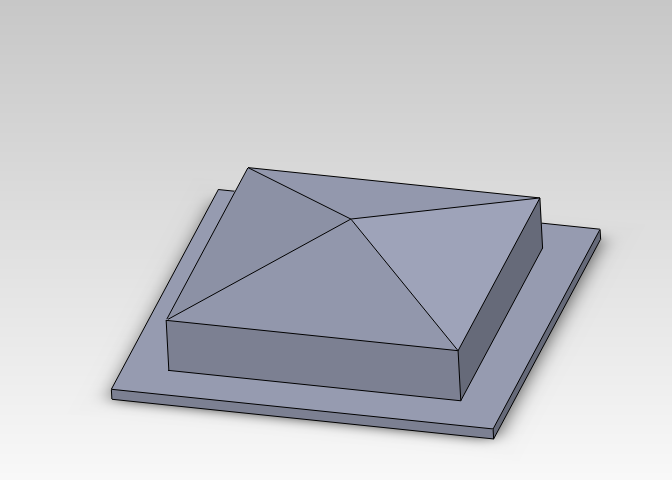
Most buttons have two or four thru-holes, and you can see the thread from the front. Decorative buttons often have one loop in the back, so the front is unmarred by thread. But this also makes them flop around a little, which I dislike. So I decided to have two pieces - one with four thru-holes that ties onto the jacket, and another that fits on top of it. I modelled them in SolidWorks below
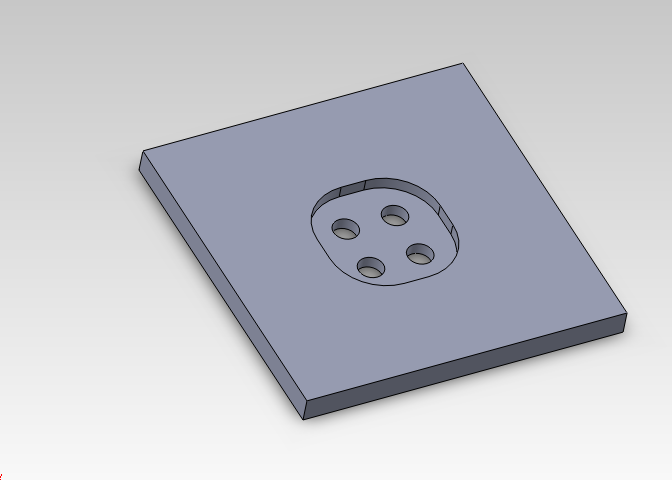
Inset allows for thread thickness, no bulge
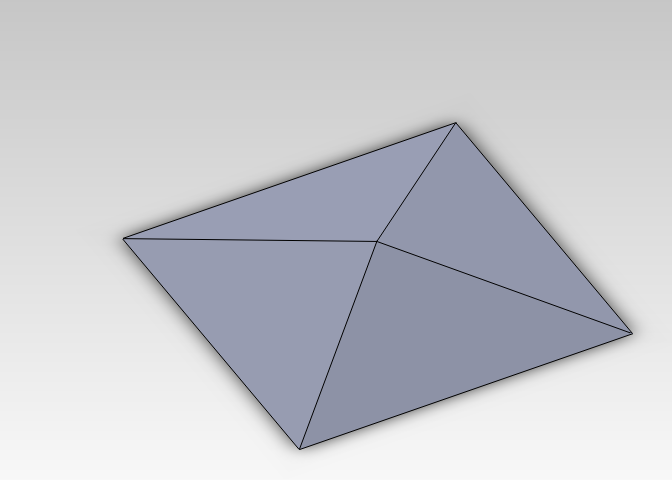
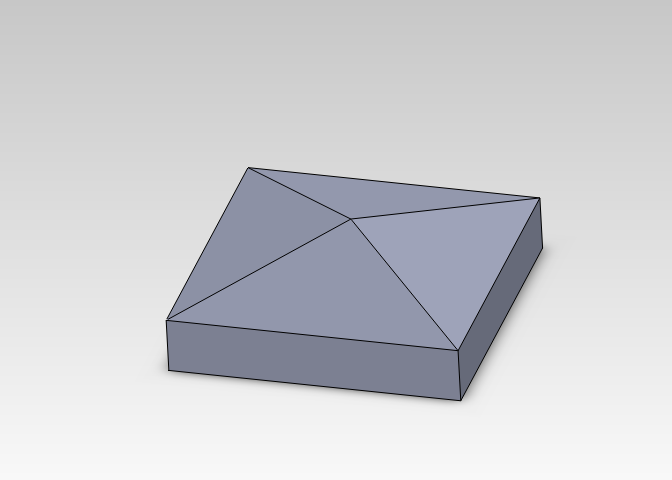
Top is a pyramid stud
I imported the .stl files into the fab module, which created the .png file. However, I had trouble getting it inset correctly. I feel more comfortable with SolidWorks/CAD than I do with 2D images, so here is a mechanical engineer's guide to getting the best results from the modela:
Modela Wax Milling for CAD Monkeys
- Make CAD model of what you want in solid works
- Add a bottom, for the outline
- Add sides up to where you want the top of the wax
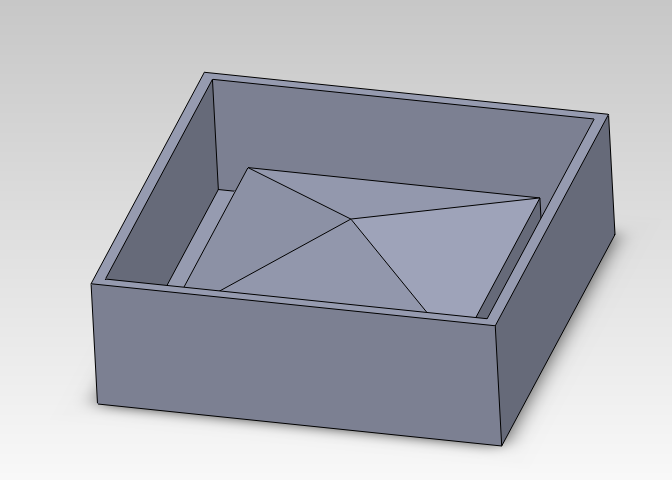
- Import into fab module, toggle direction until you find the one you want
- 3D settings: top is '0', bottom is whatever you designed for (less than the lead of the tool, of course)
The molds turned out well with these steps, but the pieces were underwhelming. I molded them with Liquid Plastic and the Hydrostone. It was difficult to get a flat surface without a two-part mold, and without a two-part mold, there was a lot of flash that was hard to get off. By this time, I had also decided to change course and make a flexible part that covers the button instead of replacing it.
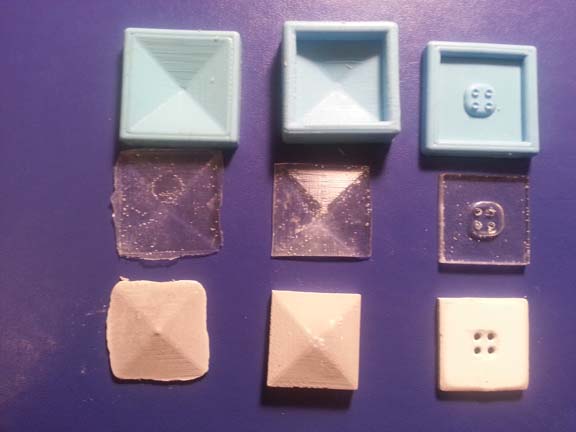
Clear Plastic has lots of air bubbles
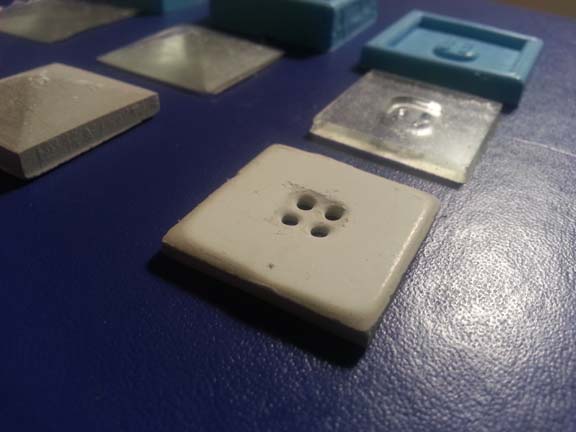
Difficult to get a flat surface without a two-part mold
Molding Silicone Button Covers
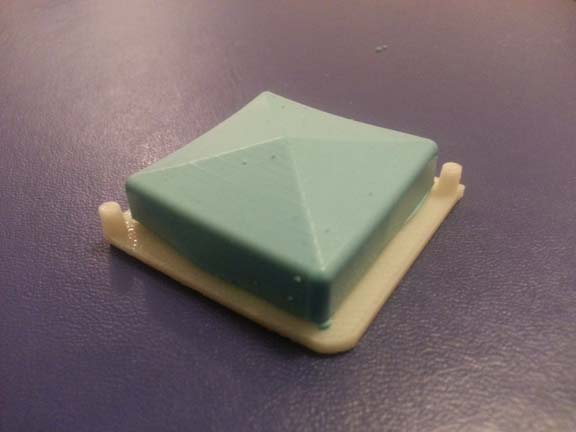
I wanted something that could easily be taken on and off, like a skin. So I decided to make these out of flexible silicone that can be bent around the button to go on. These would come from a two part mold. One part would be the cavity showing the front part of the button (in this case a pyramid), the other would mimic the button and how the silicone would hug around it. This means that I can reuse one side of that mold any time I want to make a different cover for it - I only need to change the bottom part of the mold (what the outside of the cover looks like
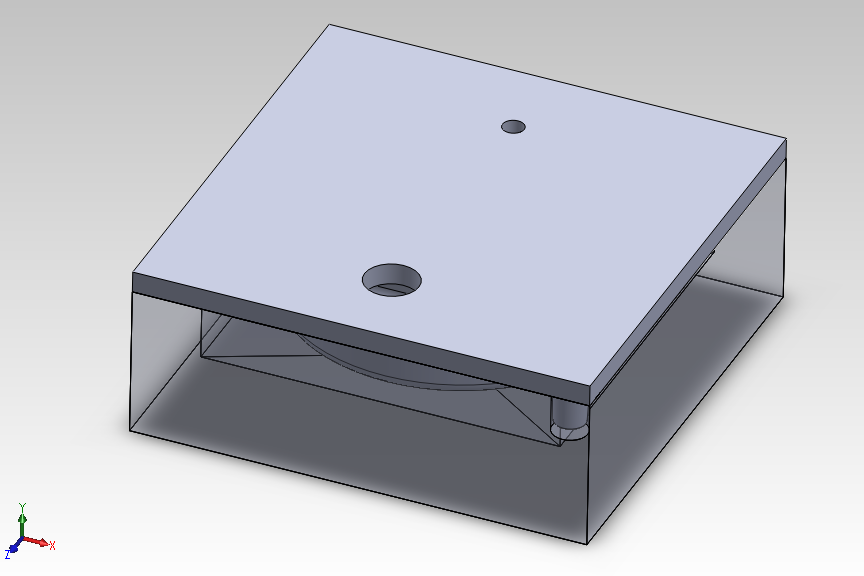
Large and small holes are injection and escape
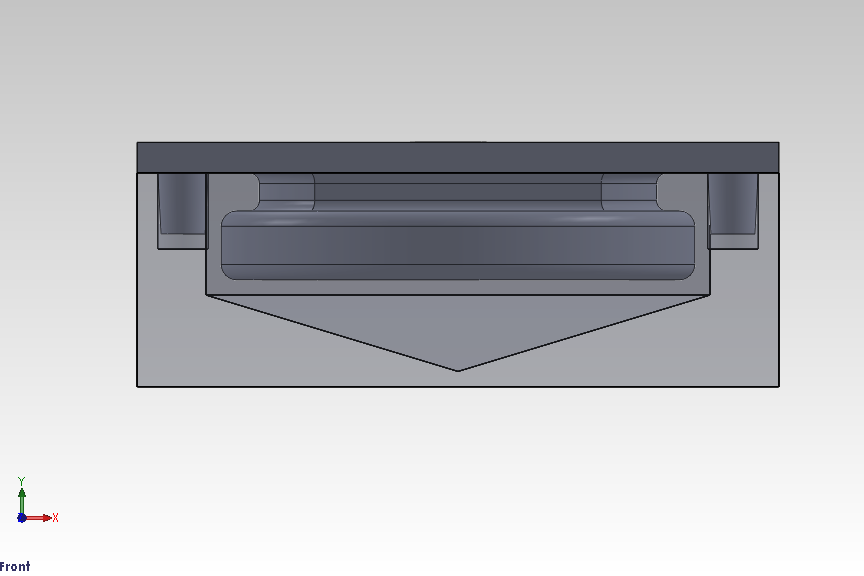
Two rods for registration
I cut the bottom of the mold out of machineable wax on the modela, and printed the tops on the Dimension since they had an undercut. Also, the Dimension leaves an undesireable surface finish while the modela leaves a smoother one. So, the 3D printed part only touches the inside and back of the button cover, while the outside finish is from the wax mold. Everyone wins!
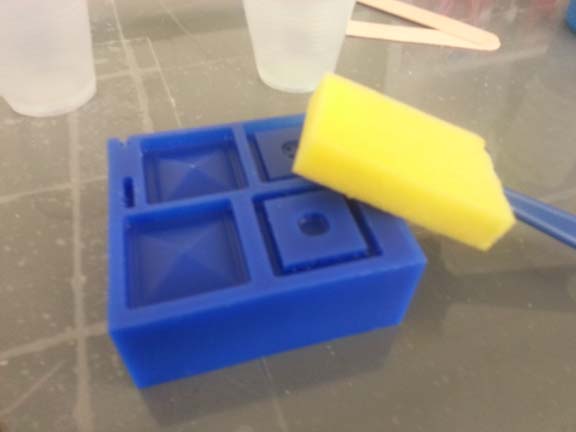
A foam brush works well for polishing the inside of the mold
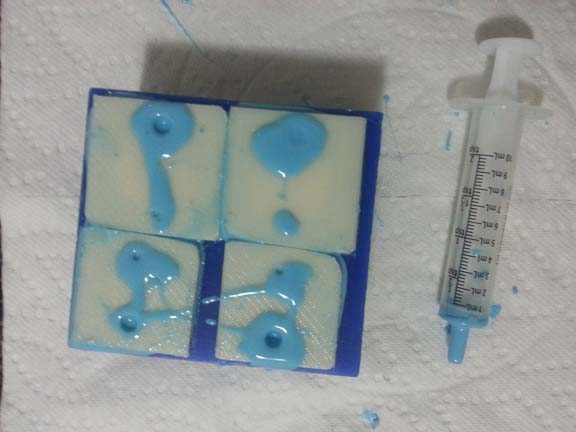
Don't bother cleaning up when you put Oomoo in - it's easier to peel off when the silicone has cured
My first iteration had too narrow of mold thickness and the pieces were too thin/didn't mold. I found I needed about 2.5mm of thickness for it to flow (I also used a child's oral syringe to push Oomoo in, so it was also pressurized. I wanted them painted gold (as in the craft), so I picked up some brushed metallic spray paint. This turned out pretty poorly. The pieces look great when being painted or sitting by themselves. But the minute they bend, the pain cracks, bunches, and falls off.
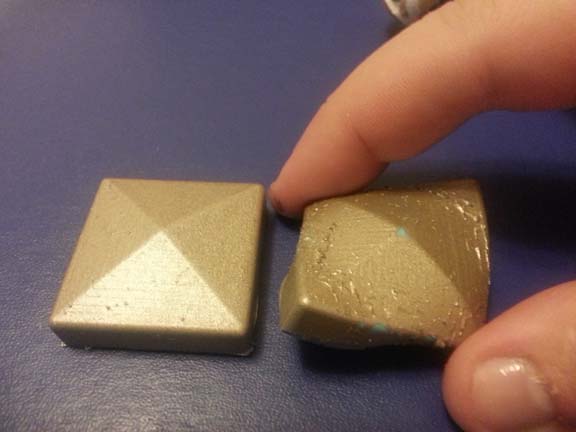
Ideal vs. Reality when using spray paint
The part will come off the mold the same way it will come off the button
To paint correctly, I should have used latex paint or Psycho Paint, which Oomoo manufactures and can apparently bend with the silicone without cracking. Or, I should have used a material that I can dye! I also considered putting glitter in my Oomoo, but was afraid this would make its flow properties even worse.
Before

After
I really like how the turned out, except for the paint part. It was sort of like tripping right before the finish line of a (short) race. I'd be willing to do this all again (I already have the molds) if I could find silicone that's the color I want, or maybe get my hands on some latex-based/Psycho Paint.
Files
- Solid Buttons (wax = mold negative)
- Silicone Buttons (wax, 3D printed = mold)