Week 14: Composites
Coaster Design
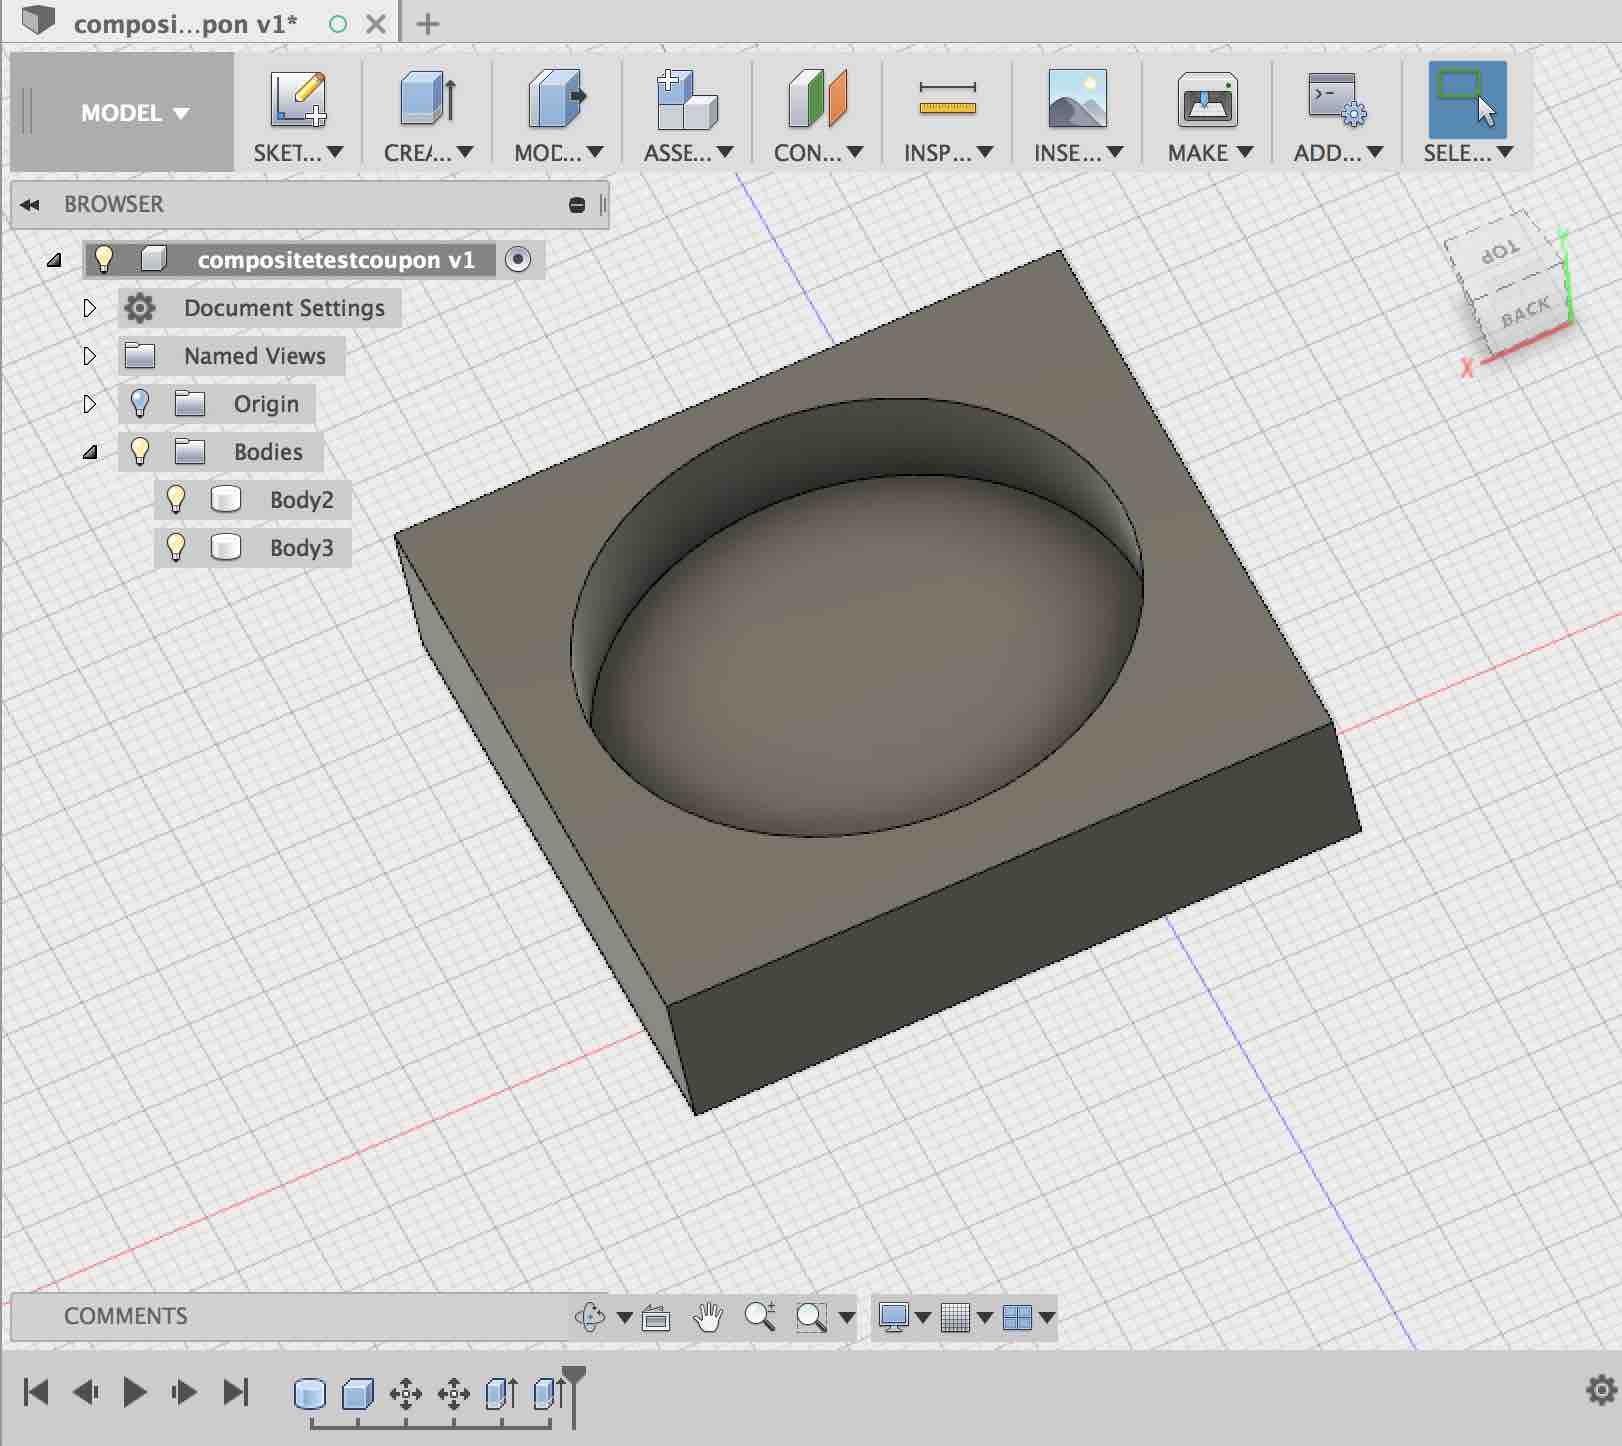
I want to make a drink-holder/coaster for composites week. I first CAD'd the styrofoam mold in Fusion 360 with a base diameter of 3.5 inches (the diameter of an average mug is 3.25 inches) and a depth of 0.7 inches. This was exported to STL for the SRM-20 mill.
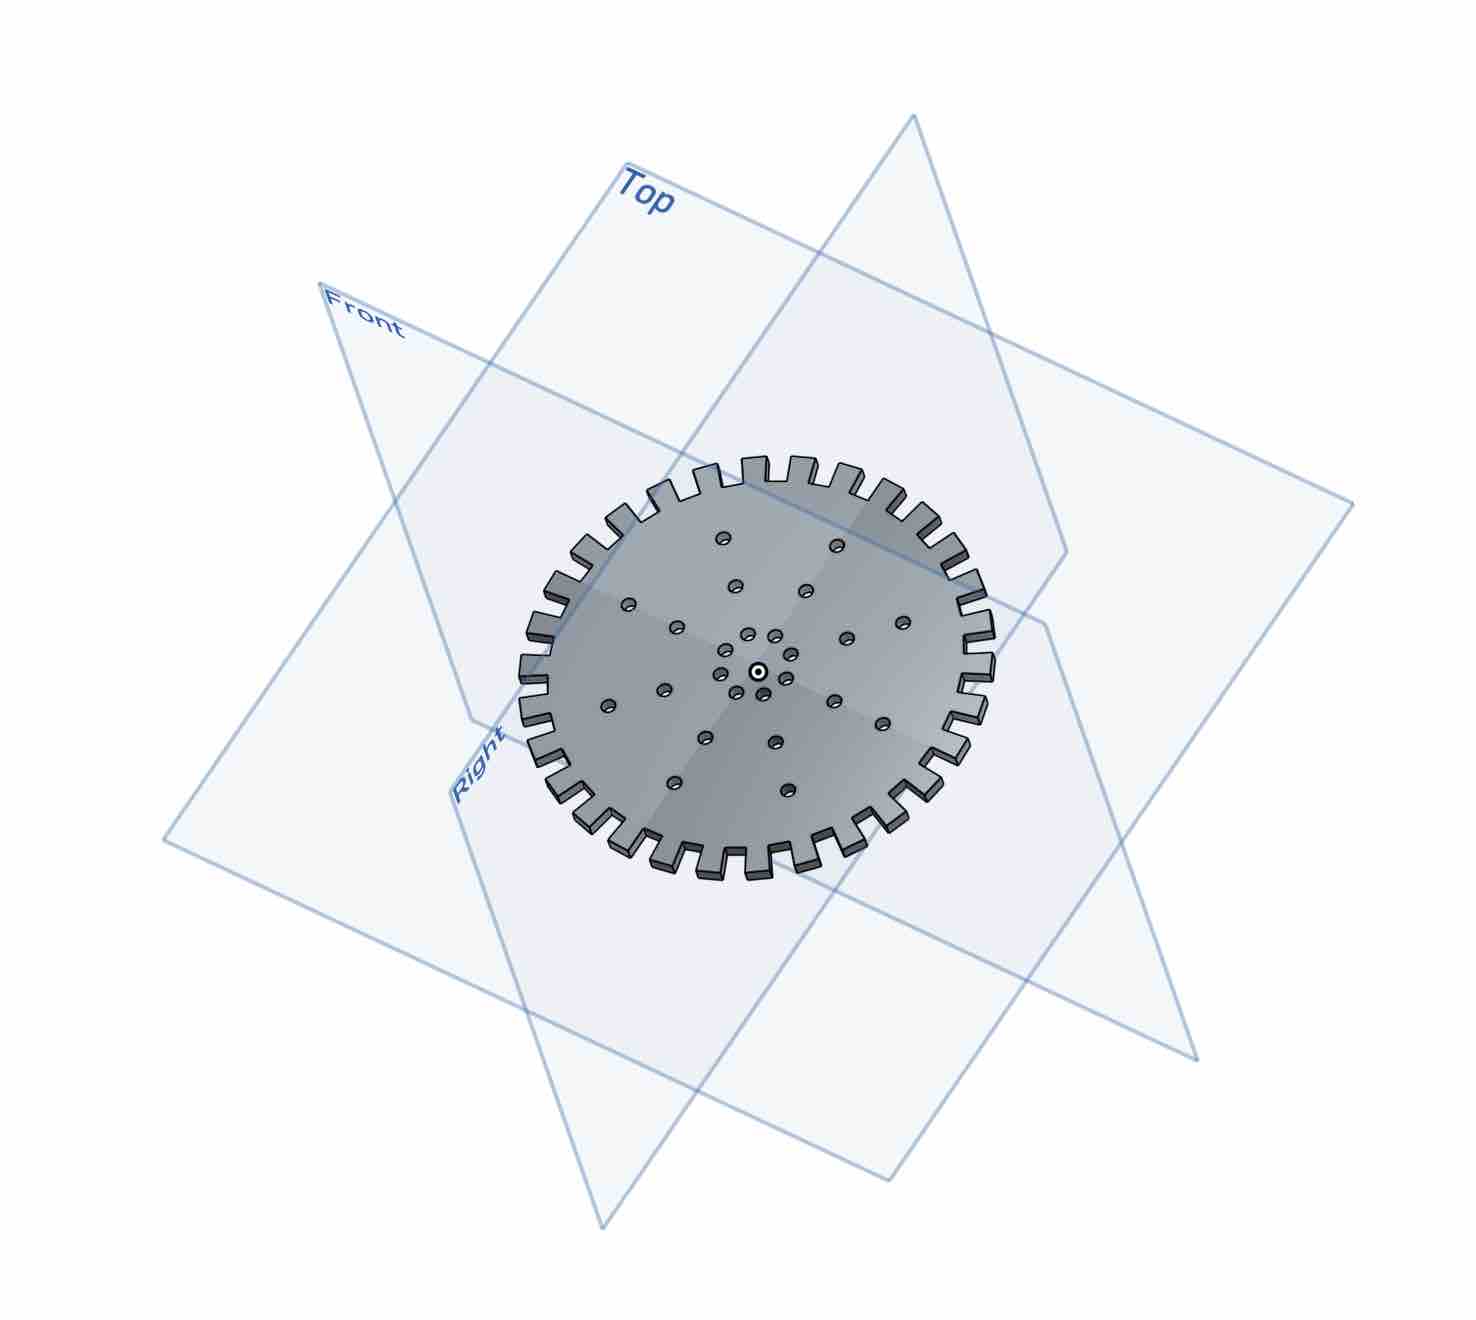
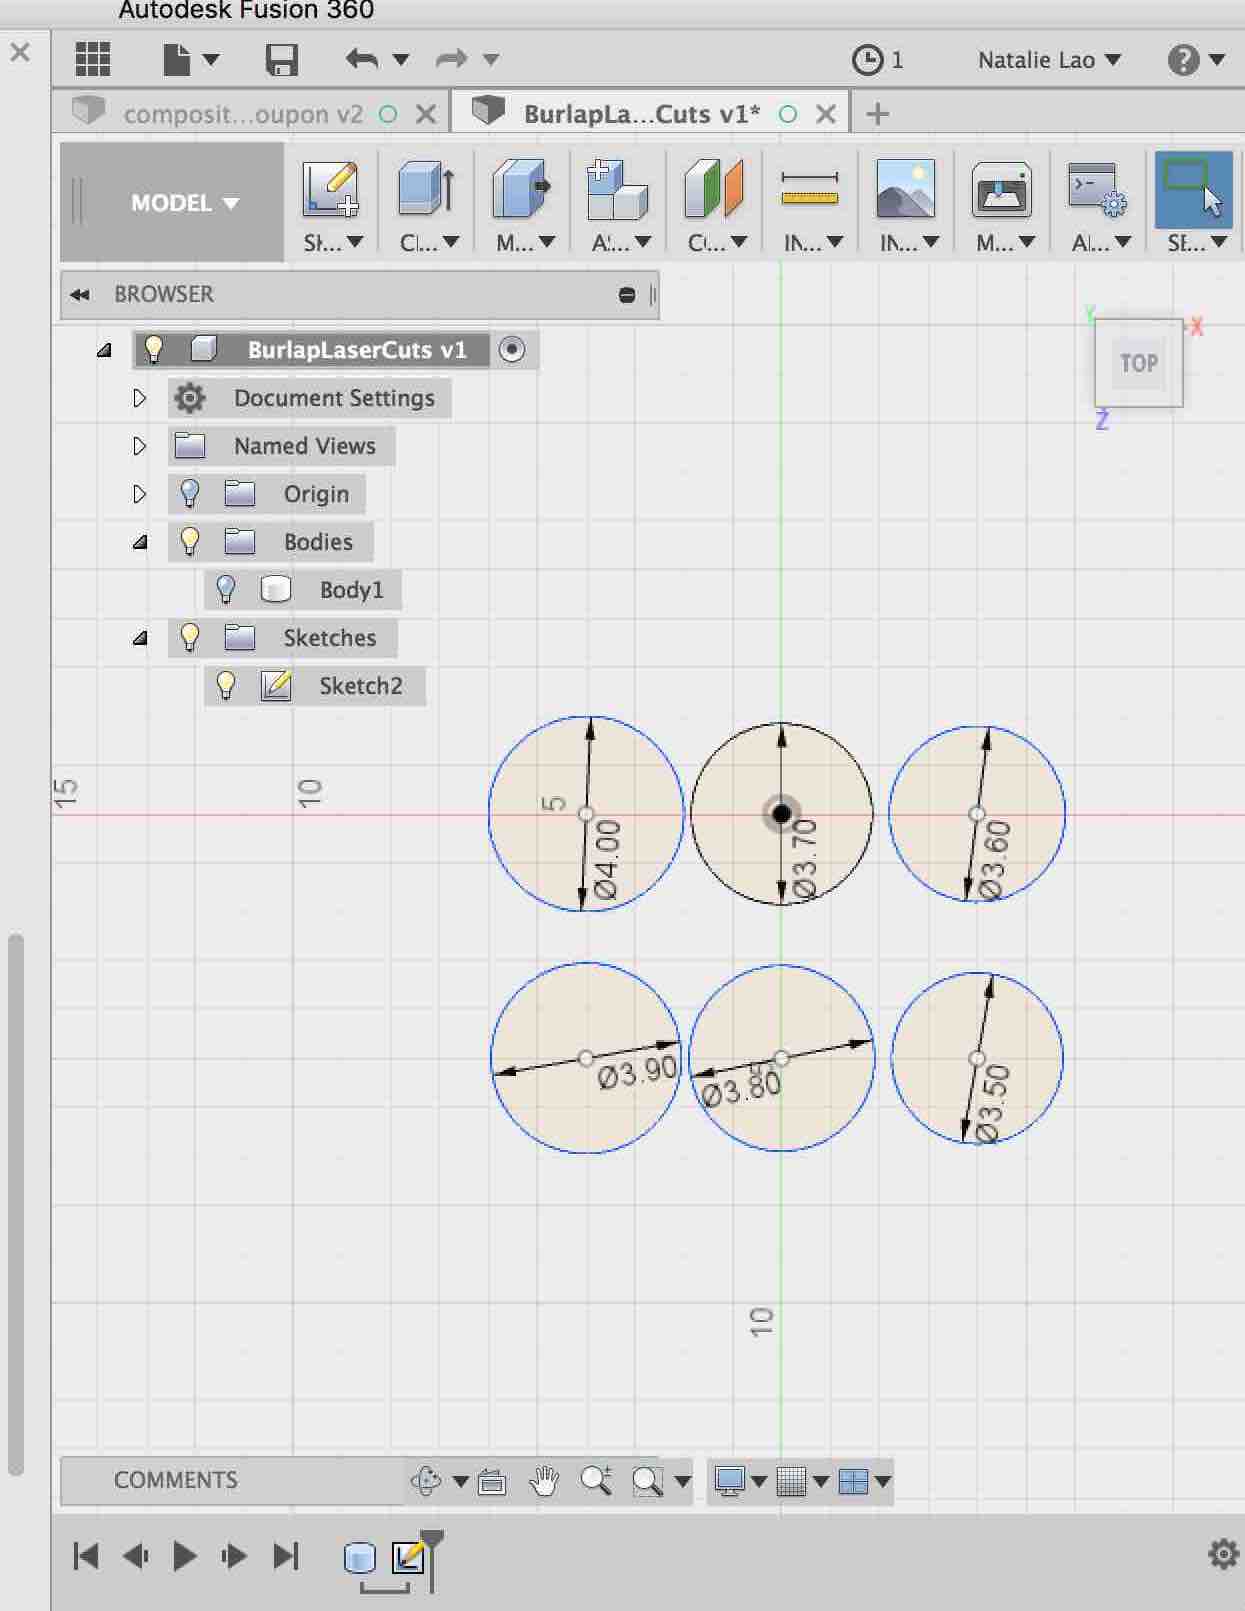
For the top press piece, Alex Kaspar helped create a swiss-cheese design with grooves on the side so that the resin could have enough room to flow out. For the burlap pieces, I CAD'd circles of decreasing diameter since the sides will crinkle, starting from 4.0 inches and decreasing to 3.5 inches in 0.1-inch increments (so 6 layers). Both the acrylic files and the burlap files were exported to DXF for the laser cutter.
Since this was a relatively simple idea, we used these CAD files for the group project.
Laser Cutting and Milling
We wanted to laser cut the circles of burlap for more precision. However, there was no preset power and speed that we could find, so we decided to start with a very low power and medium speed to avoid burning the burlap. We ended up doing two passes at 25% power and 40% speed, which worked very well.
Laser cutting the acrylic was fairly straightforward with preset settings on the machine:
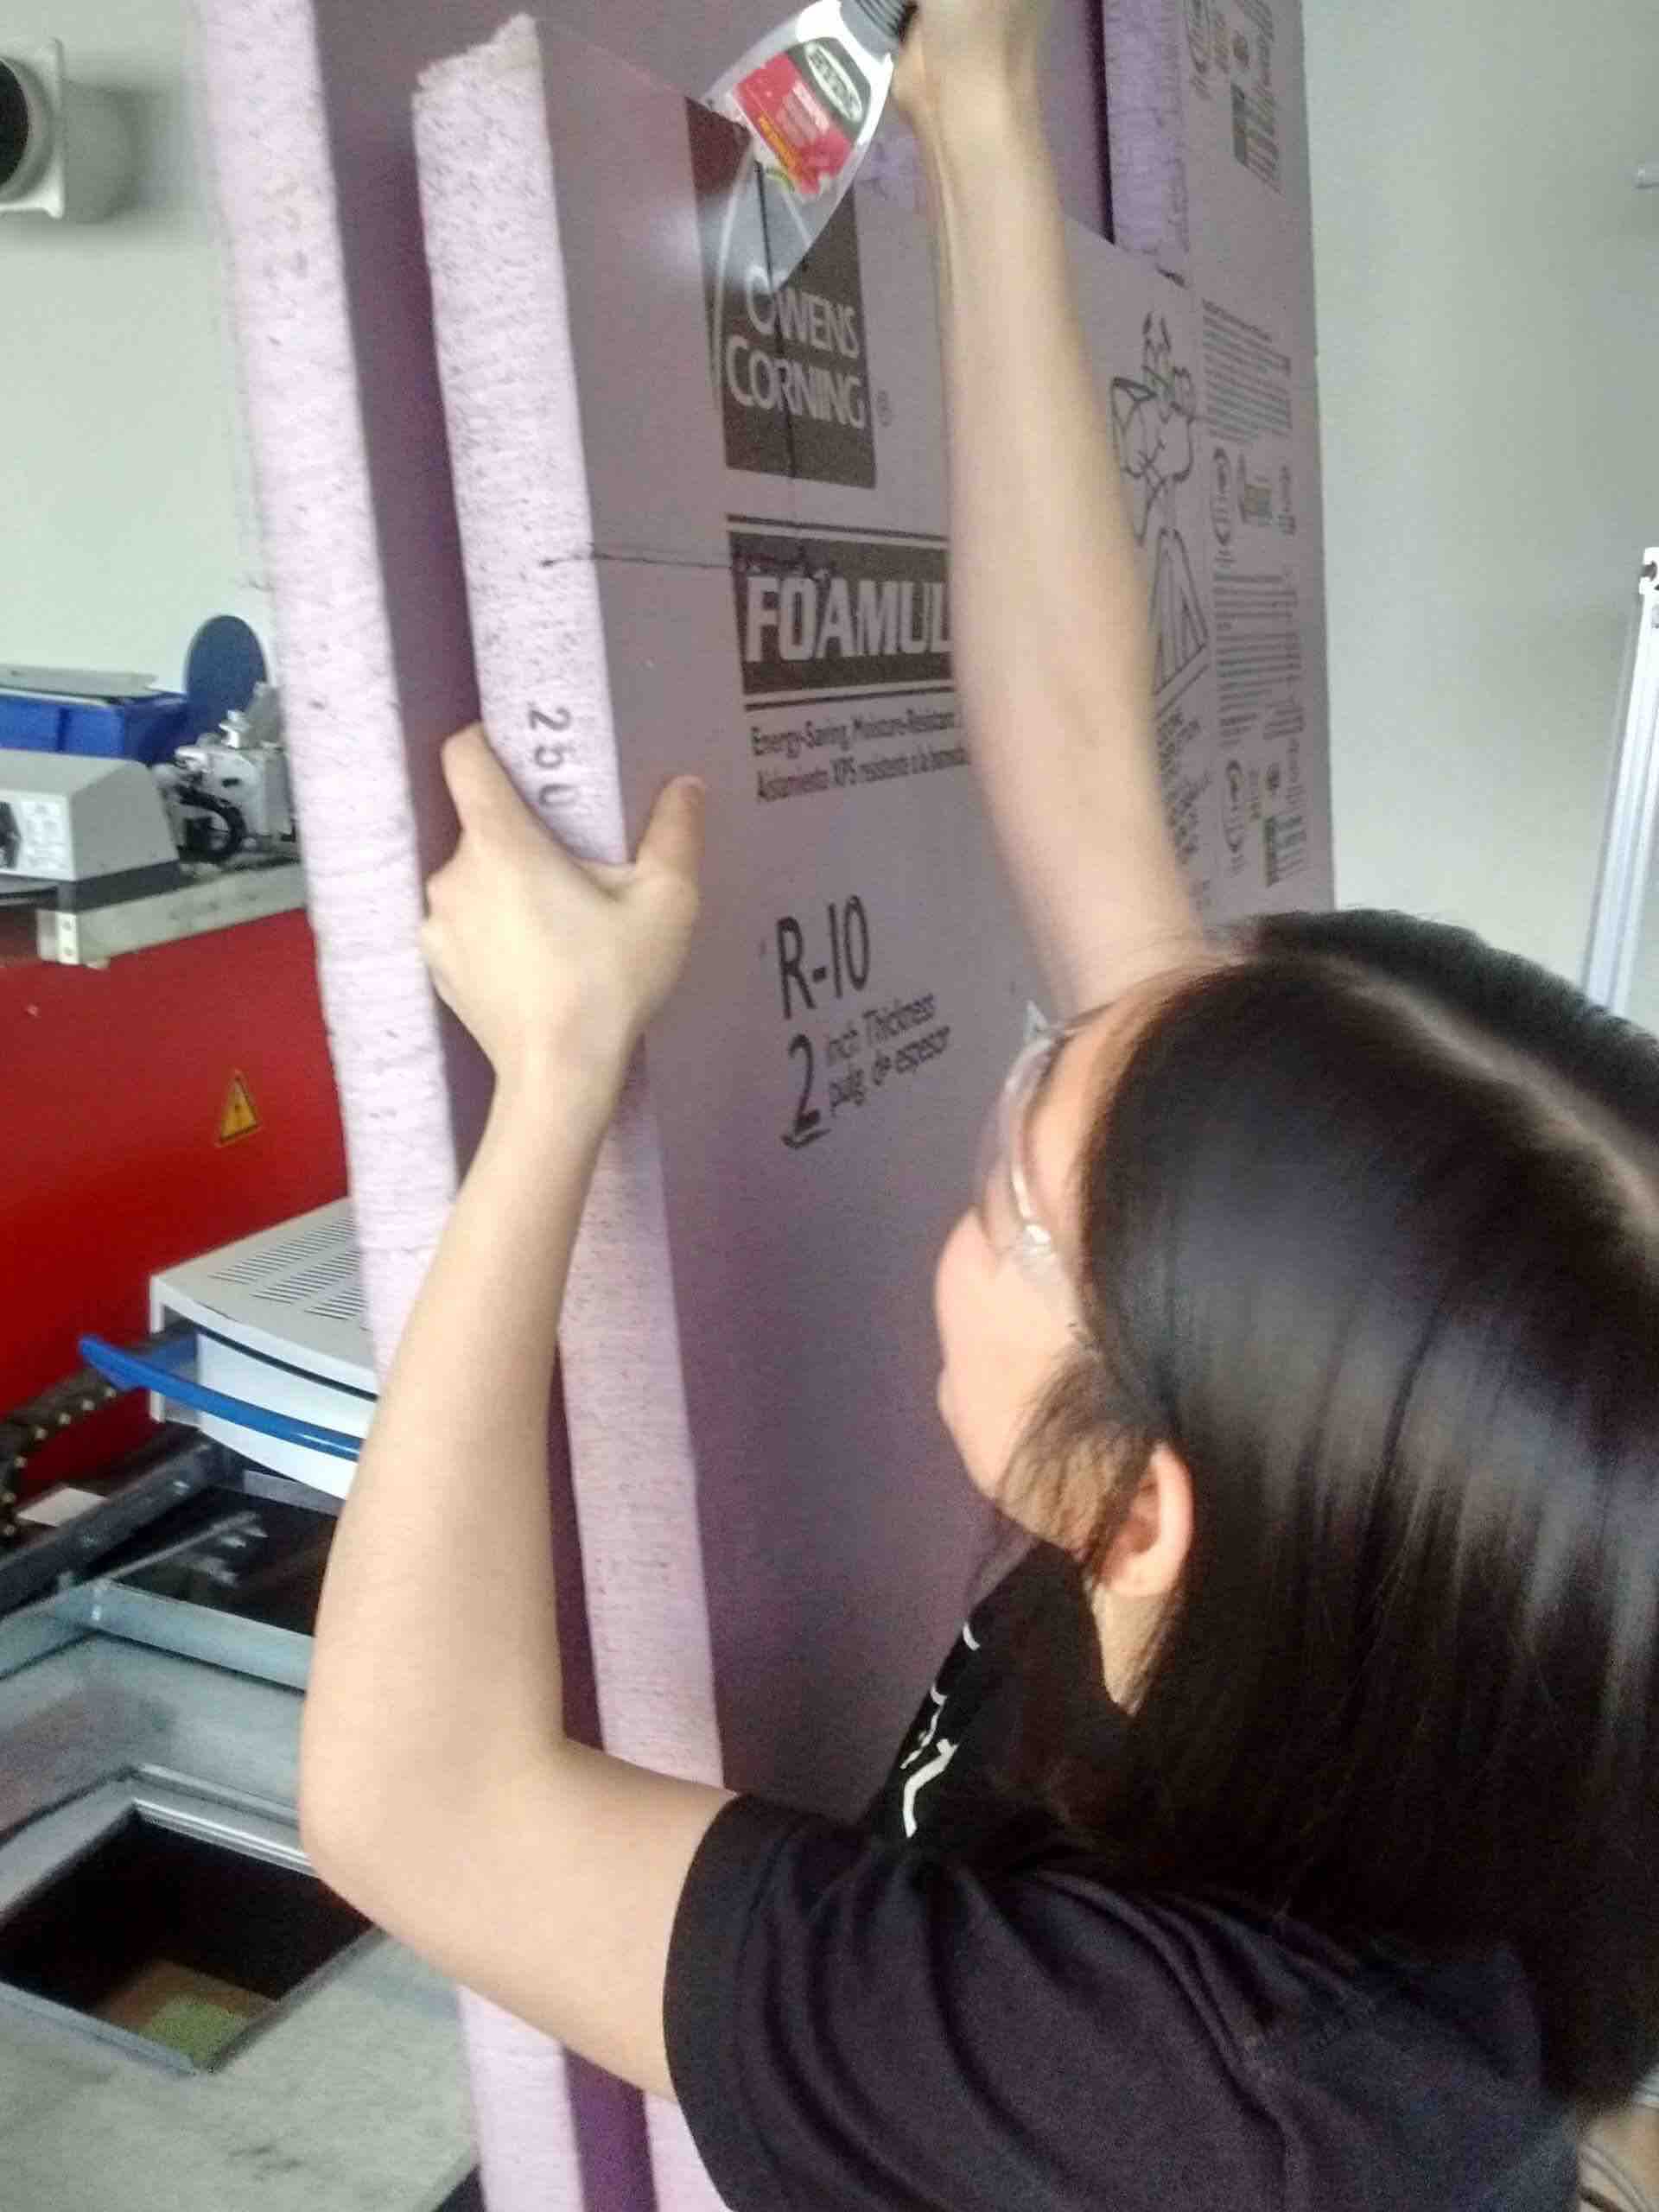
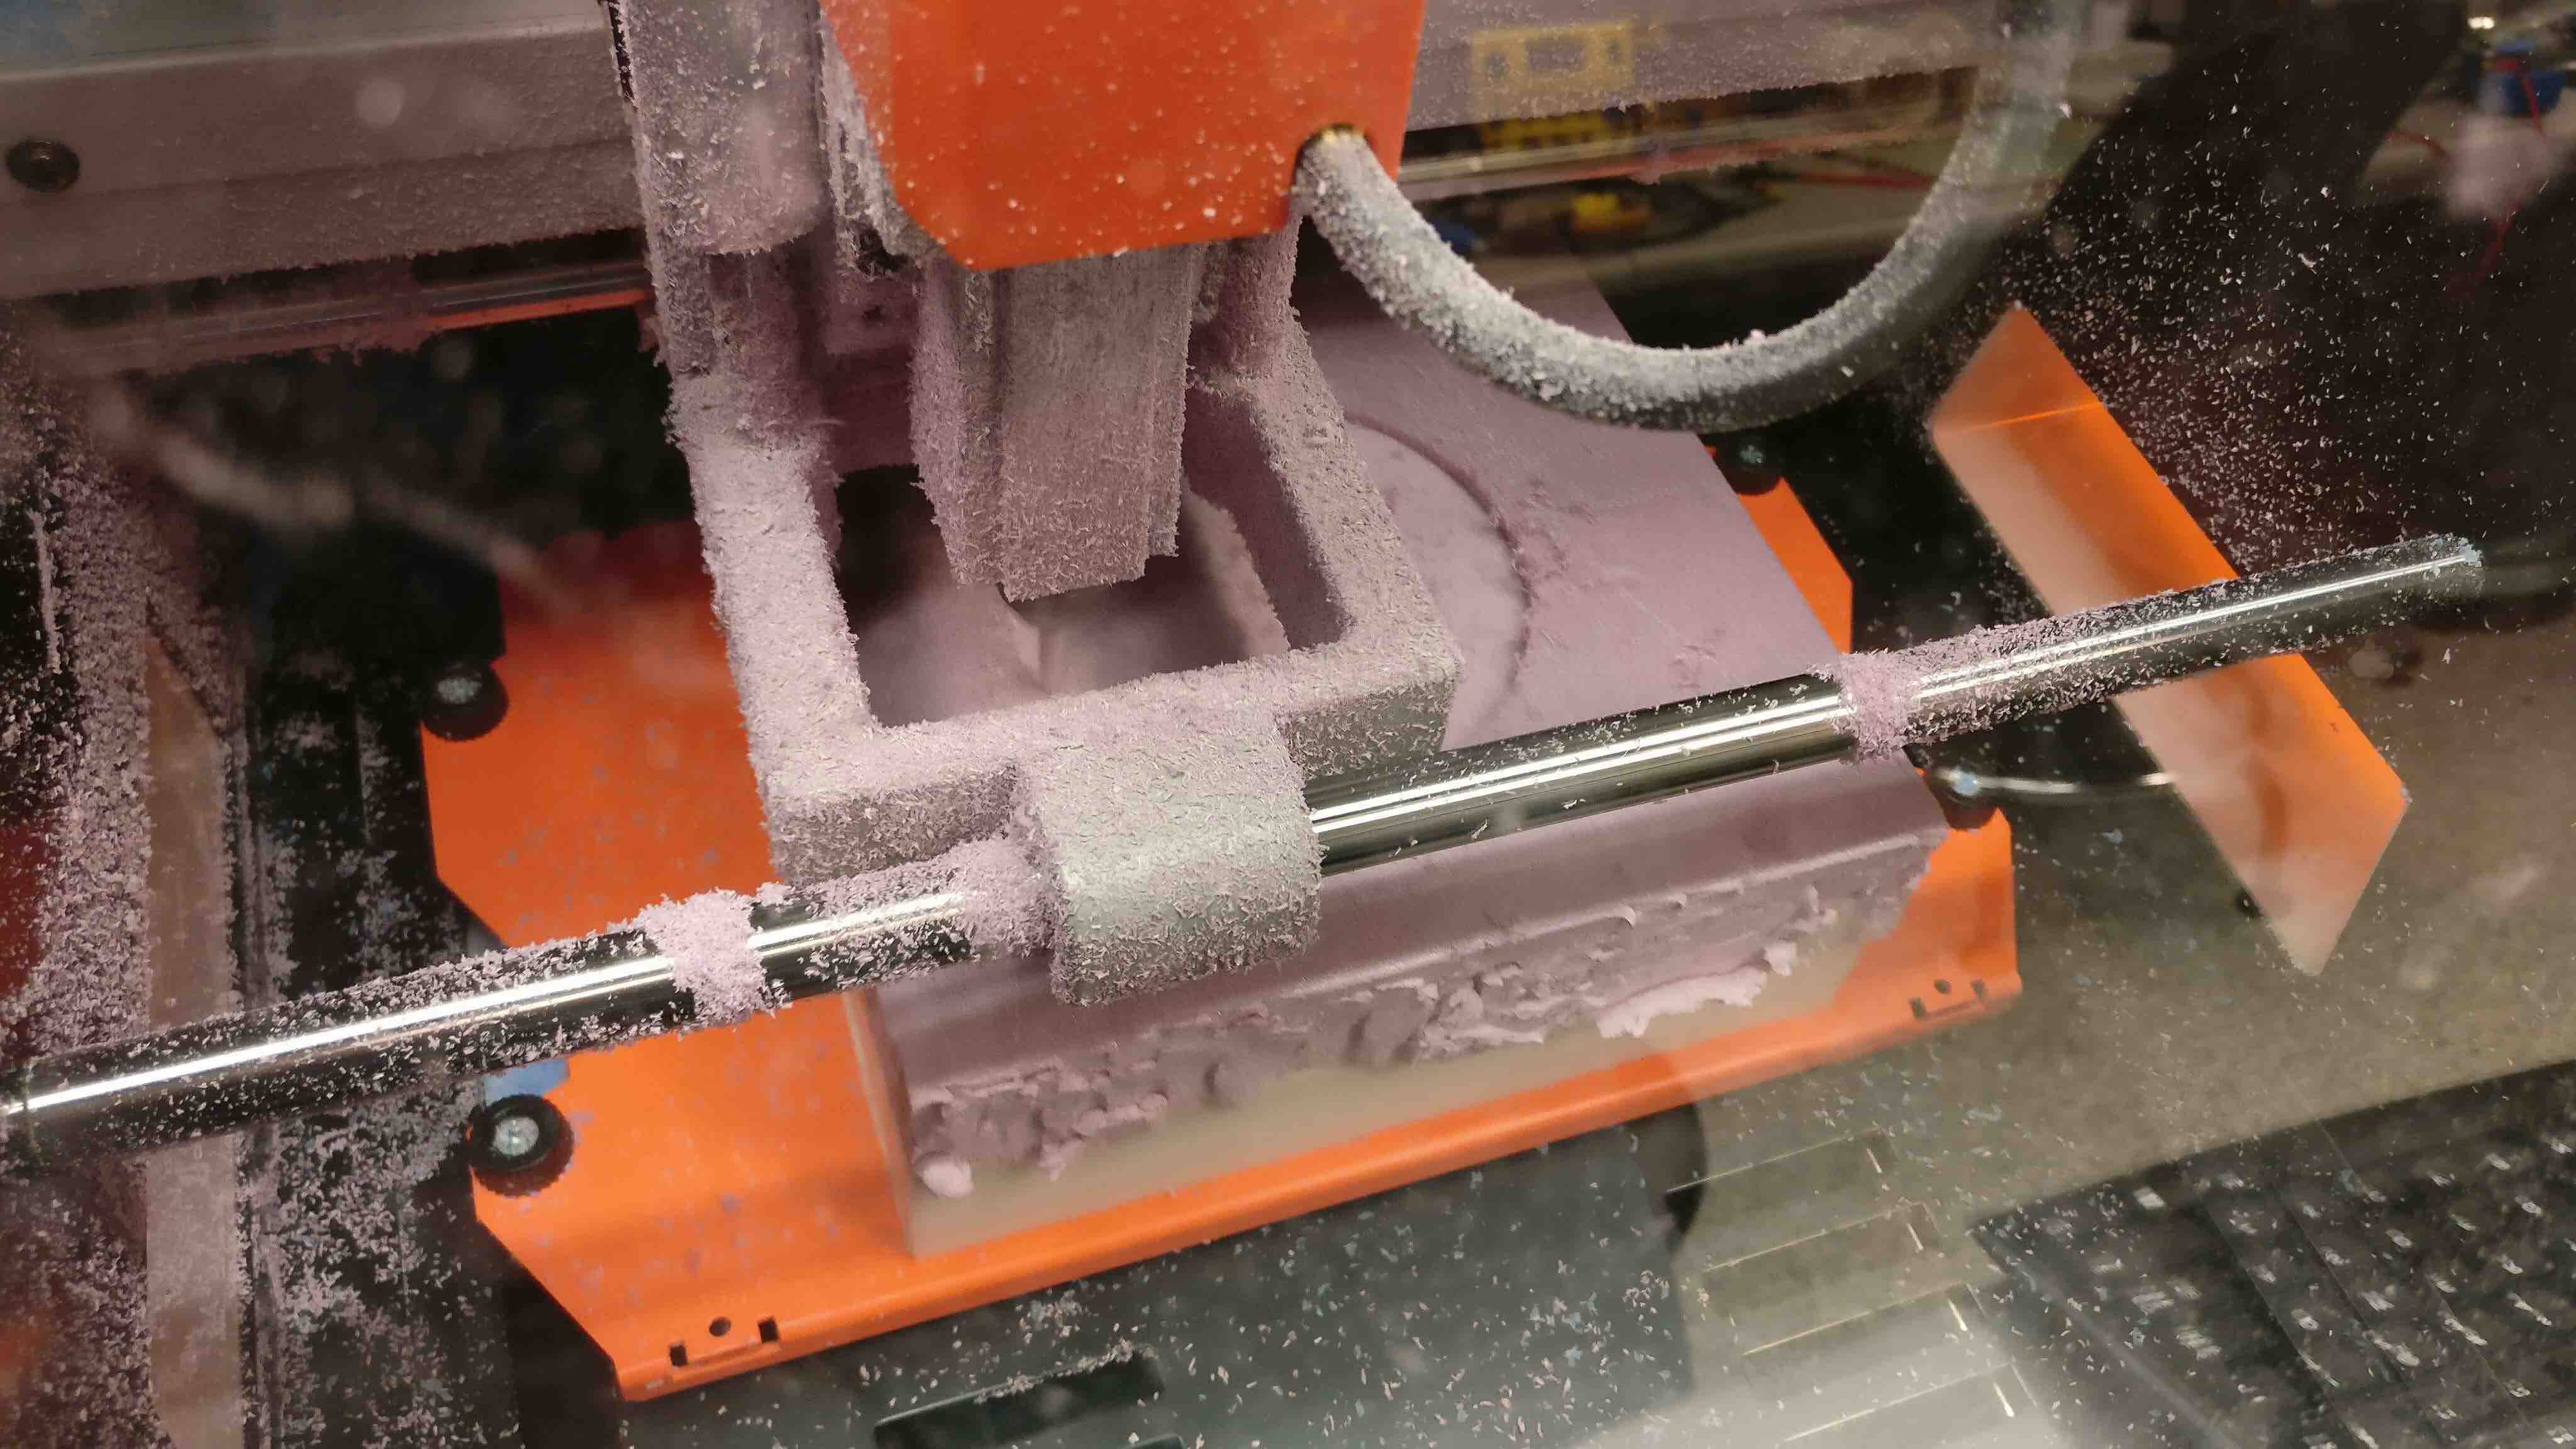
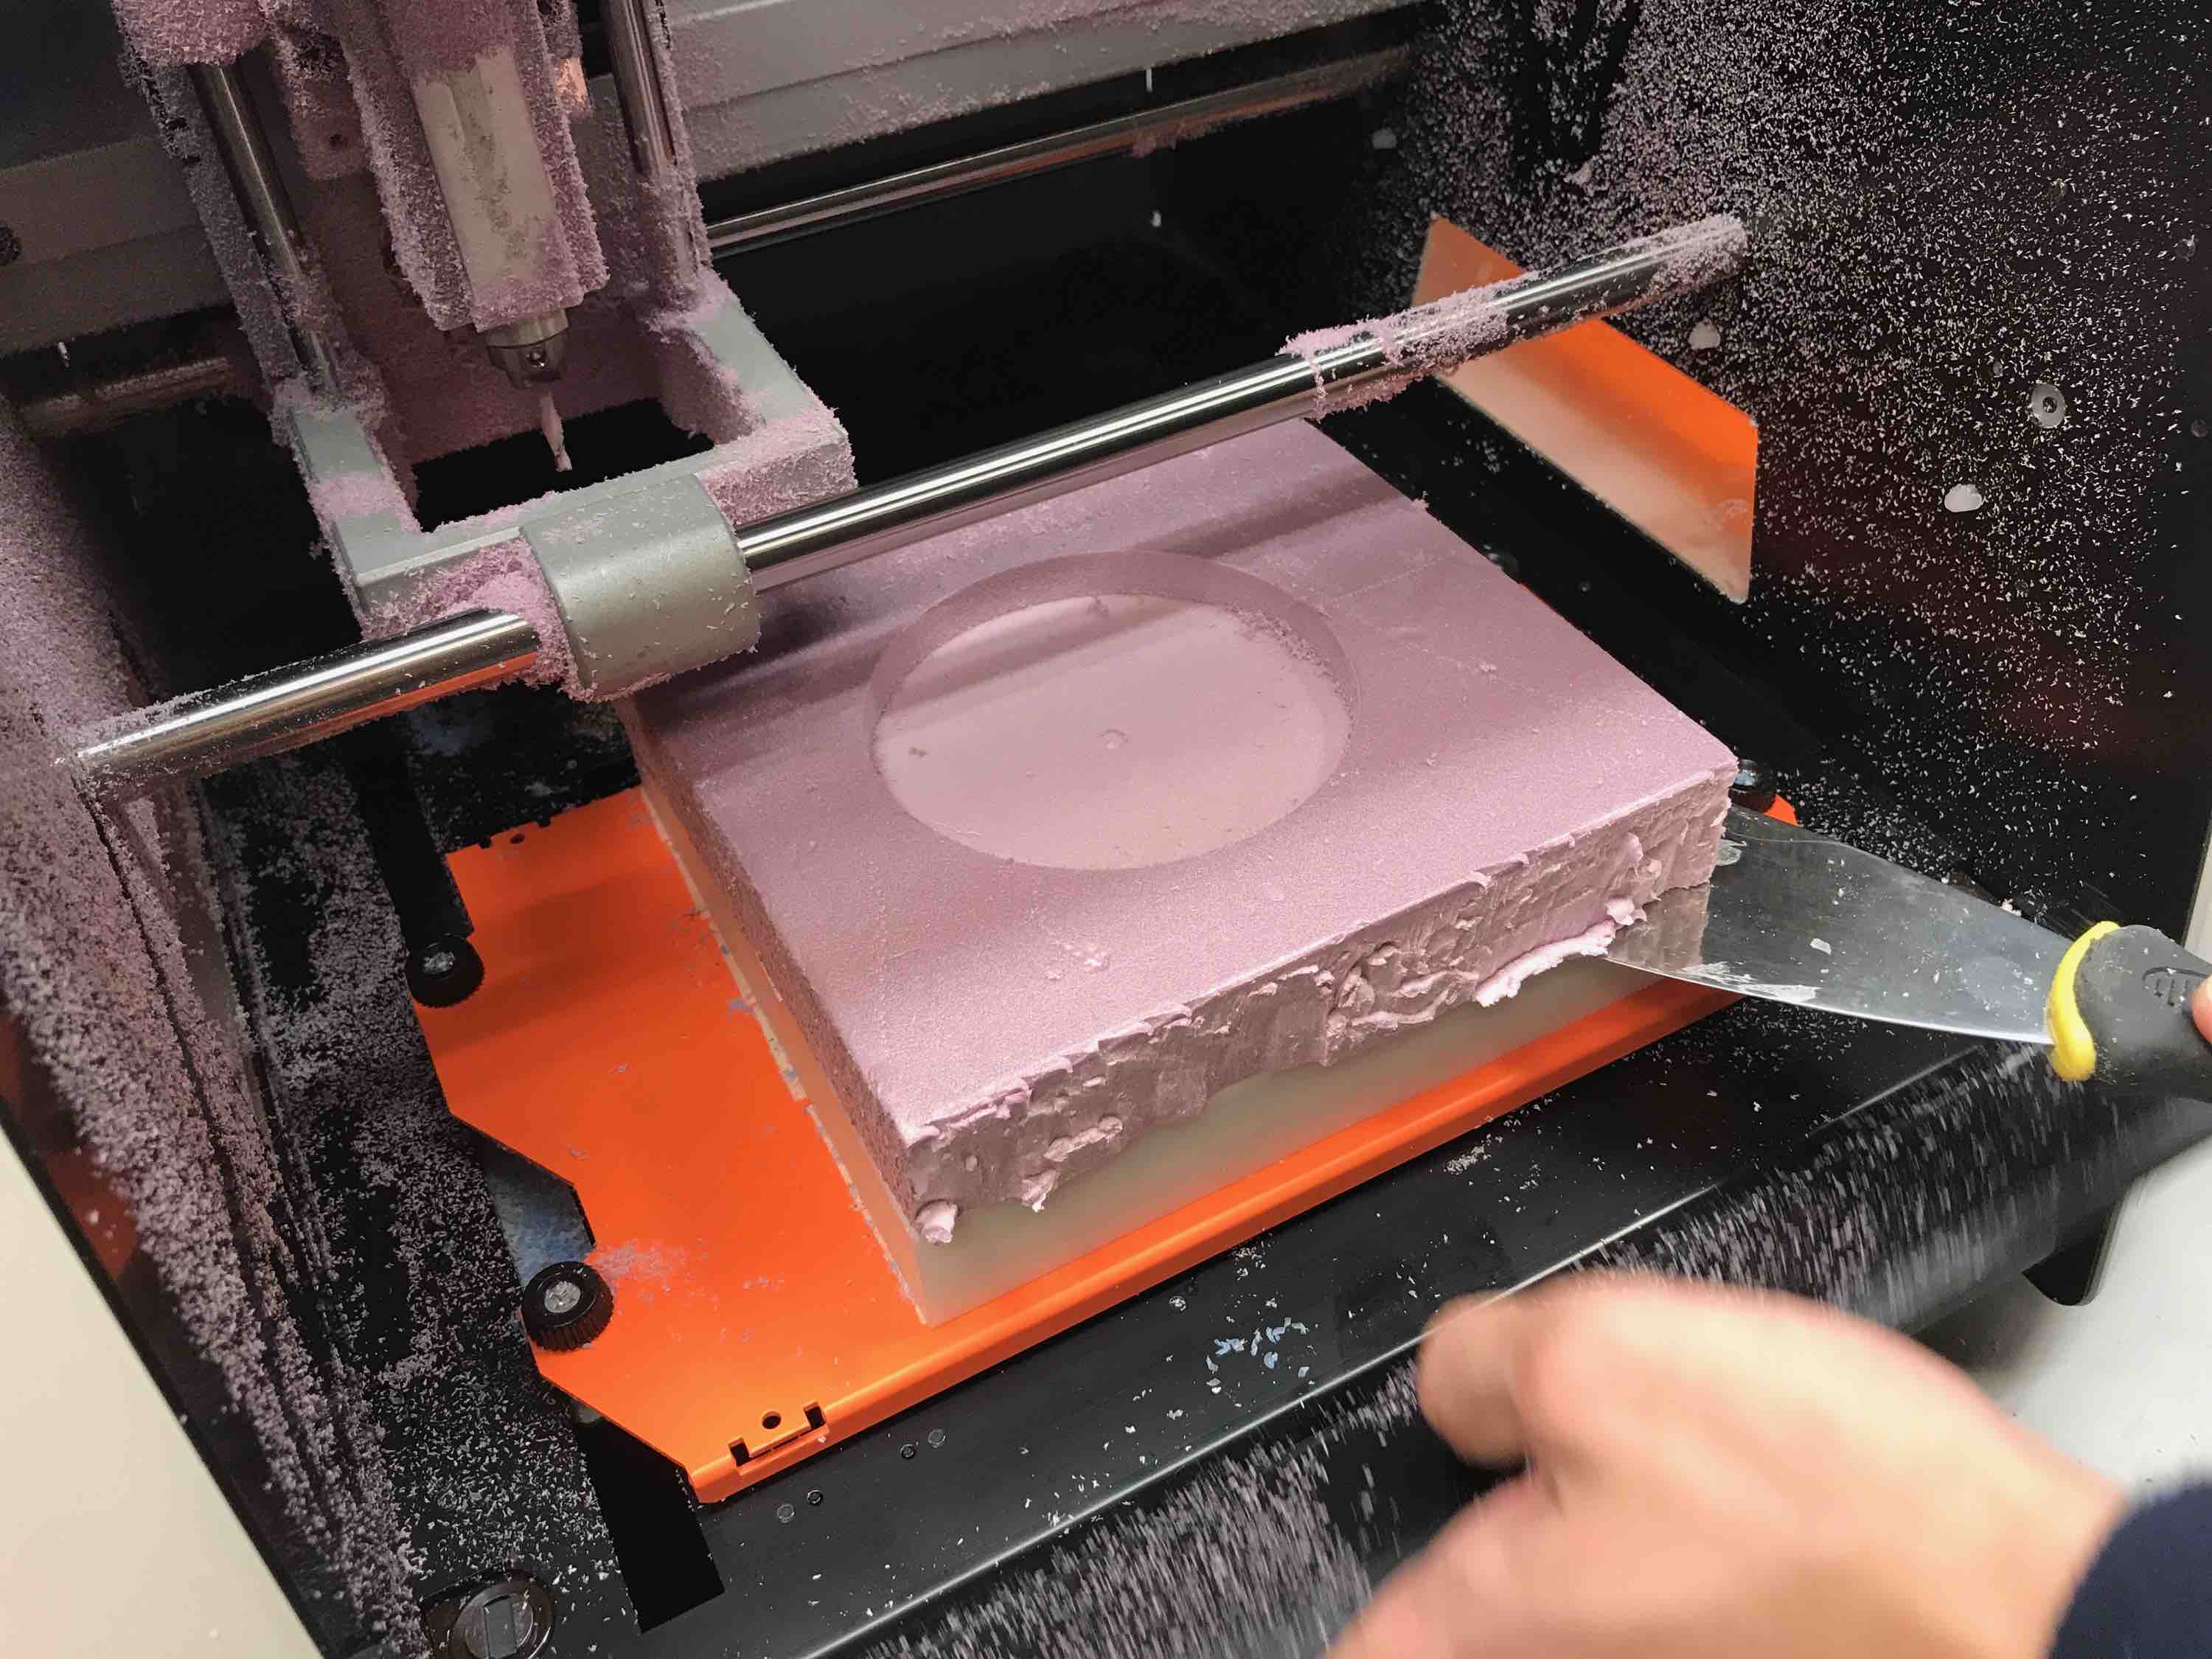
We cut a 4 in. x 4 in. piece of foam from the large stock and then milled it on the SRM-20. Milling was pretty messy - the vacuum wasn't quite able to suck up all of the particles, so we had to wipe down the machine with a wet paper towel afterwards.
Everything seemed to fit together quite well while dry, and it looks like there will be enough space between the top acrylic piece and the burlap for the resin that we're going to put into the layers.

Pouring
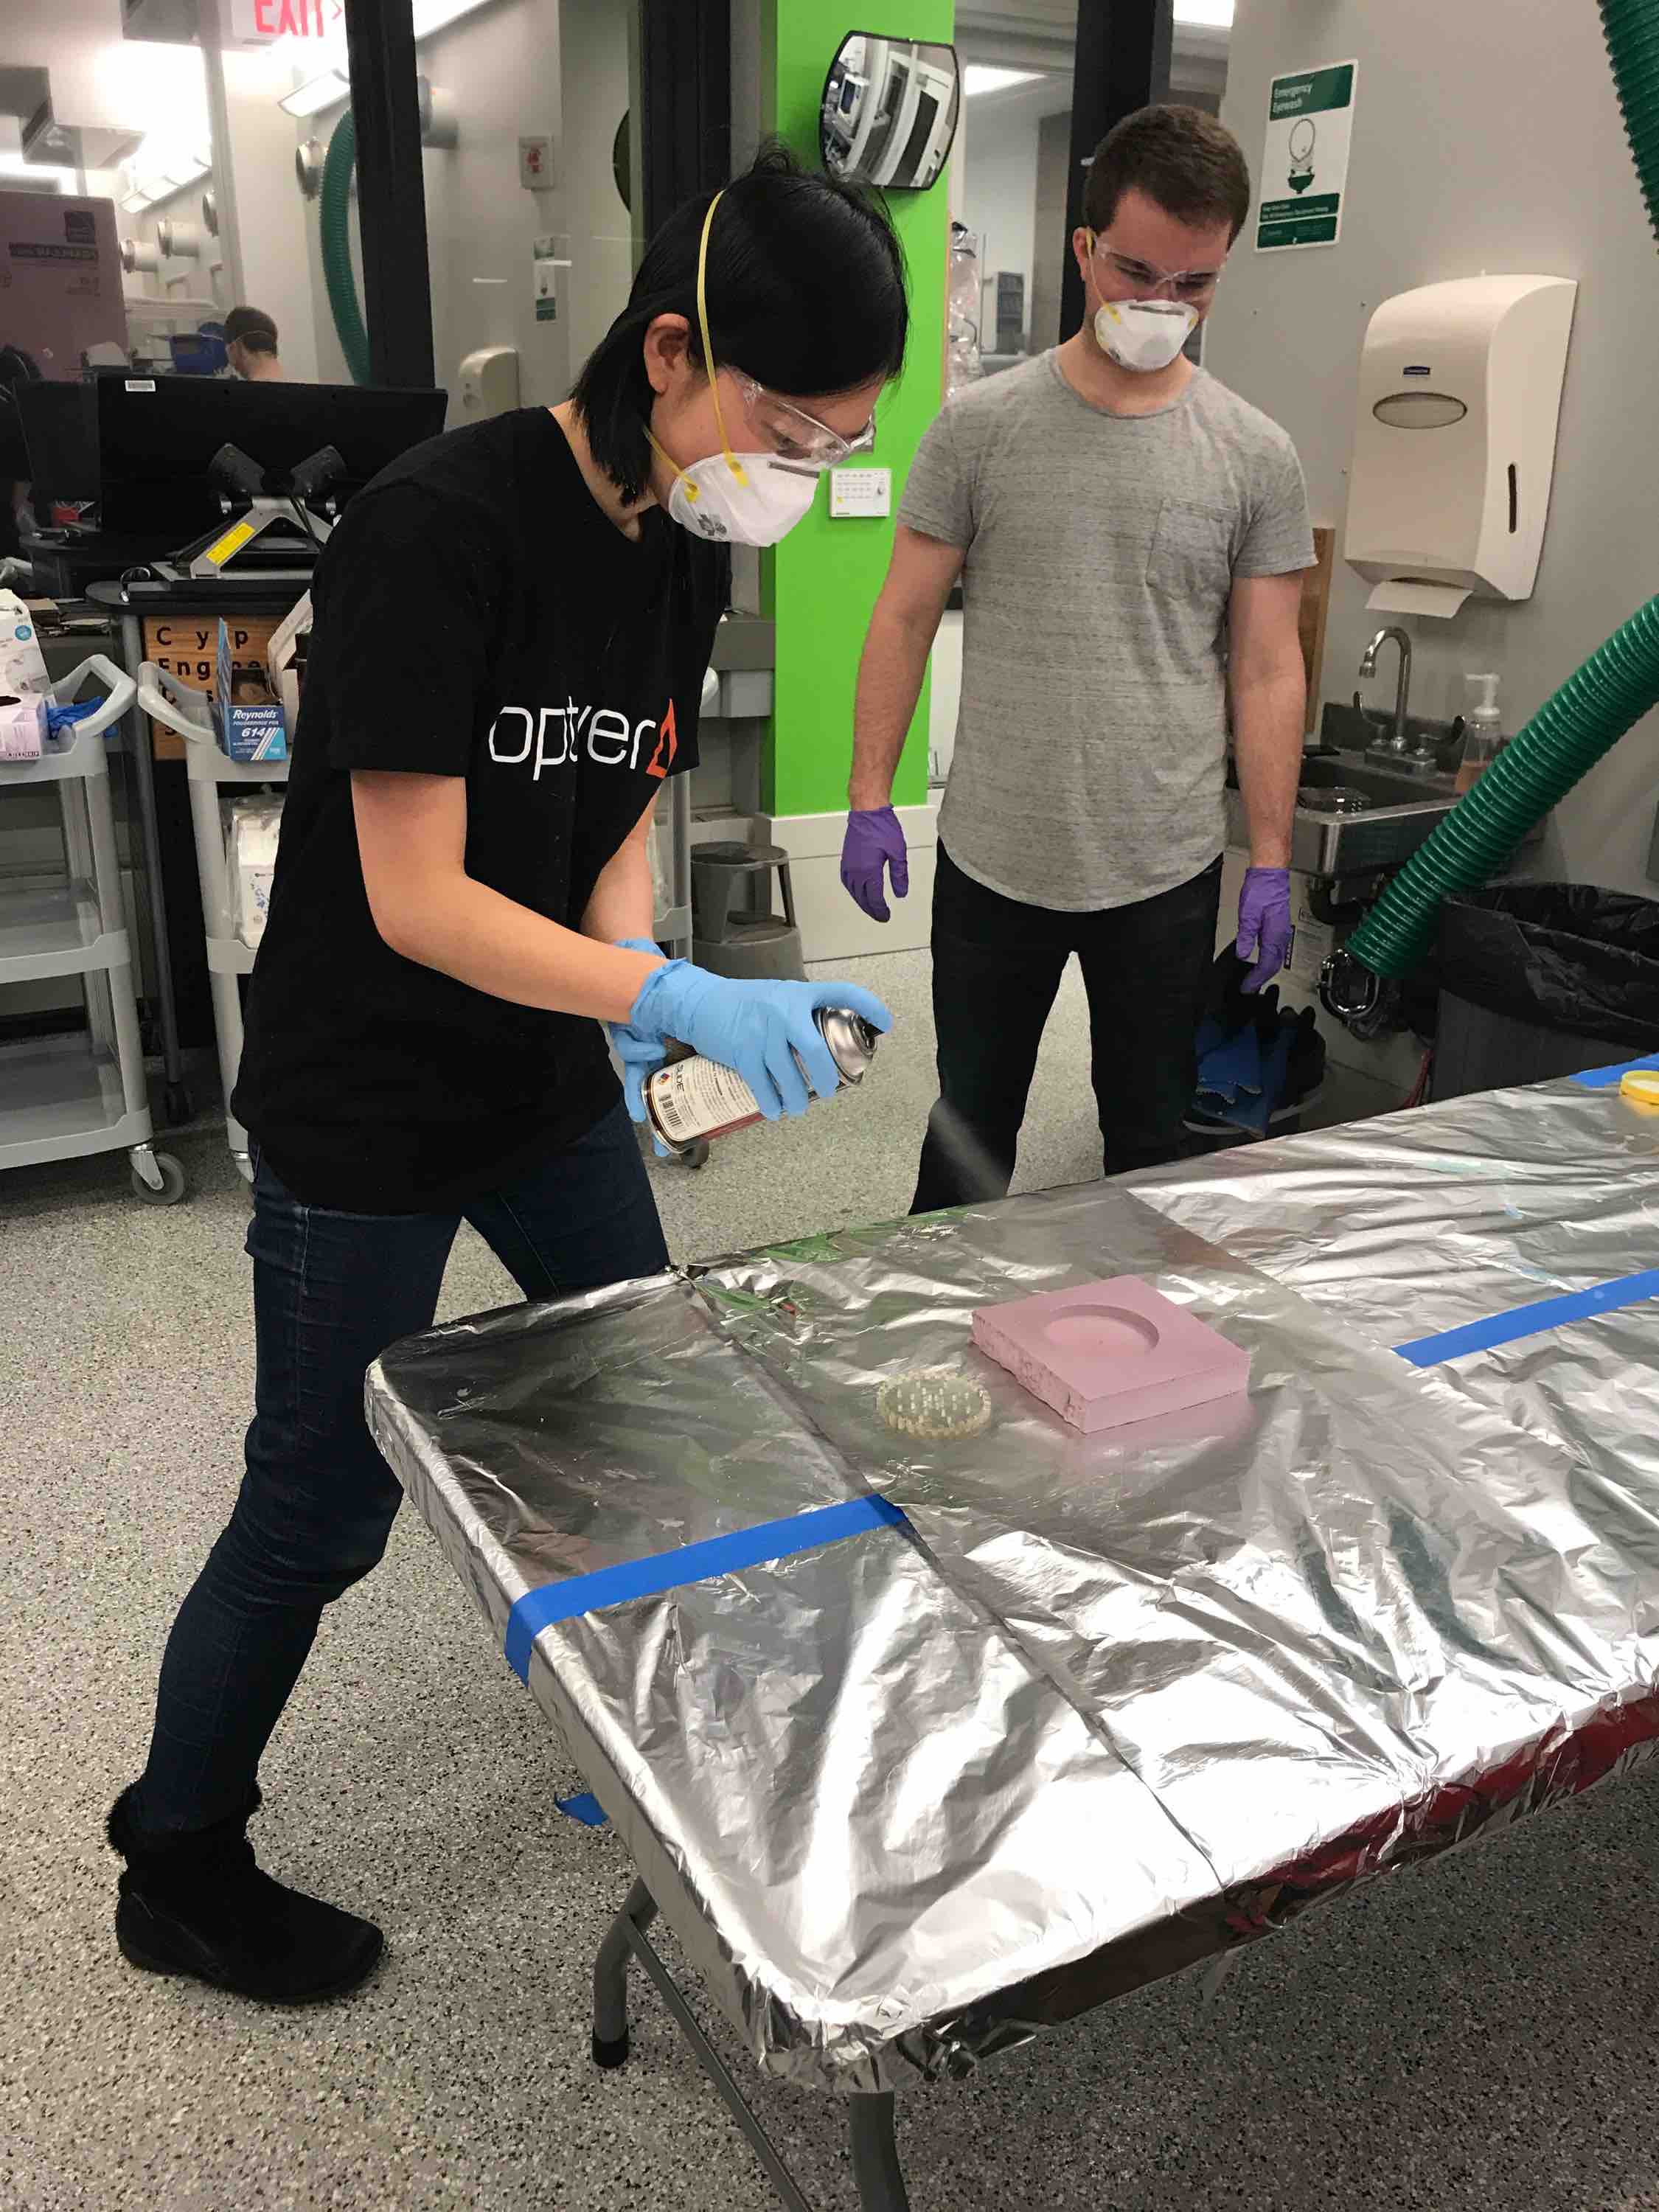
This was the most difficult part of the process since the training video we were provided was a bit hard to hear and the camera often didn't point to the focal object, but we made our best guess with the TA's help (thanks, Shirin!). First, we read the datasheets for the epoxy and resin and realized that we needed to wear gloves and have proper ventilation and/or face masks. Then, we sprayed the epoxy onto the acrylic top press piece so that it wouldn't stick to the resin and burlap in the end.
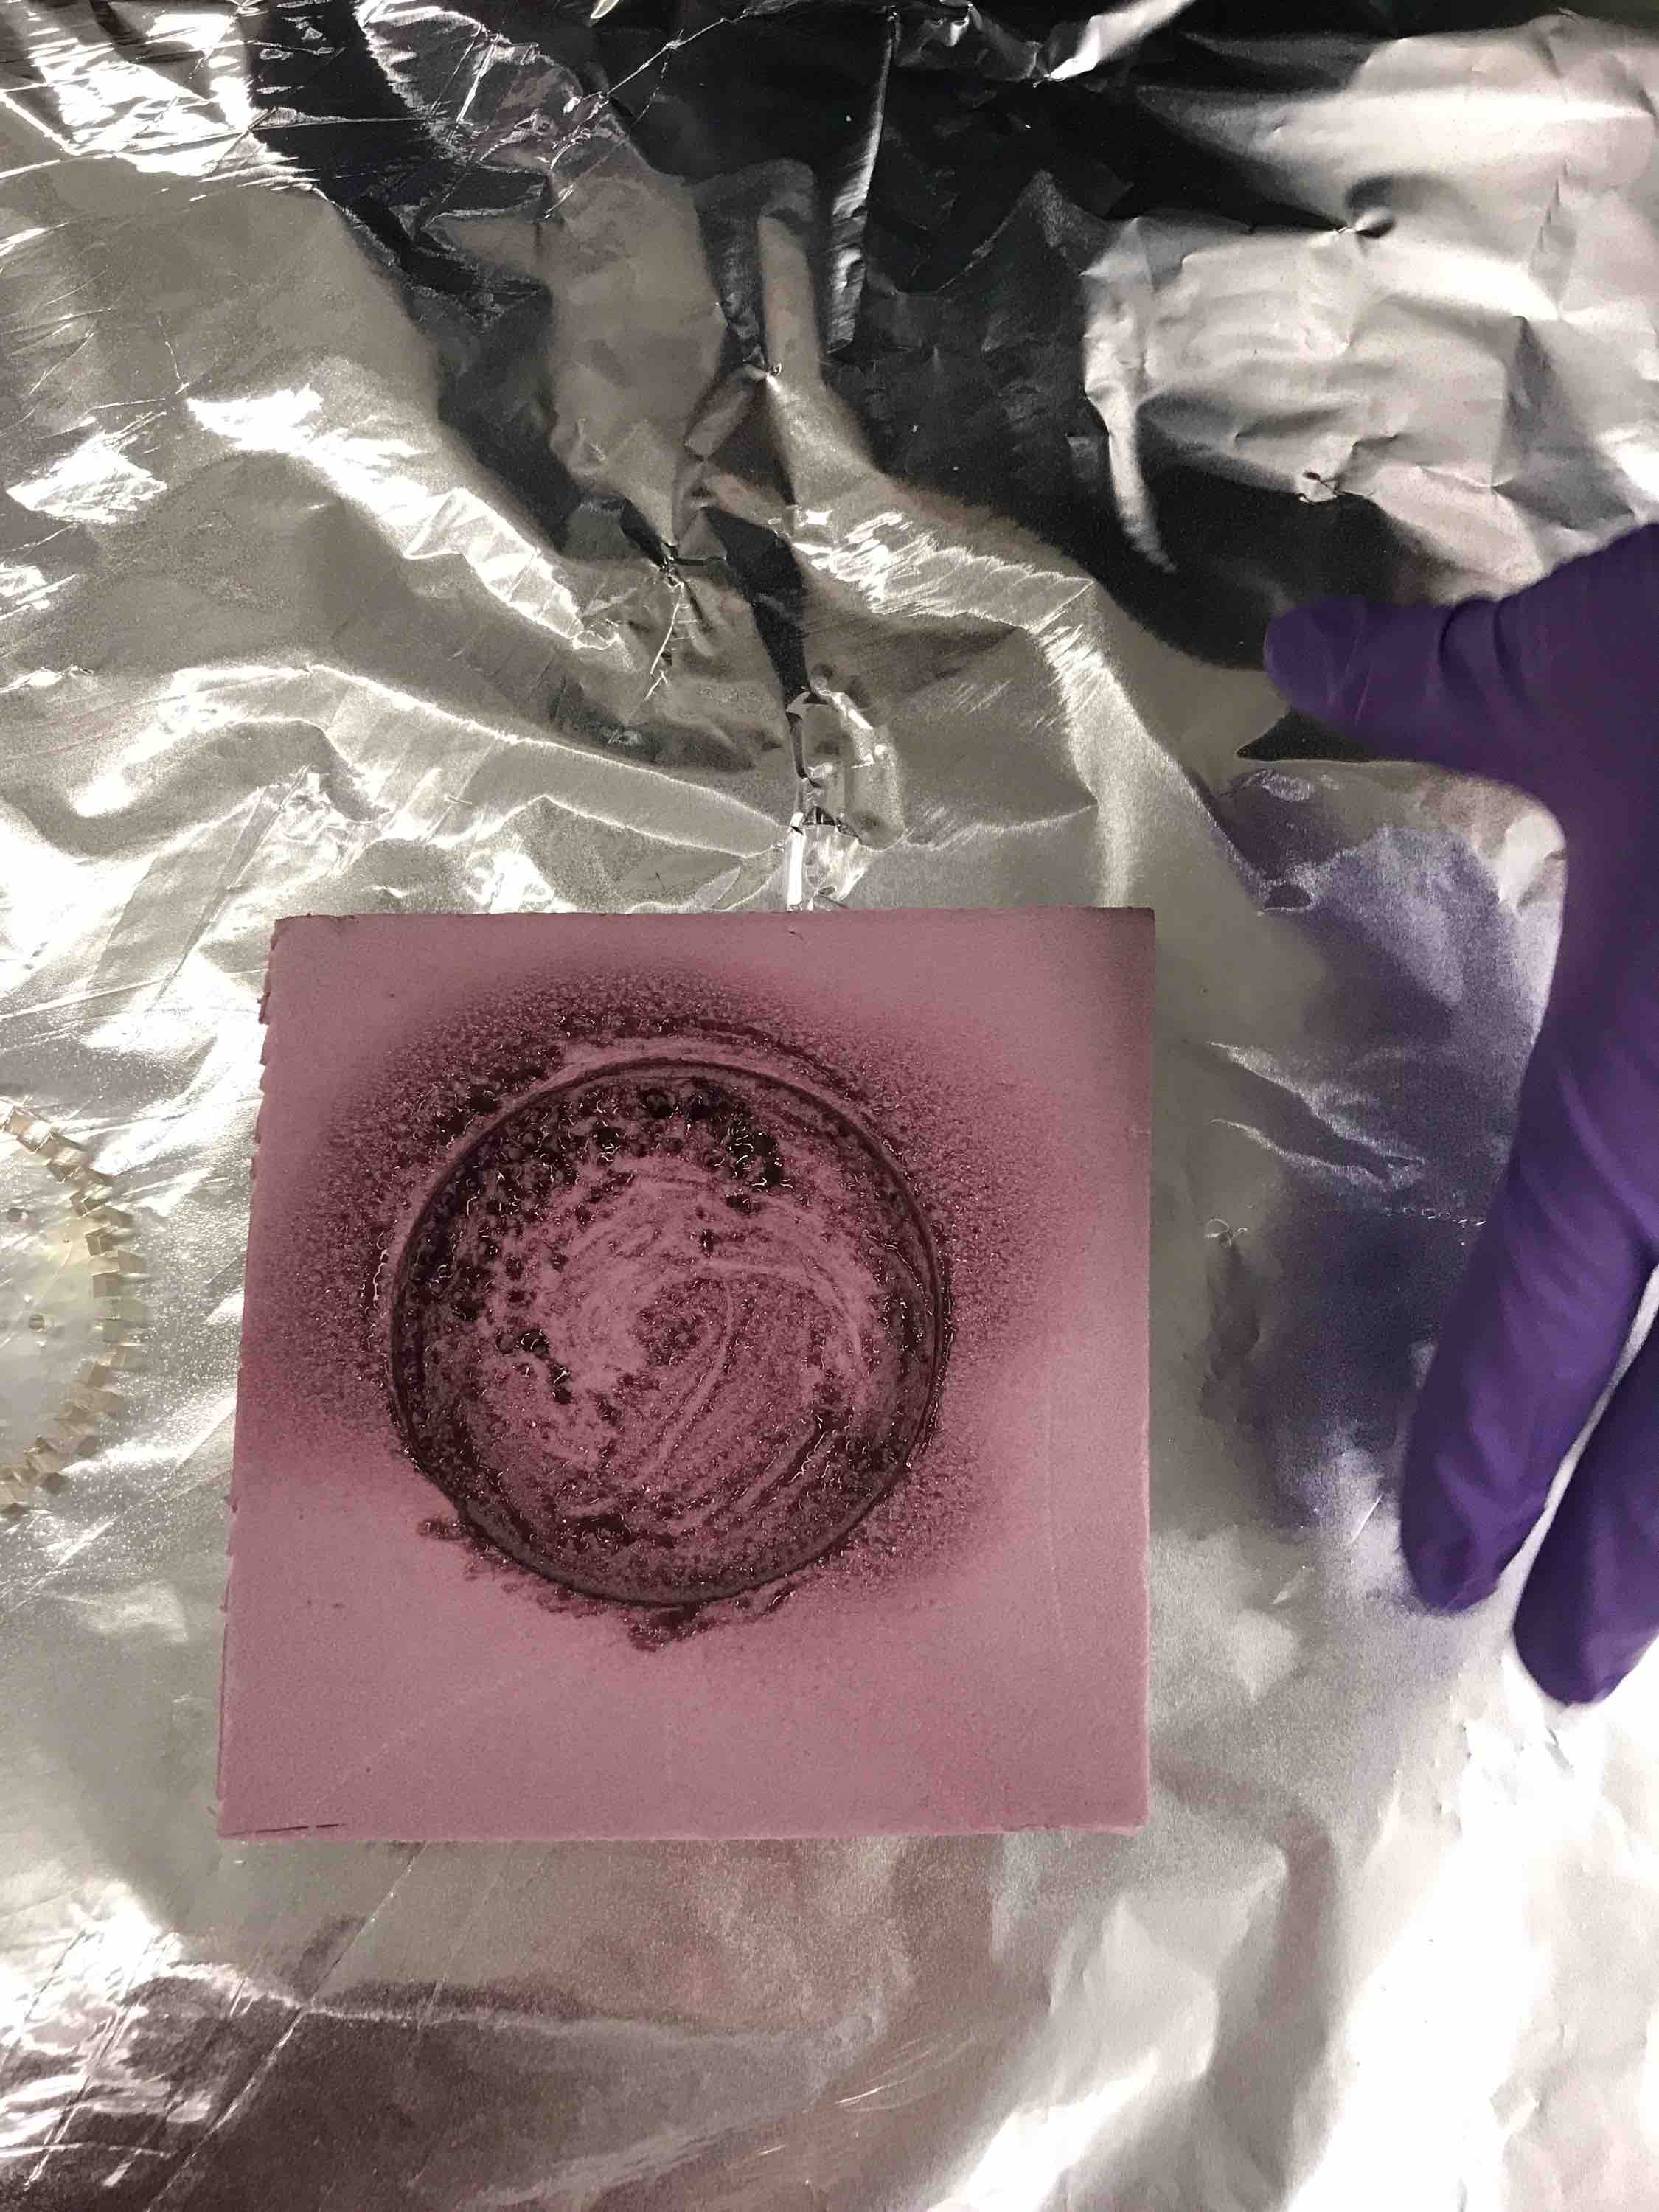
We didn't realize that we could not spray the styrofoam directly at first, and it ended up a little corroded, like this:
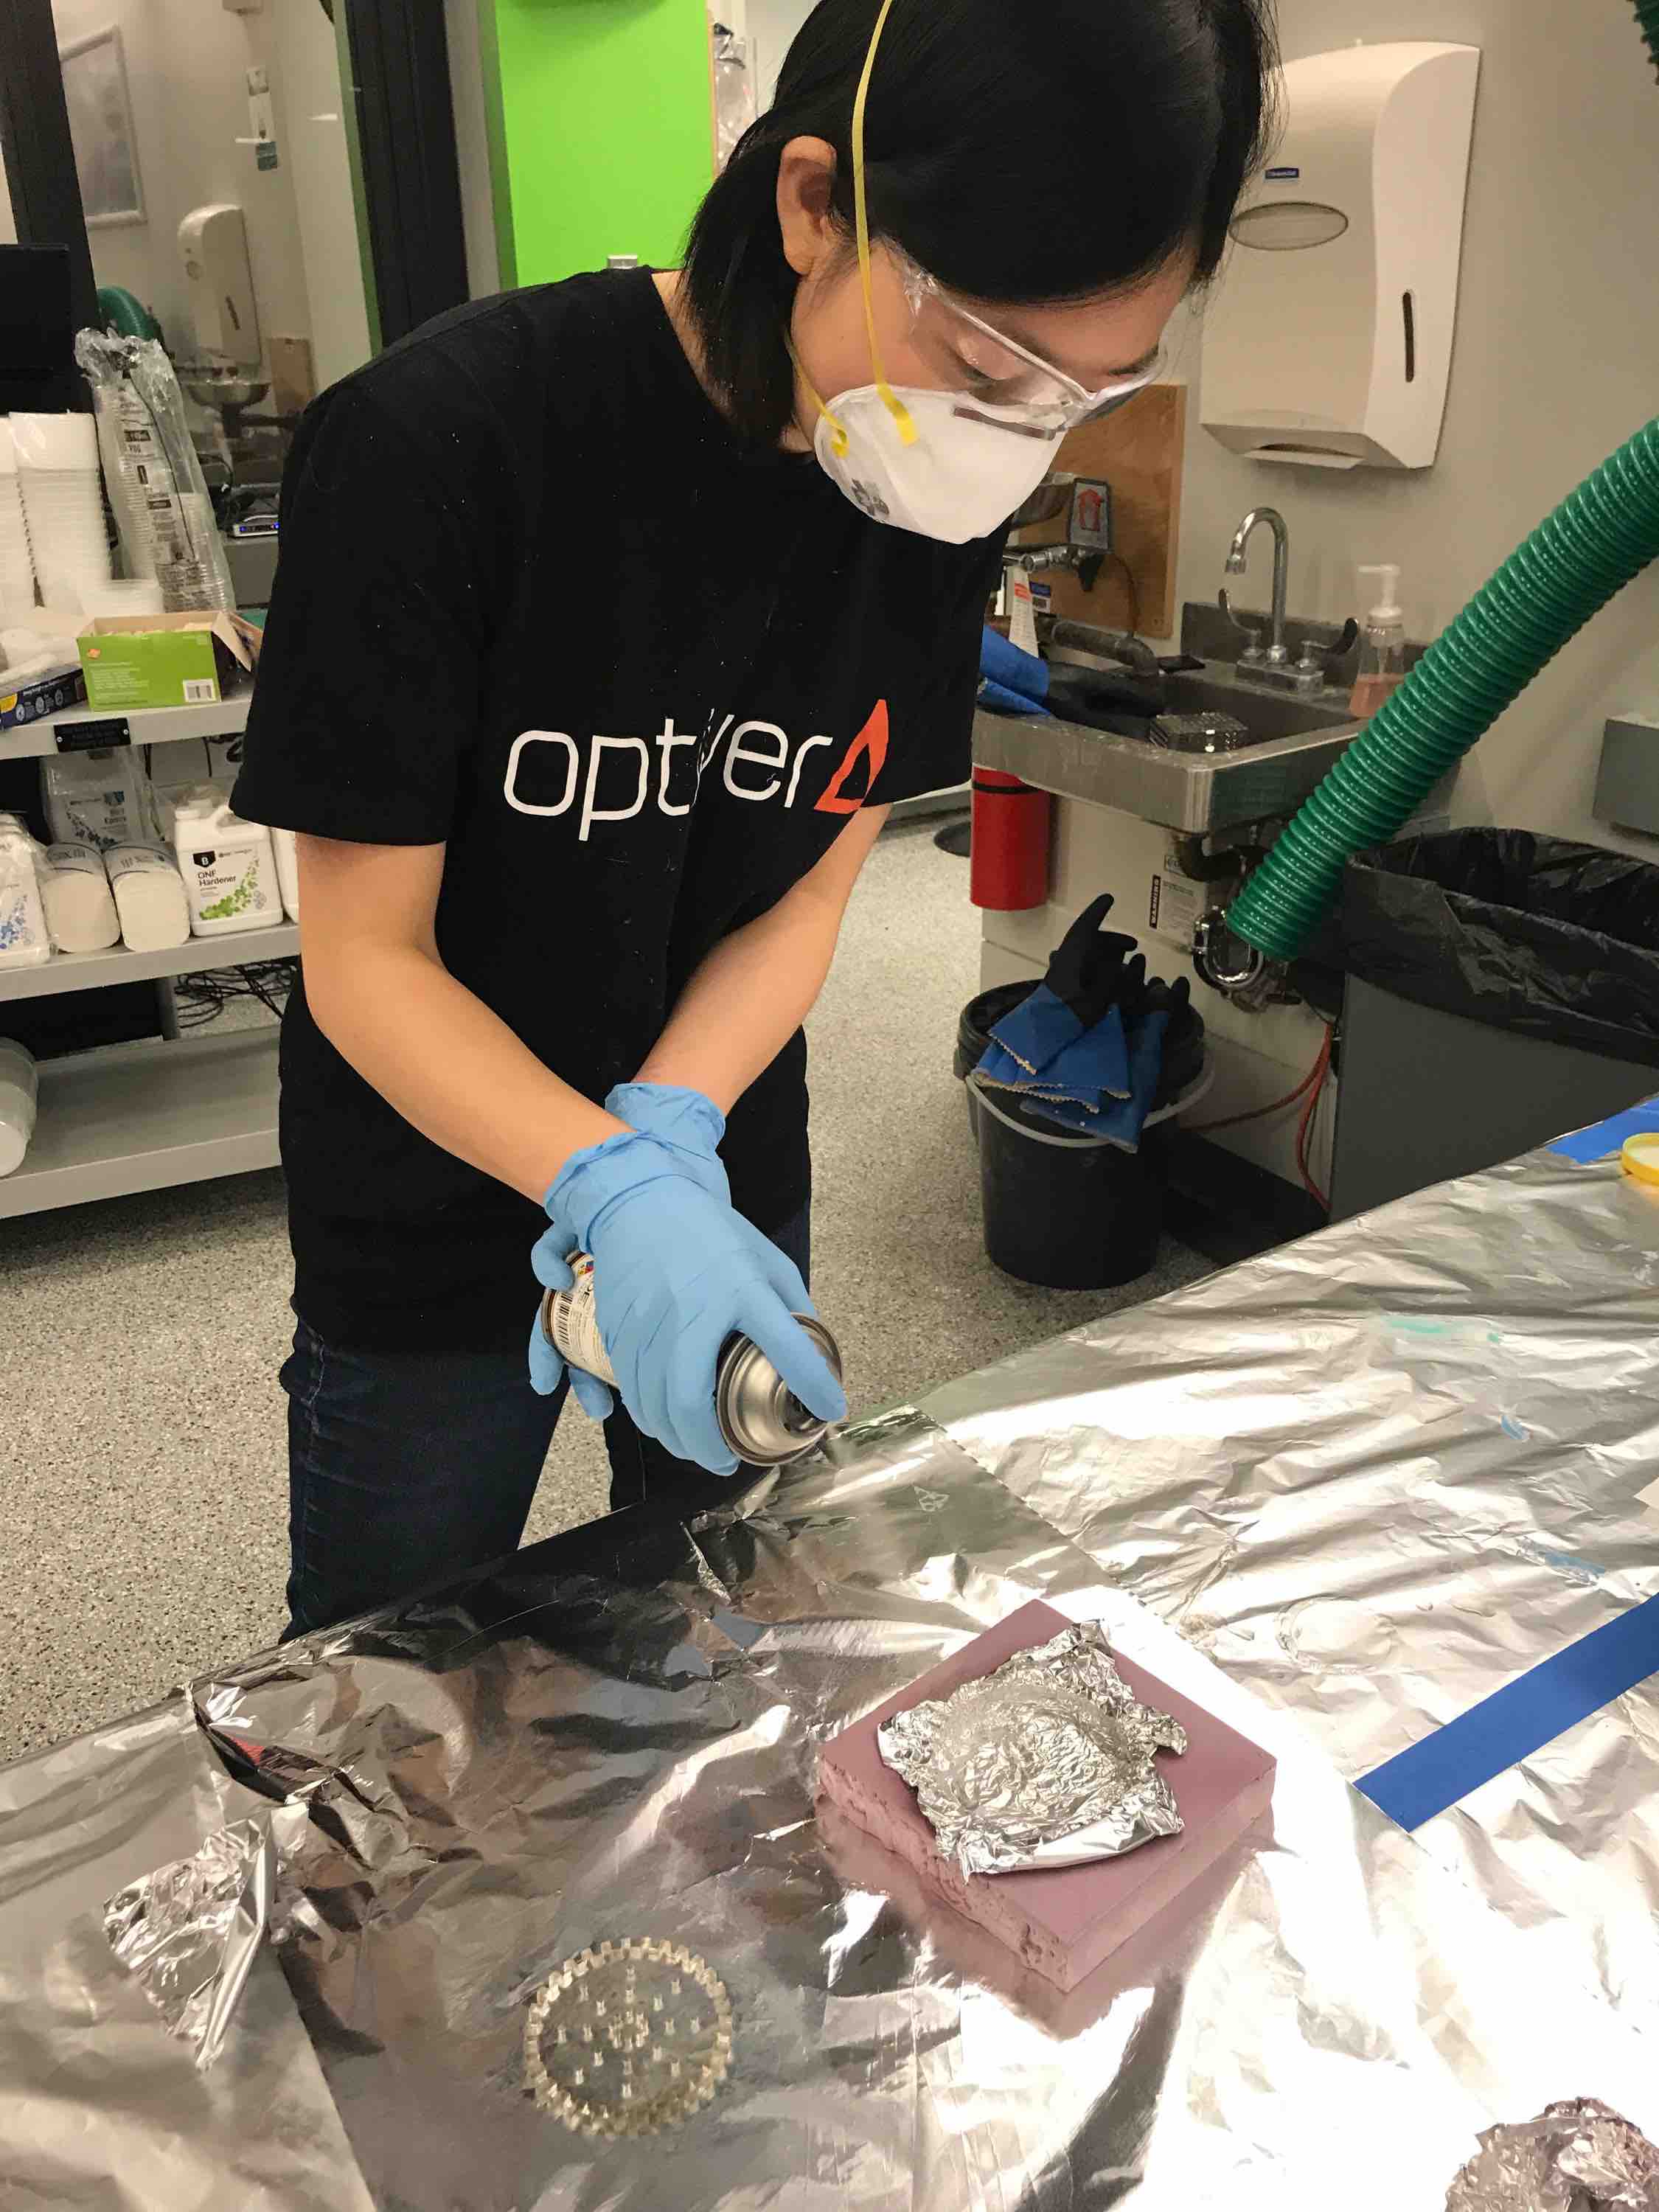
We then figured out that the aluminum foil wrapping step was not optional and sprayed the epoxy on the aluminum foil instead.
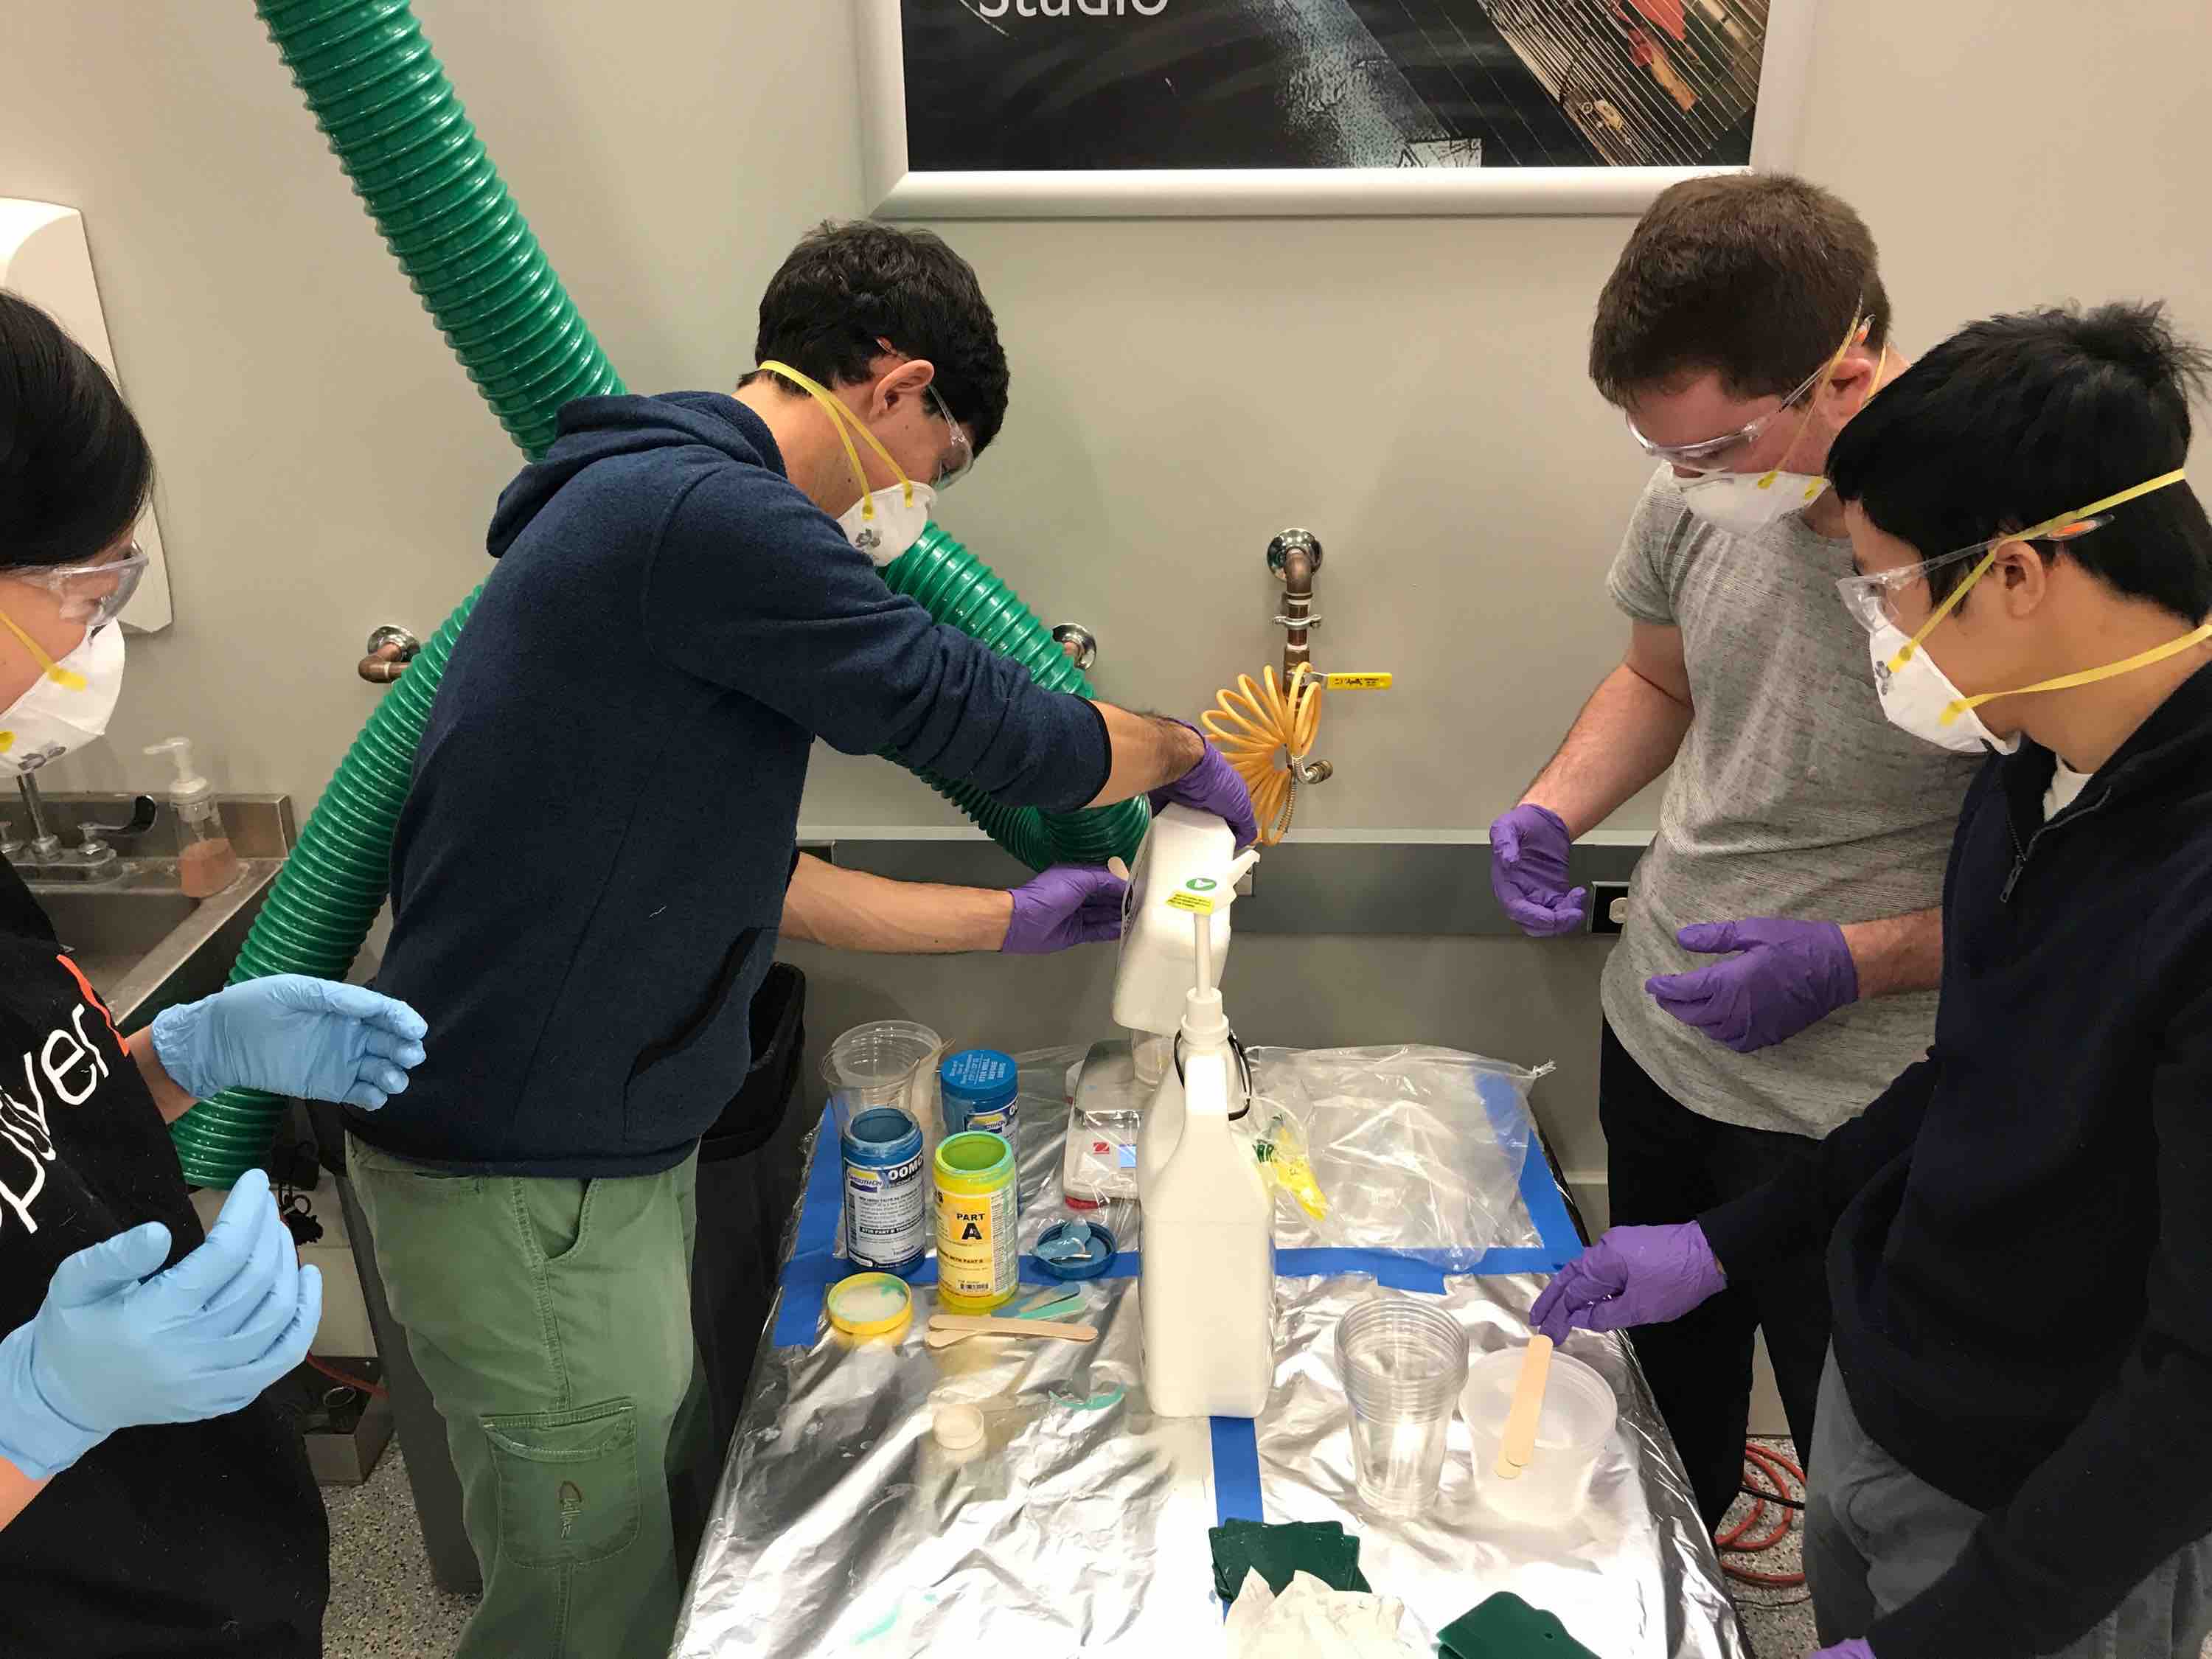
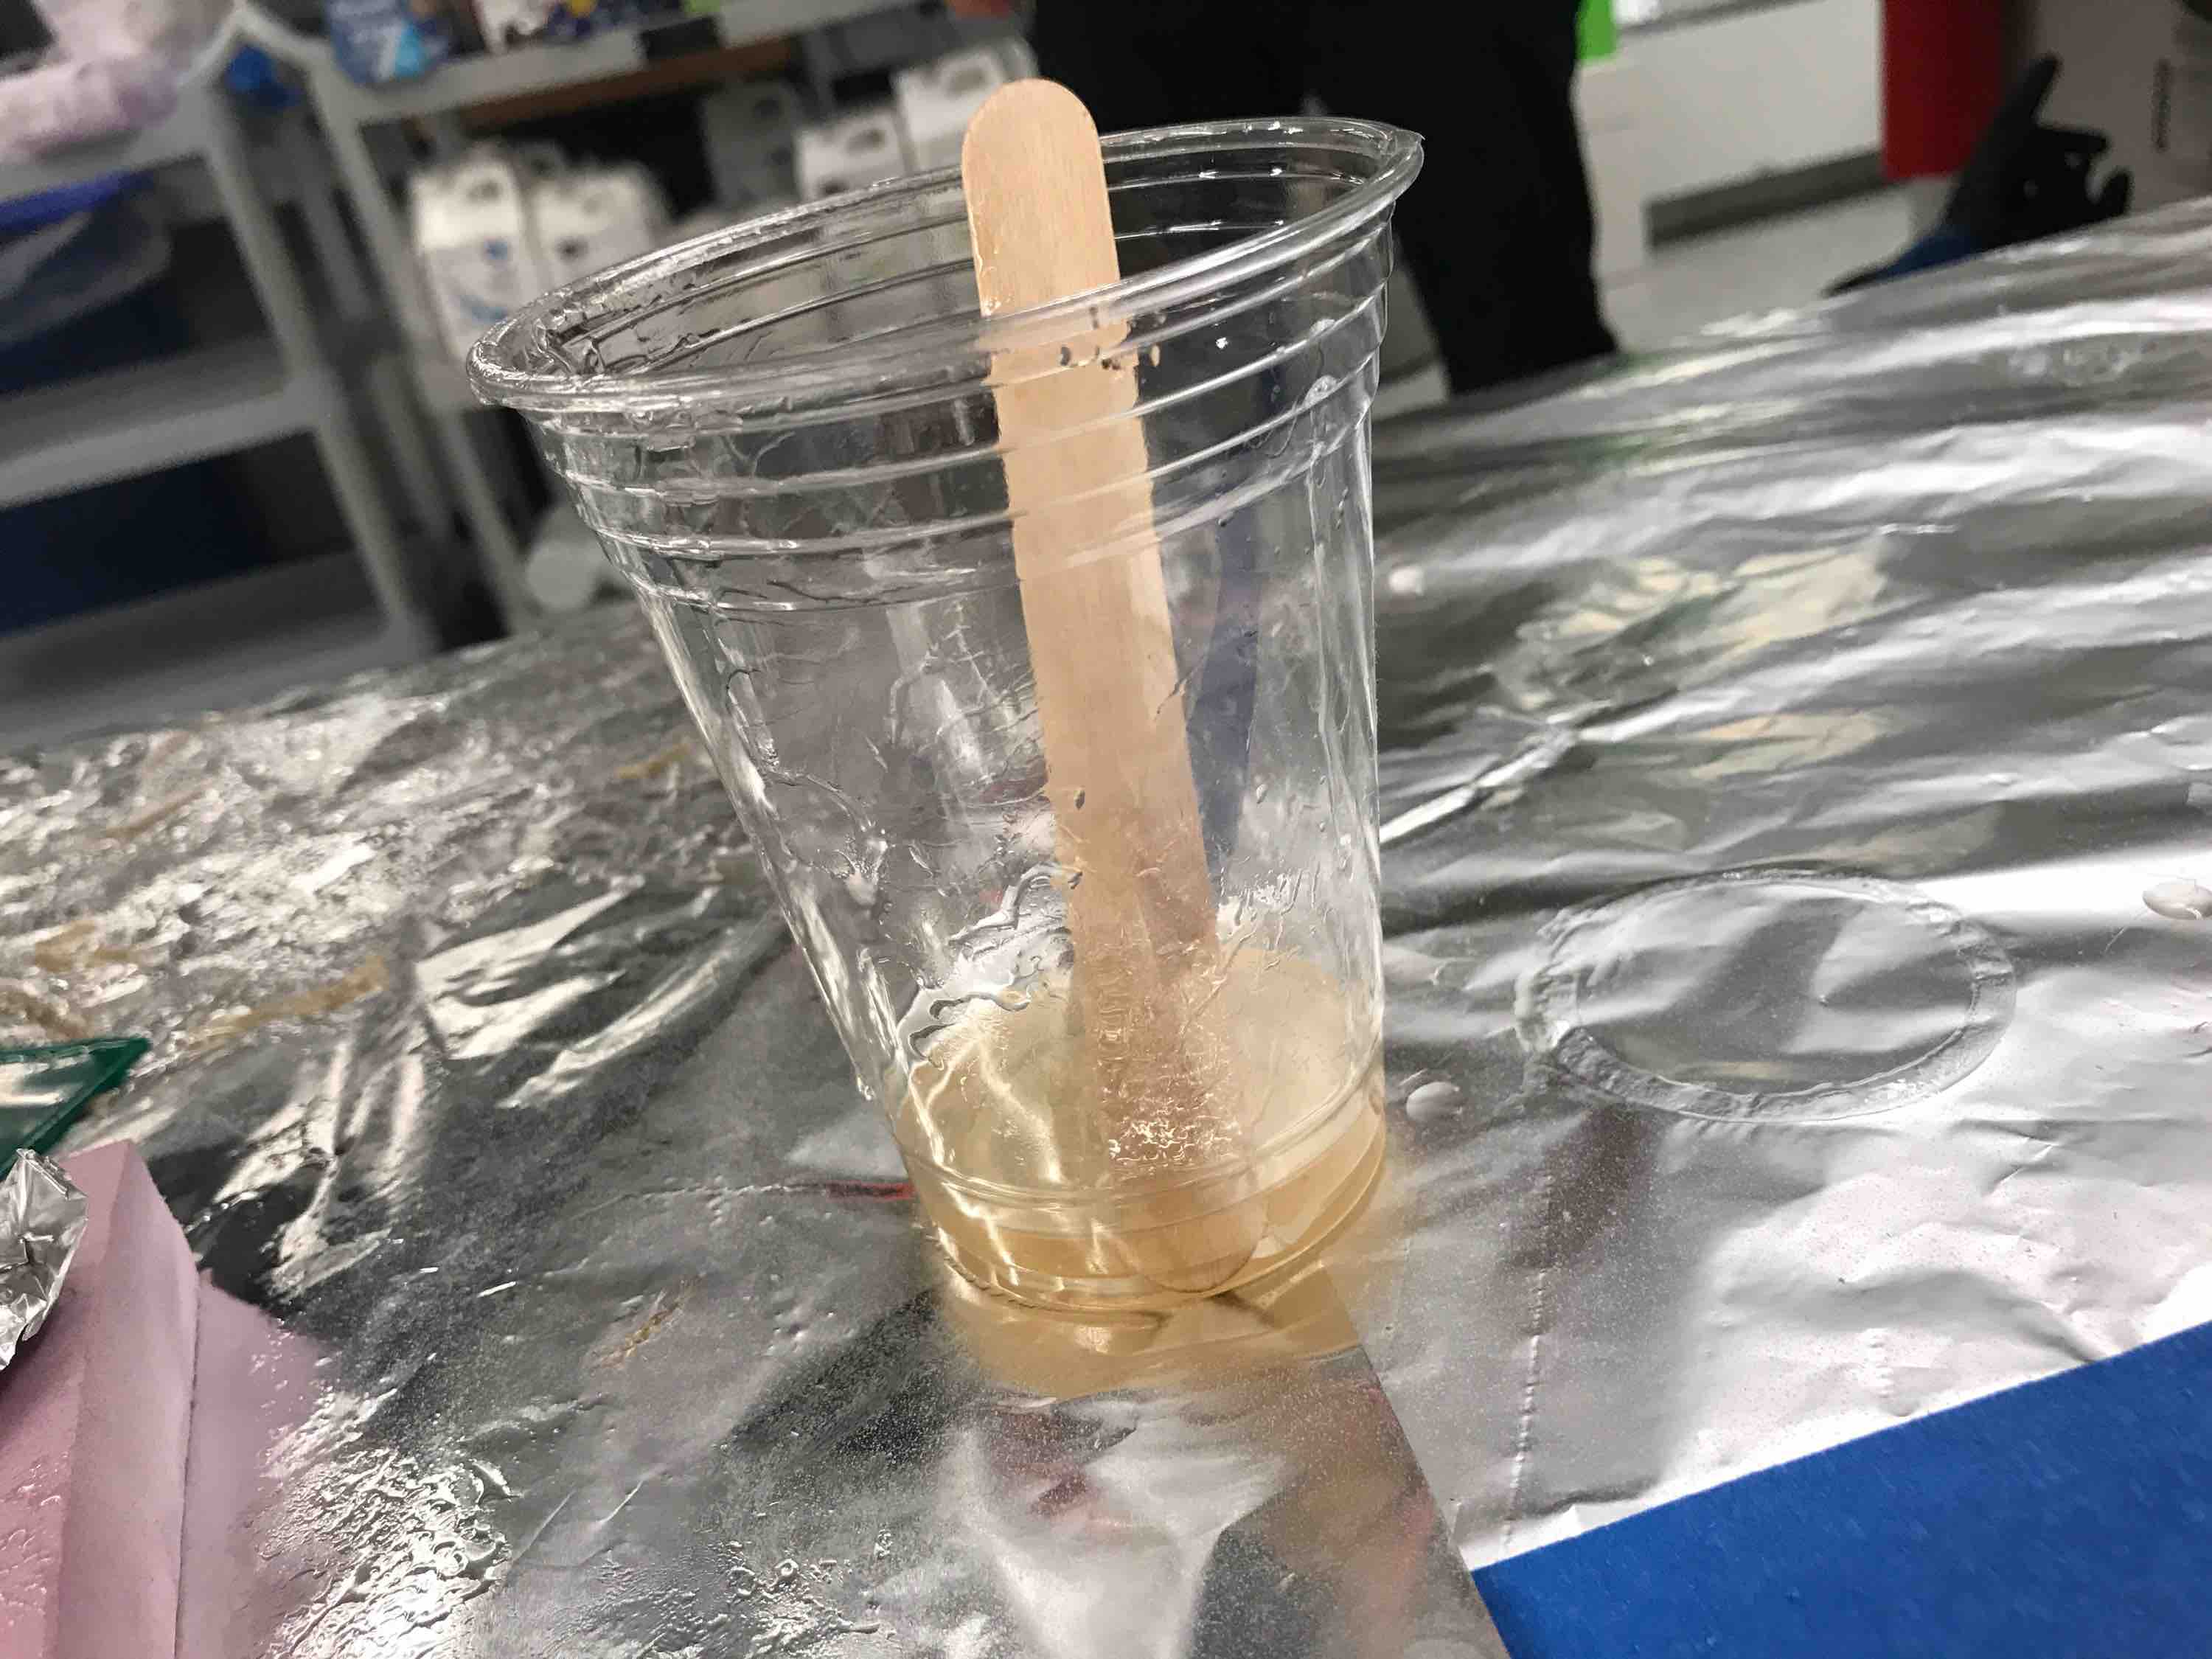
Next, we mixed the resin by mass per the instructions on the two bottles. Unlike with the Oomoo, the resin had a very long workable period and it didn't matter as much if there were bubbles since we were going to lather it on the burlap anyway, so this part was much easier than for making molds. The resin ended up having a light golden color.
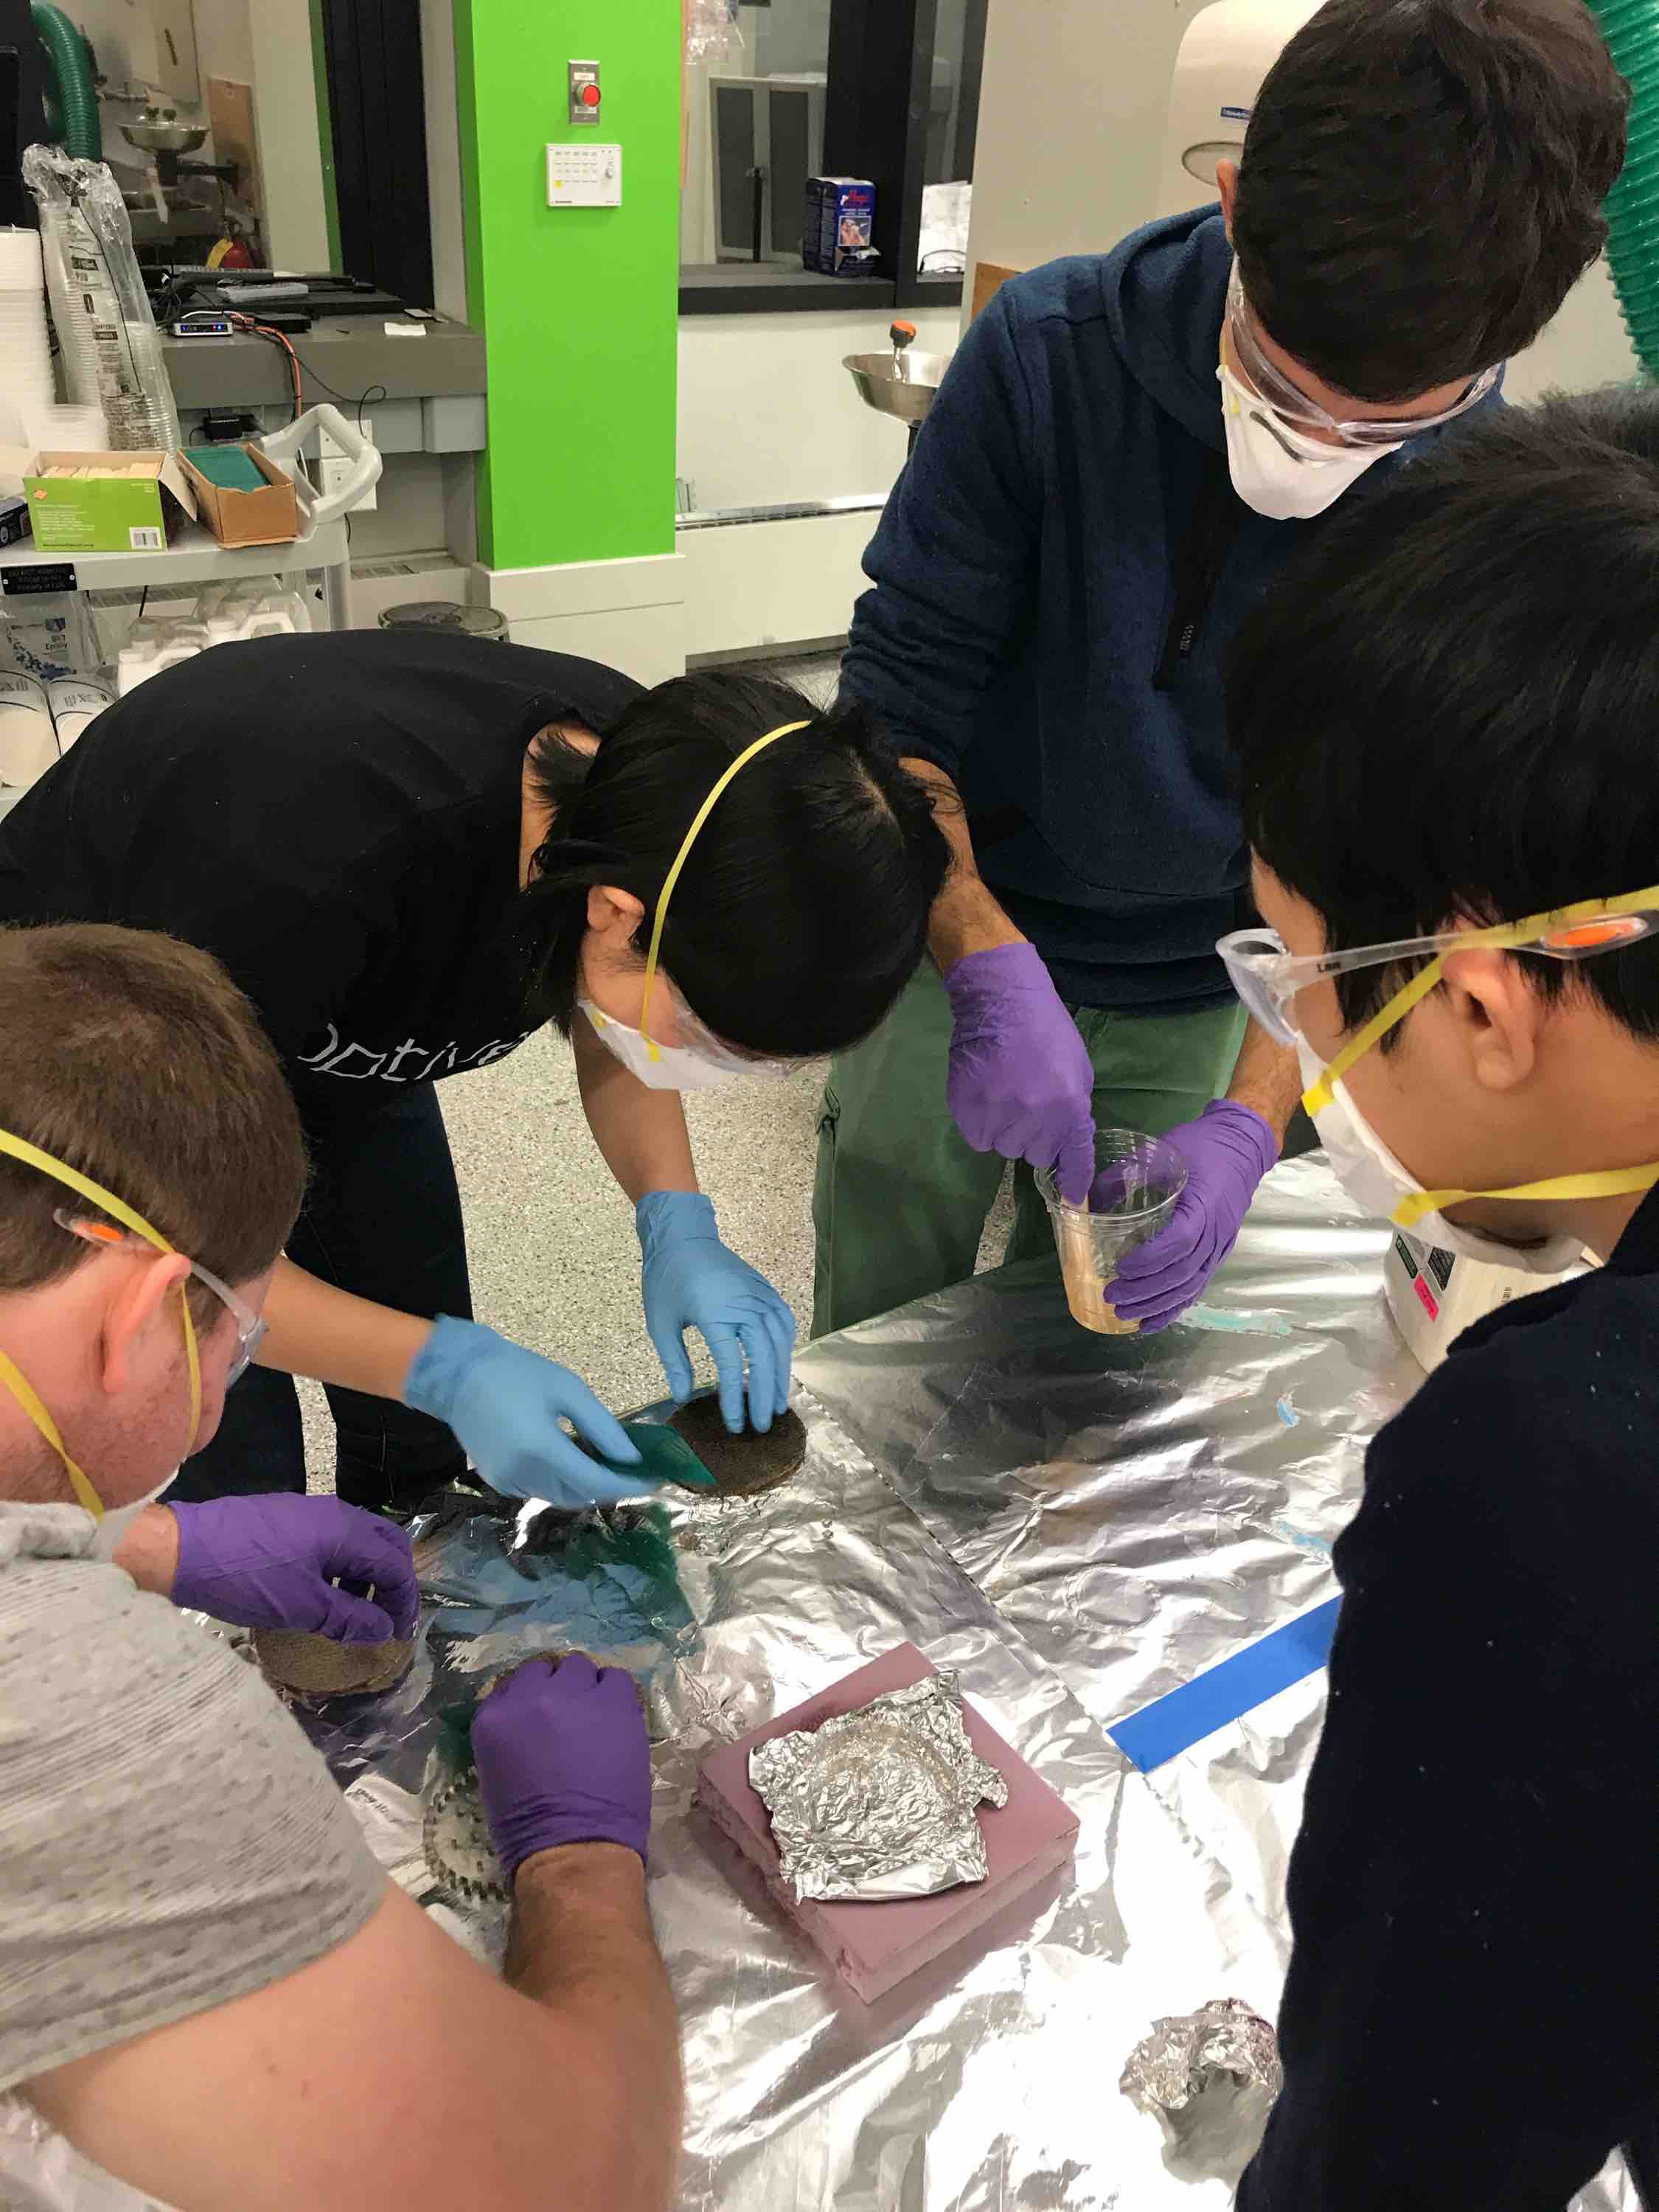
We then used the flat plastic tools to evenly wet the burlap layers with the resin and then we pressed the layers together on top of the aluminum foil of the mold.

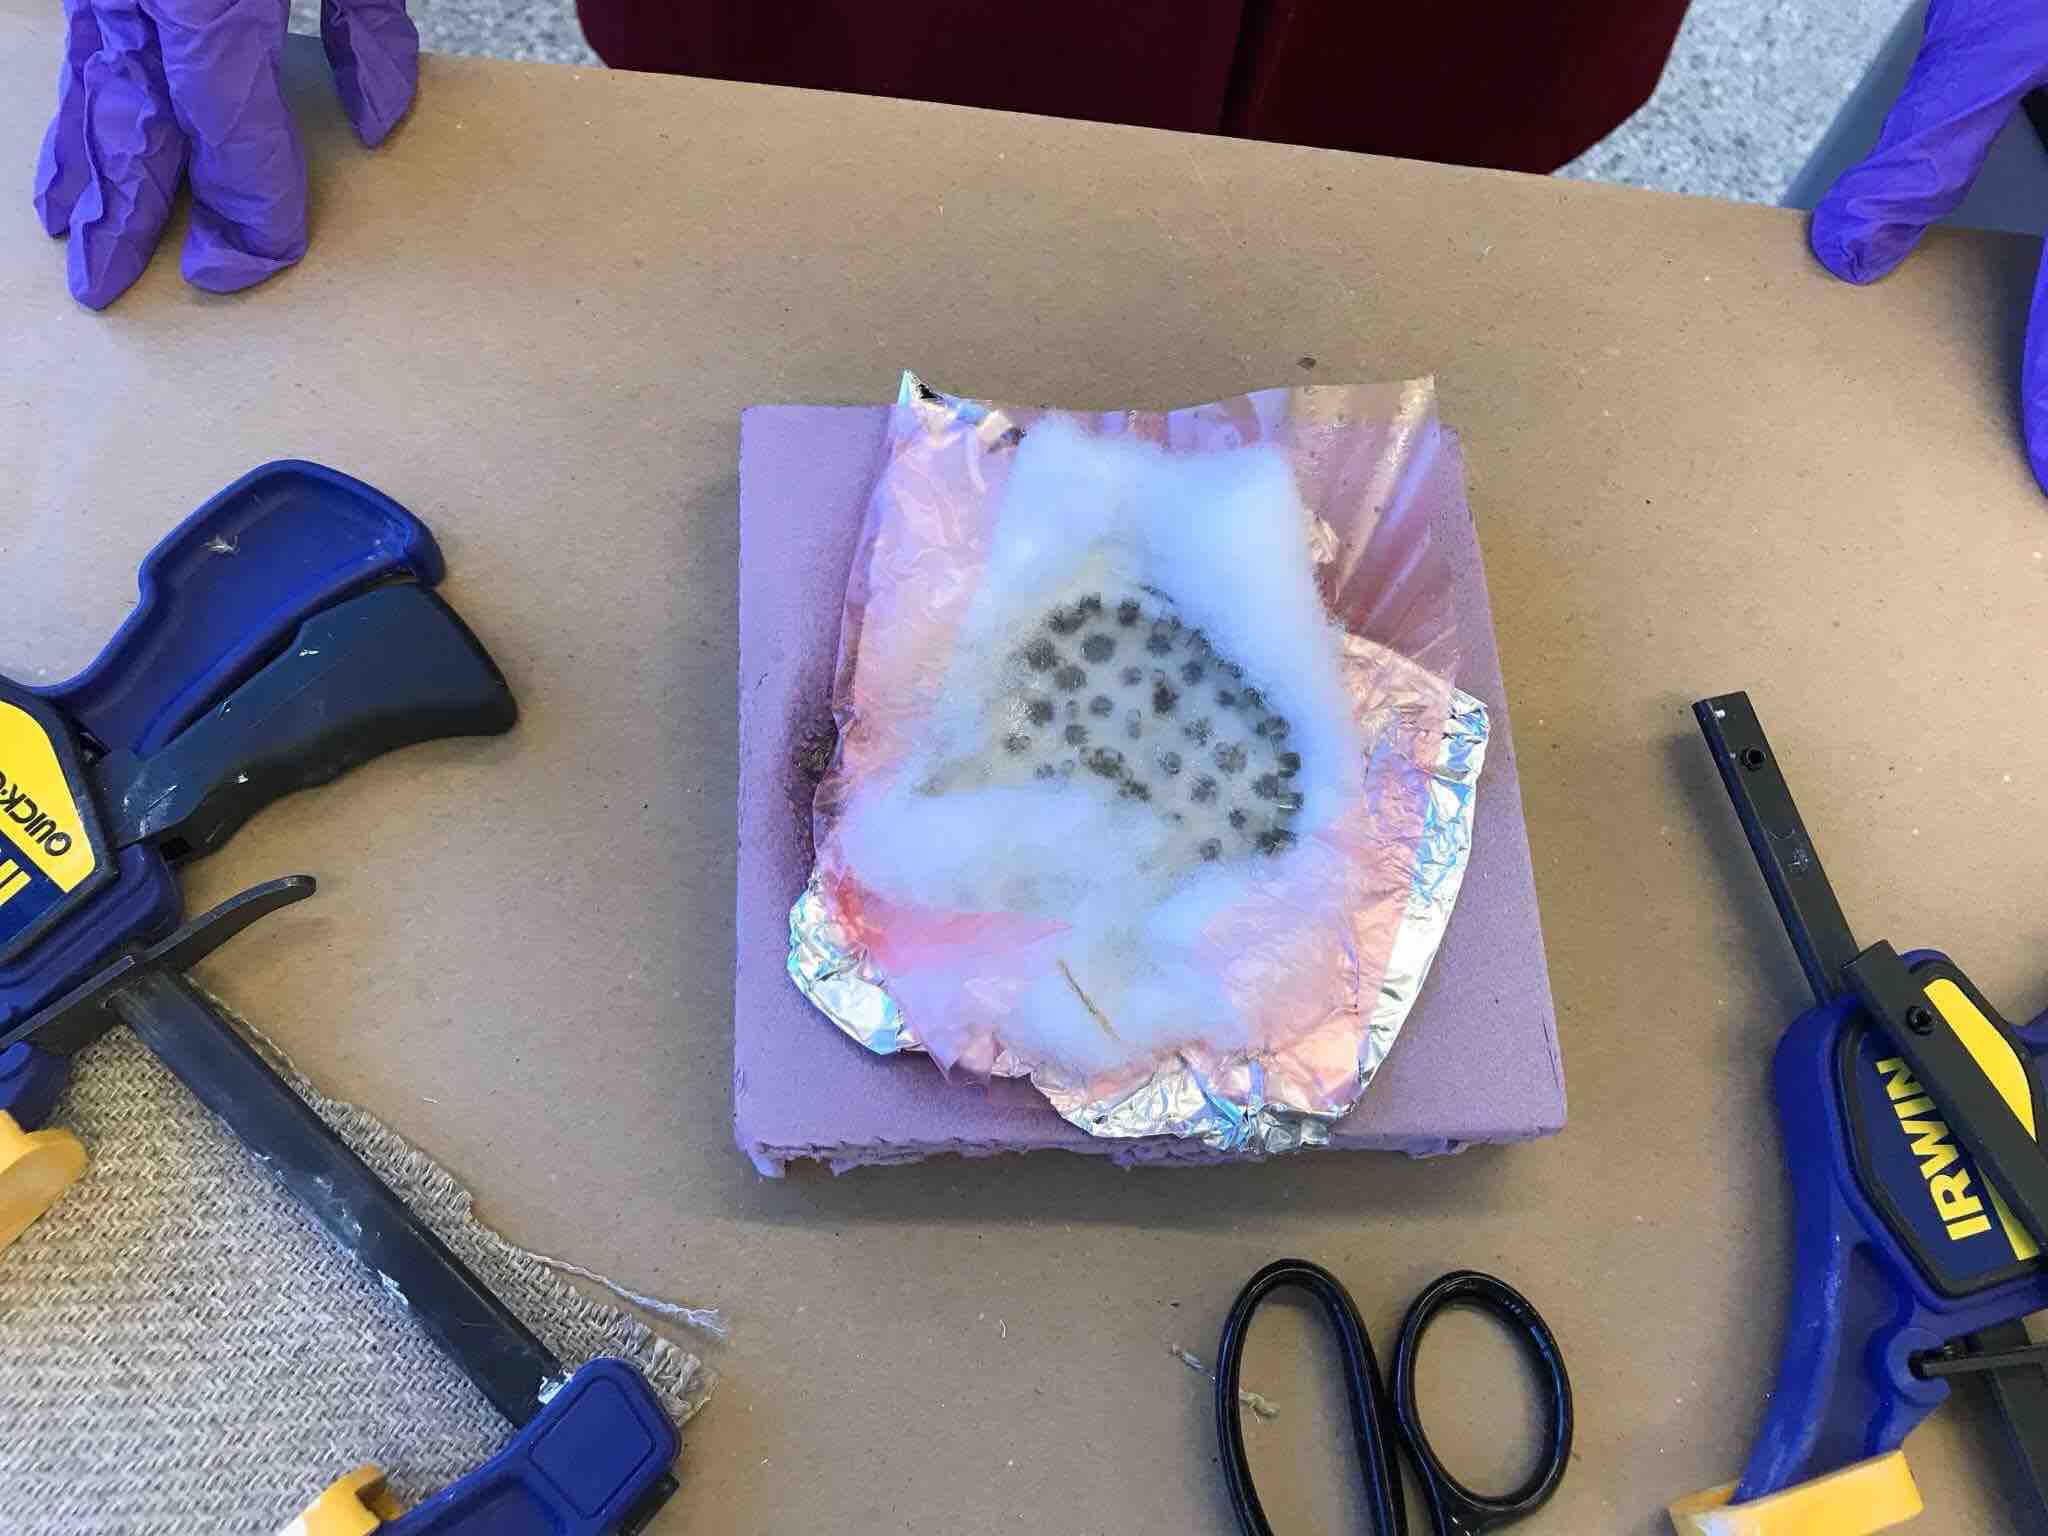
We then added the top layers of protective film (to prevent the resin from sticking), cotton (to soak up the resin), and acrylic top press to enforce the shape. Only the top protective film layer is shown here since all of our hands were too sticky with resin to take pictures:

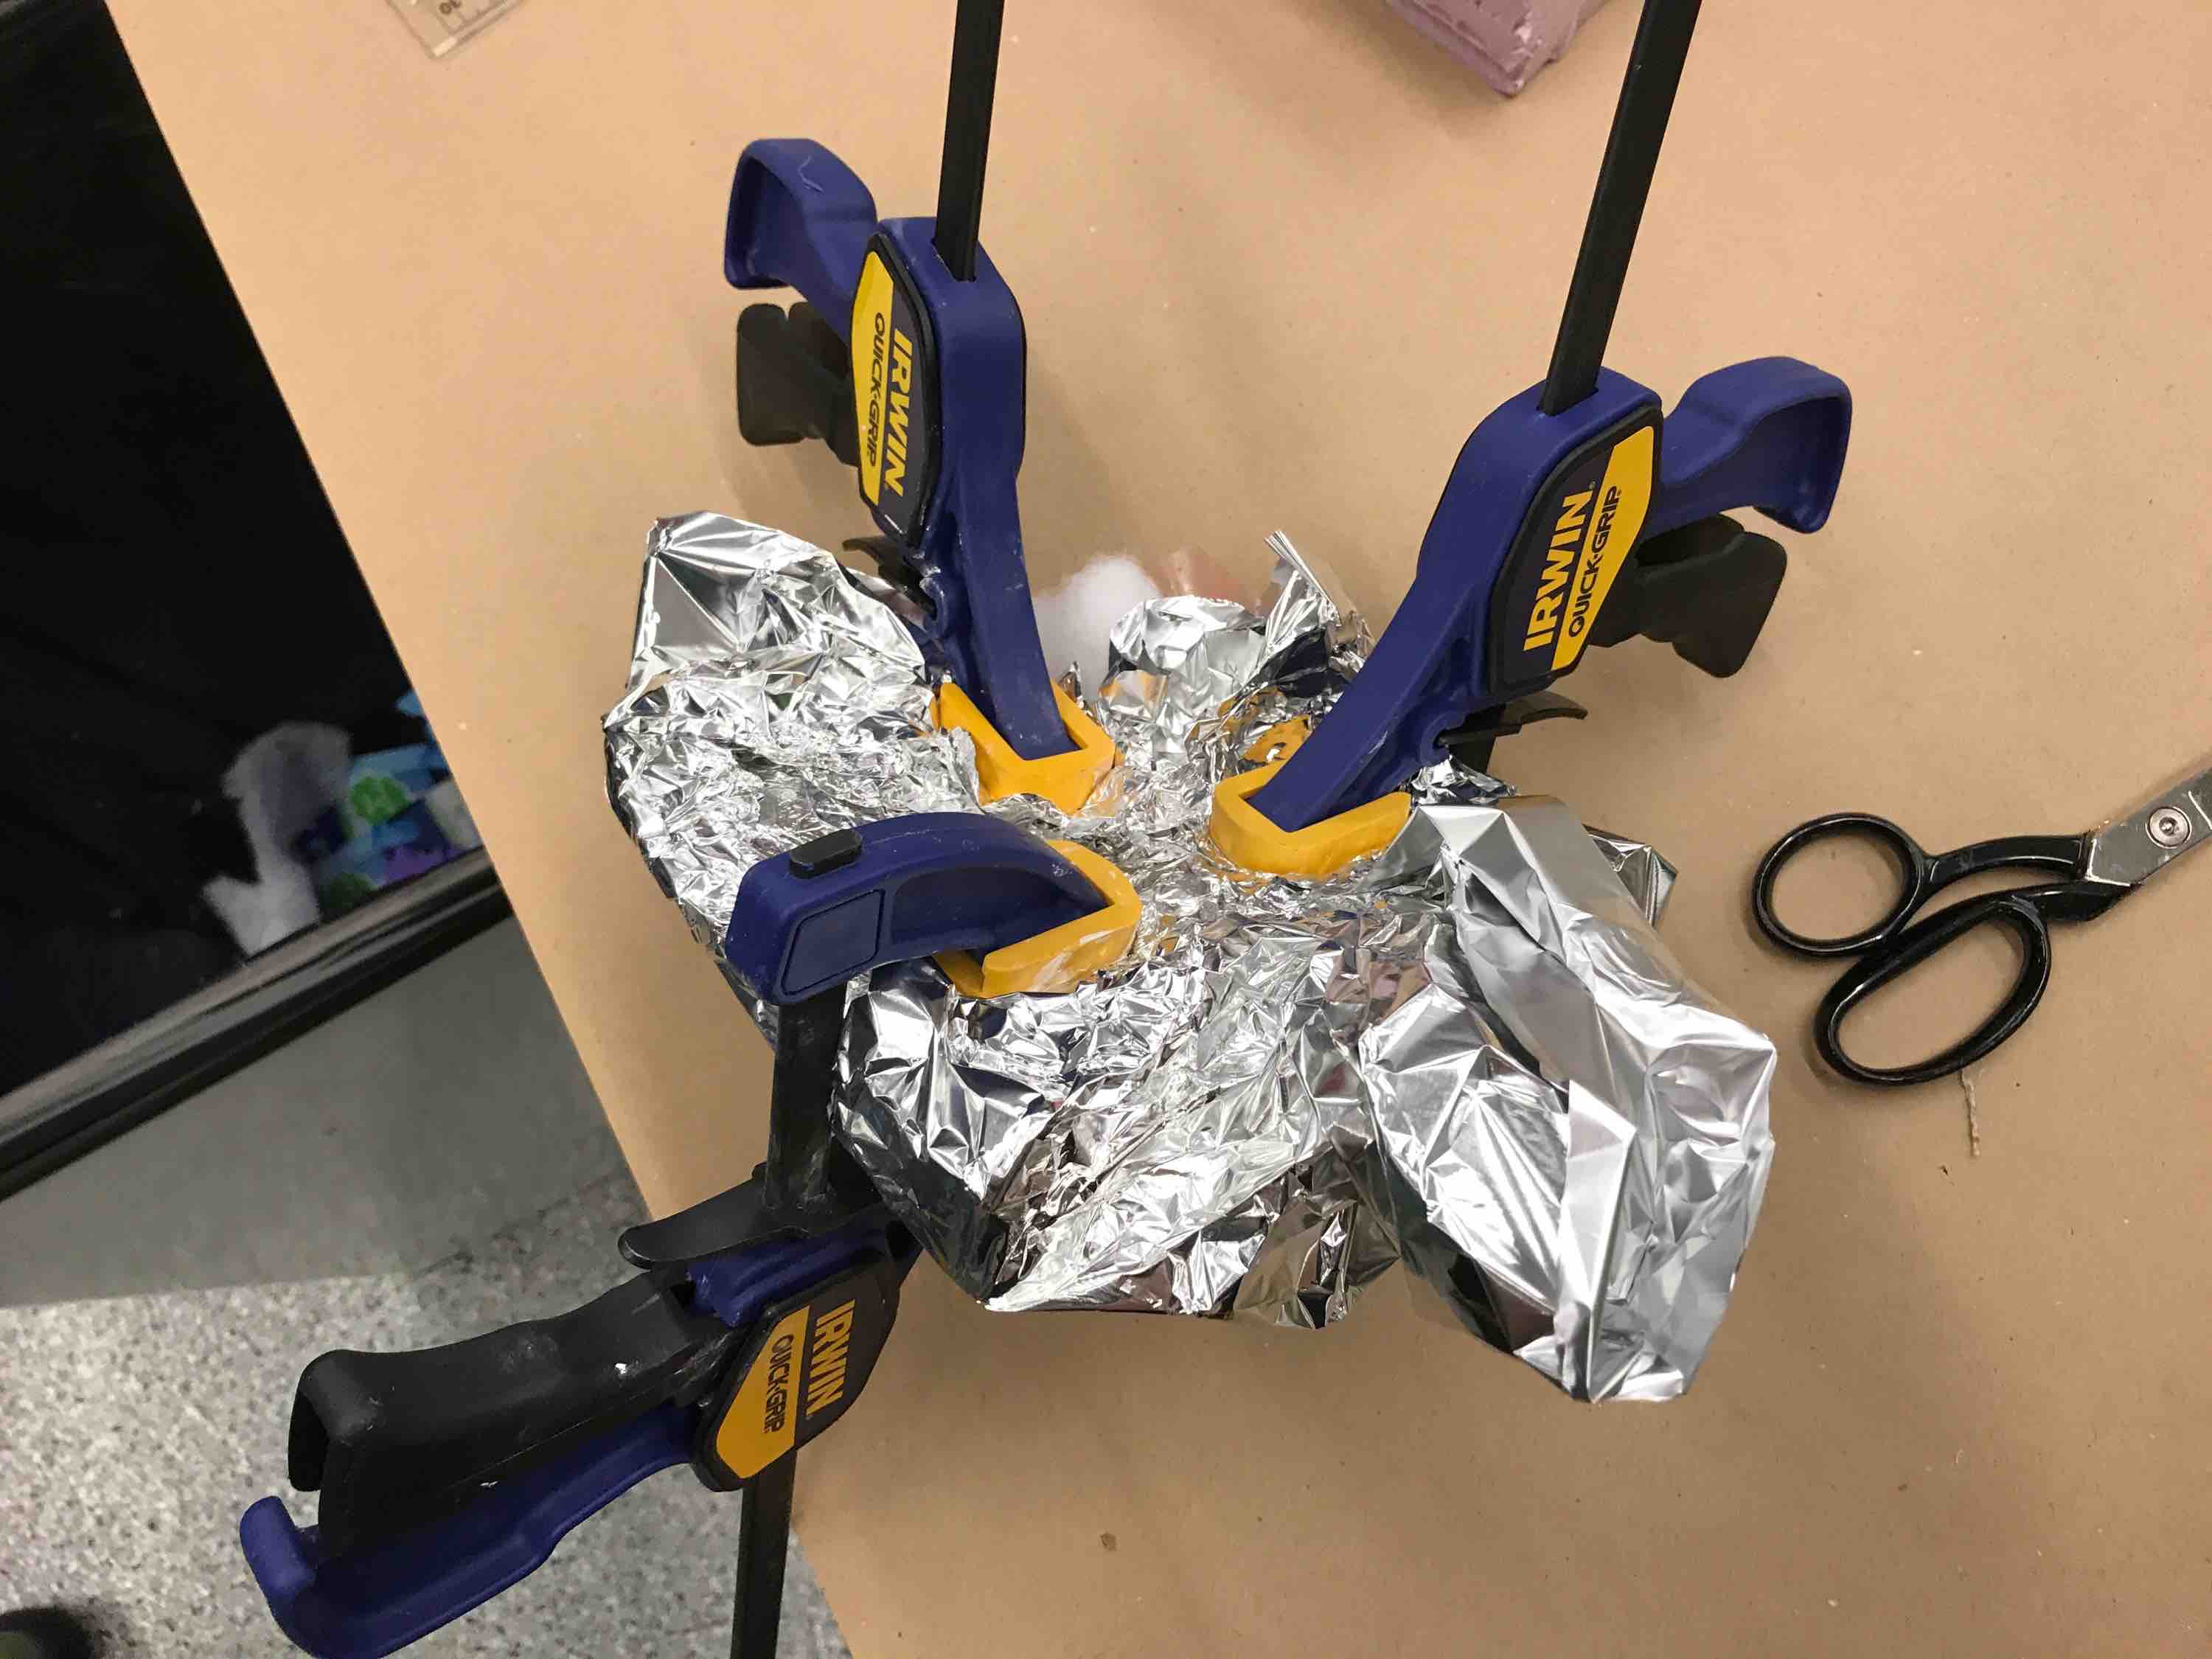
We then wrapped the entire thing with aluminum foil to prevent any resin from leaking out and clamped the entire object evenly from four sides. We left it to sit overnight.
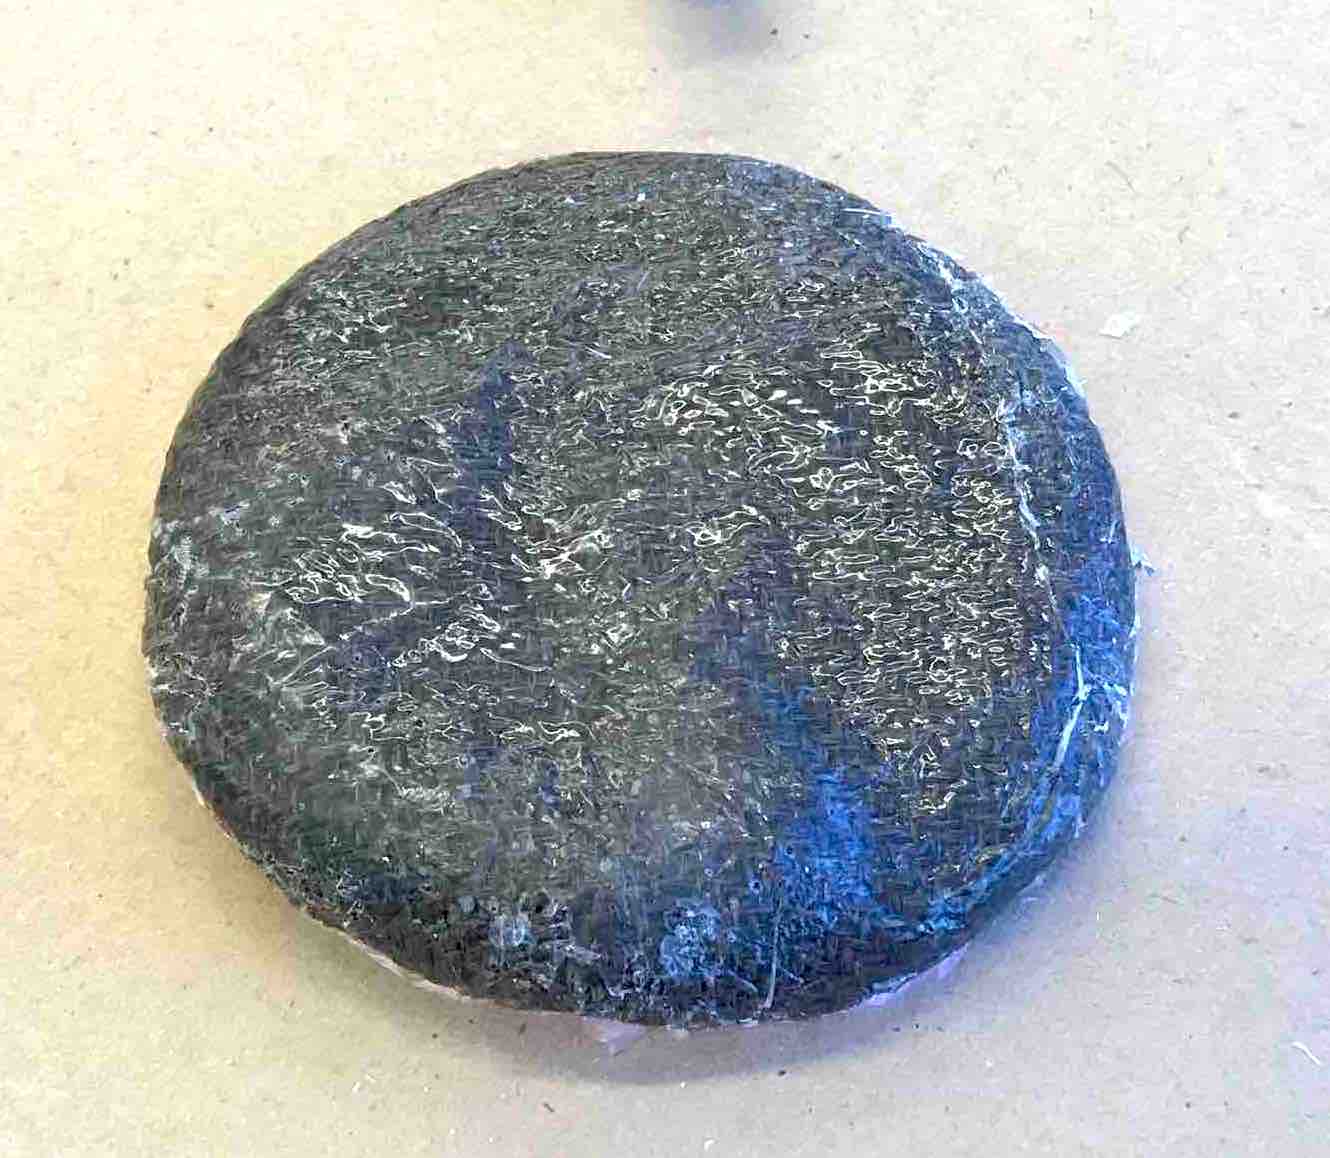
We unwrapped it on the following day. The aluminum was very easy to peel off of the burlap/resin composite but a lot of the cotton fluff had stuck through the protective film and took some time to get off. The final product was very hard and sturdy. The resin is very shiny and glossy under the light, but since the surface wasn't very smooth, it's a bit hard to see with all the ridges and dents in the burlap structure.