Week 3: PCB Milling and Assembly
PCB Milling
Please see Alexandre's site for a detailed description of our group project. I used Brian's tutorial for the programmer. The mini CNC milling machine (SRM-20) took a bit of time to configure correctly. The first time I attempted to do the tracing, the 1/64 bit didn't got through the copper to the laminate, so it ended up looking more like an etching:
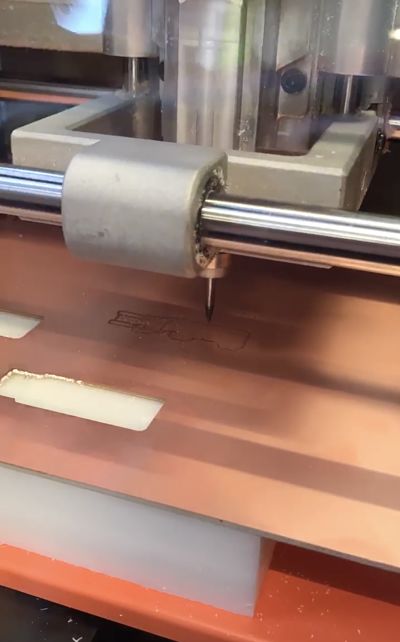
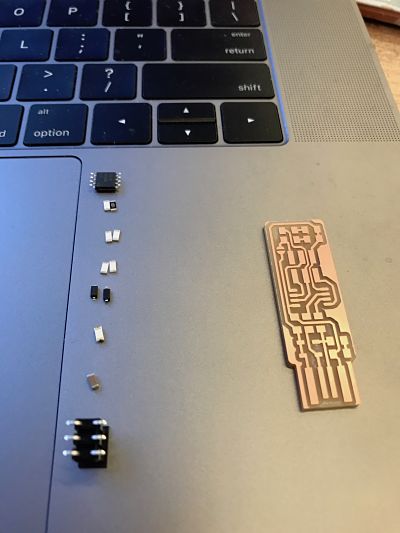
I used the 1/32 bit to cut out the board. There were a few small areas of excess copper, which I carved out using an exacto knife later on.

Soldering
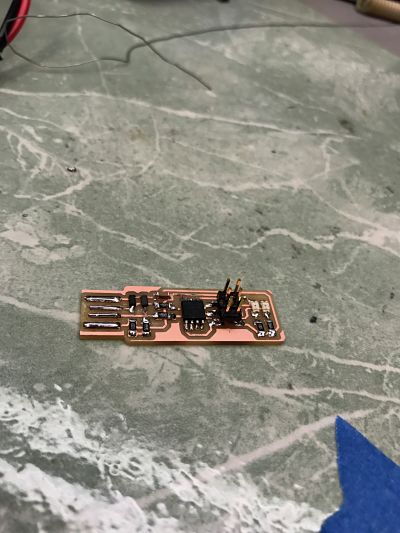
Since I've had previous experience with soldering small components on a chip, this step was fairly successful. I had one short below my red LED that I ended up debugging using the multimeter. I also unknowingly blew up my green LED by putting the soldering iron on it for too long. The soldering tweezer-irons were very helpful in removing small parts.
Programming
During the programming process, I discovered several weak joints that I had to fix. When I first plugged in the PCB, the green LED was very weakly glowing. I realized that my ATtiny had a weak joint and fixed it. The connection to the USB port was also sometimes flakey, so I had to add more solder to the four stripes where the PCB contacts the port to increase connectivity.
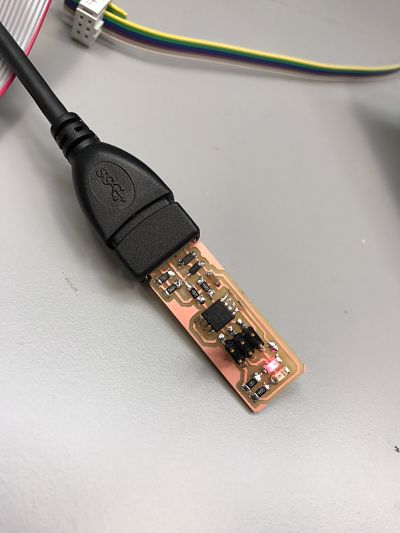
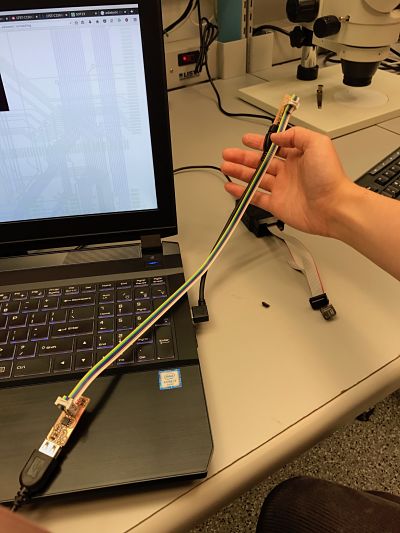
We were able to successfully program my programmer through a computer and via another programmer.