Week [0,∞]: Fab-In-A-Box Development
Throughout the semester, Morris and I worked together on taking Ilan Moyer's Fab-In-A-Box to the next level.
Follow below our exploration as we develop multiple tool-heads and an ease of assembly and diassembly!
Researching Background and Gathering Resources
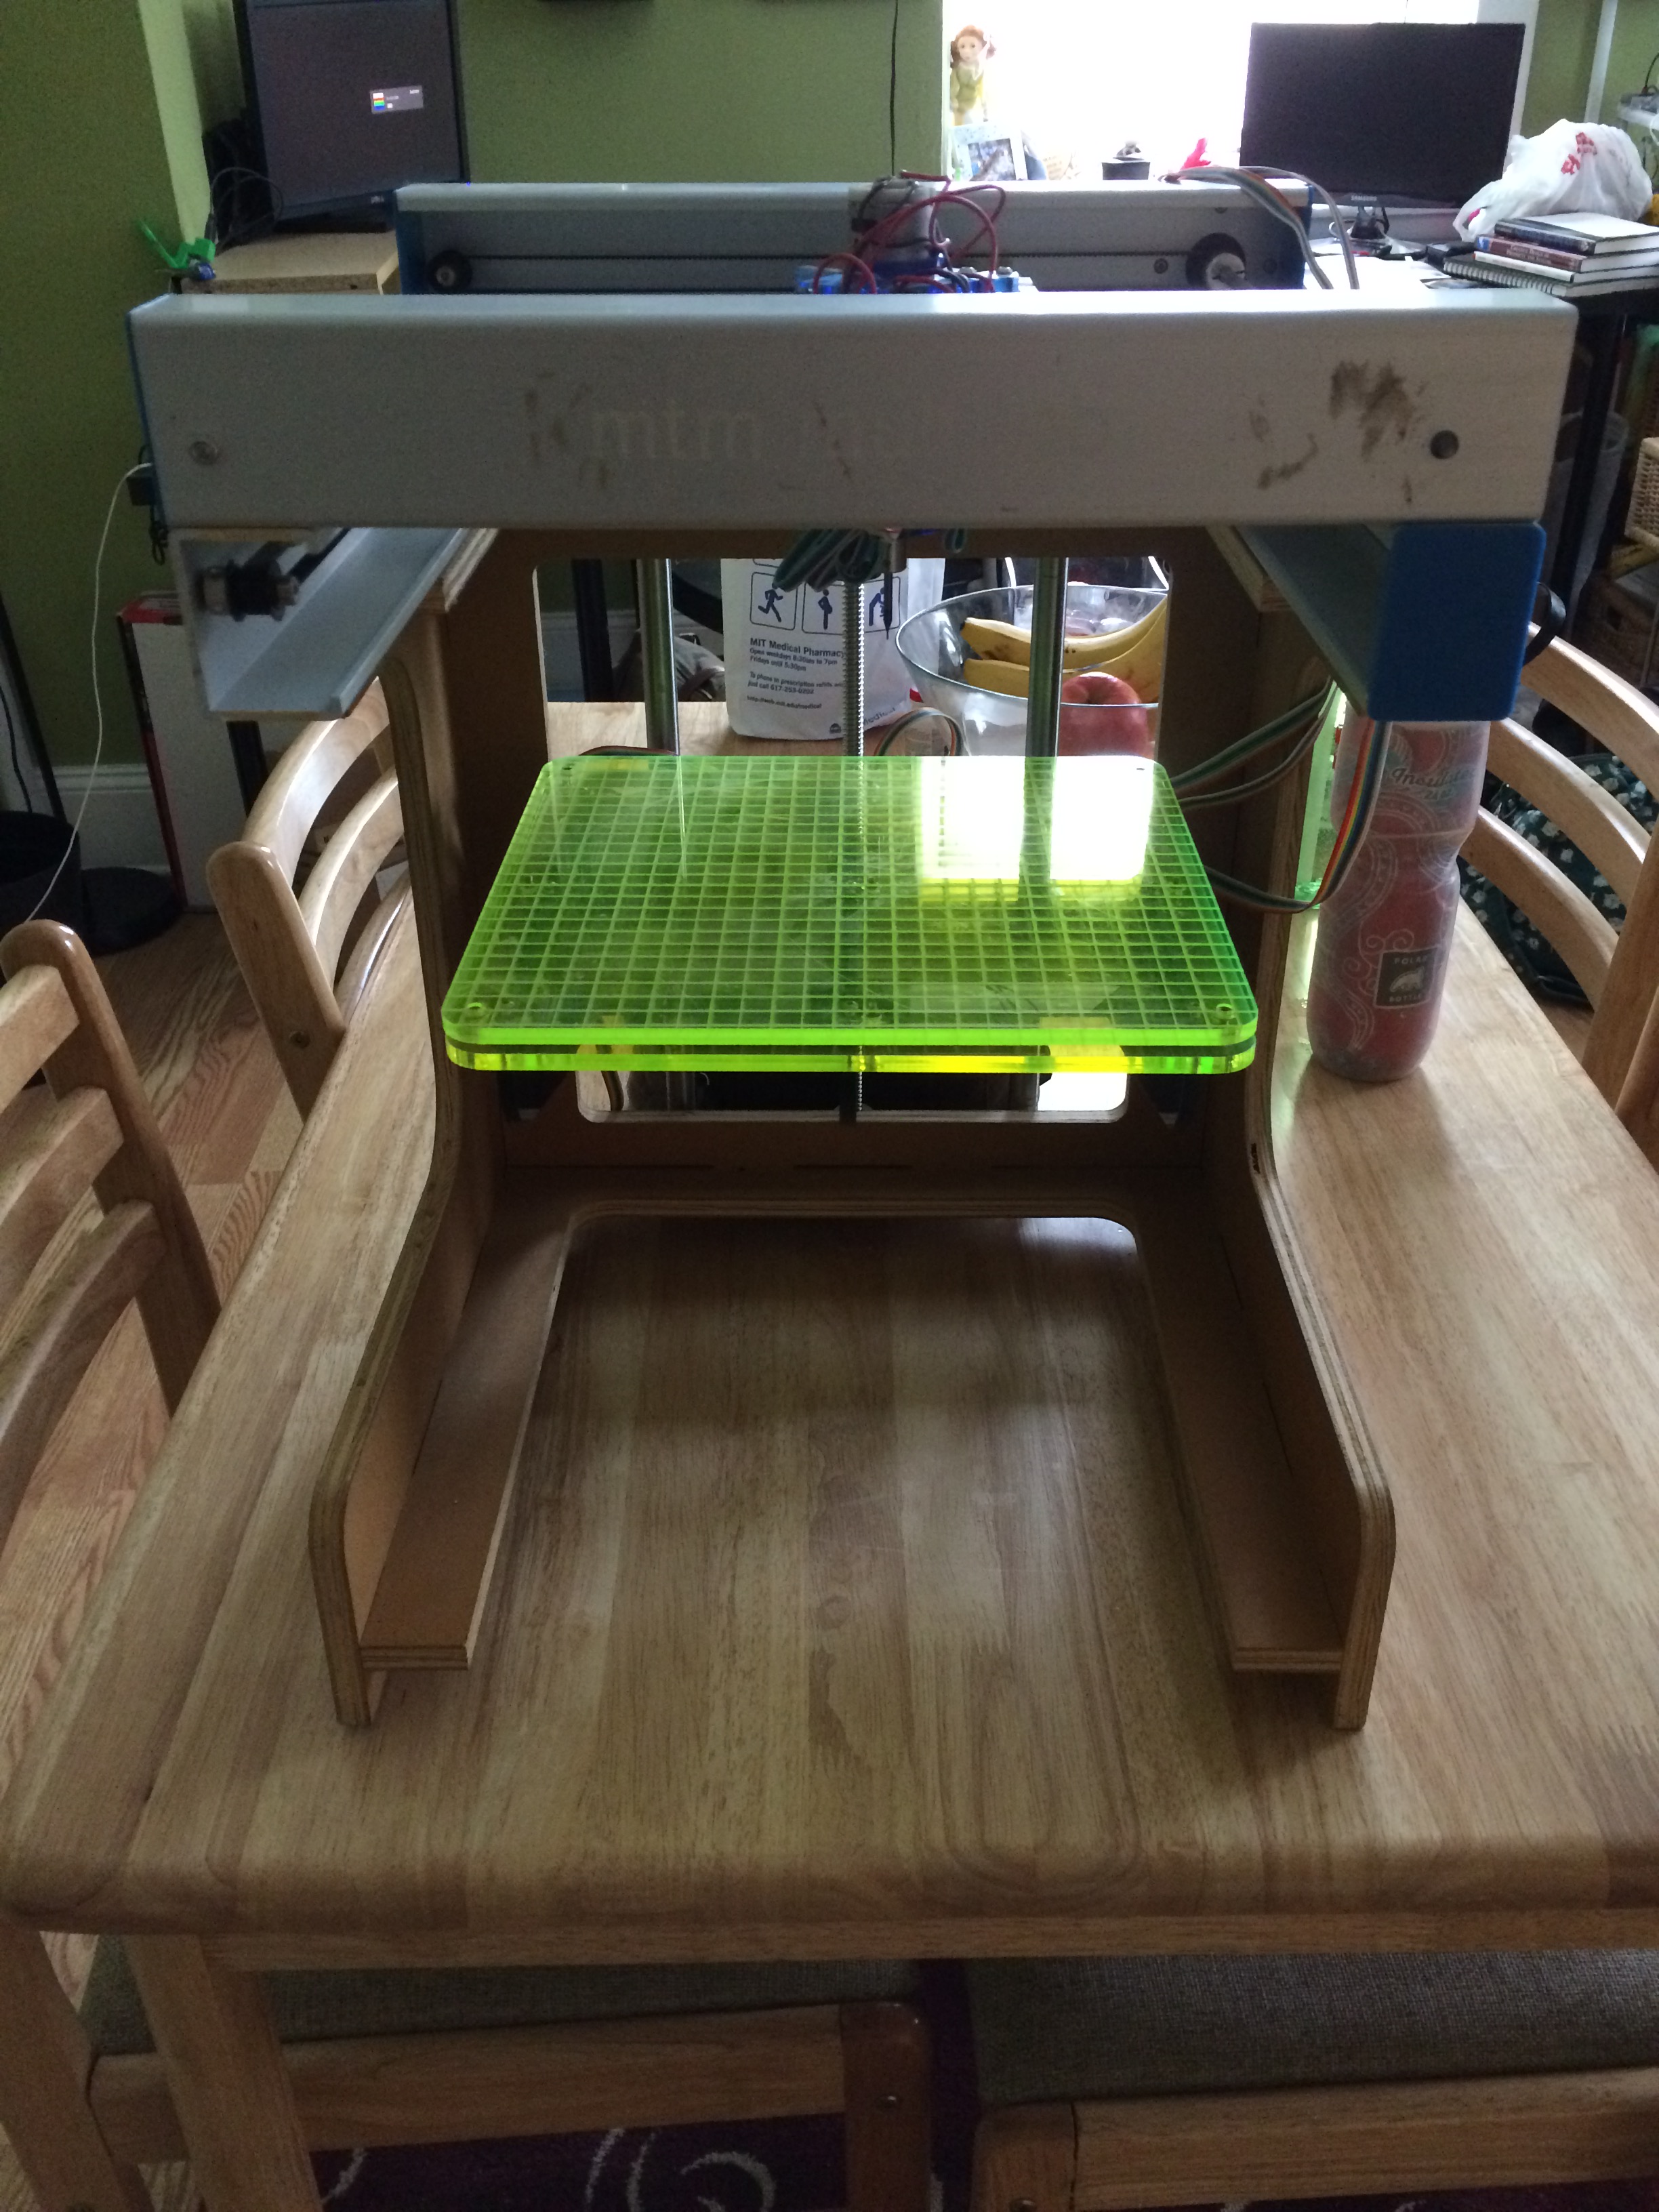
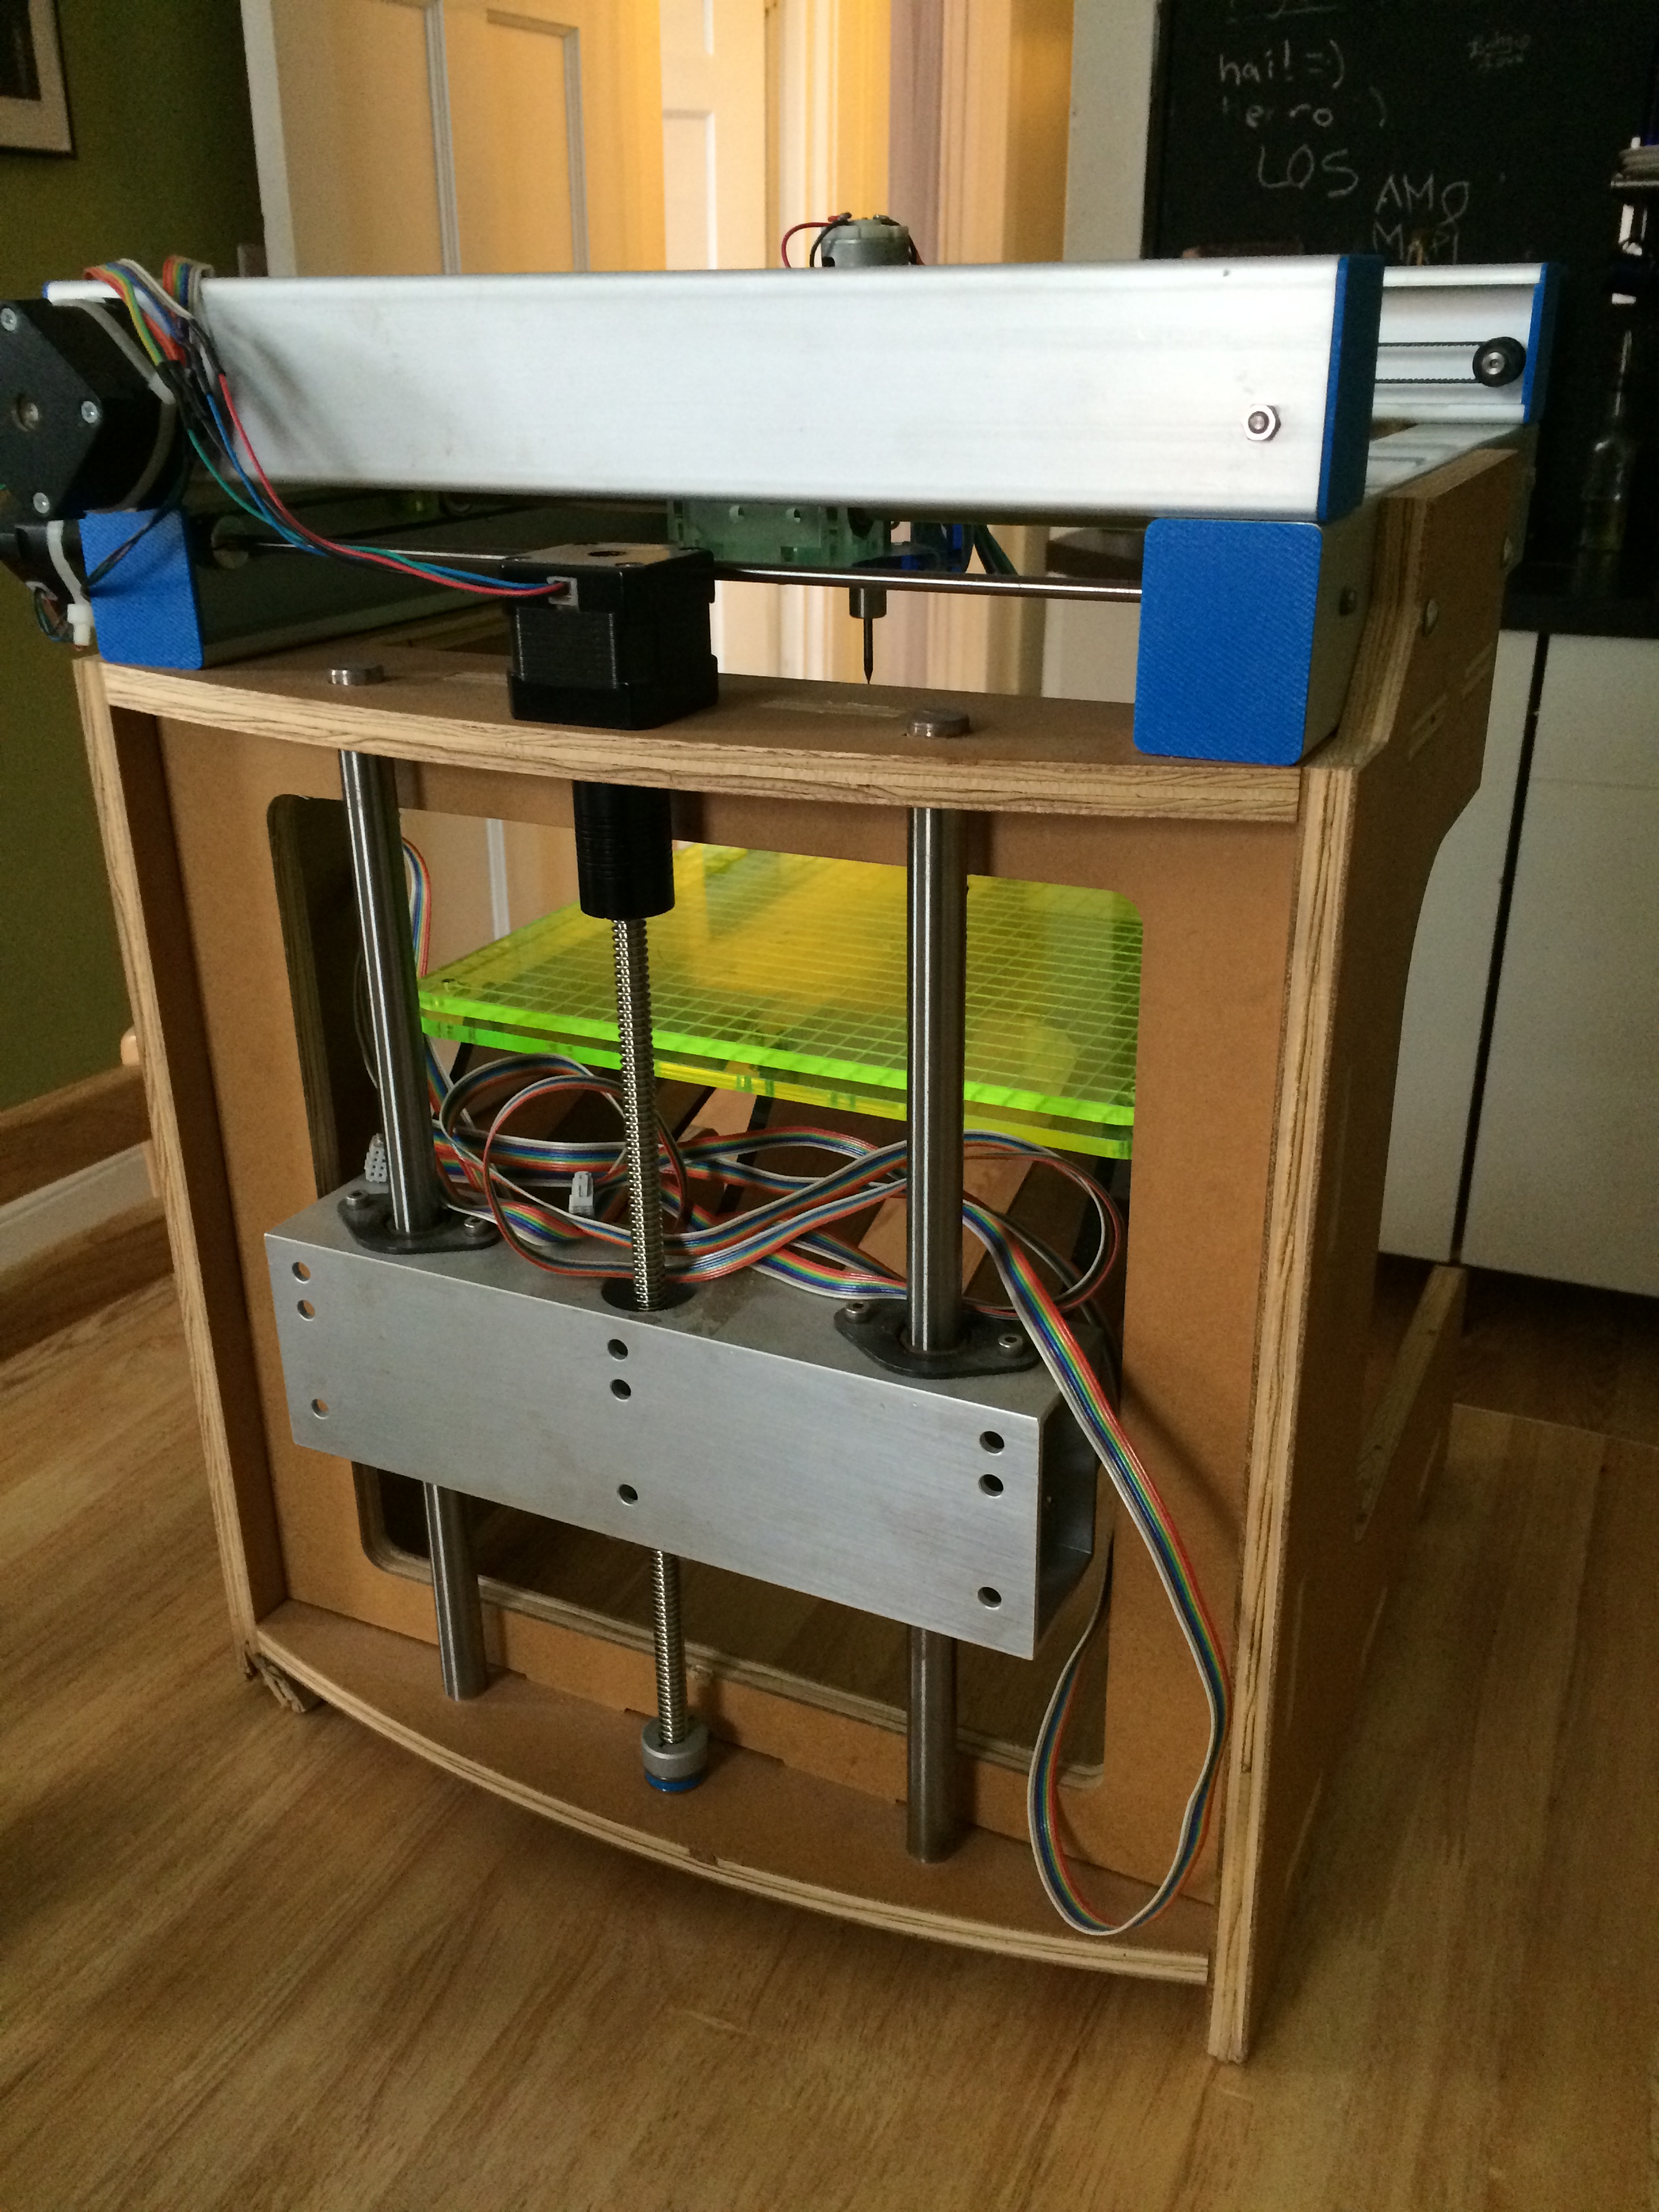
In our first week, we intended to catch ourselves up to speed on the work that Ilan had done almost 3 years ago. Some sections were more well-documented than others, but all around helpful pdf slides for background and blog entries for chronological timelapses of the project's progress. We decided to take it to the source himself and set up a date with Ilan at his home where he showed us his most current revision of Fab-In-A-Box.
Ilan gave us great background into his personal work with Fab-In-A-Box and did a great job sharing some specifics. When asked about his biggest concerns with its current state, and what he would work on if he had the time, he said:
We thanked Ilan for his time, and he was so nice, that now we have our borrowed Fab-In-A-Box as a guest centerpiece on our coffee table.
Other types of "Fab-in-a-box"
As we dive into this work, we've realized there is work that has been done on the Fab-In-a-Box concept outside of Ilan's realm of influence.
Benchmarking with PopFab
PopFab is a great example of nearly the same three capabilities that we are looking to achieve, all in one suitcase-carrying module. There is at least significant "ease of assembly and dissassembly" exhibited here. We're working on borrowing the altest PopFab so that we can study it, too, and learn from Nadya and Ilan what worked best and what not so well as we consider implementing the assembly design for Fab-In-A-Box.
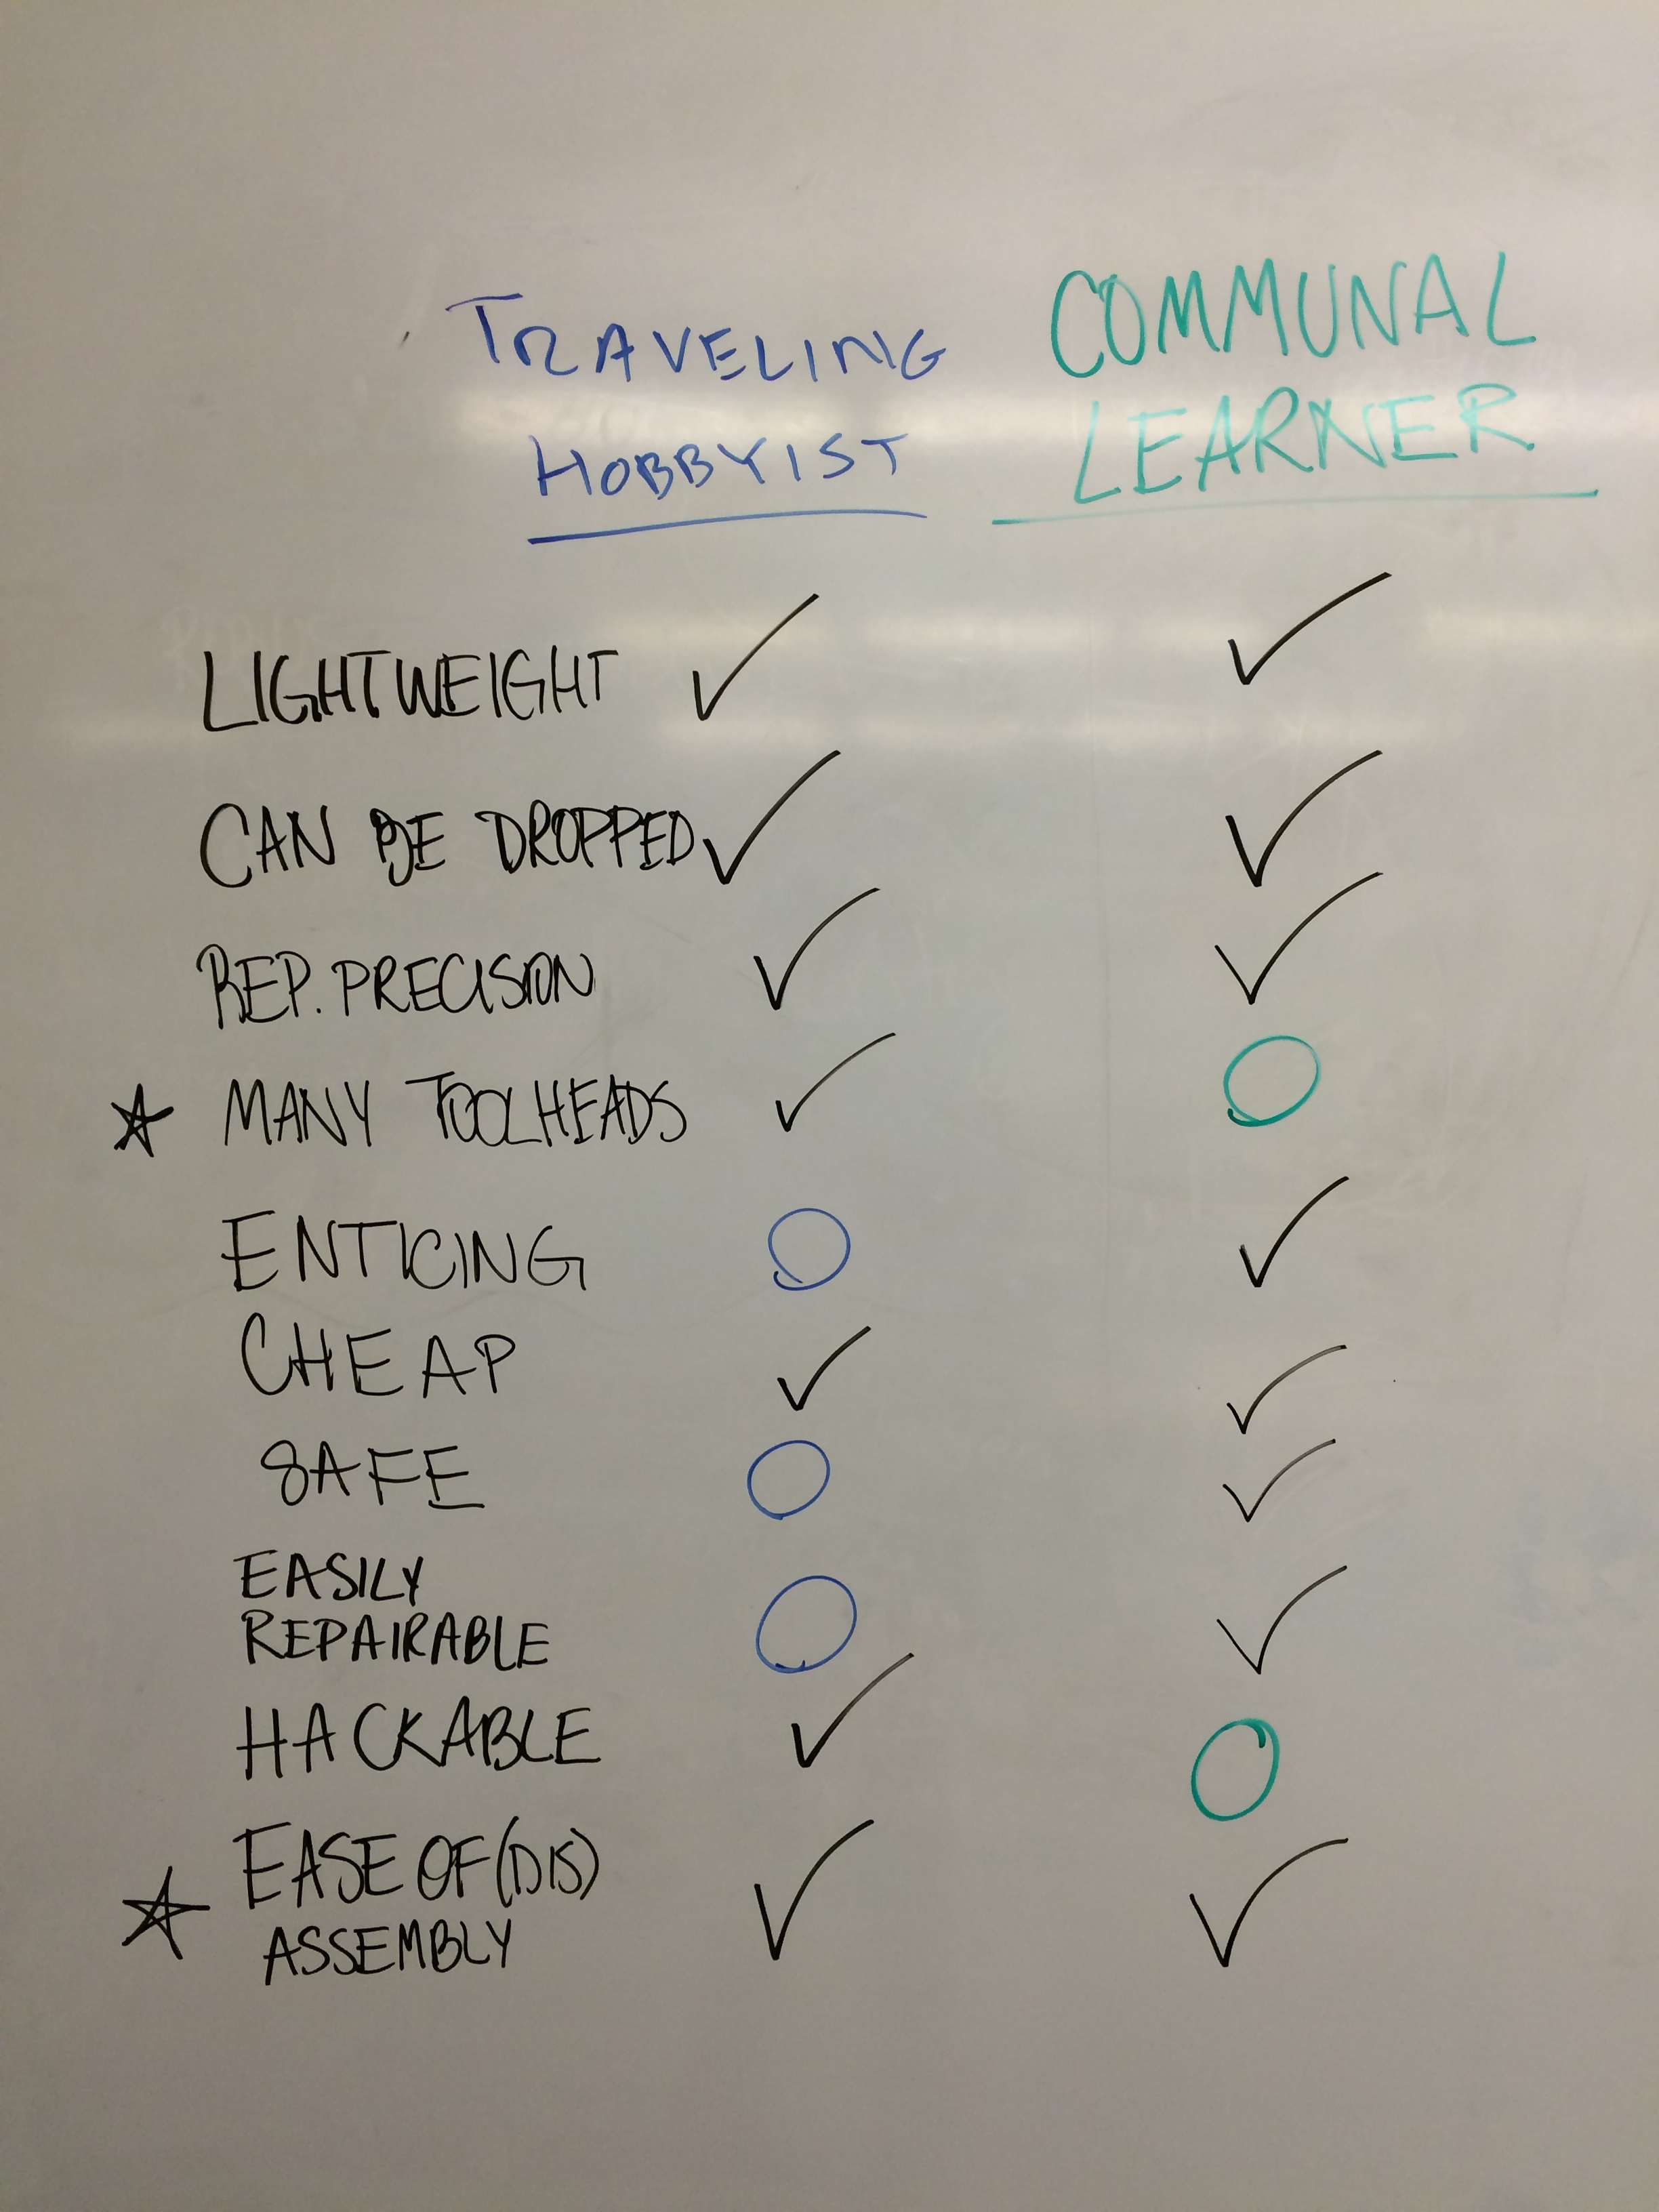
Creating a User Profile for Fab-In-A-Box

Divide and Conquer, or Combine and Perfect?
We took Ilan's suggestions and insights and incorporated them into a Brainstorming Session to identify who our user would be for the next revision of Fab-In-A-Box. With Fab11 coming up, we knew there weould be multiple ways of marketing such a cool machine. We took some individual time at the whiteboard (Morris in blue marker, me in green marker), and thought of the most relevant users that might find themselves enjoying Fab-in-a-box. We took a step back and reviewed each potential user, making a note (in black marker) of what kind of attributes that user would want in their Fab-in-a-box. As some attributes started to merge and overlap and others started to become outliers, we felt closer to selecting our user to design for. We stepped back again and came to the conclusion of two separate, but relatable-enough users, one for Morris, one for me, respectively: The Traveling Hobbyist, and the Community Learner. We mapped all our attributes to our two users and identified the attributes that the user would or would not need to have in their machine so as to consider it a useful and worthwhile product for their needs. Now, we've got a sense of direction and list of necessary attributes our individual users must see in their Fab-in-a-box in order to design towards.
Preparing a marker tool head for the MIT Museum Girls Day Event
Prioritizing Short-term and Long-term Goals
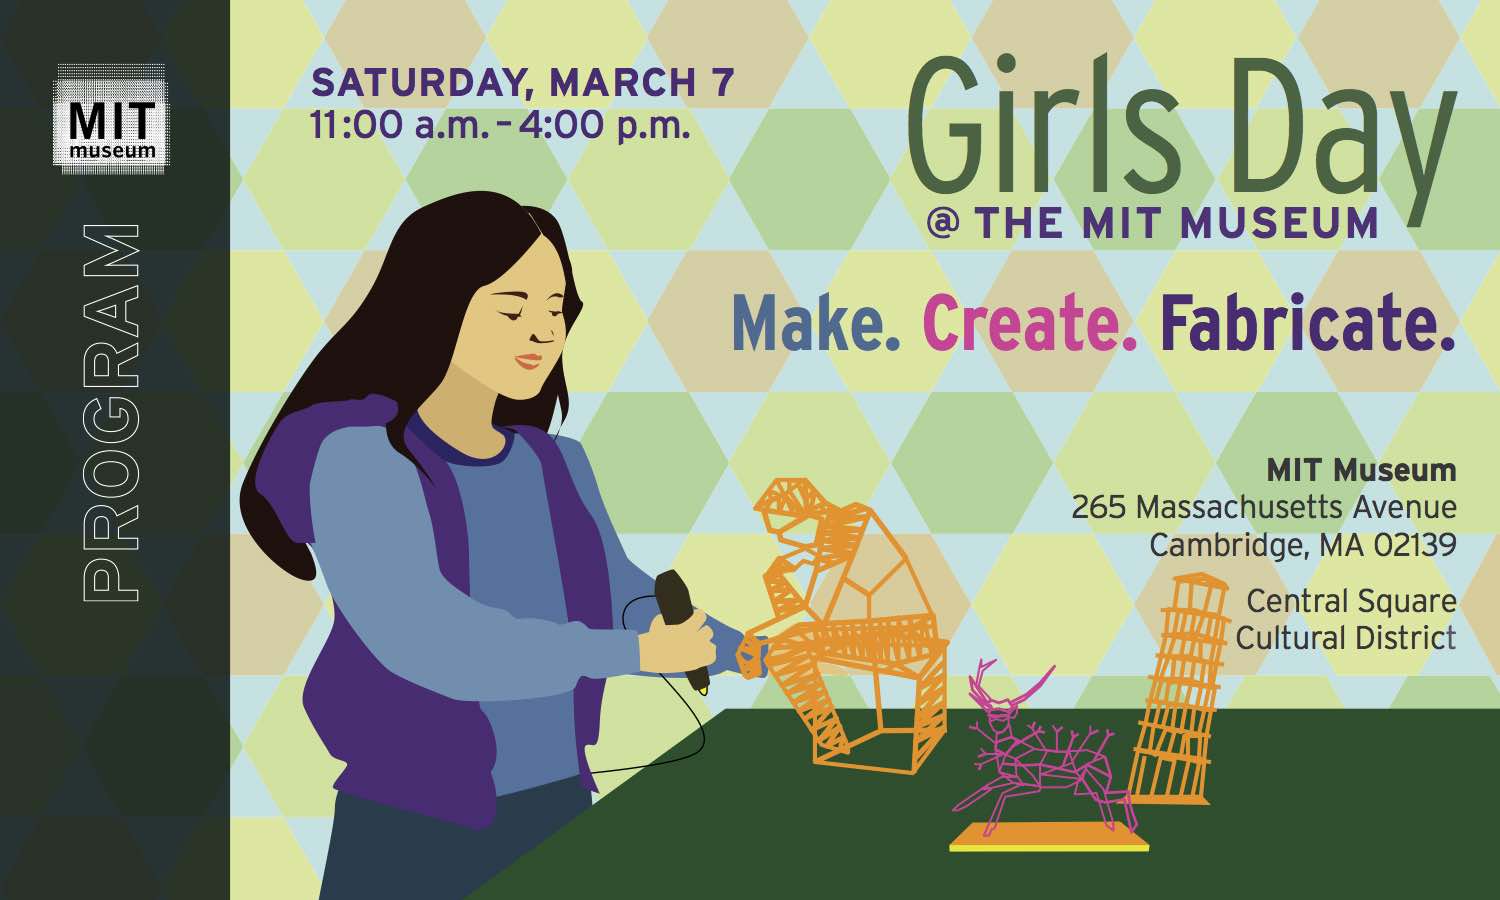
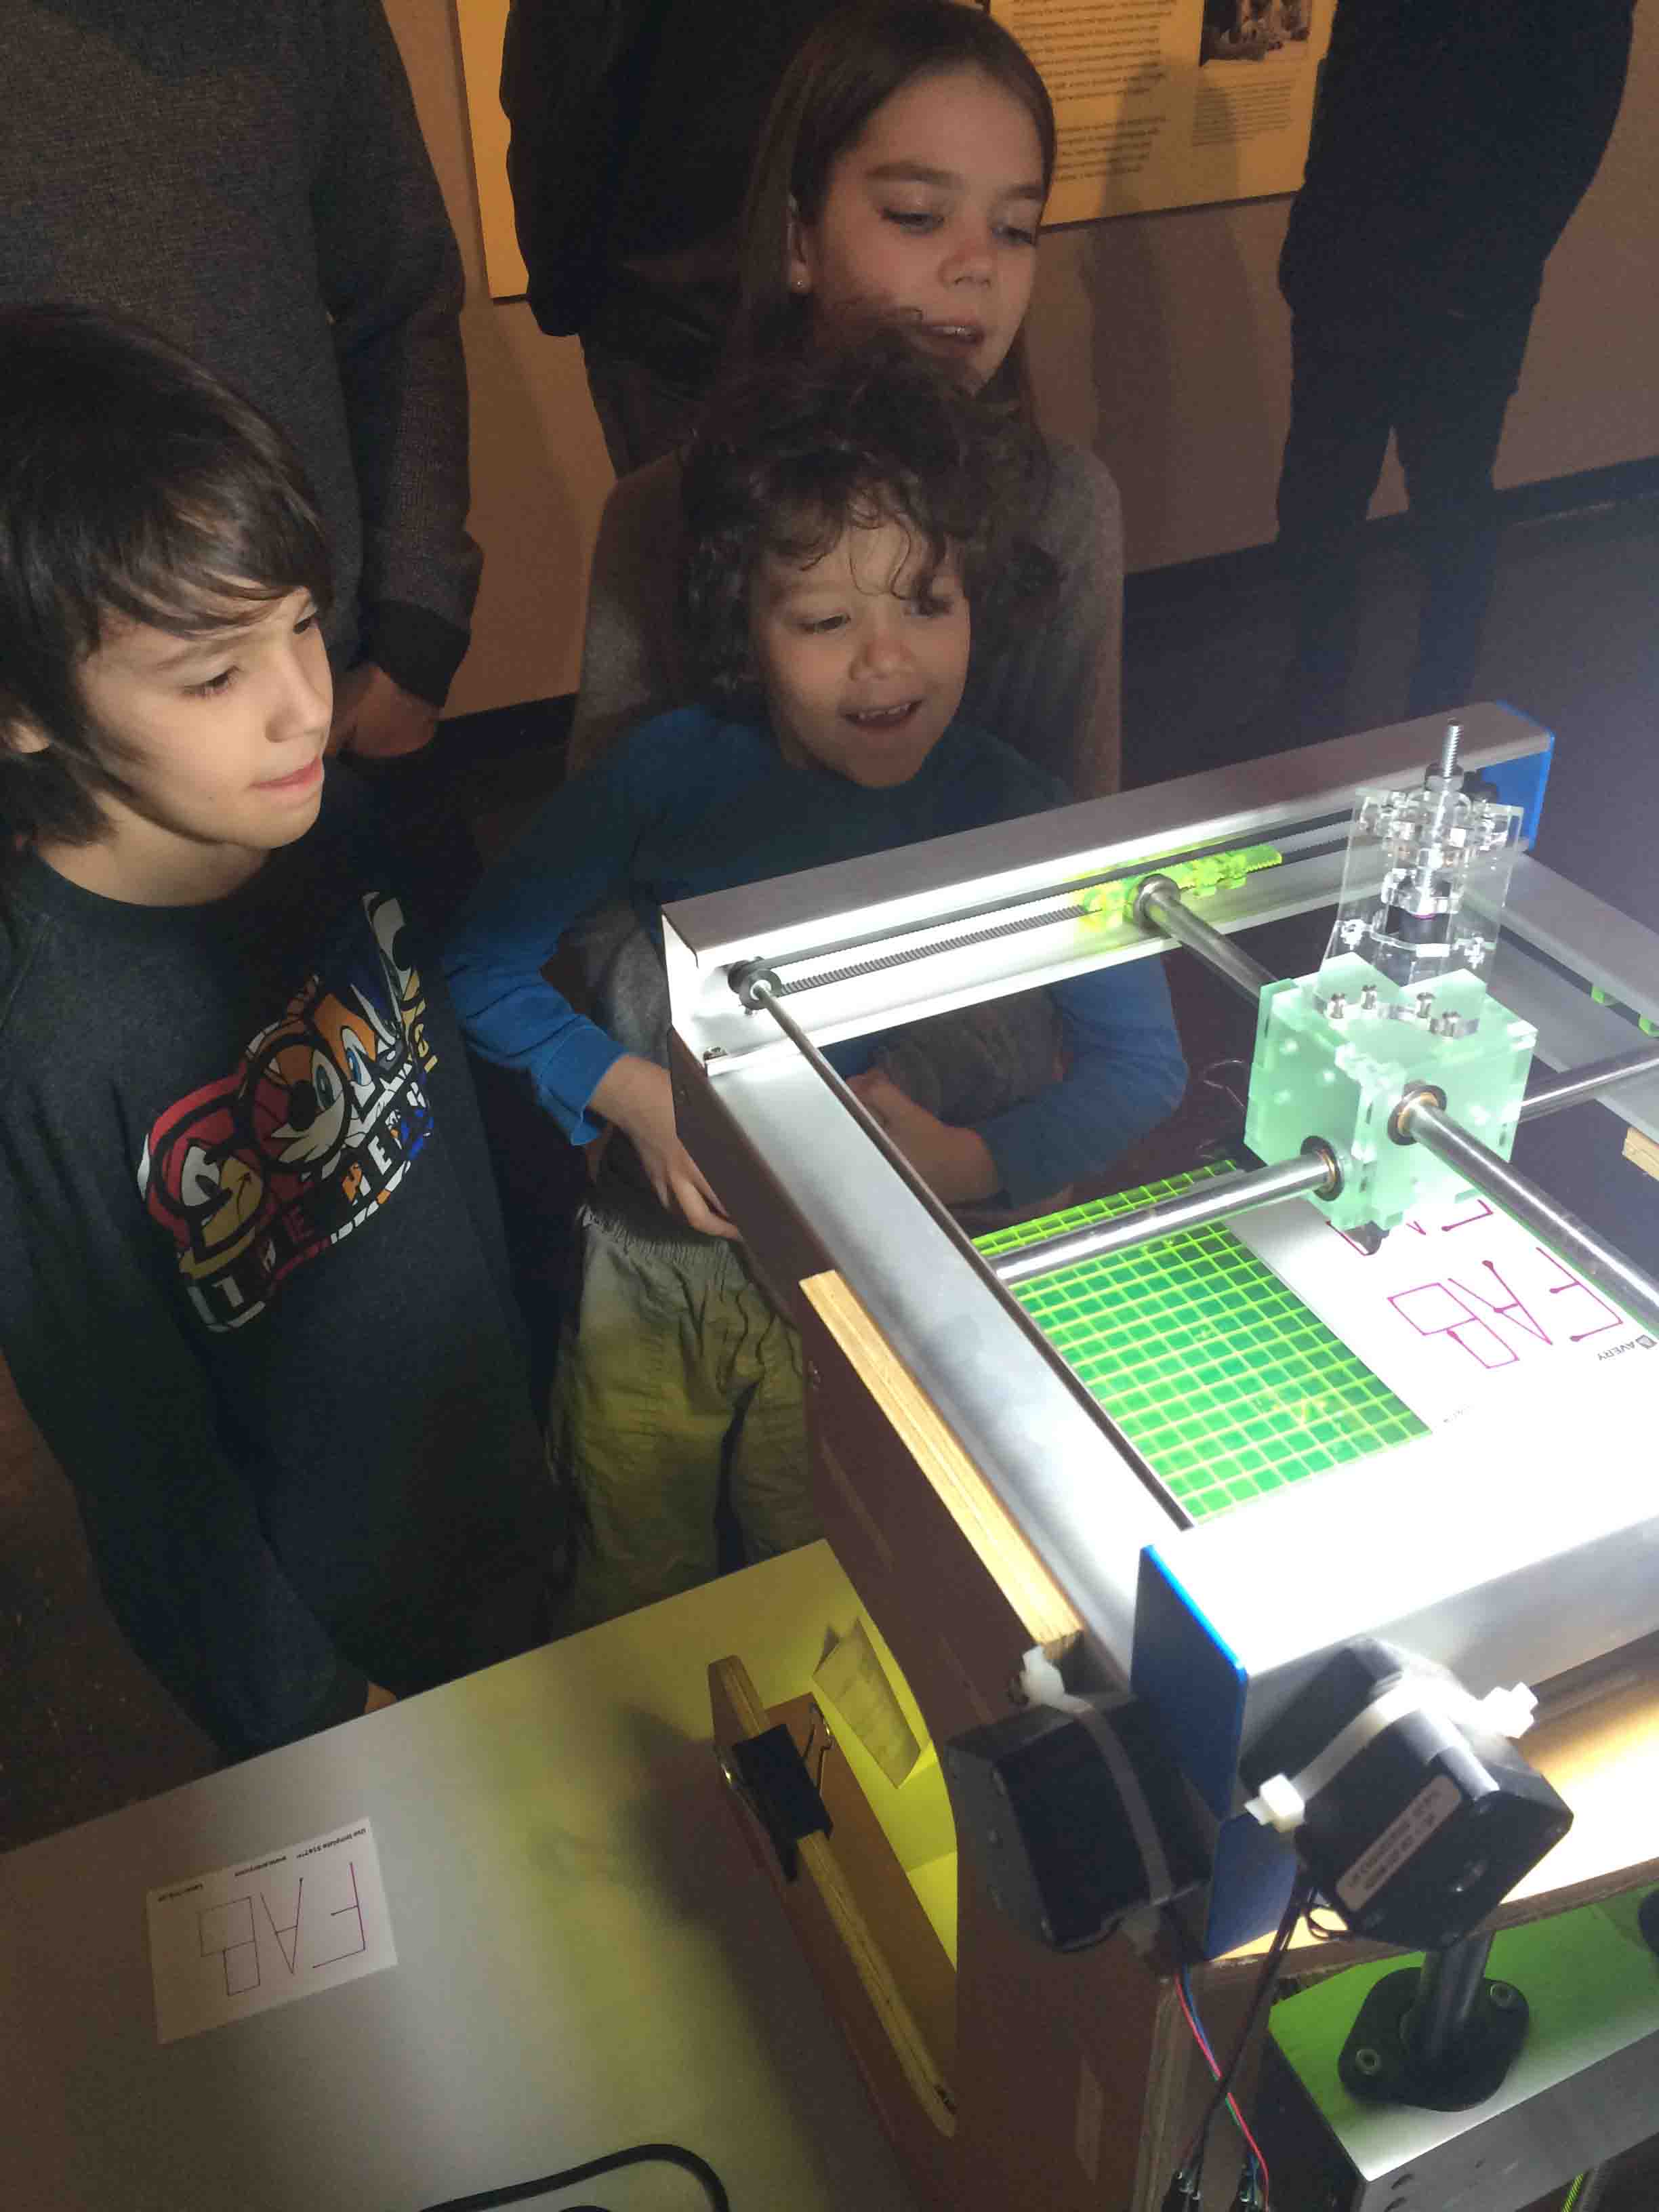
I received a kind invitation from Brindha, a Director of the MIT Museum, to exhibit at the MIT Museum's Girls Day event and I thought it'd be a fantastic opportunity to get some feedback from at least one of our intended users: The Community Learner. We set aside some goals to have ready before the event so that we can showcase what Fab-in-a-box can do and have some worthwhile activities for the girls:
Simultaneously, we want to be thinking about our long-term goals for the semester, and these include, for my own capaibility:
Modifications toward a Marker Tool Head
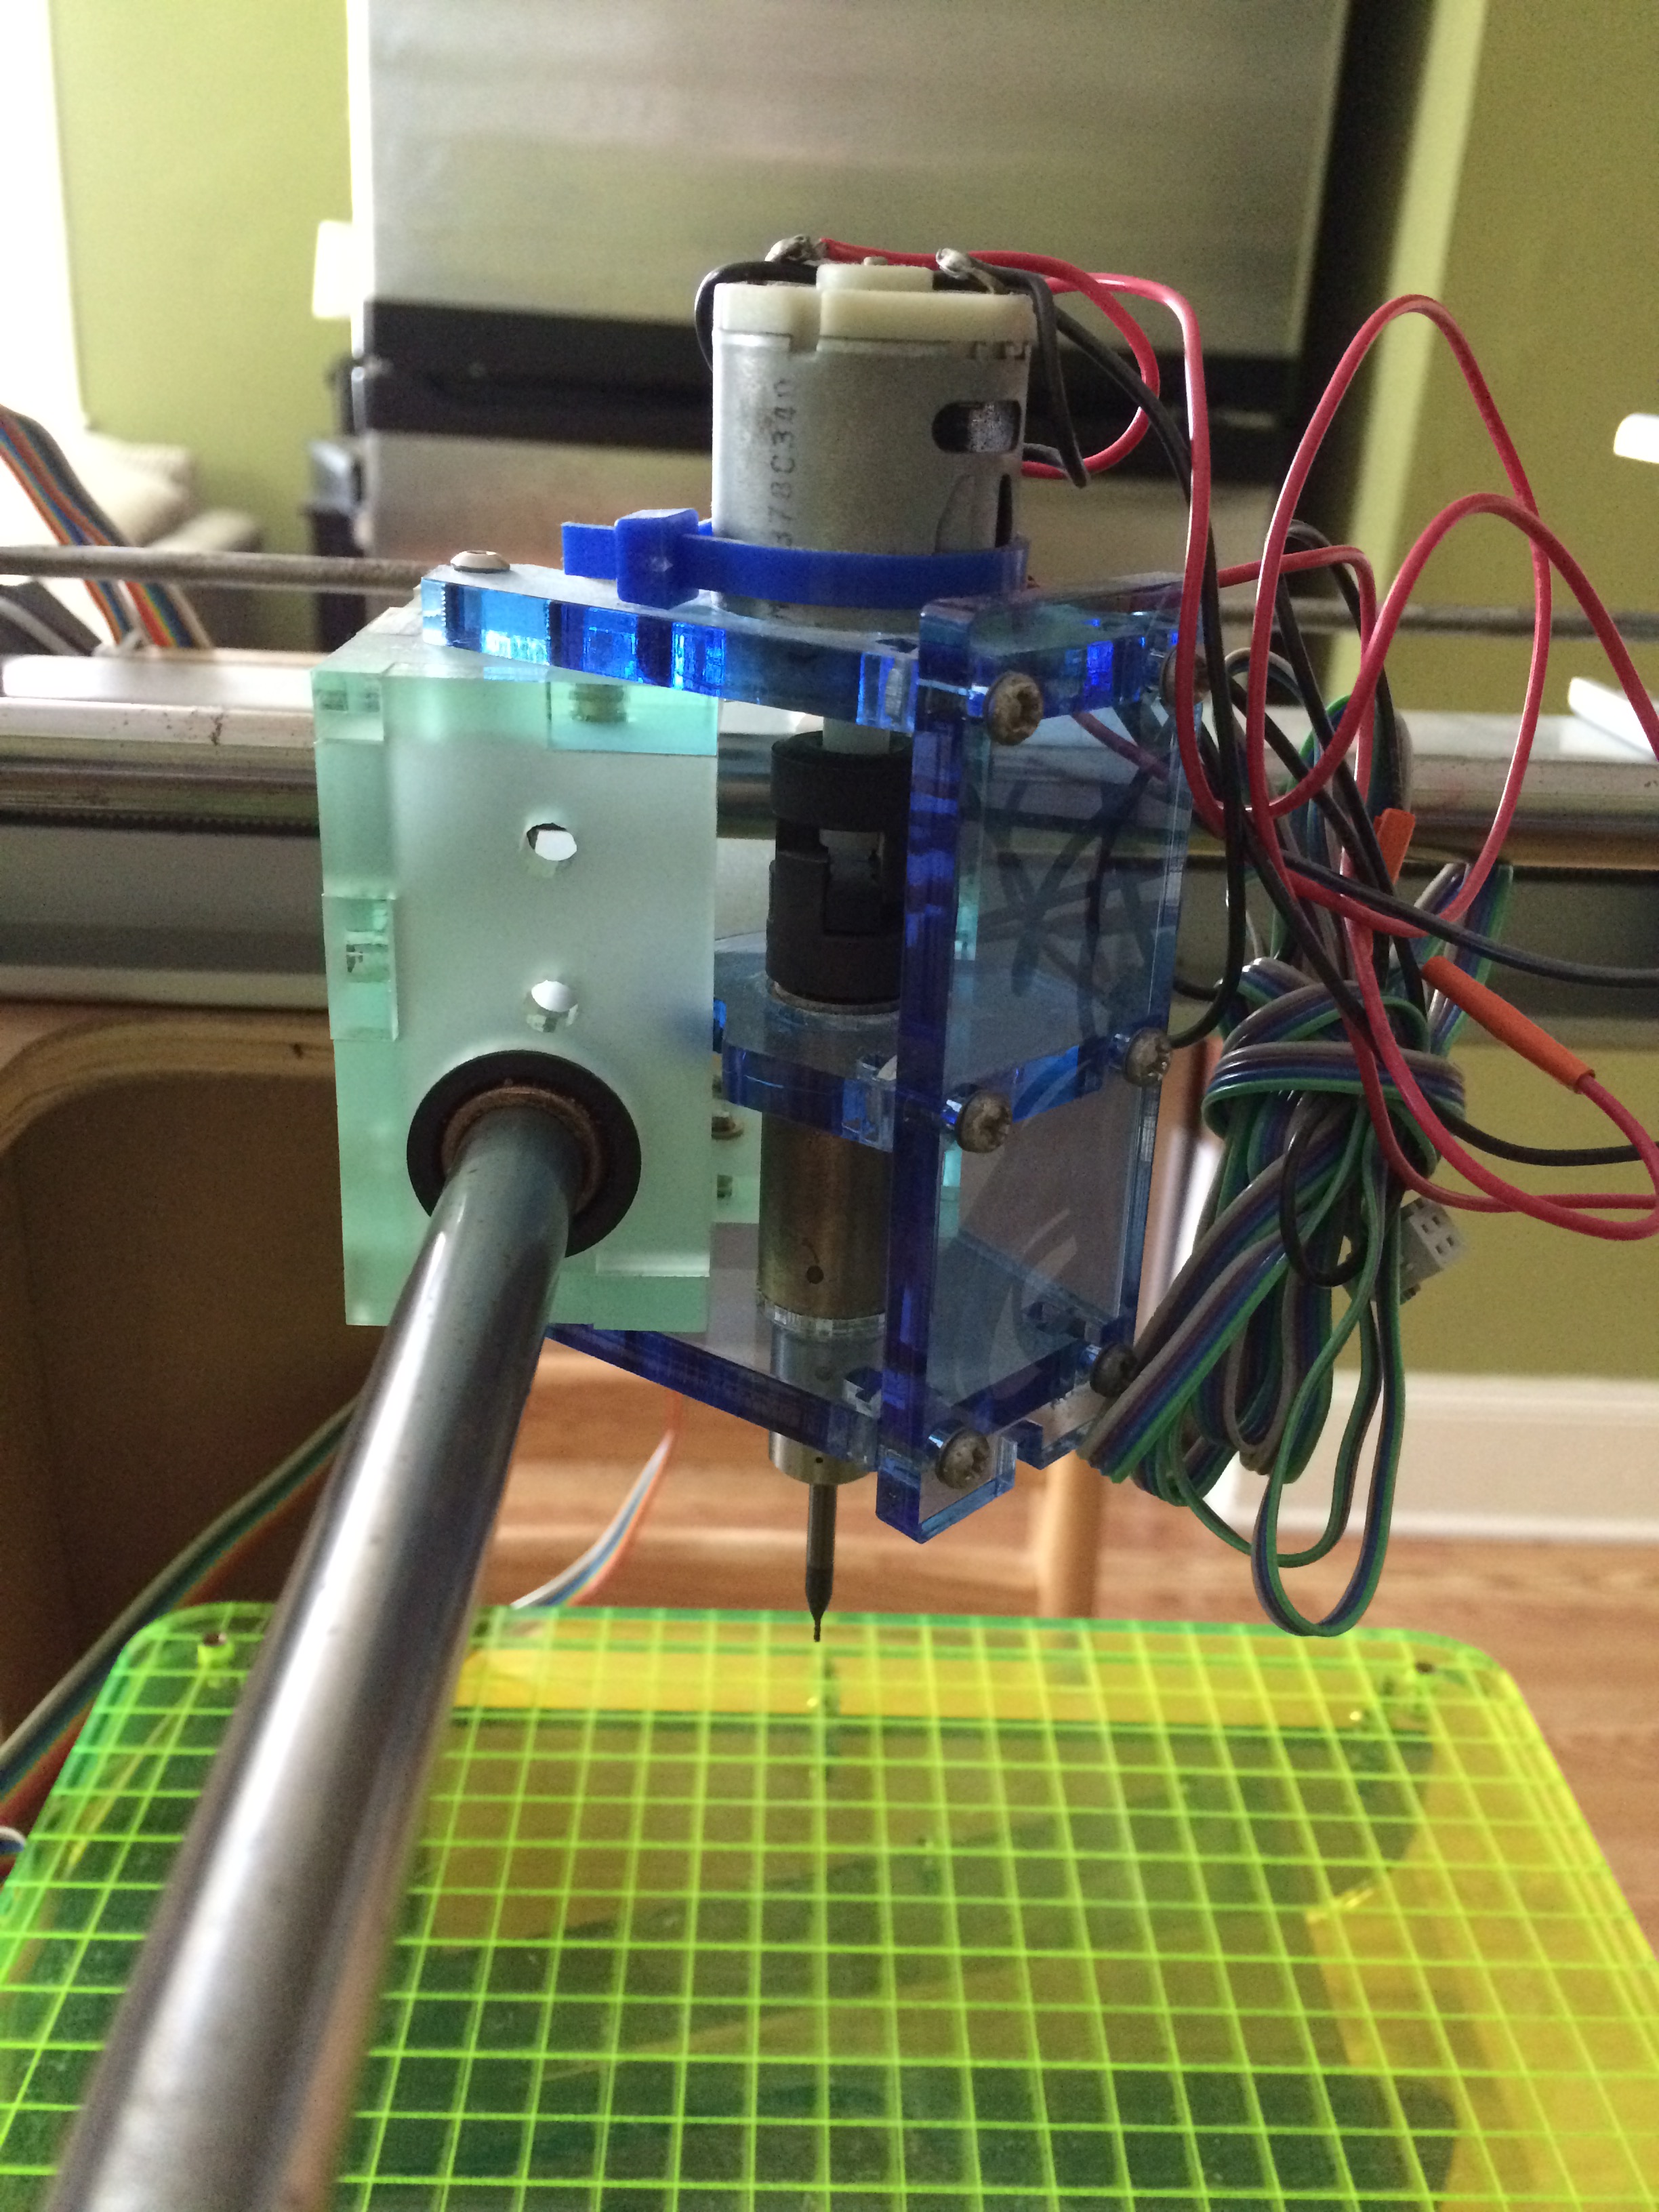
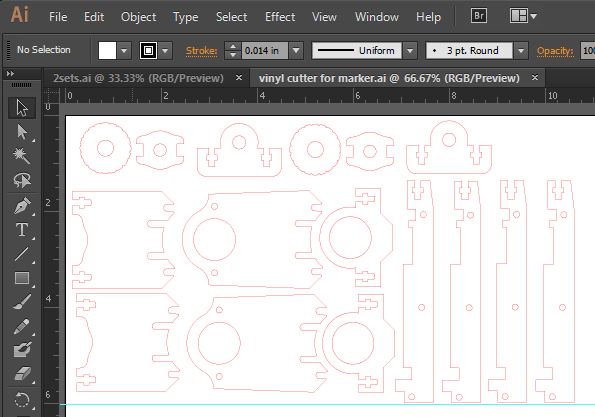
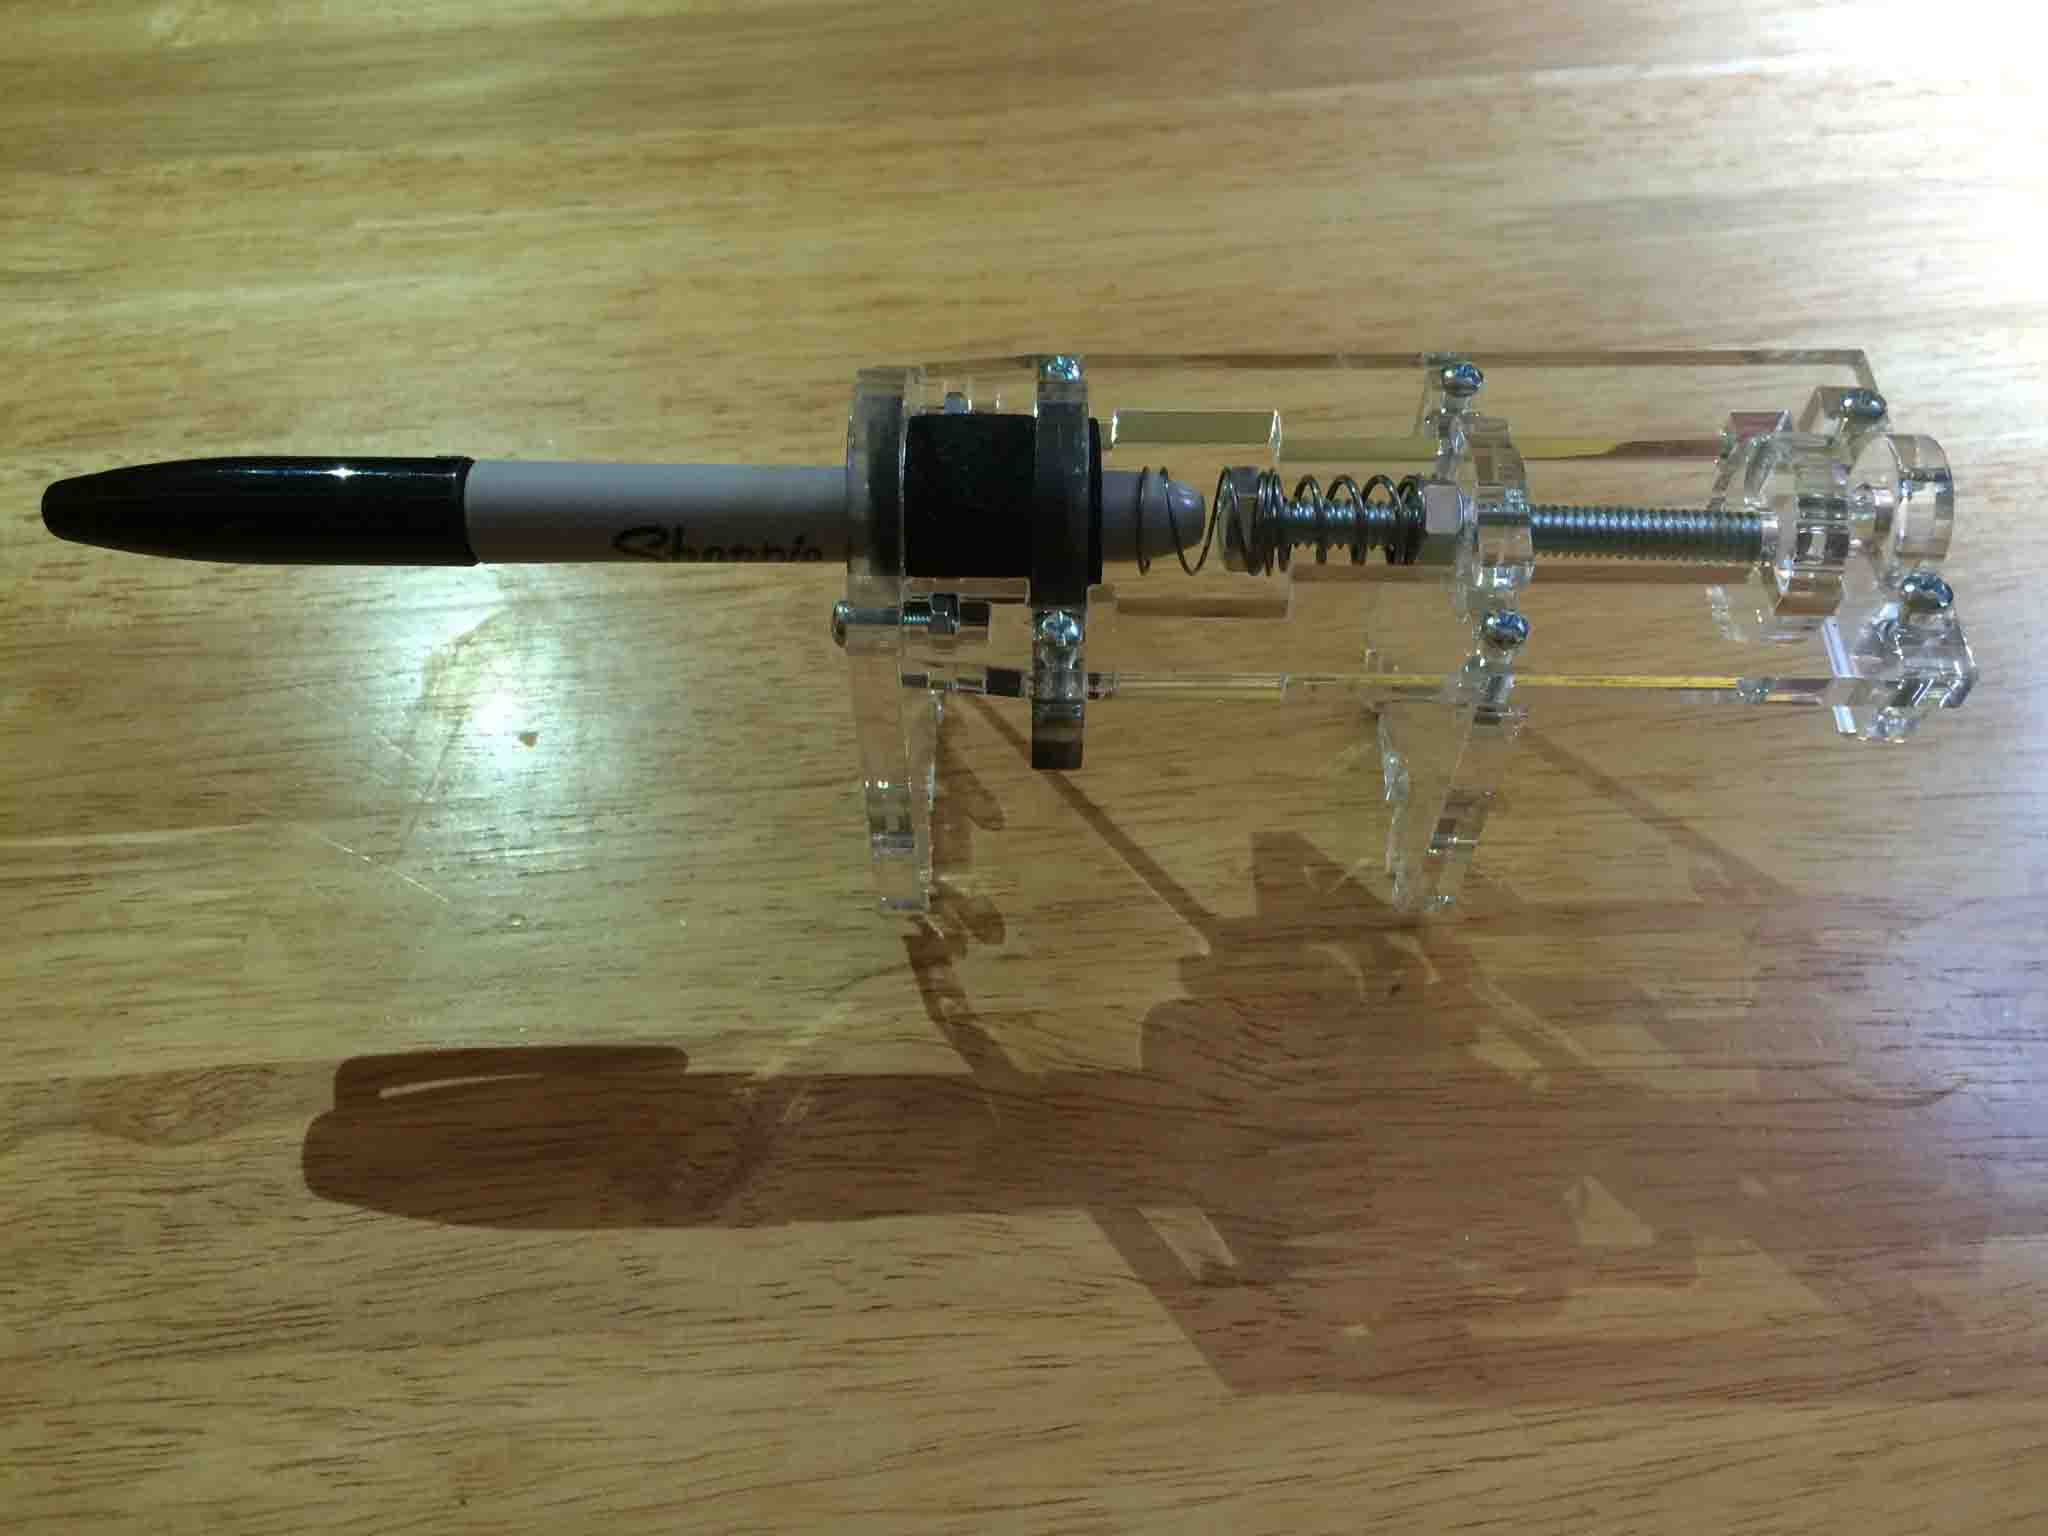
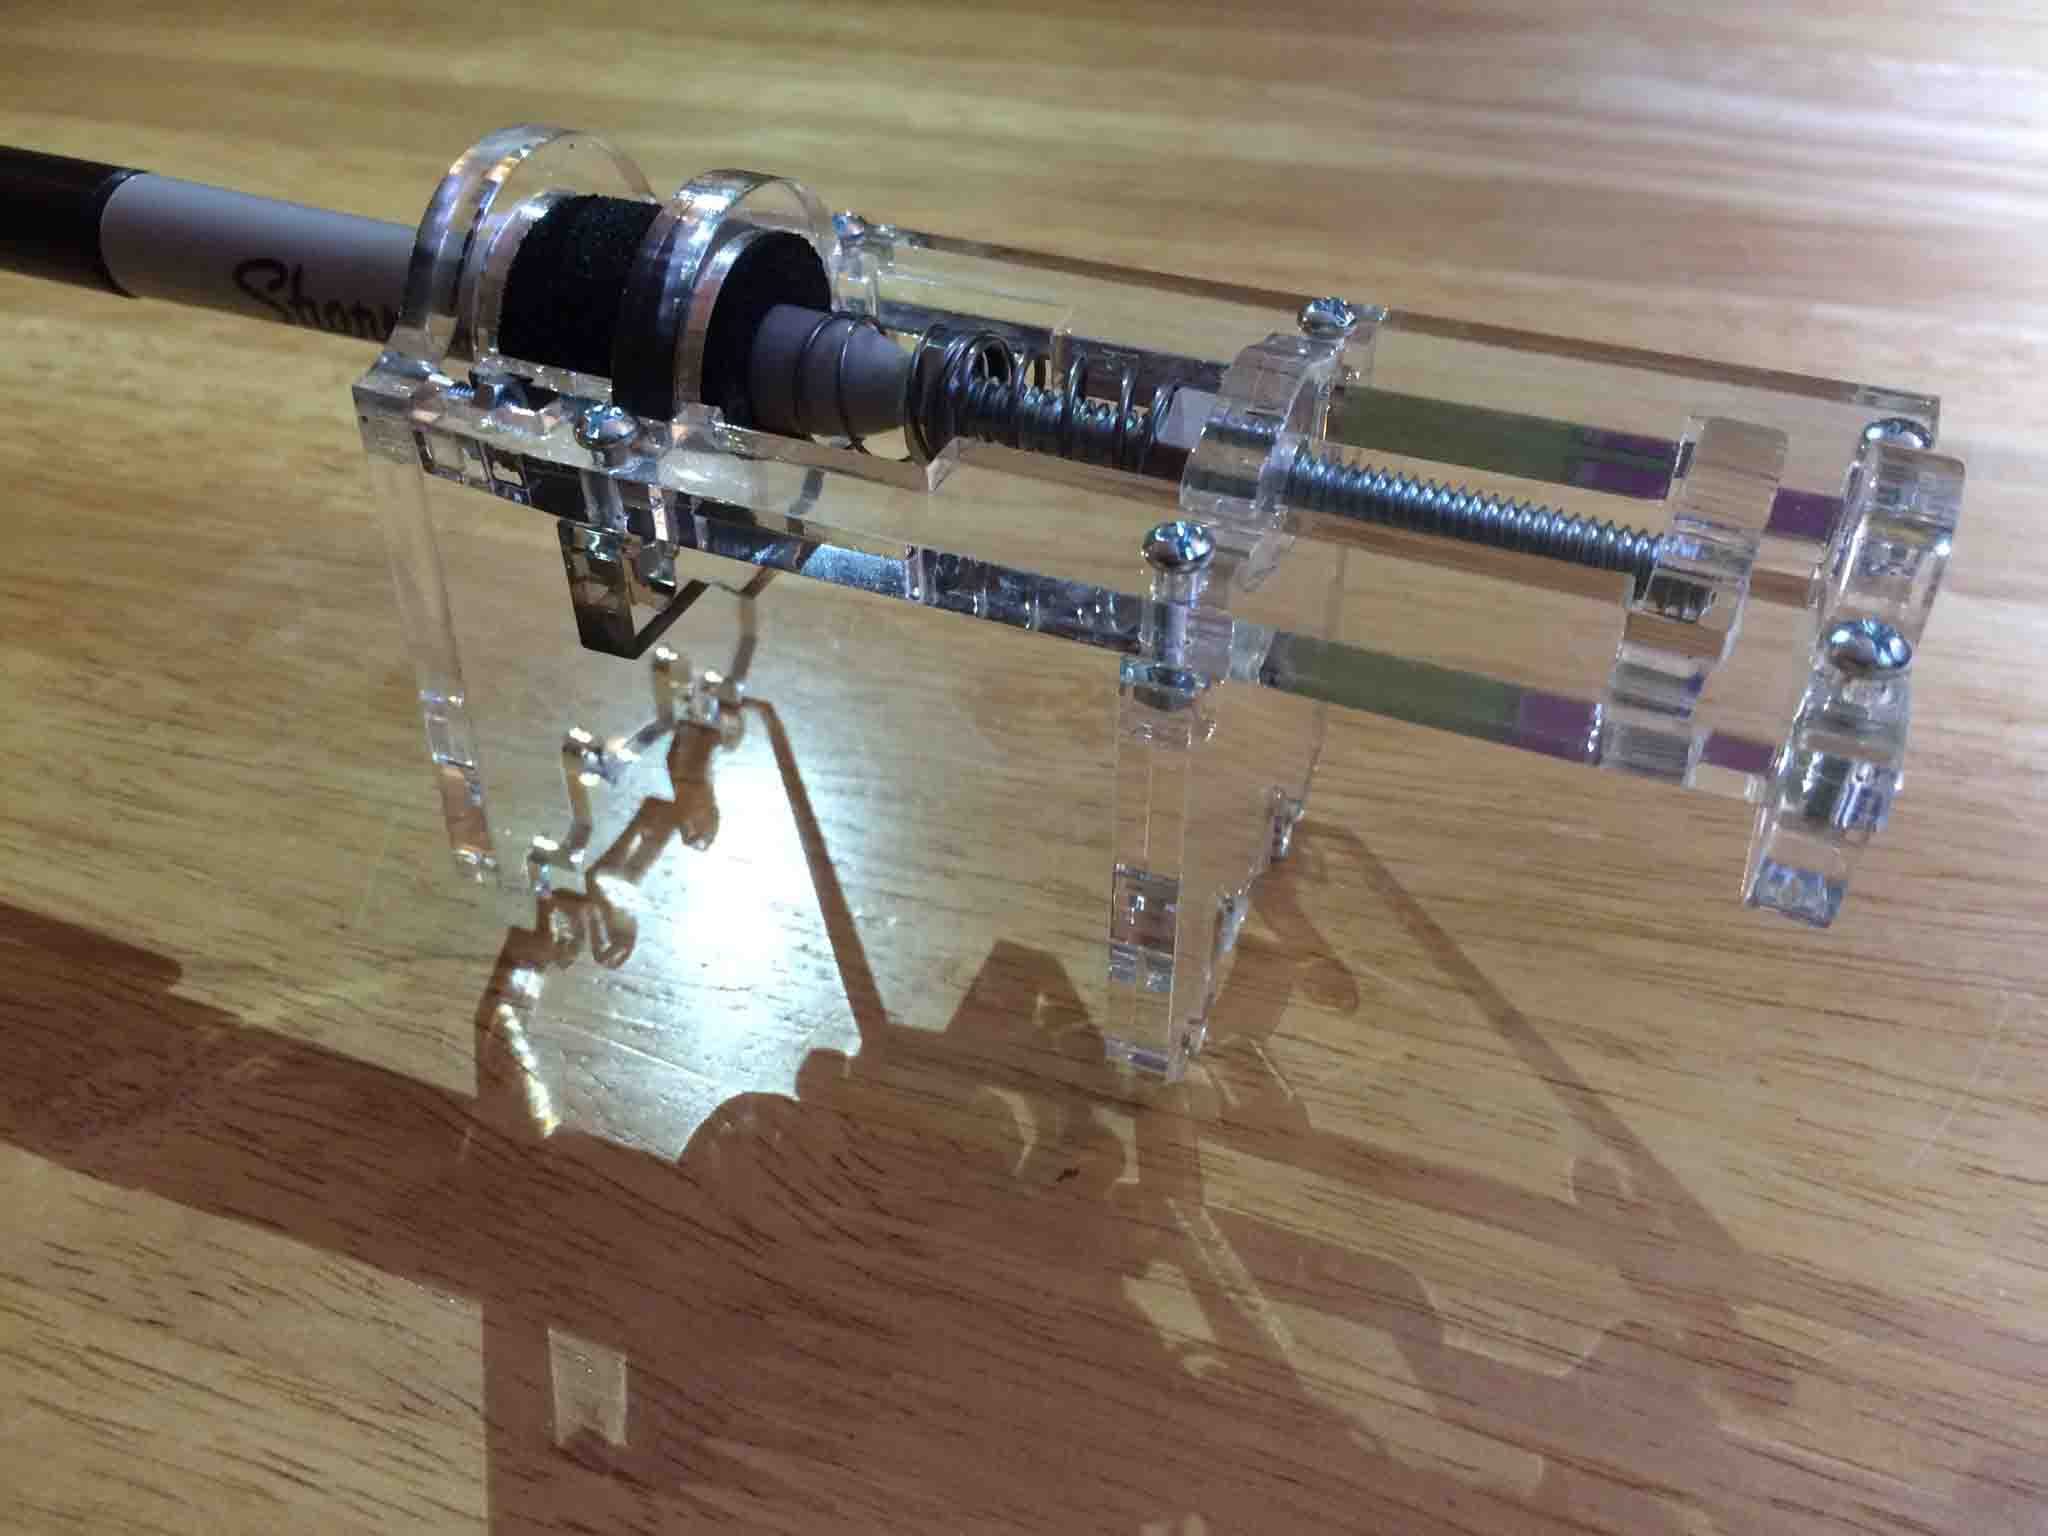
For the demos that we wanted to do in front of the Museum guests, we decided drawing with a marker would be most appropriate than requiring safety glasses while milling materials. A marker tool head would also give us an easy way to give out nice memorabilia, like the Fab Stickers below, and provide short and quick turn around time for guests that will spend anywhere from 5 ot 20 minutes at our table. I modified the vinyl cutter tool head from Ilan's Multifab to make it able to hold a marker, instead. This helped me play with the design more tangibly and ultimately better understand it more intimately.
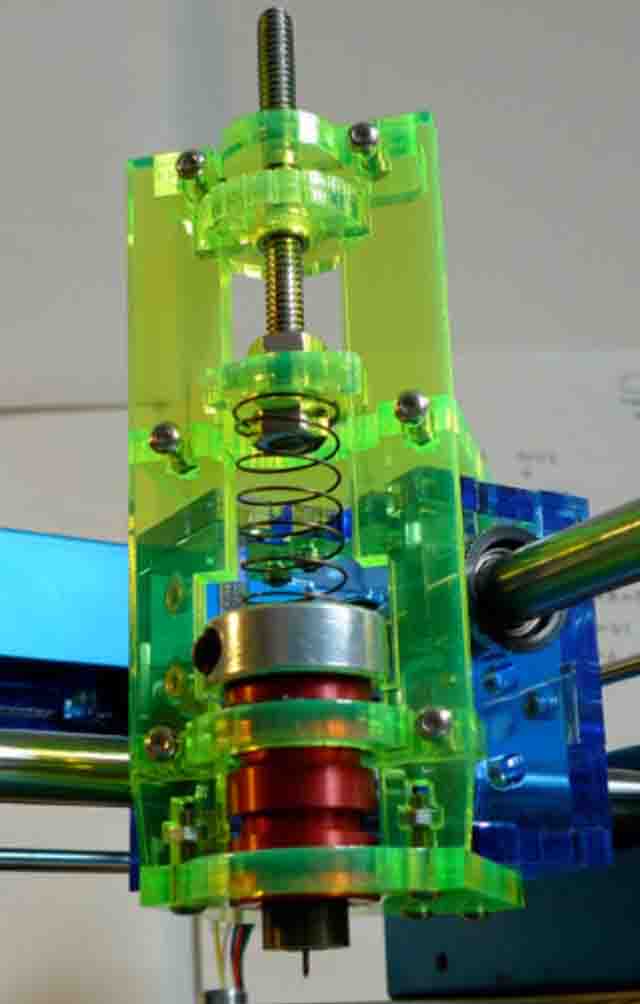
First I looked at the similar tool heads for vinyl cutting that was used in PopFab, a beautifully machined end effector by Nadya and Ilan, below:
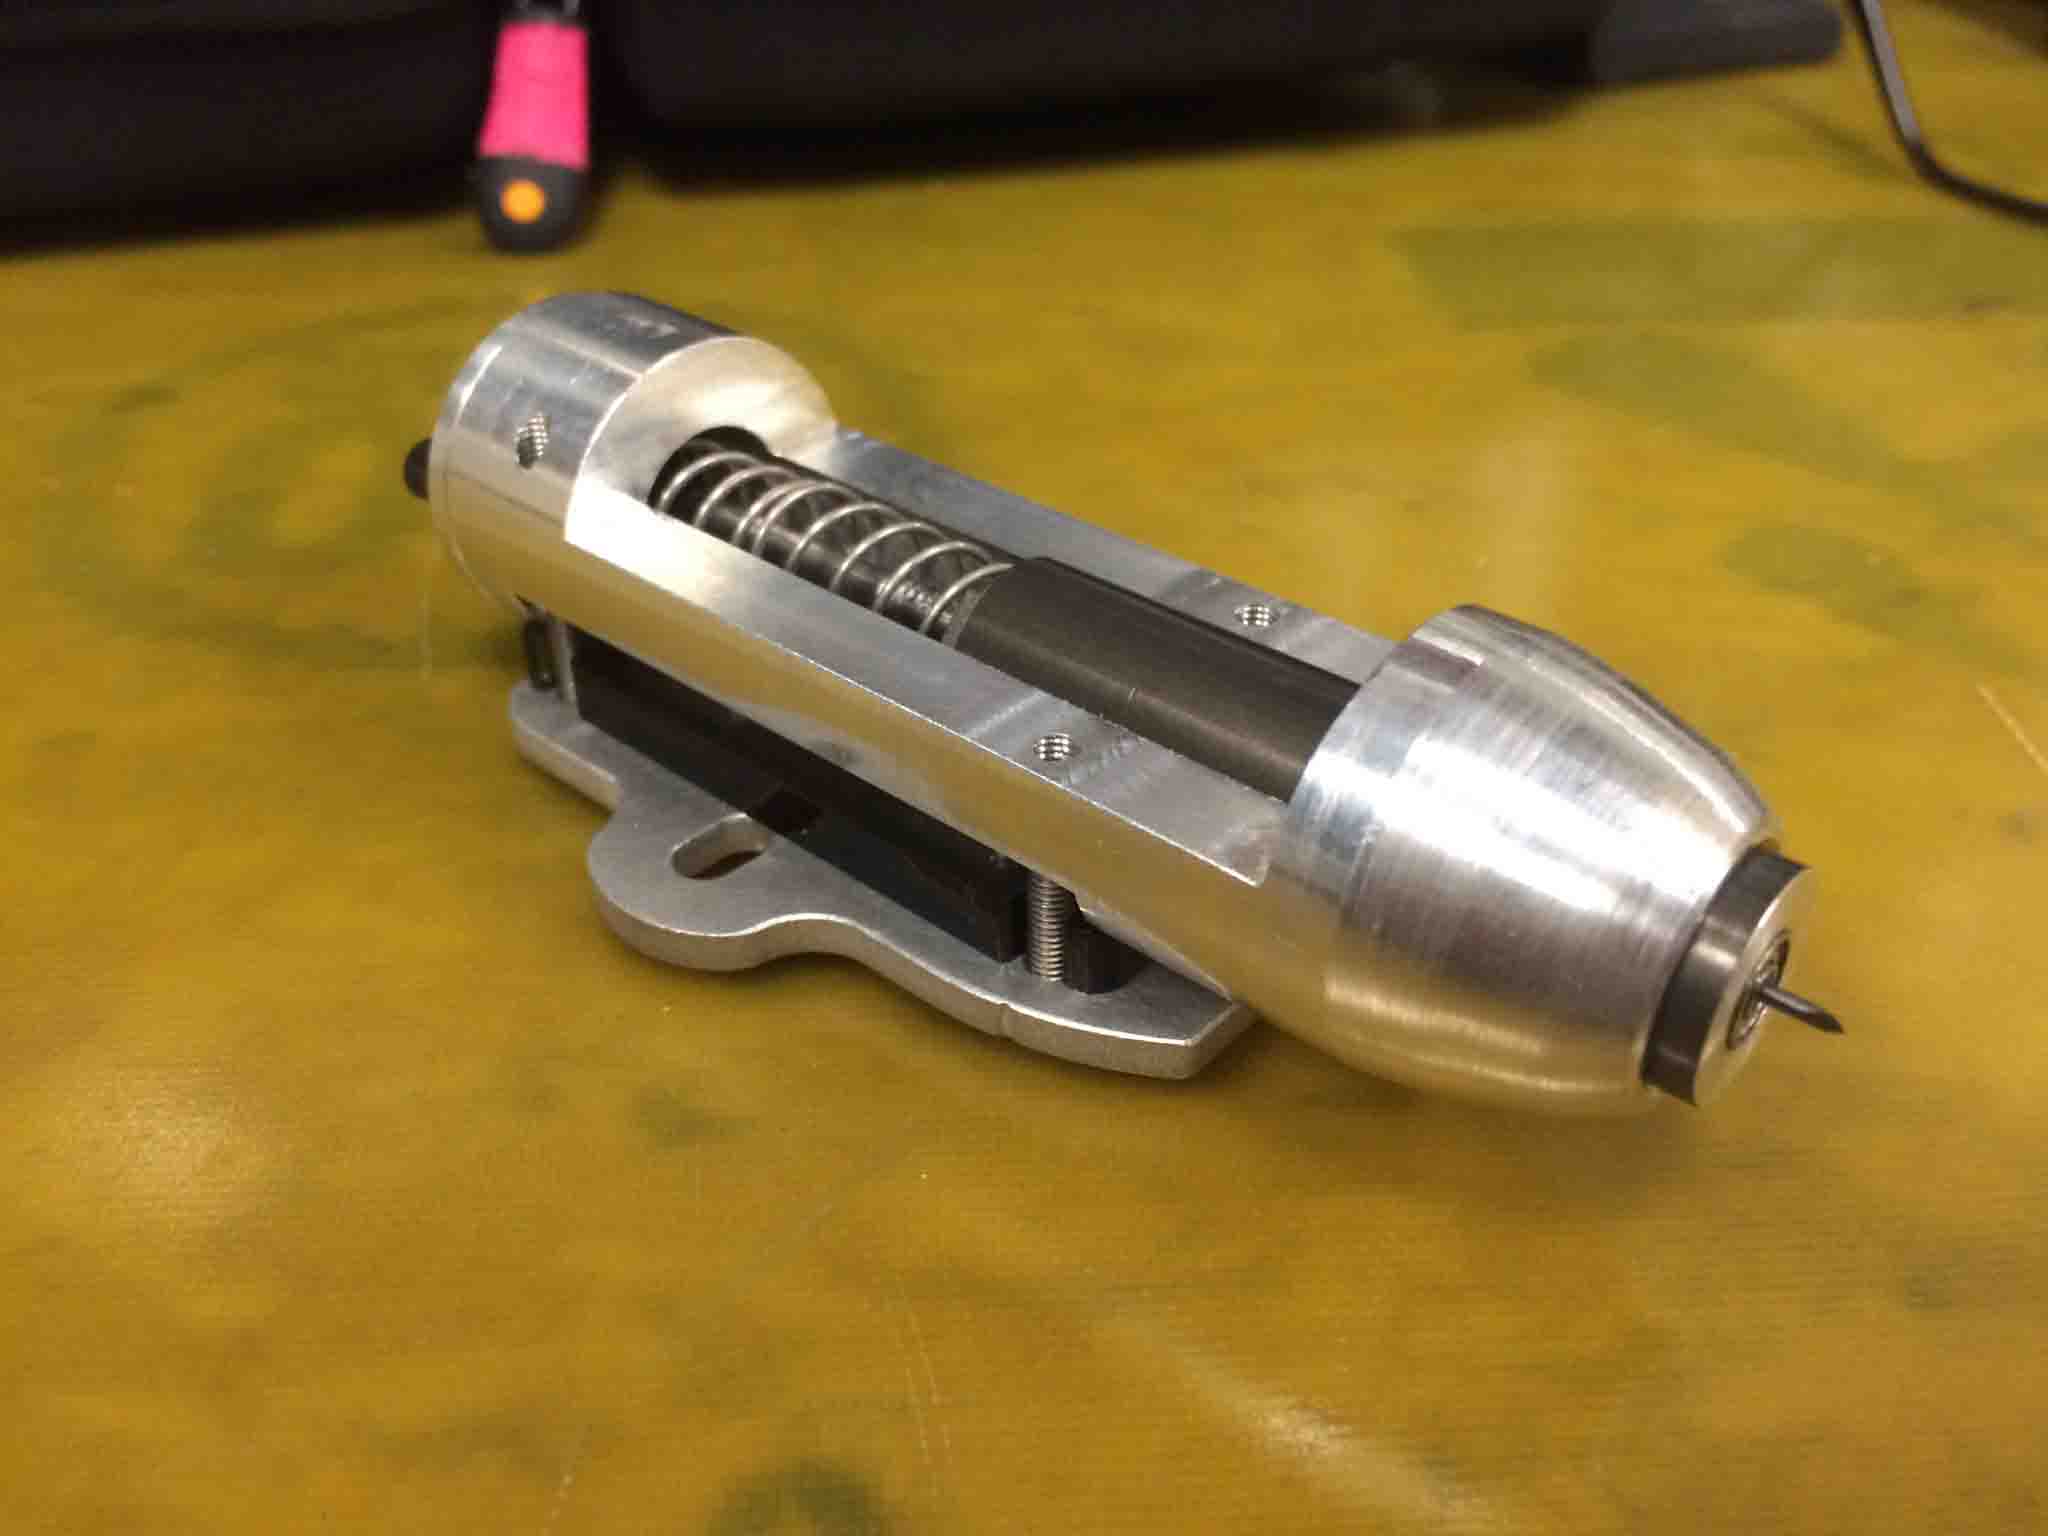
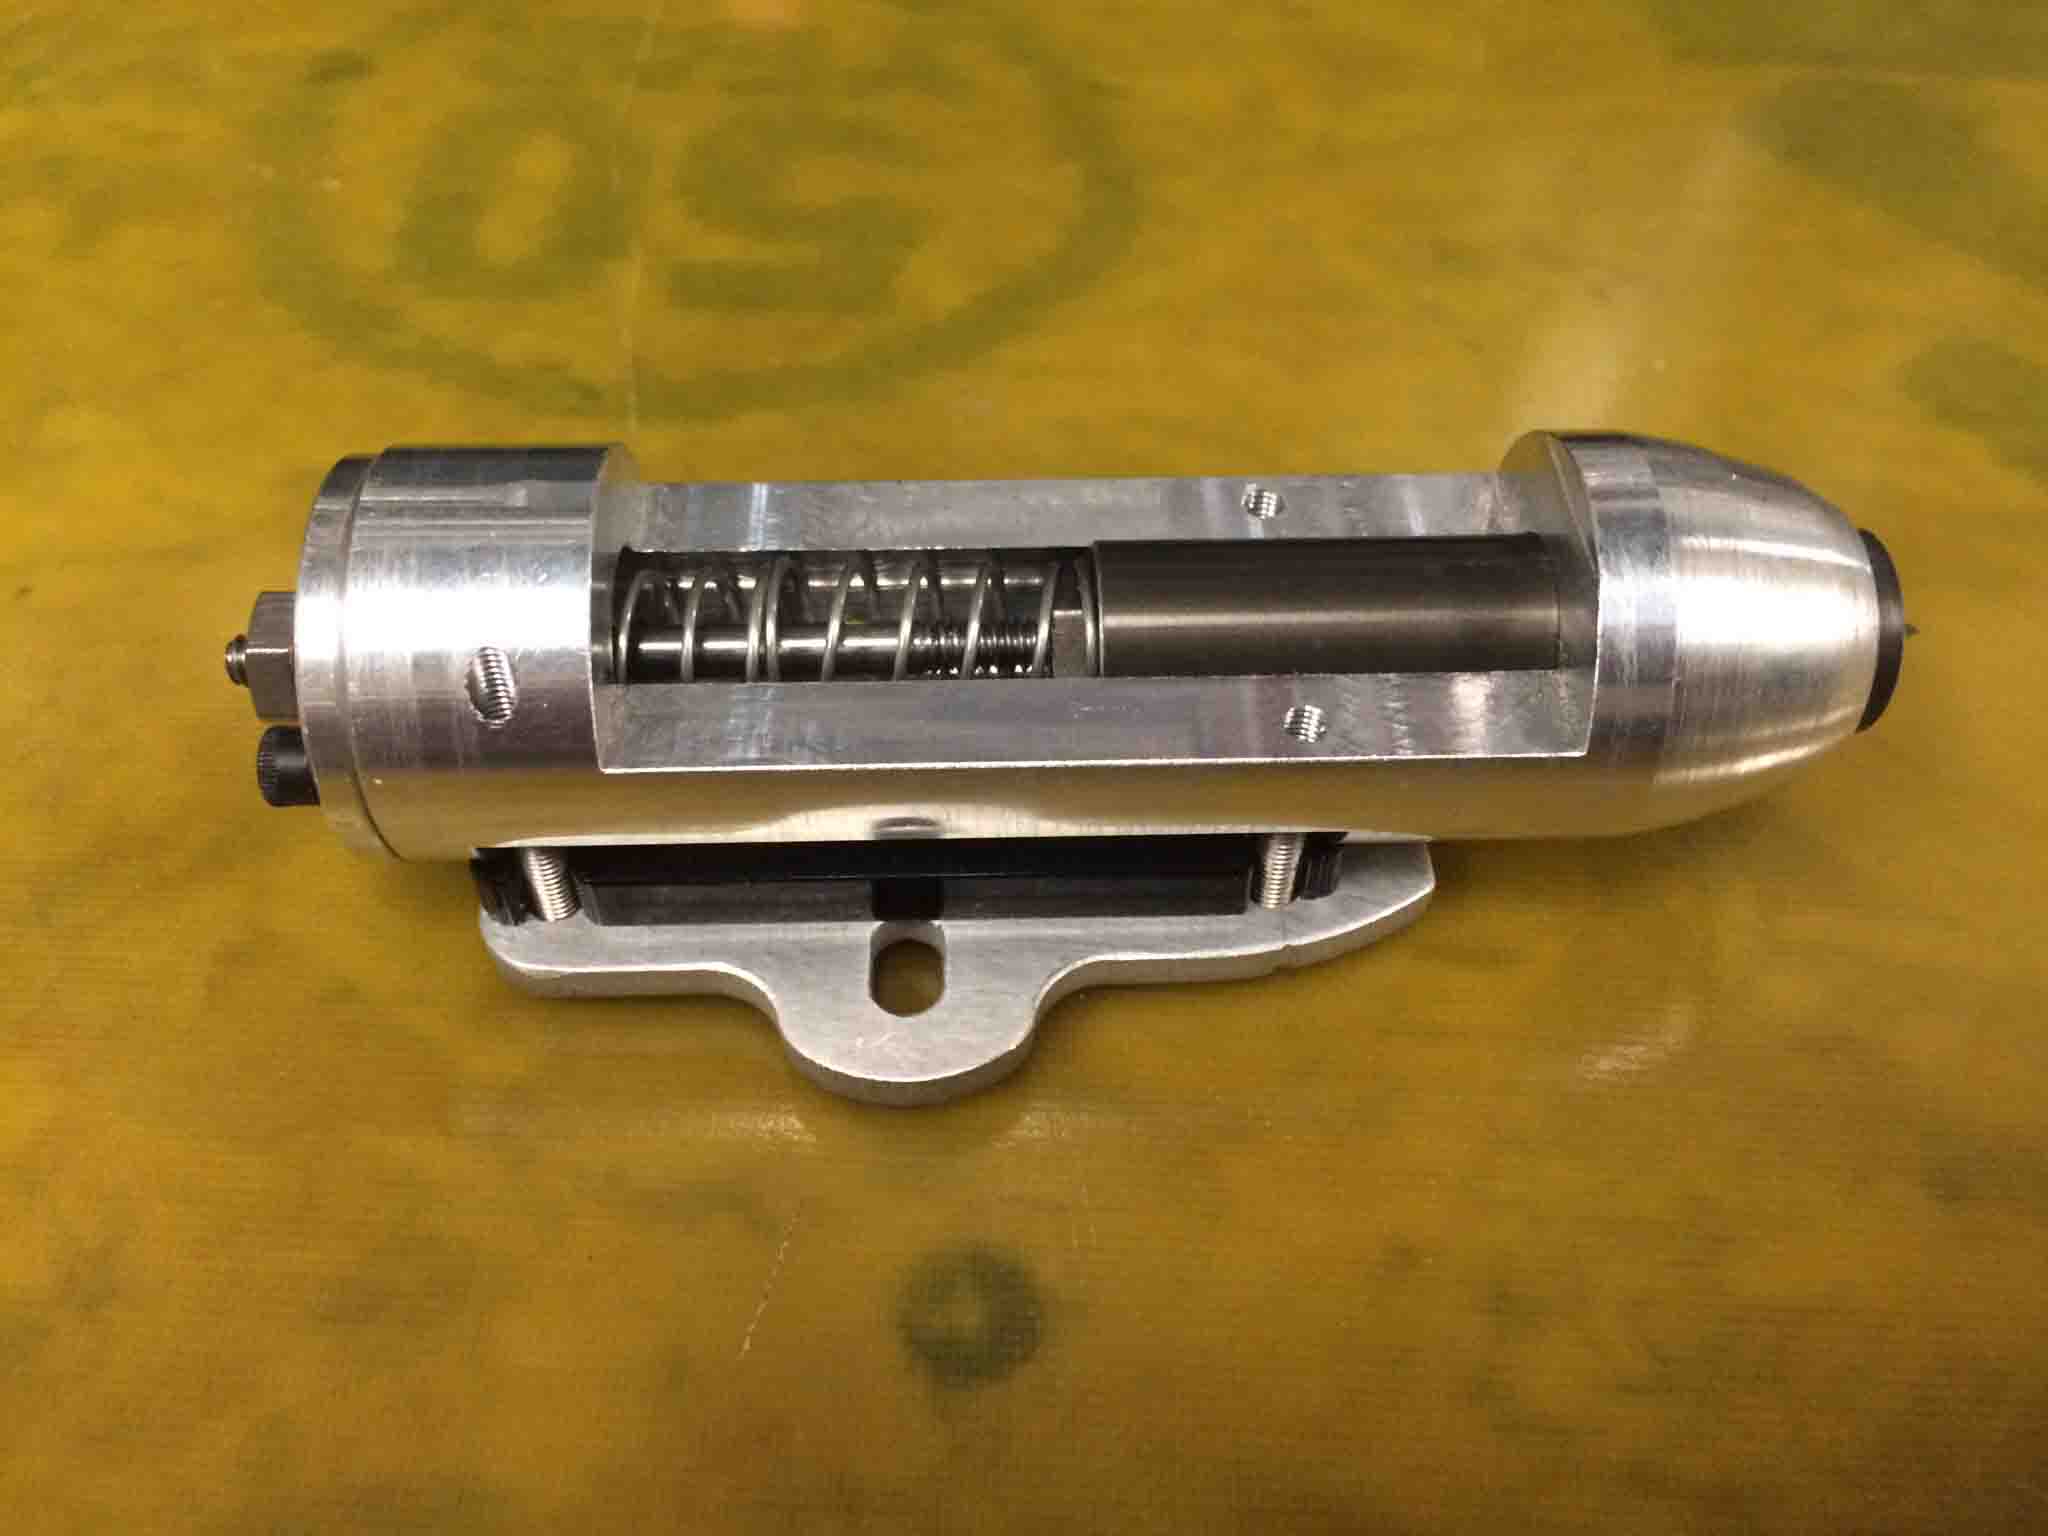
I also looked at the machining spindle from Ilan's Multifab:
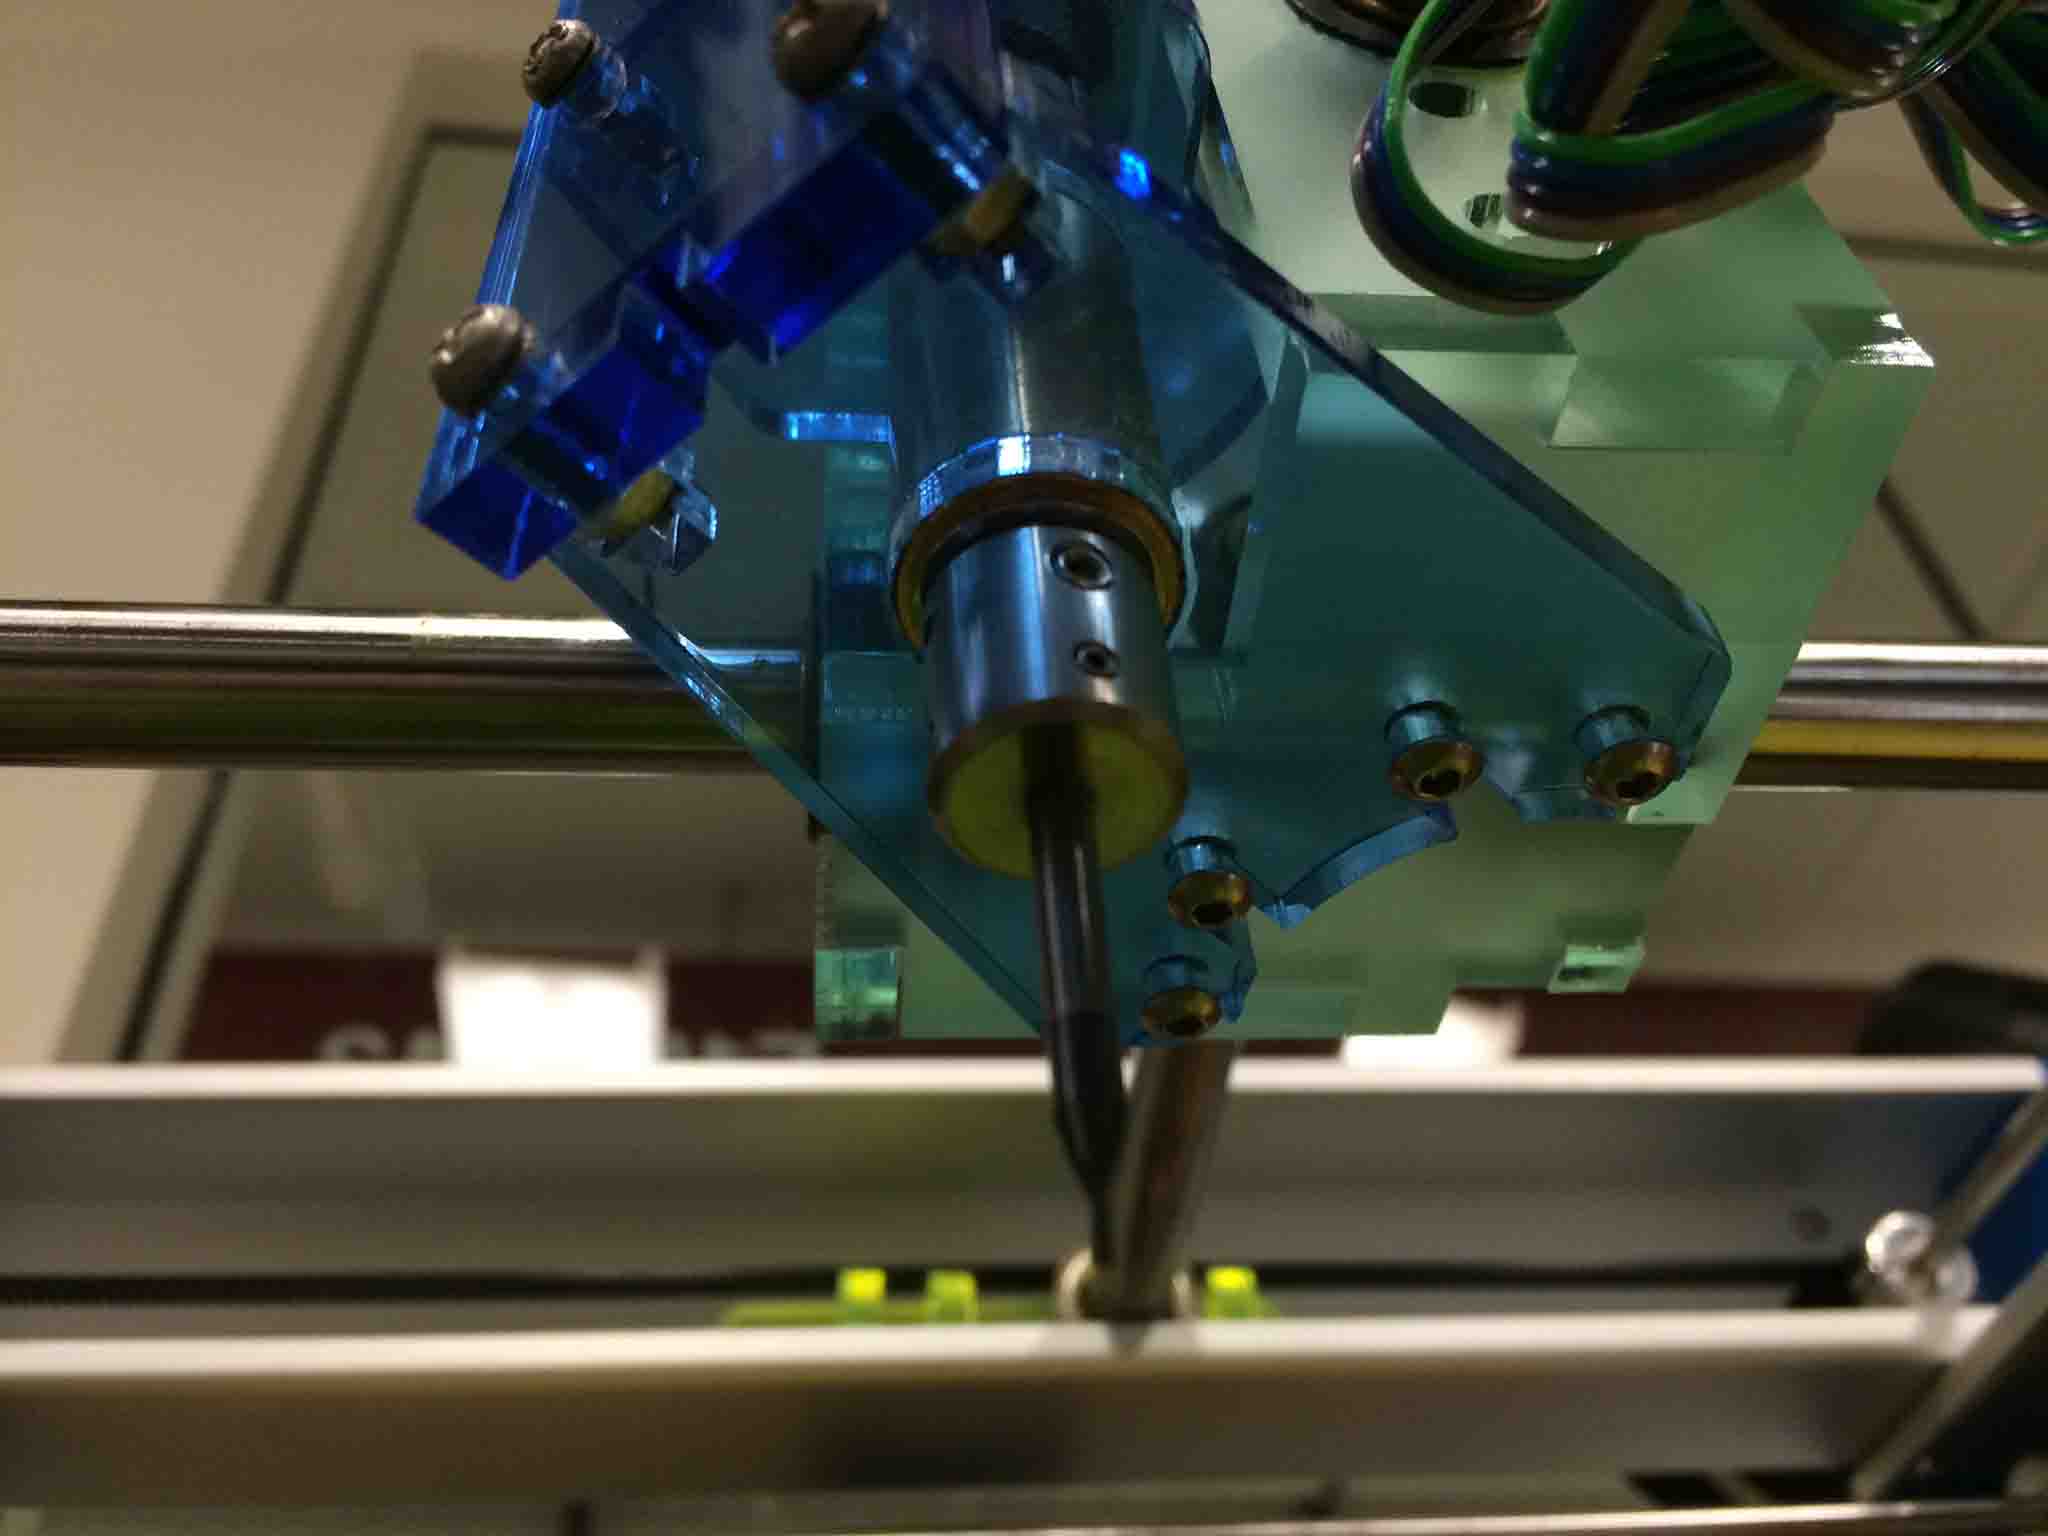

So, I started with the vinyl cutter end effector so that I could easily mate with the existing end effector holder box:
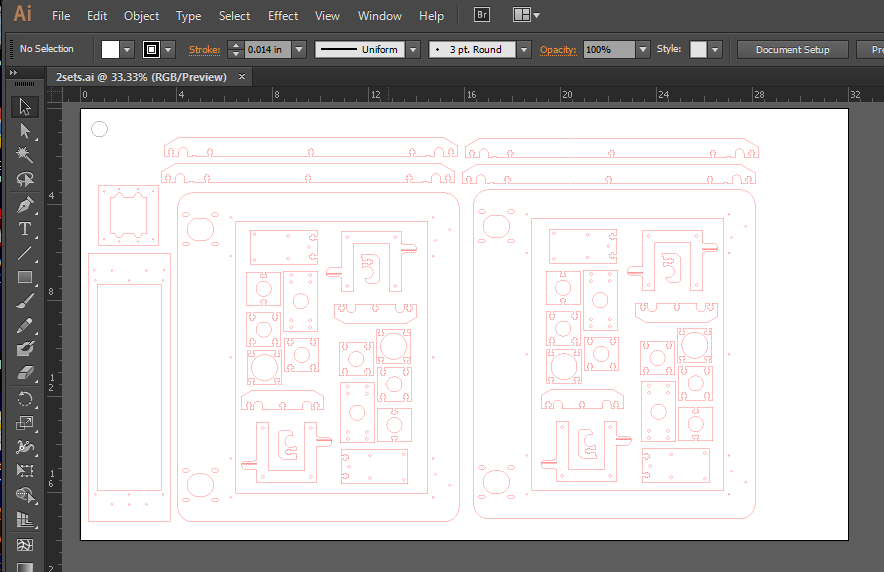
I prepared the drawing to be cut on the laser cutter out of sheets of acrylic and was ready for assebmly in no time.

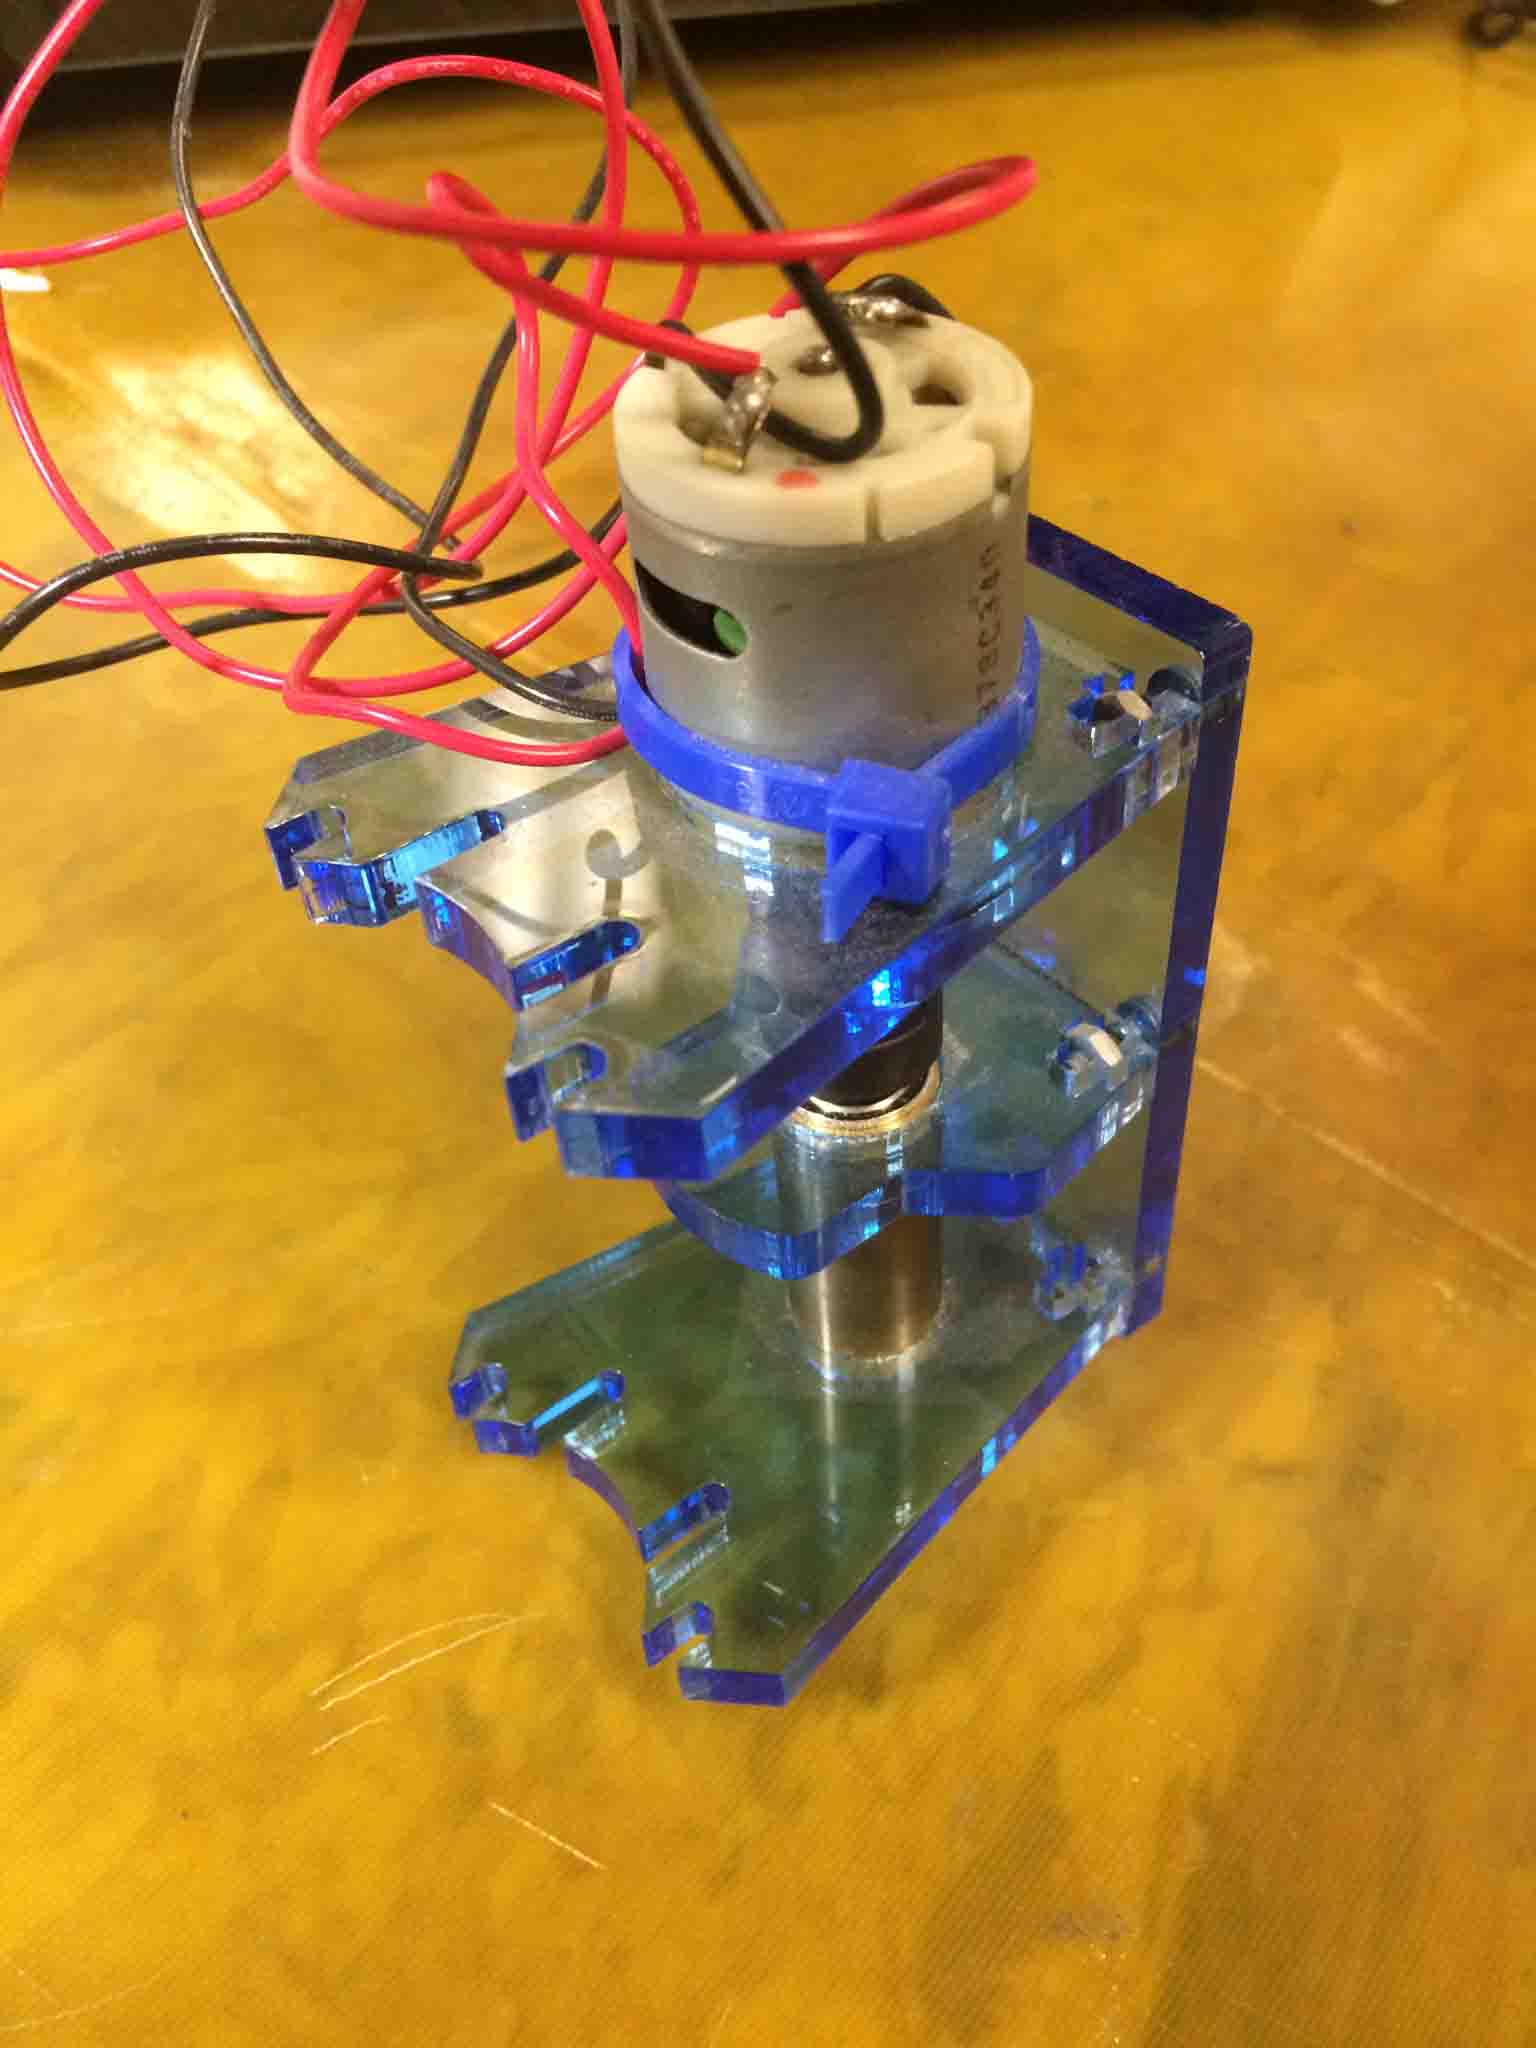
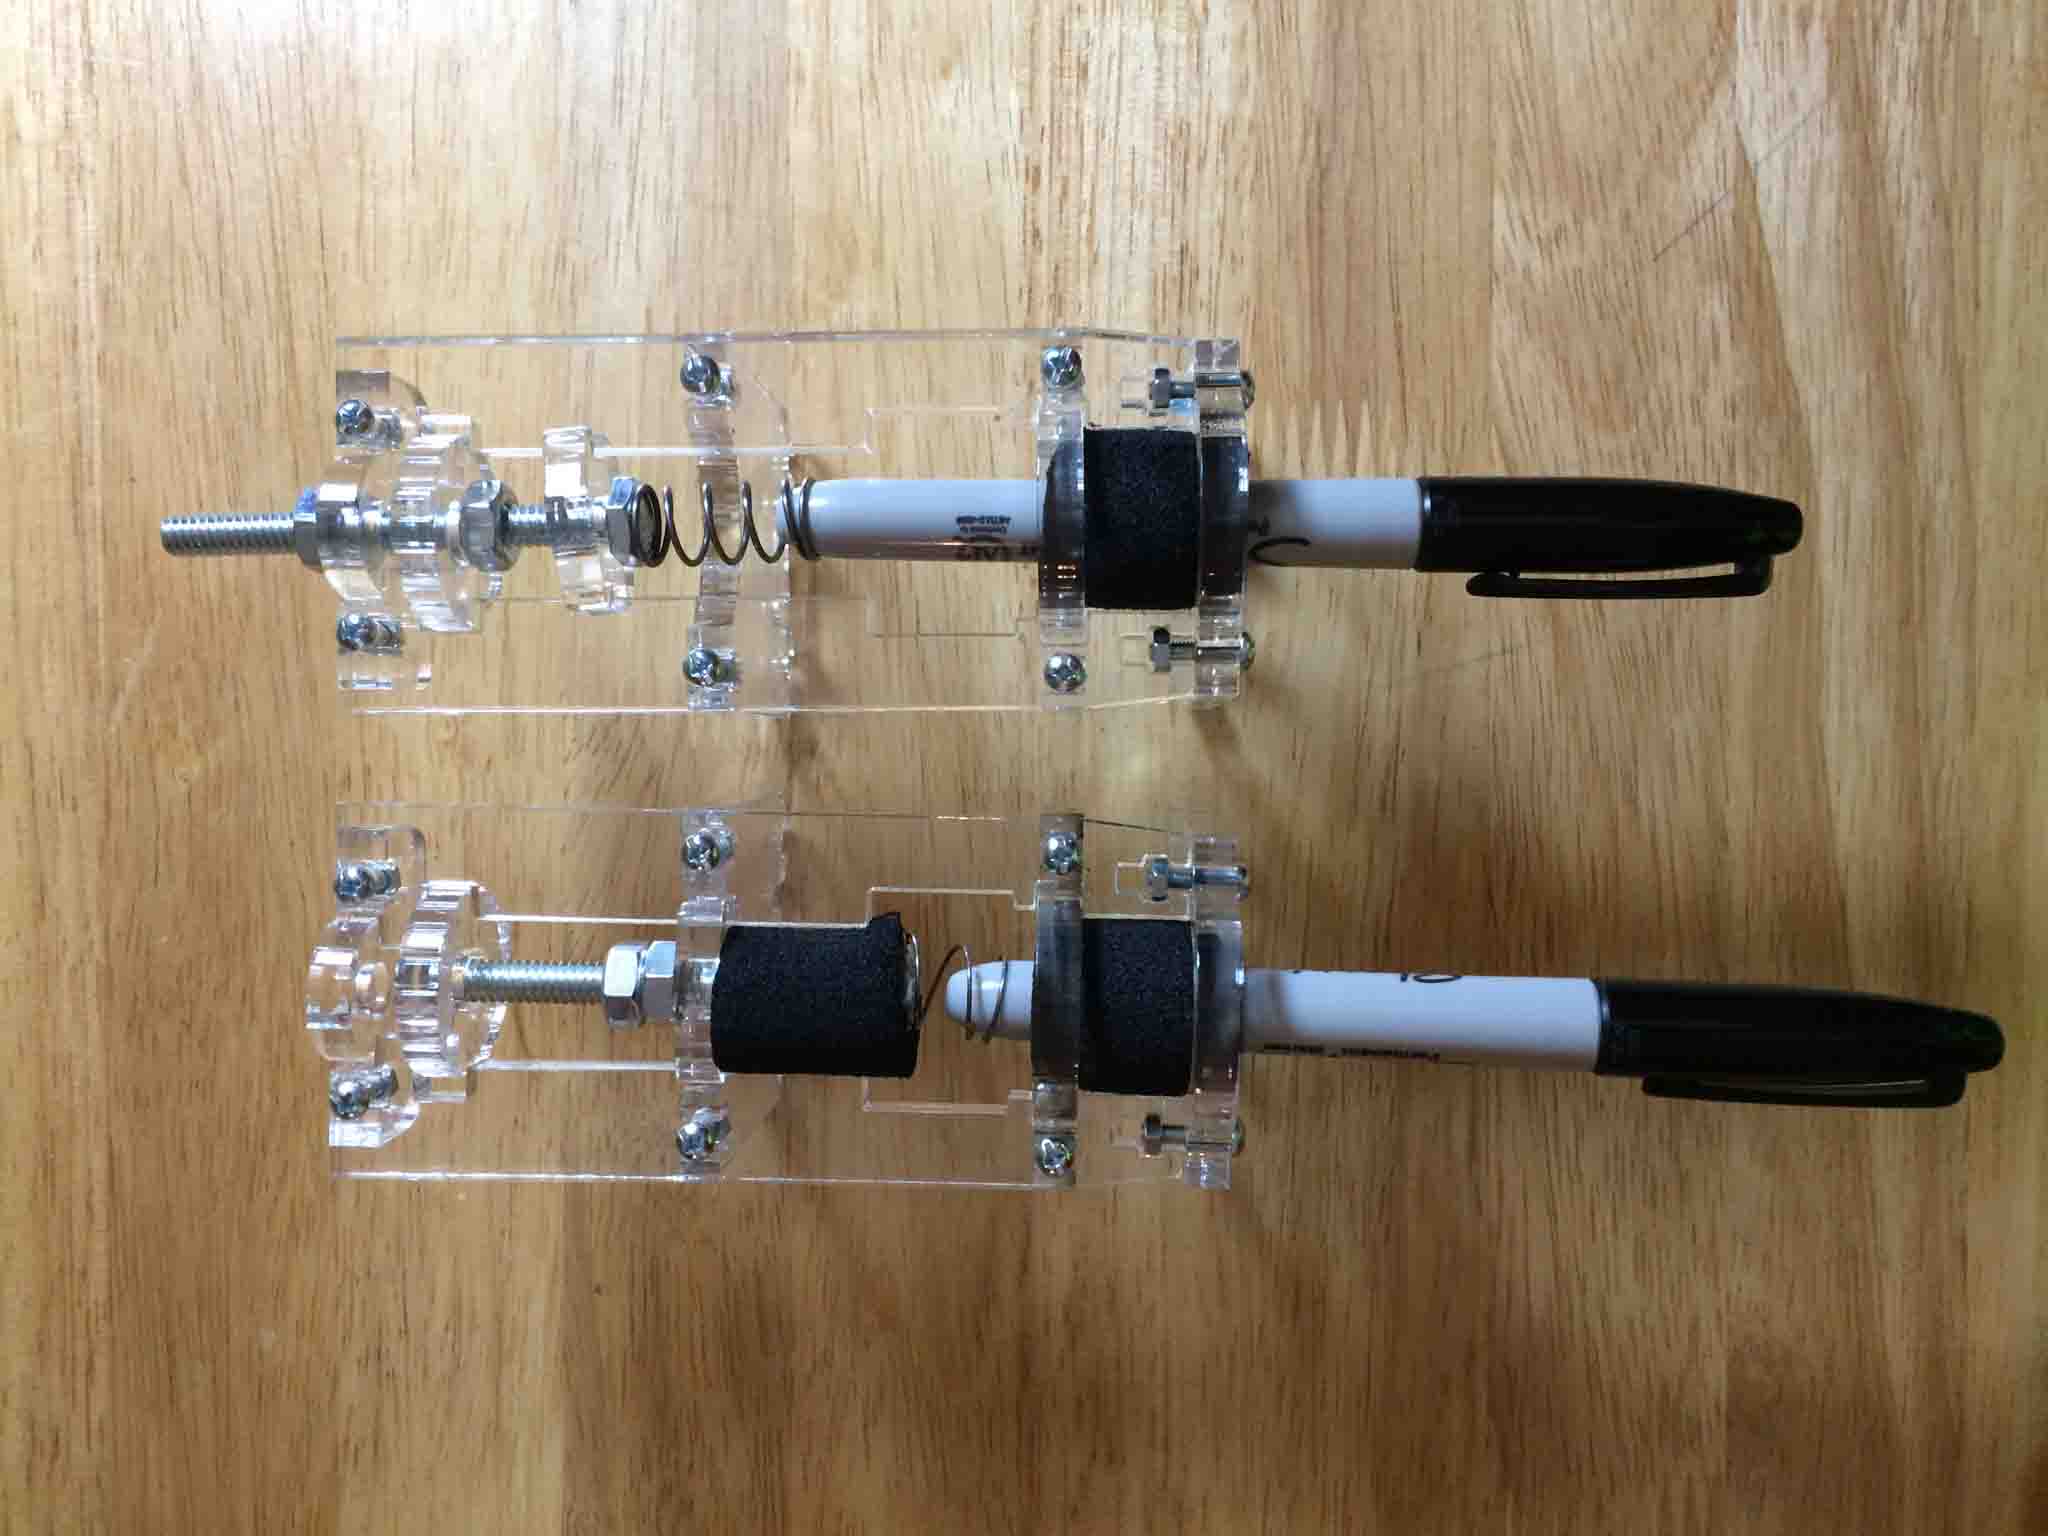
For the marker tool holder, I played with many an idea on how to attach the actual marker to these parts. I was luck to have Pat from the Edgerton Center Student Shops help me first discover a really cool tool for navigating screws and secondly give me the great idea to use neoprene, and then offer me some!

I made some quick drawings for the neoprene on the CAM software and then loaded the parts into the waterjet.
After a Home Depot run for all the screws and washers and nuts and springs I was ready for assembly of the marker tool head:

So robotic!
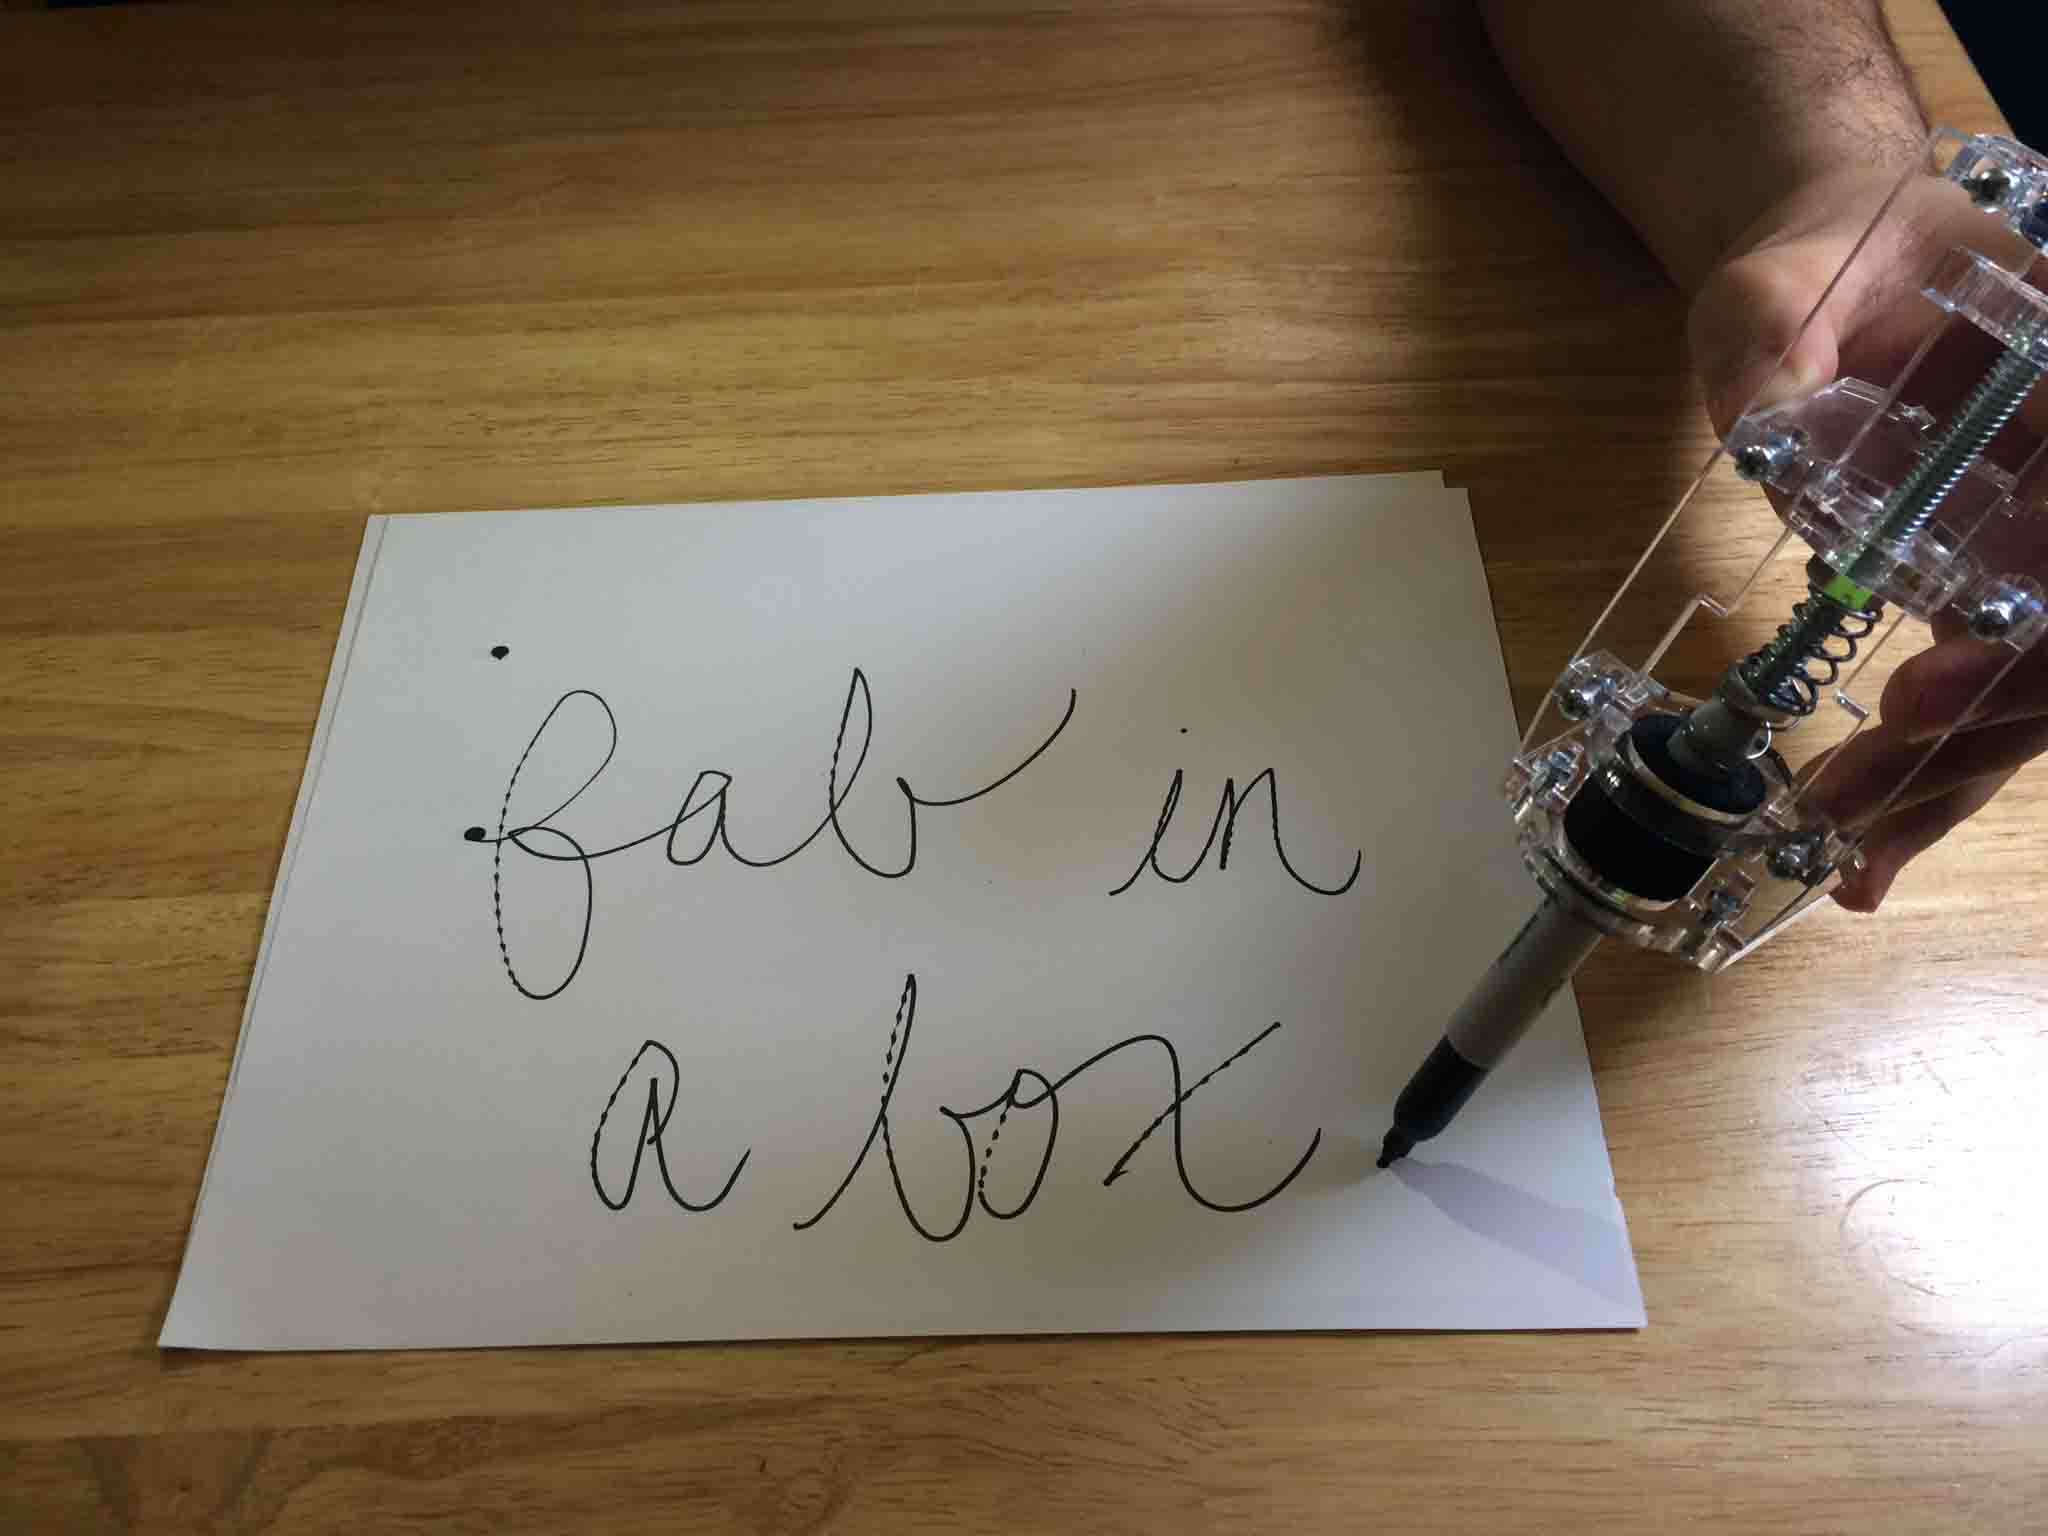
Now, we were ready for testing and demoing!
We went! We demo'ed, we conquered! More soon!

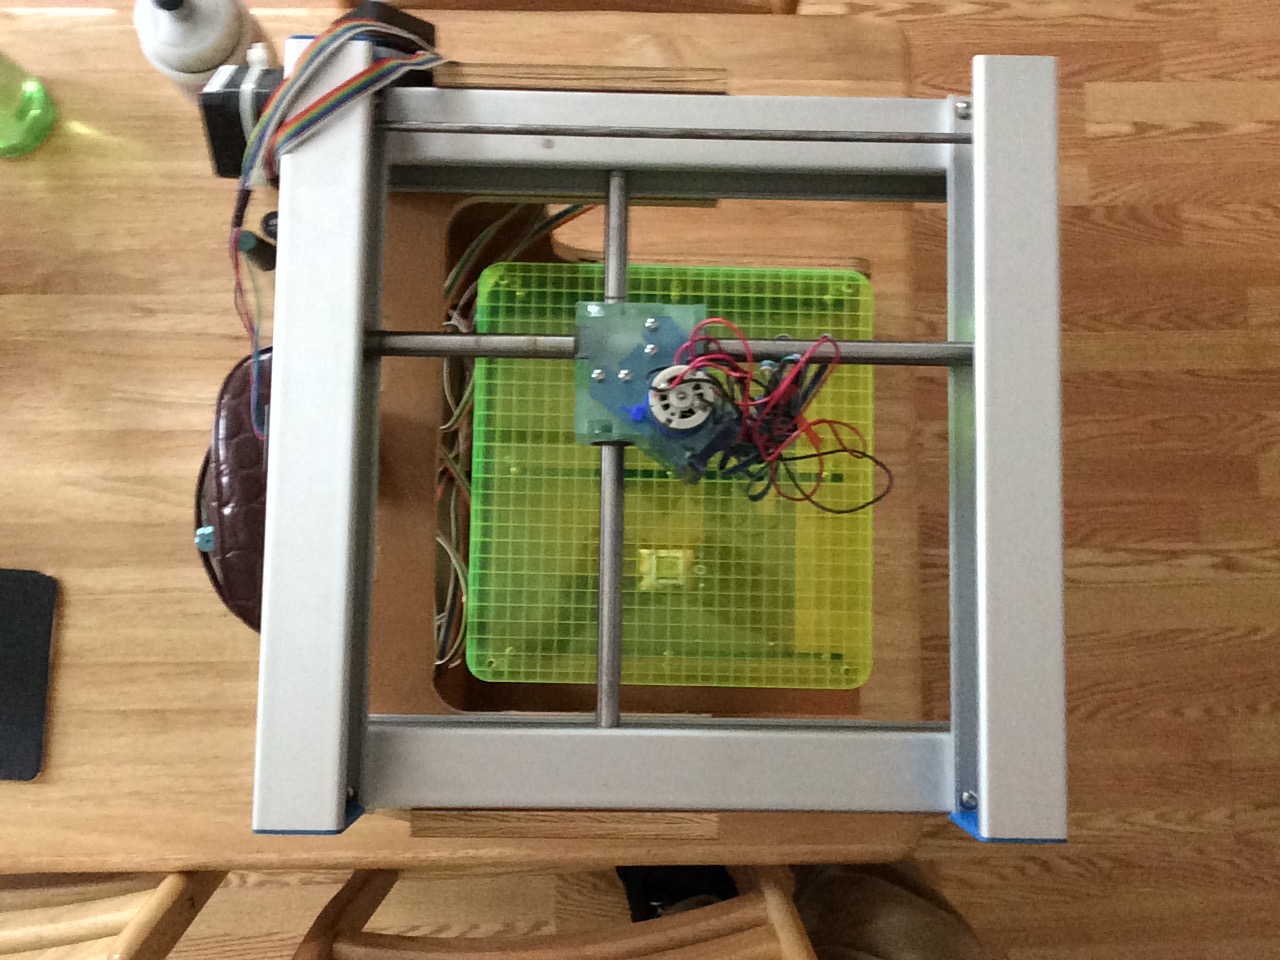
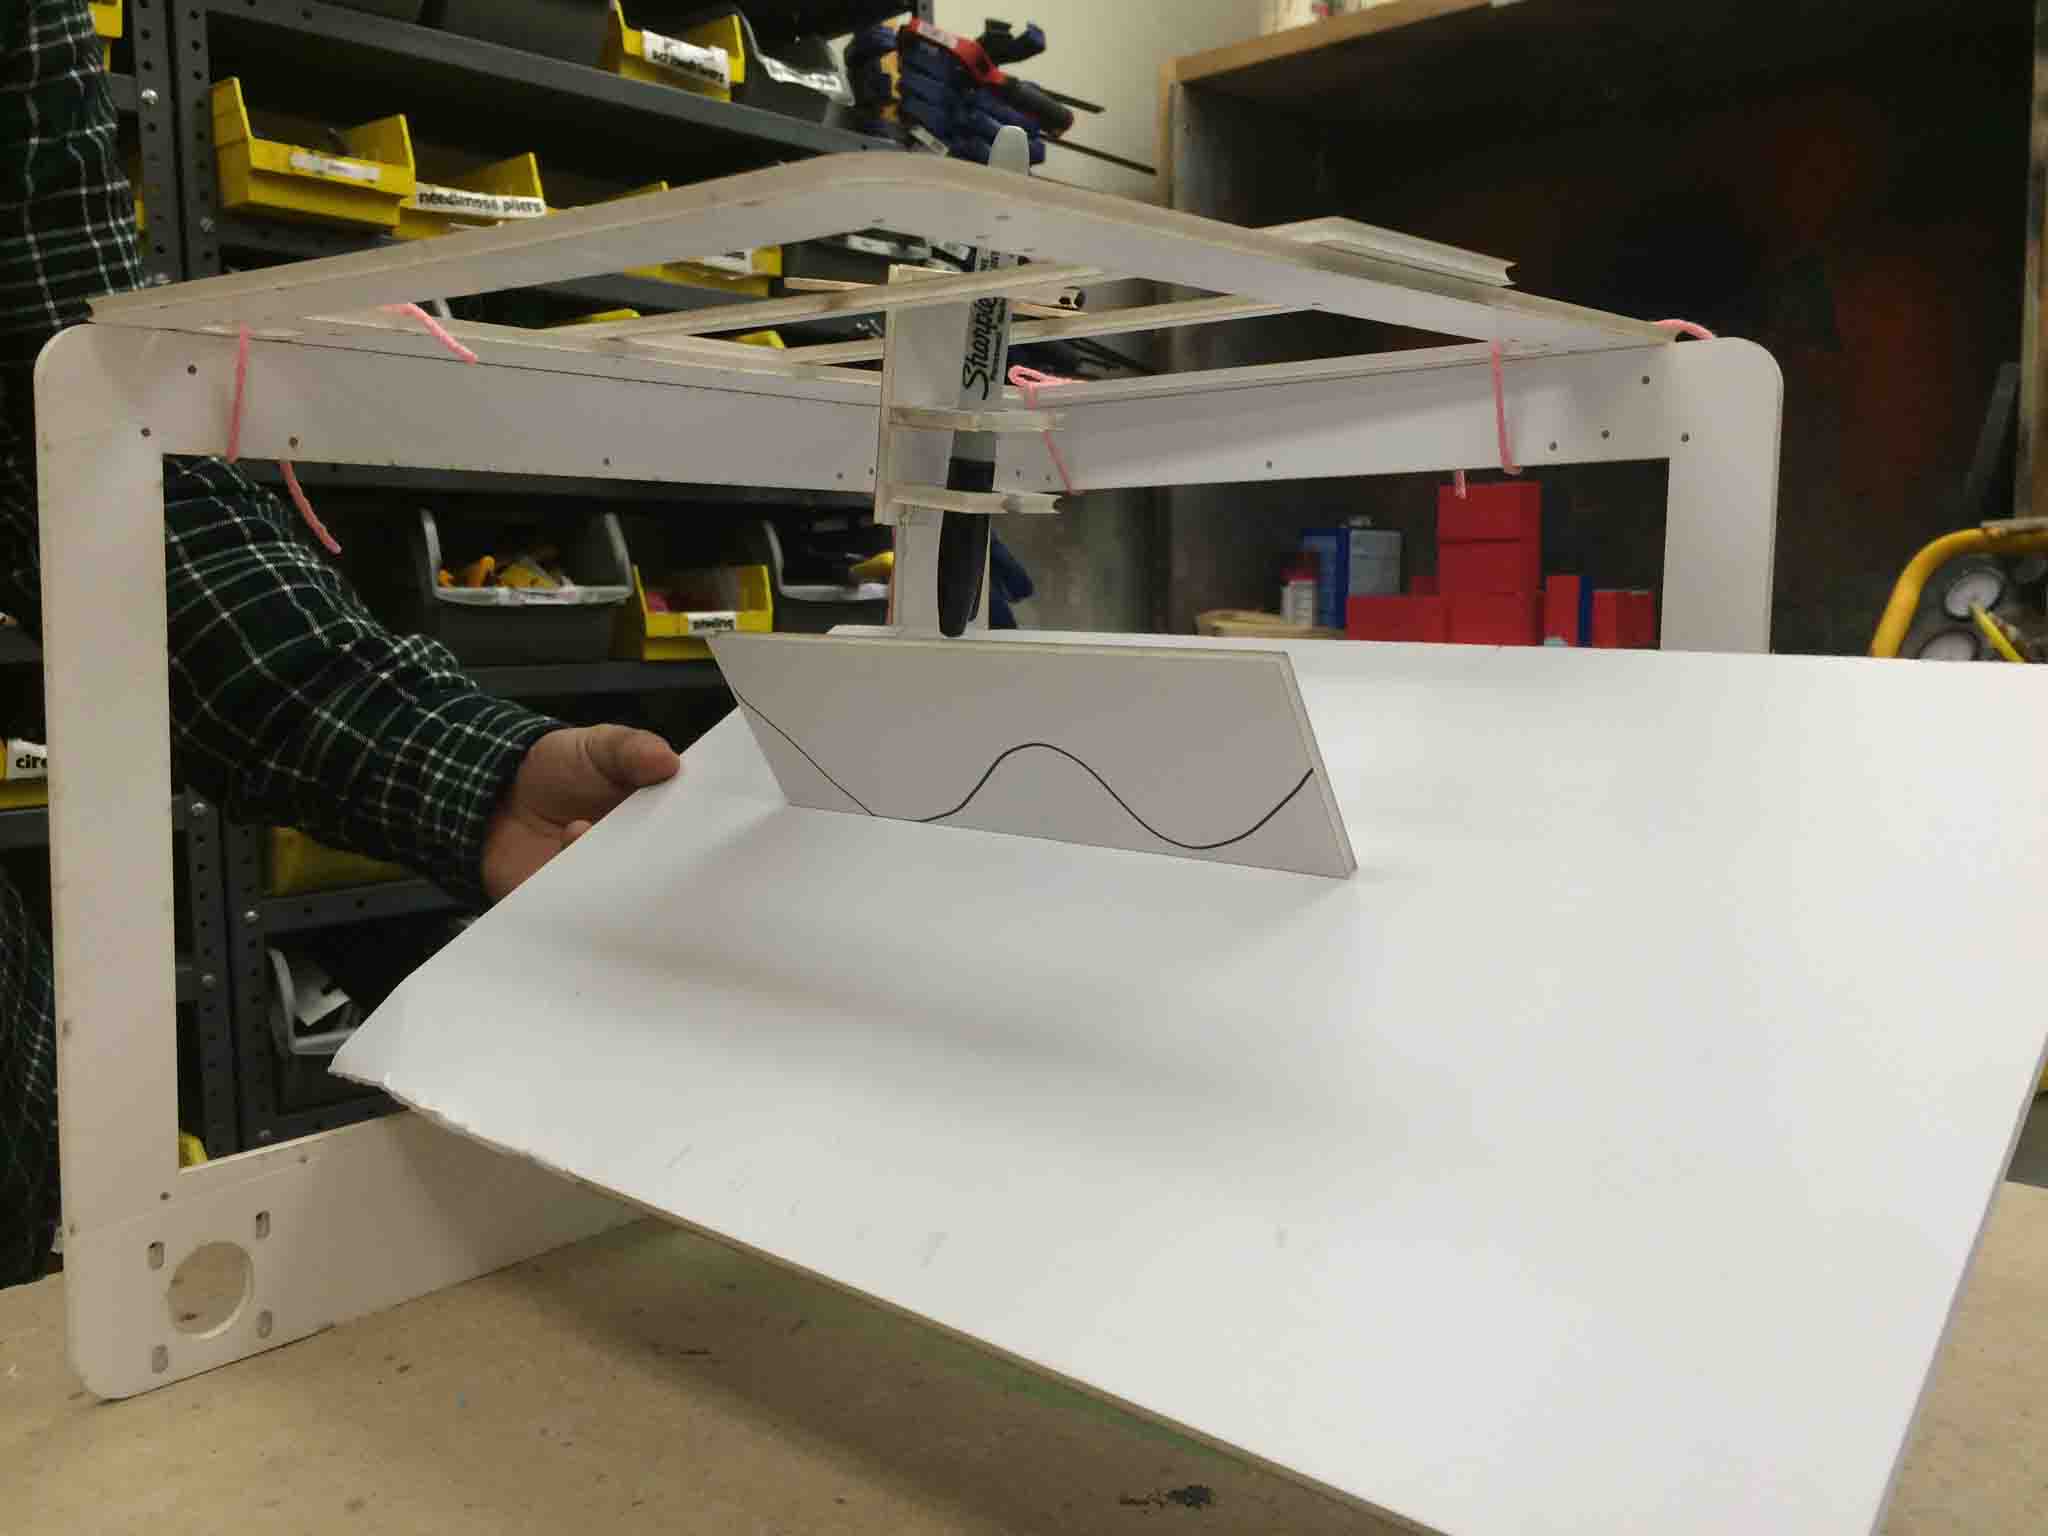
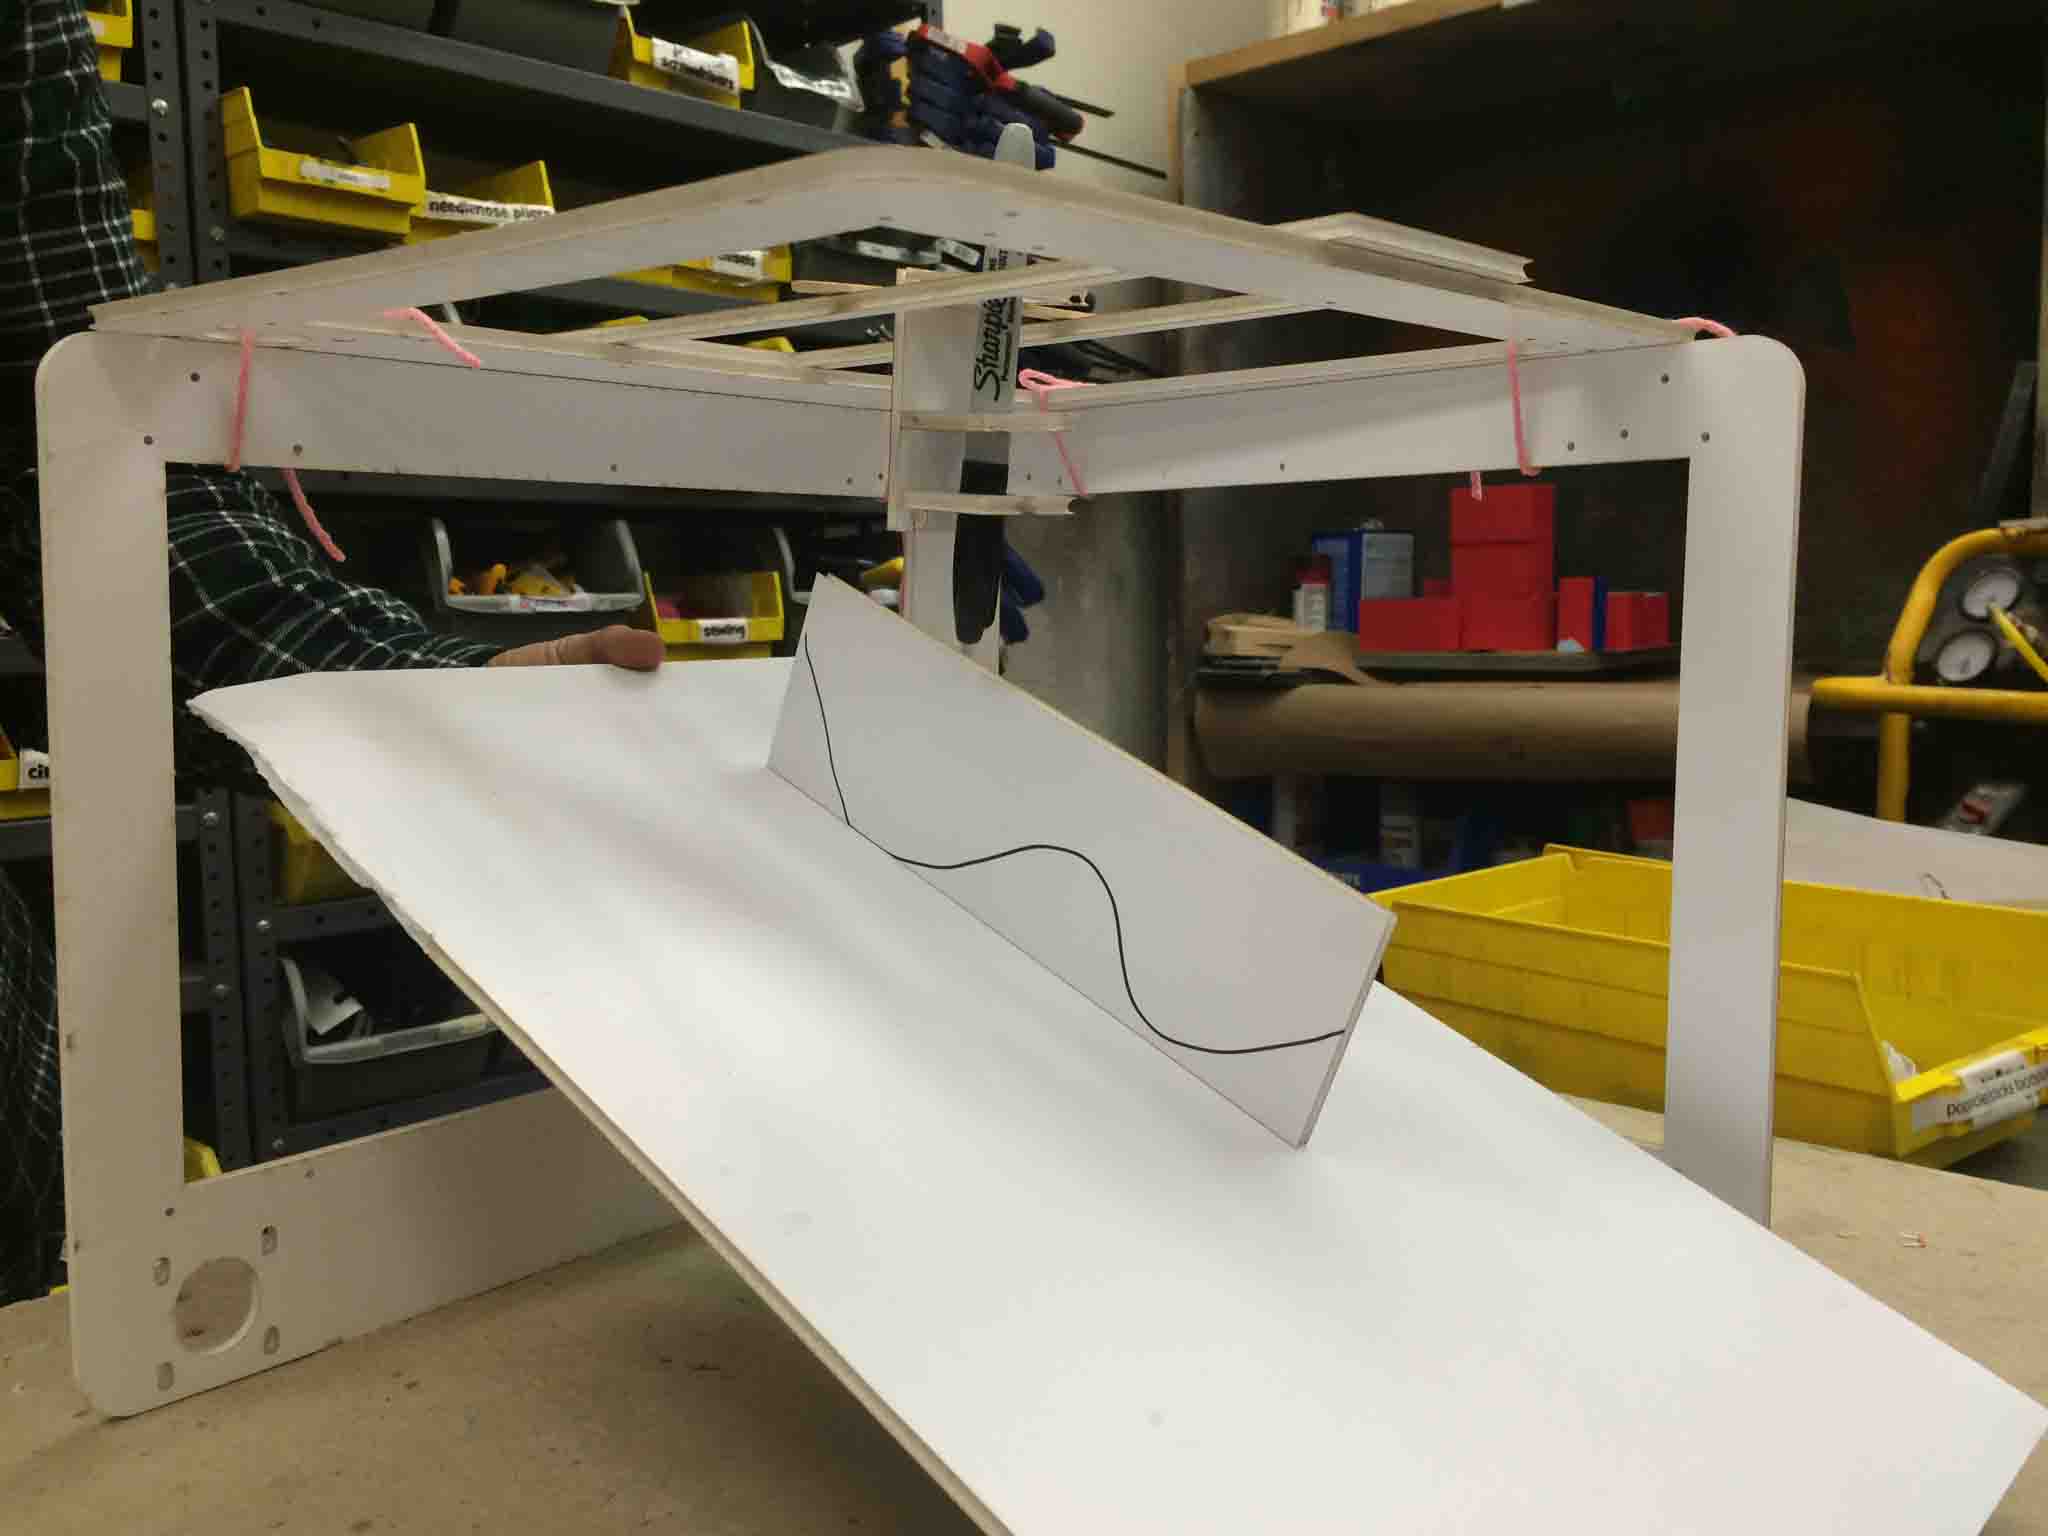
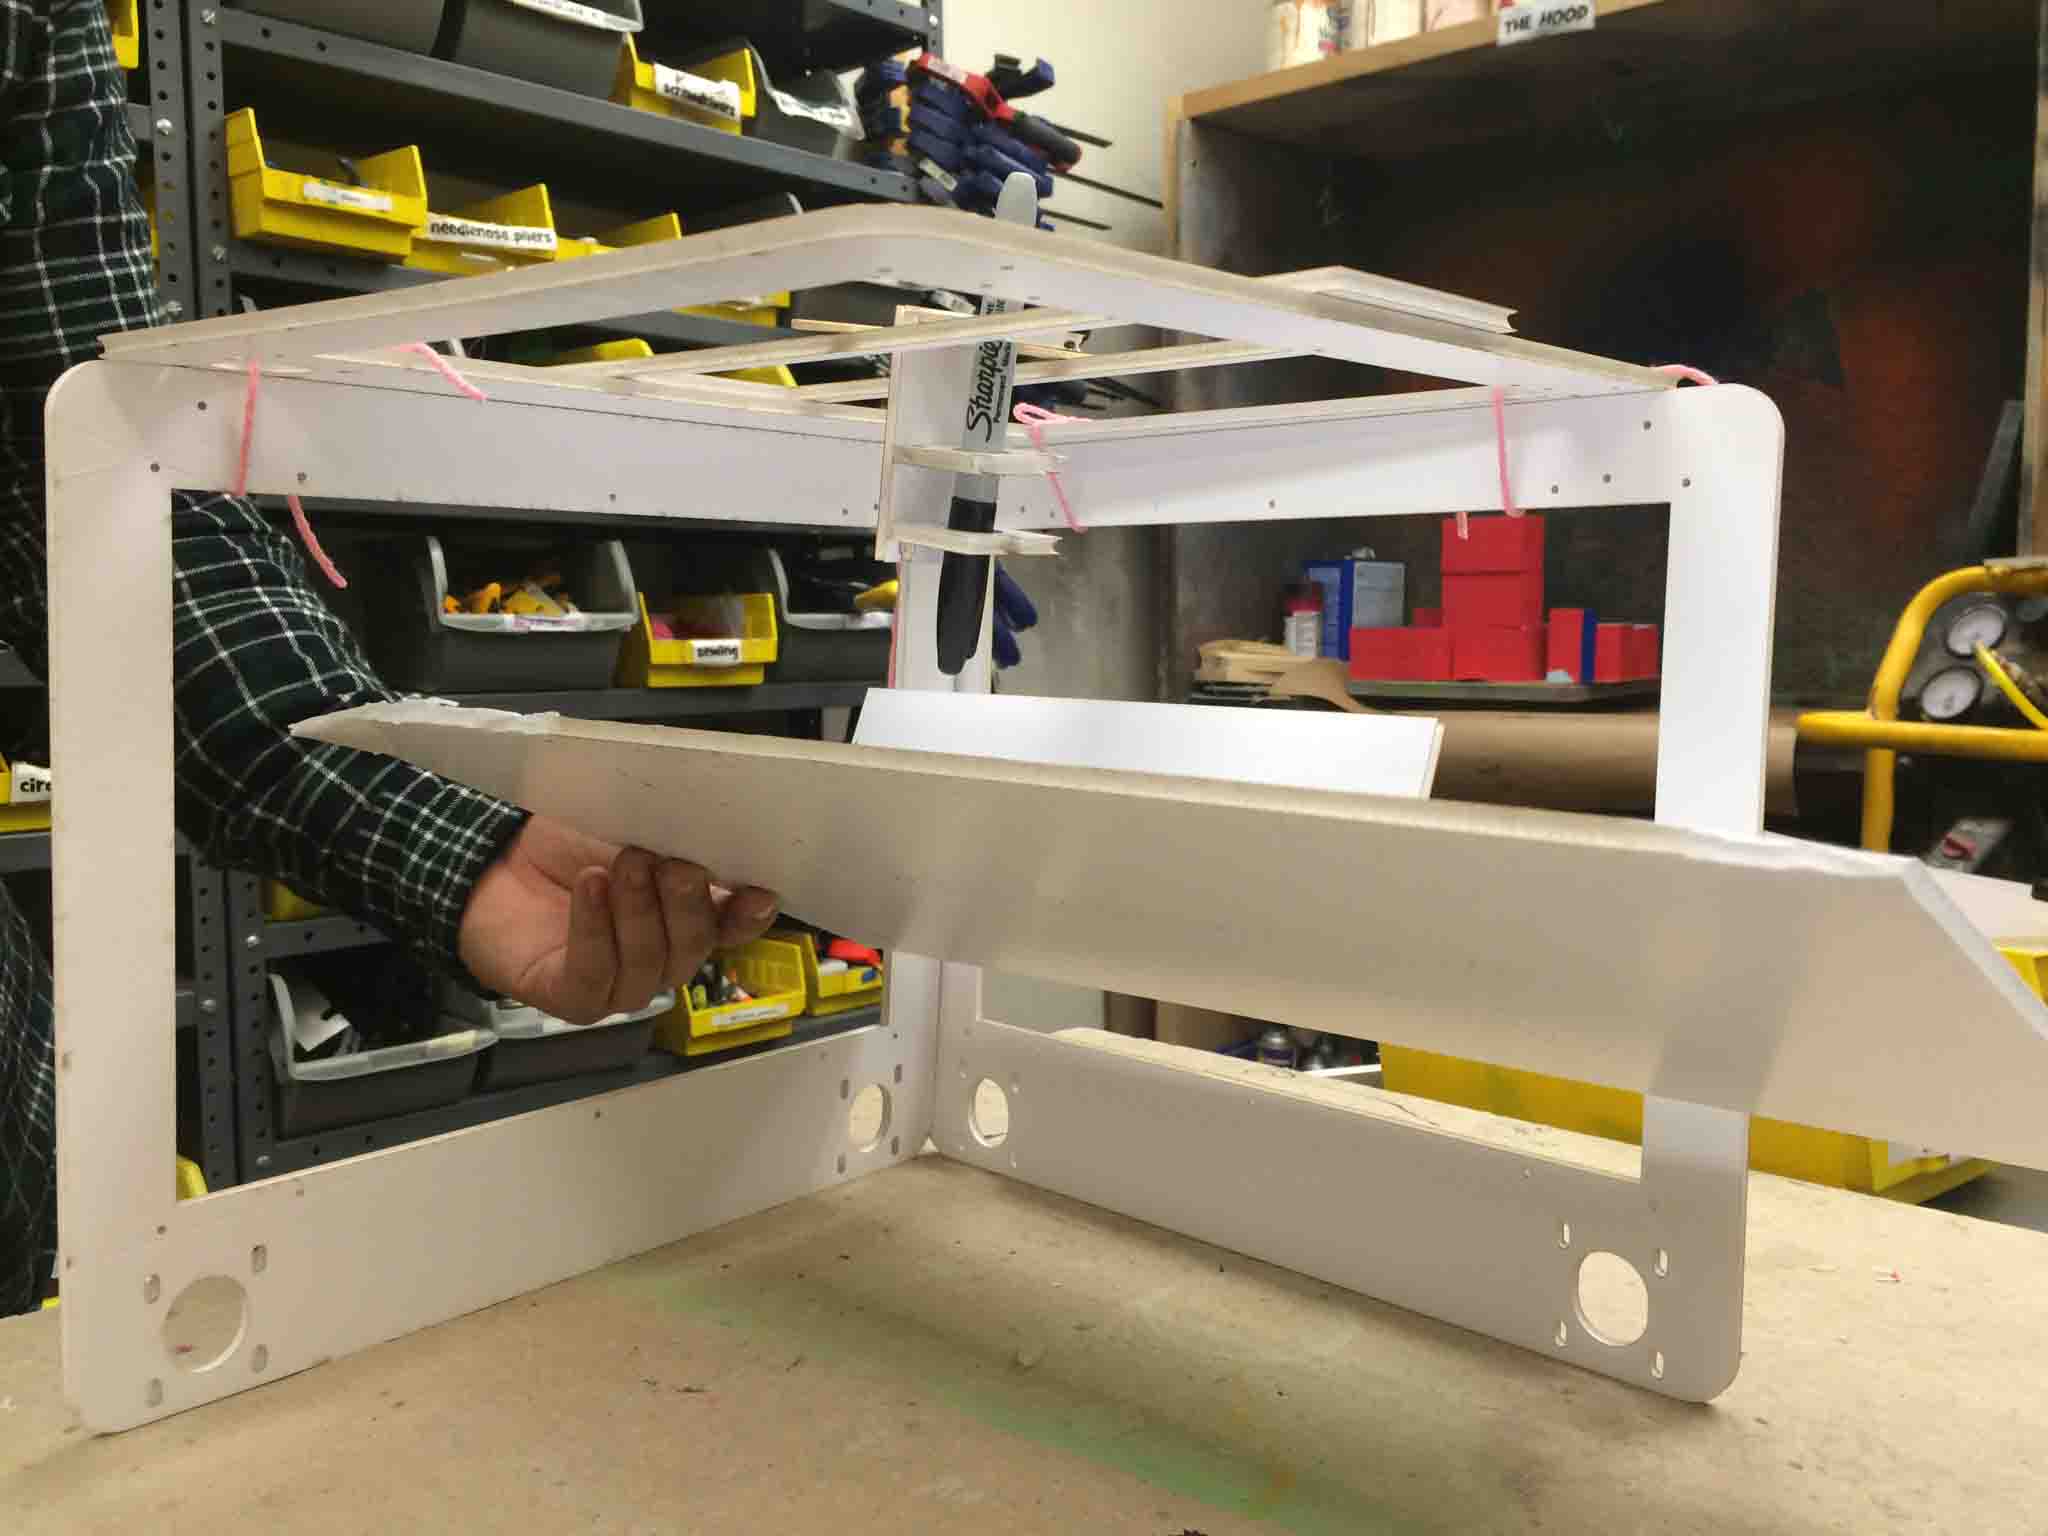
Prototyping Modular Core XY Axes
After class one day, Morris and I got to brainstorming the development of the machine. As mentioned before, we were contemplating using Ilan's CoreXY as part of our bed plate or tool head movement. As we were playing with the idea of having Fabinabox be a modular axes machine (stemming from Nadya and James' Reconfigurable Stages), Morris had the idea of setting up CoreXY's as the modular axis, that is, not a signle direction axis but a machine where each wall is a 2-axis CoreXY.
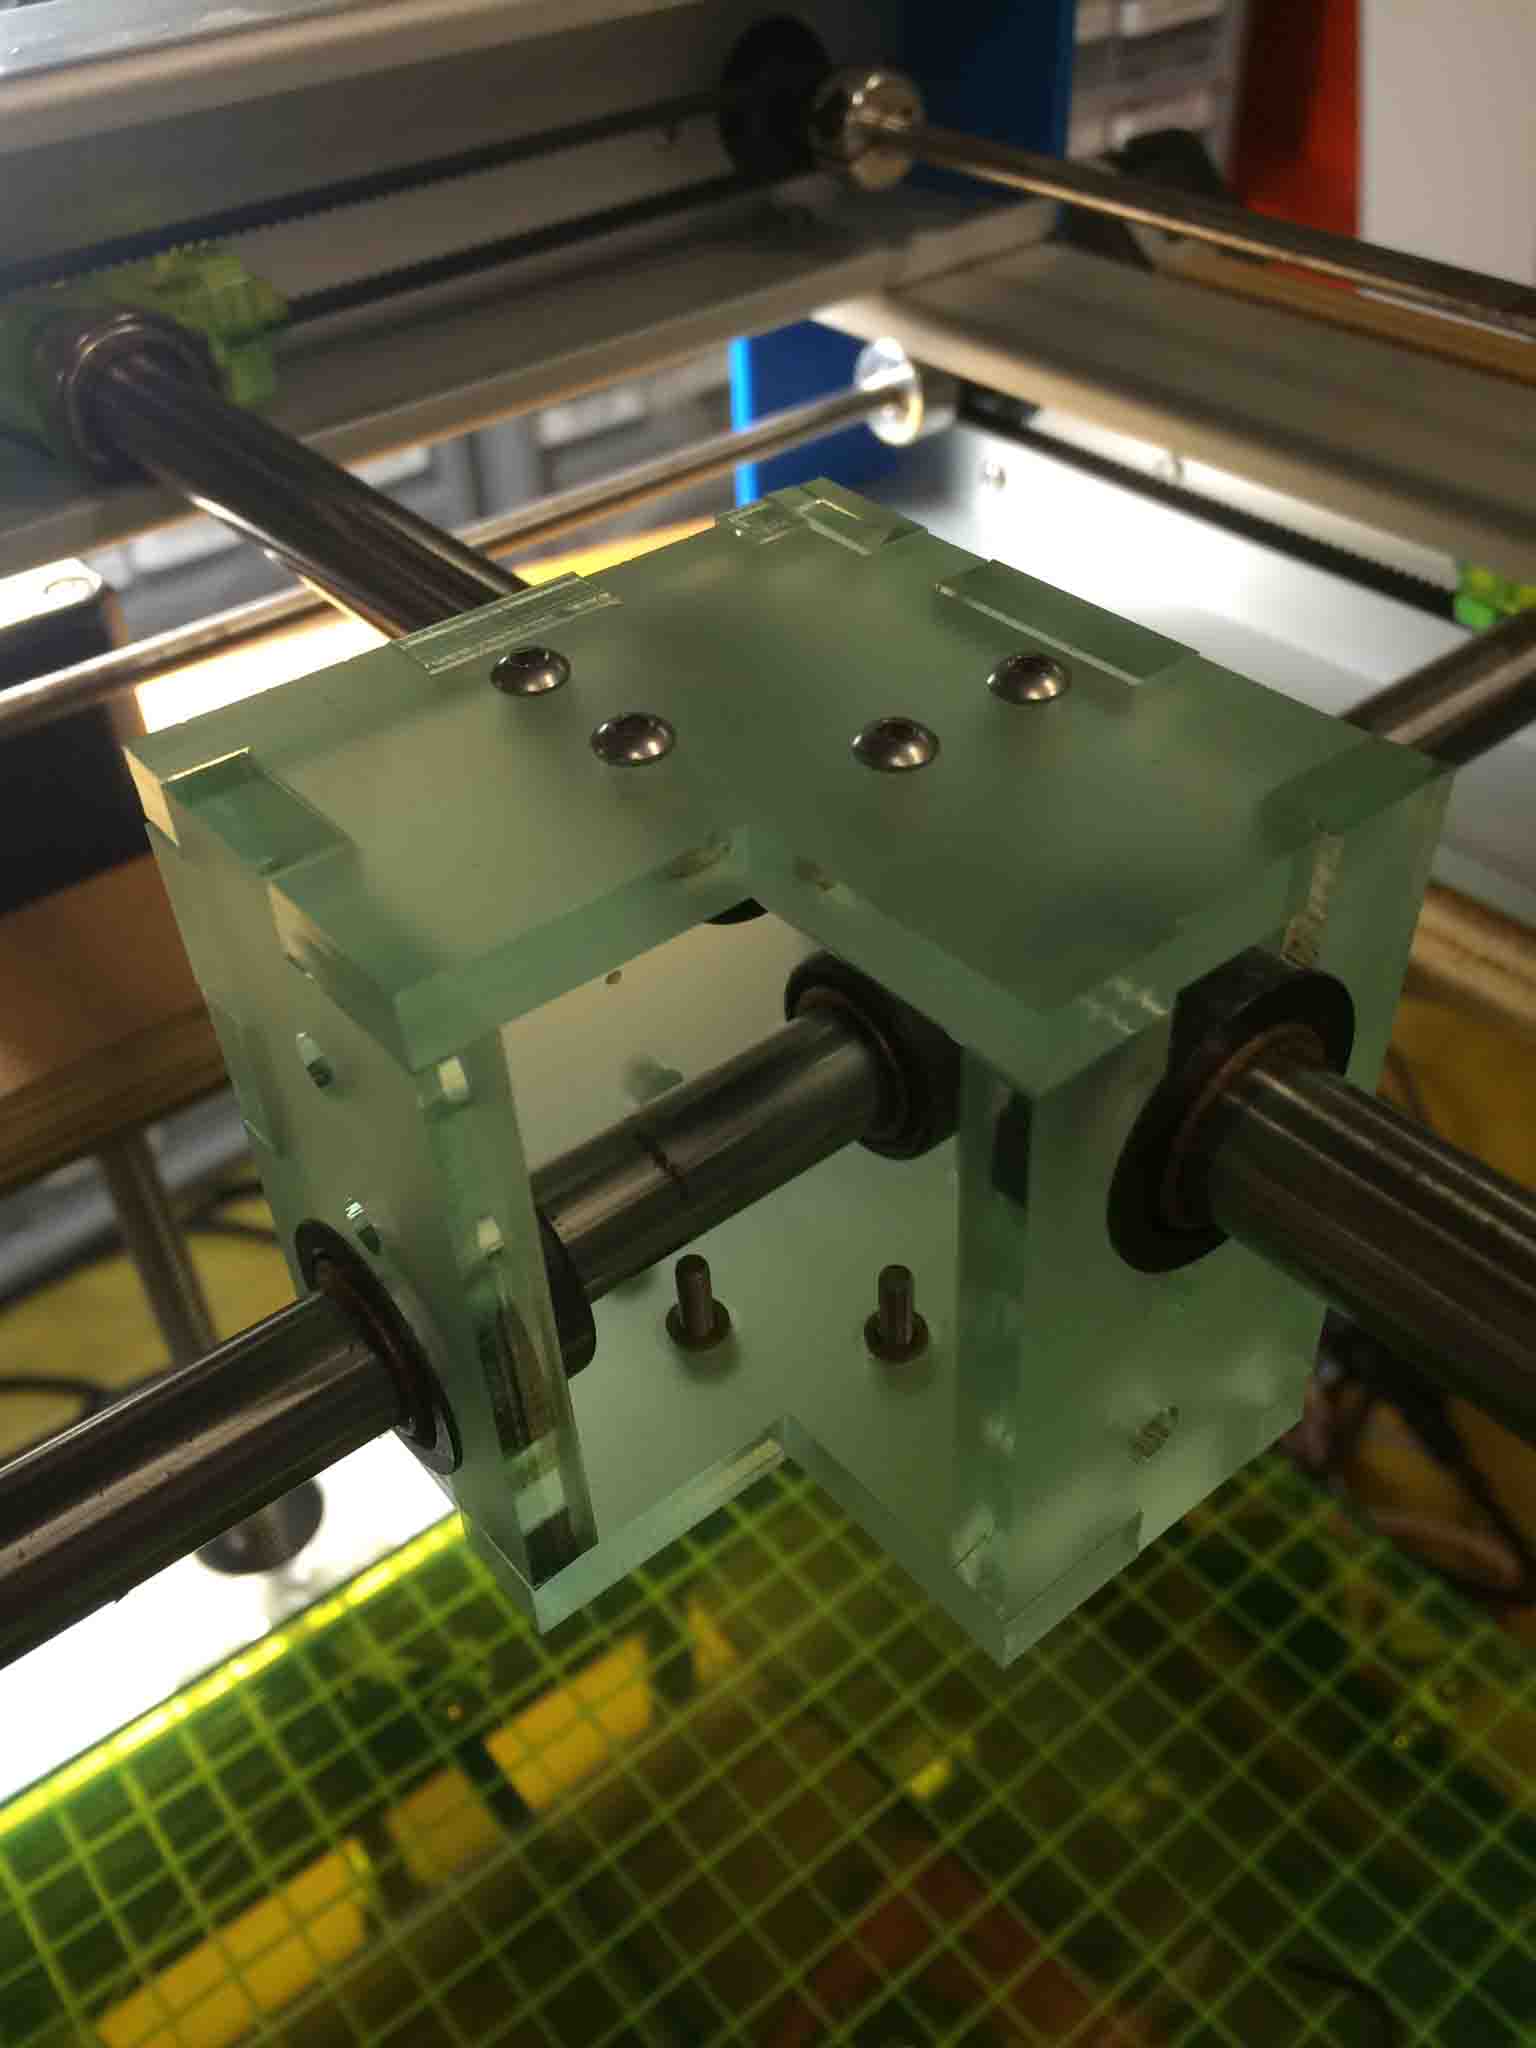
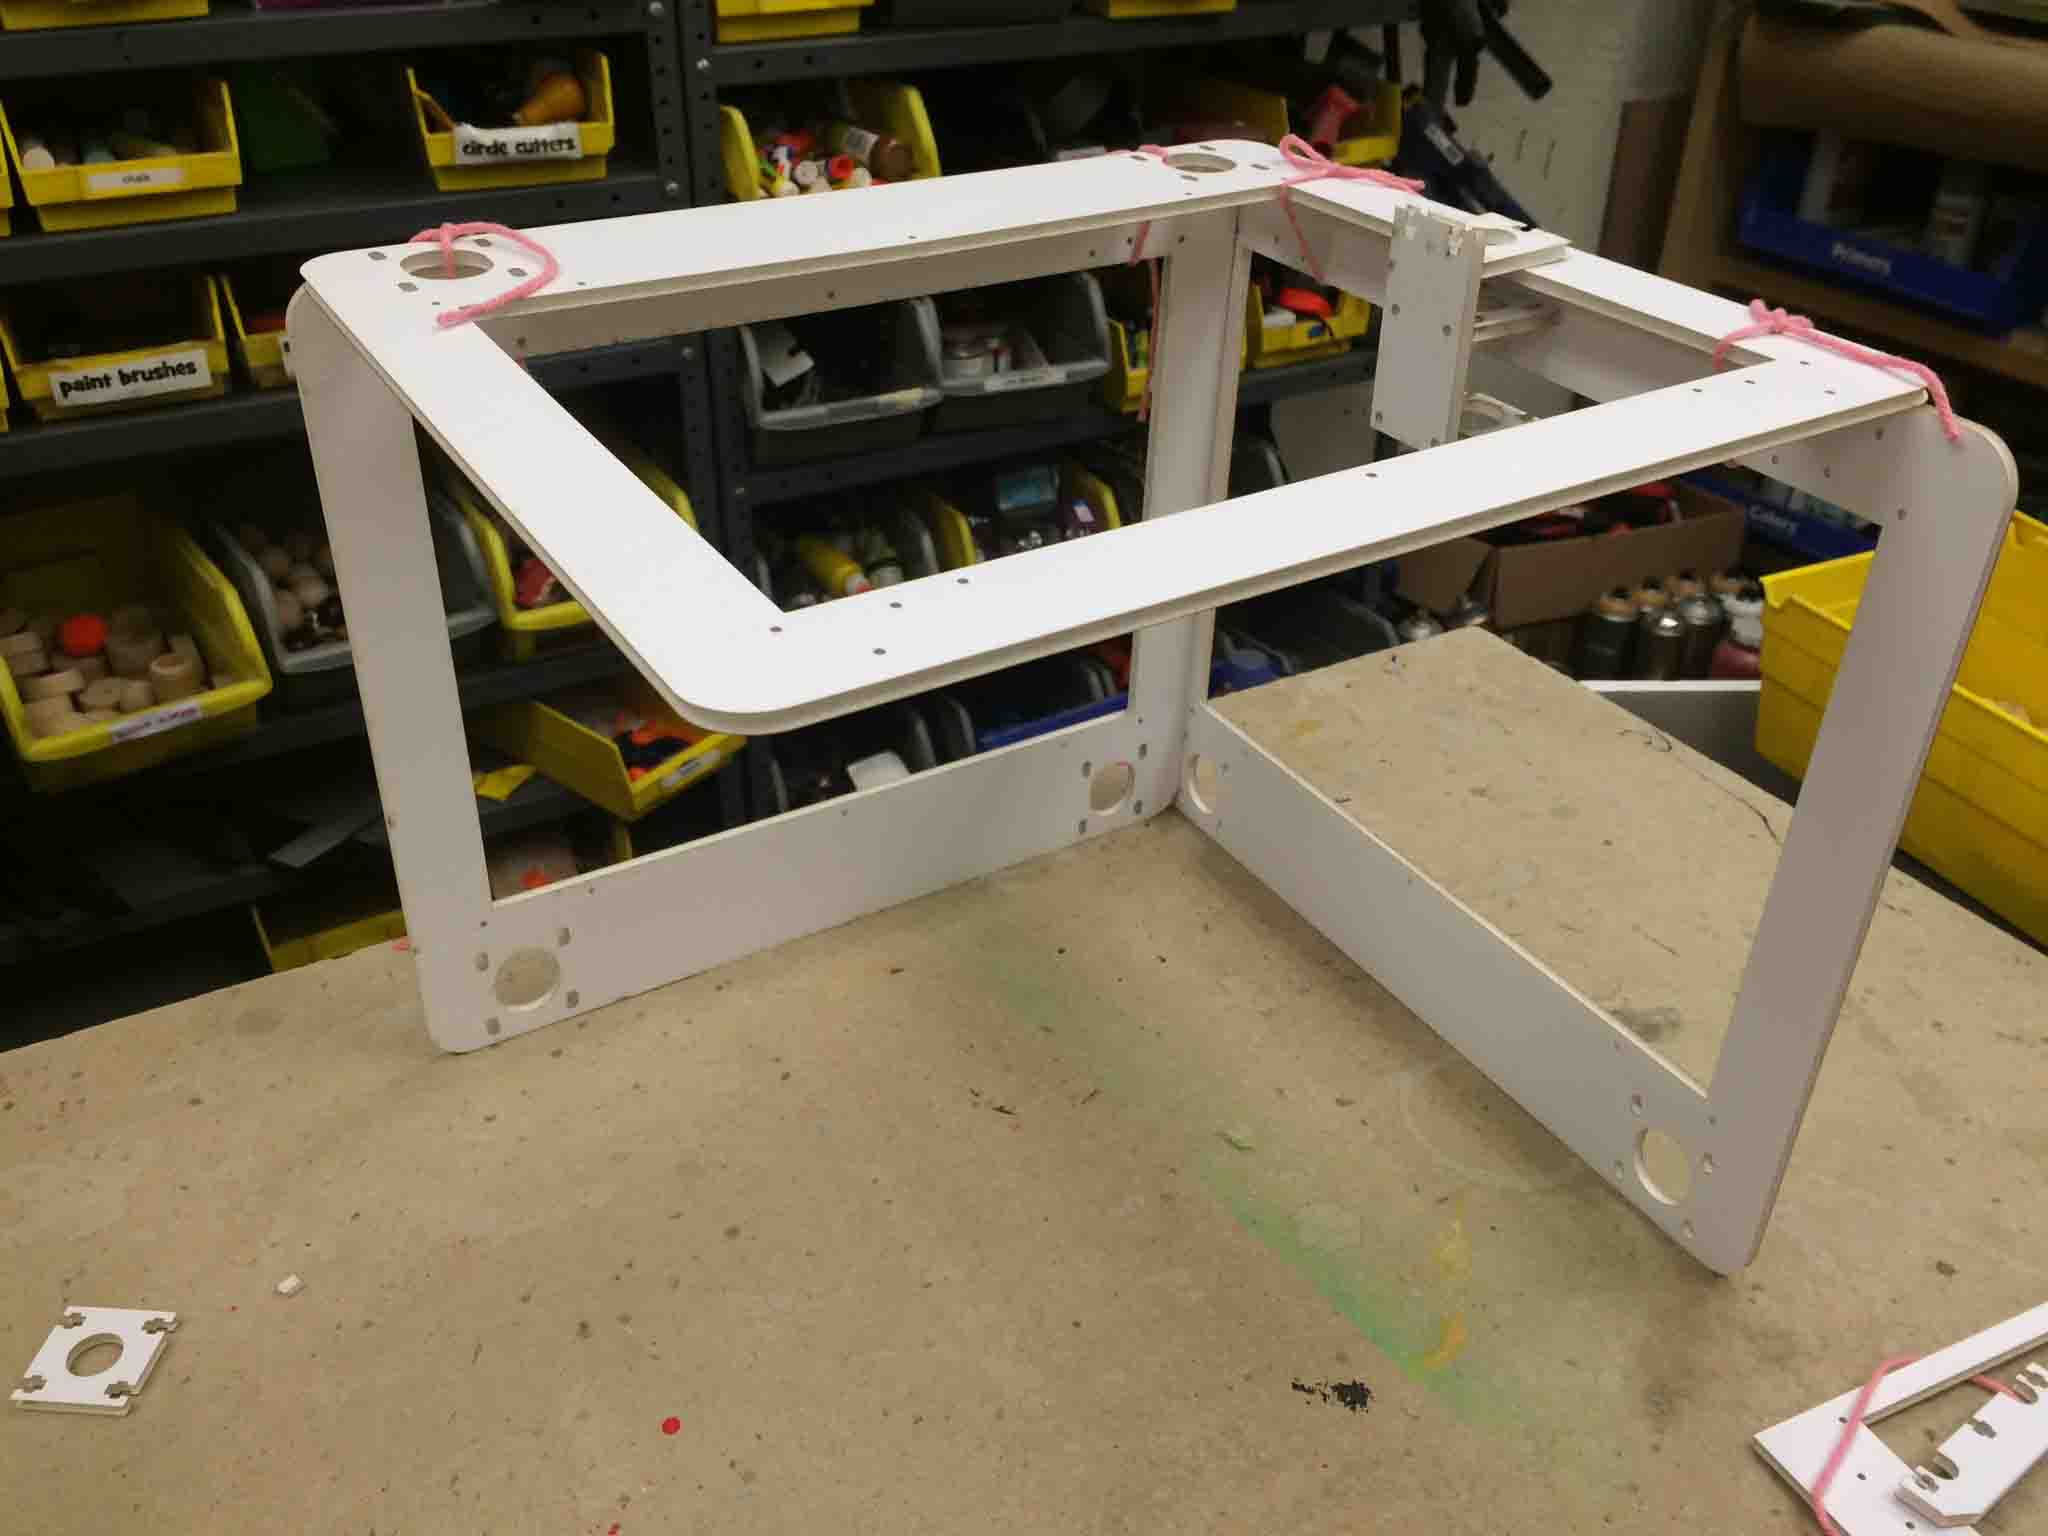
We had a prototyping session where we adapted the avialable drawings from the CoreXY site into a more efficient packing and laser cut what would be the walls of the machine:
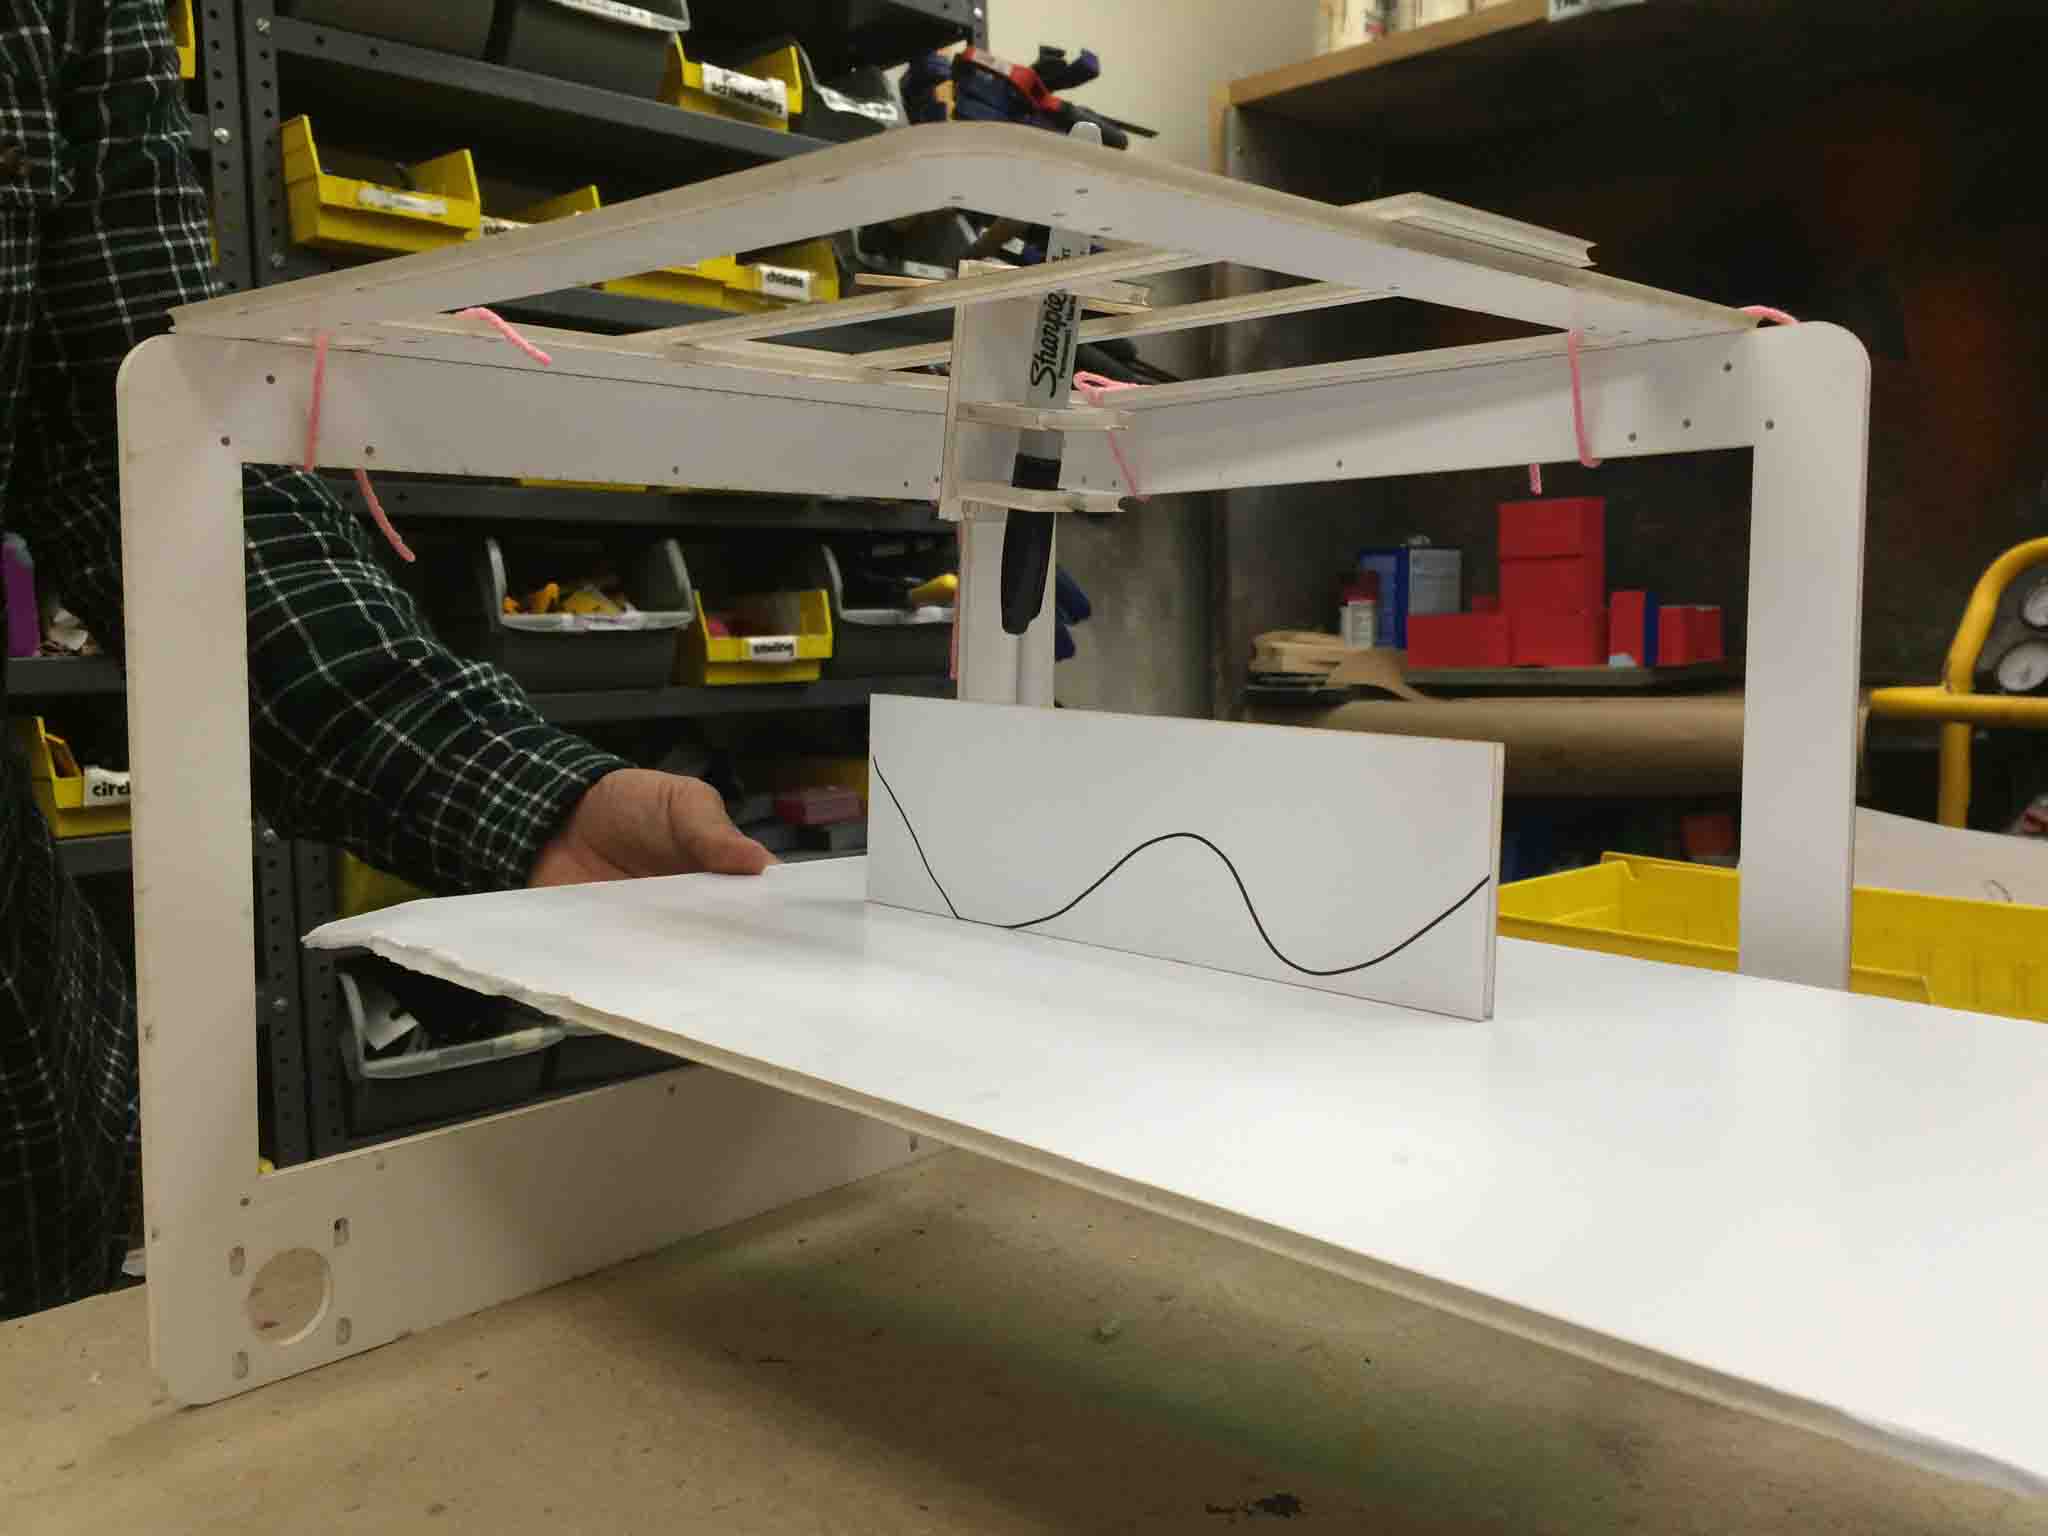
We began assembling it to better understand the movements and the restrictions of how a bed plate would be held in this configuration.
He went on to further develop the work and used this idea to work on his capability of modular axes where the main end effector is the holding piece of the table. You can see more of his work on his page,here. After feedback and more exploration of the feasibility of this idea, more work will concentrate on the grasping mechanism.