Position Control

This week , we had to implement some kind of position or force measurement for our machine. I met with Nadya to strategize and make my work plane as efficient as possible. We decided I would get my tangential knife working with the DC motor-driven oscillating blade first, and connected to Fabinabox where I could at least cut straight, and then think about using a servo to rotate the entire end effector holding and make it a full tangential knife cutter. The measurement I focused on was knowing when the end effector was jamming against the side rails, a feature currently not implemented. I did this with a limit switch that would sense itself being pressed and then send that information back to the DC motor to stop sppinning.
Milling, Stuffing, and Programming my own Motor Montroller Board
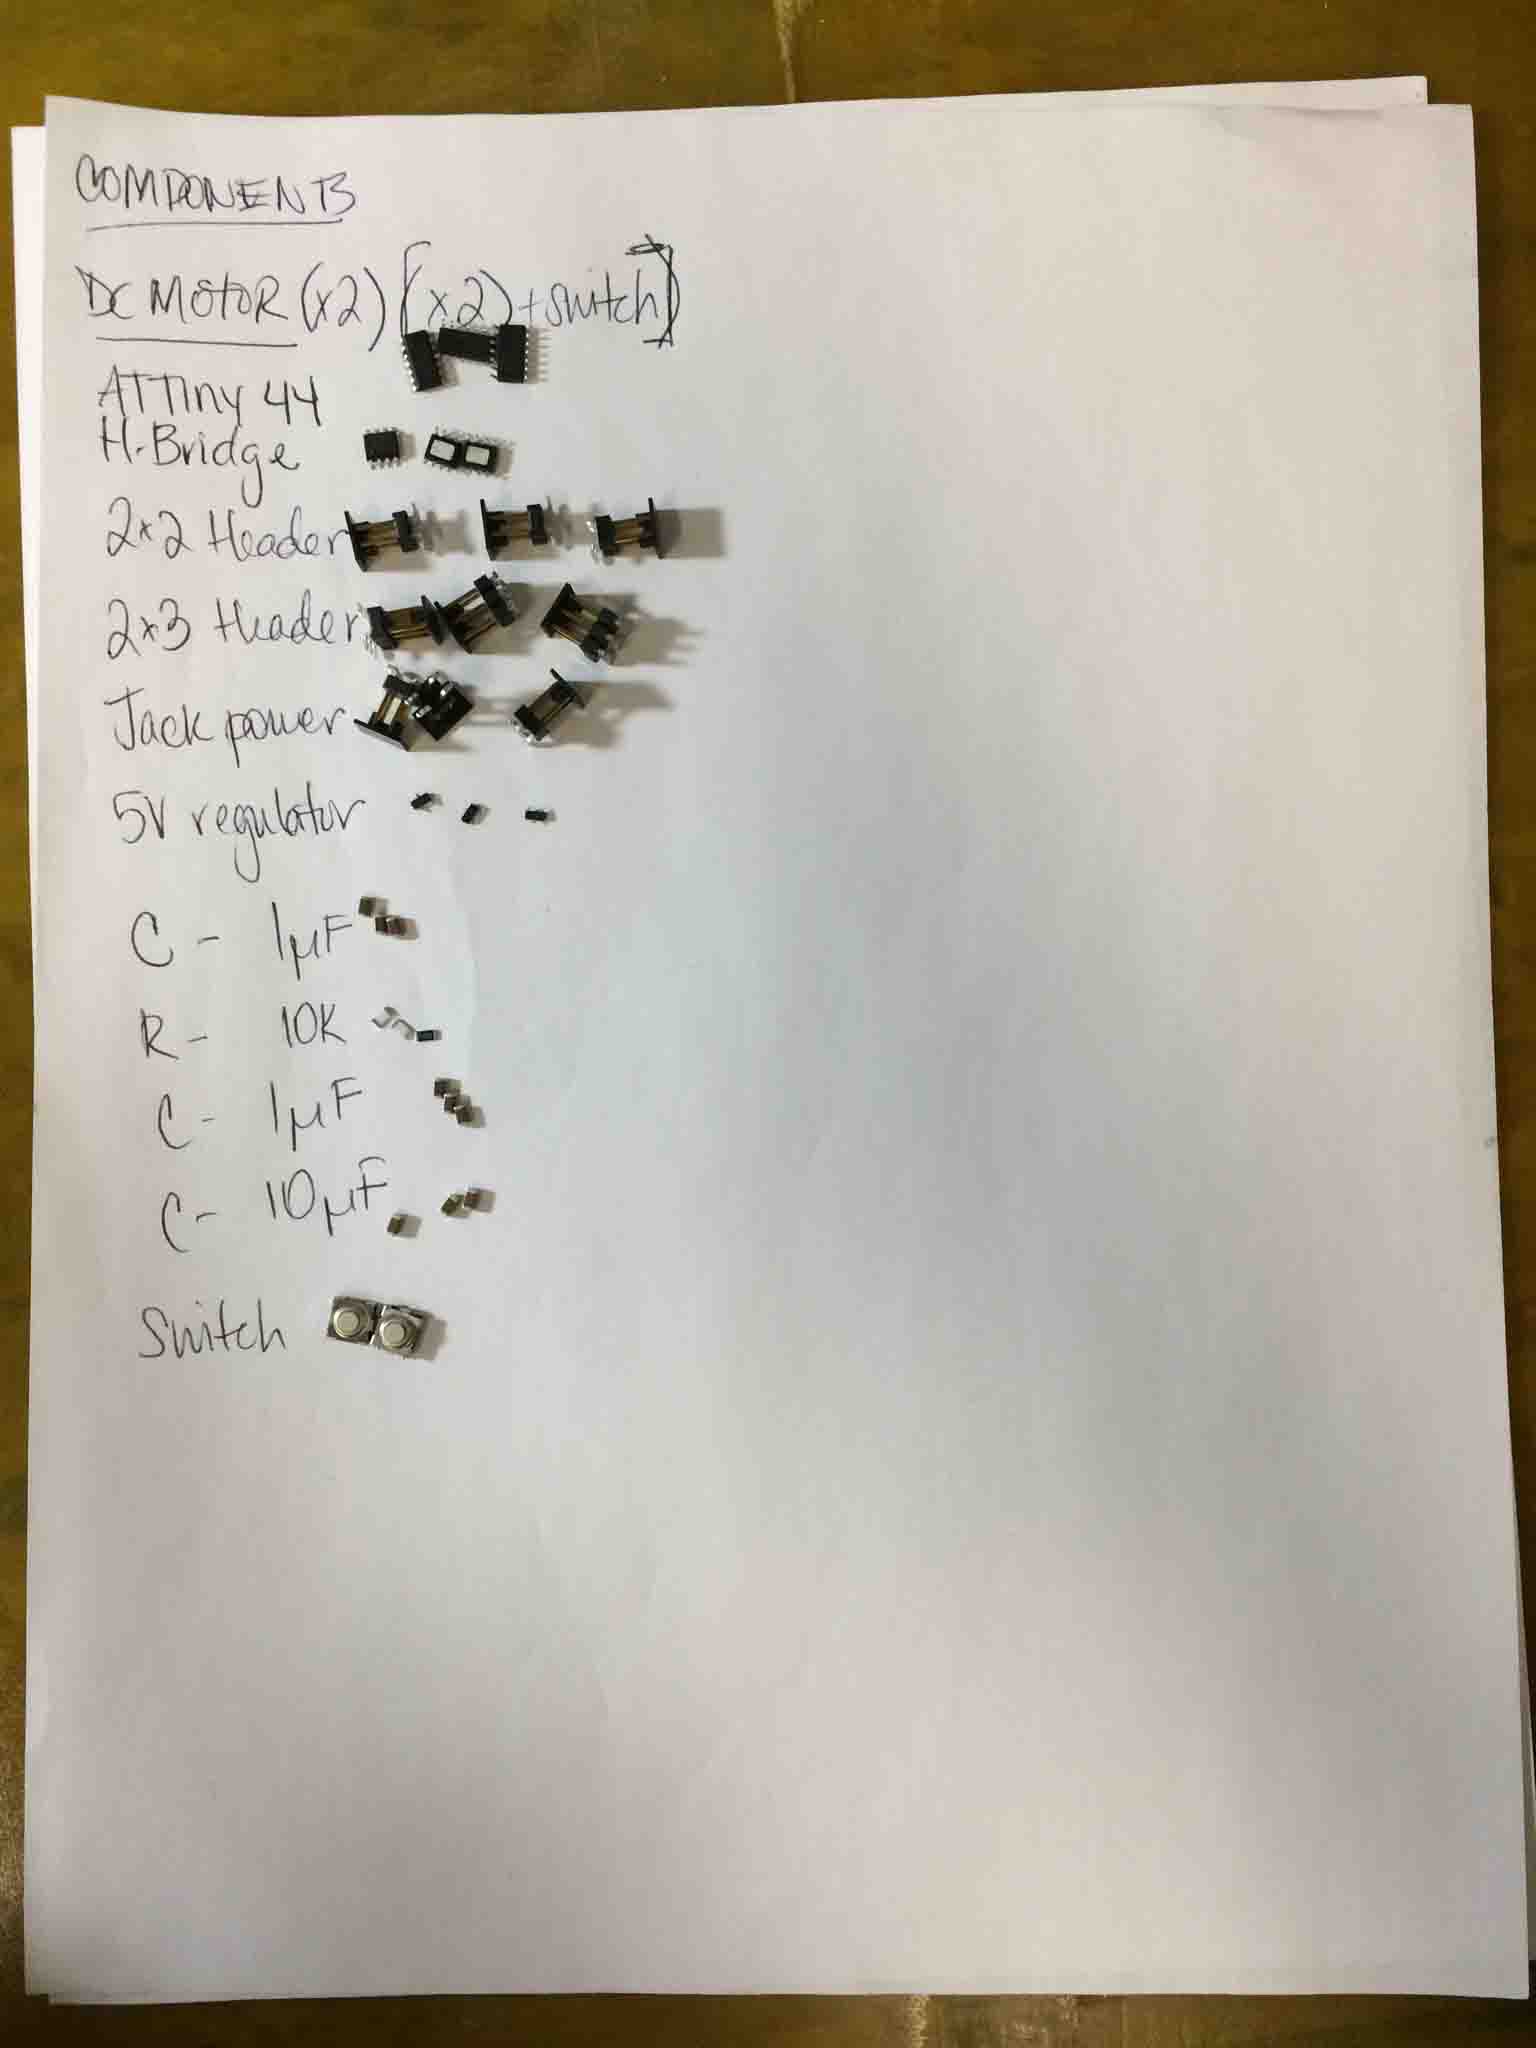
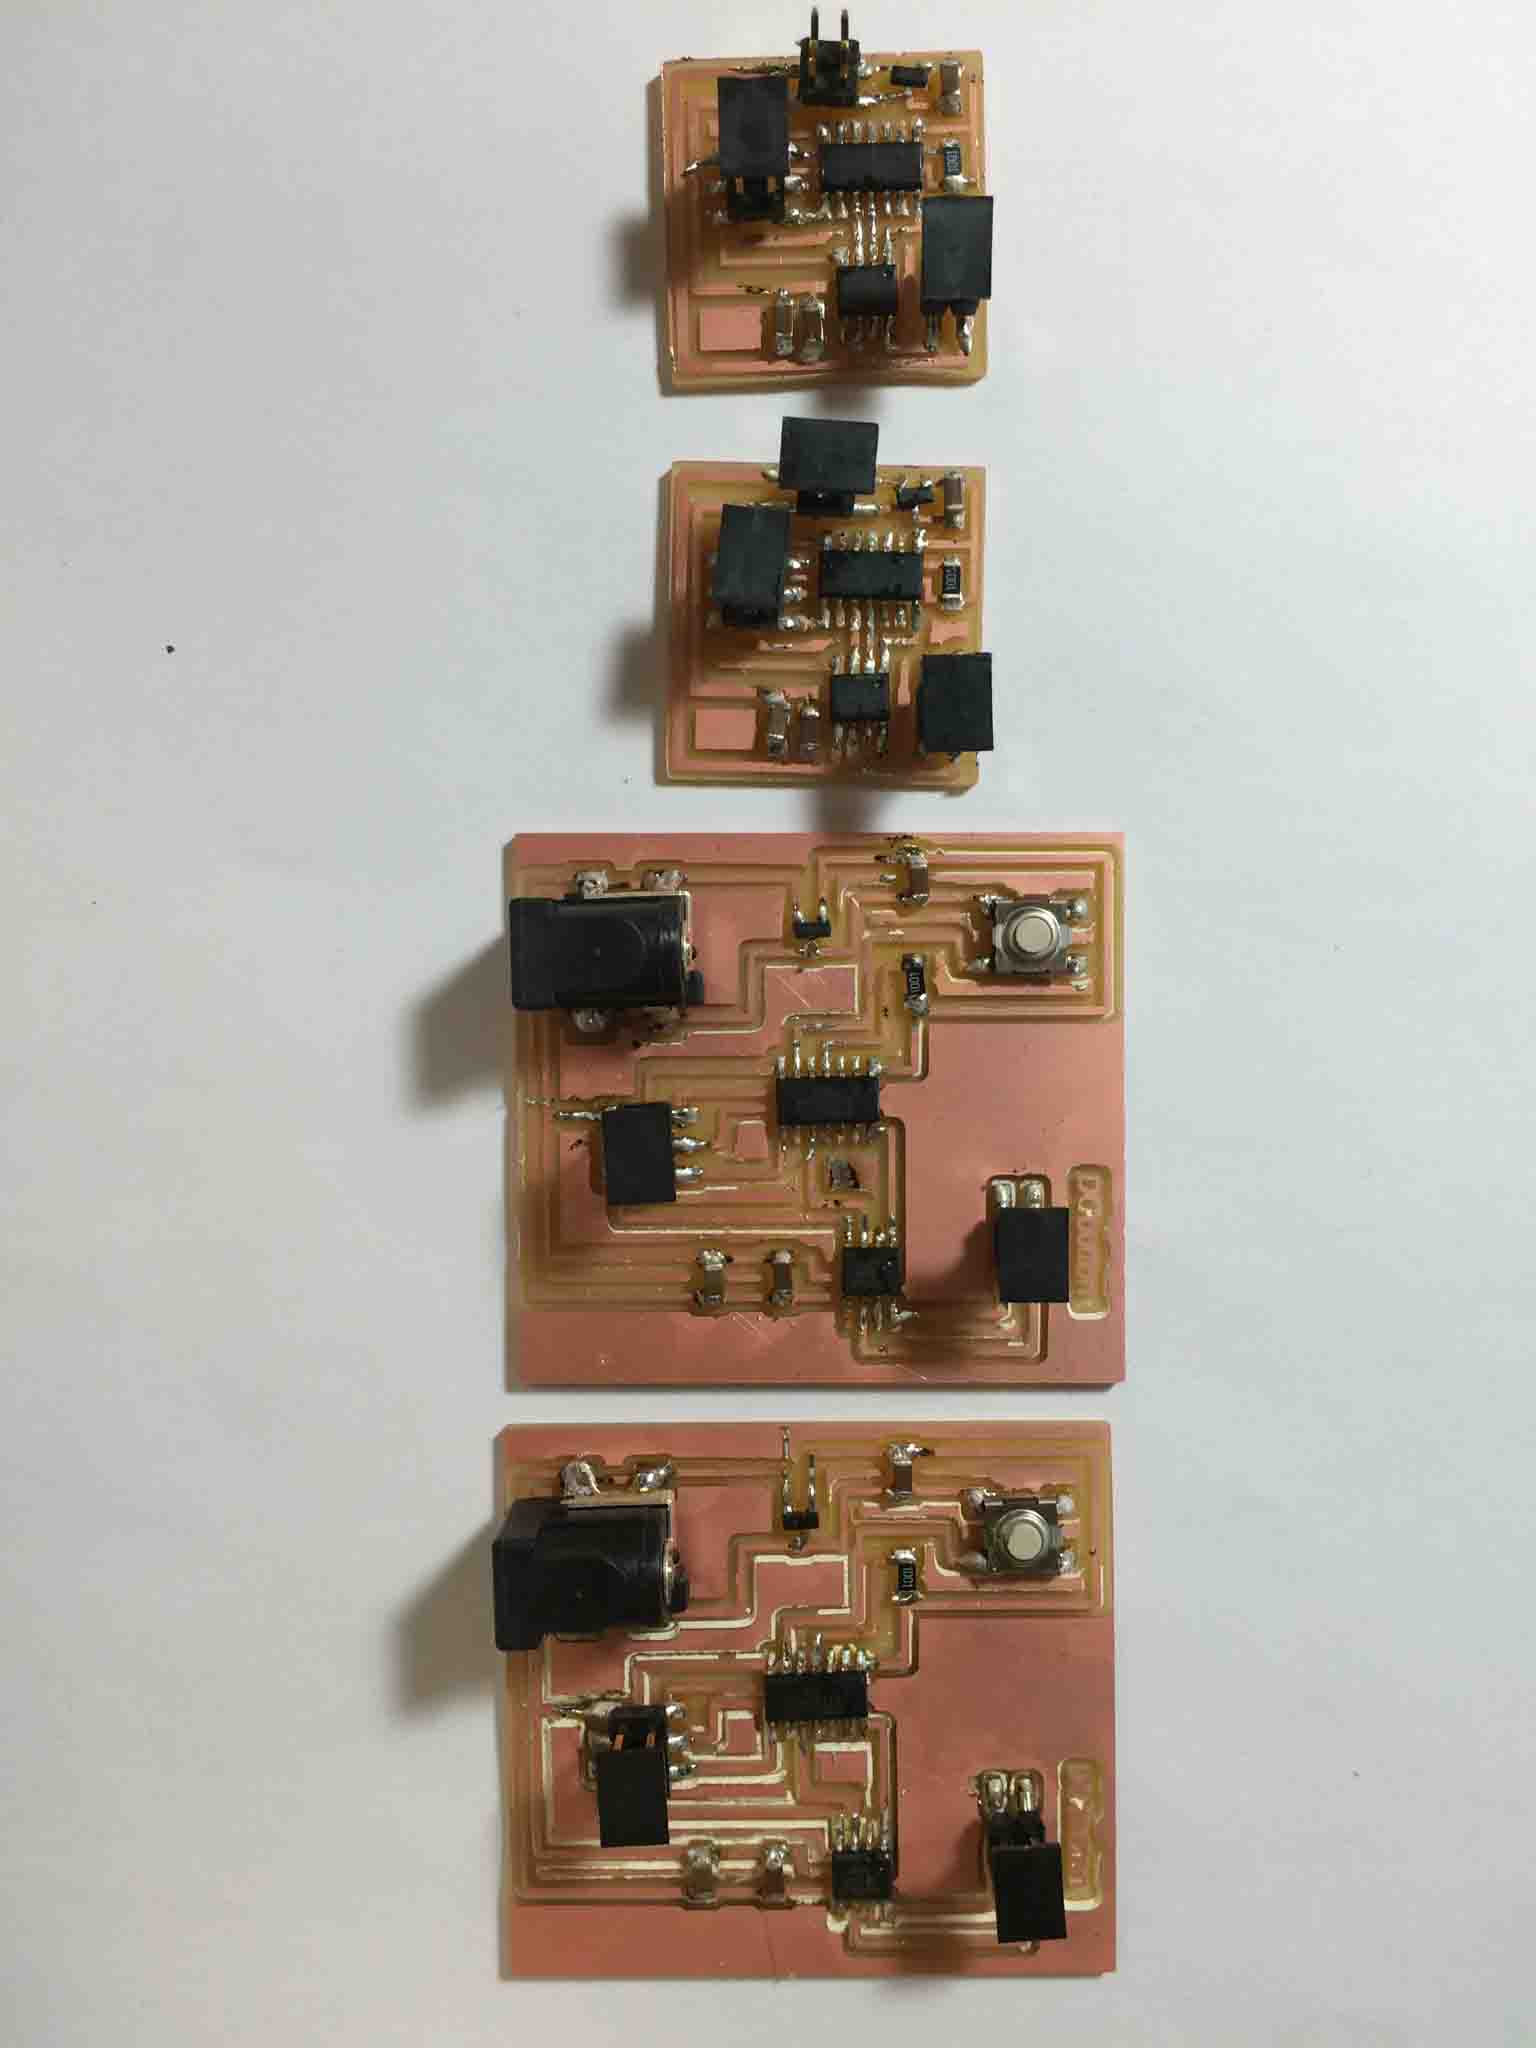
I tried to use the Fab Academy H-bridge motor control board (left) and the switch board (right) for my design.
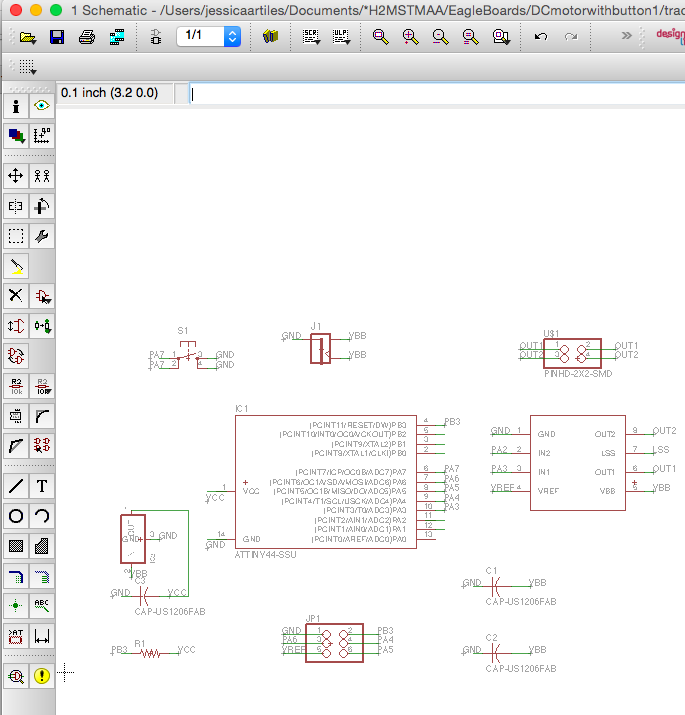
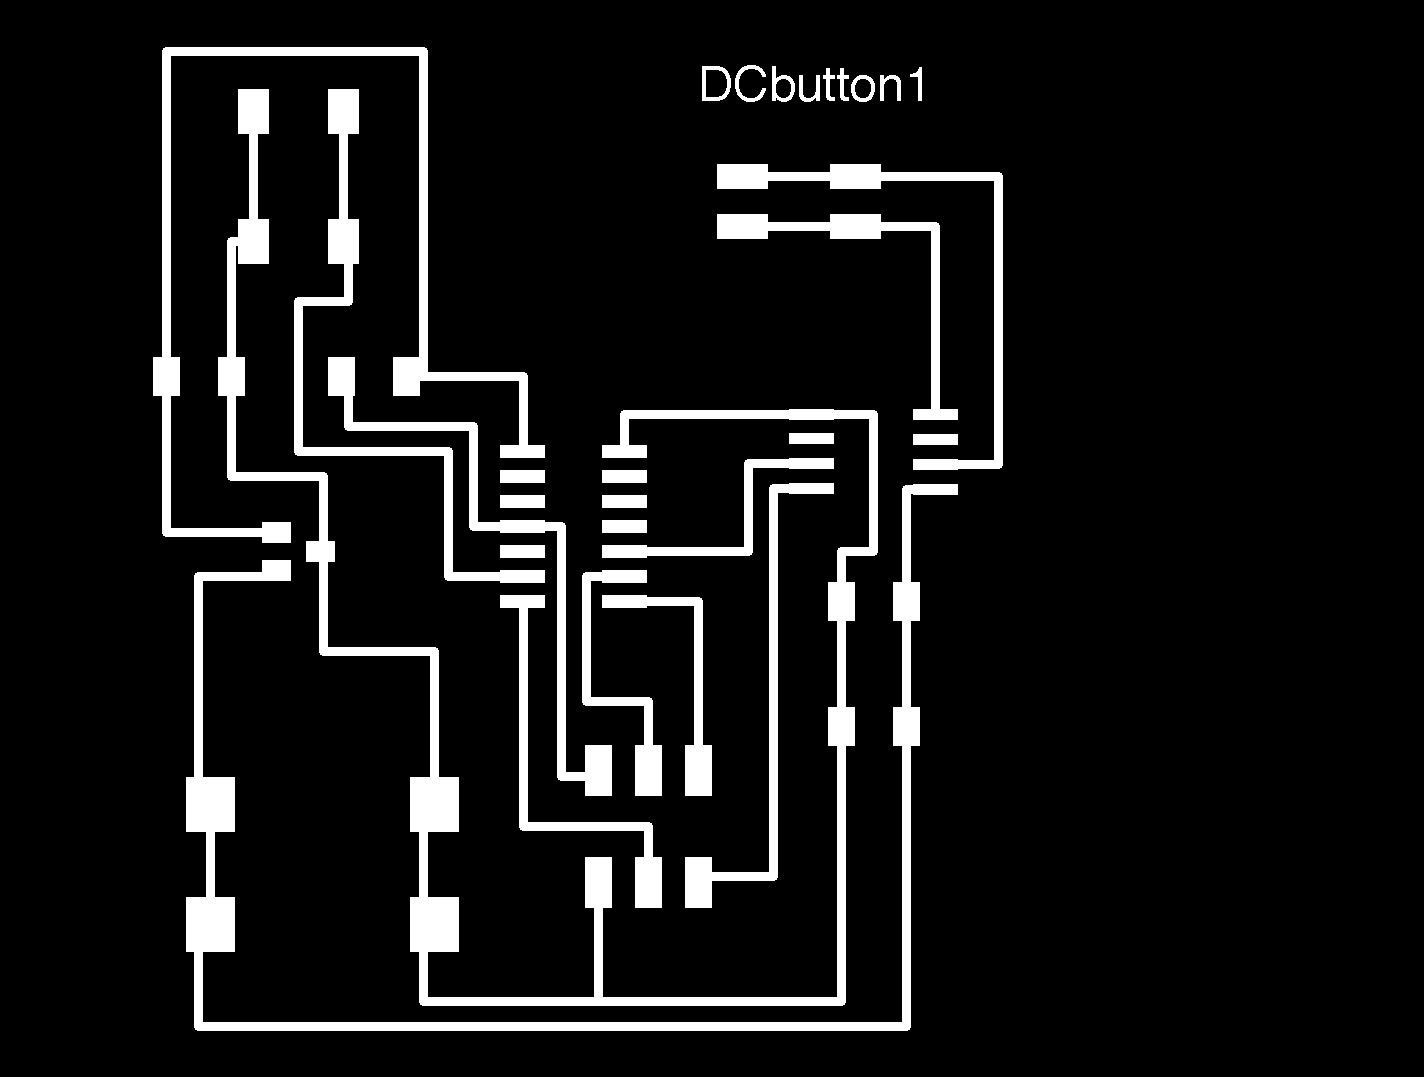
I combined these into one board so that I could use an ADC pin of the ATTiny44 to take in the input of the switch being pressed. I started a new board in Eagle and routed it all in record time, and was ready to mill.
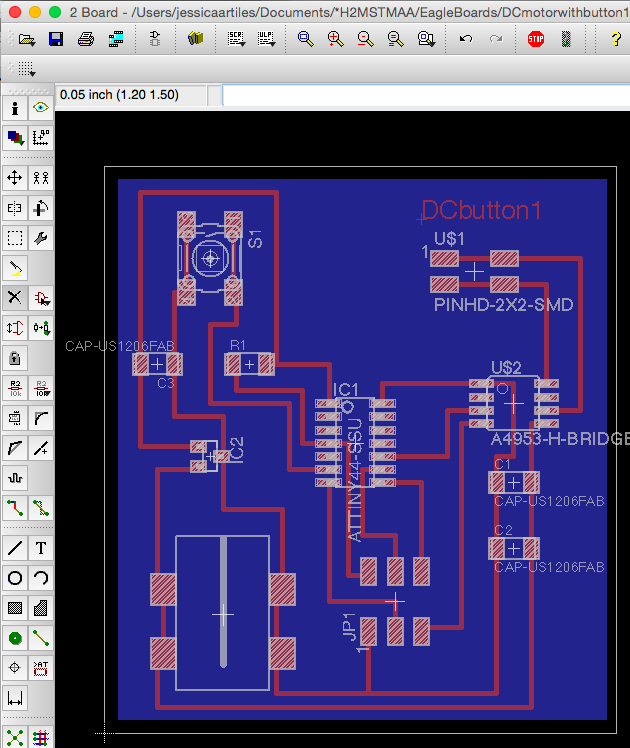

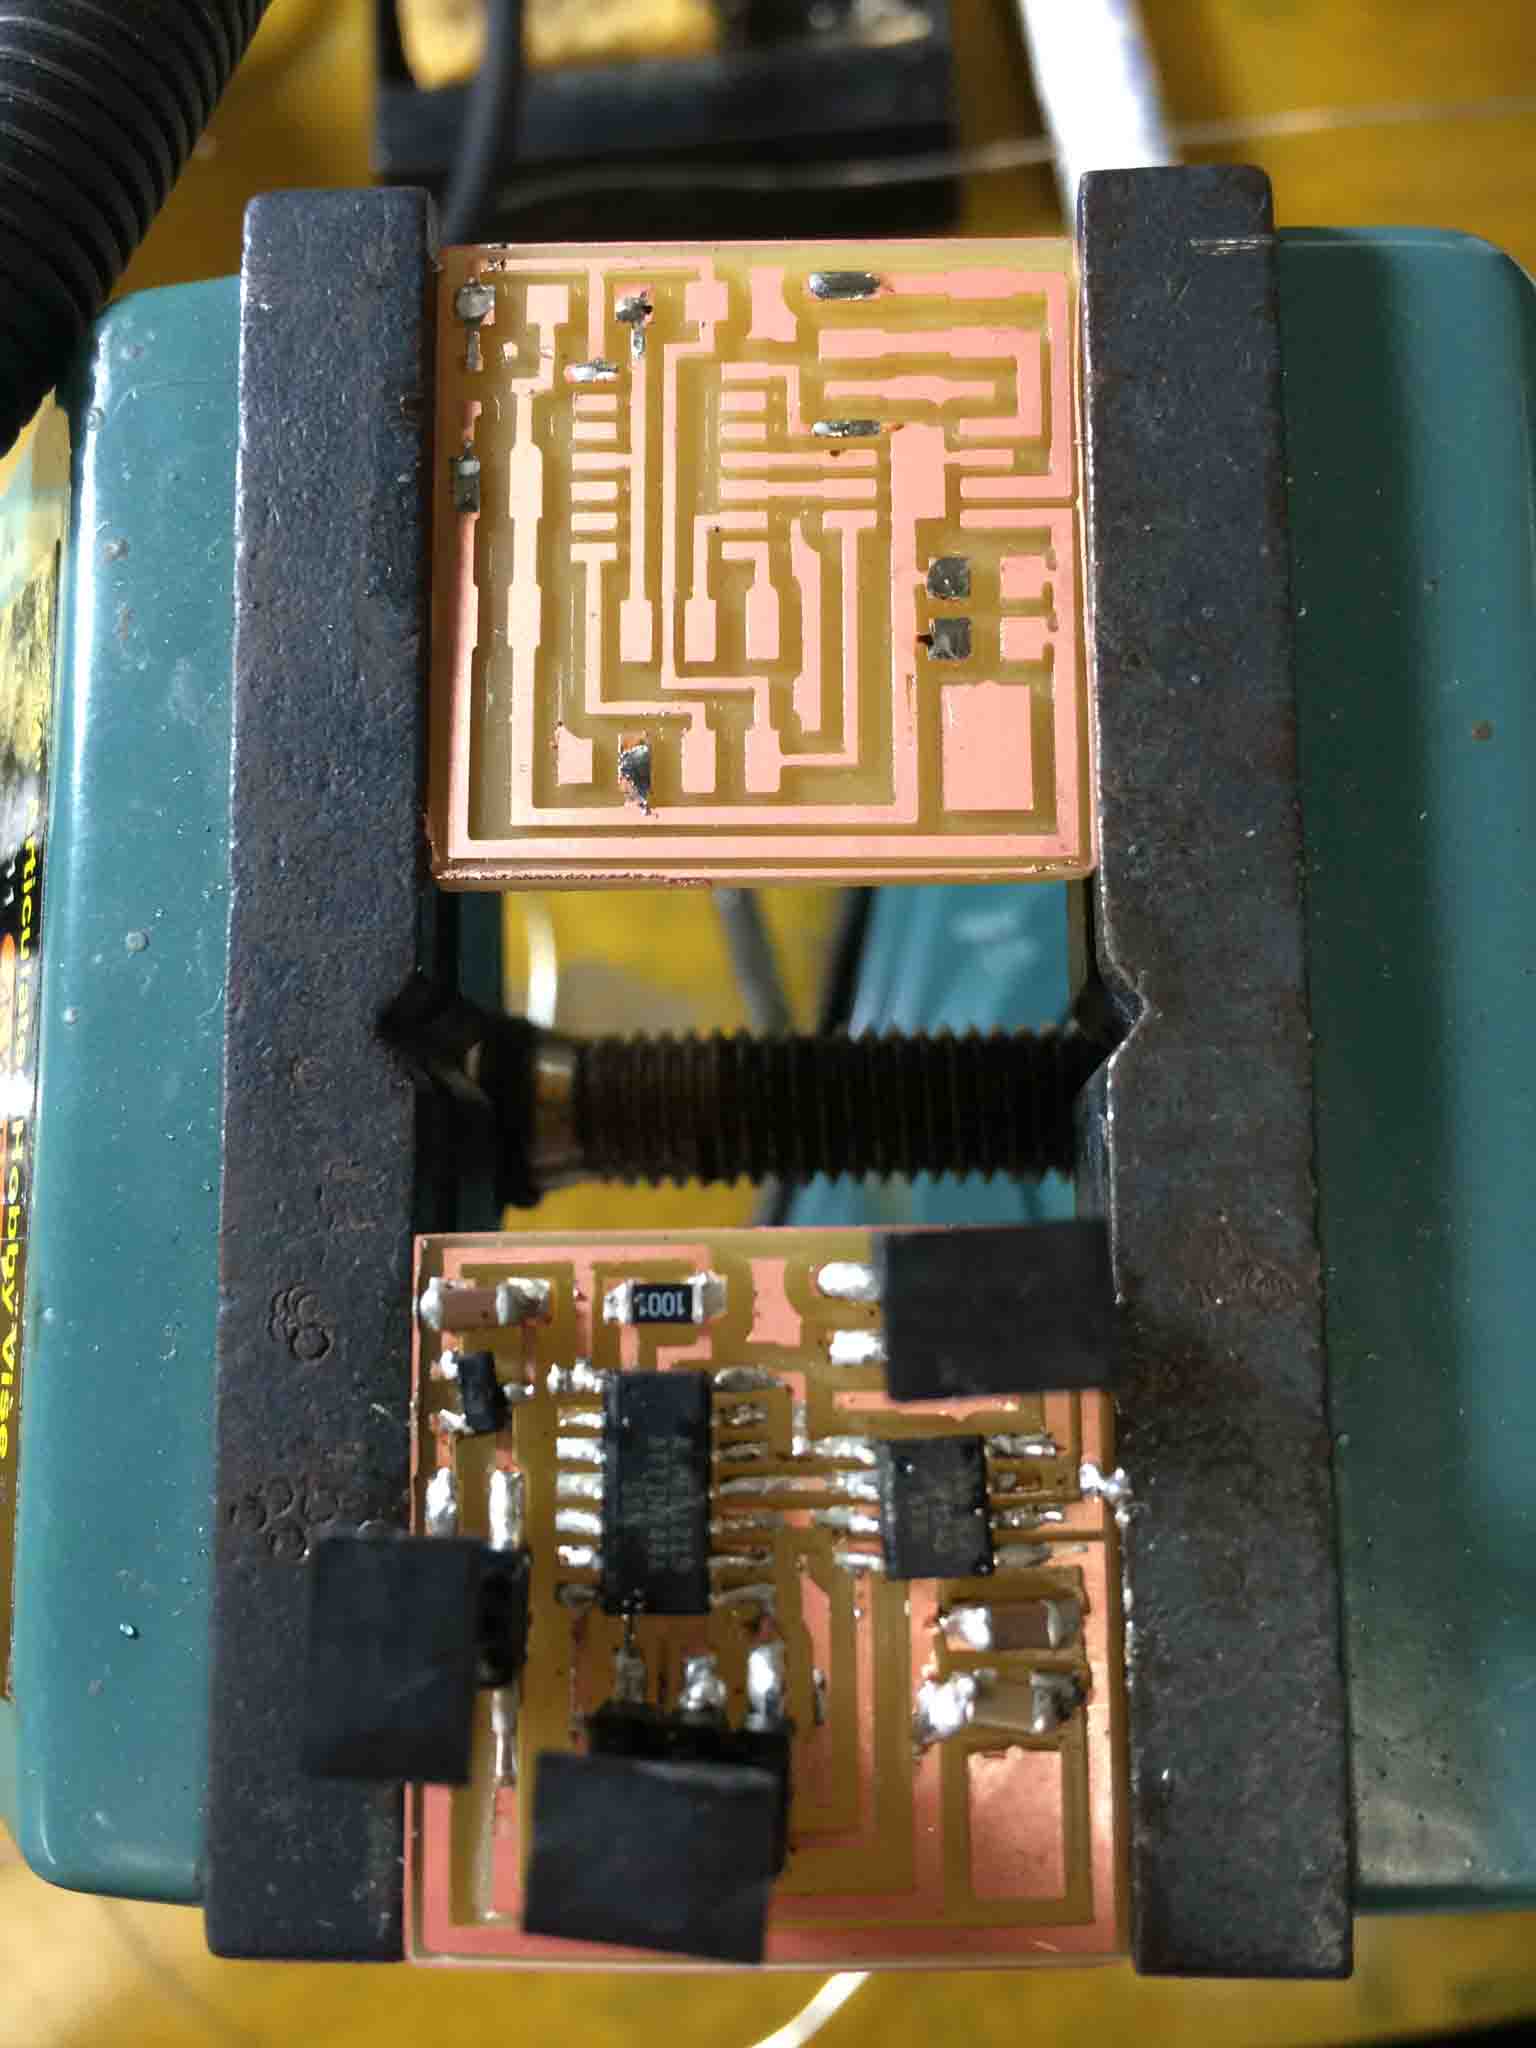
I milled on the modela in the Media Lab with quite success and then got to stuffing them. I noticed my soldering had gotten a little rusty in the few short months I hadn't soldered, so I was glad to have made two boards of each and used the first to practice on!

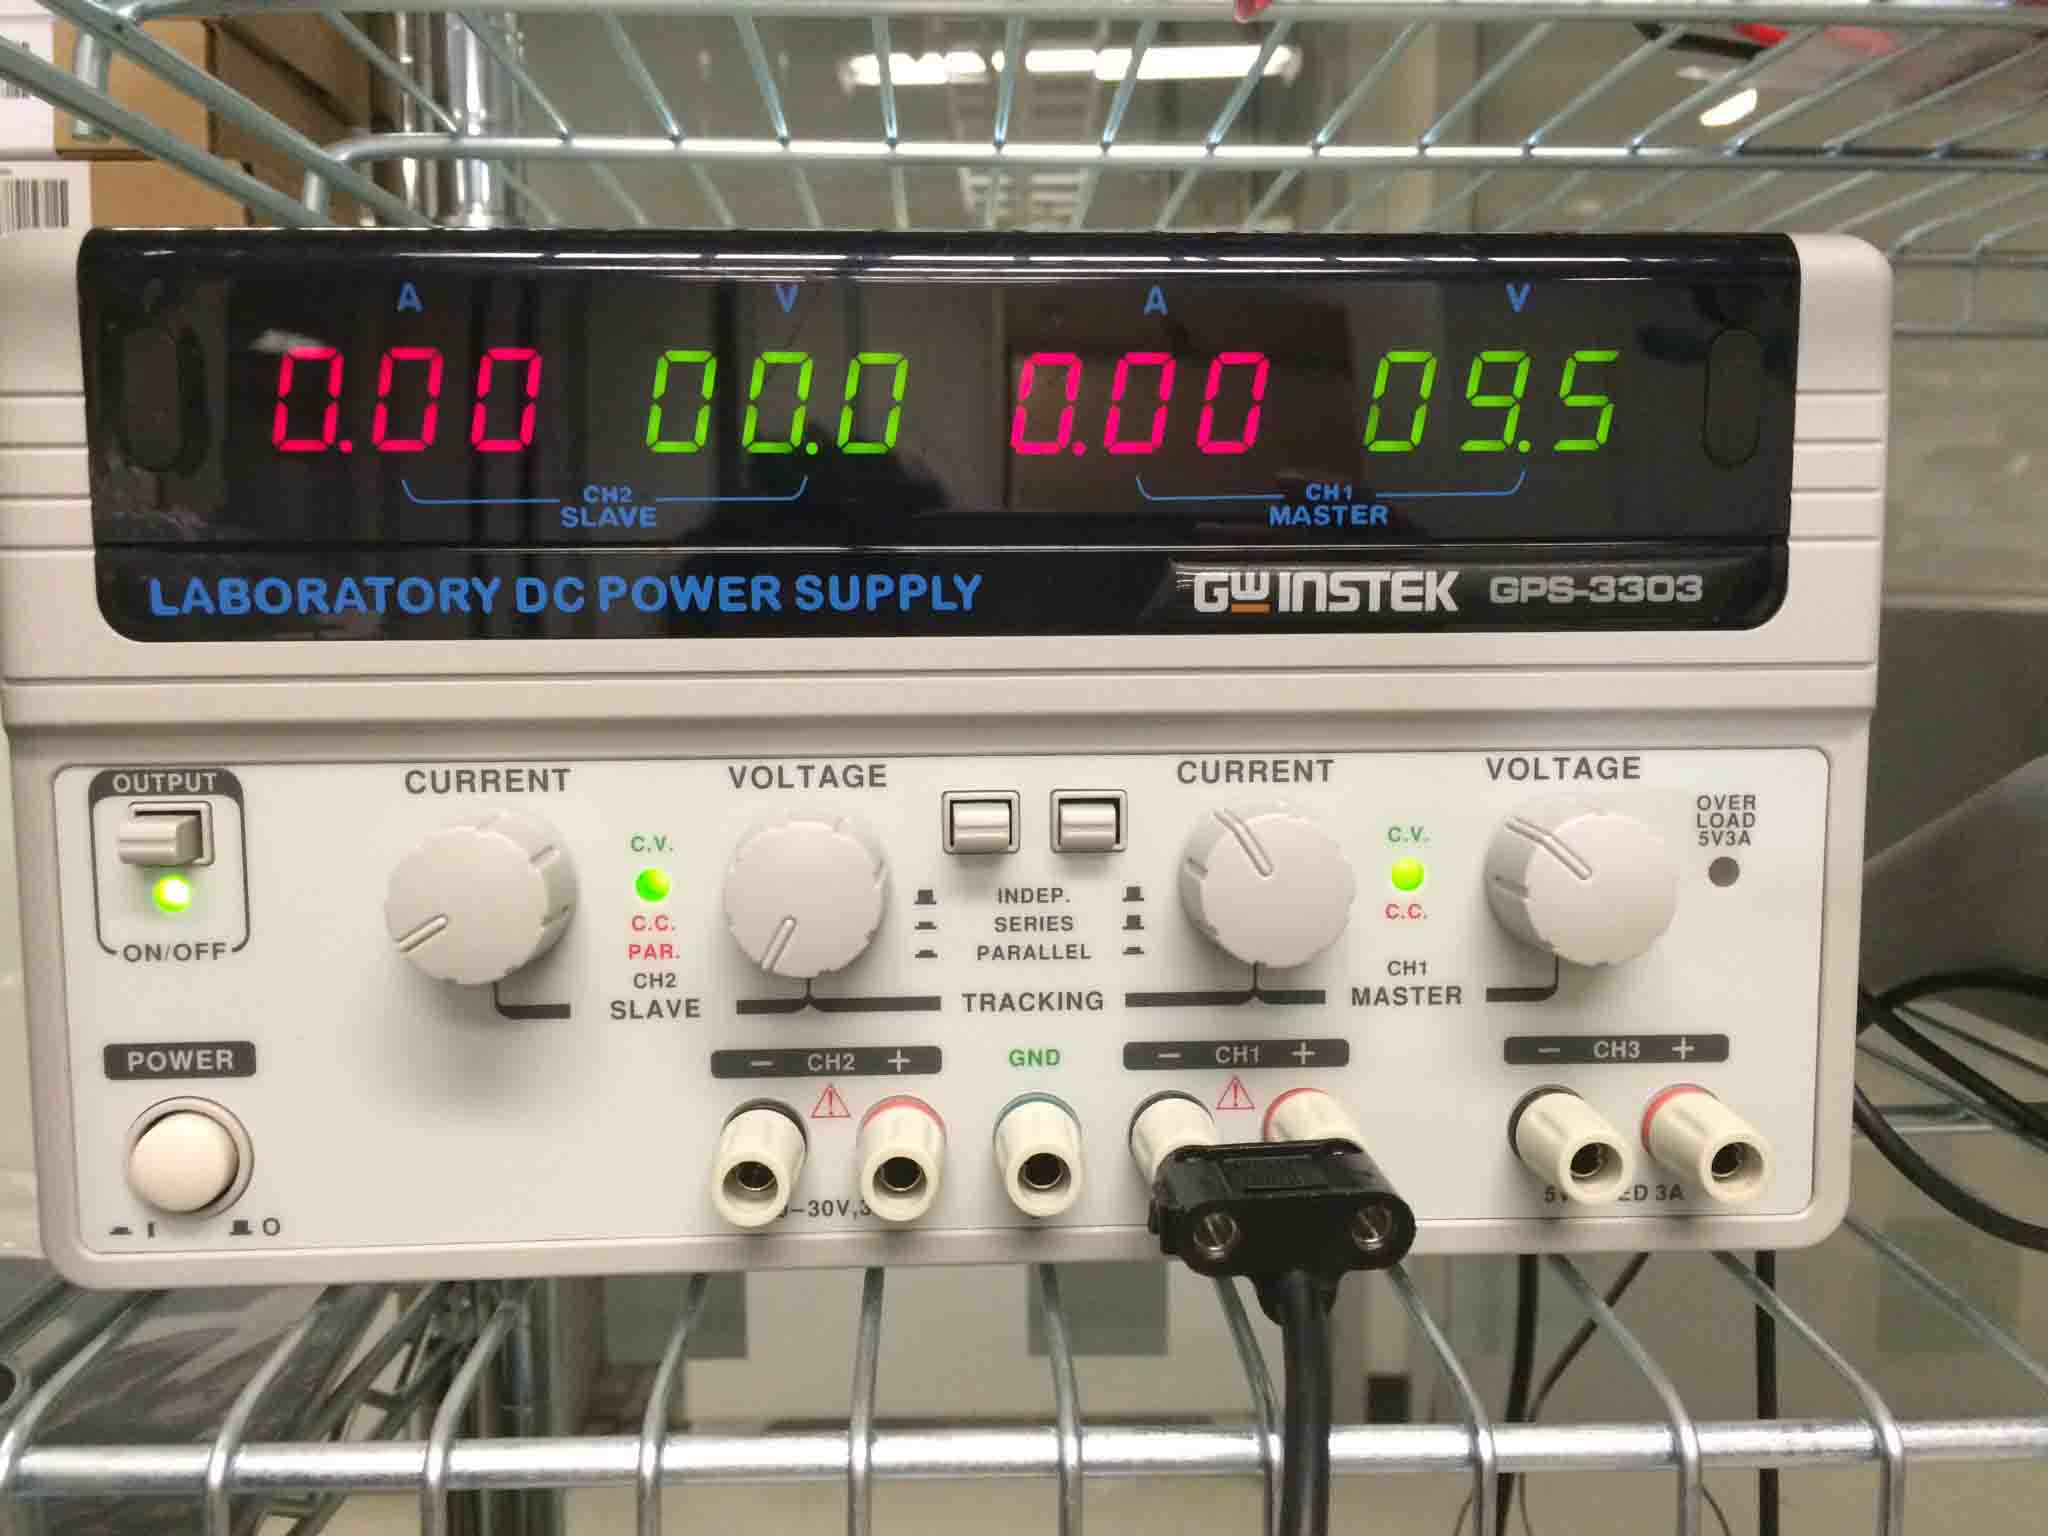
When it was time to program the boards, everything looked decievingly fine and the AVRdude was showing a green light but the .c file wouldn't load onto the microcontroller. I checked for errors connecting it to the power supply but couldn't find the source of the problem.
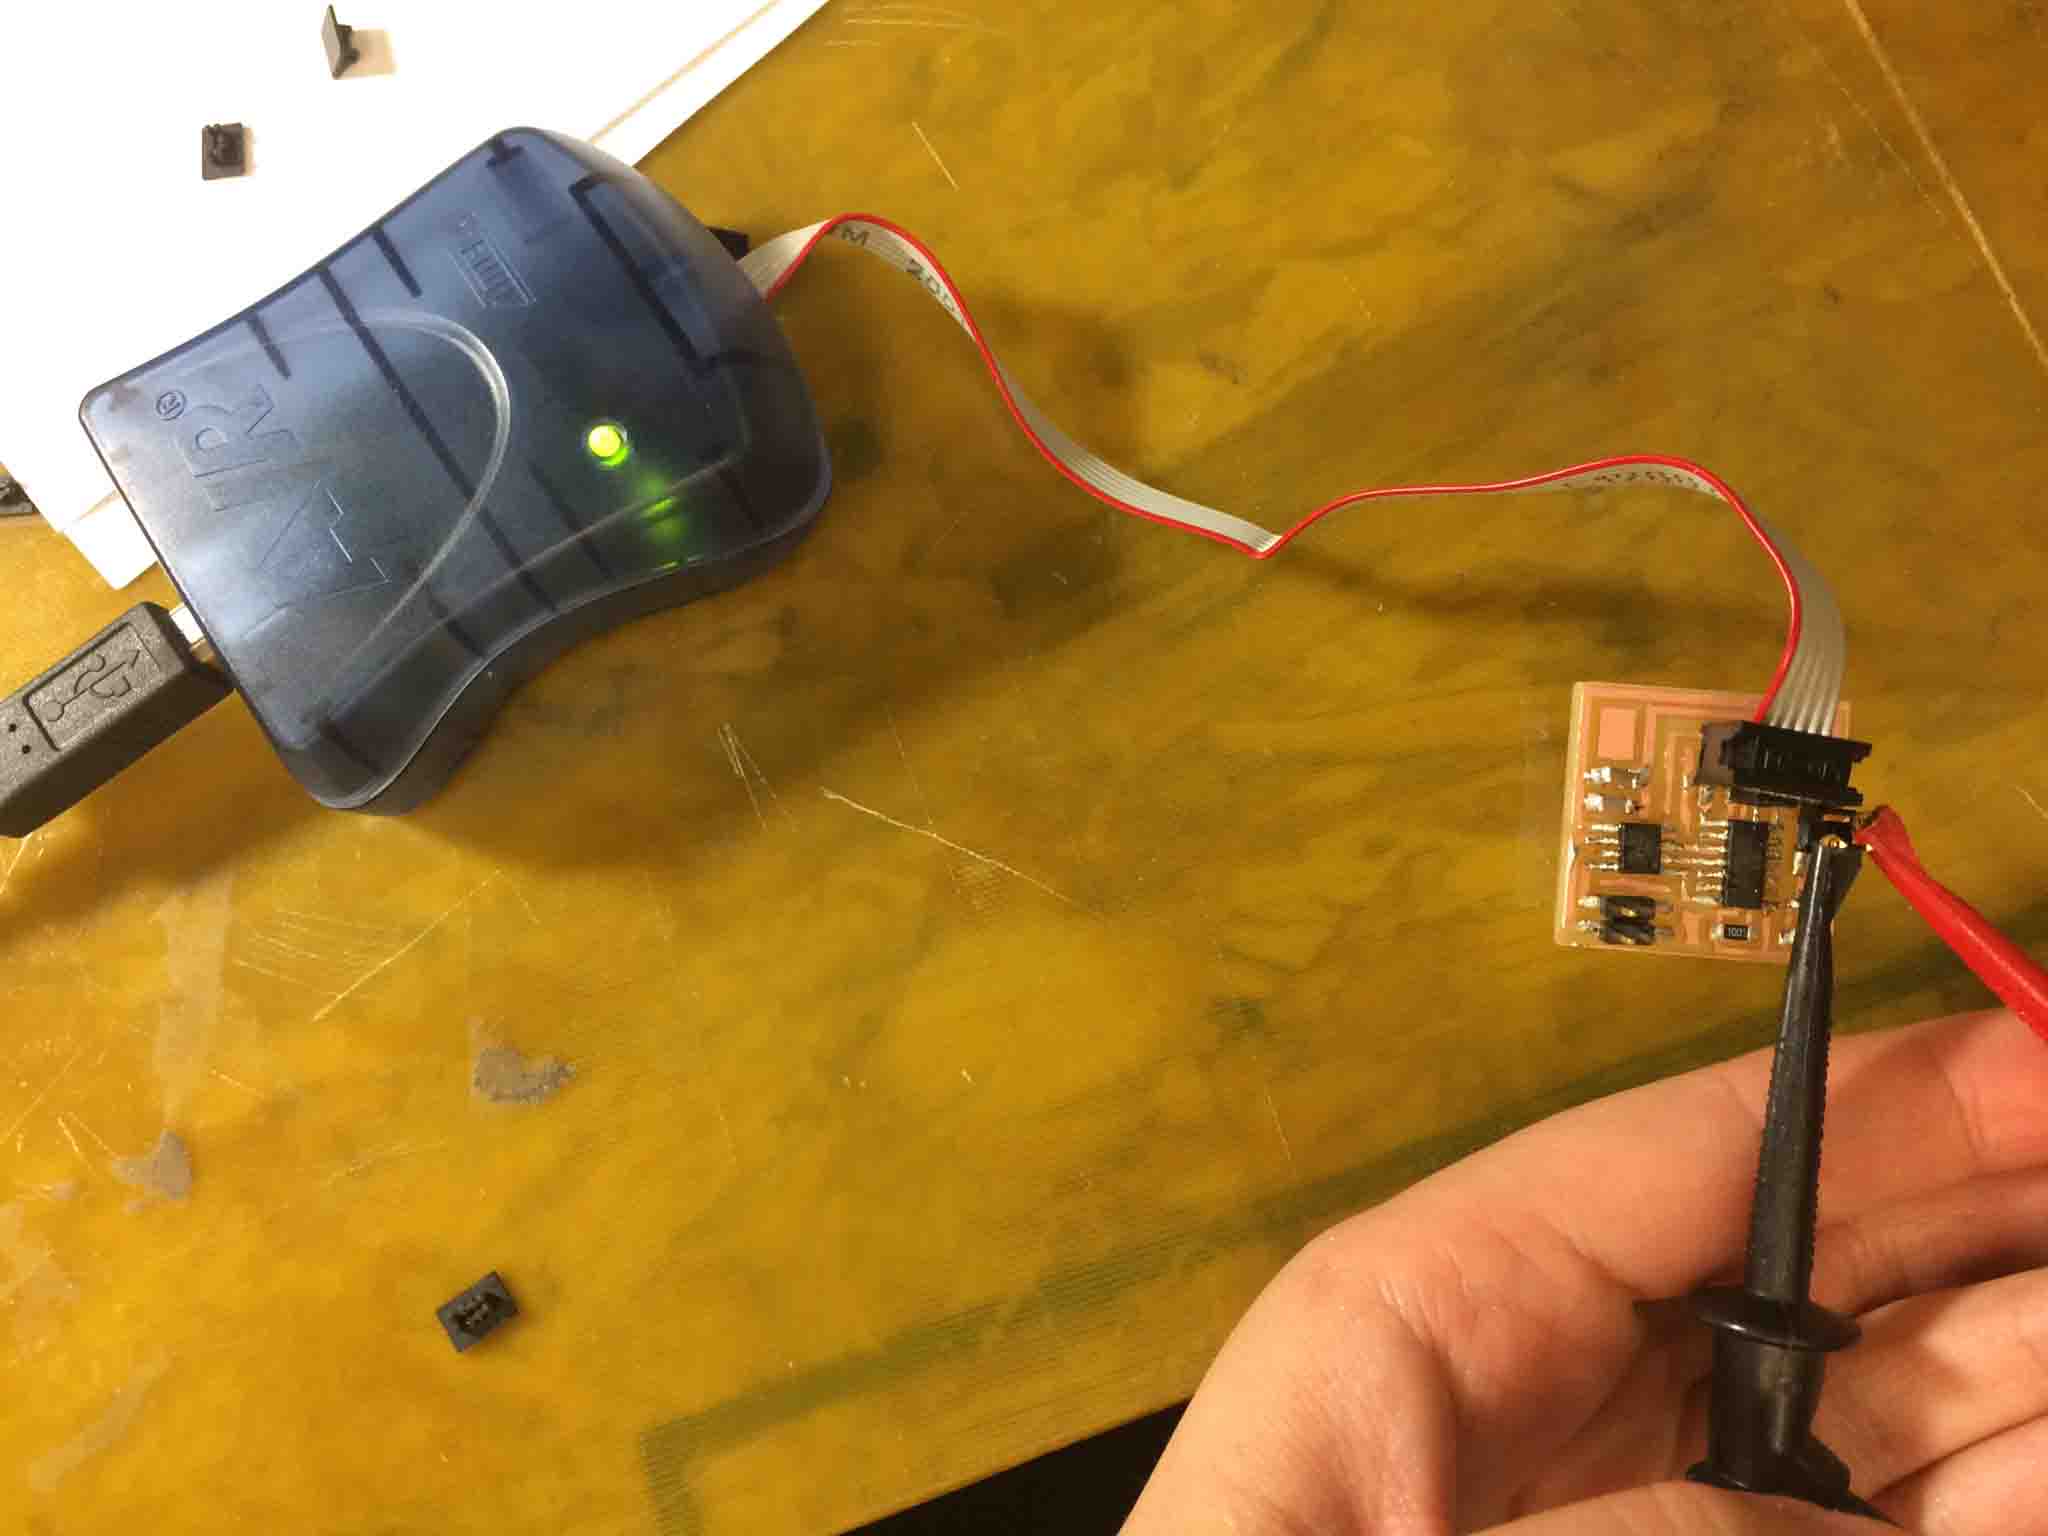
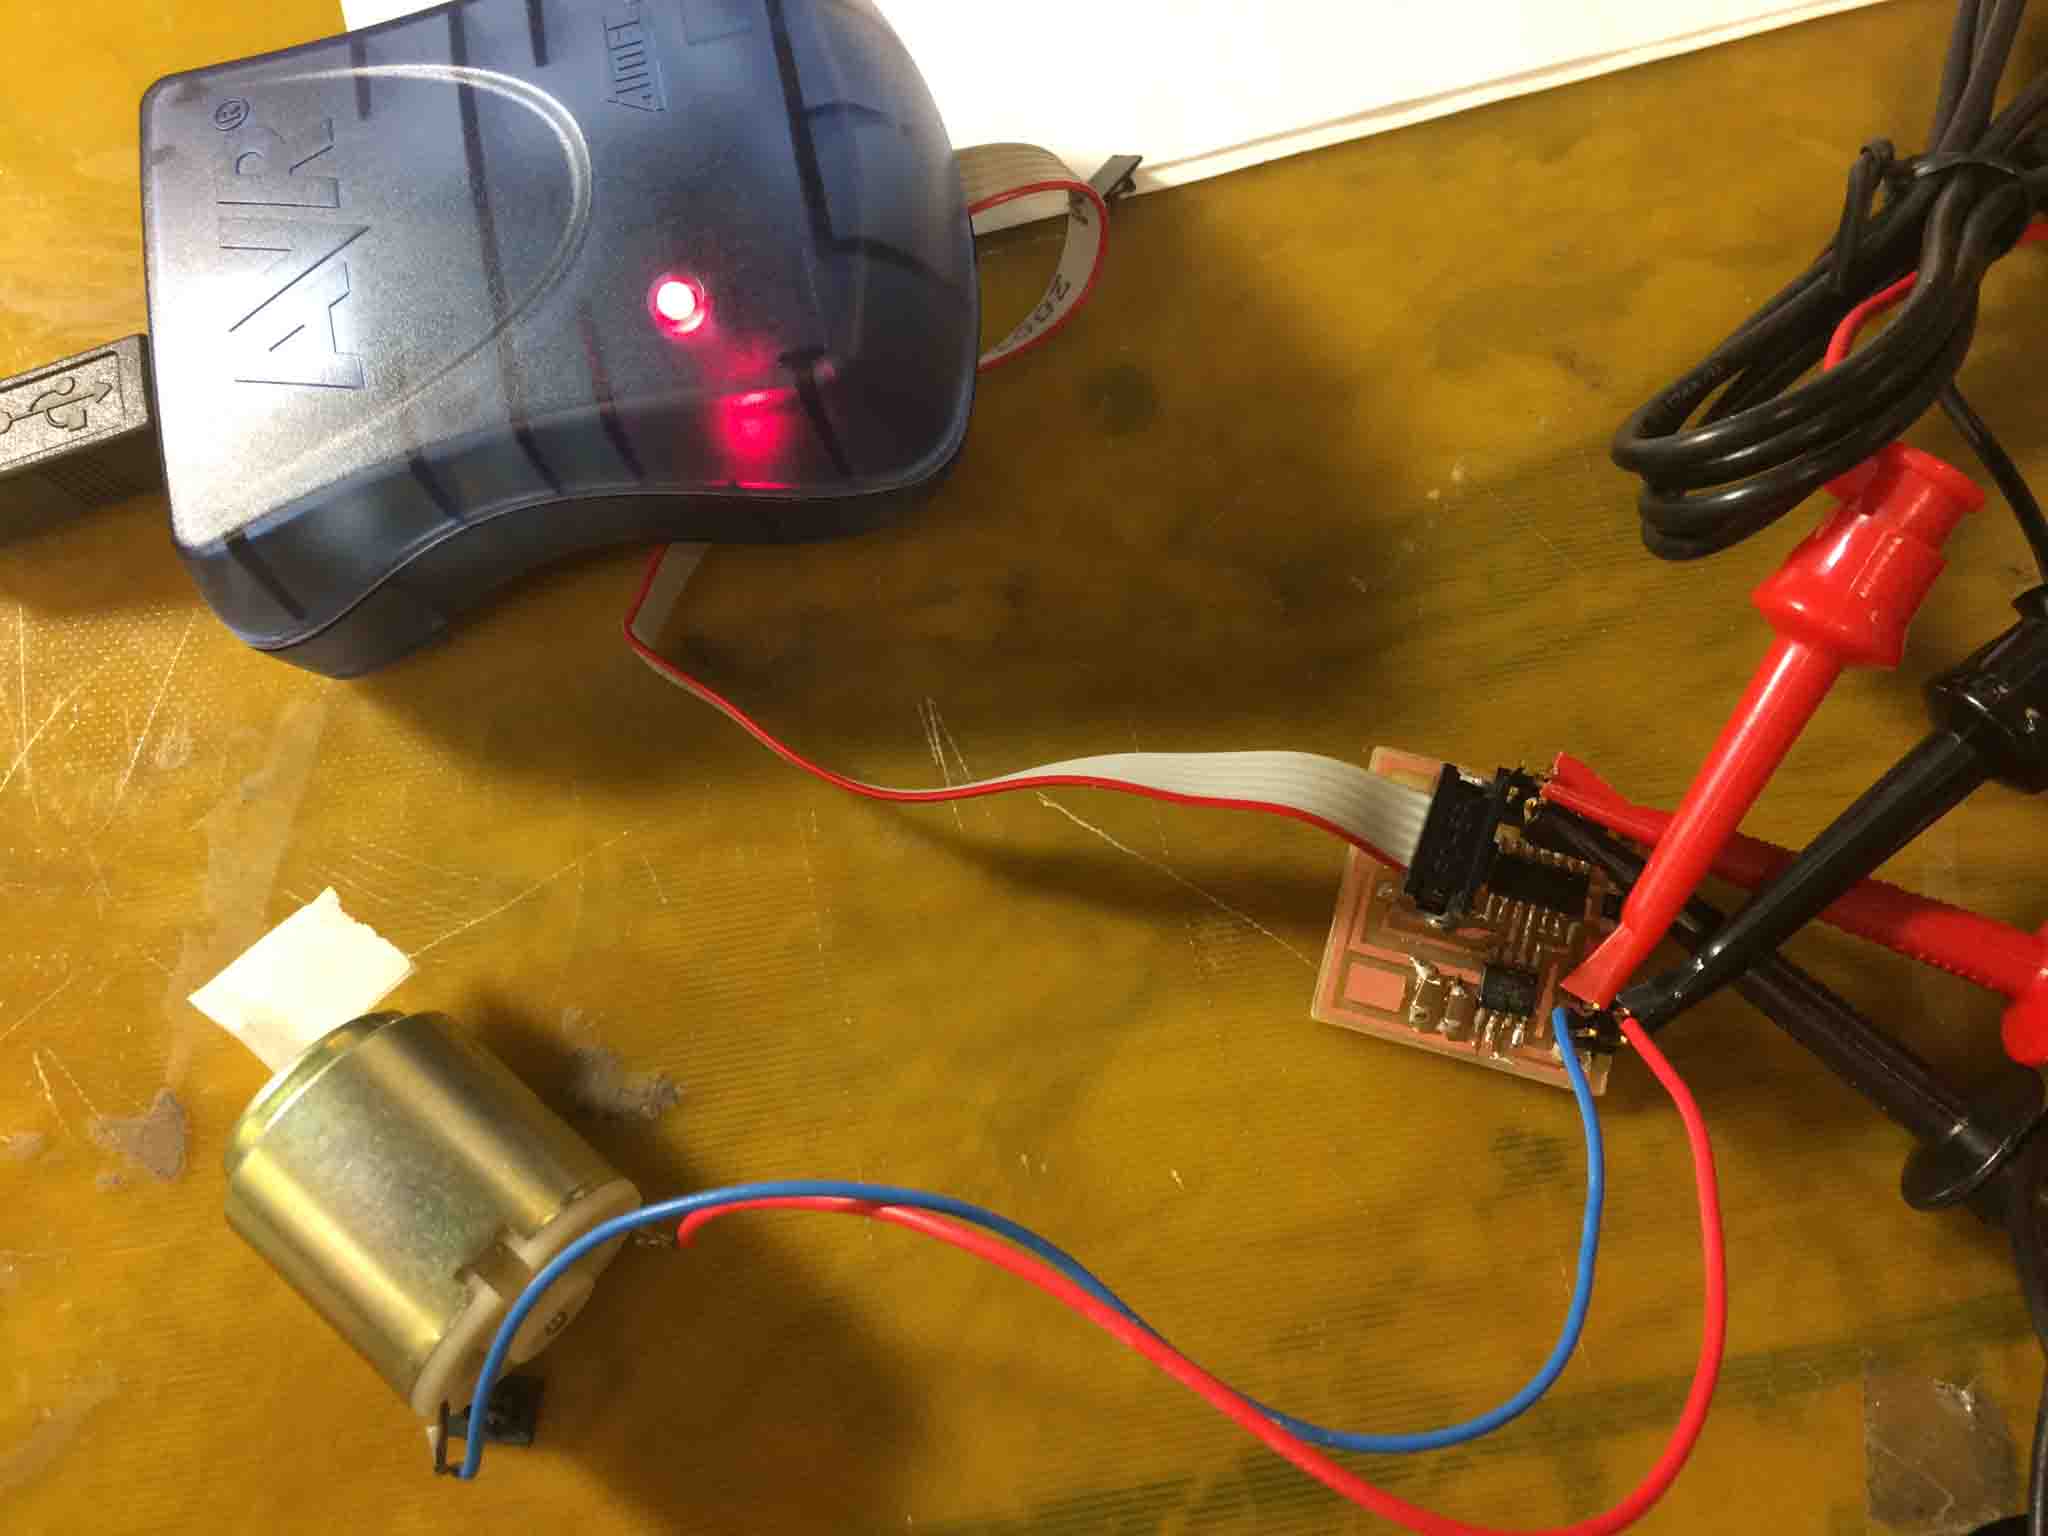
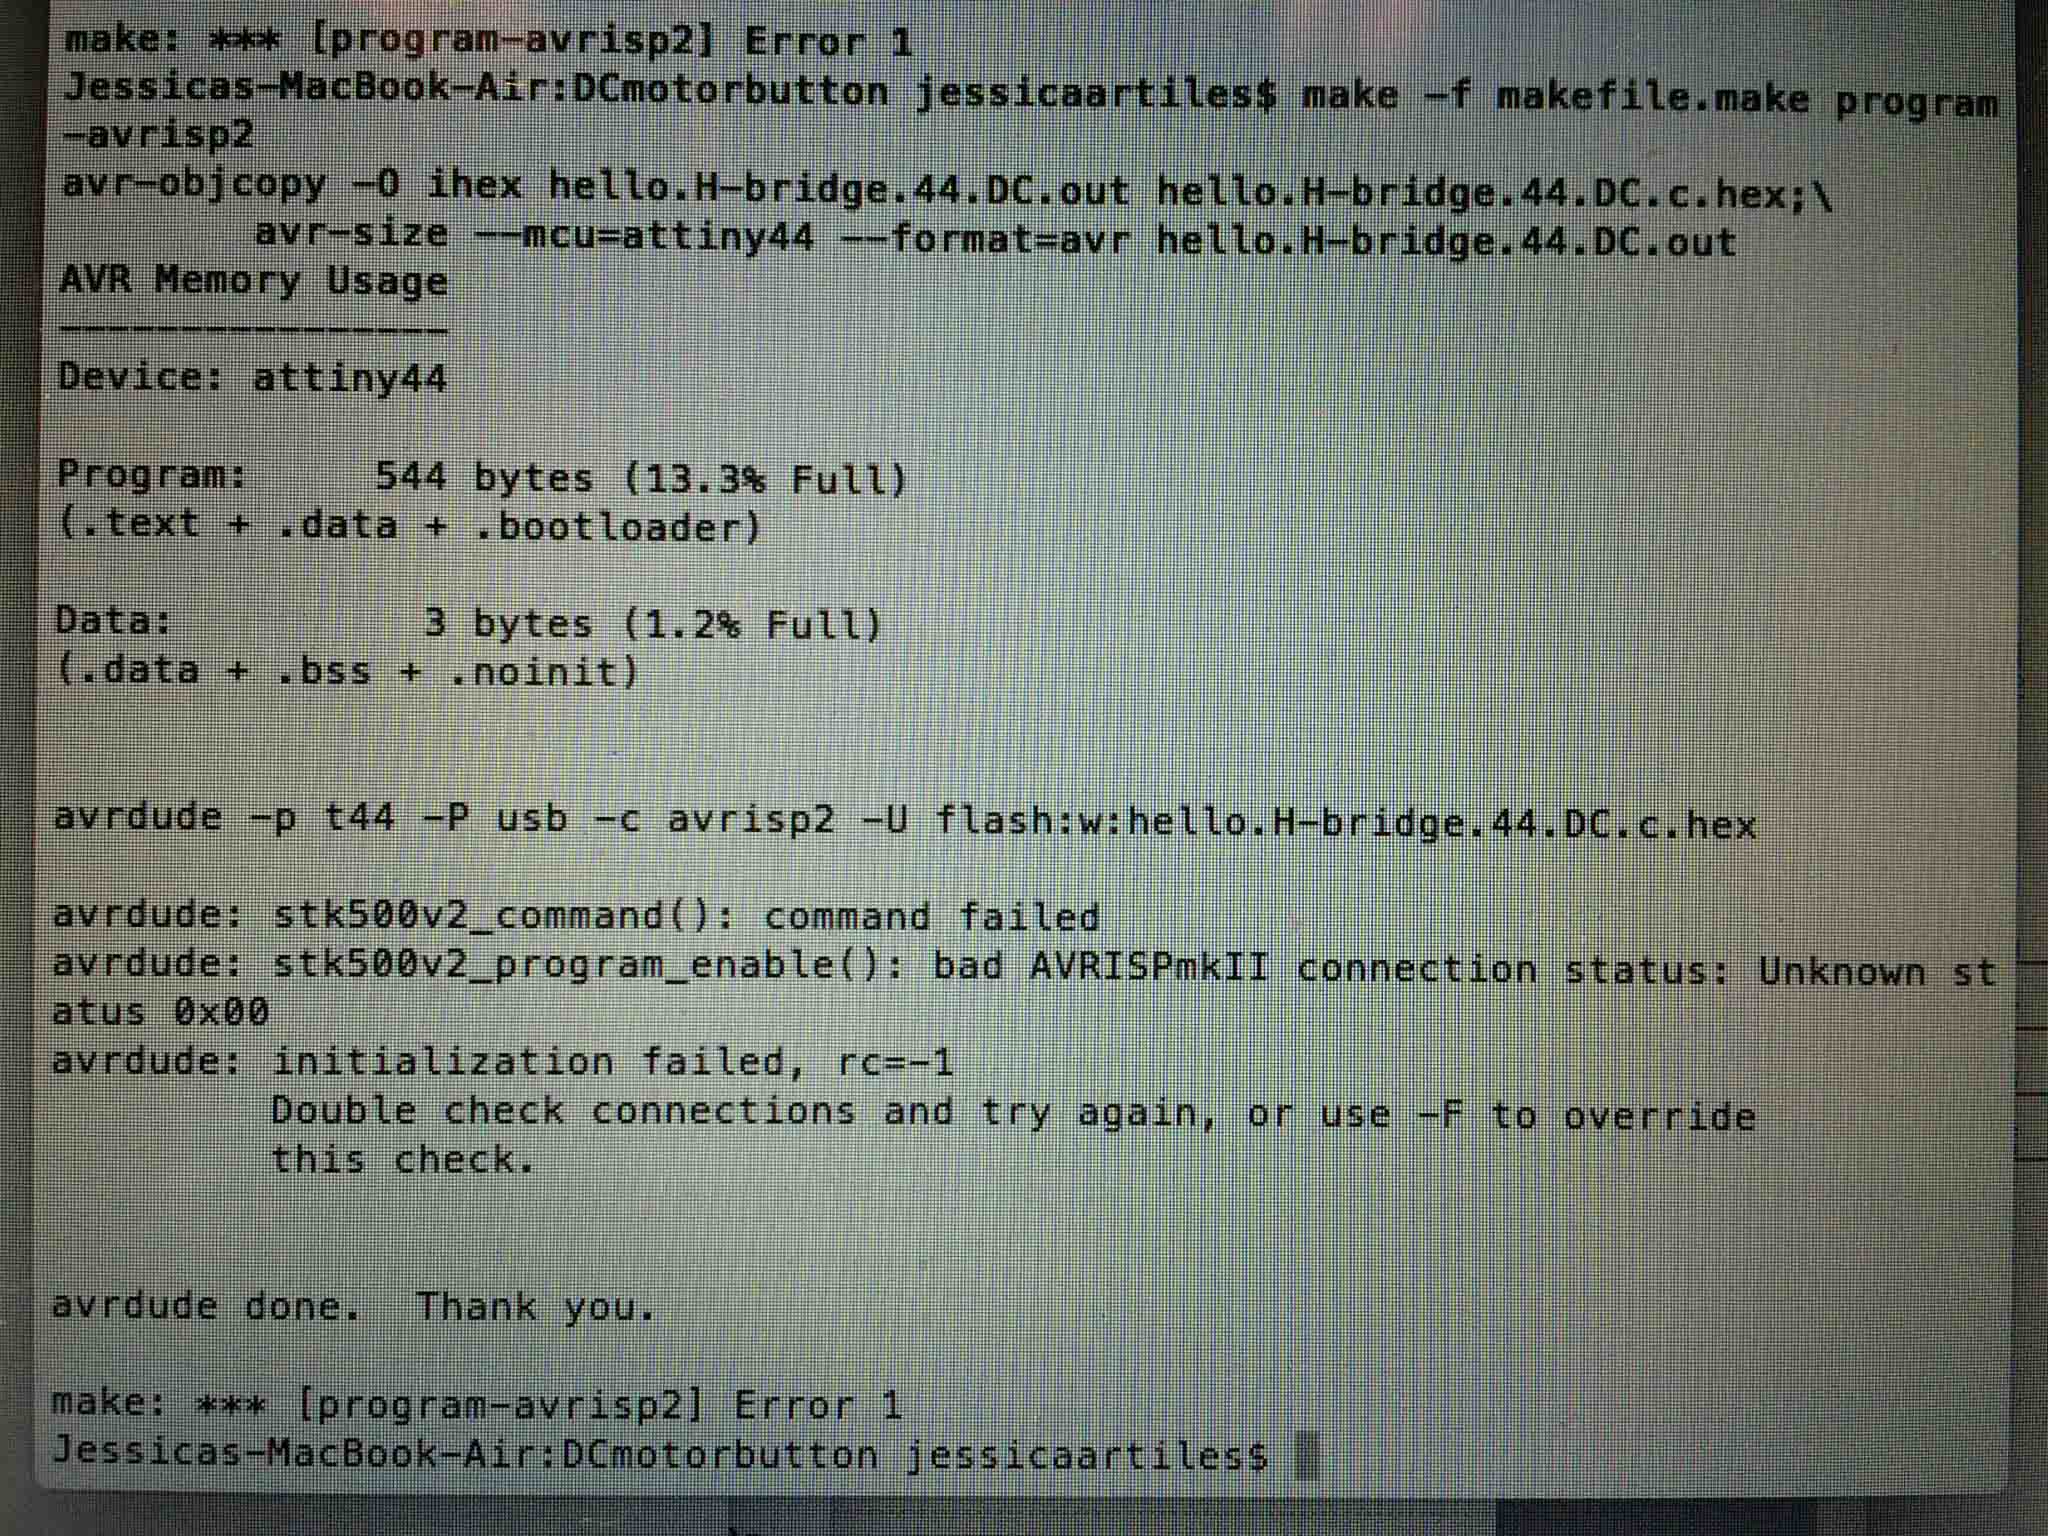
When I took out the multimeter and started testing every connection to the board's schematic, I noticed I had missed a couple of fundamental routed connections on my board. At this point, rather than hackily wire them all together, I switched over to Arduino and got it running in no time.
Success in Arduino
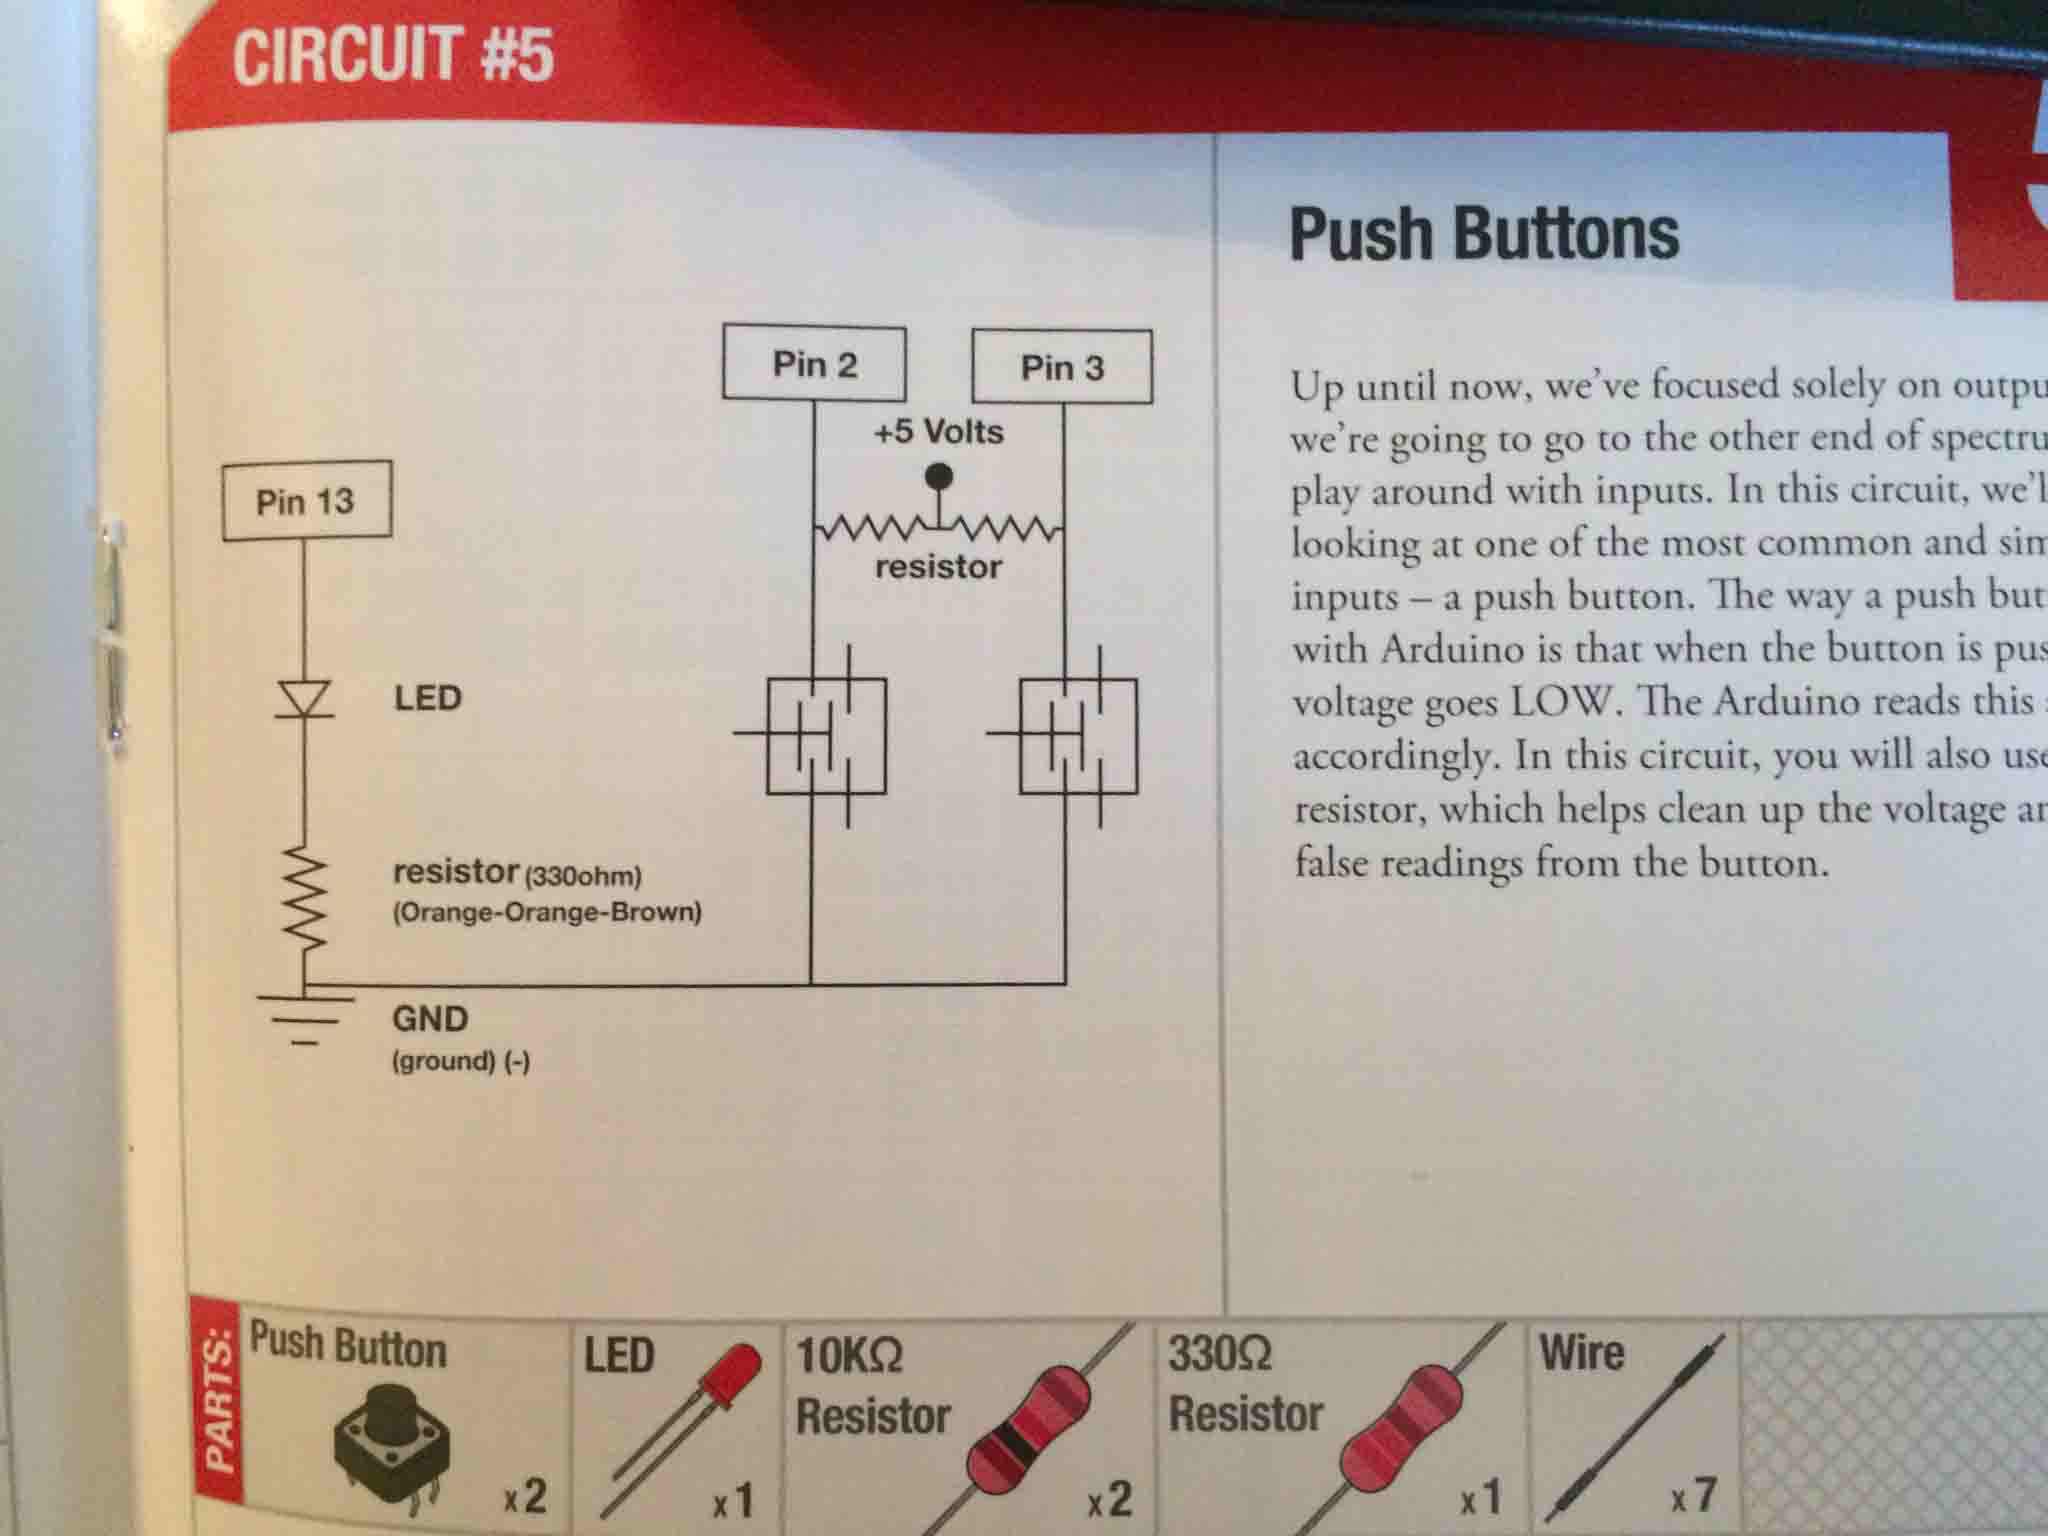
When I switched over to Arduino, it was a breeze. Morris let me borrow his computer since he had the motor shield drivers already installed. Together, we edited the code to combine the example button code and the example DC motor code into one and it was nearly seamless. We connected the motor using the Arduino schematic below.
Responding to my button press!
Playing with the torque of the motor:
Prototyping to design a cam for the oscillating knife
In parallel, I also worked on the cam design to go from rotating motion of the DC motor to linear motion of the oscillating knife.
I made a very preliminary prototype to begin to understand where I would need some more linkages and couplers.
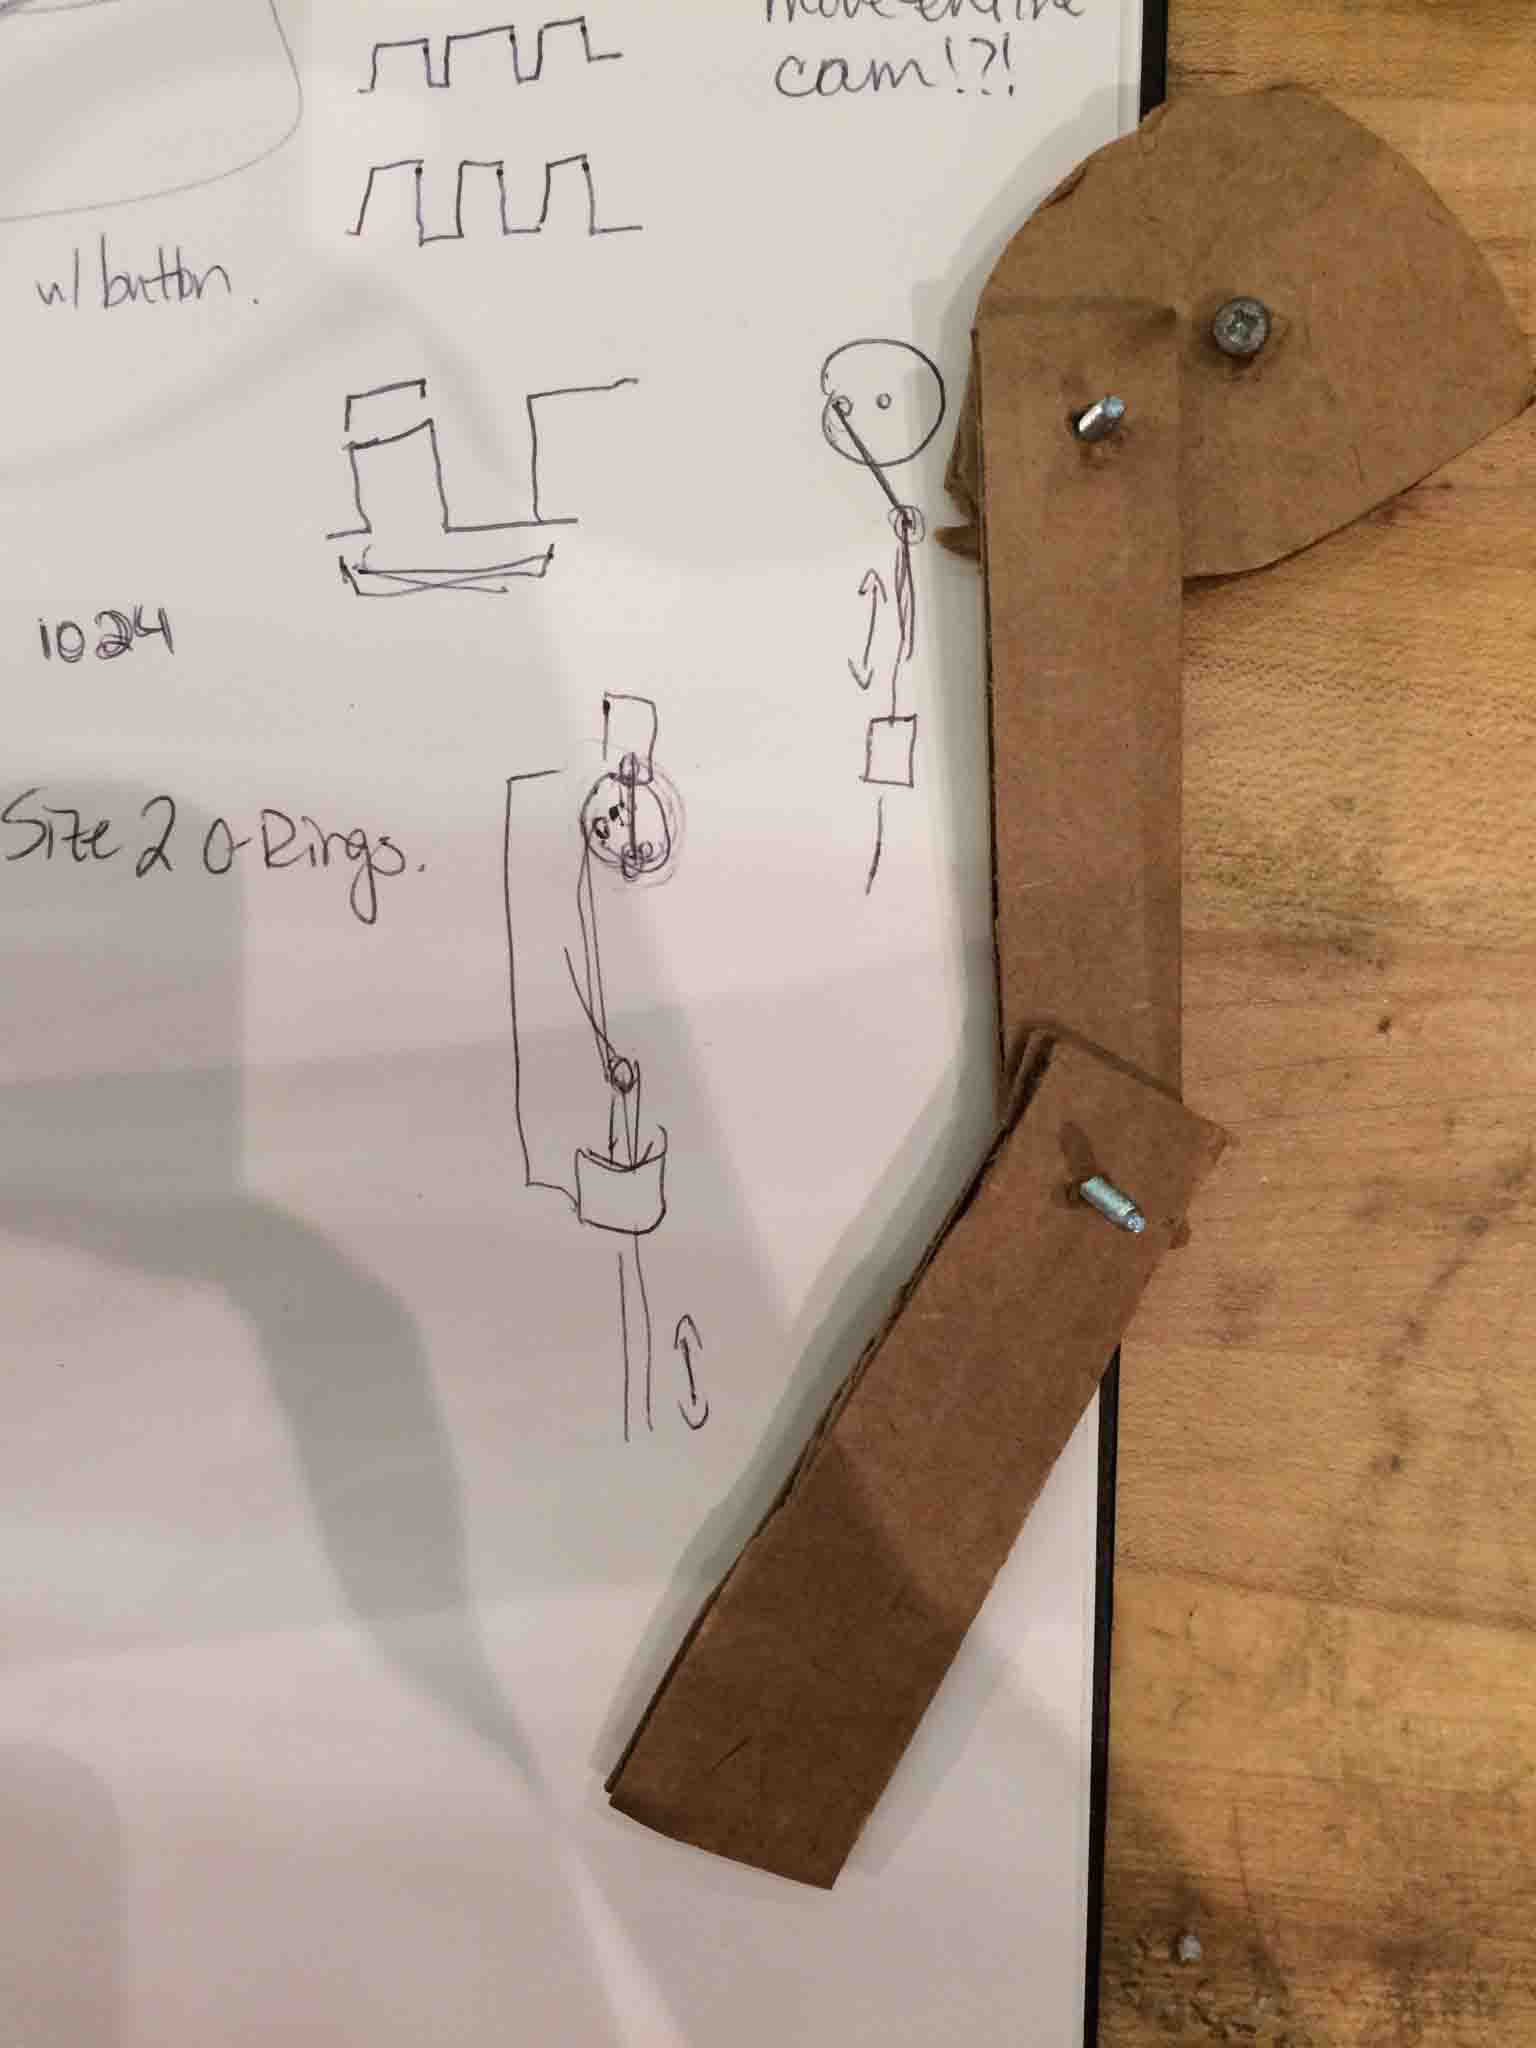
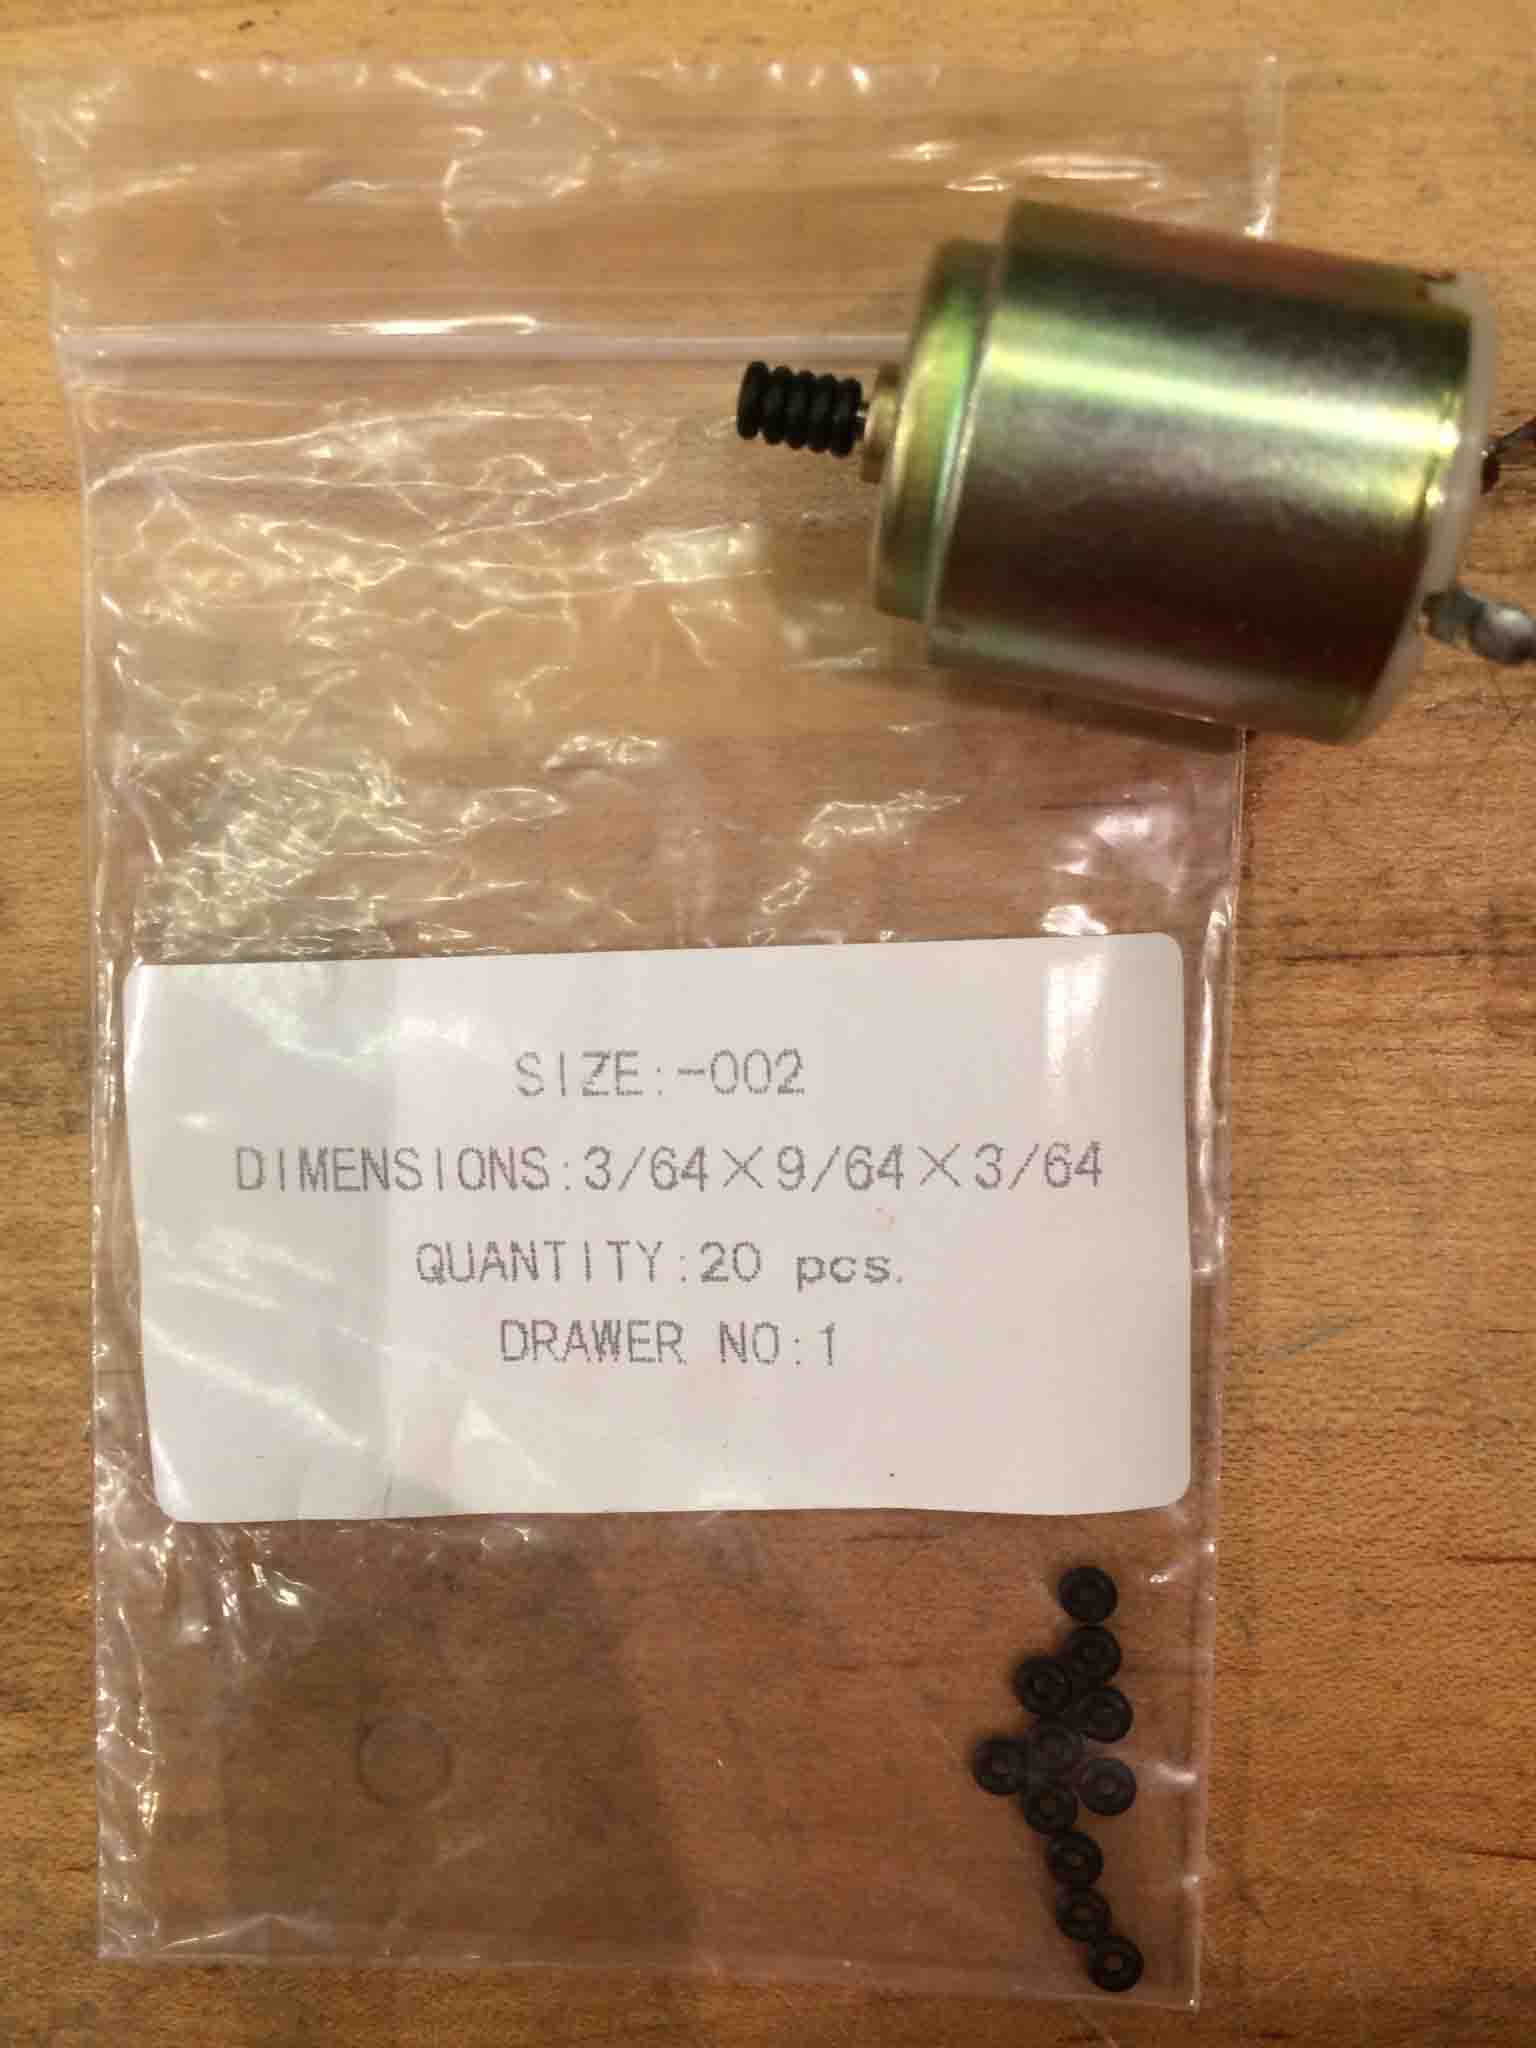
Now the next prototyping level will be to make it out of acrylic to understand the measurements that I should work into a CAD design that will integrate with the fabinabox end effector holding. I plan on using size 2 o-rings for a quick coupling of the motor shaft to an the acrylic cam.
I made some quick deisgns in illustrator and started cutting out my material on the Medial Lab's spirit machine but the settings were inconsistent or maybe too volatile and at somepoint the laser cutter lost its sense of direction (had just been reprogrammed with a new hex bed plate, so we think it was strugggling to accommodate the new bed) so it started to jam into itself. Currently still being repaired, but will be cutting soon, hopefully!