Week07 - 3D Scanning and Printing
Scanning - This week was all about scanning and printing in 3D. Our objective was to scan an object in 3D. Extra credit would be given if we built the scanner ourselves. I considered setting up an OpenCV Structured Light system, but as I'd never used the Minolta Laser Scanner, I thought I'd give it a go. I chose an object slightly more complex than suggested. Meet NovySan, the Astronaut. Yea, that's me. One of my best friends in the world, the lovely and talented Lisa Gloria (http://lisagloria.com/ ), made me a bobble head a few Christmases ago. I thought it would be an excellent shape to try and capture in 3D.
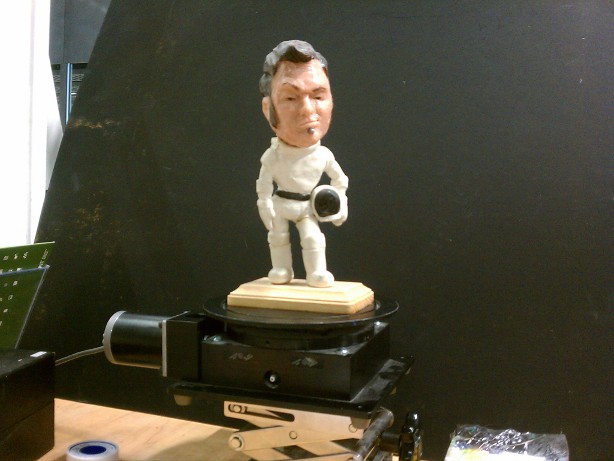
I was concerned primarily with the head region. I was slightly worried by the dark hair (as darker features absorb more of the laser energy and tend to not scan well. I placed my figure as close to the center of the revolving carousel as possible. I then tried to line the optical axis of the lens and laser to the center of the carousel as well. And misregistration would lead to errors that would need to be cleaned up by hand. Luckily at most angles, the hair is light enough to get a scan.
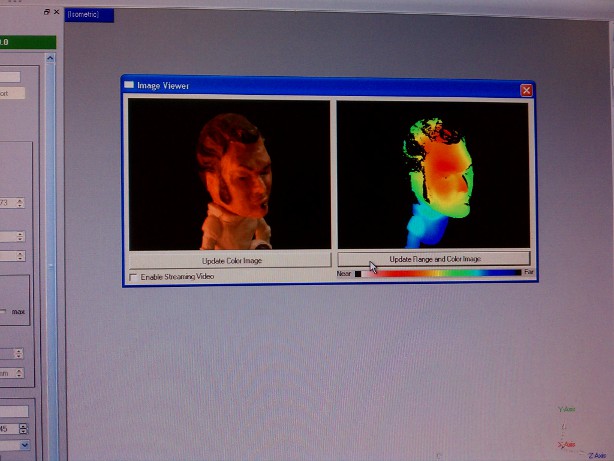
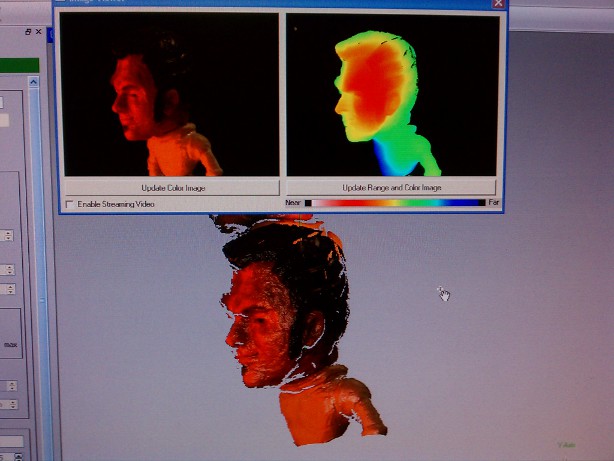
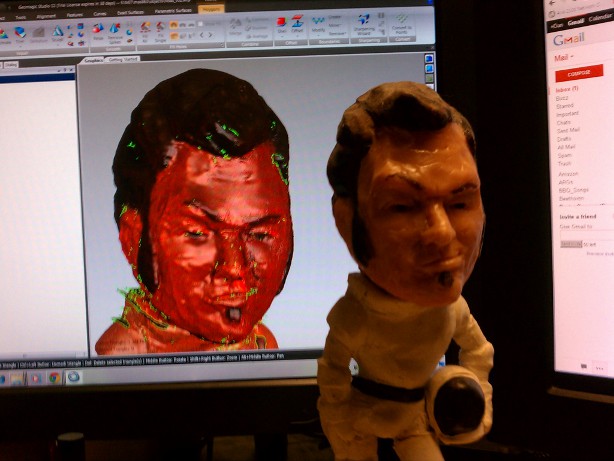
Here's the first of 8 scans, done at sequential 45 degree turns of the carousel. As predicted the optical axis was off, and the model isn't fully symmetrical, so there were several hours worth of clean up to do. Luckily in my past career I'd learned the Zen state of polygon editing. GeoMagic studio also has some terrific tools for helping registration and filling holes, smoothing meshes, etc. It's really a top notch polygonal editor. Yes, my pompadour now lives in the 3D realm as well.
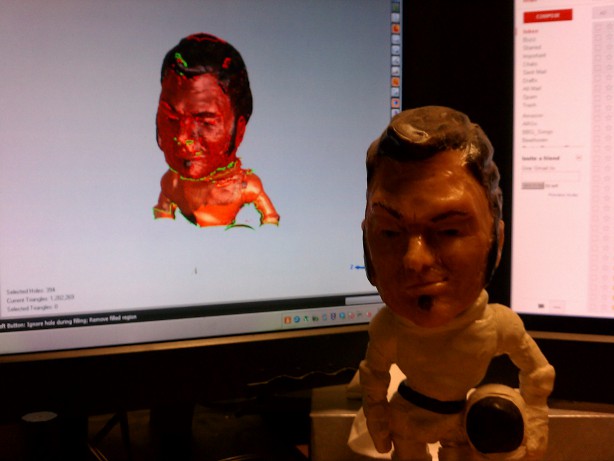
Side by side with the original as clean up began. You can see the red shift form the lighting captured into the color map during the scan. Normally maquettes are a neutral gray with scan lines and registration marks scribed into them. The lighting set up is also more scattered than directional light. If this model were to be used in production, the color map would be used as a reference but be rebuilt using higher rez photographs and had mapped to the UV's. You can see below things really beginning to take shape as clean up continues.
Printing or 3D Rapid Prototyping! Next was the portion of the assignment involving designing a 3D object and printing it on one of the rapid prototypers we have in the shop. For cost's sake we were limited to about an cubic inch. Apparently 3D printers recoup their R&D cost by heavily DRM'ing the materials needed with proprietary cartridges, just like ink jet printers. It is more cost effective to build your own rapid prototyper than it is to try and break the DRM. More on this in later weeks!
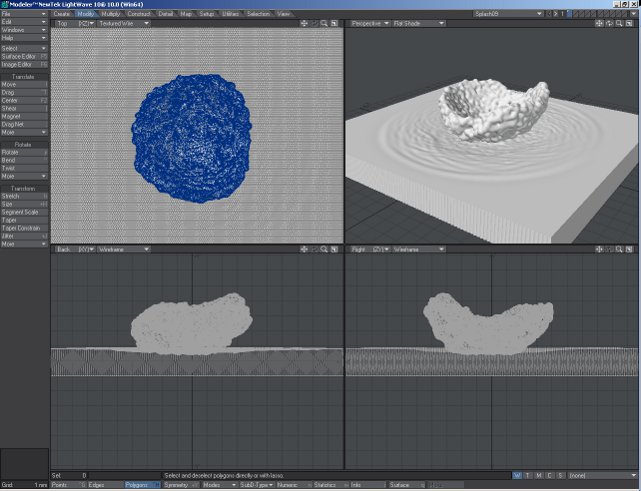
For a while I've been interested in the sculptural visualization of high speed ephemeral phenomena. Have done quite a bit of high speed Fluid Simulation in the past I'd often wondered what it would be like to capture a single frame of an evolving fluid and print it in 3D. So this is what I did. Below is a quick simulation of a "crown splash" simulated at 60FPS. Not super slow motion but enough time and substeps for the fluid to take on some interesting shapes.
For a while I've been interested in the sculptural visualization of high speed ephemeral phenomena. Have done quite a bit of high speed Fluid Simulation in the past I'd often wondered what it would be like to capture a single frame of an evolving fluid and print it in 3D. So this is what I did. Below is a quick simulation of a "crown splash" simulated at 60FPS. Not super slow motion but enough time and substeps for the fluid to take on some interesting shapes.
After running the simulation I chose frame 28 based on the shape of the crown, "meshed" and exported the data, opened in Lightwave3D, checked for holes, and exported an .STL. The first STL I emailed to the shop wouldn't print because even though the base was there, it technically had a 0 depth on the Y, something you're allowed to do in the virtual world but not the real. Stupid reality and it's requirements. So I quickly extruded a base so it would have thickness and again made sure it was "watertight" before mailing it off to be printed by the device.
I'd love take this same workflow but render the final piece in glass or bronze, as well as create a much more complex and dynamic wave shape.
So, until next time then, Space Cadets! NovySan, OUT!