Concept
A make-your-own quadrotor kit.
Design
The quadrotor needs to have four arms securely attached to a central base base. I'm cutting it out of cardboard for simplicity - if I'm satisfied with the design, I can make a more permanent version out of acrylic.
Design was done in Solidworks with parametric material thickness. I made the whole sheet as one part, which is a bad way to do it. If I were to start again from scratch, I would define global equations/variables in an assembly then reference those values when constructing each part.
To get from a Solidworks part to an image, I created a new drawing with a top view of the part, set as solid (rather than a line drawing). Then, I saved the drawing as a bilevel tif image at print scale and 300 DPI. Finally, I brought the image into the GIMP, cropped and inverted it, then saved it as a grayscale png.
Early arm concept:
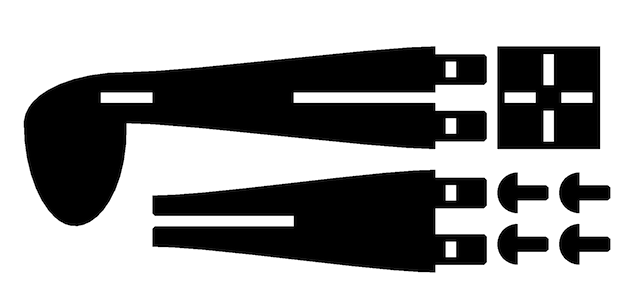 I'm using a system of tabs and locks as shown to me by
Amy Sun.
I'm using a system of tabs and locks as shown to me by
Amy Sun.
Final part sheet:

Result
I printed out the parts using the fab modules at 75% power, 10% speed, 500 PPI, and 0.2 mm kerf.
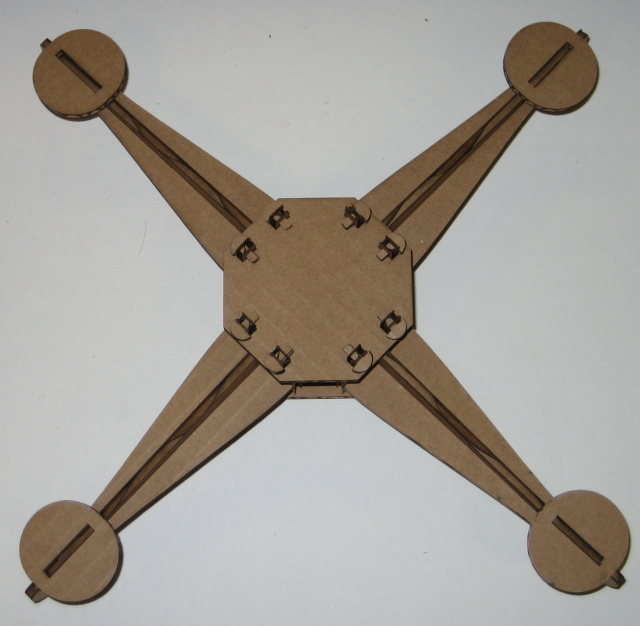
Cutout: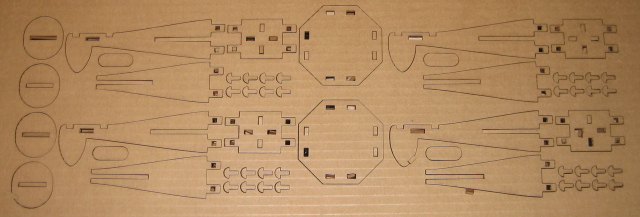
Delicious quadrotor soup!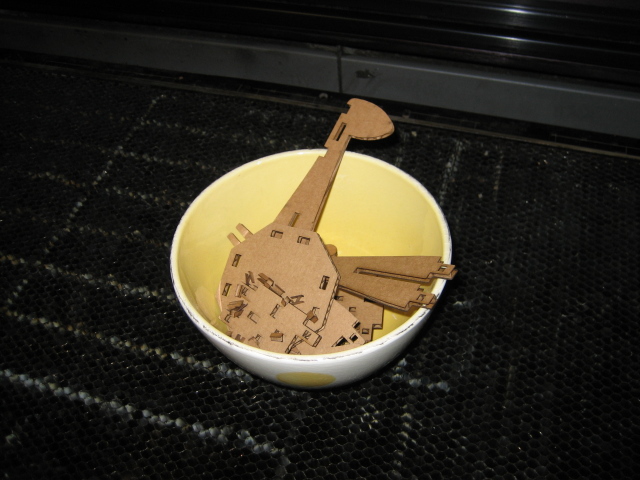
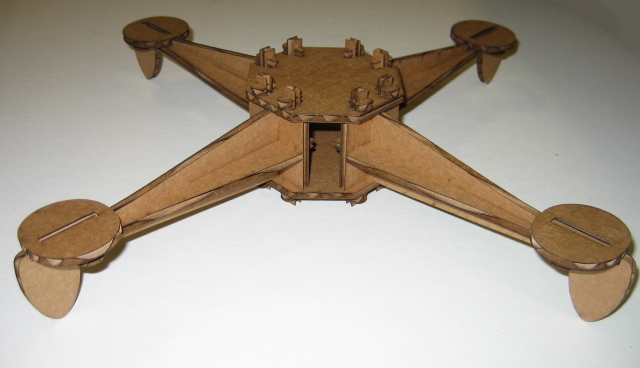
Assembled quadrotor: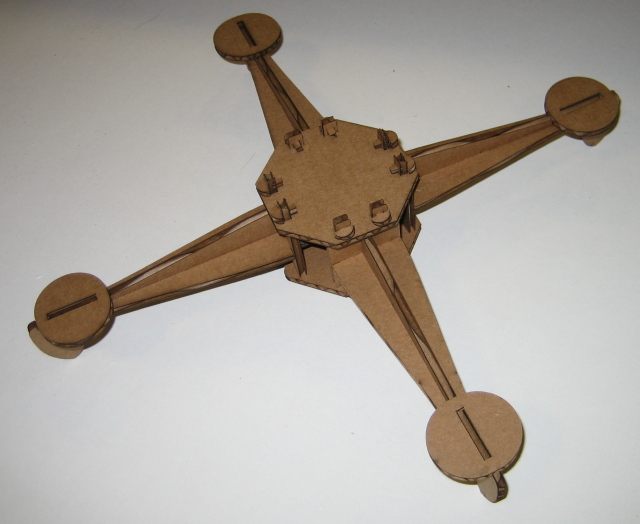
Tab + lock: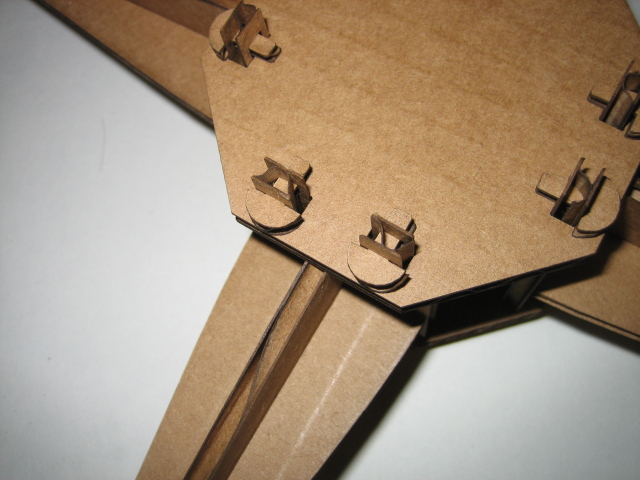
I found that the most fragile part of the design is actually the locking "mushrooms" - they are thin enough that they only get one ridge of cardboard, so their quality depends on location in the sheet. Acrylic would not have this problem.