Week Twelve: Networking
This week I made a door lock that opens via Bluetooth with an app on my phone.
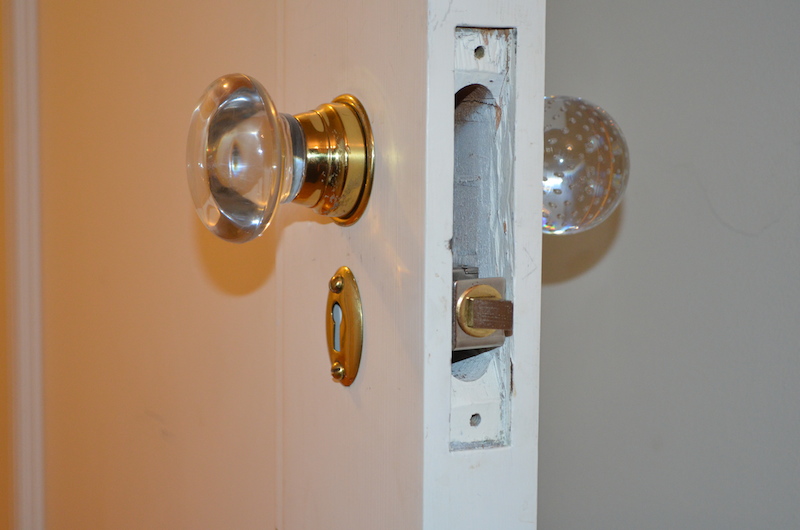
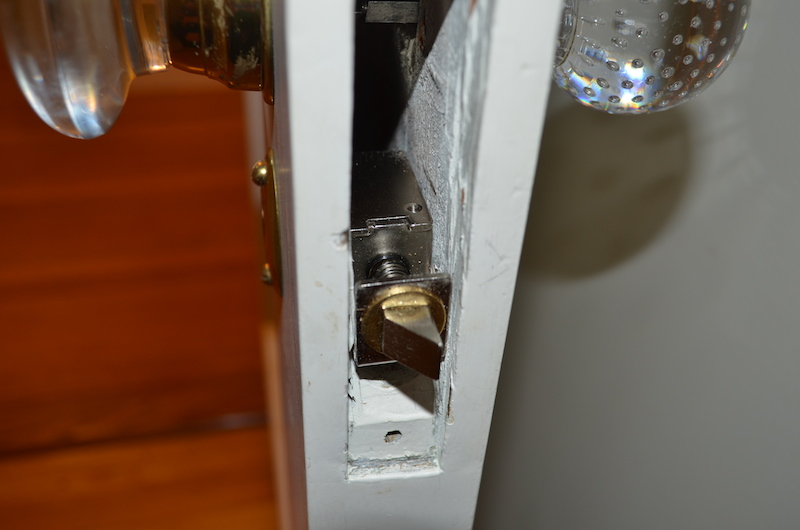
Solenoid
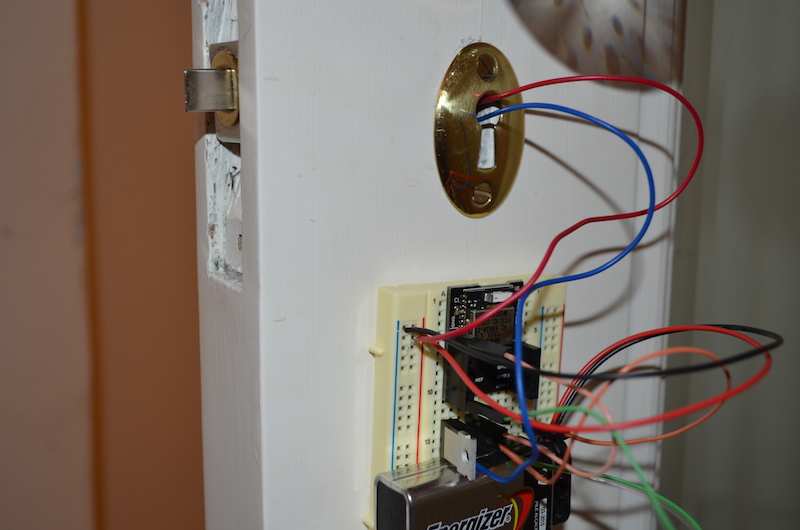
I used a solenoid design for a door strike I had lying around. The solenoid is designed for 12V but I found that it engaged just fine with a 9V battery. I removed the existing lock from my bedroom door and put in the solenoid and assembled a simple circuit with a microcontroller, MOSFET, and battery.
RFduino
I was a backer of the RFduino kickstarter project and received my reward a couple weeks ago so I decided to use it for this project. The RFduino is a breakout board for an STM32 with a built-in bluetooth module. The STM32 is programmable with the Arduino IDE and has a very easy to use API for communicating via bluetooth. Here's the code I used to set up bluetooth and drive the gate on a MOSFET for one second when the text "open" is received to engage the solenoid.
void setup() {
  RFduinoBLE.advertisementData = "doorlock";
  RFduinoBLE.begin();
}

void RFduinoBLE_onReceive(char *data, int len)
{
  if (strcmp(data, "open") == 0) {
    digitalWrite(1, HIGH);
    delay(1000);
    digitalWrite(1, LOW);
  }
}
iOS App
Next I wrote an iOS app to communicate over Bluetooth with the RFduino. I used the RFduino framework to discover and send data to the device. First, I started a scan for an RFduino:
[[RFduinoManager sharedRFduinoManager] setDelegate:self];
[[RFduinoManager sharedRFduinoManager] startScan];
Next I implemented the callbacks for discover and connect to an RFduino.
- (void)didDiscoverRFduino:(RFduino *)rfduino
{
    if (!self.rfduino)
        [[RFduinoManager sharedRFduinoManager] connectRFduino:rfduino];
}

- (void)didConnectRFduino:(RFduino *)rfduino
{
    self.rfduino = rfduino;
    [[RFduinoManager sharedRFduinoManager] stopScan];
}
Finally, to send data I just call:
[self.rfduino send:[@"open" dataUsingEncoding:NSUTF8StringEncoding]];