
Week Three: Electronics Production
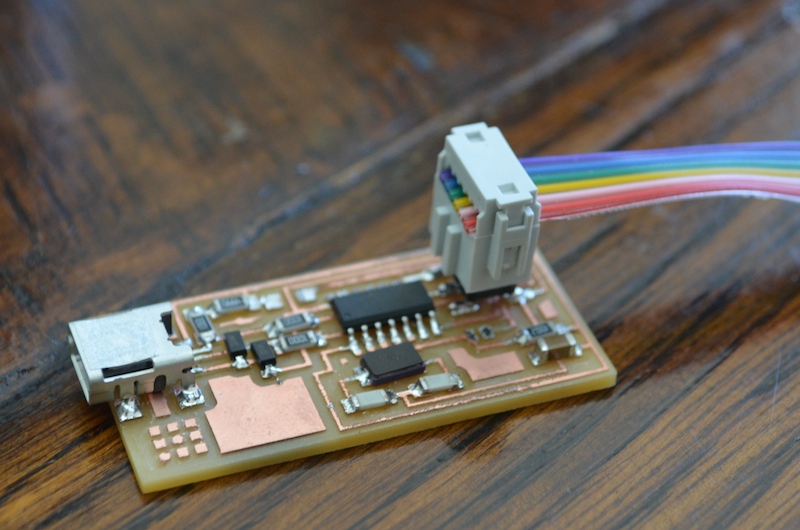
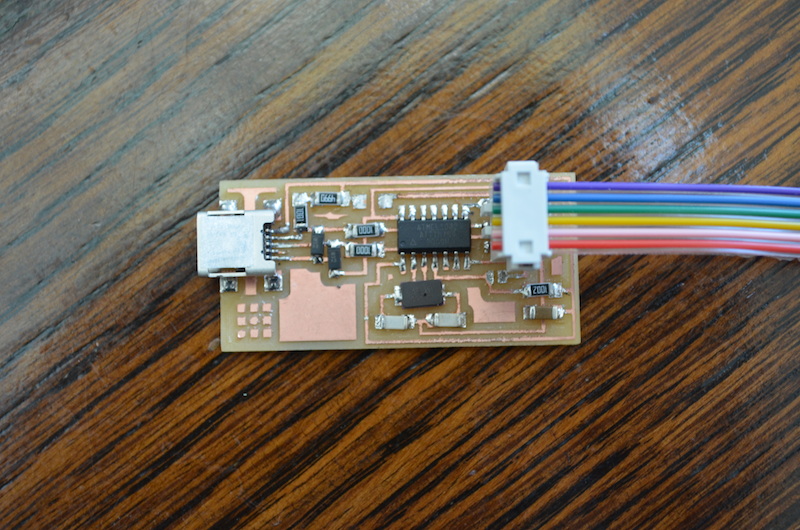
This week I milled a FabISP in-system programmer using the Roland Modela and learned how to solder surface mount components.
Milling
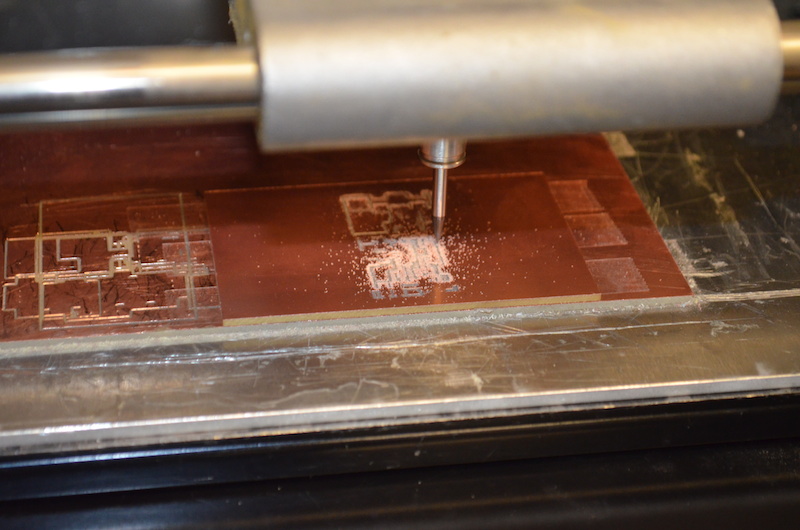
I downloaded two PNGs from the course website, one with the traces for the board, and one with the cutout shape. I loaded the PNG with the traces into the `make_png_rml` fab module. The module analyzes the image and produces cutting instruction for the Modela. I used the 1/64" end to cut the traces, then replaced it with the larger 1/32" endmill and performed the Z zeroing procedure again. I loaded the cutout PNG, just the rectangular border of the board, returned the mill to my initial X, Y zero location, and the mill went through three passes along the border, each one deeper than the previous. When finished, I was the proud owner of a FabISP PCB!

Soldering
The next step was to solder the components to the board. This was my first time soldering SMD components, but it was actually easier than I imagined. The only issue I ran into was with smaller parts, such as resistors, capacitors, and diodes, when soldering the first lead, the solder would suck the part in, causing the opposite end to go tail-up, similar to what happens when reflow goes wrong. To deal with this I melted a small amount of solder onto the pad, the held the component in place with tweezers and melted the solder with the iron. I then removed the iron and held the part until the solder cooled, ensuring it was held in the right place.