Week Two: Computer Controlled Cutting
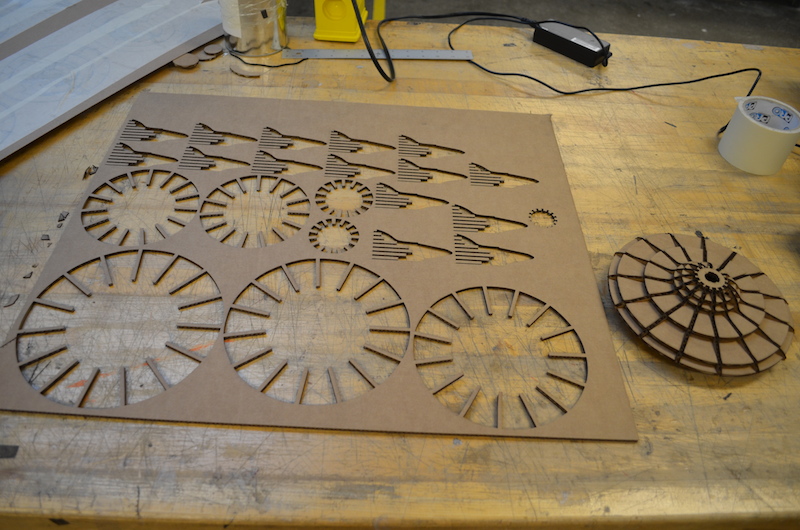
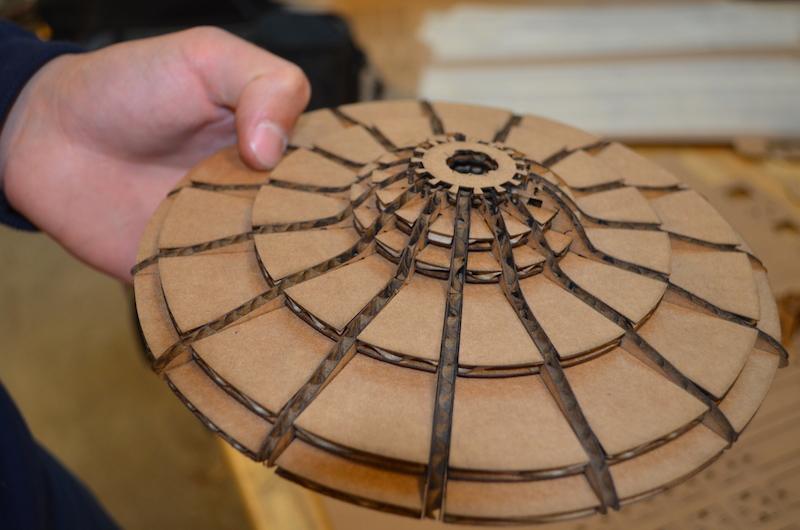
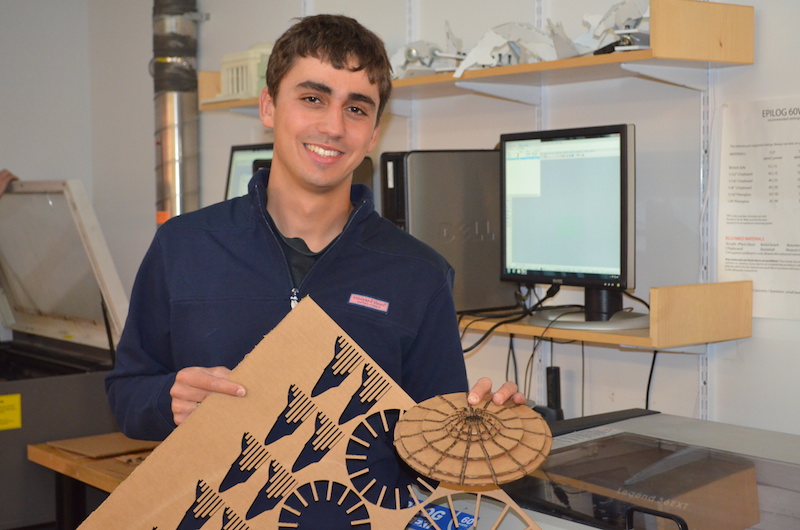
This week I made a press fit flying saucer by laser cutting cardboard. I used 123DMake from Autodesk to slice a 3D model into press fit pieces.
Design
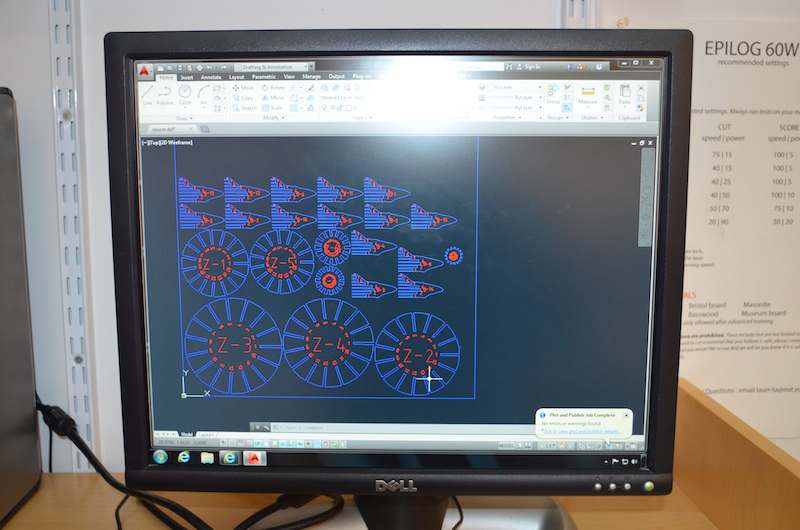
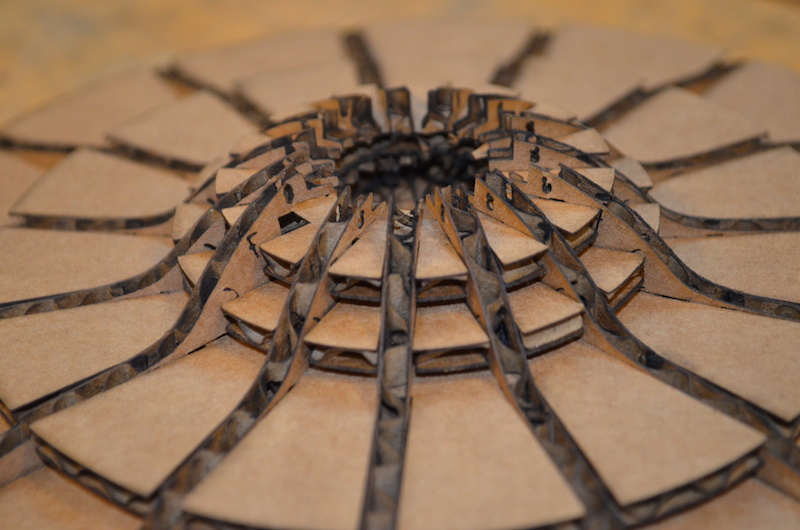
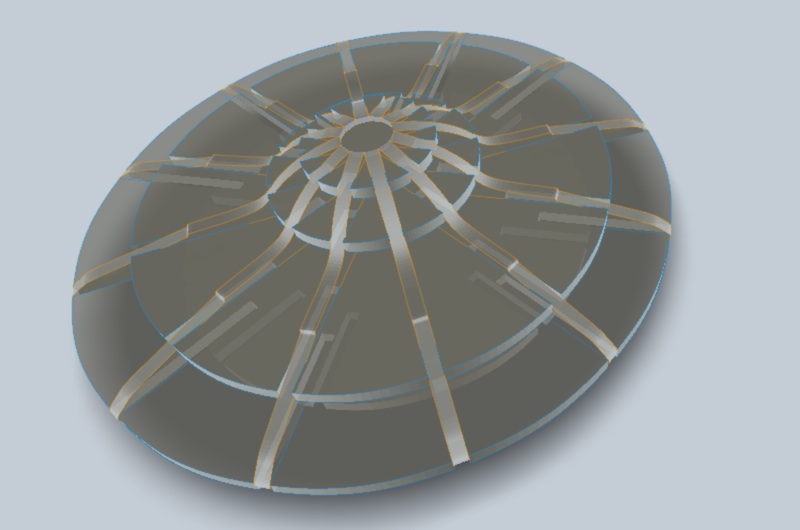
I found a 3D model of a flying saucer on Thingiverse and imported it into 123D Make. I chose the stock size we were given, 24" x 36" x 0.1772", and use the radial slices method to fill the model. The results were reasonable, but I still had to go in manually and fix some of the pieces to line up nicely.
Cutting
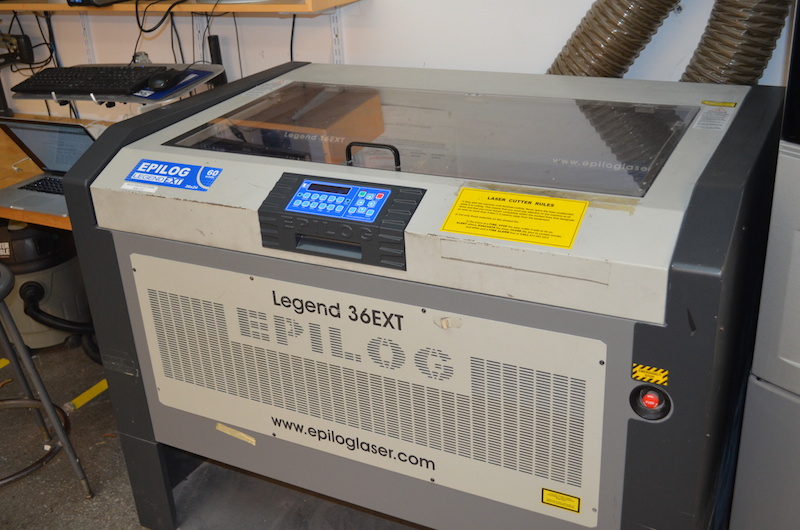
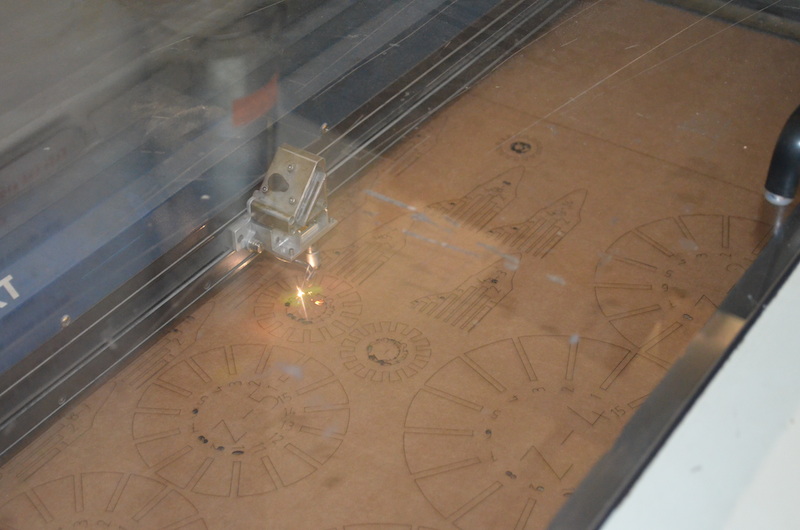
I exported a DXF from 123D Make and opened it in AutoCad. From there I was able to use the Epilog print dialog to send the job to the laser cutter. The piece numbers, the red layer shown in AutoCad, did not come out well in the final cut. In retrospect I could have modified the print settings to have that layer at lower power so it would only be etched on, not cut all the way through. Despite the fragility of the cardboard the resulting press fit kit was surprisingly strong.