Sam Spaulding
How to Make (almost) Anything
Week 5: CNC Machining - A Foldable Cornhole Game
"The age of automation is going to be the age of 'do it yourself'."
- Marshall McLuhan
Design
This week we tackled the technology that I was most excited for coming in to the class - the Shopbot, a CNC (Computer/Numerically Controlled) router - essentially the same control technology as the laser cutter, (i.e. program a computer to move a cutting head around with high precision) but instead of a laser, it has a big spinning drill bit on the end, which enables it to cut through many more materials, like plywood. You can also control it in the z-axis, which gives you control over how deep you cut. The laser cutter can sort of emulate this ability, but it requires a lot of futzing with power/speed settings, while the Shopbot has an actual axis that is easily controllable.
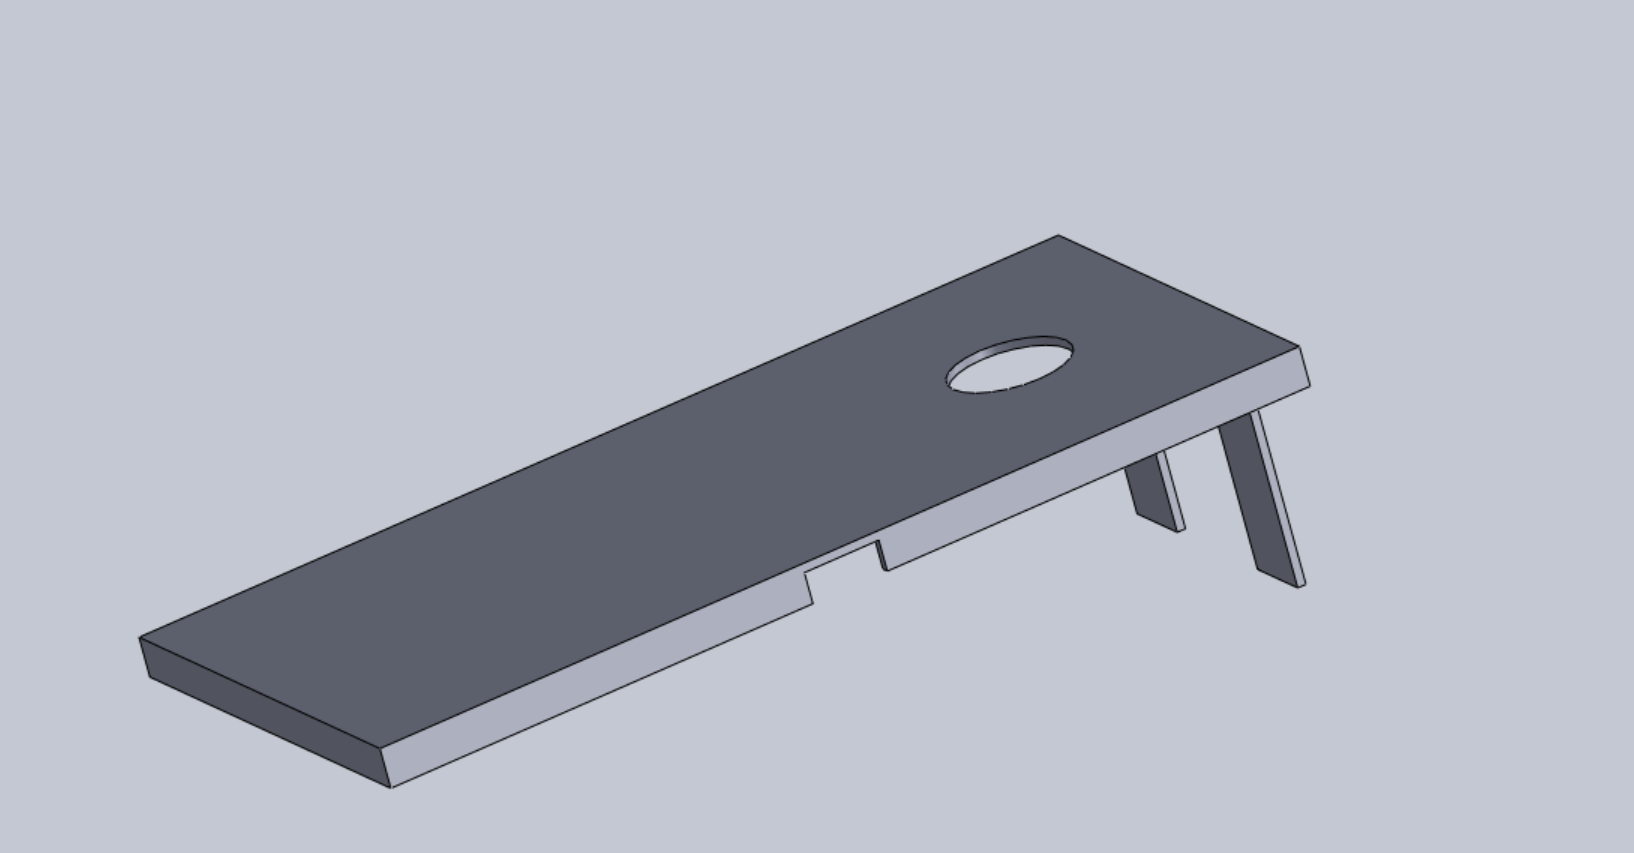
After hearing we would be working with plywood and being told in class to "Make something BIG!" I decided a cornhole set would be a fun project. After all, it's football season, I'm from North Carolina, and I wanted a project I could actually use, not just a novelty item. I thought about the design for a while, and sketched out a model for the board (pictured below) but I thought just making a board seemed too easy, and I wanted to push myself to think about the design a bit more. So I decided on a modification, a FOLDING cornhole set, which would add a new element to the design and also solve a functional problem - I had no idea how I was going to get the finished product home afterwards. I designed the whole thing in Solidworks fairly easily; last week's crash course was already coming in handy!
Using the Shopbot: Cutting and Sanding Using the shop bot was a fairly easy procedure. I had a pretty decent understanding of it thanks to tutorials by Tom, Jeff, and this link.
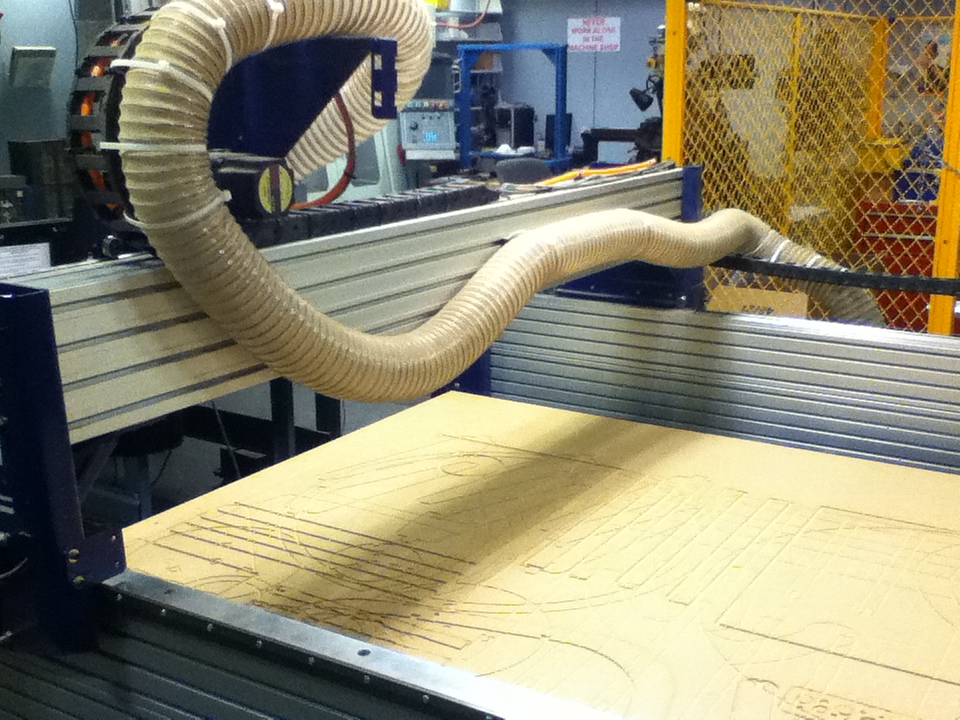
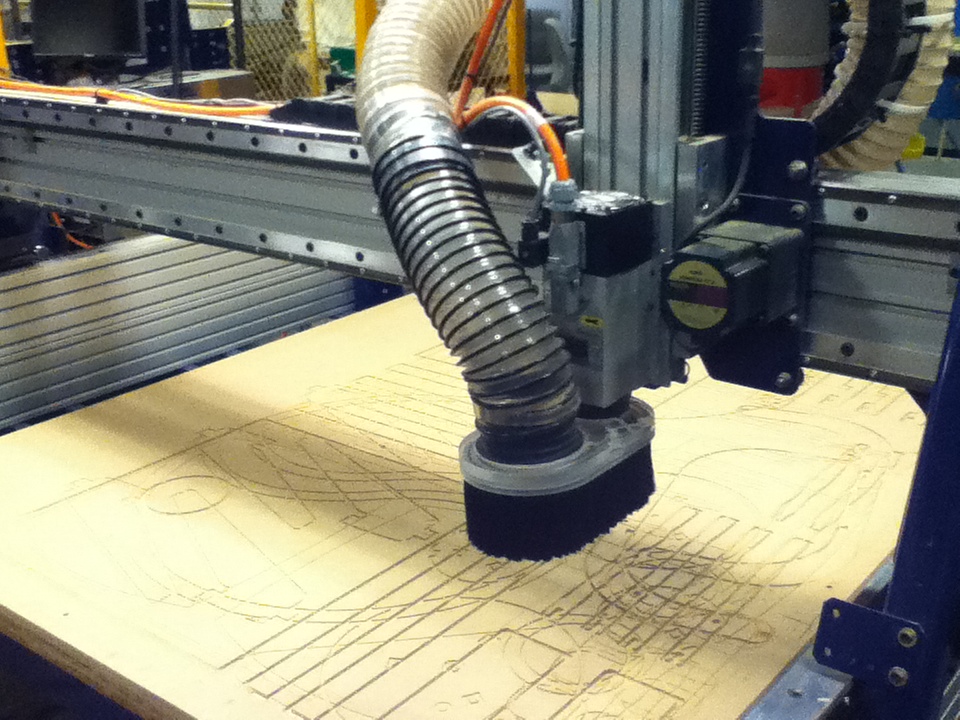
However, there were some major differences between the shopbot and the laser cutter, due to the (much!) higher forces at play. For starters, you want to nail down your material to the sacrificial layer so that it doesn't get jerked around by the router. There are also various safety measures in place to ensure you don't do something stupid (e.g., you always have to manually turn on the spindle, it CANNOT be turned on by the Shopbot itself).
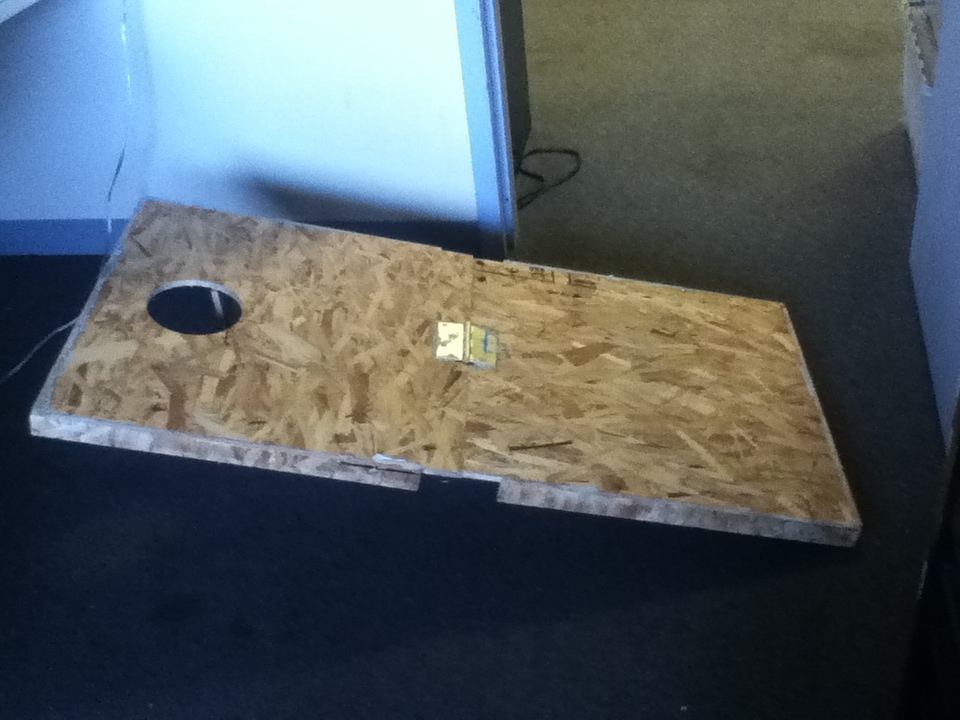
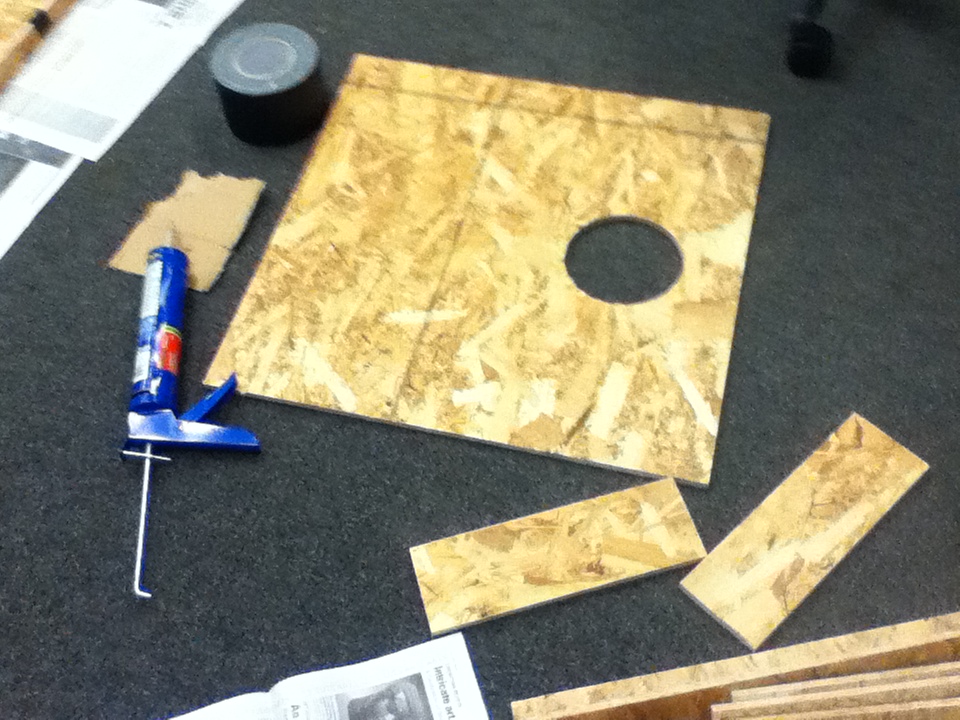
So I cut out my parts and sanded them down on the belt sander - here's a picture of the main pieces laid out!
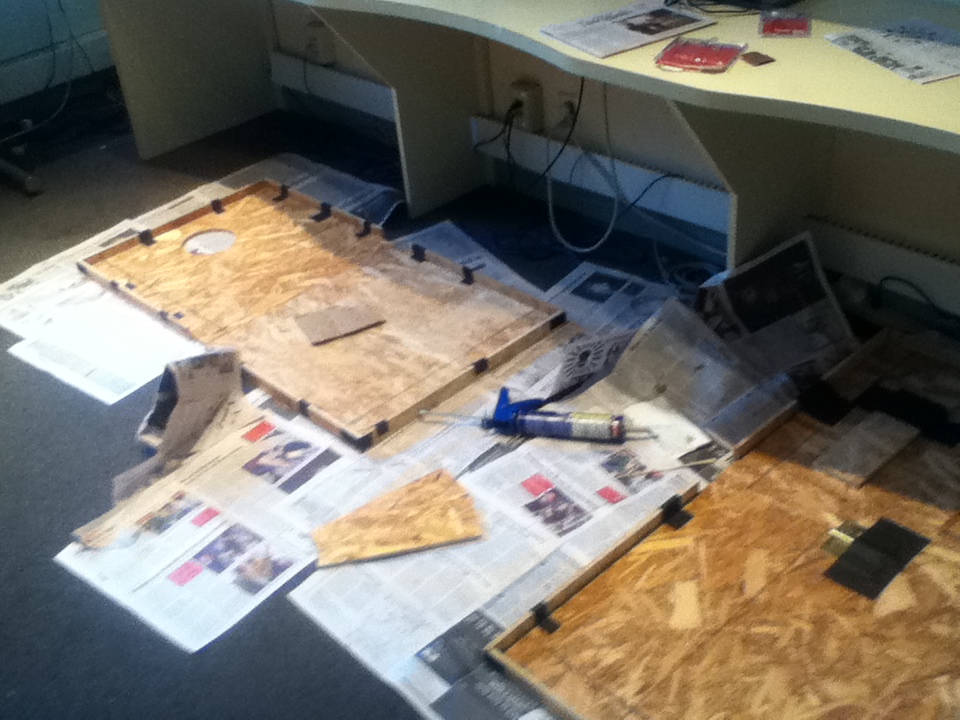
I bought some hinges to attach the feet and the two main body pieces, and some construction adhesive (the OSB didn't take well to screws, as I unfortunately found out). Here are a couple pics of the glued down pieces drying in my office.
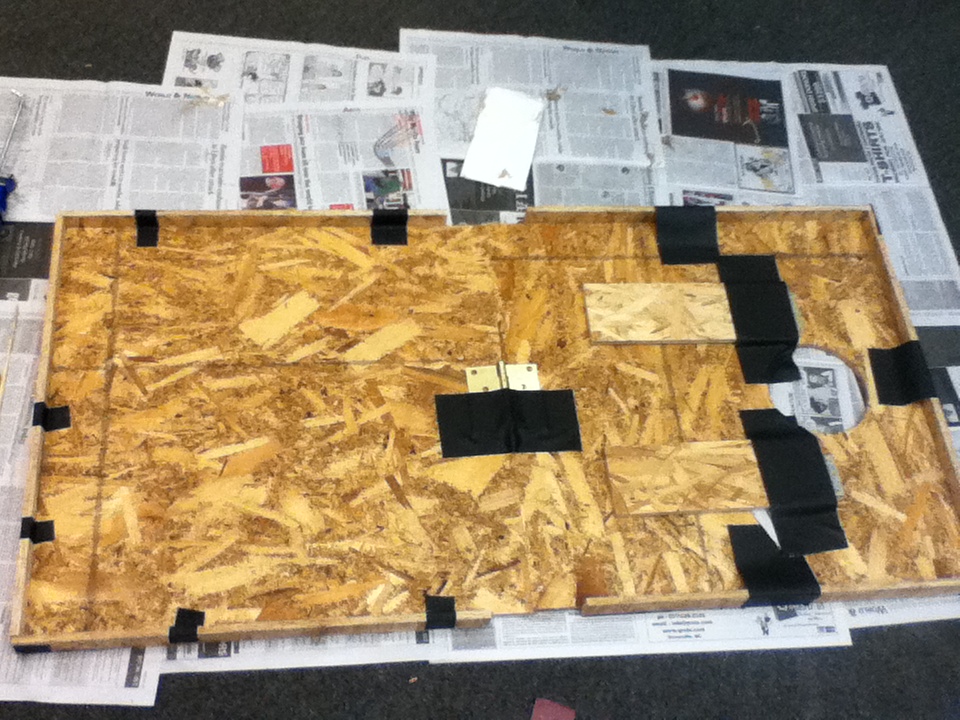
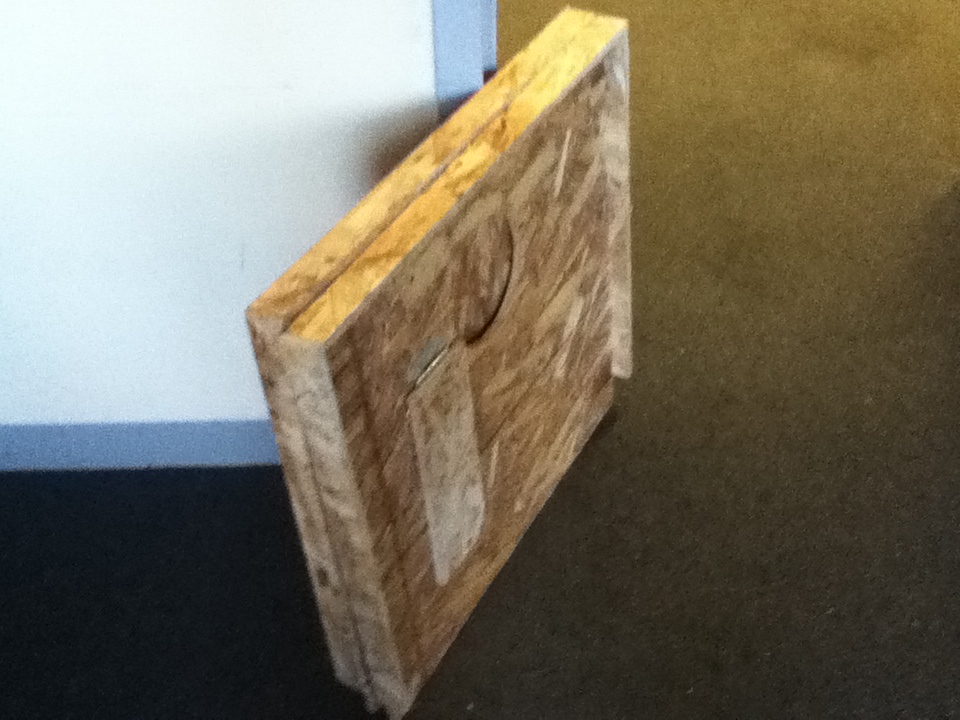
The astute among you will notice that there's no way that the hinge, as it's placed in the first photo, will work properly - because of the border around the edges, it wouldn't close fully, leaving a 4 inch gap. I could have fixed this with some foresight, offsetting the edges from each other so that they fit together, but I had already attached the edges. To fix this problem on the fly, I stripped off the center hinge and simply reattached it on the other side which makes the set fold "backwards" but does fold properly.