Sam Spaulding
How to Make (almost) Anything
Week 7: Casting and Molding - A Cast Metal Herb Grinder
Casting + Molding
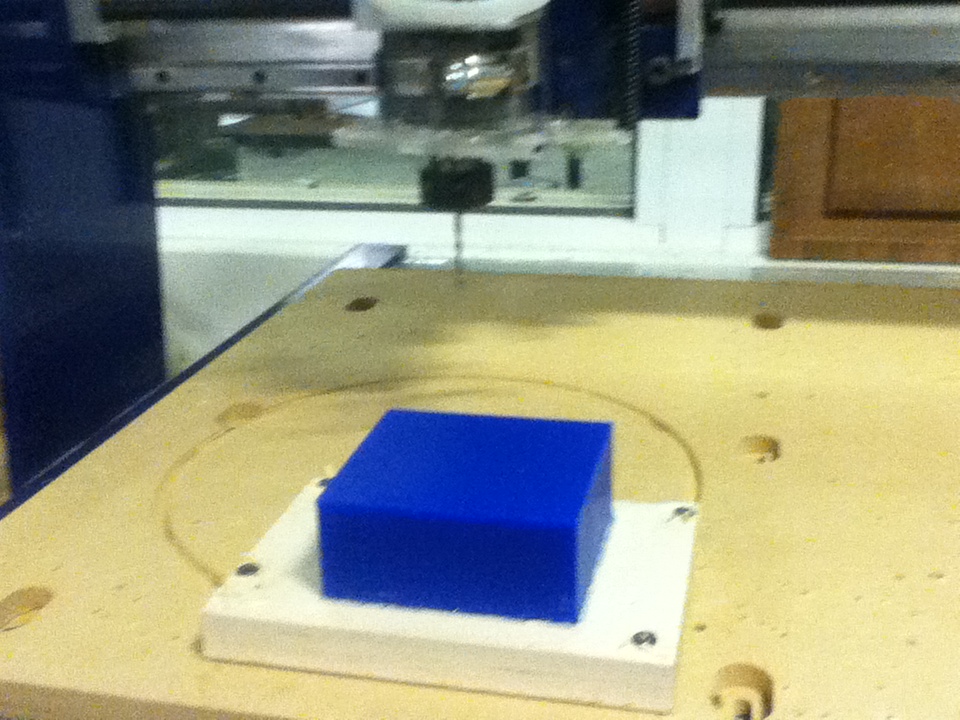
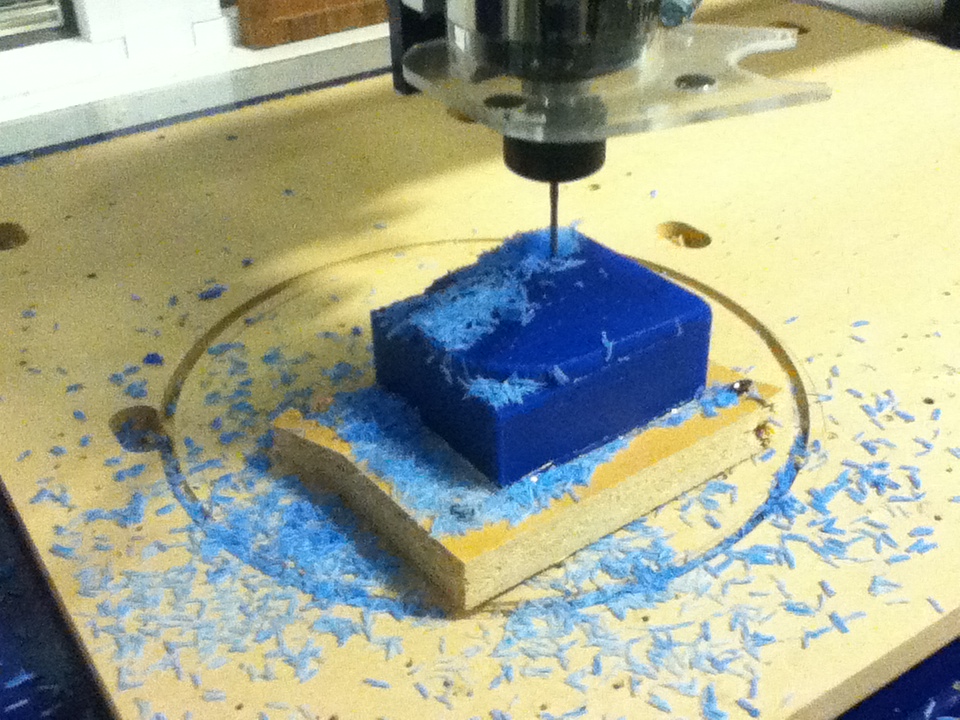
This week's assignment was to mill a wax model of a part, make a silicon negative mold from the model, and then use drystone or babbitt (a tin-antimony alloy) to the original part. Making a mold and casting a part generally results in a stronger piece than 3d printing one, but the 3d printer can allow for more complicated shapes. I used a 3-axis desktop Shopbot to mill my model.
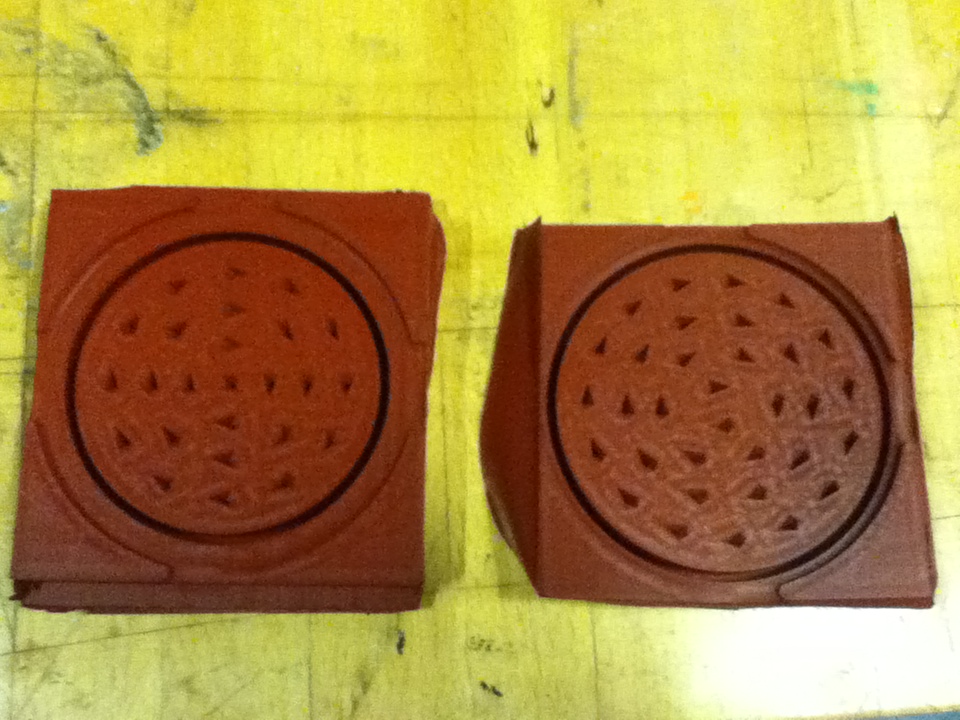
Milling the Wax (Positive) I wanted to make a metal cast of a herb grinder for my kitchen. I shrunk down a version of this model from thingiverse, and shrunk it down a bit to fit on our wax blocks.
The milling went well, the Desktop Shopbot is very similar to the full-size bed. In fact, you'll use a similar set of programs, Partworks3D and the regular Shopbot software. After following this very helpful tutorial by Jin Joo I milled out two nice wax models of my grinder model.
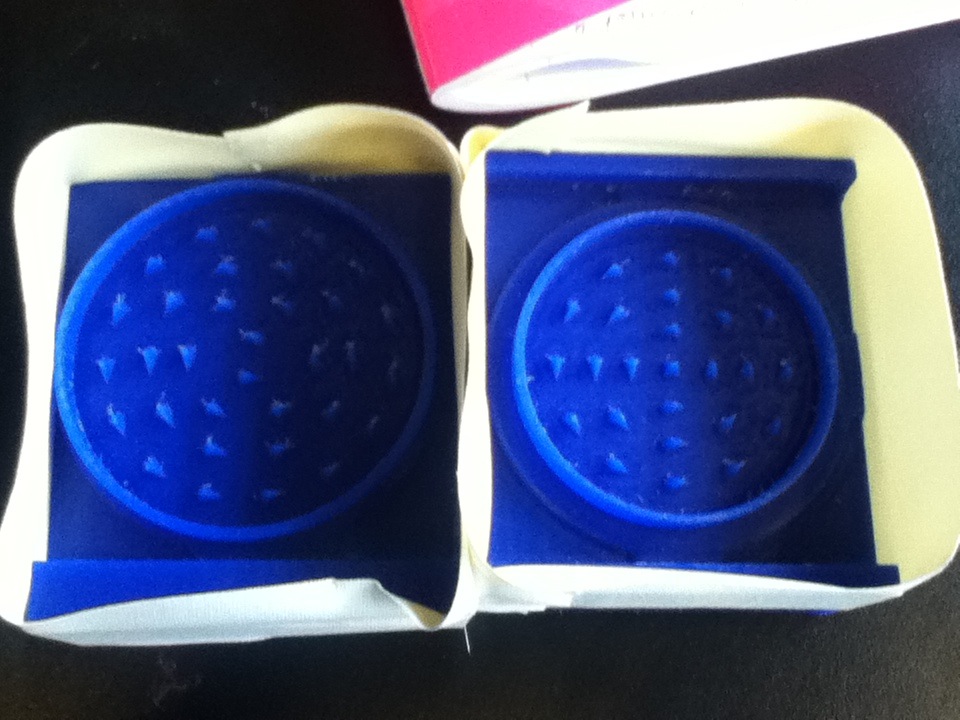
Creating the Silicone Mold (Negative)
This tutorial proved a useful resource. It outlines the basic mold creation with Oomoo and casting with Drystone. Since I intended to cast my grinder out of metal, I use the high-temperature MoldMax instead of the friendlier Oomoo. Really the only difference is that the Oomoo is easier to mix - the constituent parts are in a 1:1 ratio, whereas with the MoldMax, it is 3 parts of one to 100 parts of the other by weight.
Still, it's fairly straightforward:
1) Measure out the right amounts of each, and stir them together until the mixture is smooth.
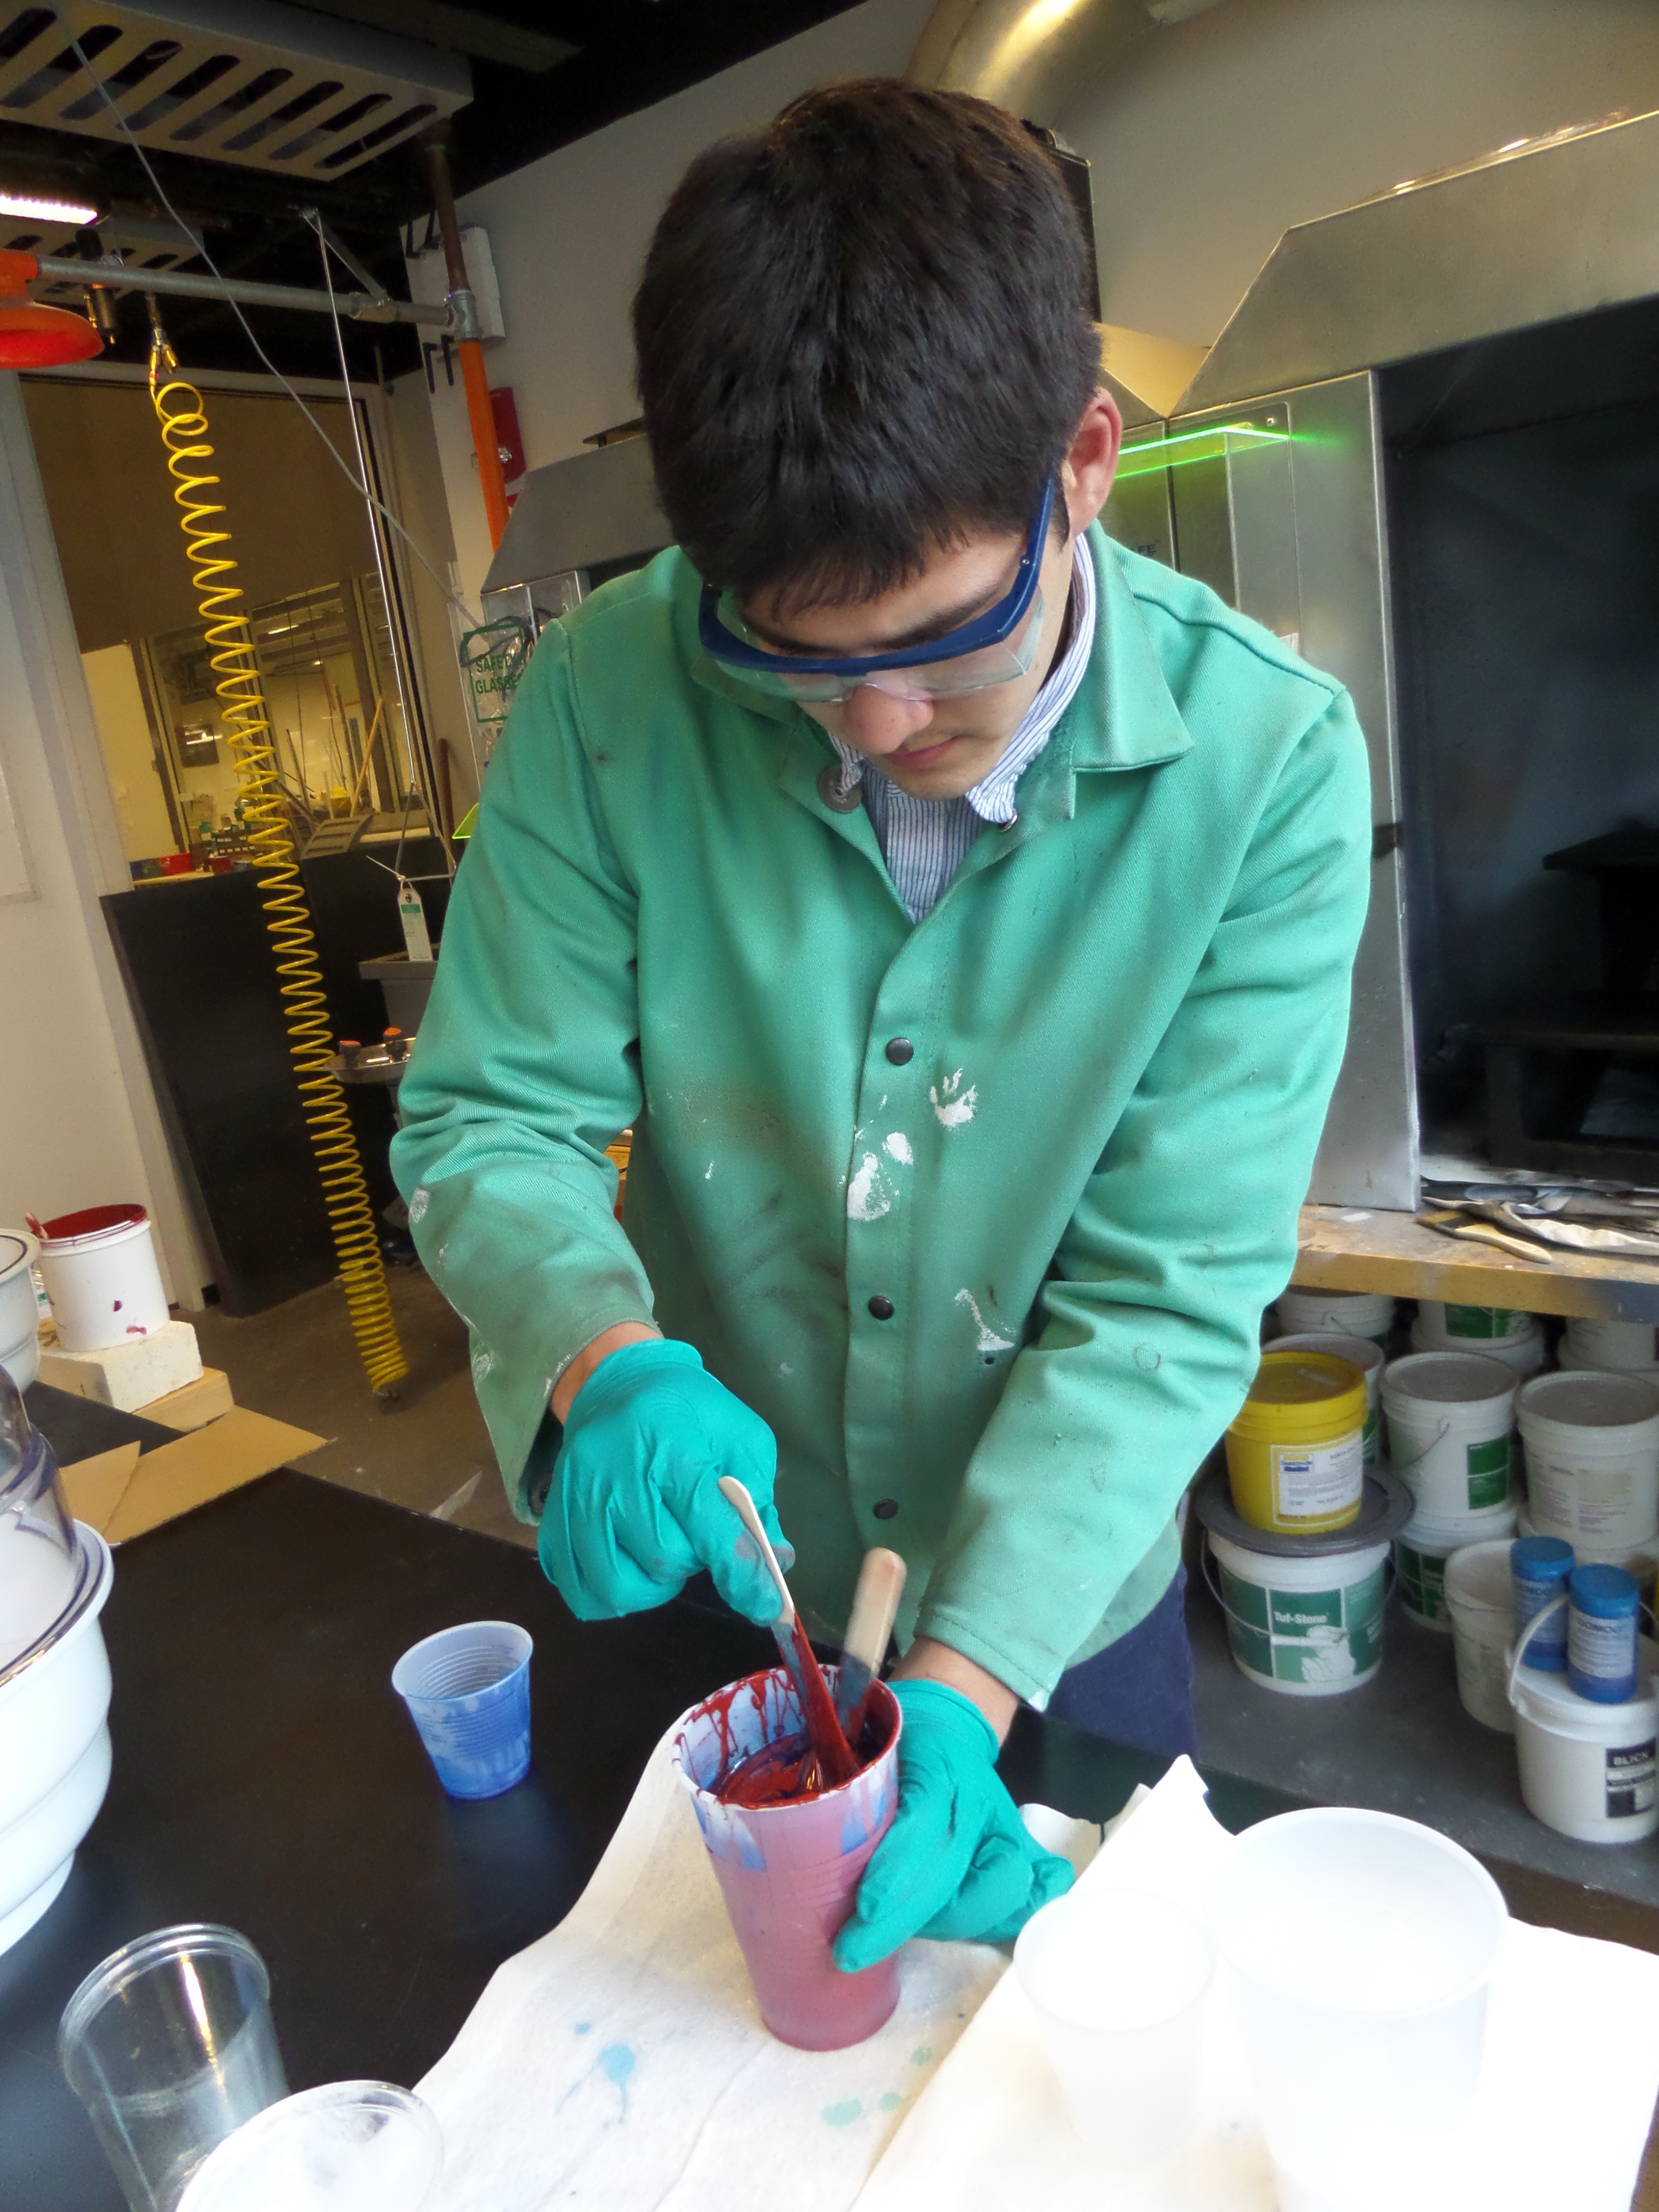
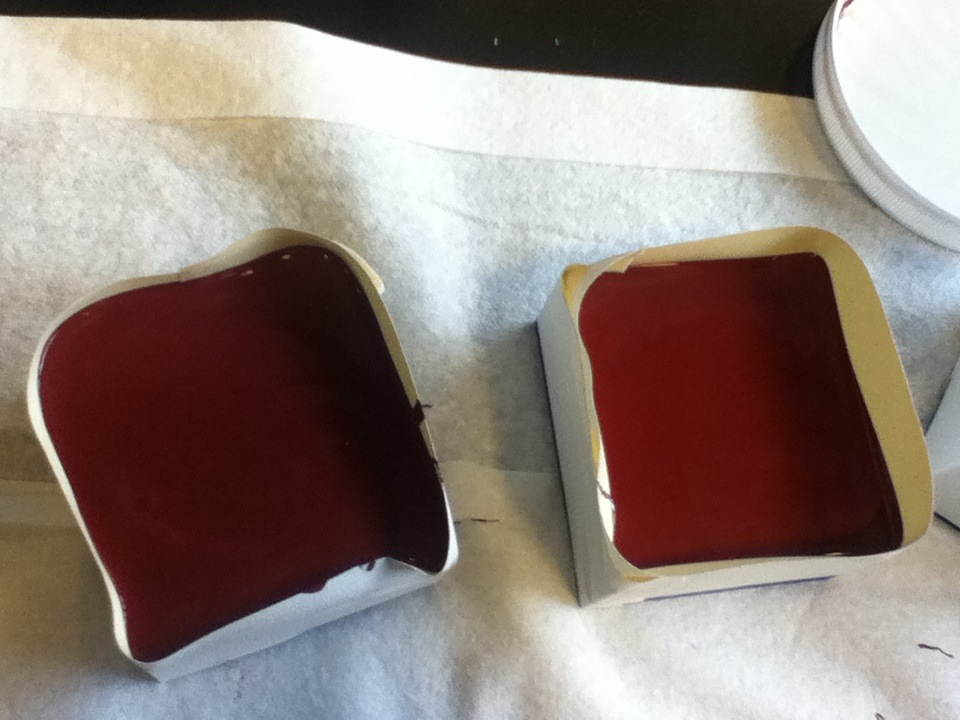
2) Pour onto your wax molds (build tape walls around them to deepen the mold) and let them sit in the vacuum chamber (to remove air bubbles) for about 20-30 minutes.
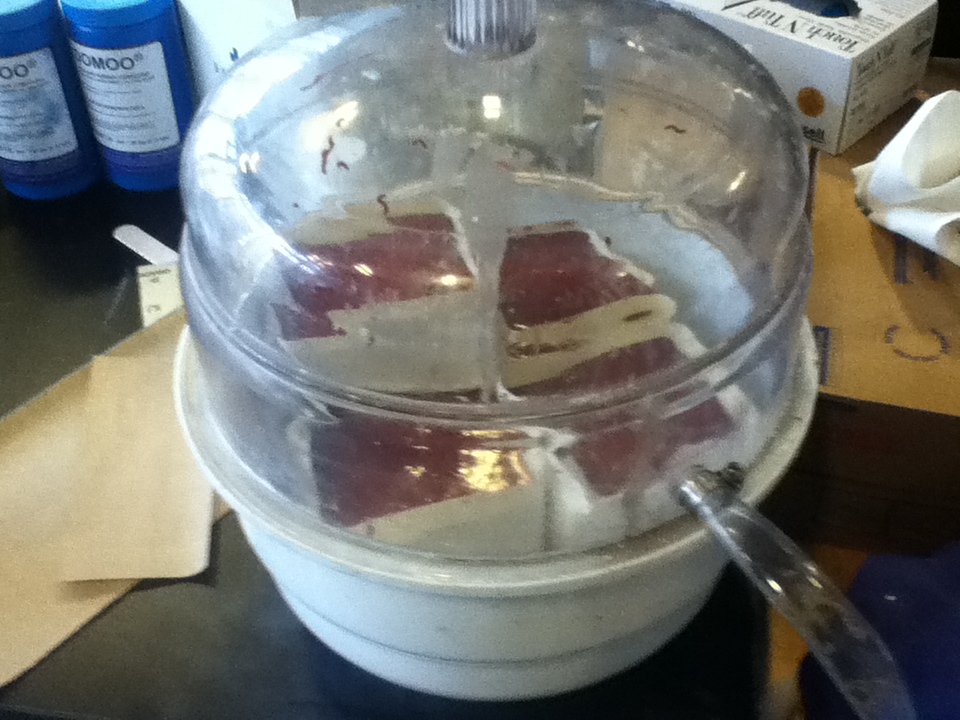
3) Then, let them sit out in the open (about 18 hours for Moldmax, maybe 3 or 4 for Oomoo). They came out really cleanly, no bubbles at all!
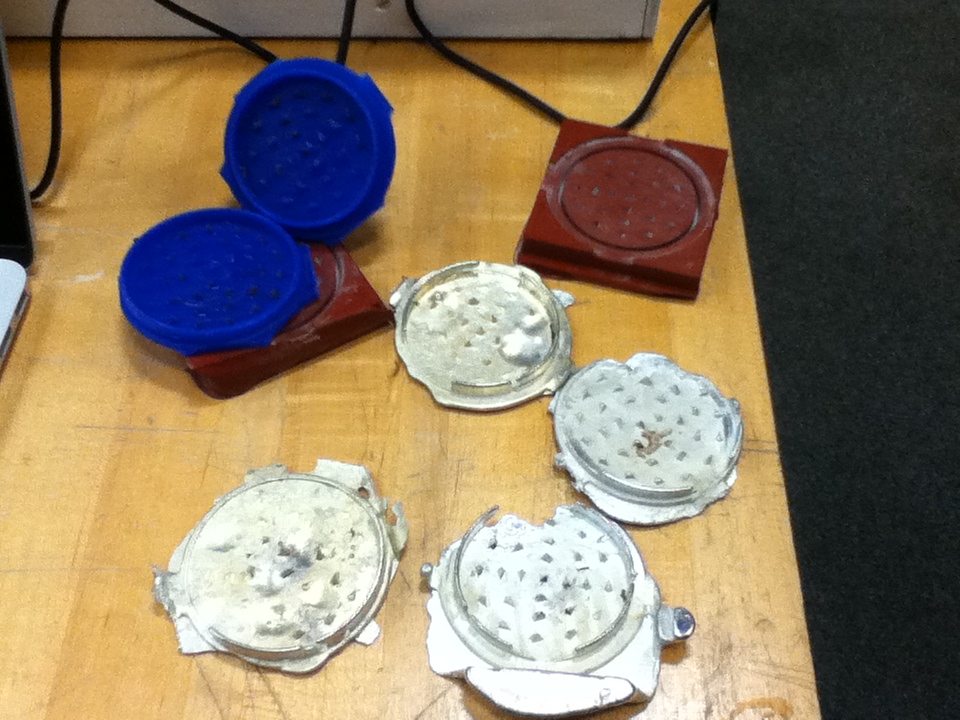
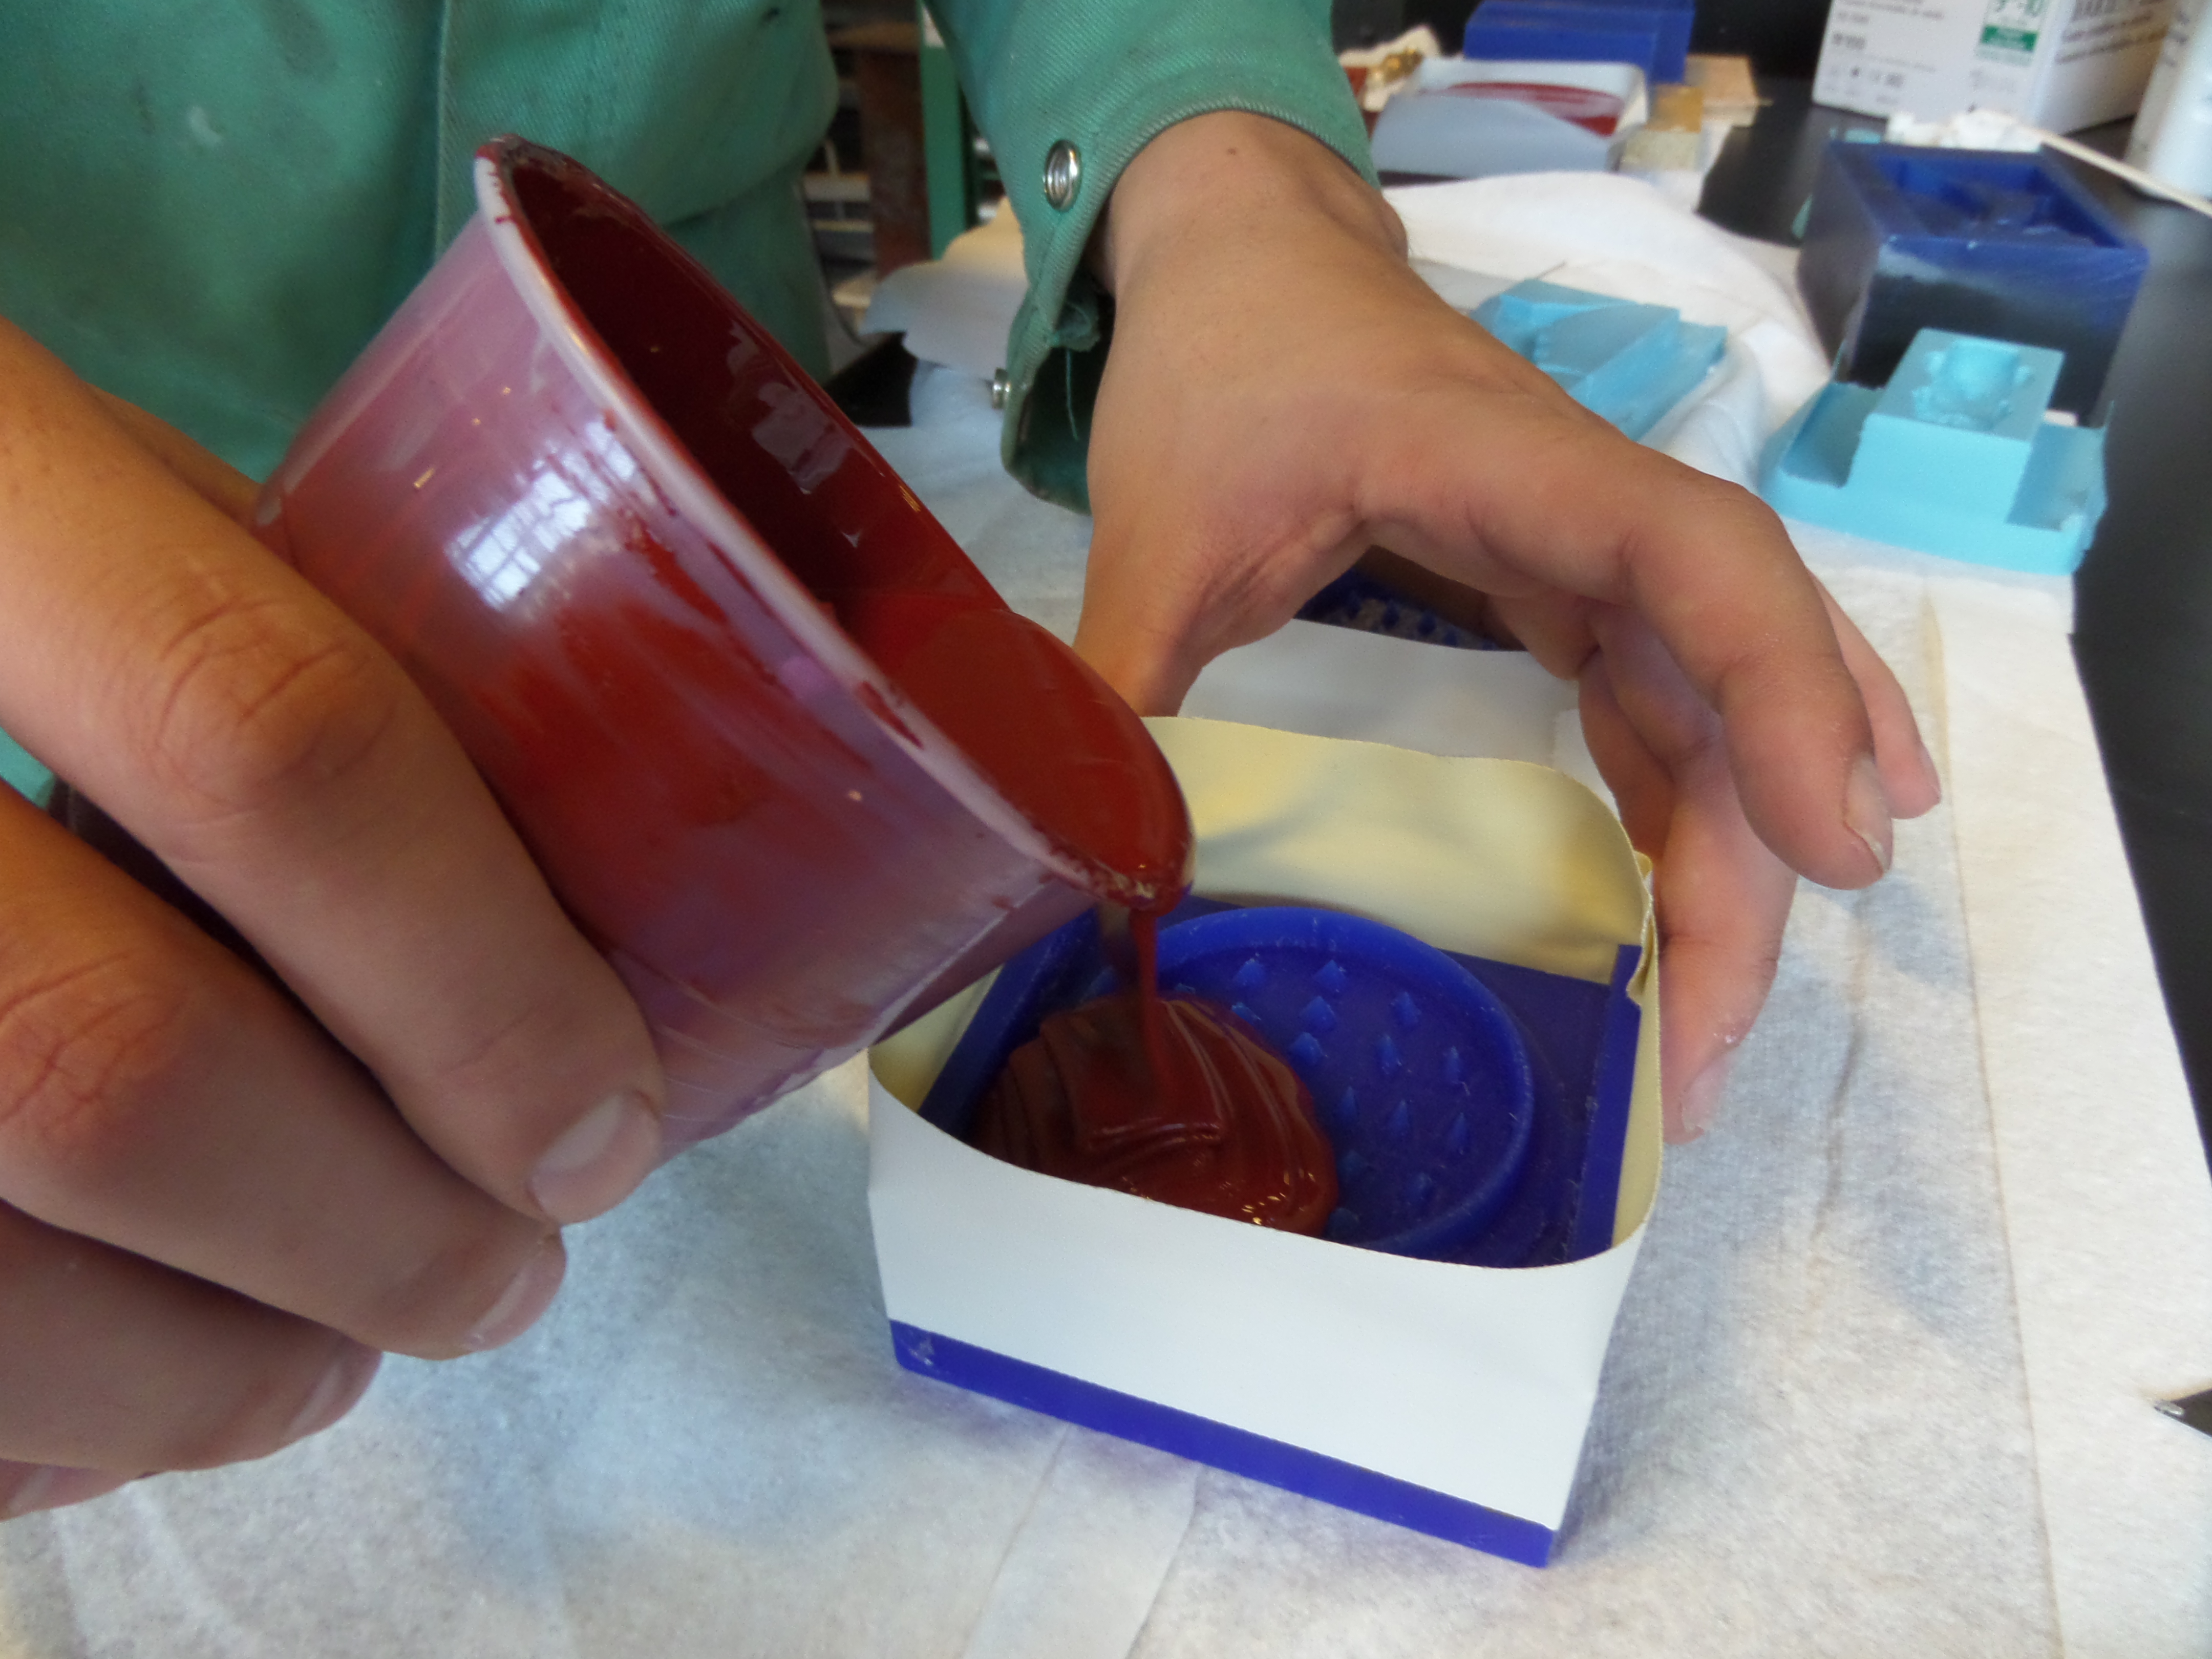
Casting the Metal
We heated up the babbitt and poured it into the molds after the silicone had set. Unfortunately, it didnt work very well... The metal would typically cool before it flowed all the way into the cracks, leaving a lot of the spikes dull and the top incomplete, even after using talc powder and pre-heating the mold. Still, I had a lot of fun pouring liquid metals into my models (I tried 4 different times, each one got a little better as my technique improved but I think the molds themselves would have needed more substantial changes.)