Sam Spaulding
How to Make (almost) Anything
Week 8: Embedded Programming - A Board that Mimics You
Embedded Programming
Our assignment for this week was to program our boards that we had designed and manufactured in Week 6 . This was great for me, since low-level C programming was where I cut my teeth in Computer Science, so to speak, and I was excited to finally bridge the gap between software and hardware!
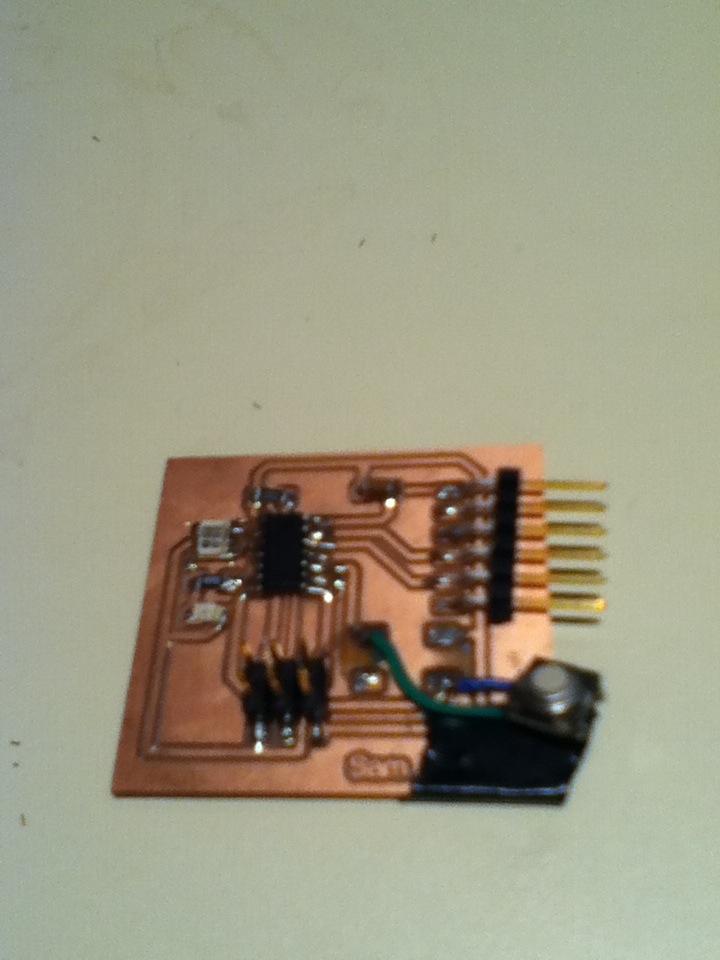
Prepping for Programming I hooked up my board to a computer via FTDI and followed the instructions here to make the ATTiny44 compatible with the Arduino IDE. Arduino has a nice IDE and acts as a layer that shields (get it?) you from some of the gory details of writing C from the command line. For now, it would serve as a useful runway to at least test the board. So I flashed the board with the bootloader, wrote a simple program to make the button push trigger the LED light and sent it to my board using the ISP I had made in Week 2 !
And of course, it didn't work. Or rather, it worked for a little while, until the button melted. =/
After some inspection and a more thorough analysis of the circuit, I determined I had connected voltage to ground when the button was pressed, thereby sending infinite current through the button, hence melting. Much thanks to Jeff for helping me analyze the circuit problems! I desoldered the button and used some wire to attache a new button to the proper pads. This time, the button controlled the LED perfectly, Franken-Board LIVES!
What Lies Beneath
Followed the instructions on this page
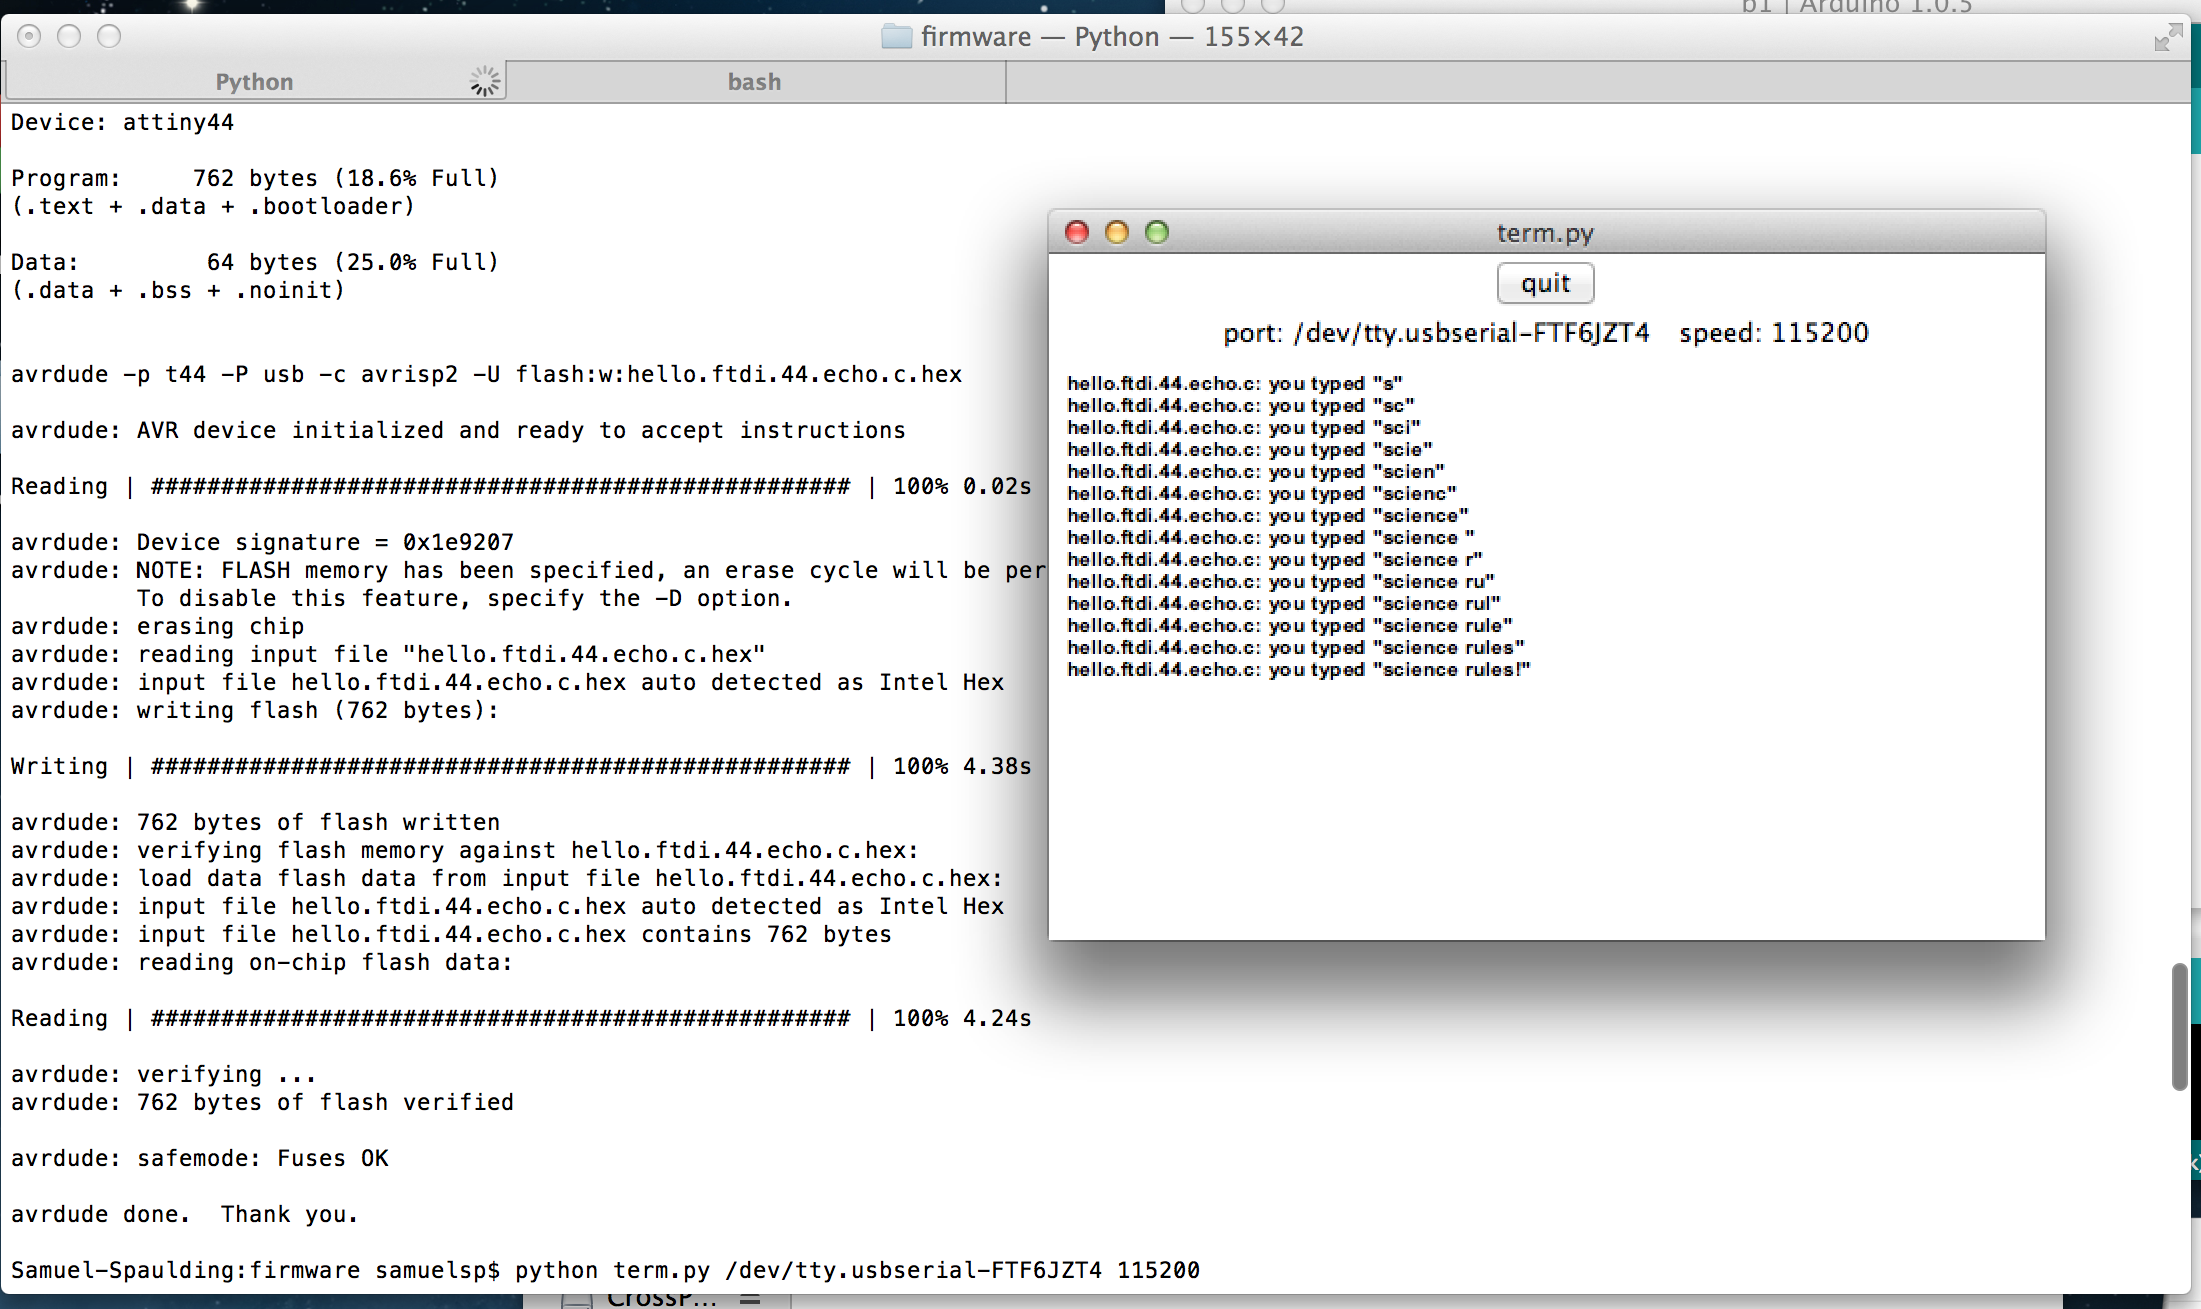
which were helpful understanding the Makefile. You need to run Make 3 times, once to compile your program, one to program the fuses of your board (low-level hardware constants like clock rate that don't change at run-time) and a third time to actually program your board itself. I had a small issue tracking down and installing the python Serial library, which Neil's program depends on. It isn't compatible with Python 3.X, so if you have that version installed, you may want to rollback to Python 2.7, which I use and is very stable.
Other than the serial library hang-up, I didn't really run into any trouble, other than having to sit down and read through the source code and Makefile painstakingly to understand exactly how they interact with the hardware. There's good documentation on both the course website and other students' sites.
More Programming Fun
My original idea for this week was to make a Morse code reader that would read in sequences of button pushes and convert them to Morse code, then send back a stream of characters corresponding to what you "typed."
As I began building and testing it, however, it became clear that keeping track of all of this information would require the use of libraries for two-way serial communication, dynamic arrays, and other functionalities, which was starting to strain the memory limits of our heroic AT Tiny44 chip. So i decided to modify it a bit to instead just record the sequence and timing of (up to 10) button pushes and then play them back. In this scaled back version, it works really well! Gifs of the program in action below.
Try it at home with your own Arduino!
Download the Source Code - Mimic.ino