Sam Spaulding
How to Make (almost) Anything
Week 4: 3D Scanning and Printing - Additive Manufacturing and Design
The Design of Simple Printed Objects
This week we starting working on a technology that was actually somewhat familiar to me for a change. I had printed some small objects (simple bricks and models downloaded from Thingiverse) in undergrad on the Engineering Department's Makerbot, just because it was a popular and cool thing to do.
Now, however, we are taking things to the next level - printing more complicated objects on a higher-quality printer. In particular, we had to design something to print that could not have been made subtractively - by a mill or laser cutter, for instance. Finally, we had to use the 3d laser scanner to produce a digital model of a physical thing, modify it slightly and re-print it out.
I talked a little bit in Week 2 about my struggles learning how to work with Solidworks. Simple 2D drawings were sufficient for that assignment, but for this week's project I had to move into 3D models and parts. I started by working on some of the built-in tutorials in SolidWorks 2010, which were actually really helpful. I made some simple Lego Bricks and learned the basics of rotations, extrusions, etc. but more importantly, it also gave me some insight into primitive components and operations from which objects are constructed.
It reminds me quite a bit of first learning to program, actually - you need to actually change the way you think about how problems are solved, and cast it in terms of the tools available to you. Learning what tools are available, whether proposed solutions are clean and nice or dirty hacks, how to design a complicated interaction between many parts and debug when things don't go how you planned -- these are all problems I encountered when writing my first serious programs and its both frustrating and comforting to encounter them again in a different domain.
Pic of a cross-section and full model picture of the final bobblehead model. The STL was too big to host on the site
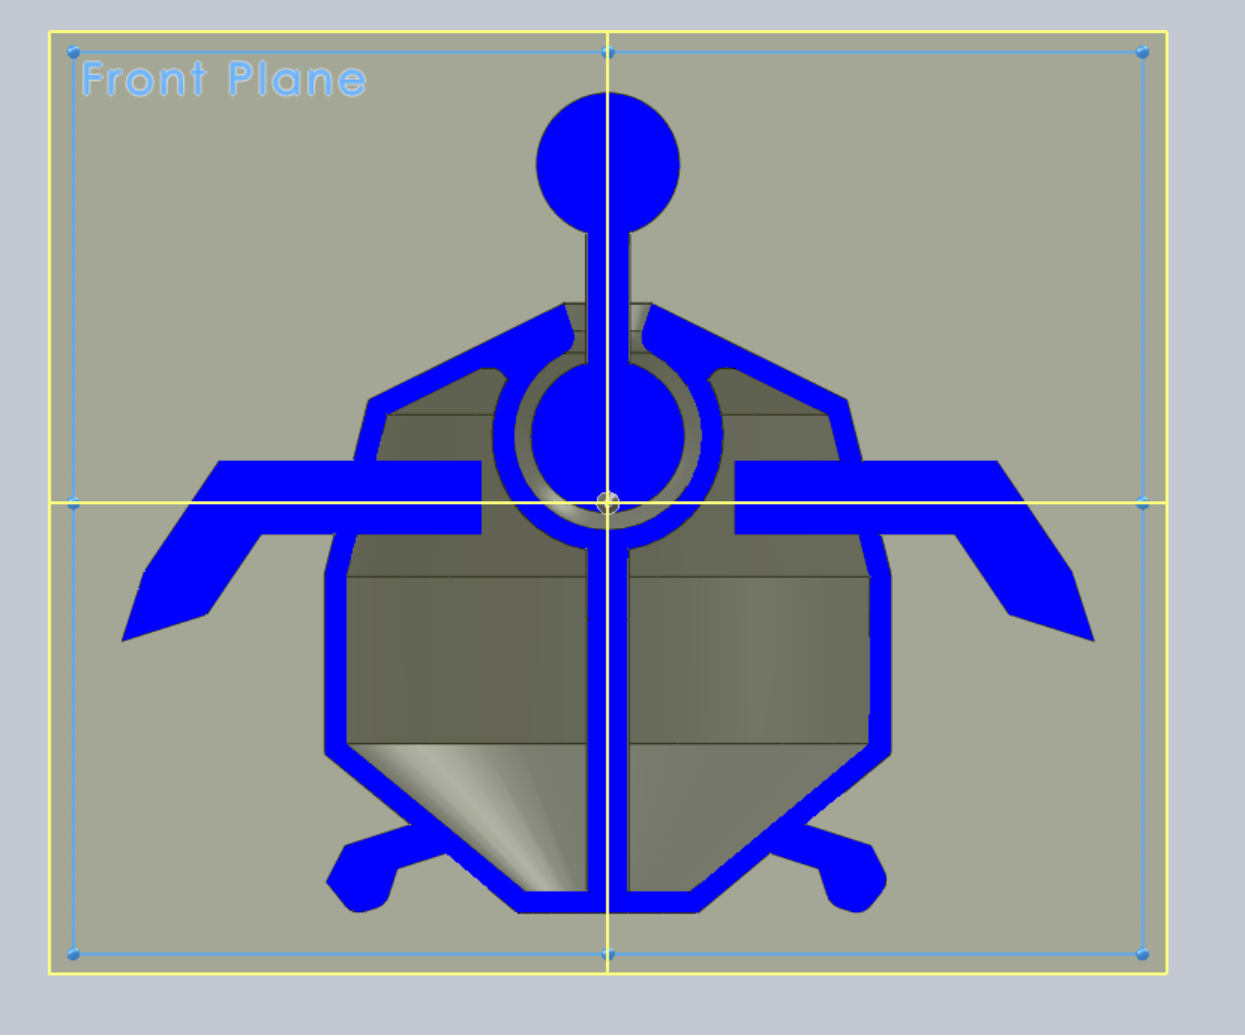
.STL Model
Printing and Cleaning: From Digital Bits to Physical Atoms
Unfortunately, I submitted my model pretty late, so as of this writing (Tuesday night) it is not yet complete.
For now, I will give the properties of the job. Maybe tomorrow I will actually have a model for class.
Measurements:
3.8 in head to tail
5.4 in wingspan
Printed with SLA Material
3D Scanning: From Physical to Digital and Back Again
I was really psyched to use the 3d scanner, and used this great tutorial to help me.
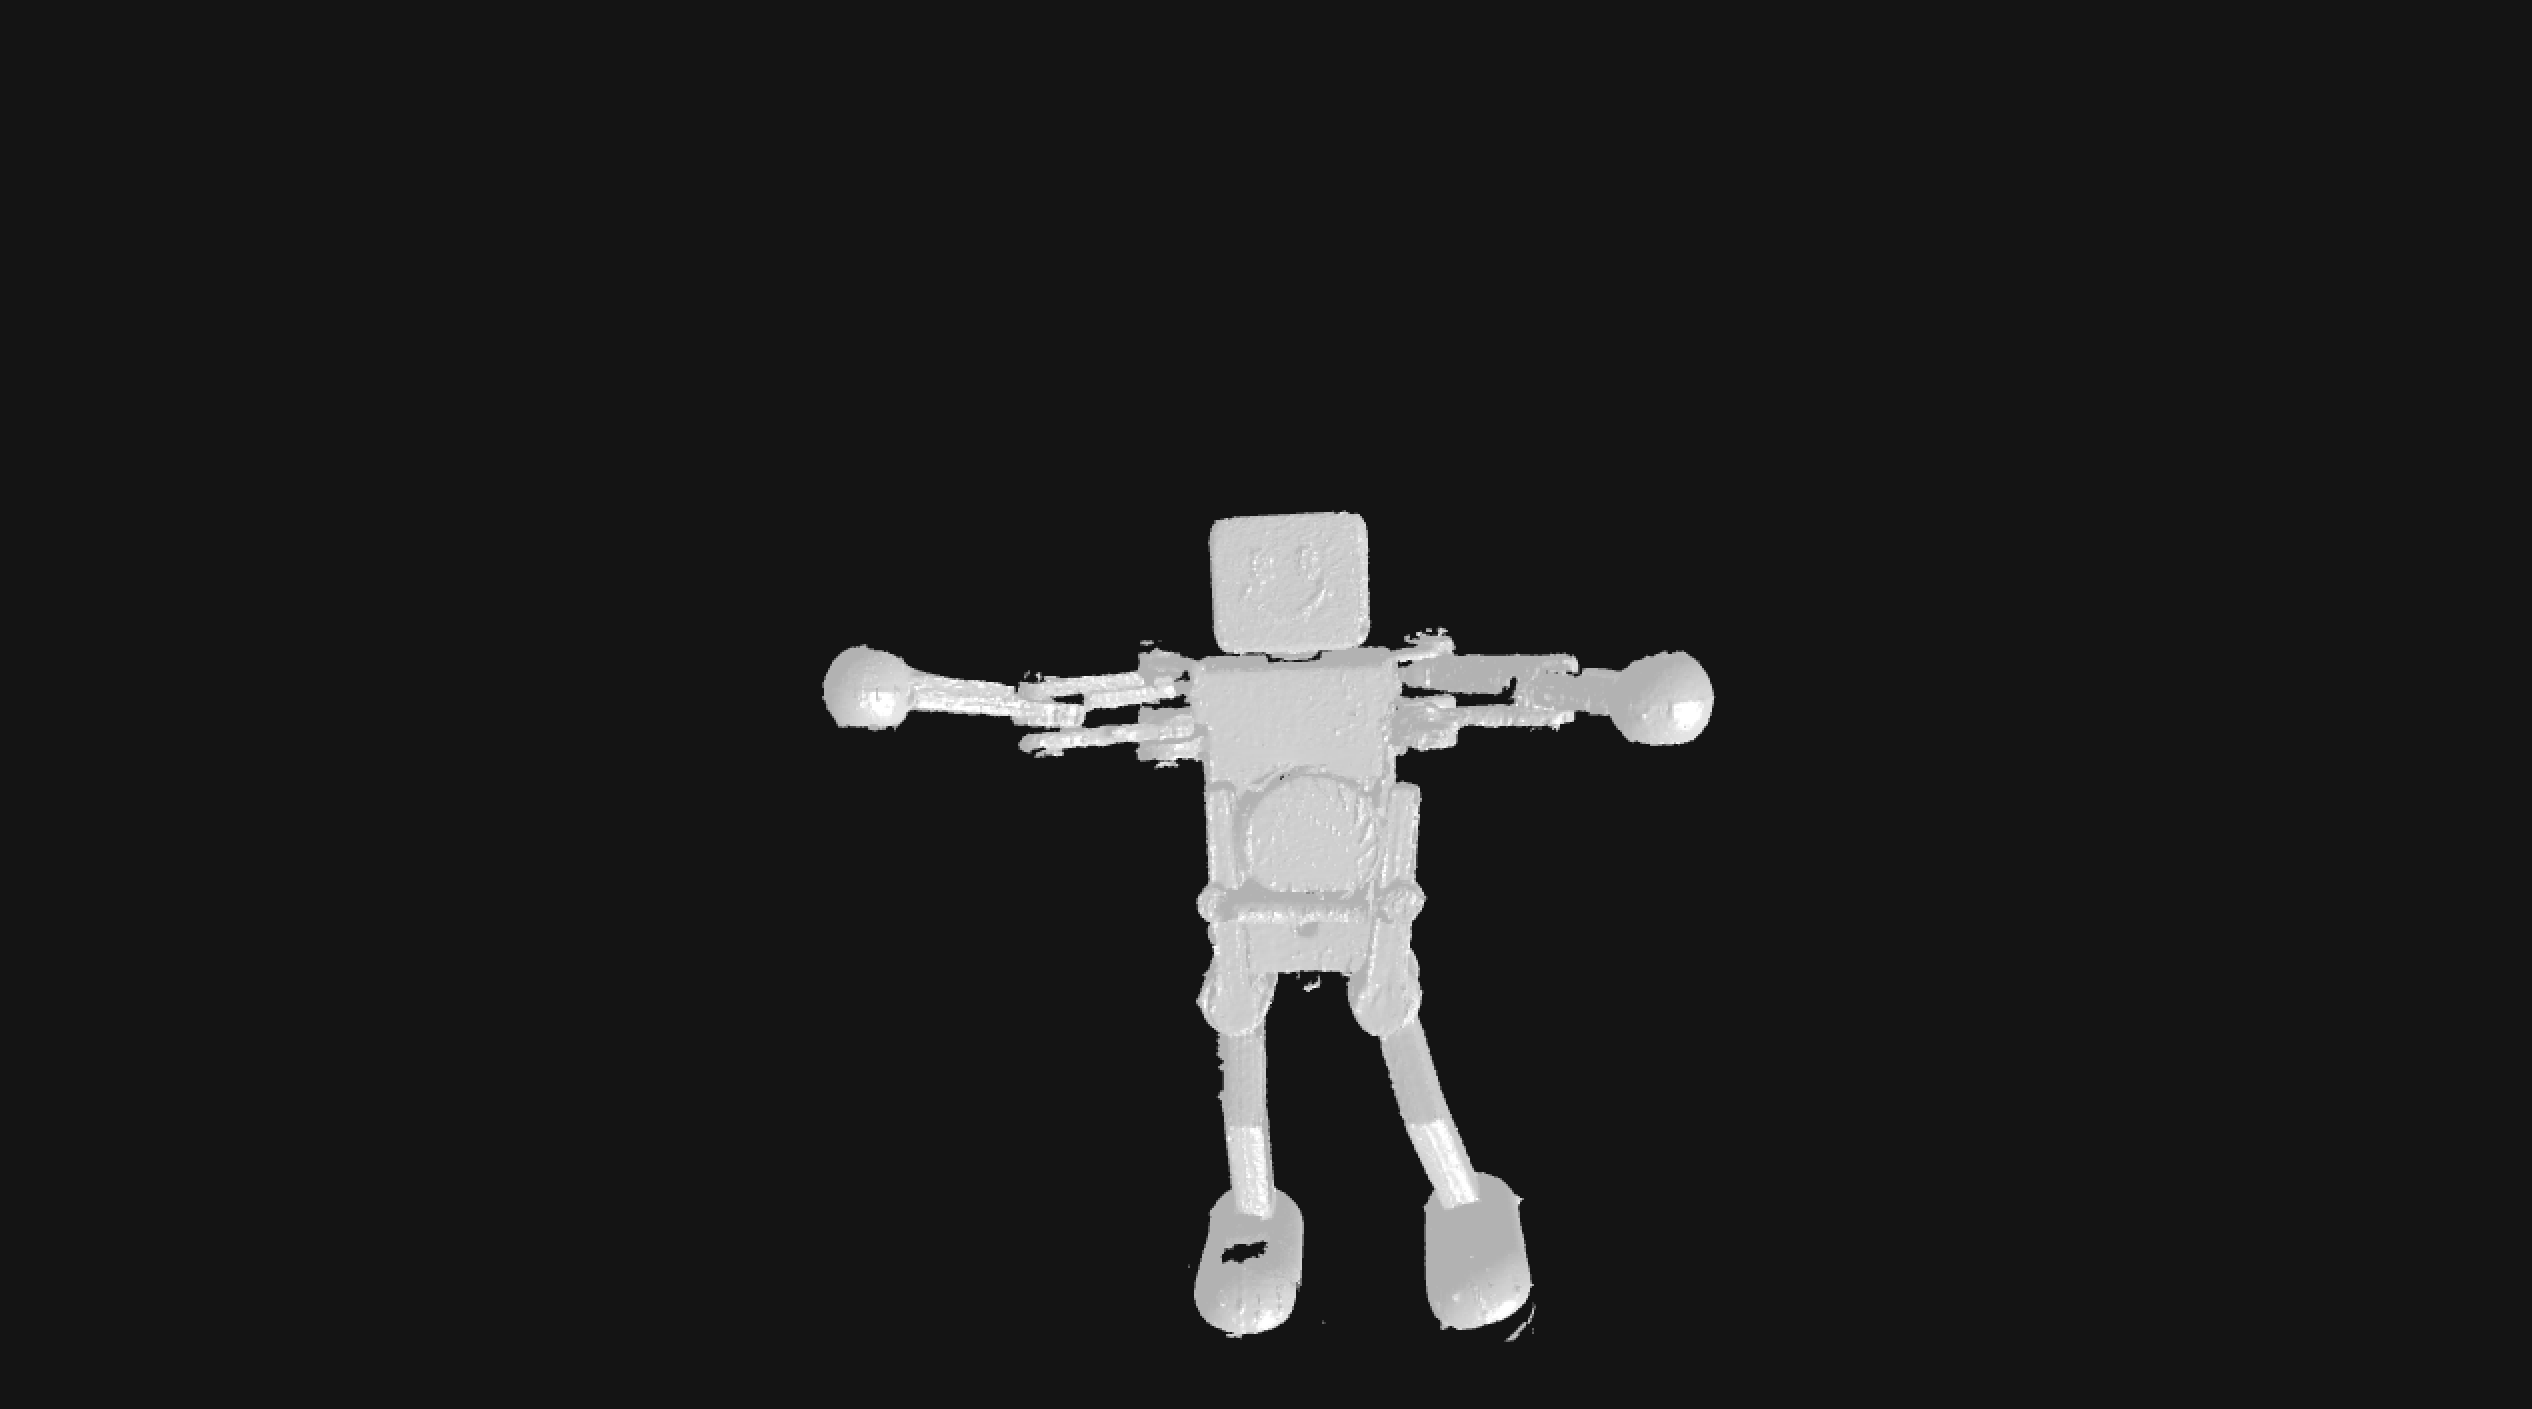
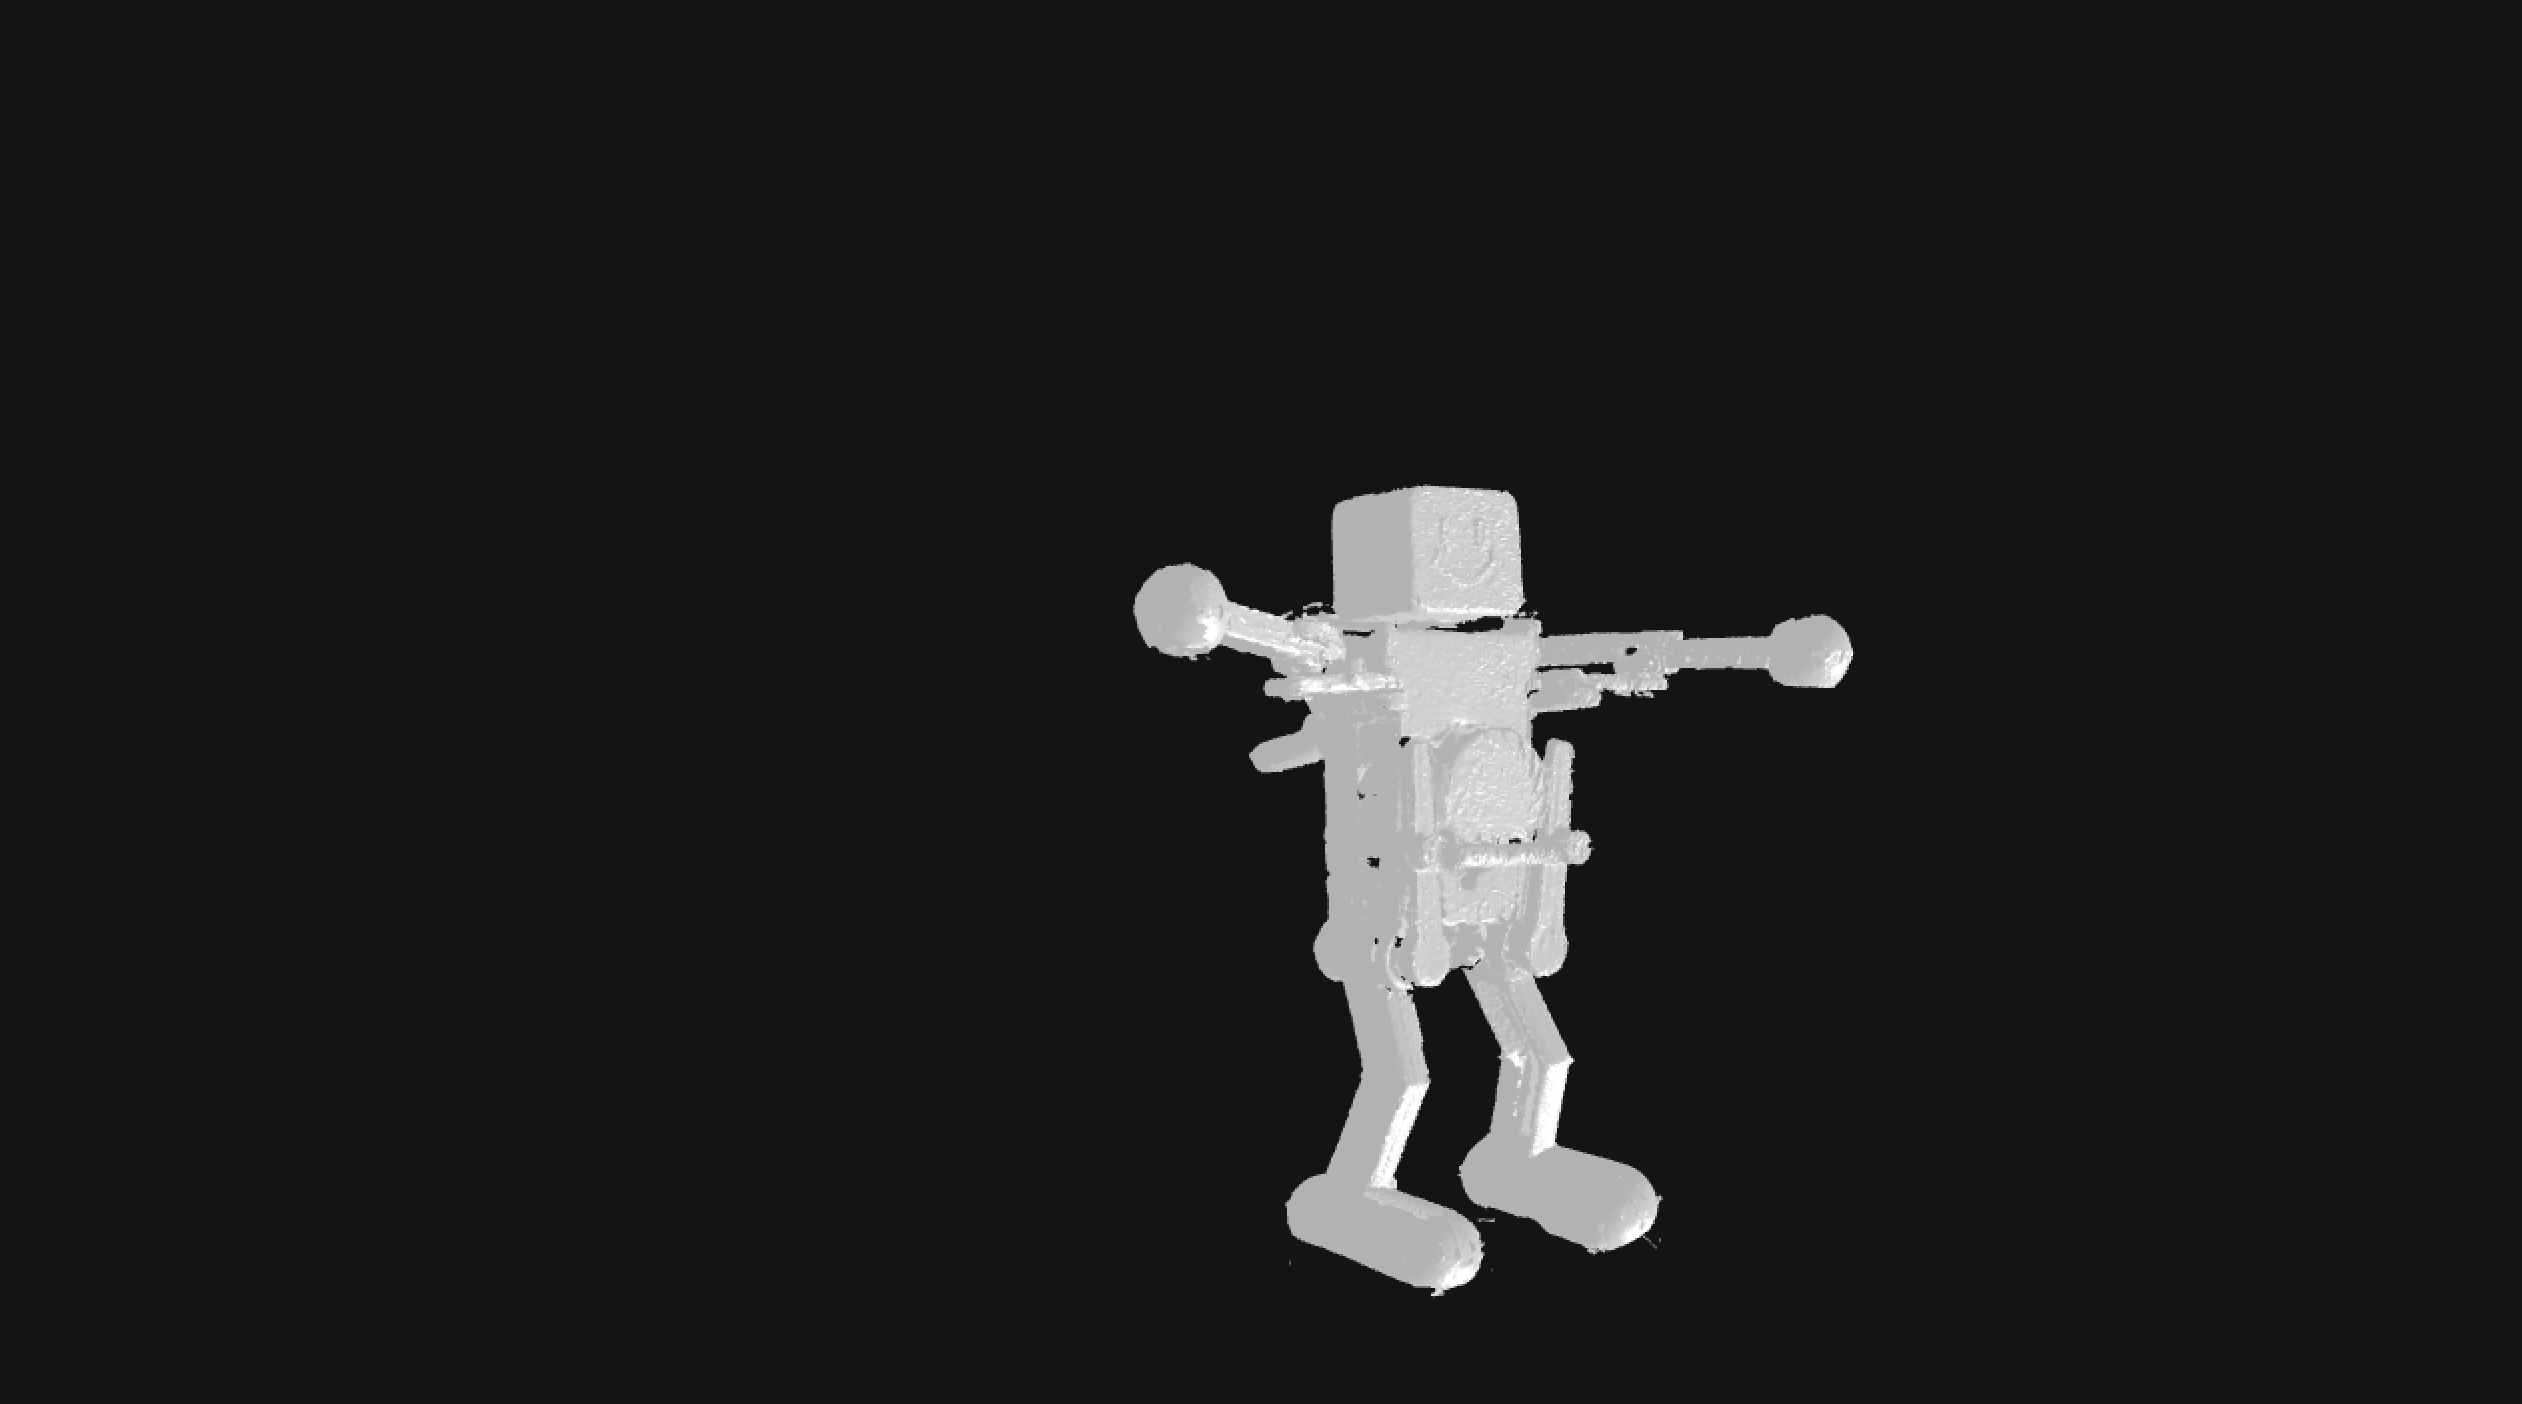
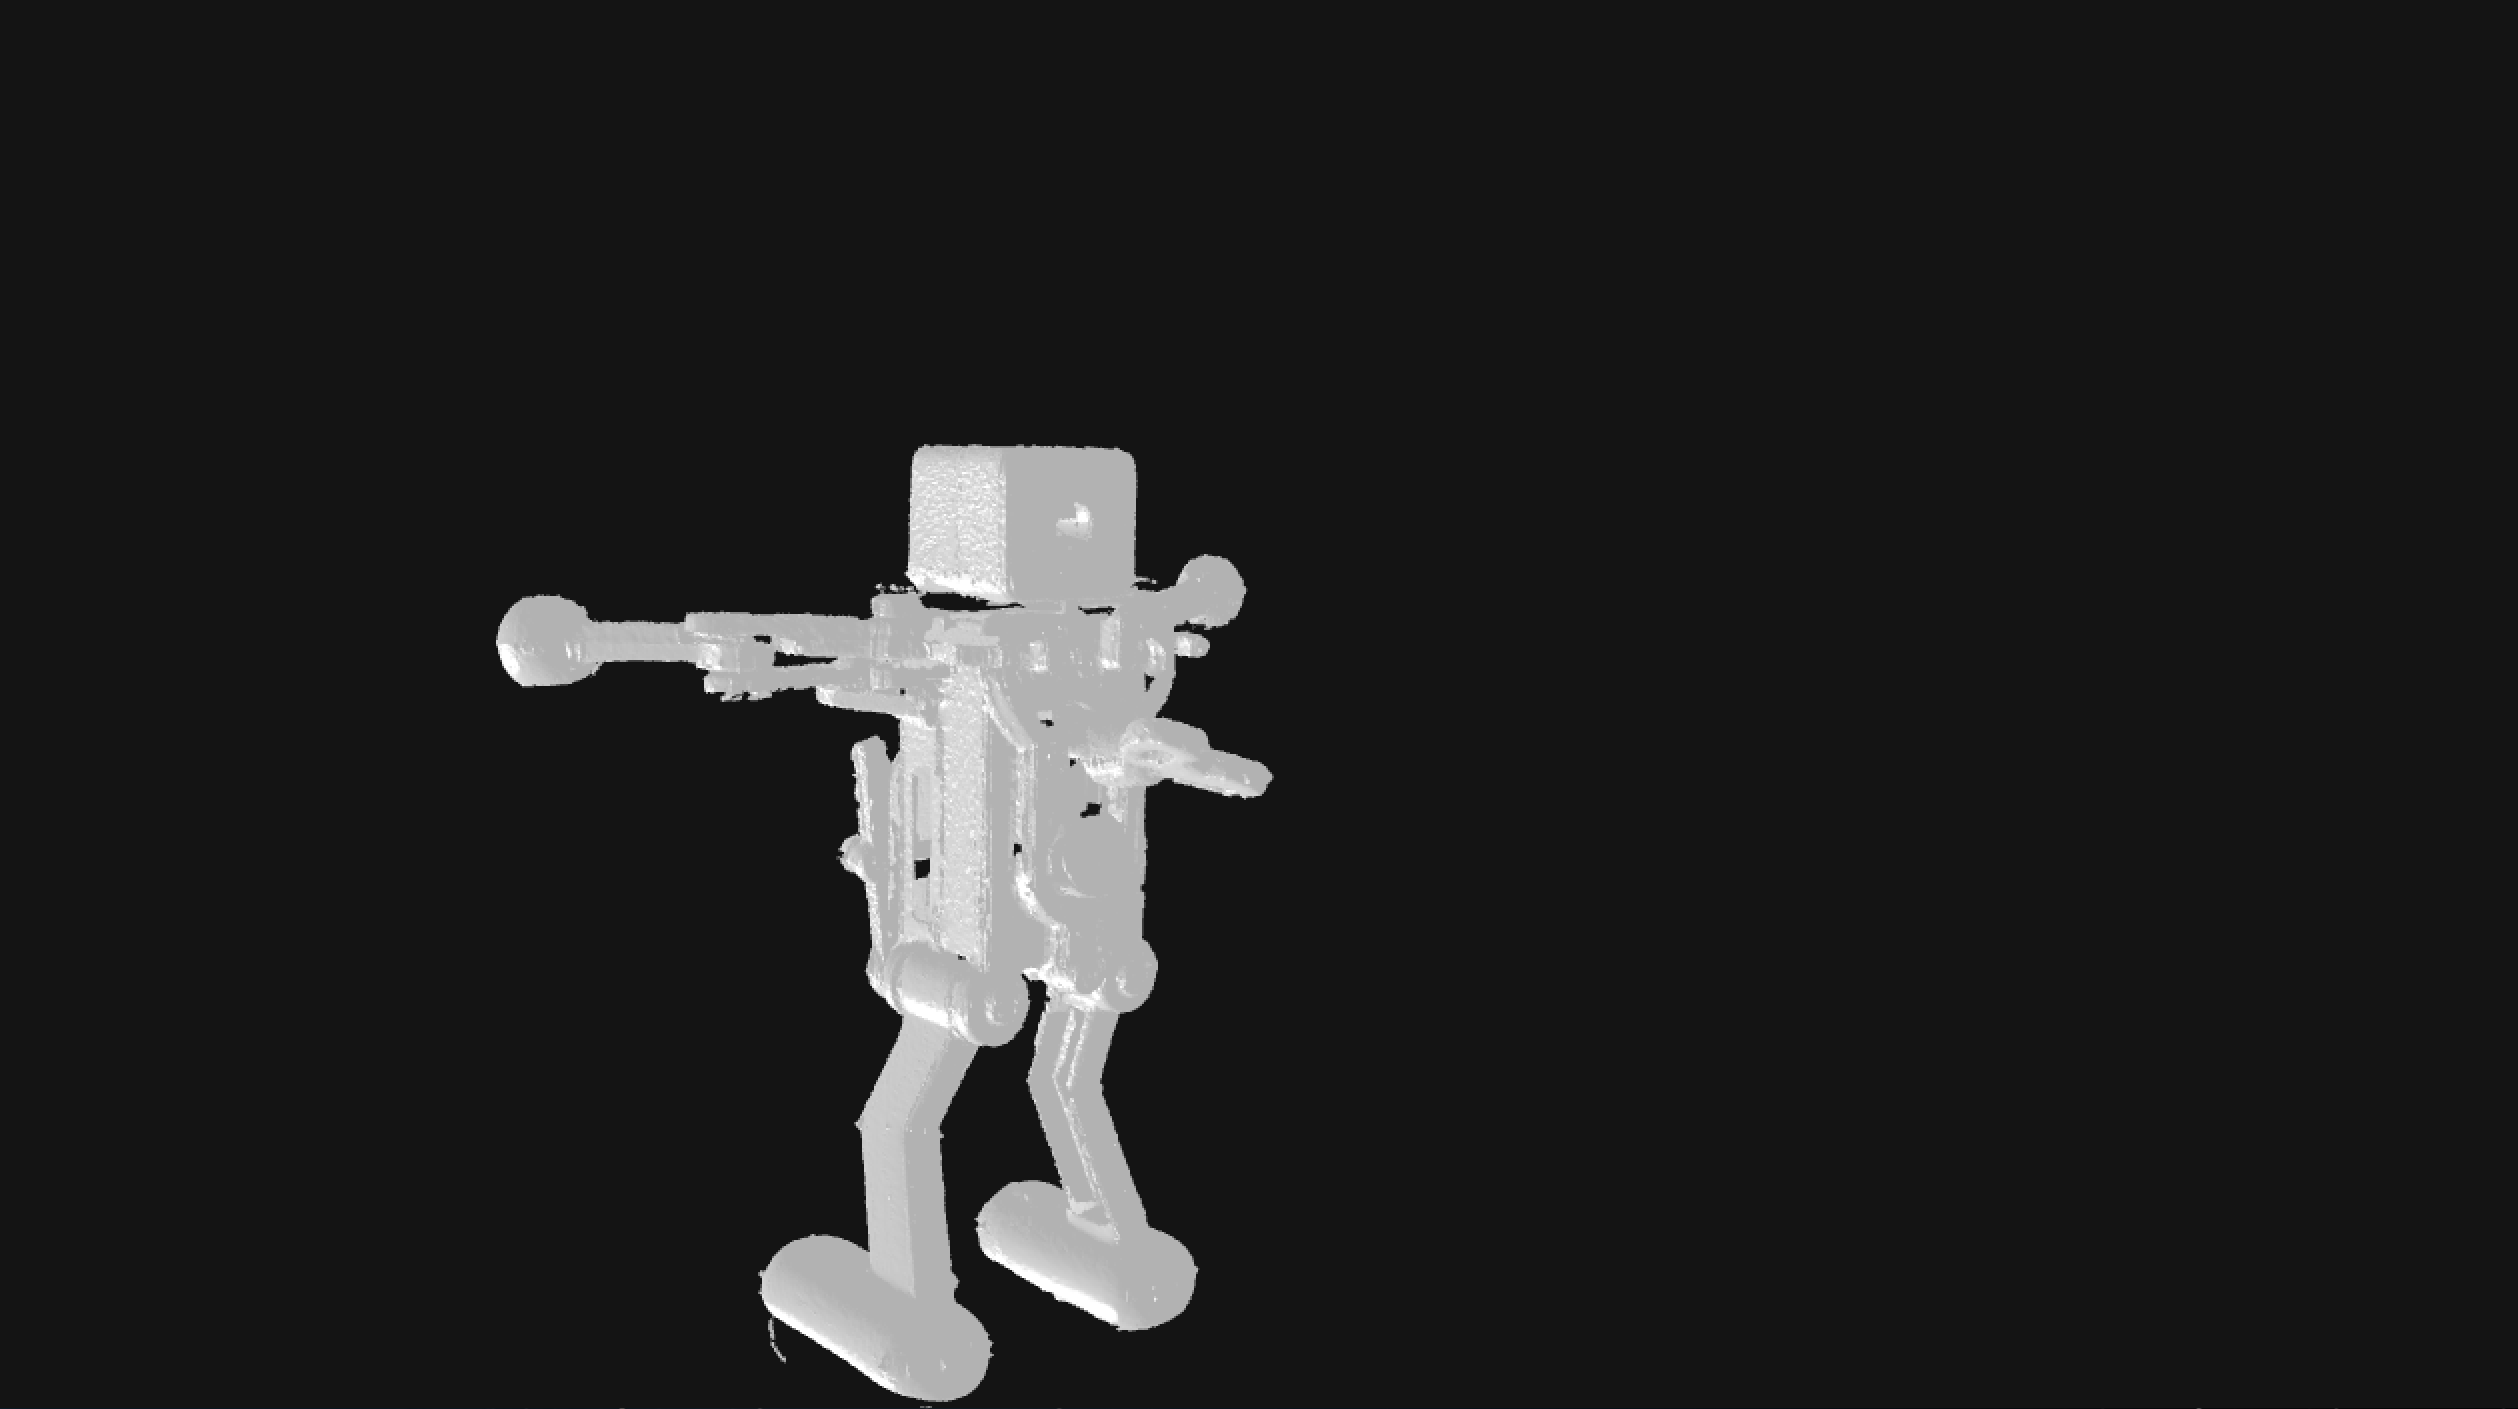
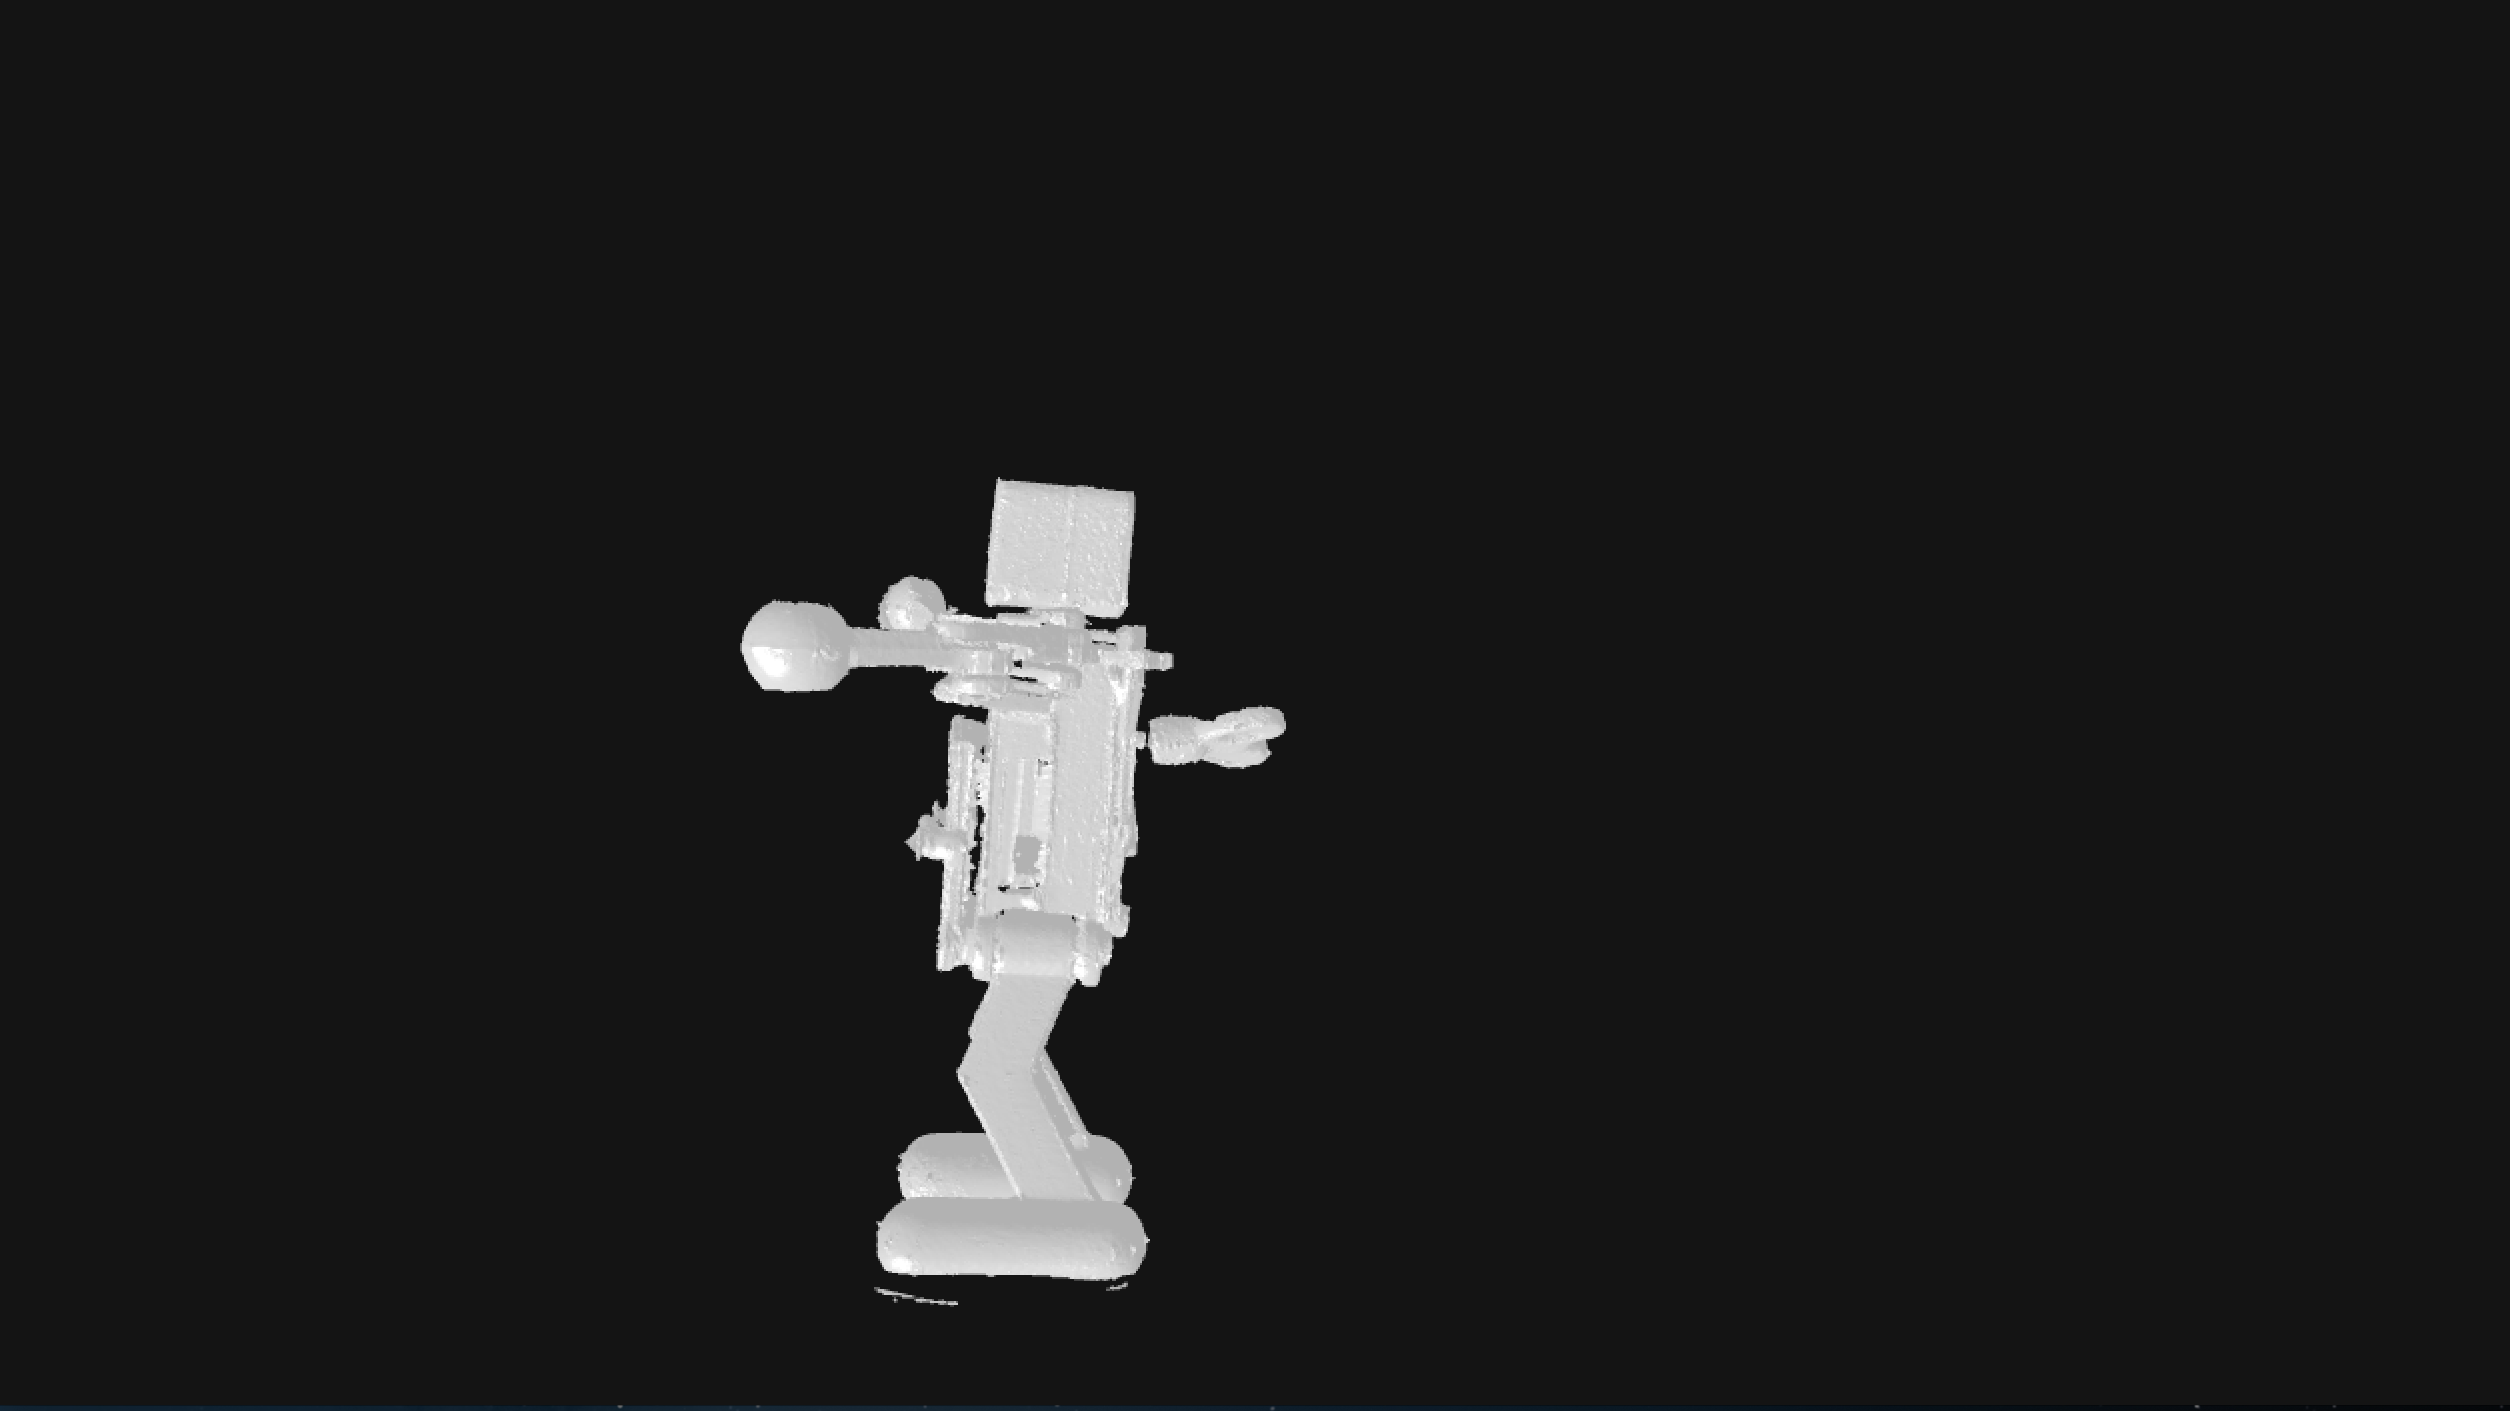
After first getting bad test scans with a few objects for various reasons (too much black, too big, etc.) I used a small green robot figure on the Minolta. Unfortunately, it came out really weirdly, possibly because the axis wasn't centered properly. You can see it has about 1.5 faces on it and the back is almost entirely missing. So I tried scanning it on the other scanner in the shop.


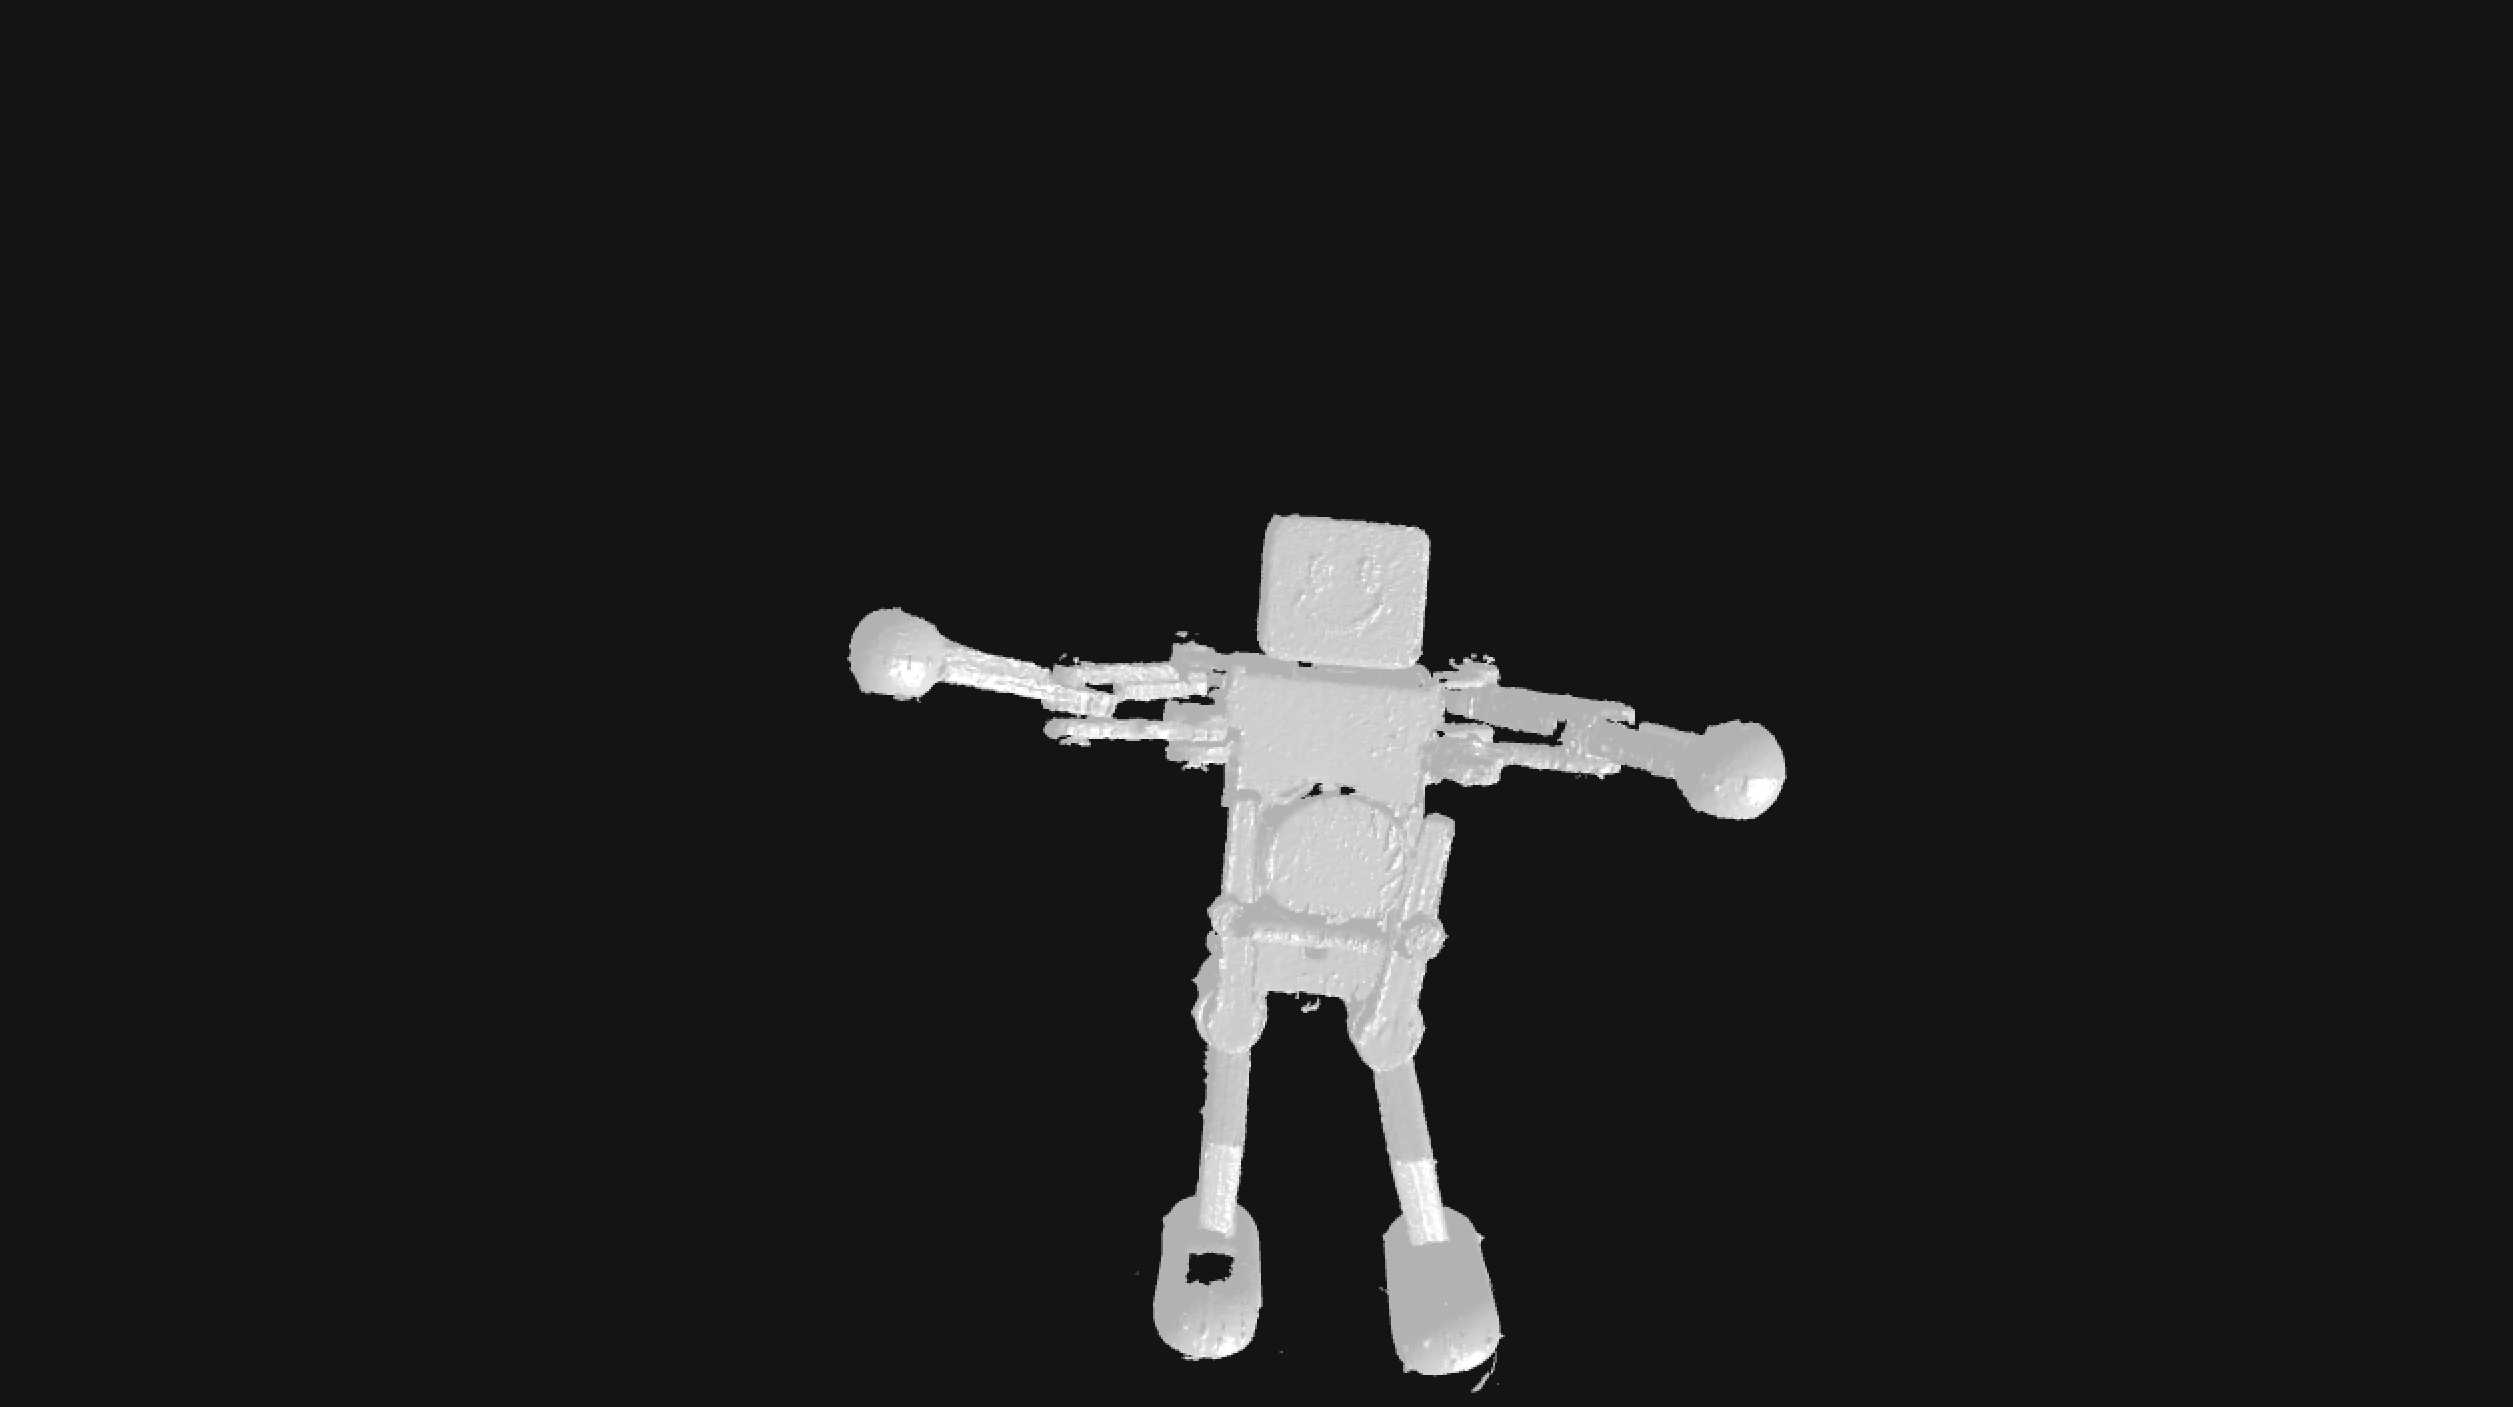
This time it came out really well! Still had too many holes to try to patch up and print, but it picked out most of the back, and got good resolution on the arms and legs.

All in all, I would say this has been a pretty eye-opening week. One, because it kickstarted me into developing some more mechanical design skills in Solidworks and Two, because I've realized 3d printing isn't the crazy future of manufacturing everyone is hyping it up to be (at least not yet! watch me eat these words in 15 years).
Future work: Explore other scanners like the Scanect and 123D Catch