Molding & Casting

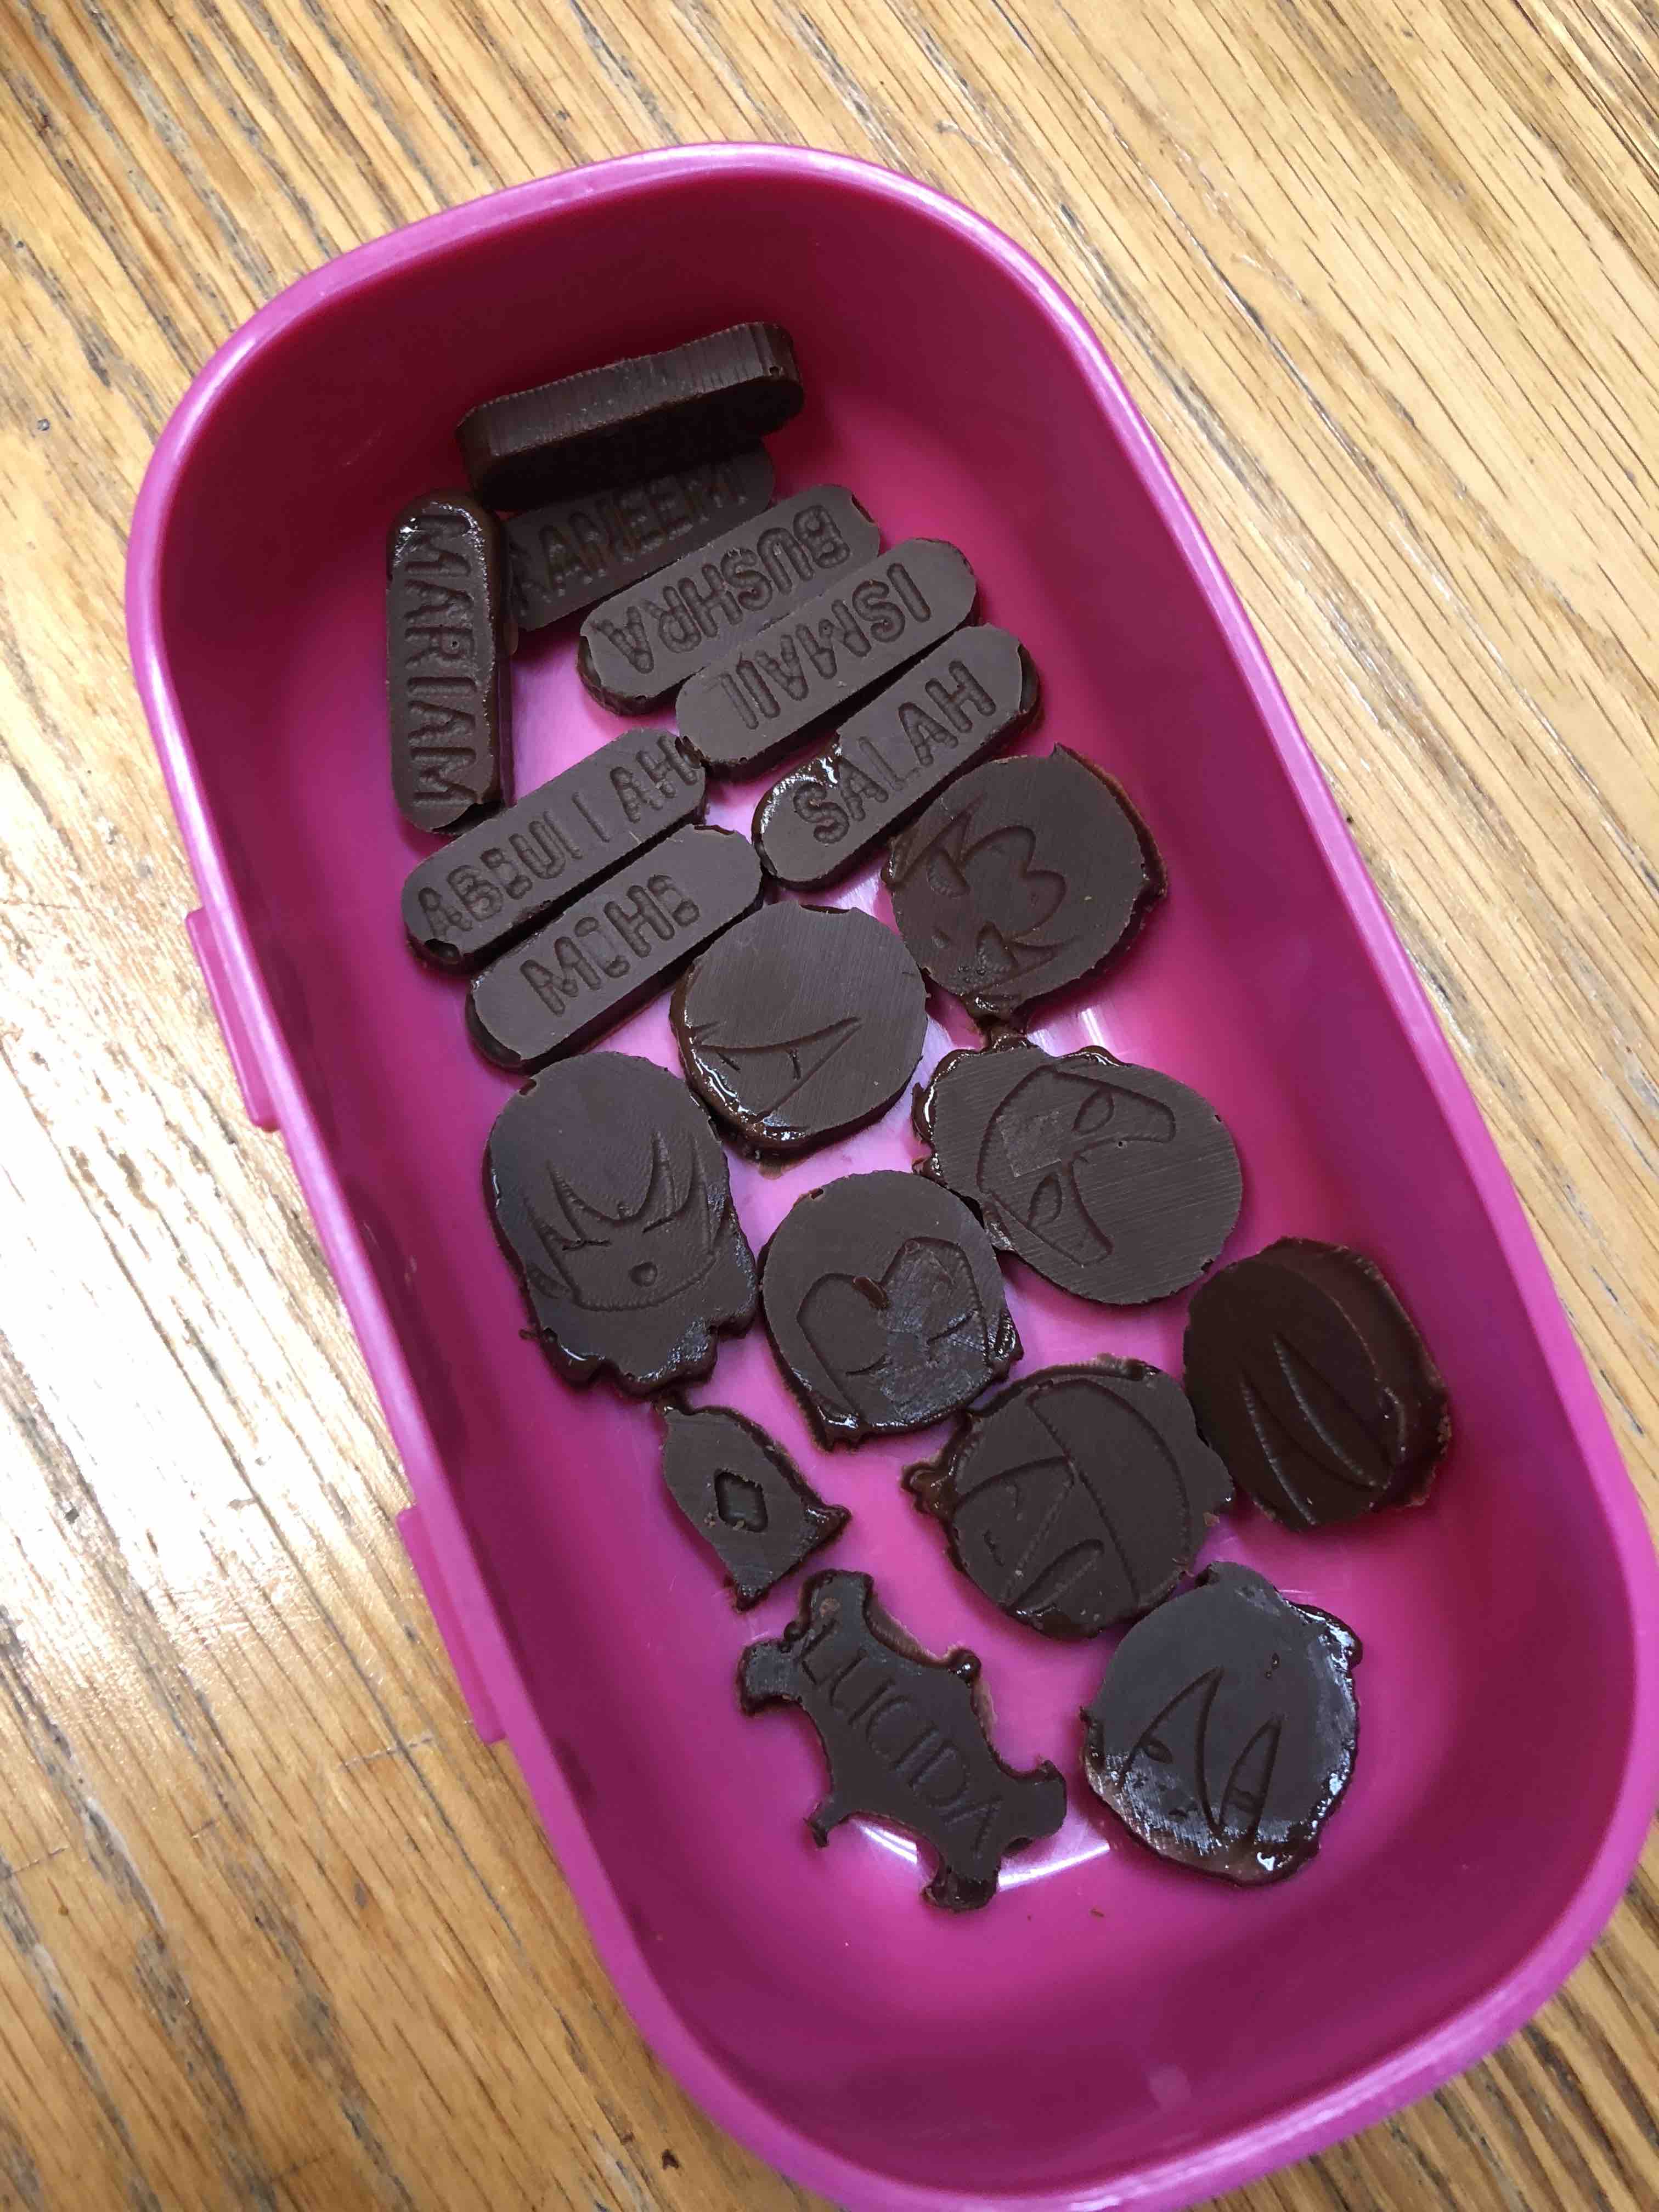
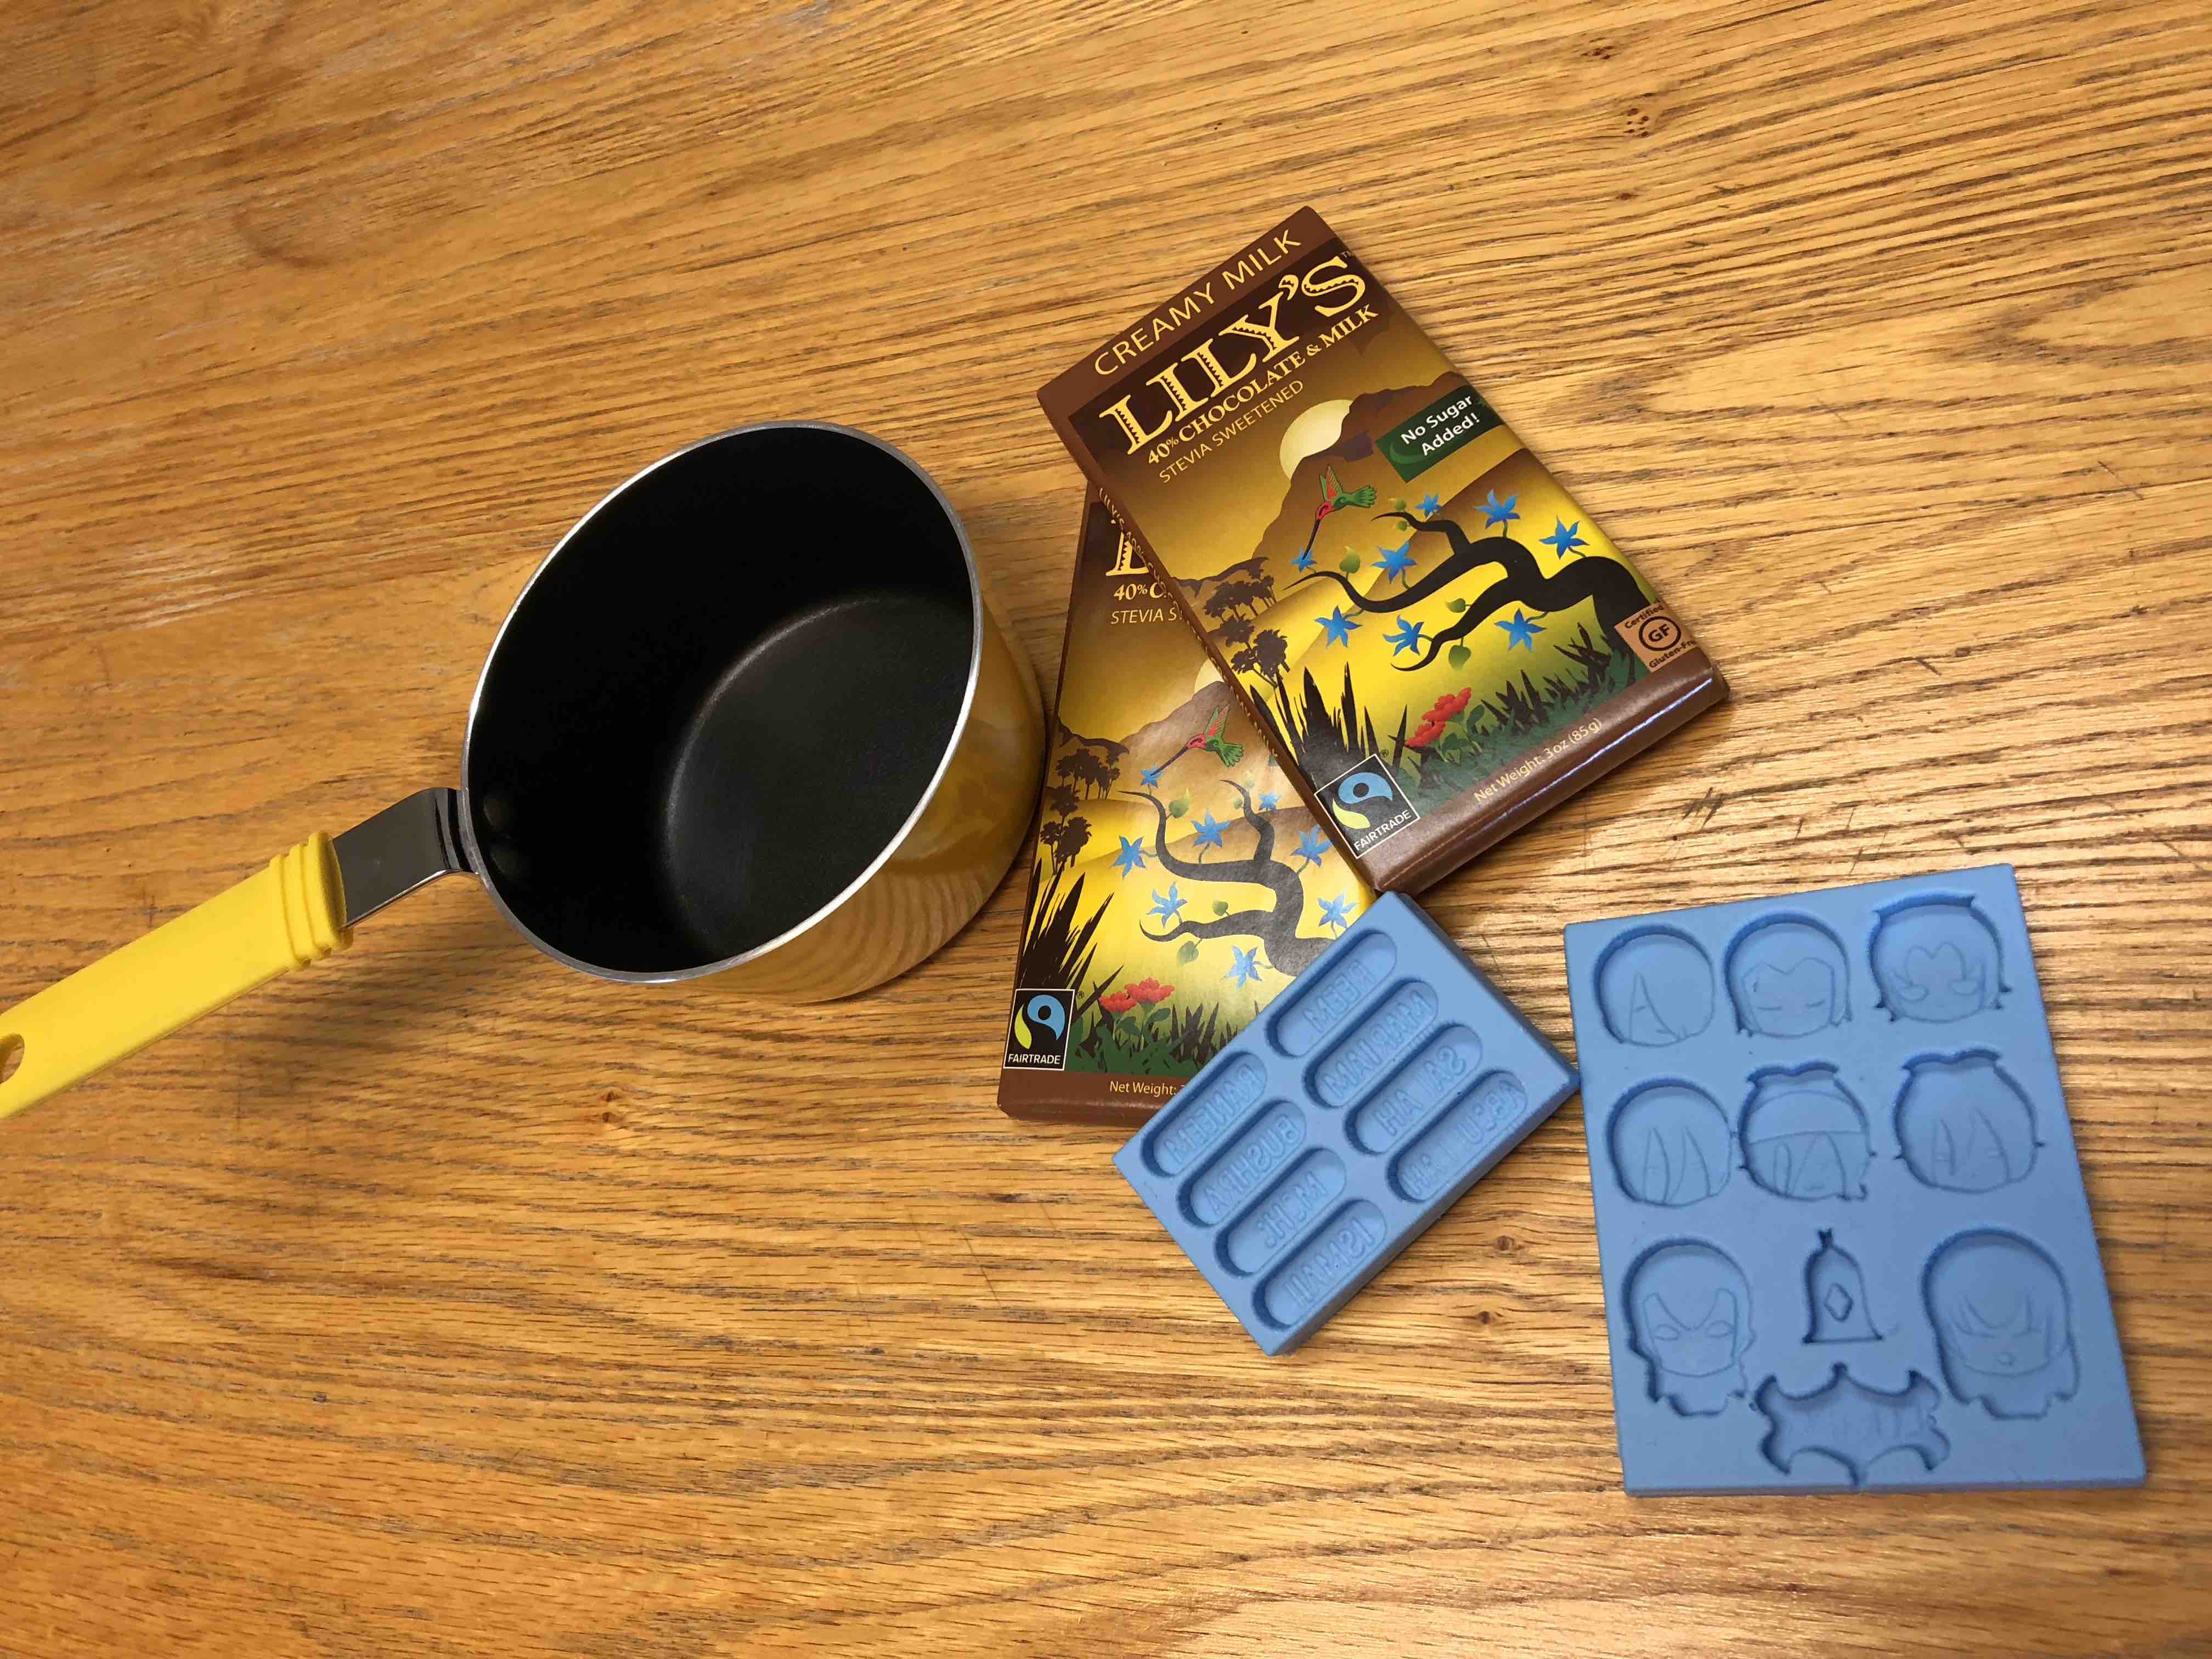
For this week's assignment, I had the opportunity to make a custom food safe mold that I later used to make chocolates. Although it was my first time pouring chocolate into a mold, and given that I used non cooking purpose chocolate, the result came out as "passing".
The first step was purchasing the correct material and makig sure that the whole process would be food safe. I checked previous posts by people who took the class and molded food safe materials, and a lot of them used blue wax as a prelimenary mold for the actual mold. I went to Reynolds and bought Smooth-Sil 950. I wouldn't necessarily recommend the 950 series since the higher the number, the stiffer the material is. It was very hard to get the actual mold out of the wax later because of the stiffness of the 950, which resulted in the mold breaking on the side. So, if you are doing molding for food puposes, go with a number that is less than 950.
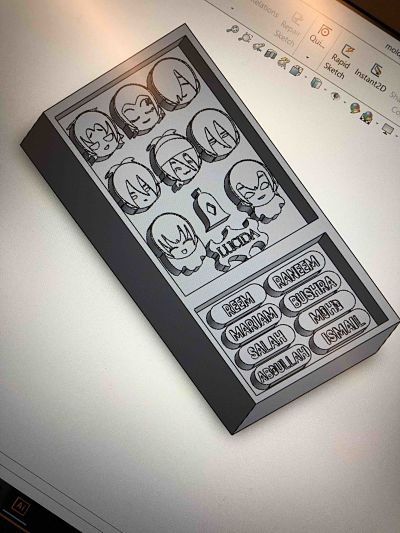
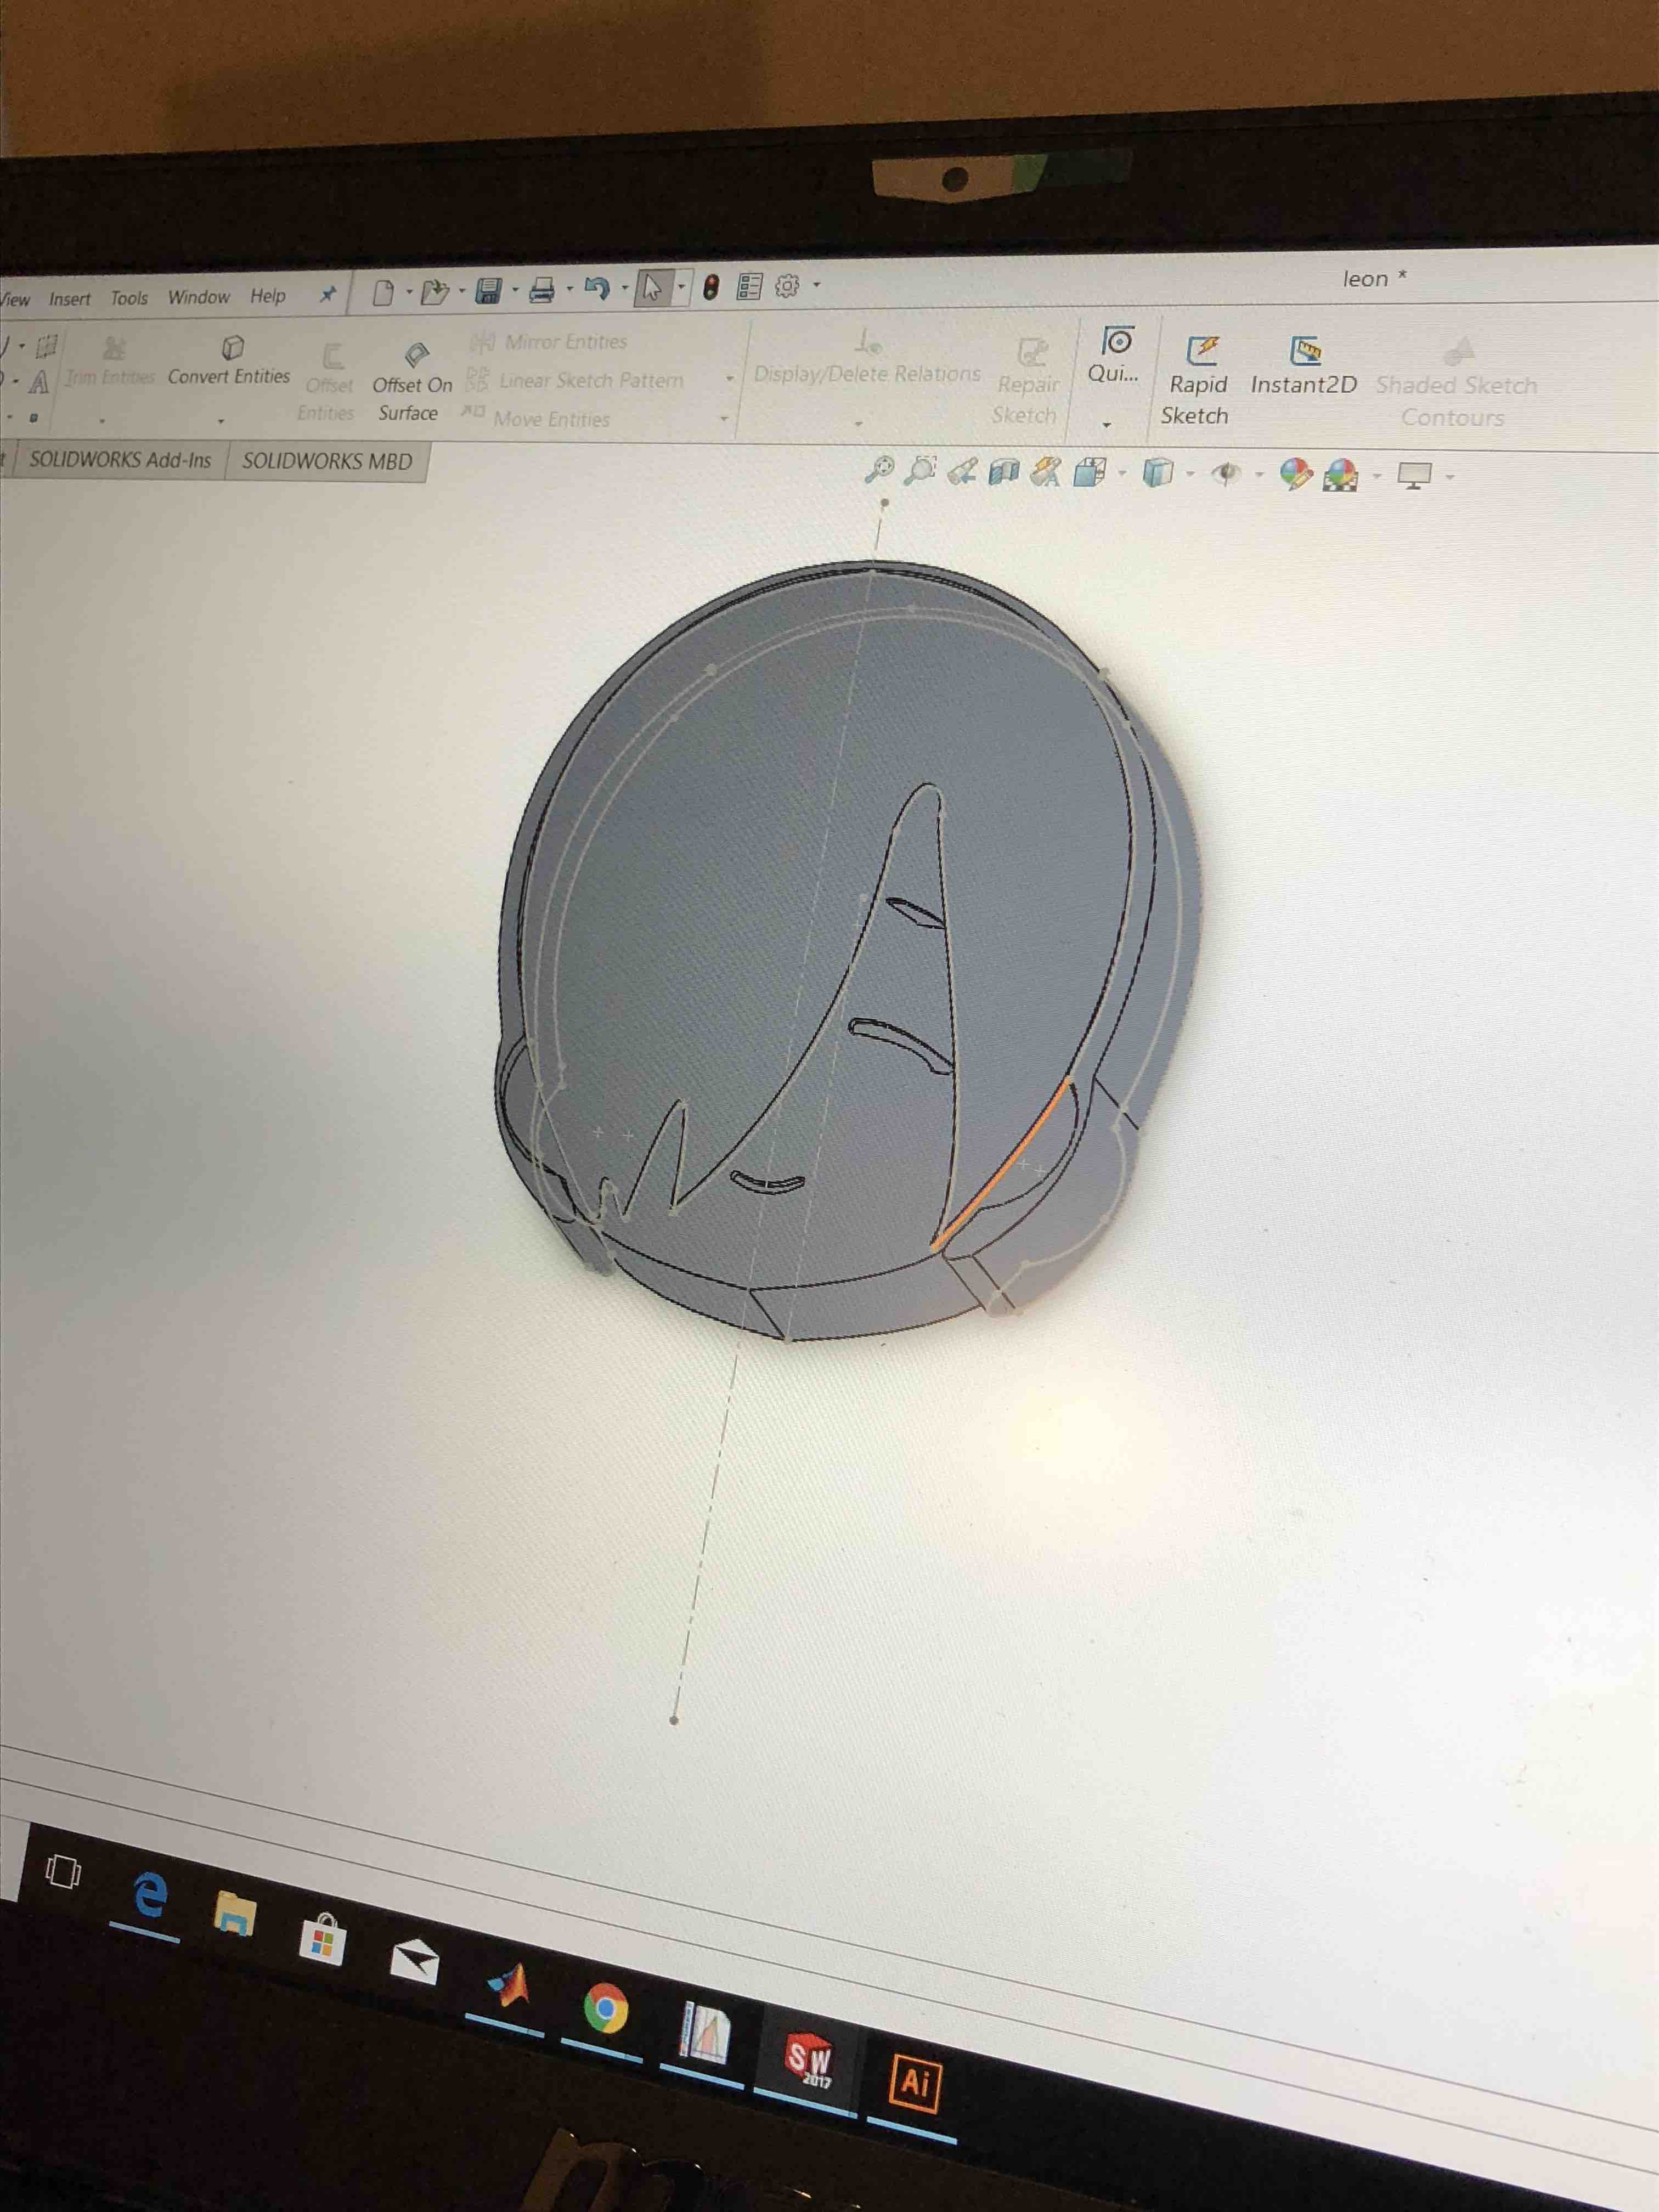
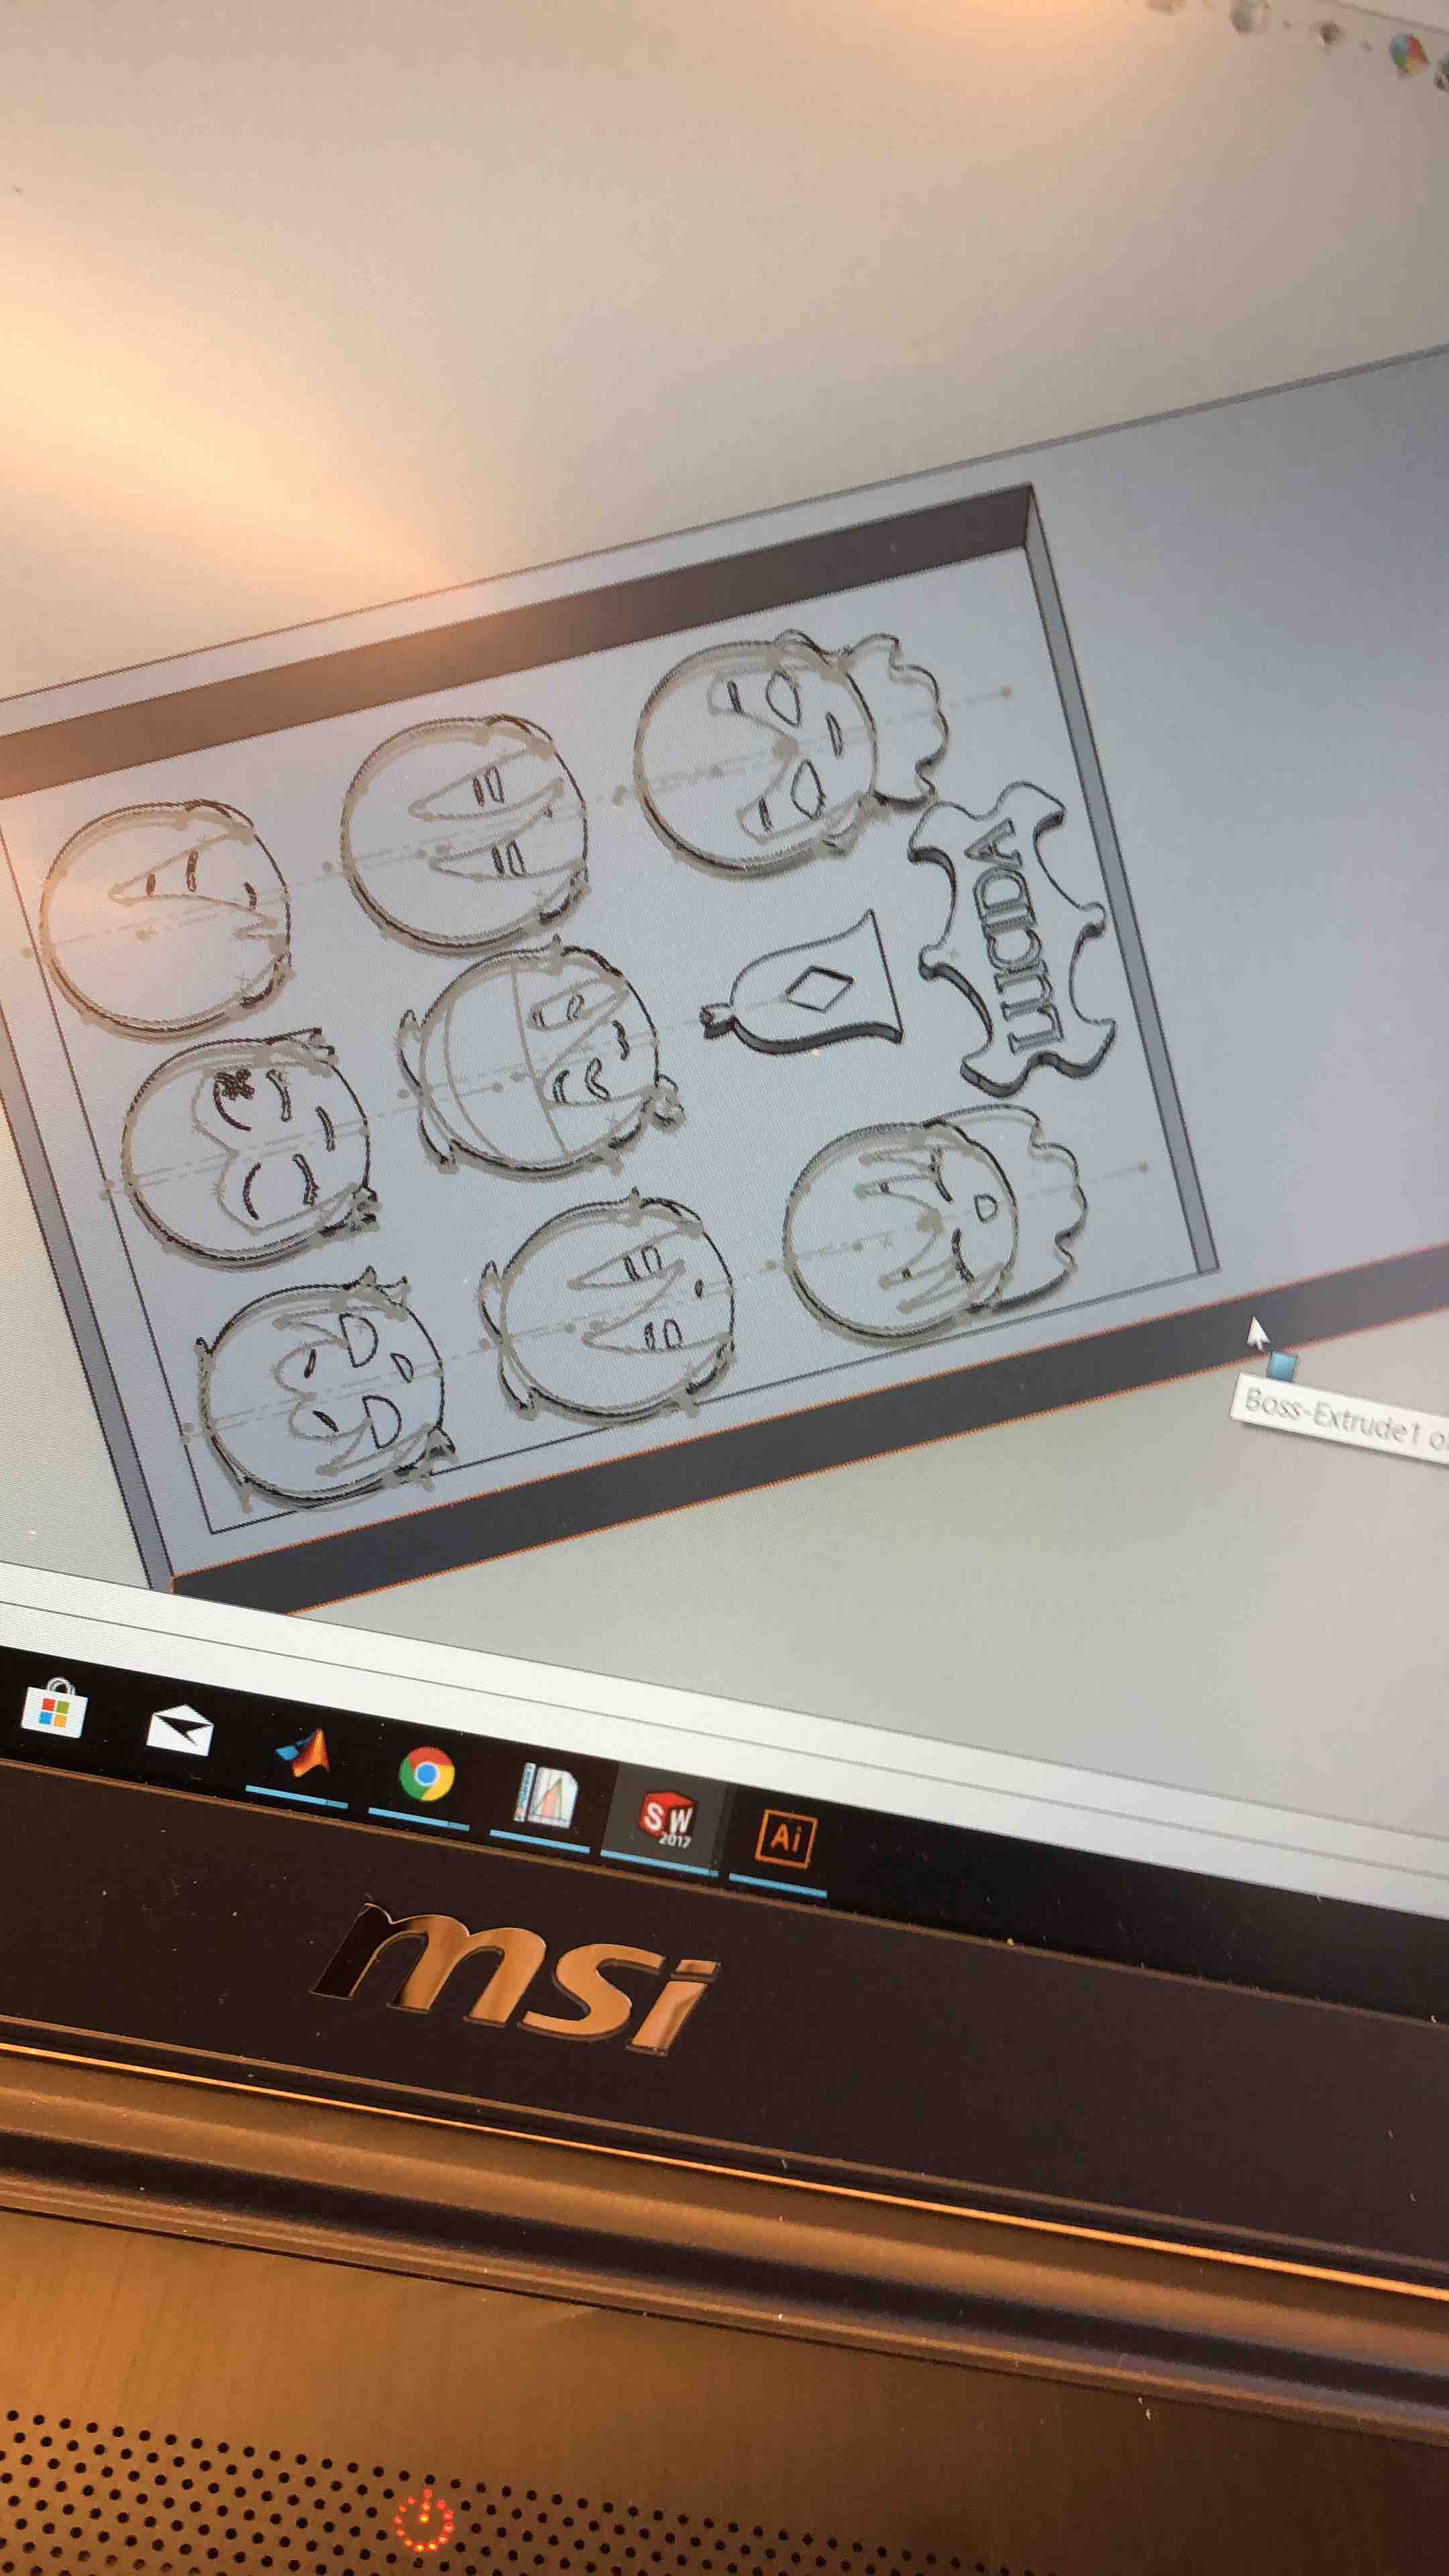
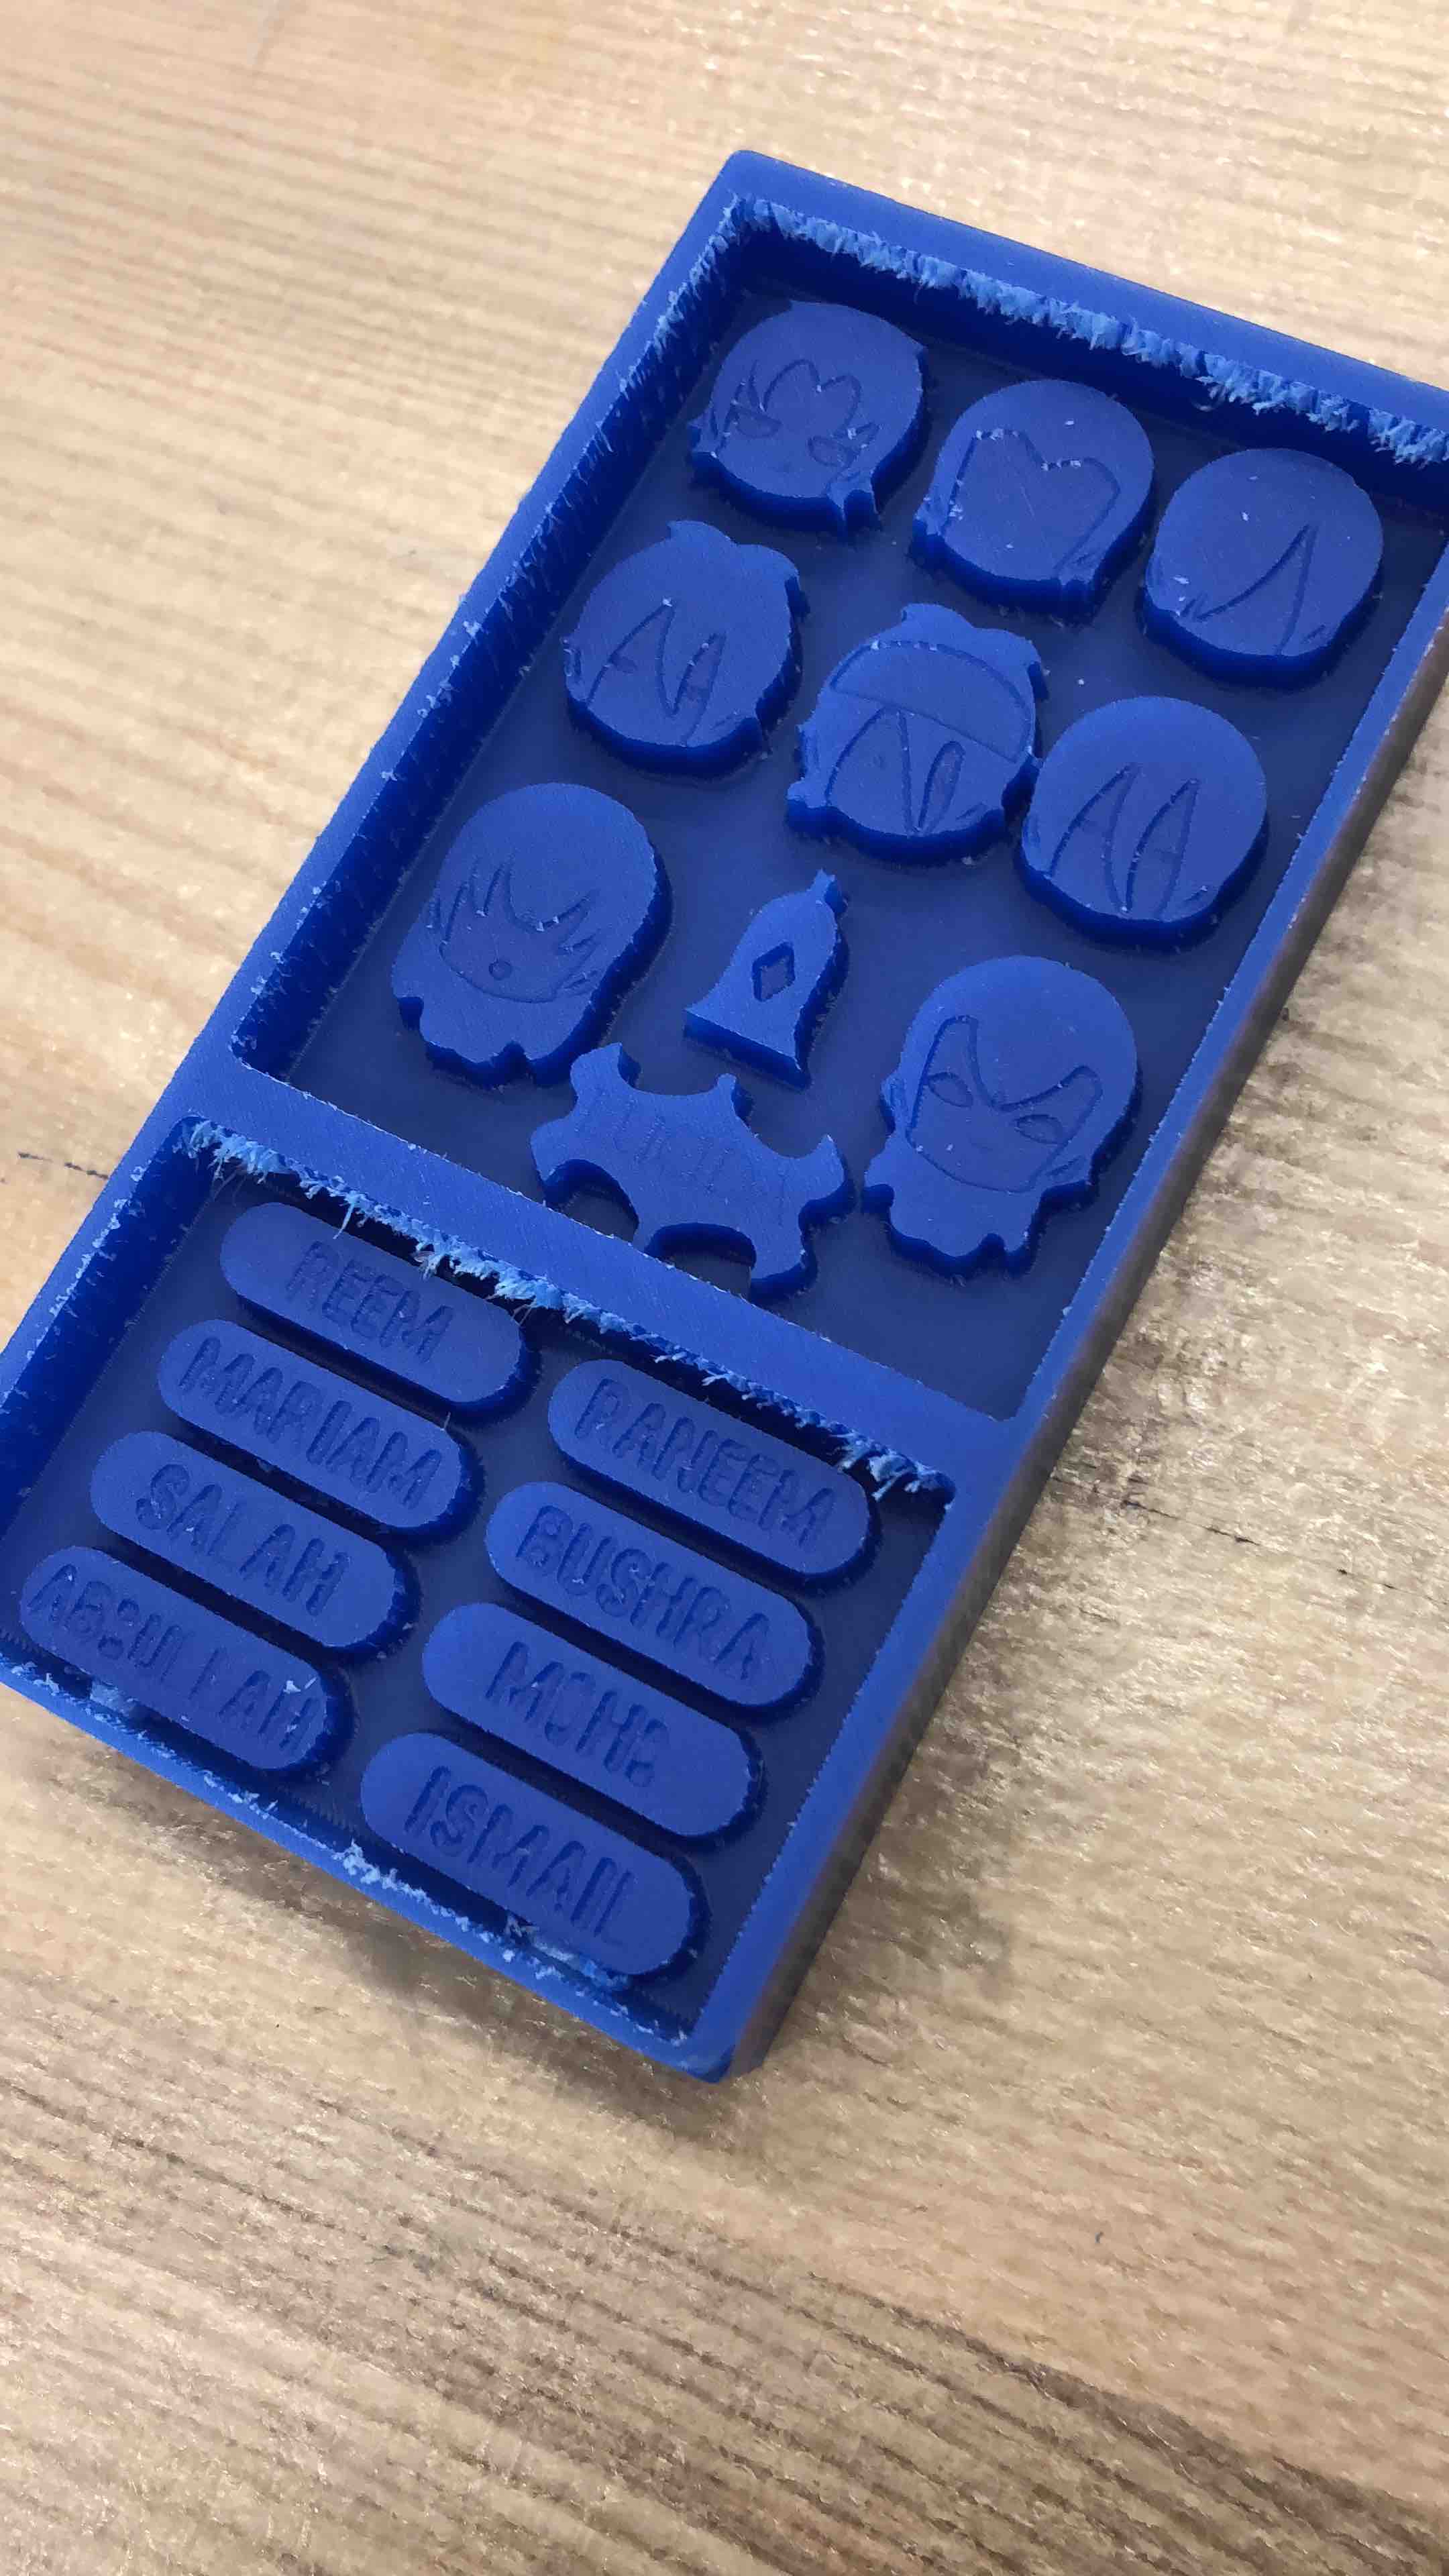
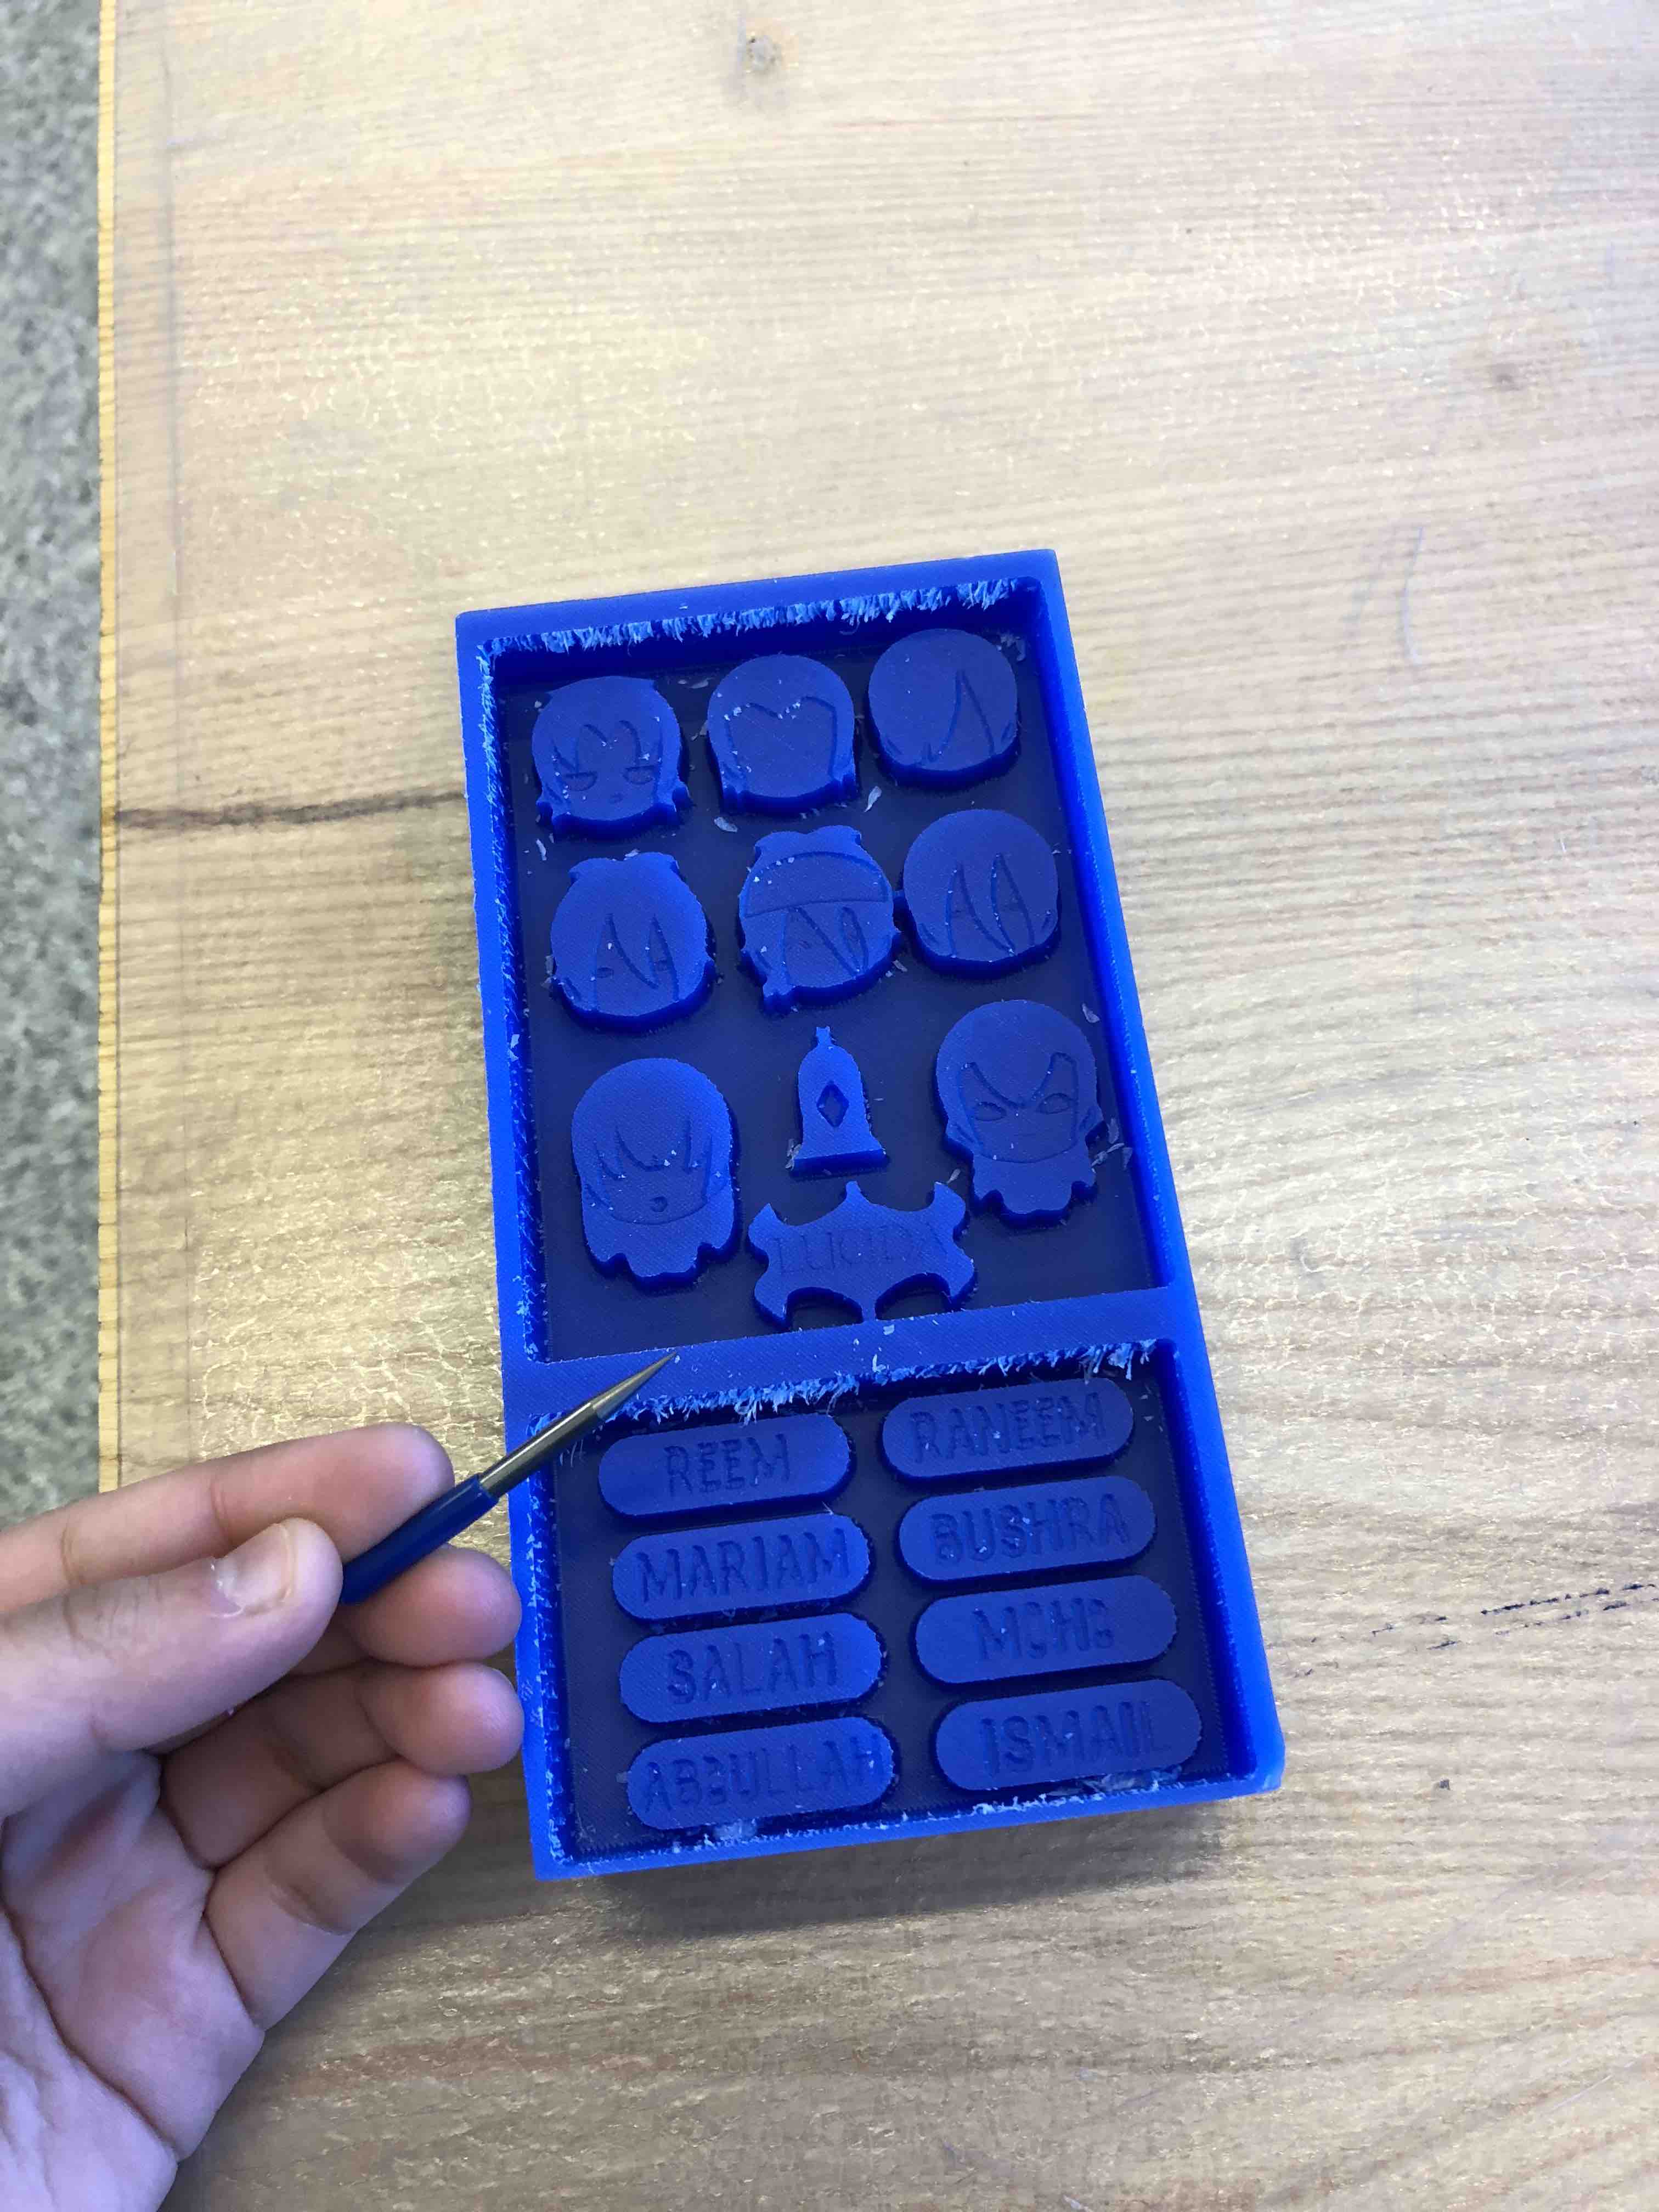
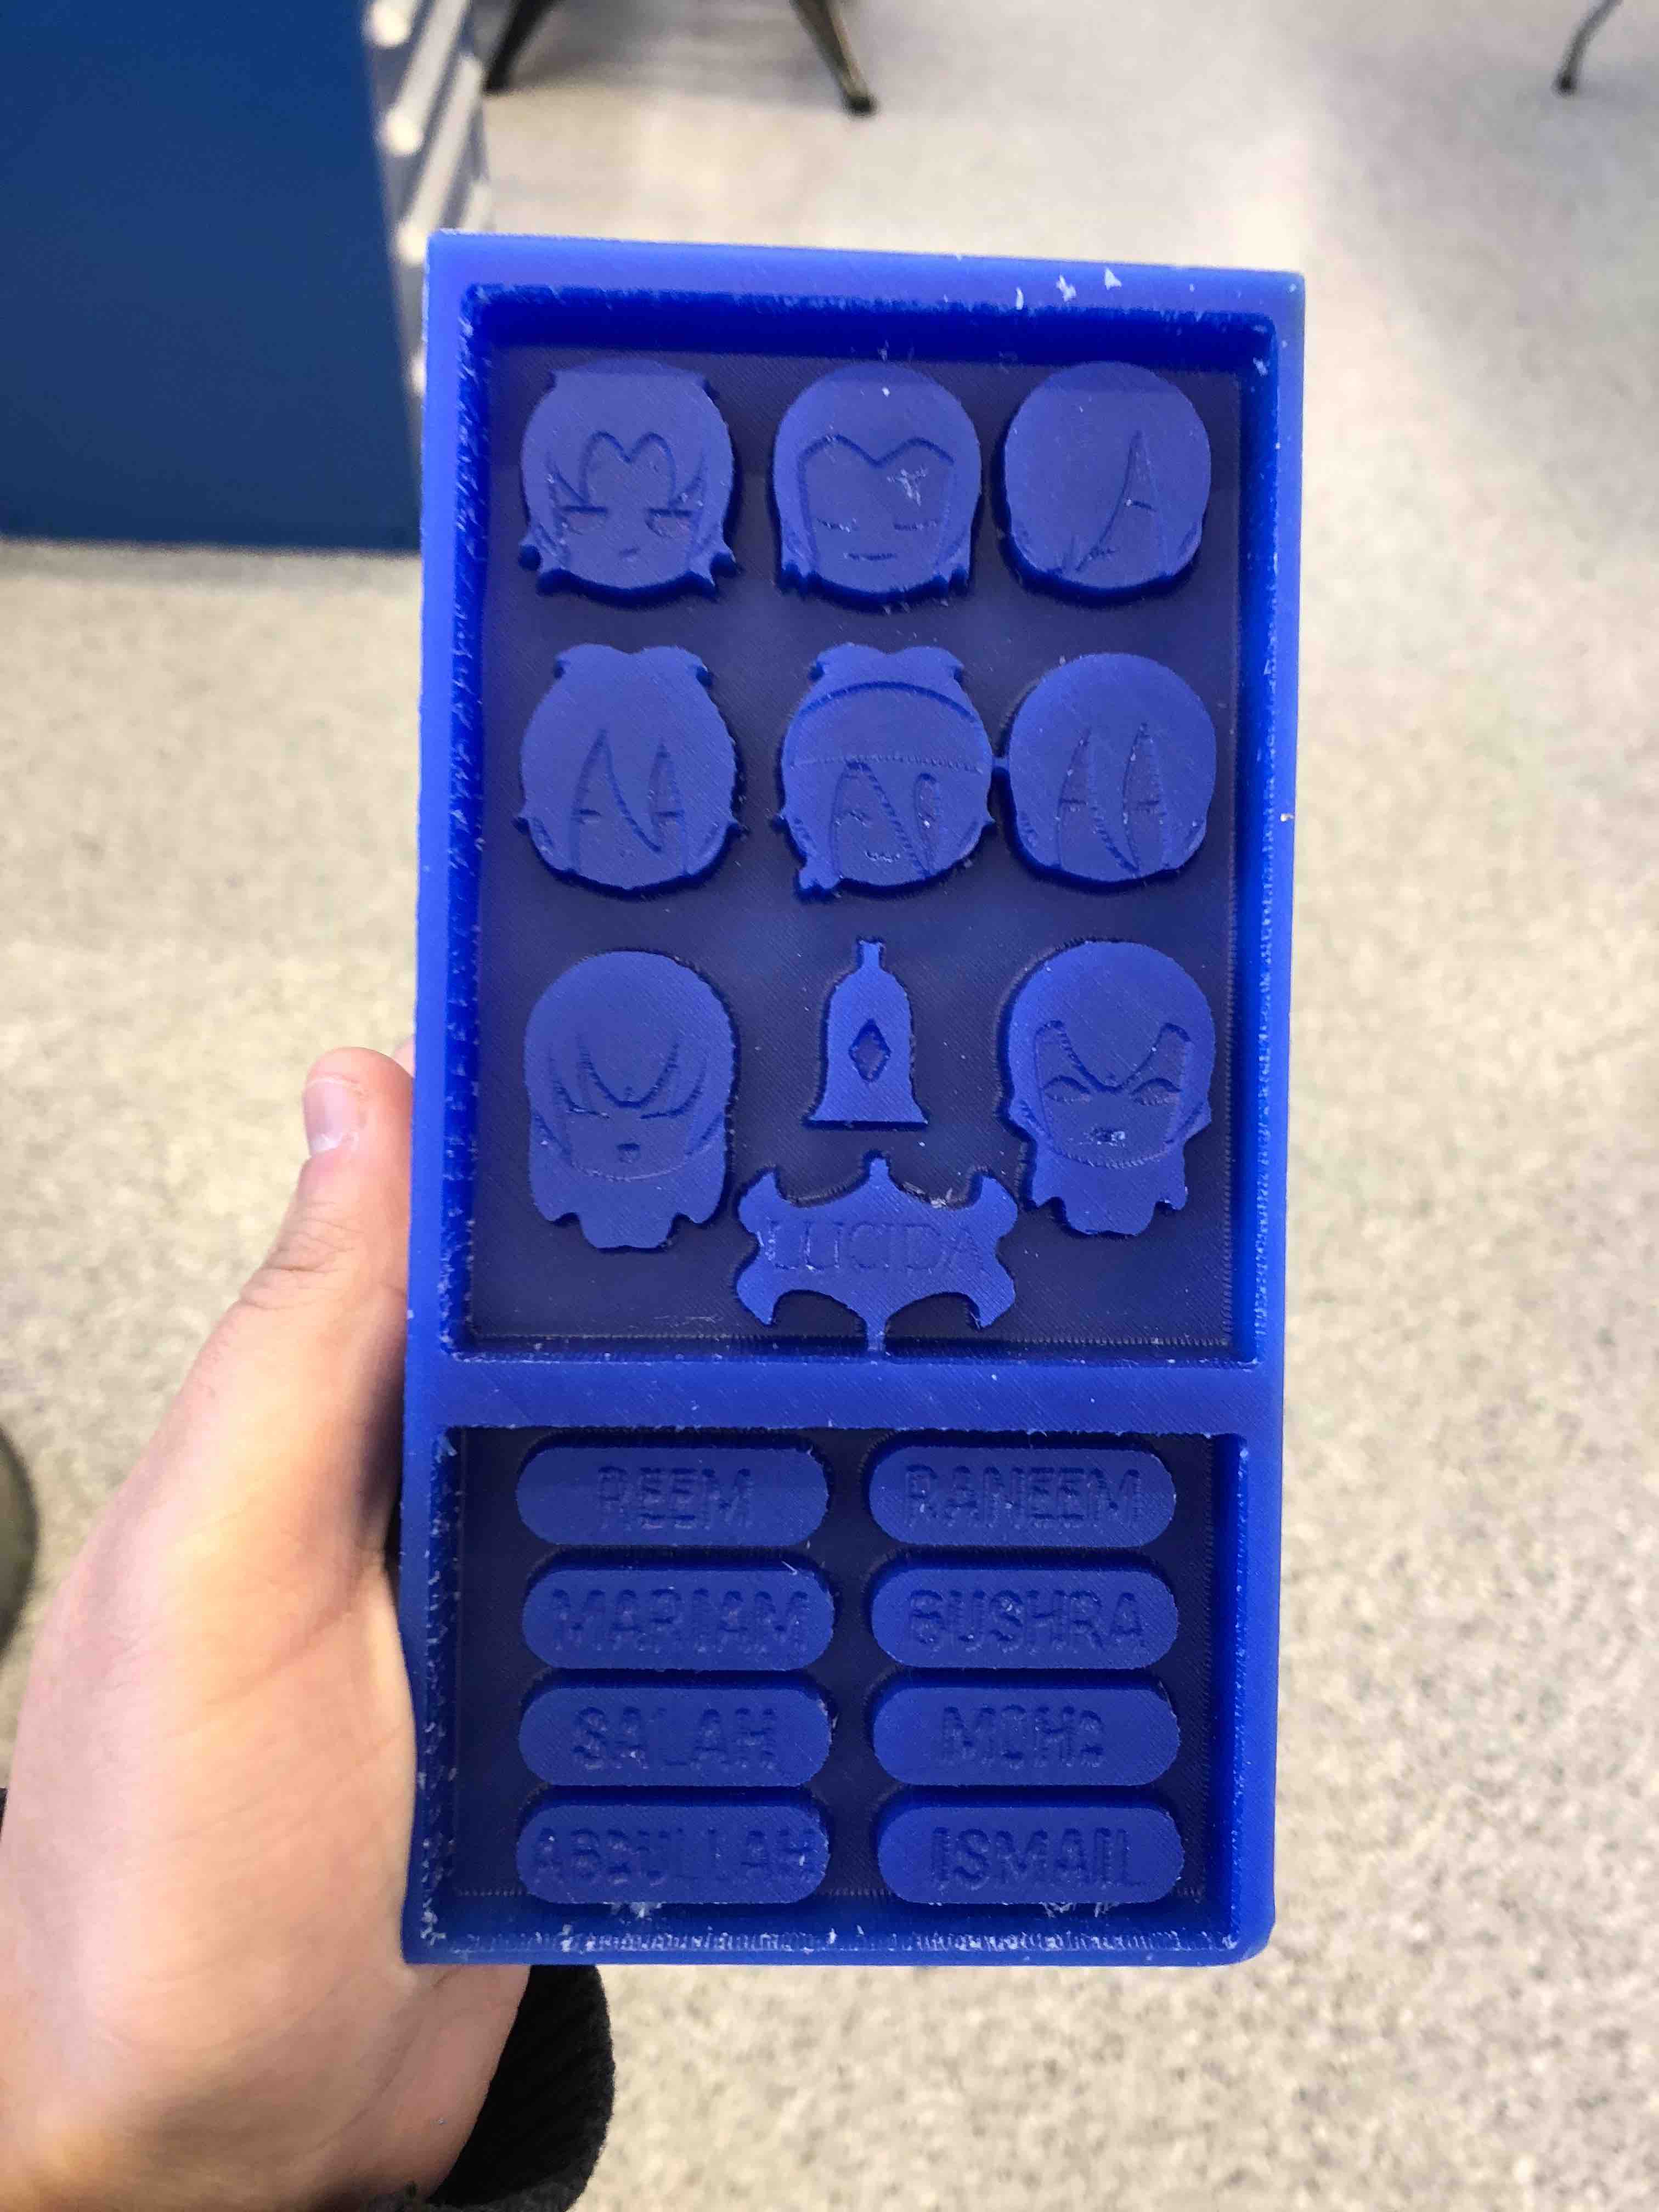
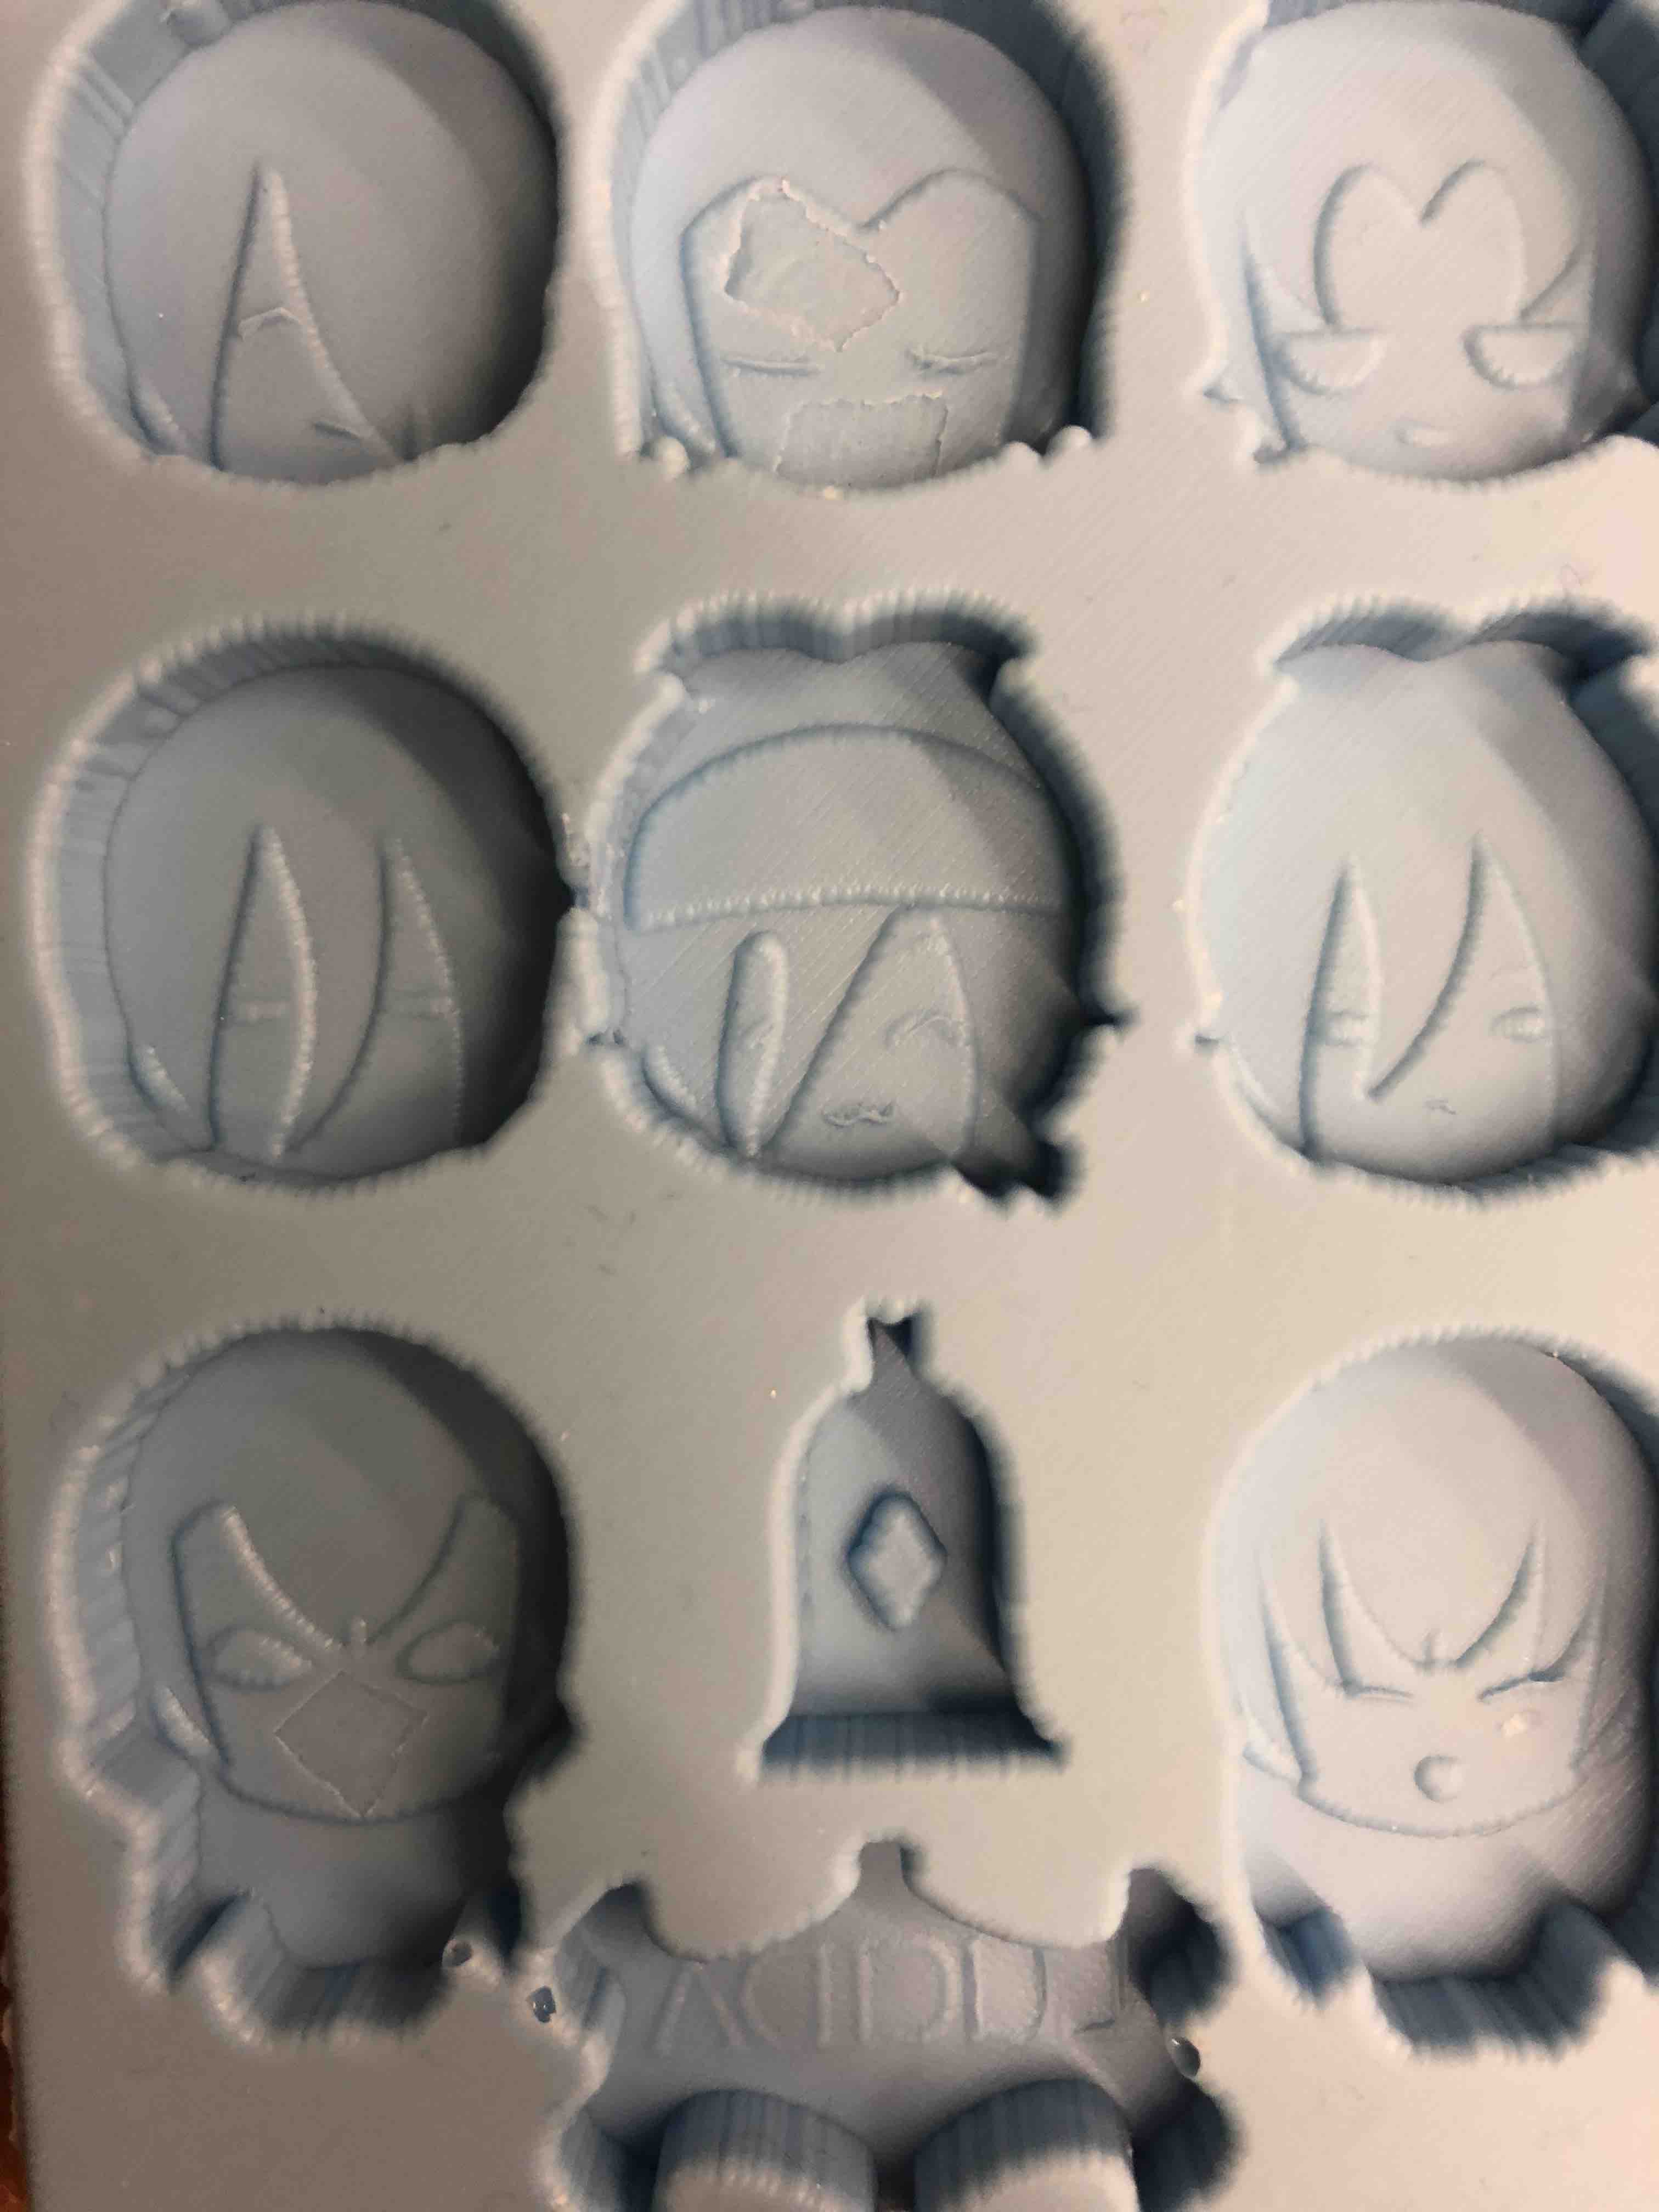
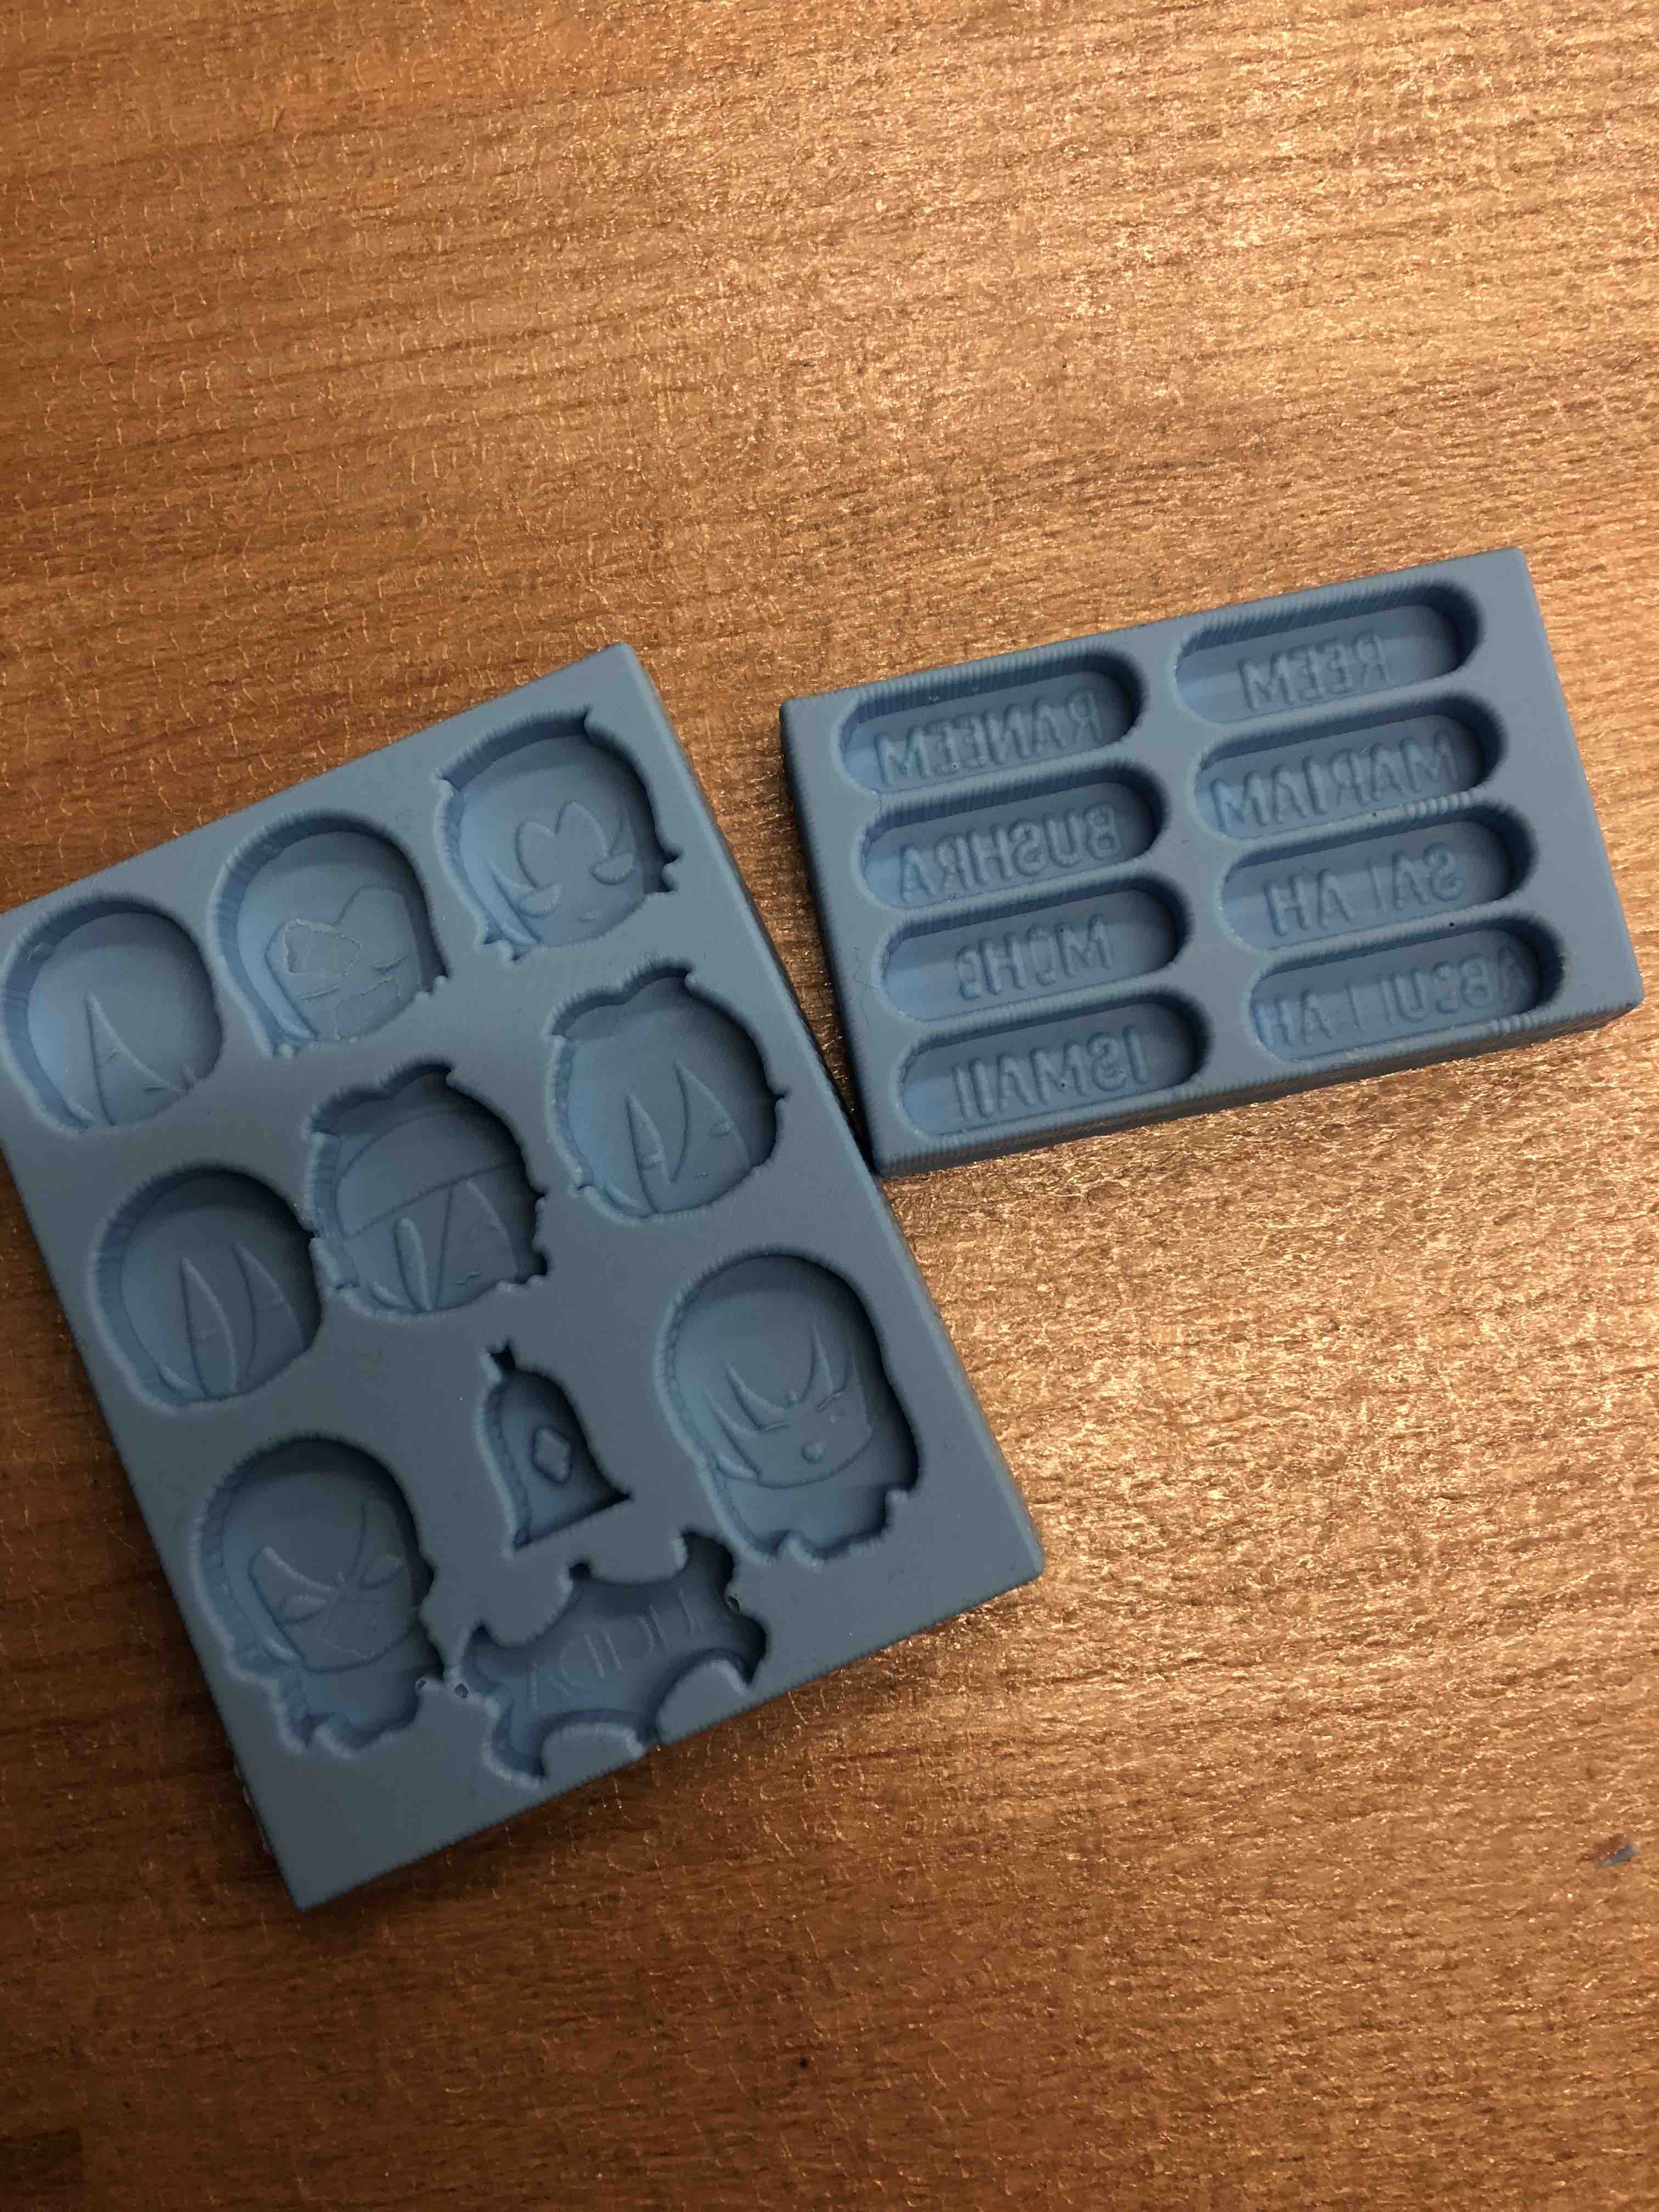
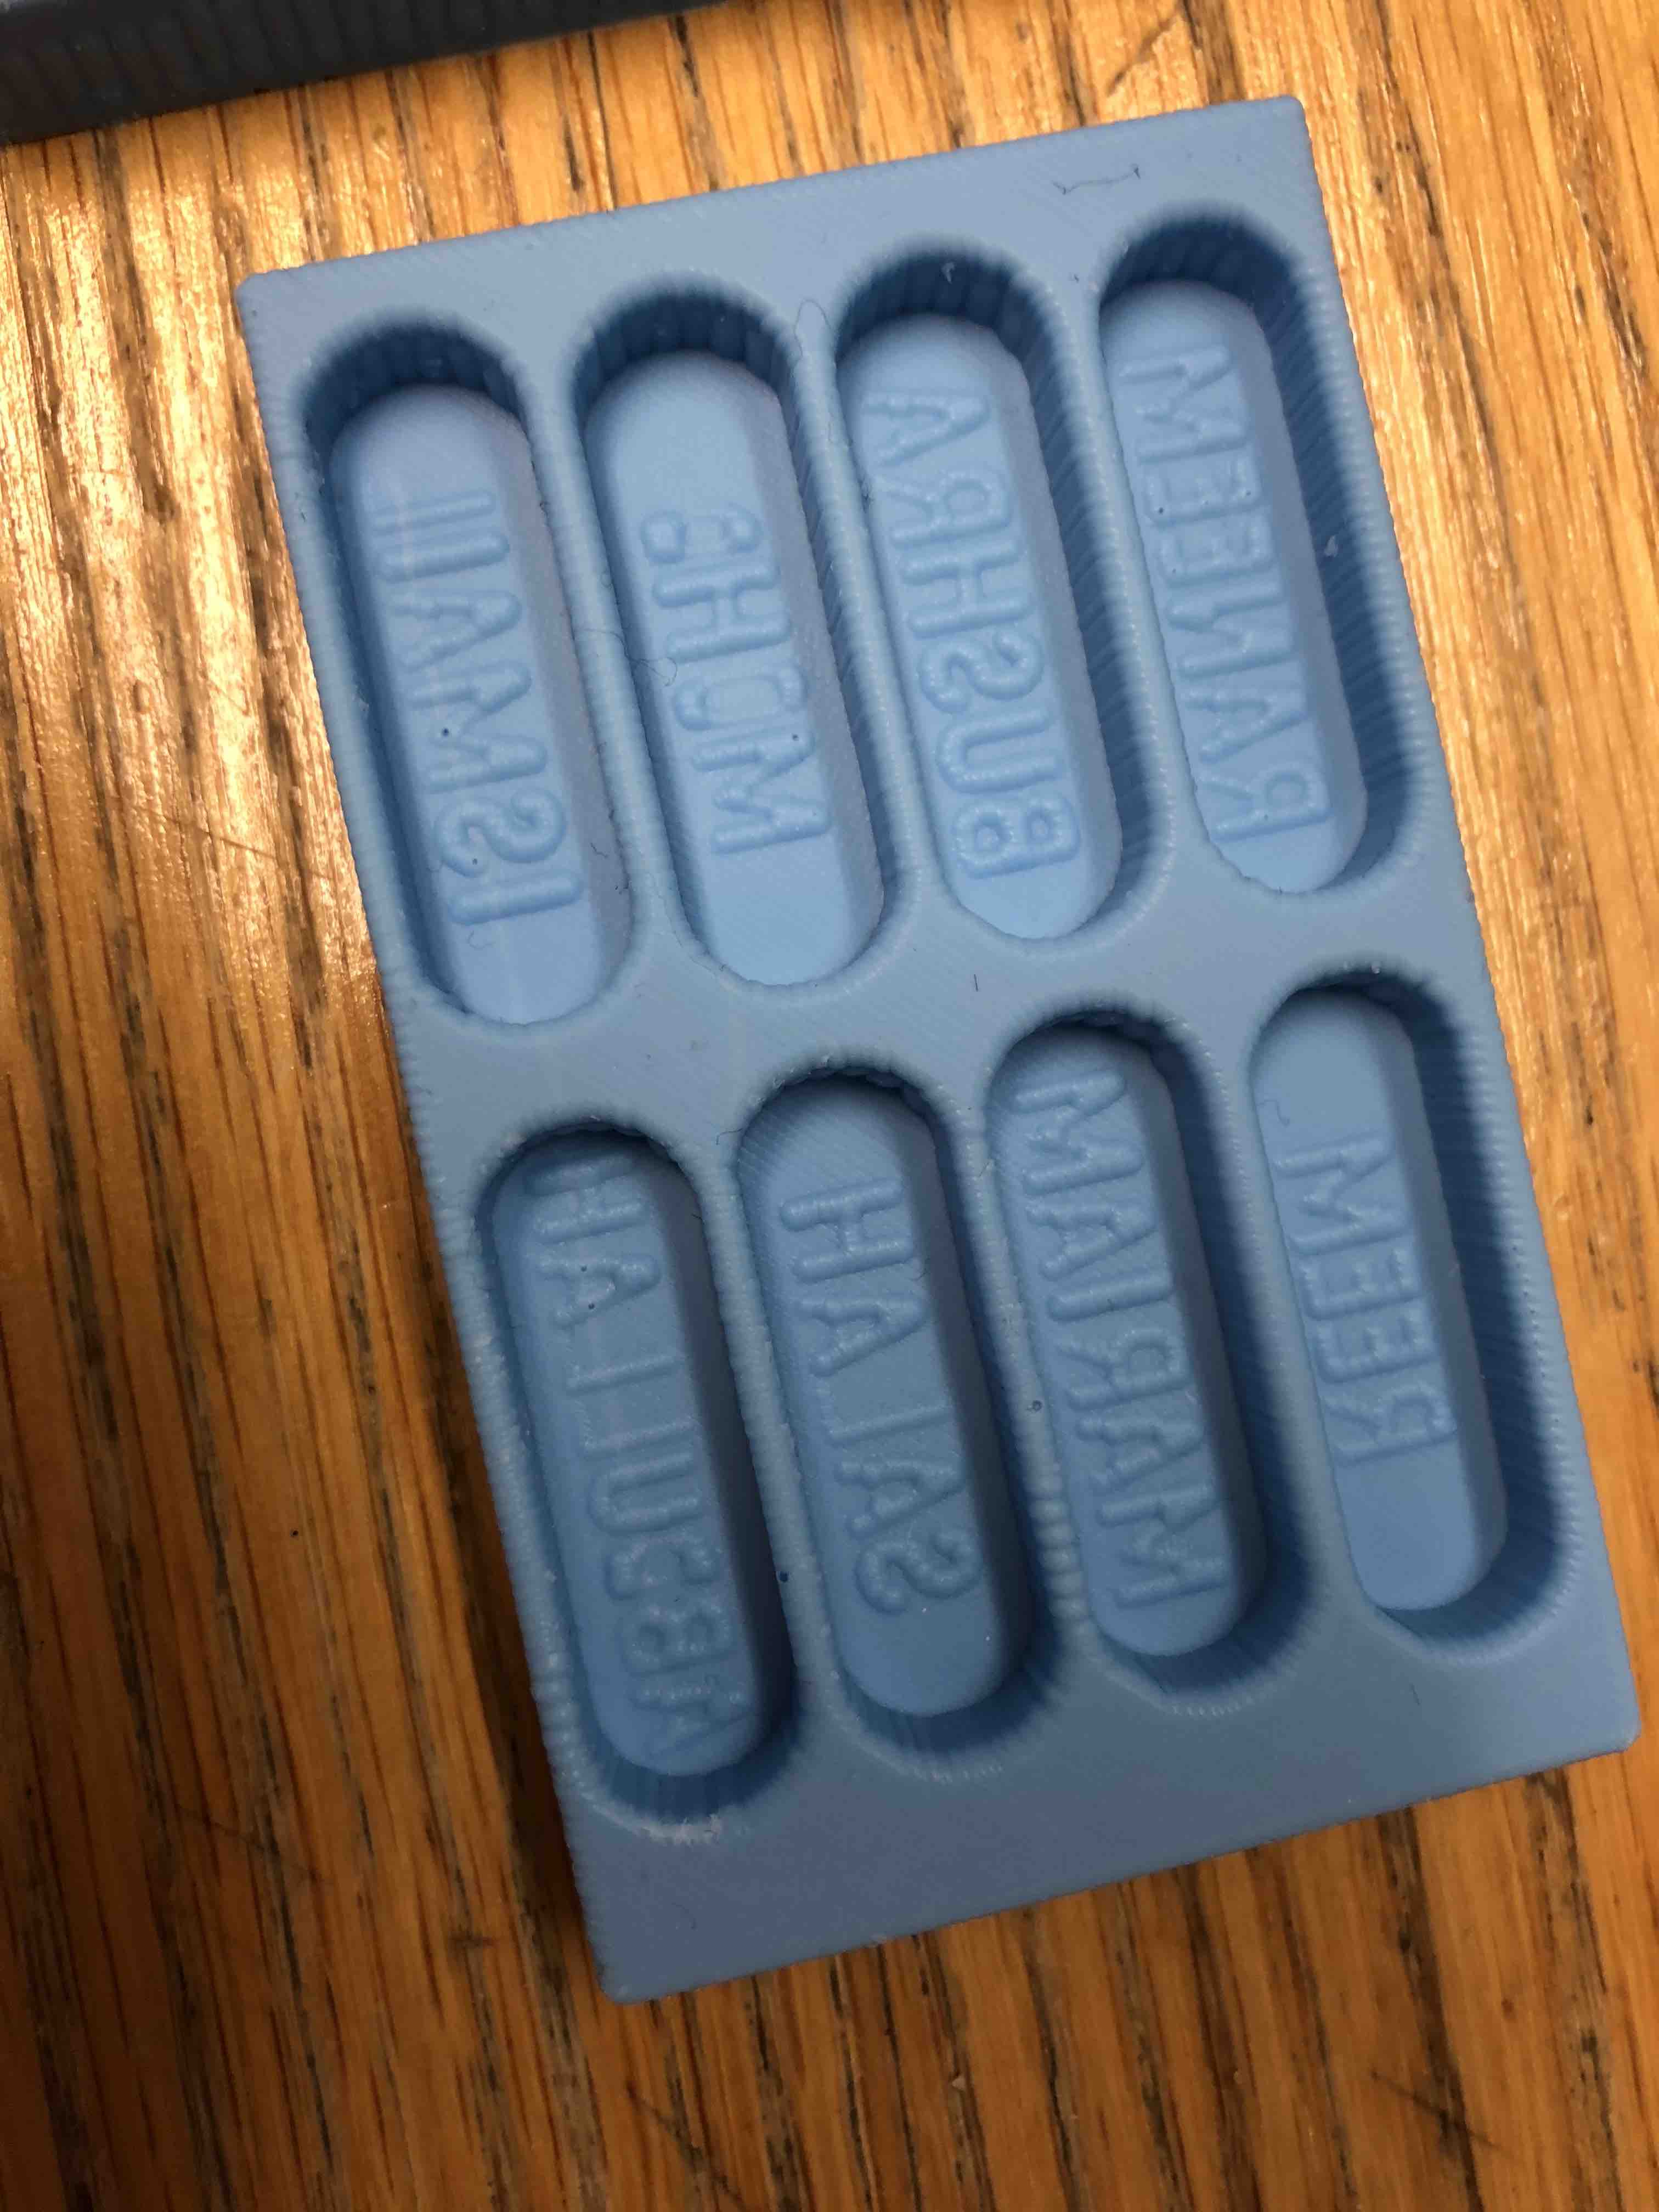
As a comic artist, I wanted to make a mold based on the characters of my comic, Bells of Lucida. Of course, I wouldn't be able to do all the characters given the dimnesional constraint of the blule wax piece I used for milling. But I was able to make a 3d model for baking/cooking using solidworks. In Addition, some family members wanted their names, so I created two mold pieces within the wax piece.
.png)
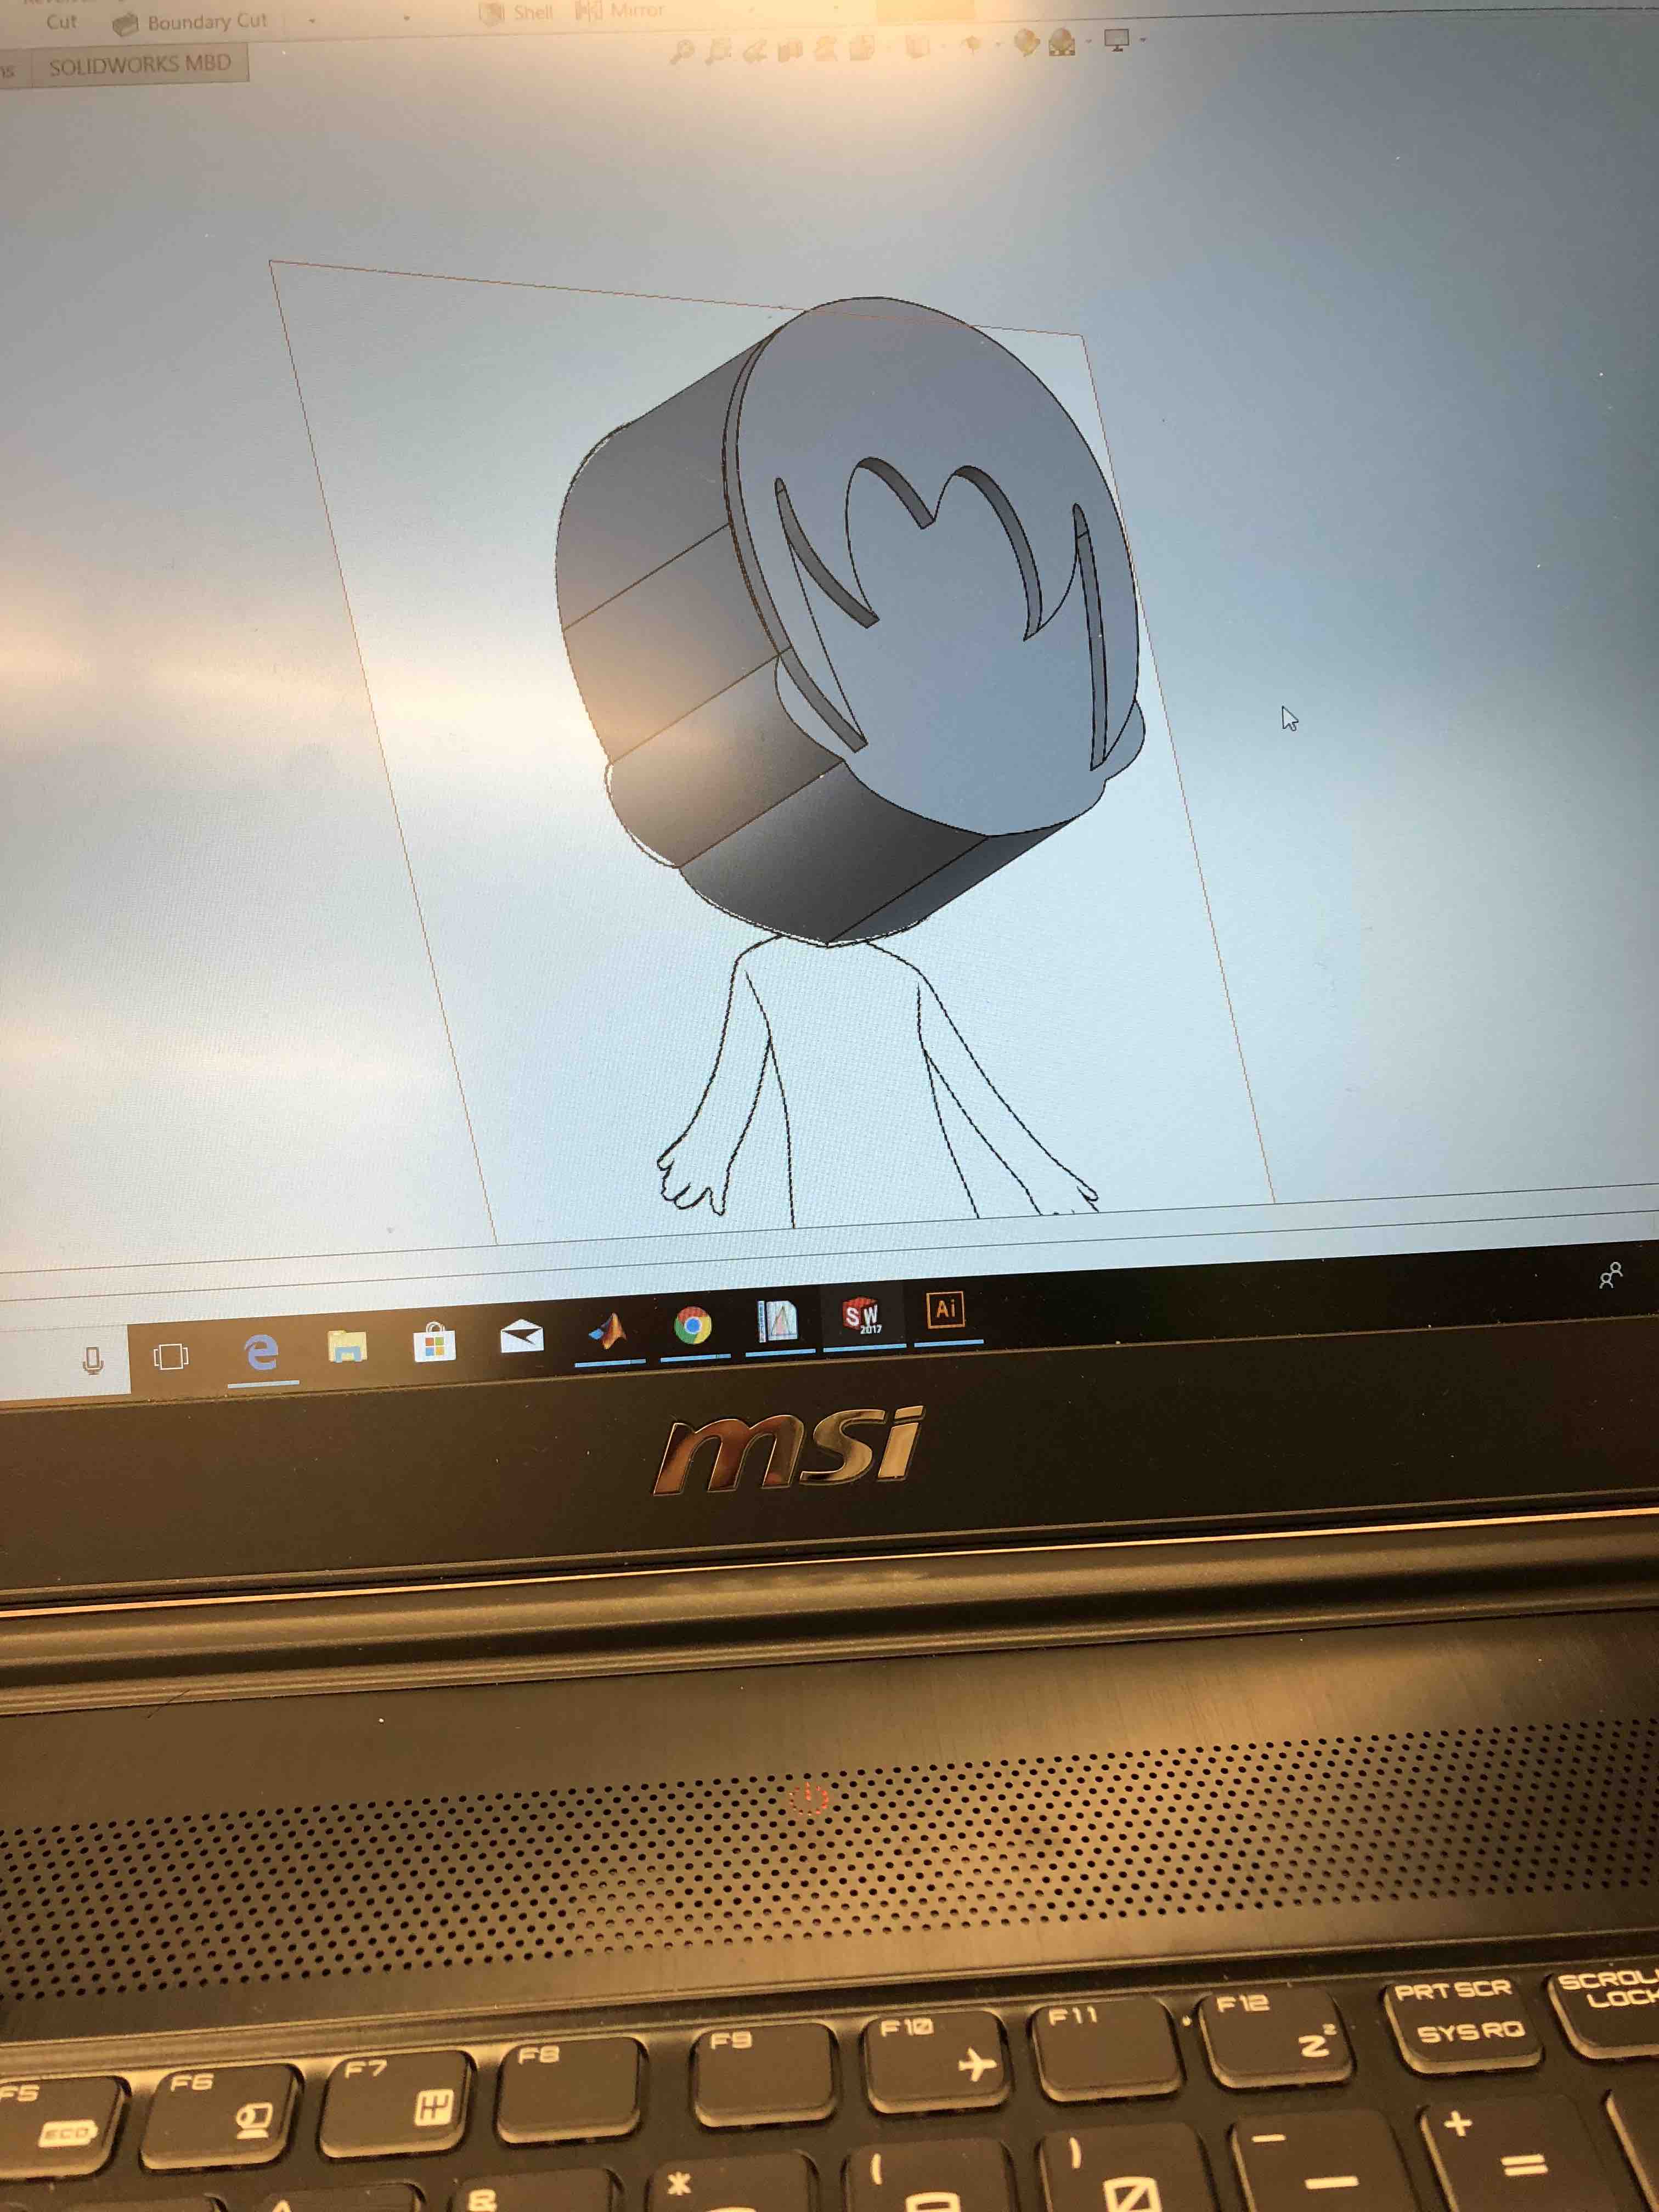
In Solidworks, I started from a 2D drawing of a character face which I imported using sketch tools. I then used a combination of splines in sketch mode to reproduce a face sketch based on the image. Face, facial expressions, ad hair were all done in seperate sketch layers so that they would be at different heights (extrude base vs. extrude cut). I also created the 3d models for each face seperately, and a separate 3d model for the mold base as well. I assembled everything later using solidworks assembly feature, and exported to STL format.
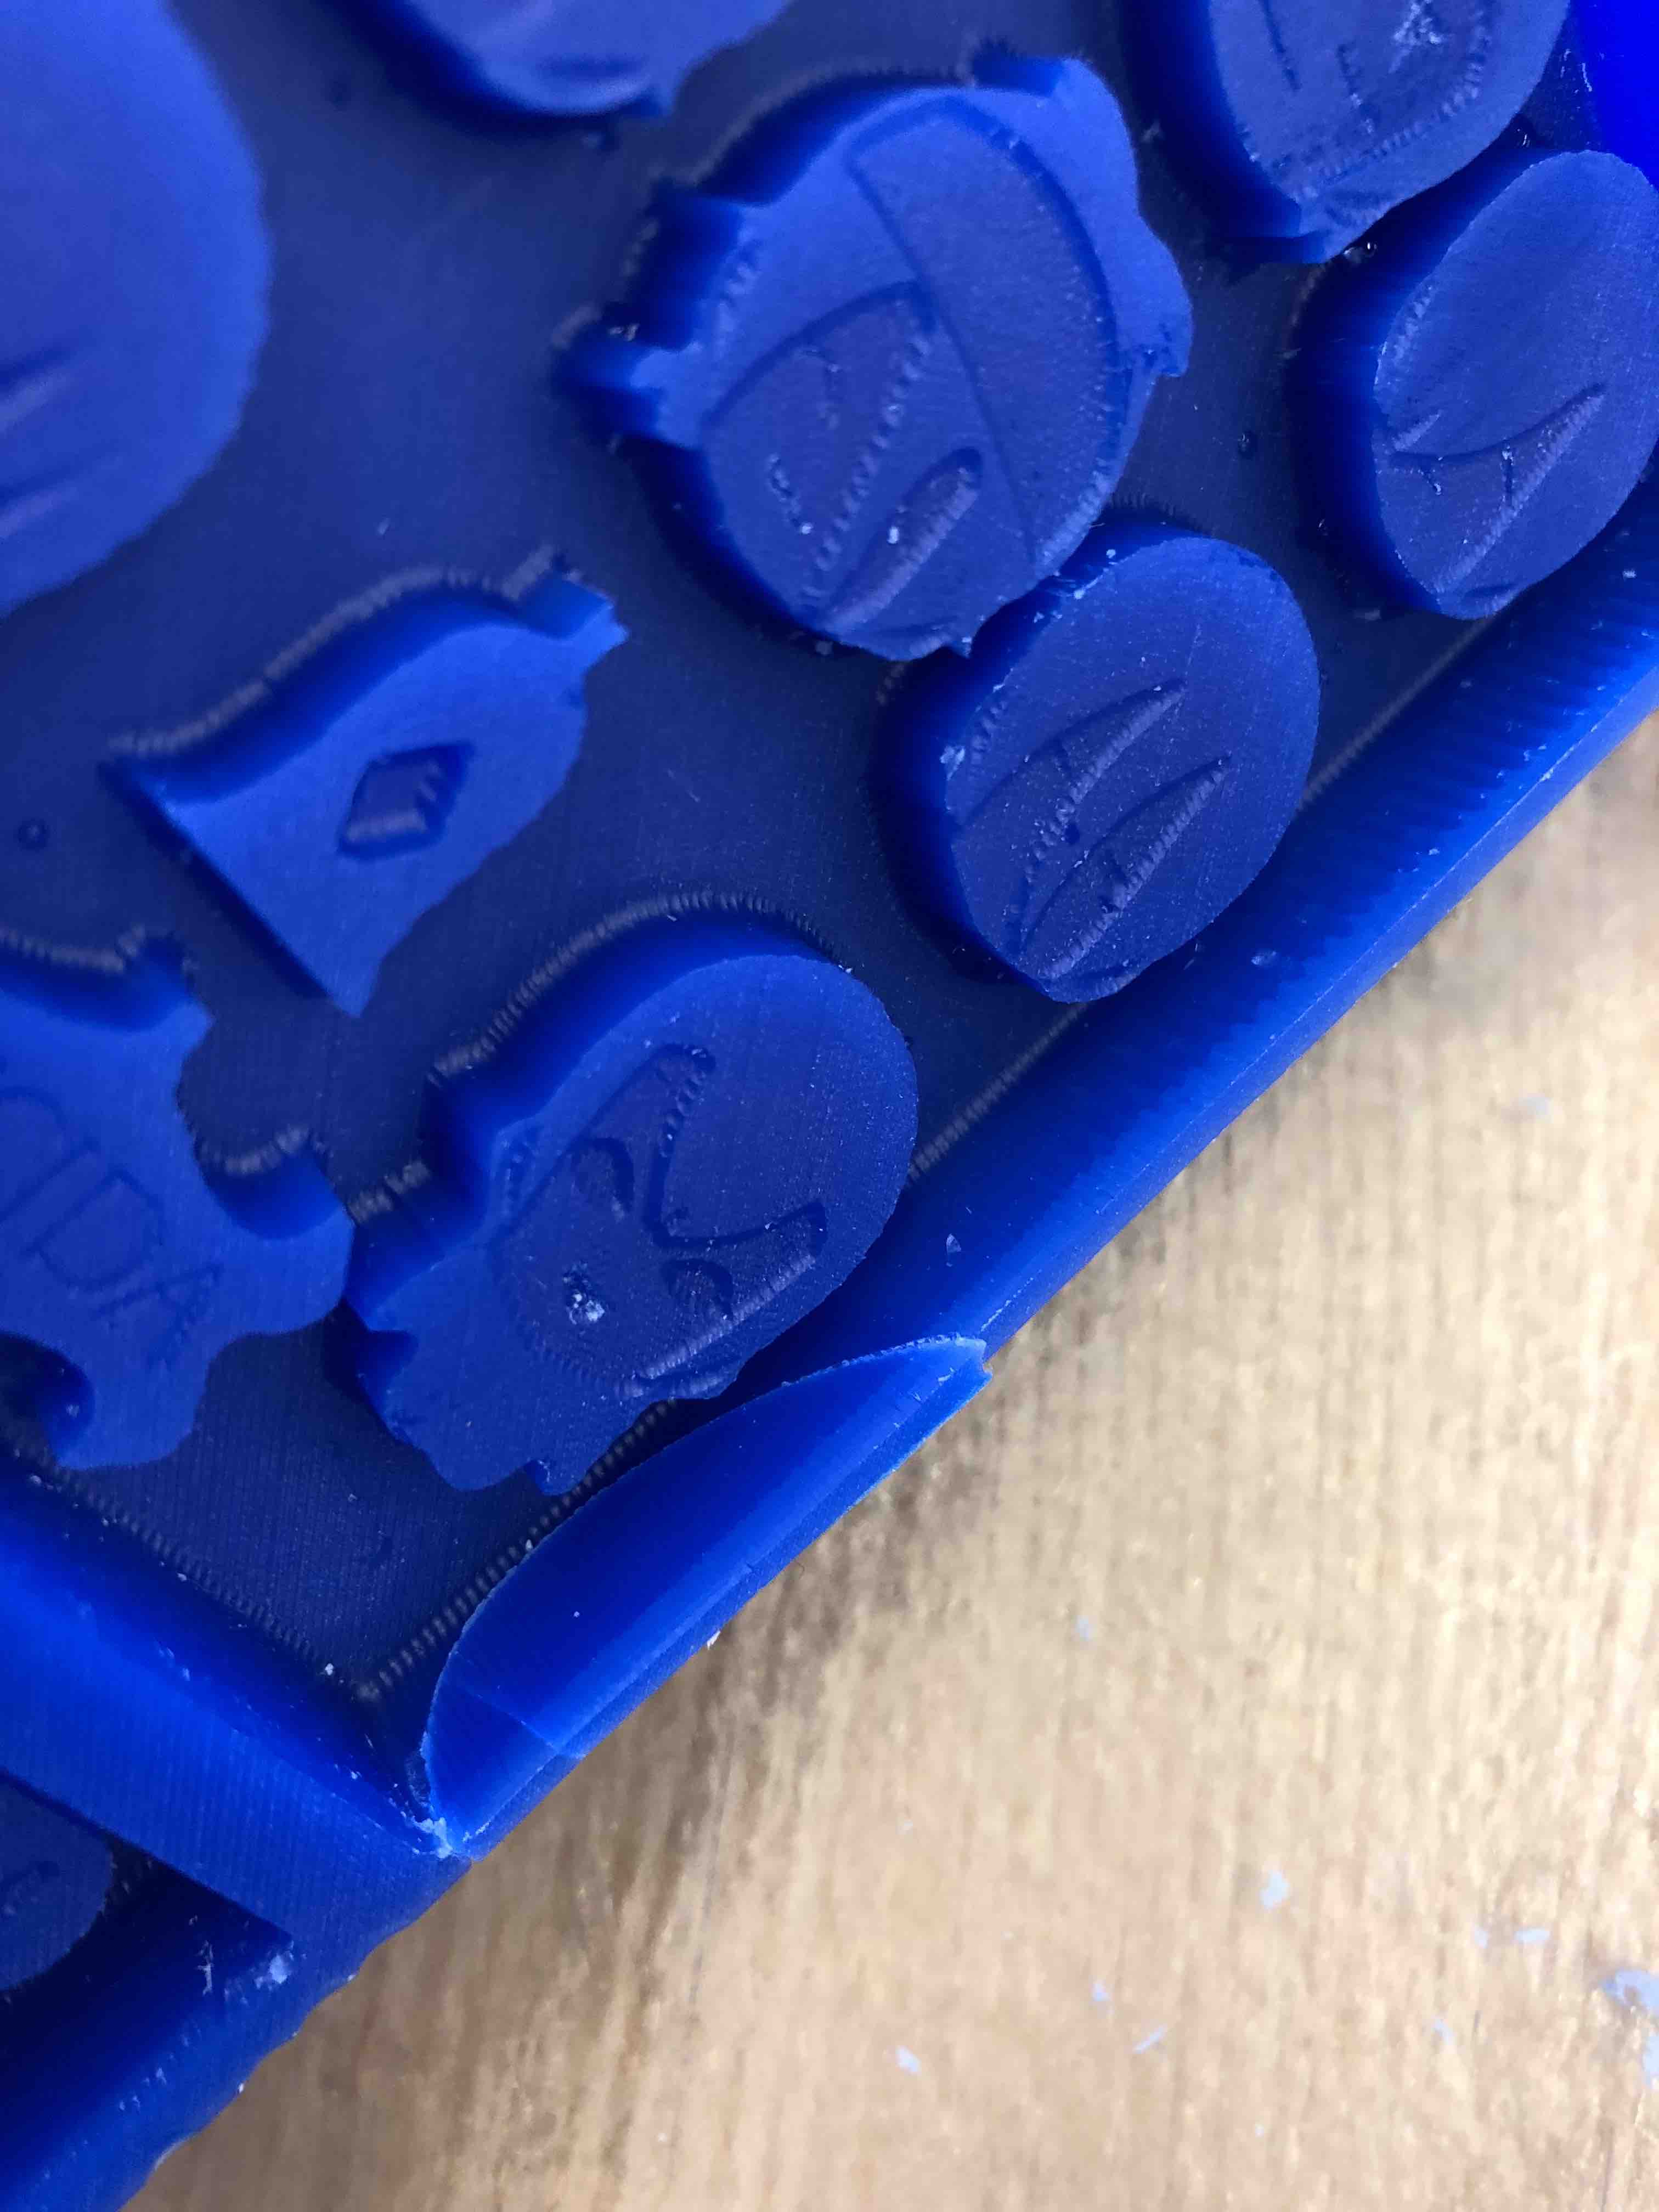
Because my design had so many small features, I had to do my refined/finished cut using a 0.0625" end mill. This took six hours and a half of milling!! Even with a mill of that size for the finish cut, smaller details in the piece did not emerge very clearly. However, using an even smaller bit diameter would have taken even more time, which is technically not ideal.
The first step to milling is securing the blue wax piece to a corner on the mill (I used the shark), using double sided tape. The piece should also be aligned such that it is parallel with the edge/ side at the corner of the mill base/bed.
Because I had measured my piece before designing, and thus designed based on those dimensions, I did not hvae to edit the dimnesions that appeared on the 3D Vcut code that poduces the GCode for the shark mill. The one thing that was crucial to change in my case was the tool used for the finished cut. I changed it to 0.0625, so that the path generated matches this tool.
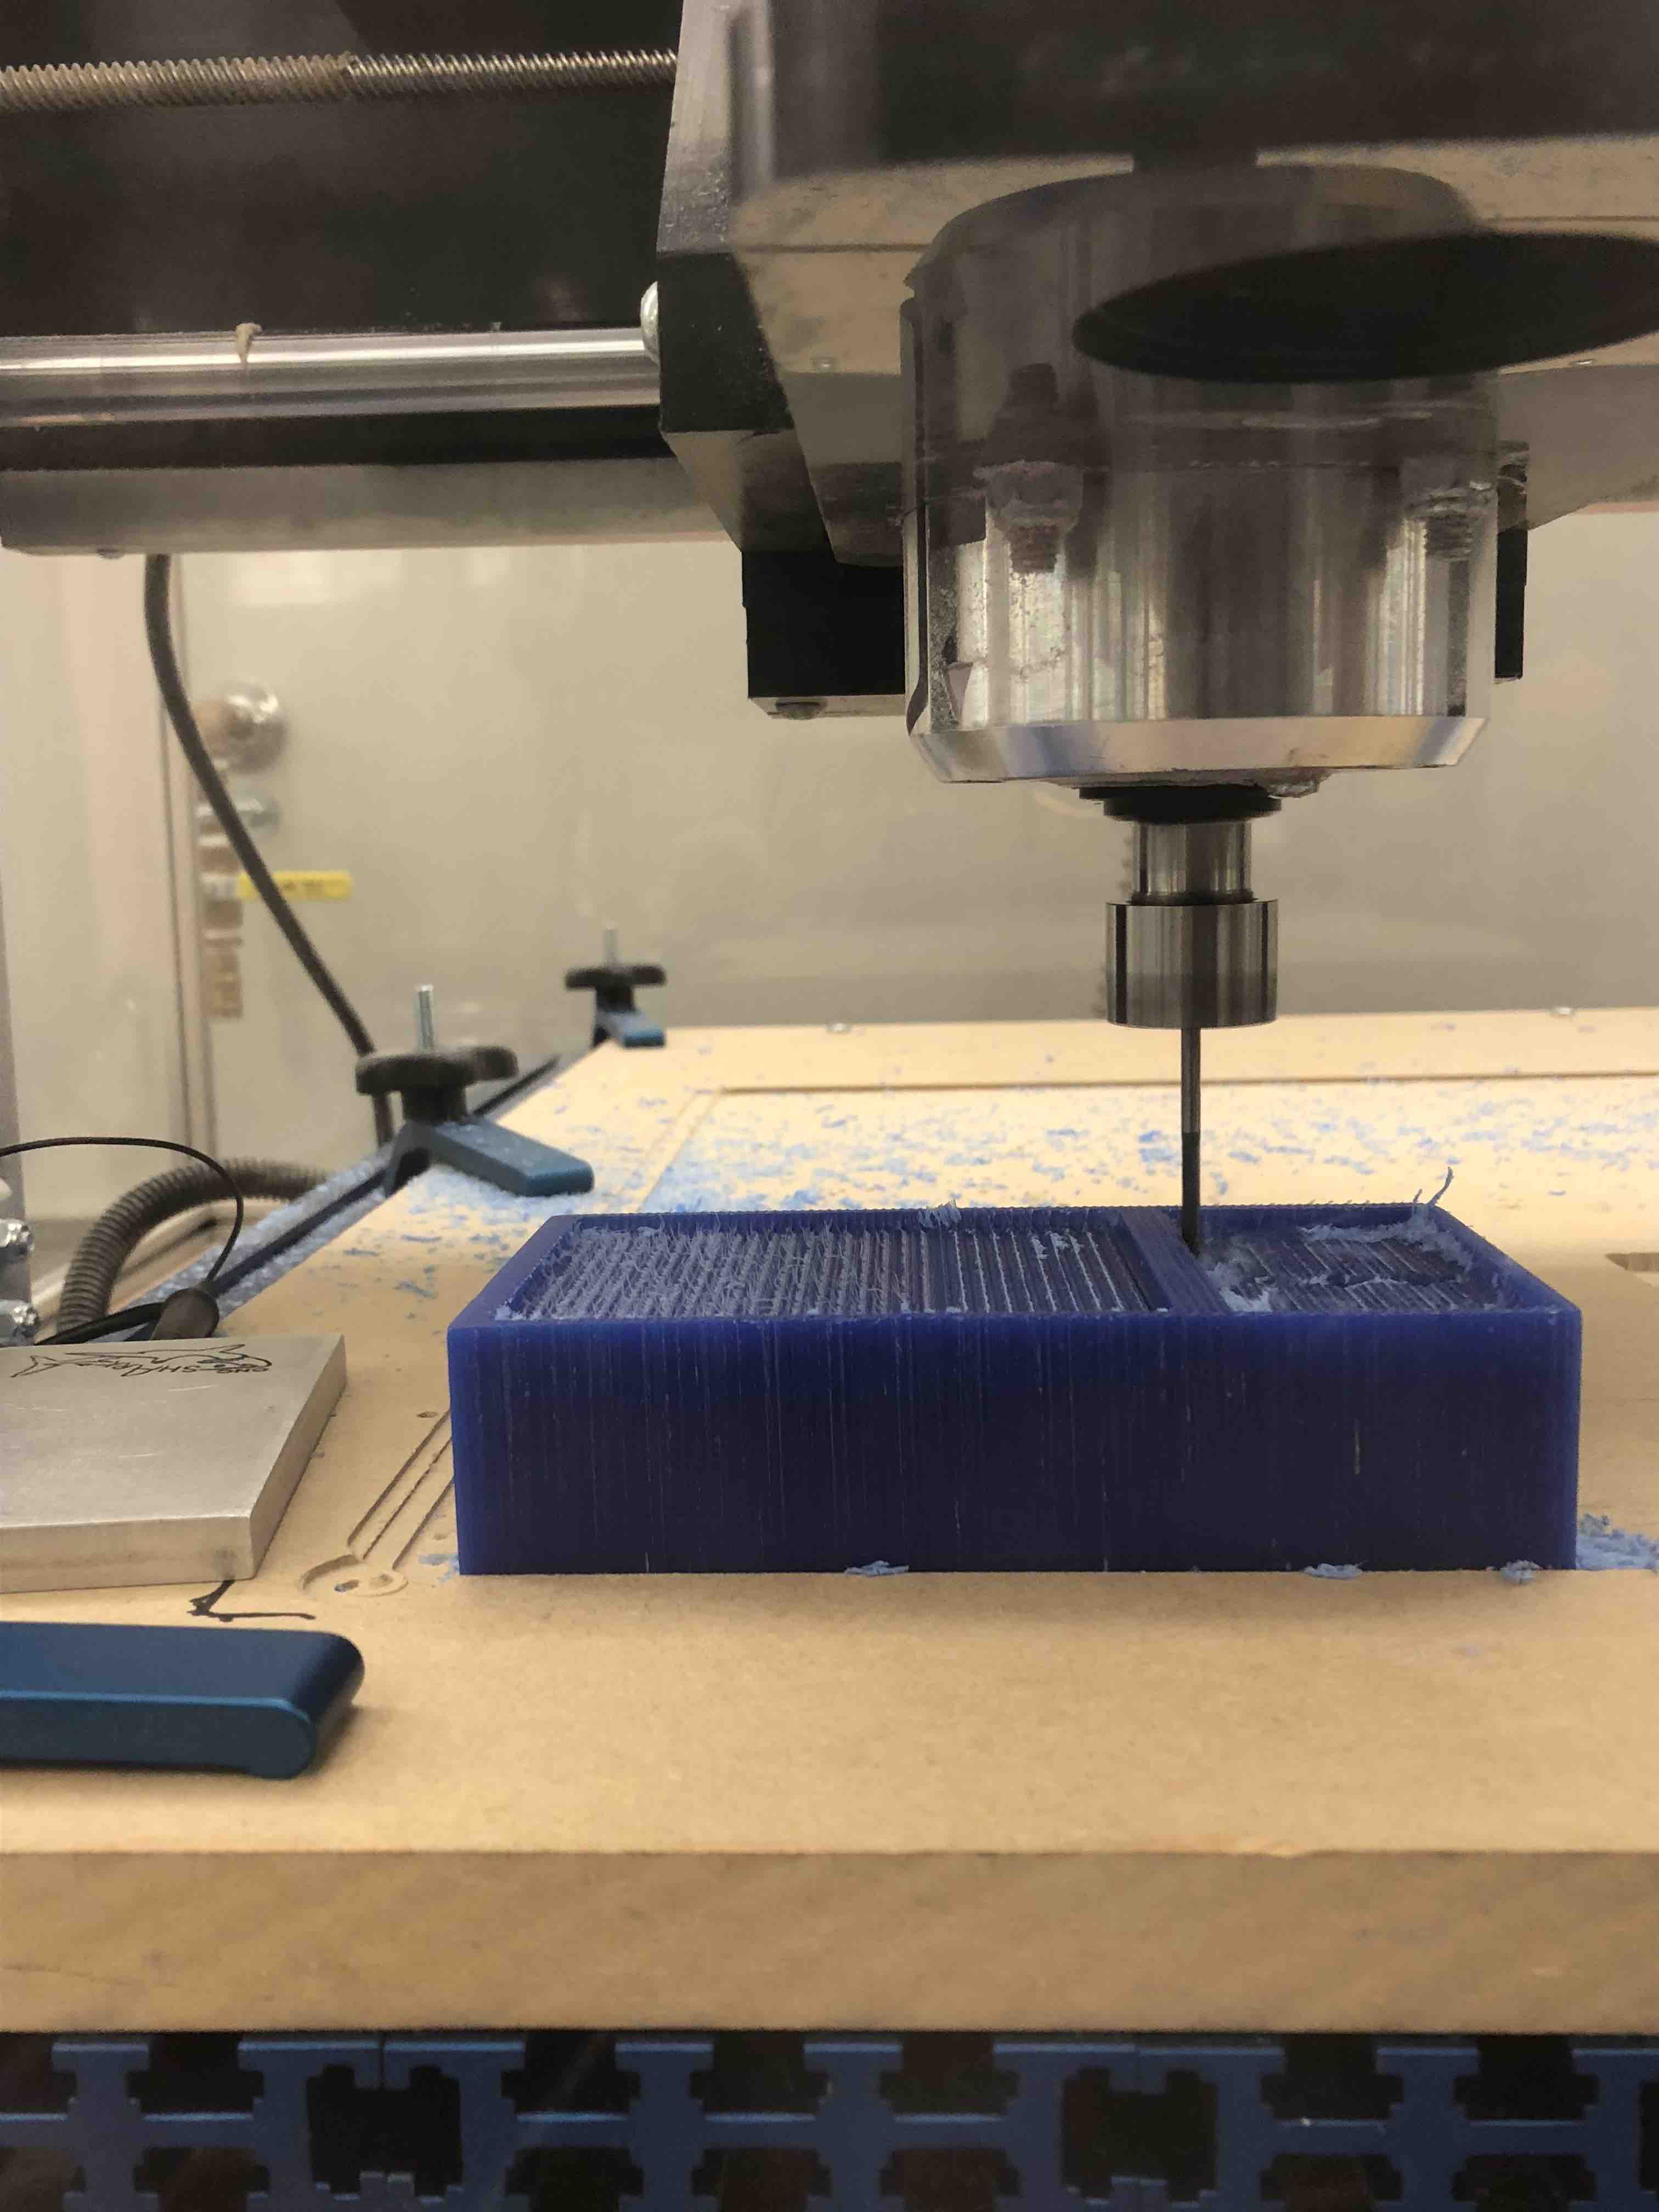
Because some of the fine features in my design weren't visible, and since the material we are using for the prelimenary mold is wax, I decided to go over them using a sharp edge tool manually--bad idea! Since the mill cut in a diagonal manner, all the lines on the wax(smooth lines that compose the wax surface) pointed in the diagonal direction. This made it very hard to do edits even with a steady hand, because you bump into these lines whenever you move the tool to create a curve.
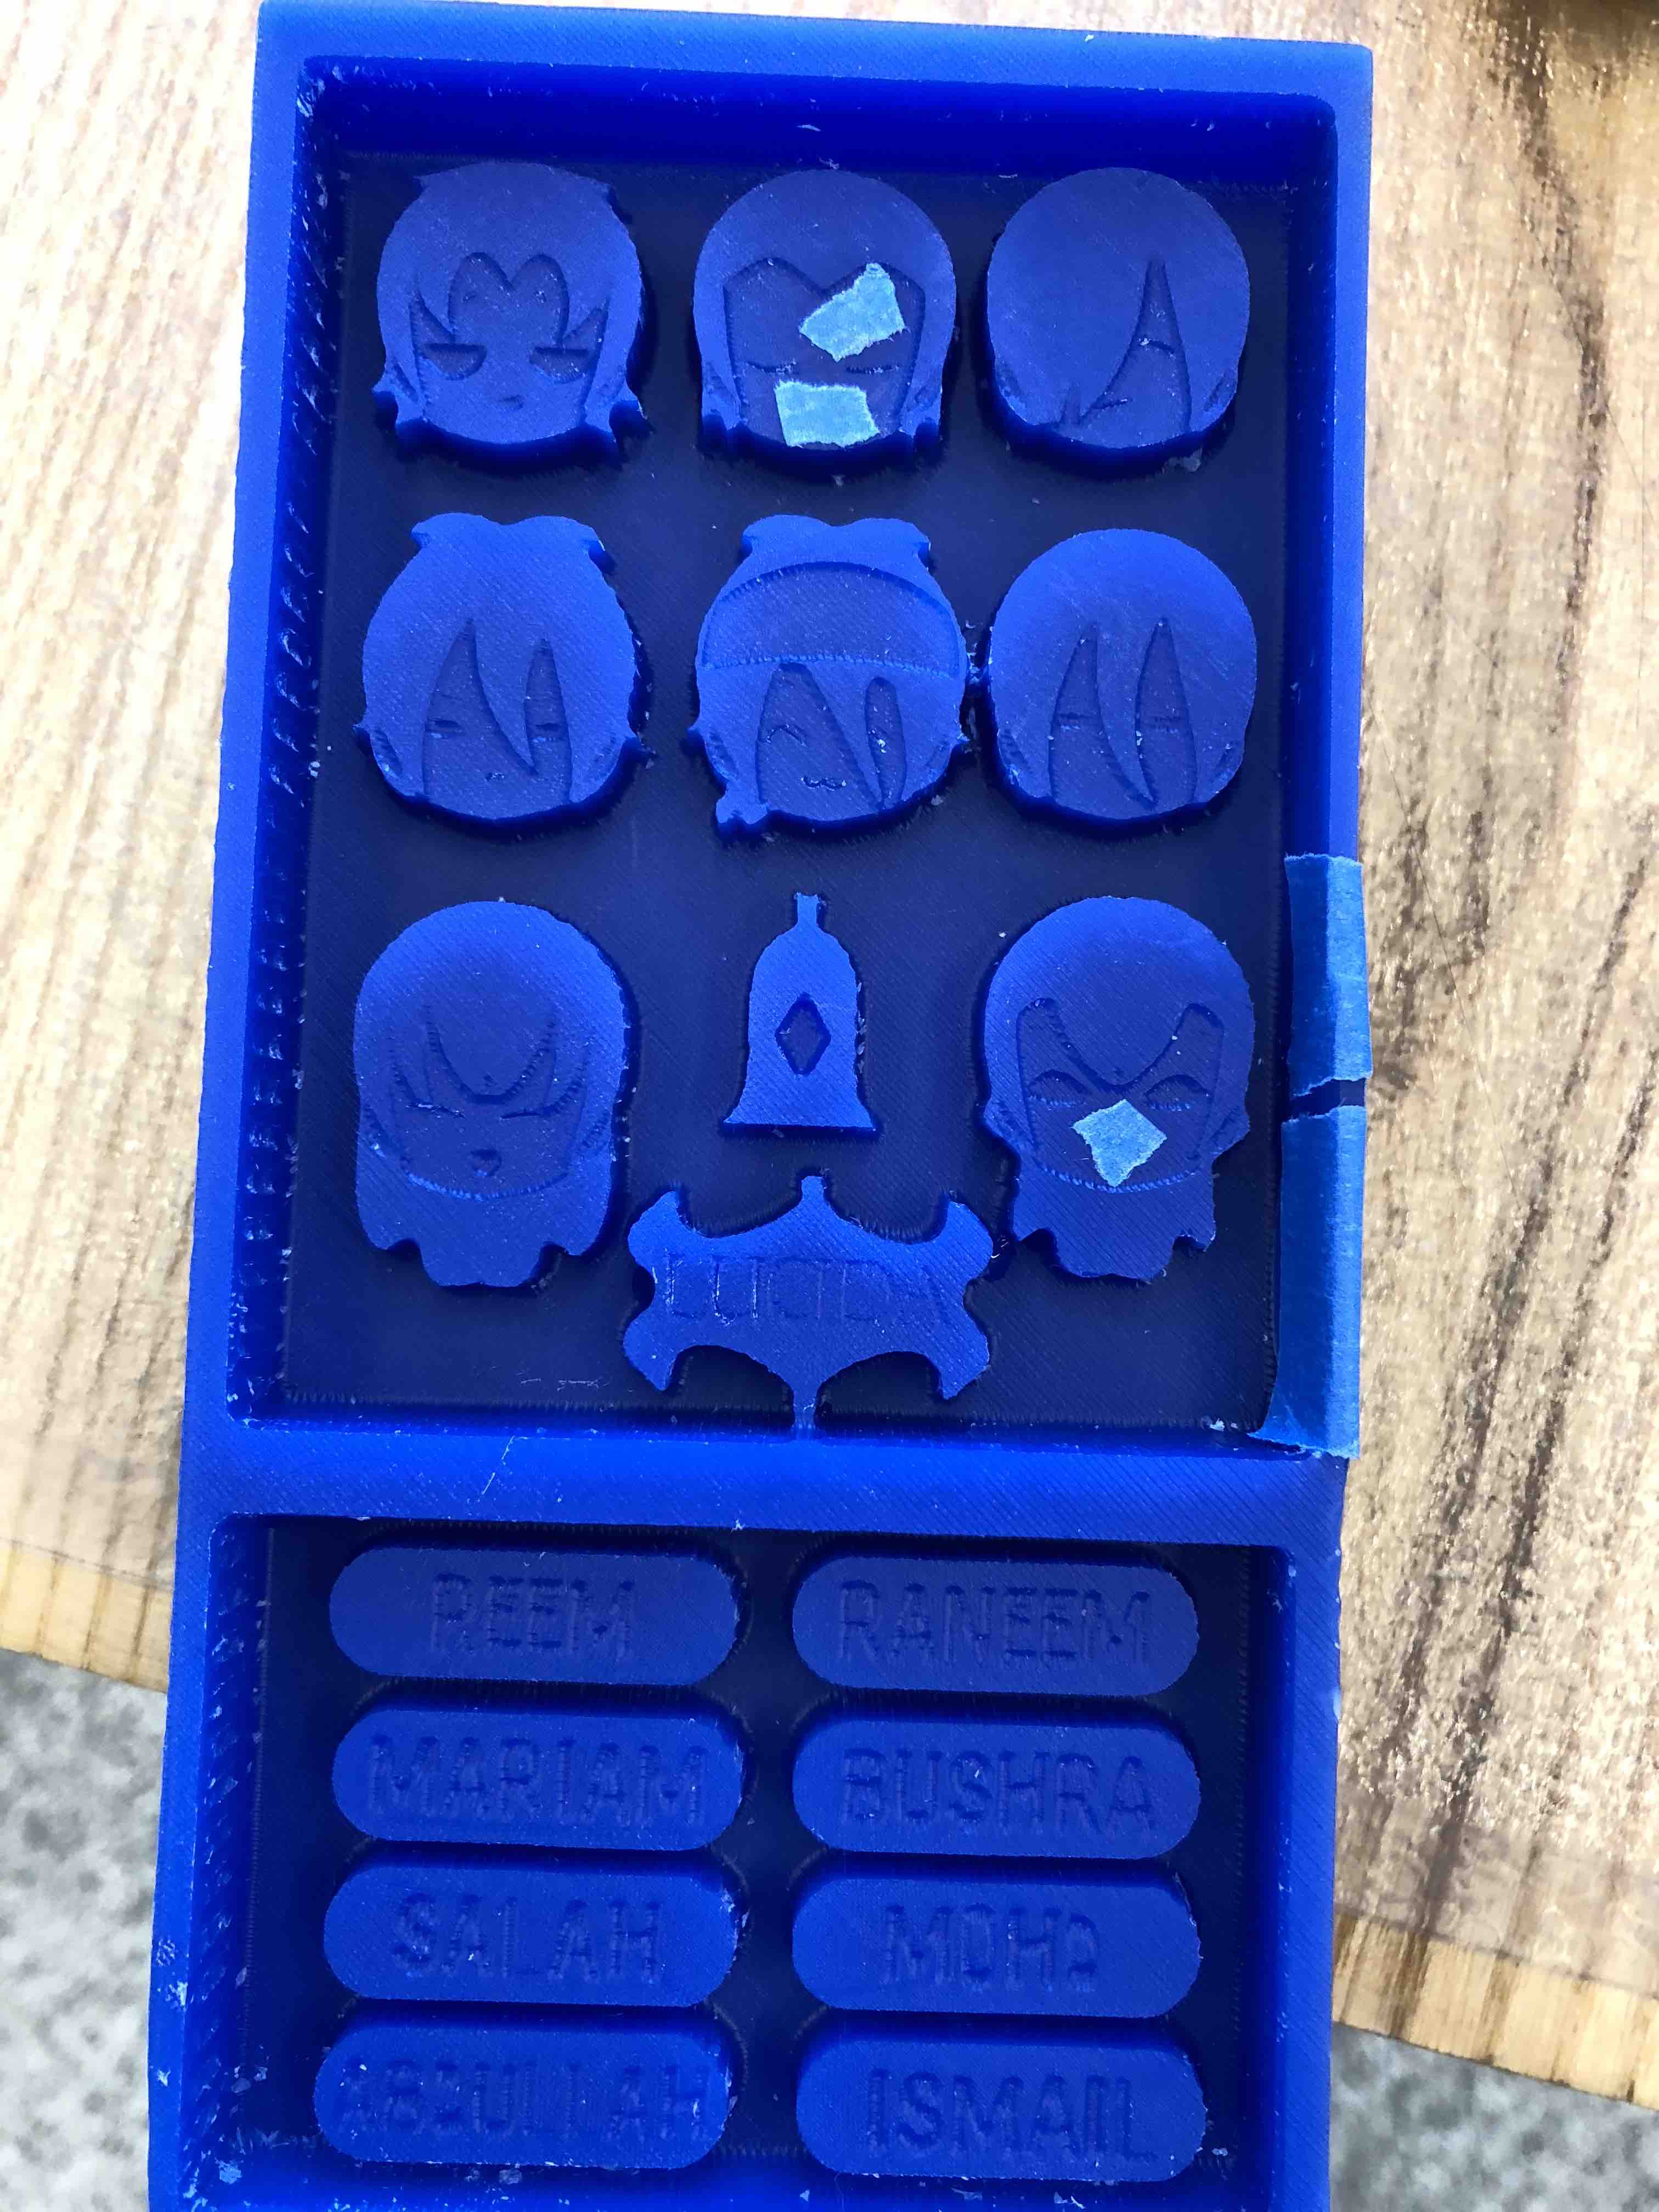
In addition, while I was removing the excess of wax debris, I accidentally hit my wax piece against the trash can (it wasn't even a strong hit), and a piece from its side fell off. Wax is very fragile. Some tape did the trick of fixing it
Intrigued by the tape idea, I decided to hide the blemishes I horribly created on my two of my characters using tape. I pressed the tape against the wax to level it, but I did not anticipate that the tape would actually create an apparent difference in level between untaped and taped regions after I took out the mold.
Before pouring and preparing the resin mix, I carefully washed my wax pre-mold.
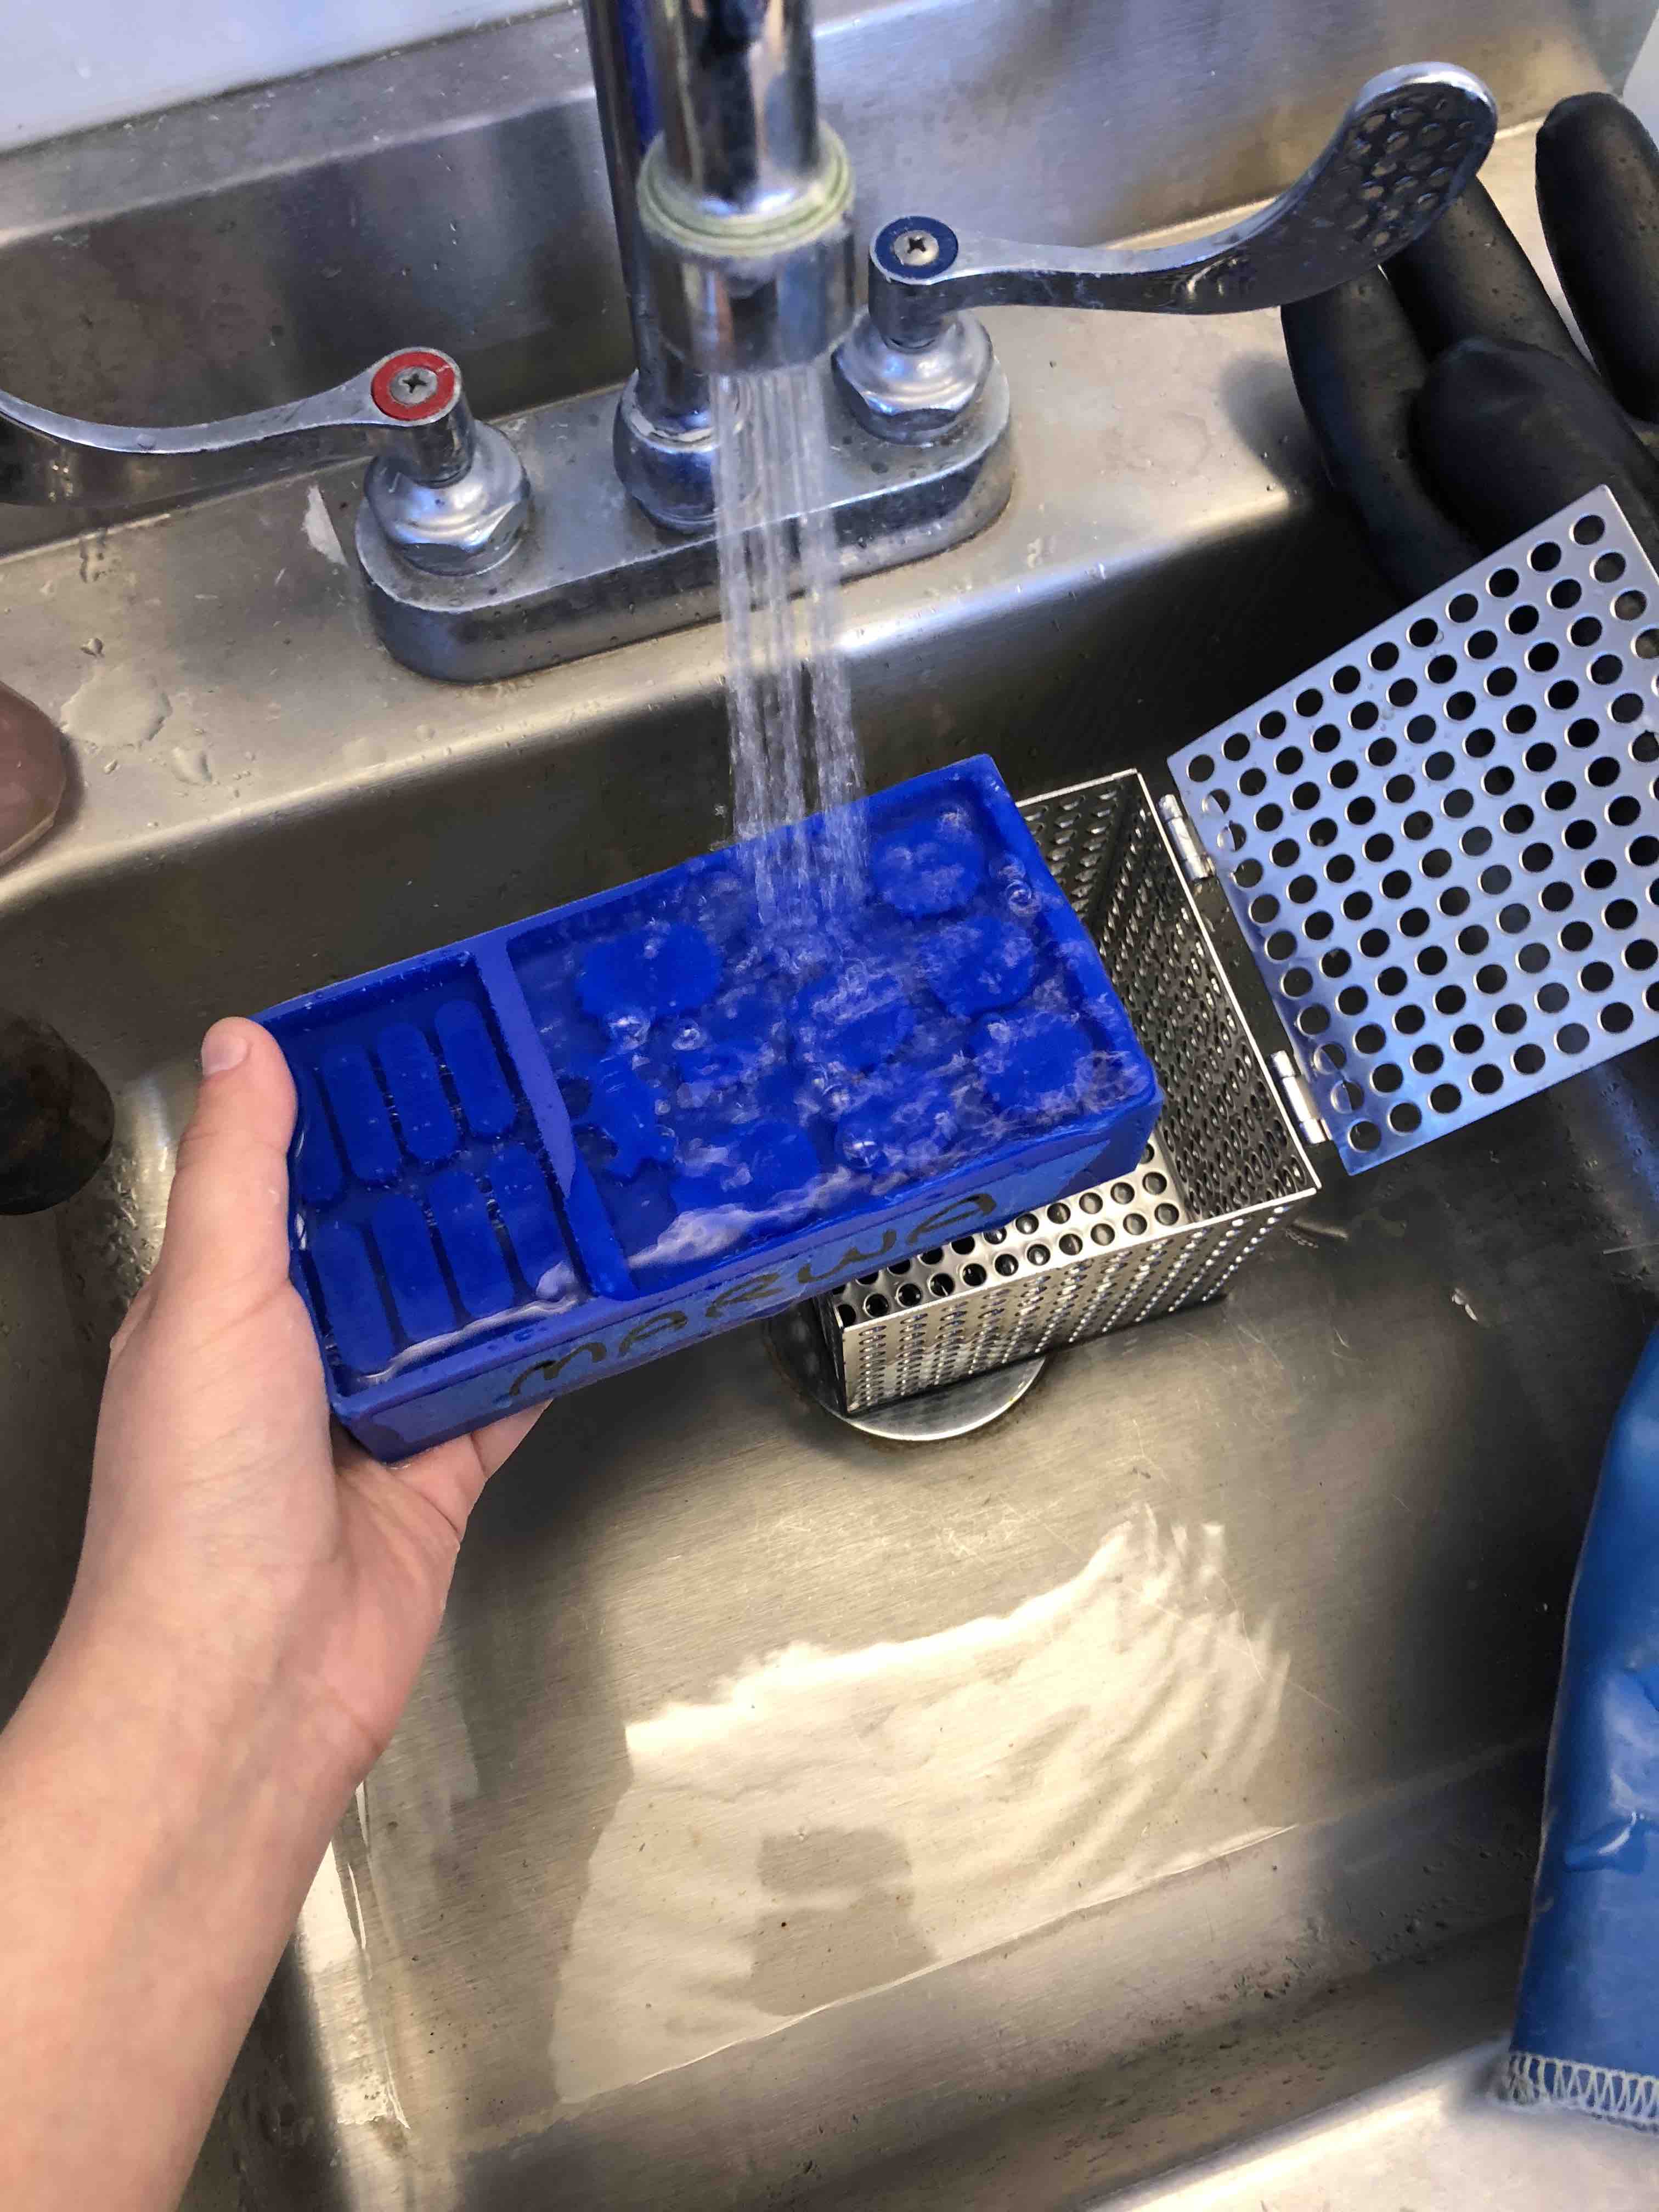
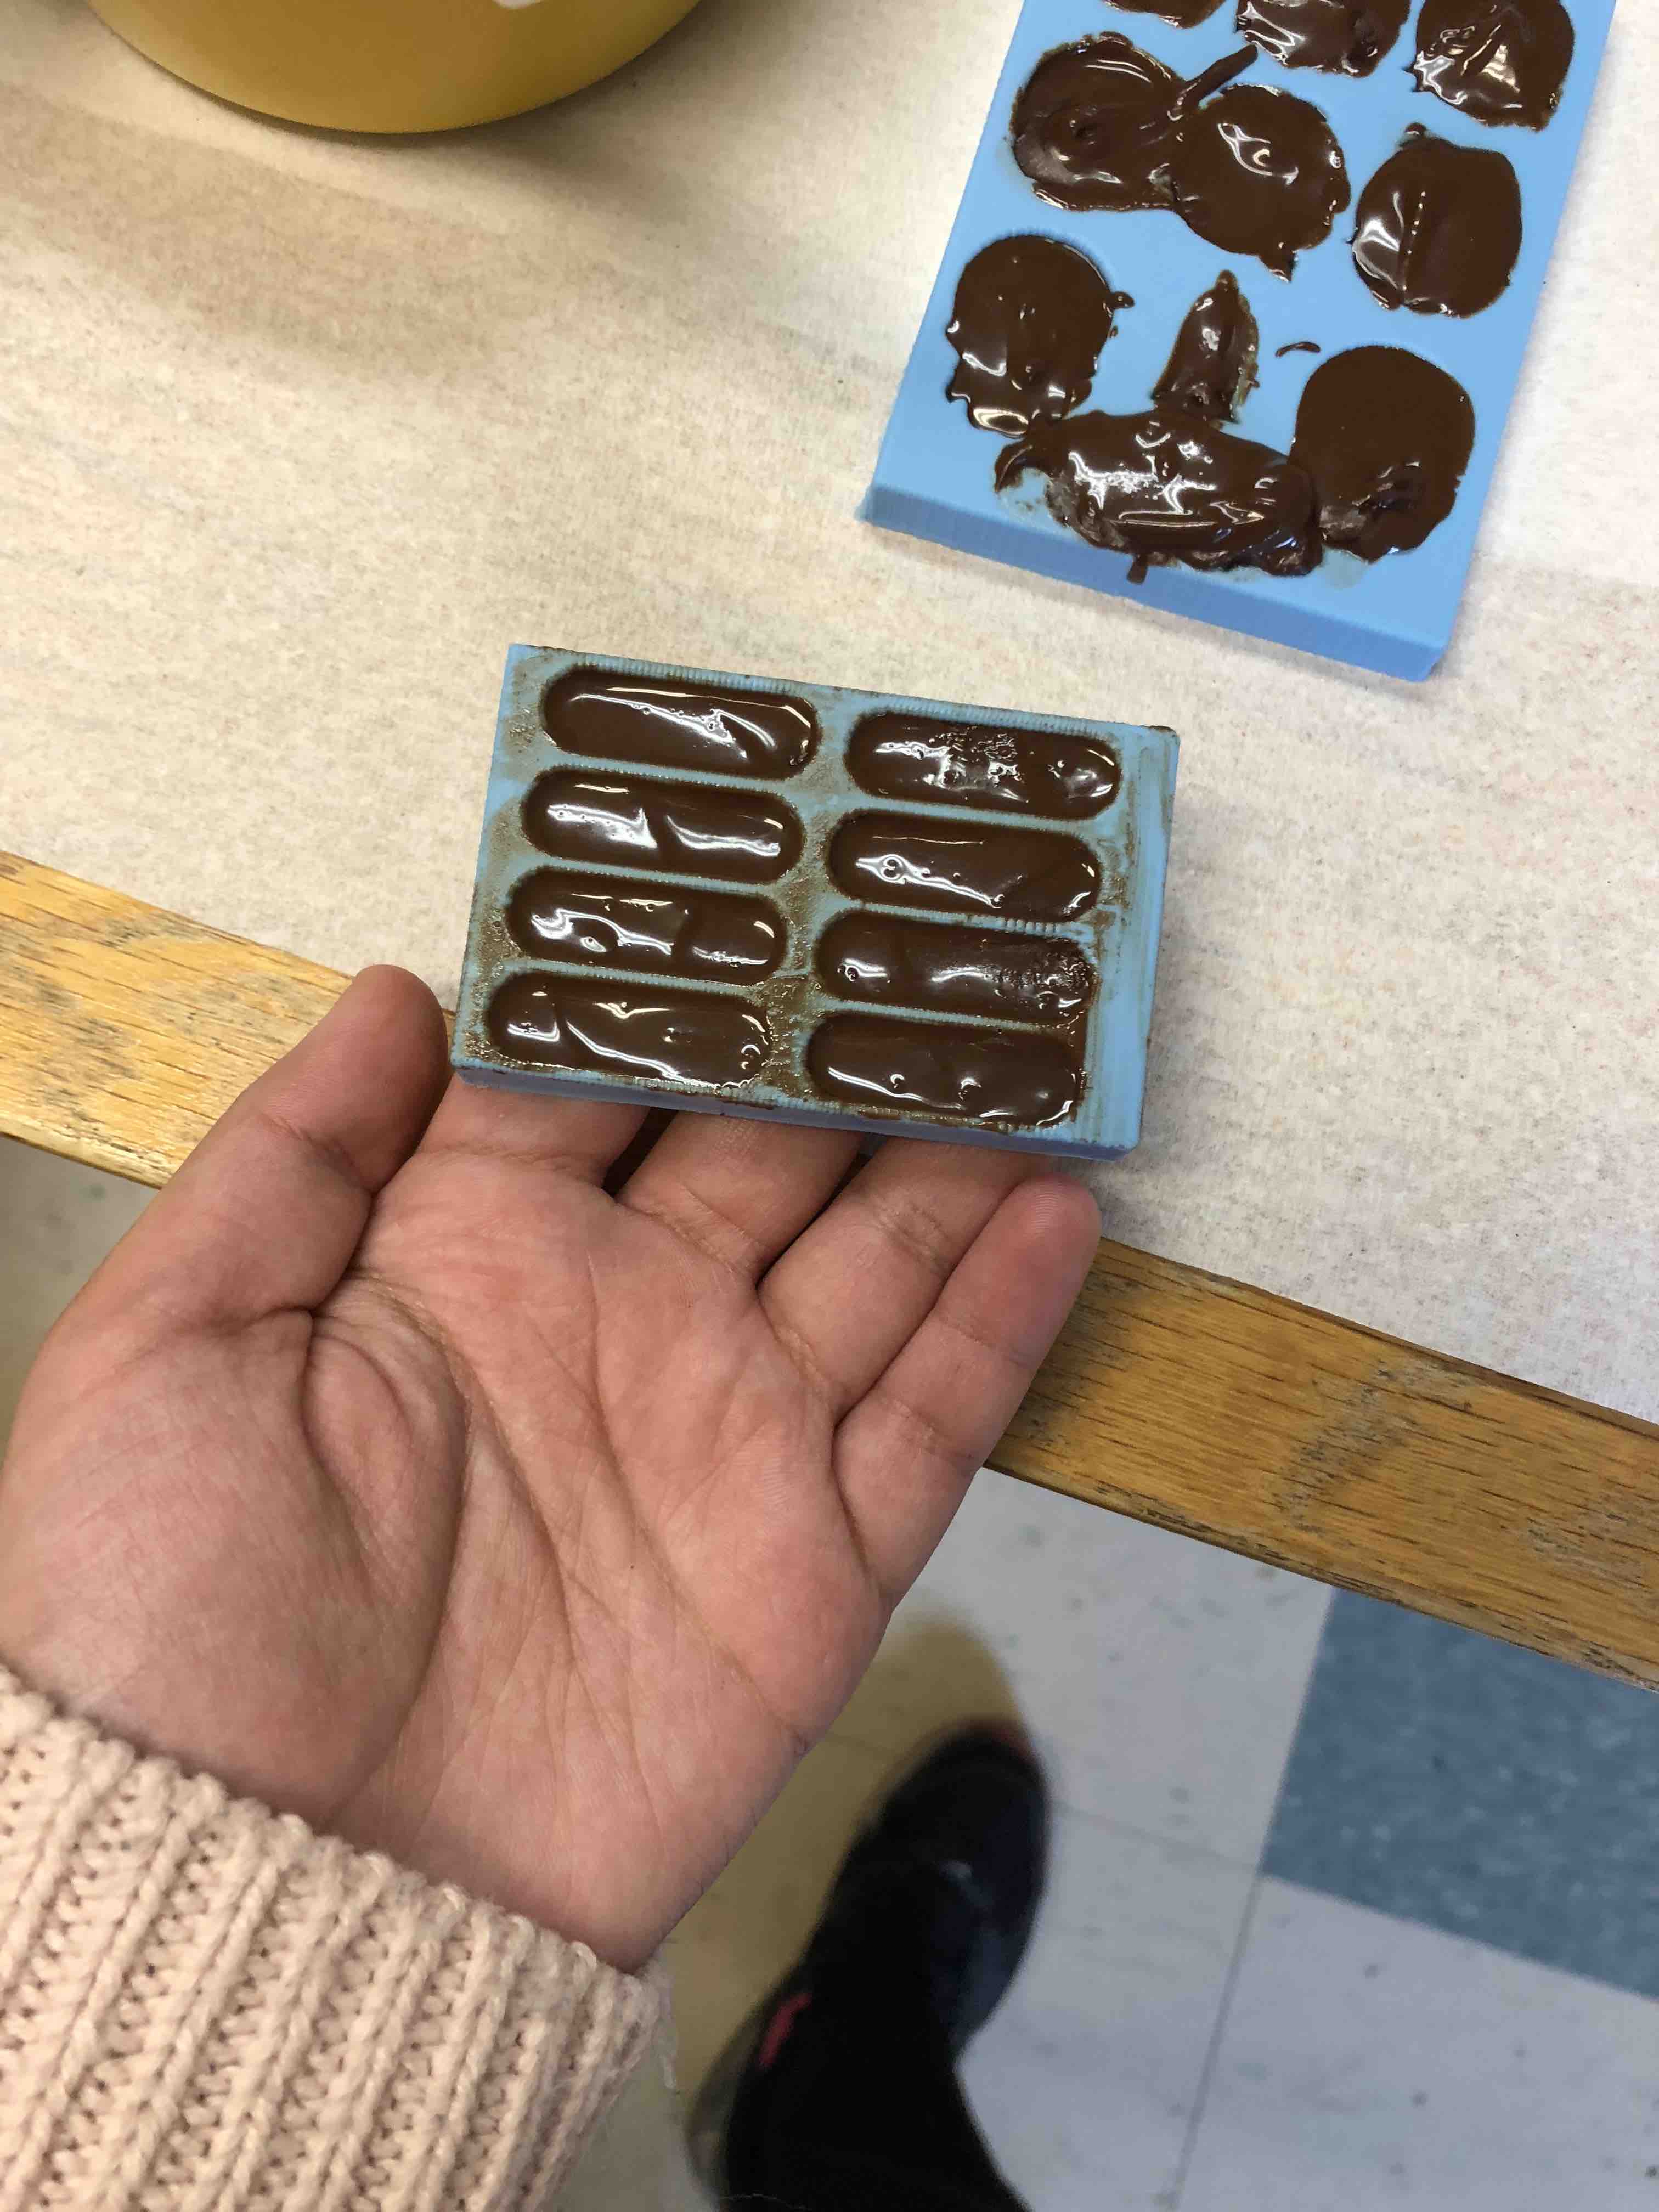
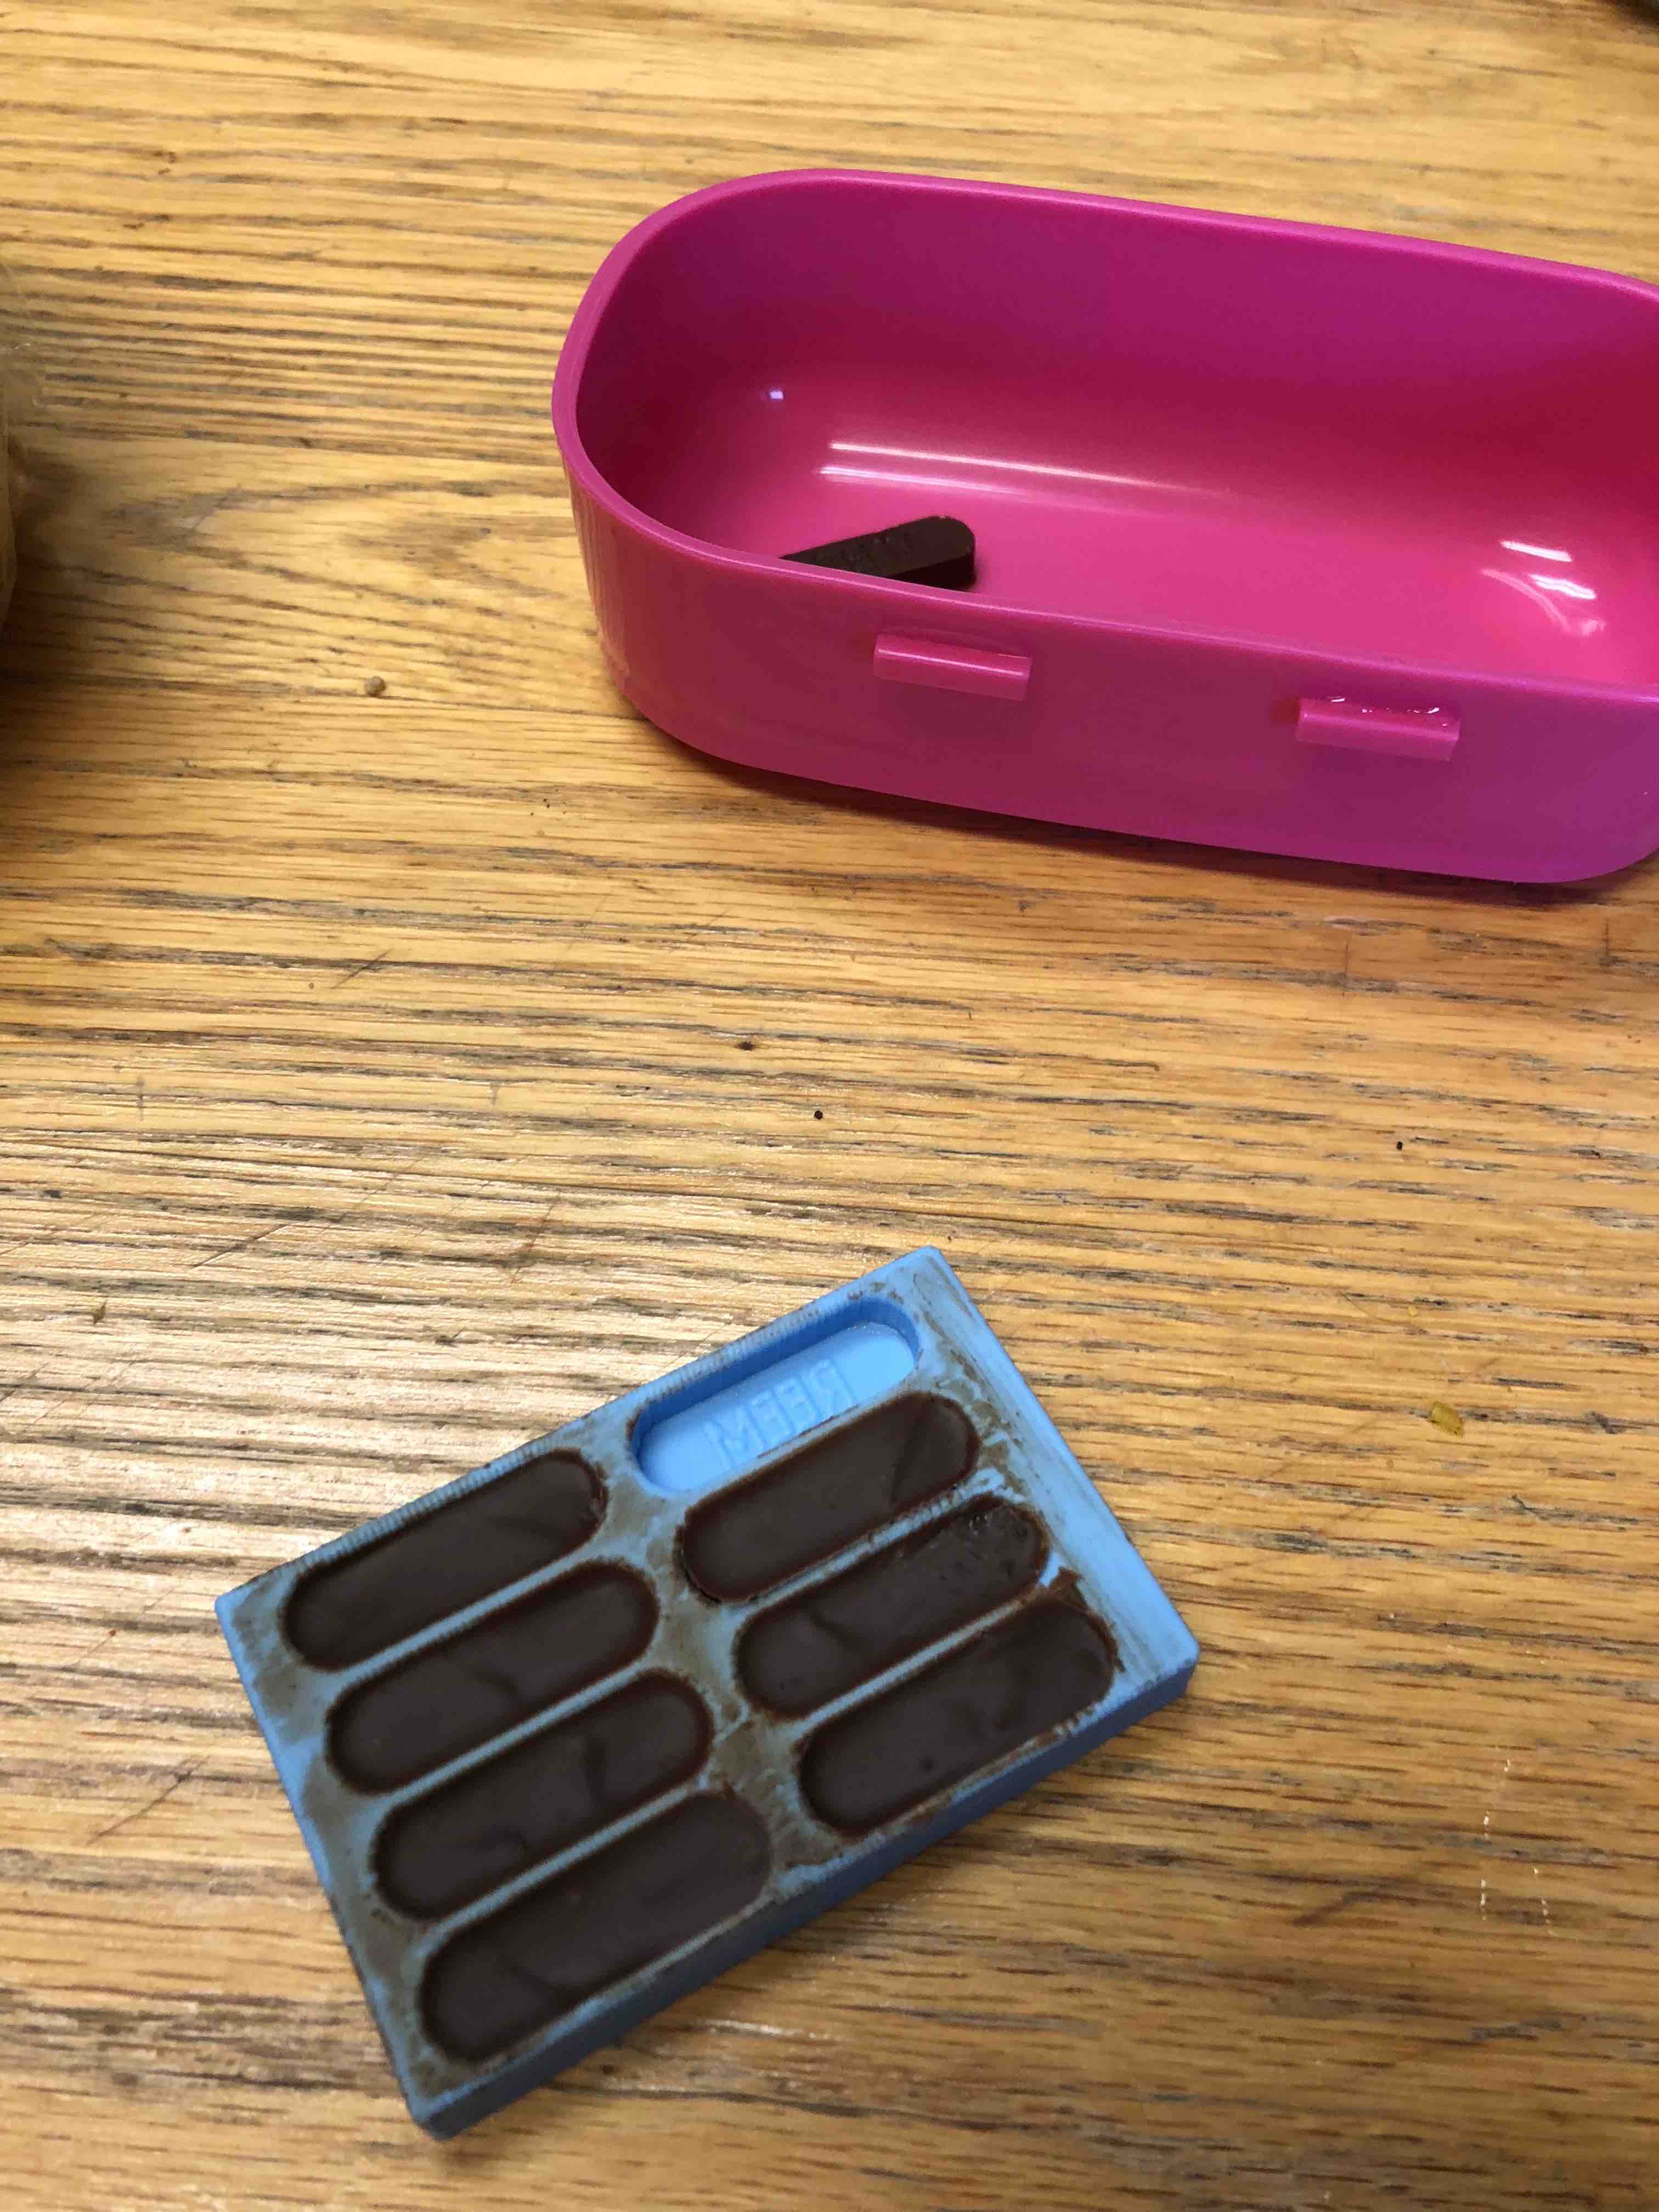
The food safe silicon I used had a mixing ratio of 100A:10B (BY WEIGHT), and was very thick. I mixed it for around four minutes, then poured it into the wax mold carefully.I tapped on the side to get rid og bubbles. The curing time for this resin was 6 hours. But I let it cure for six hours and a half.

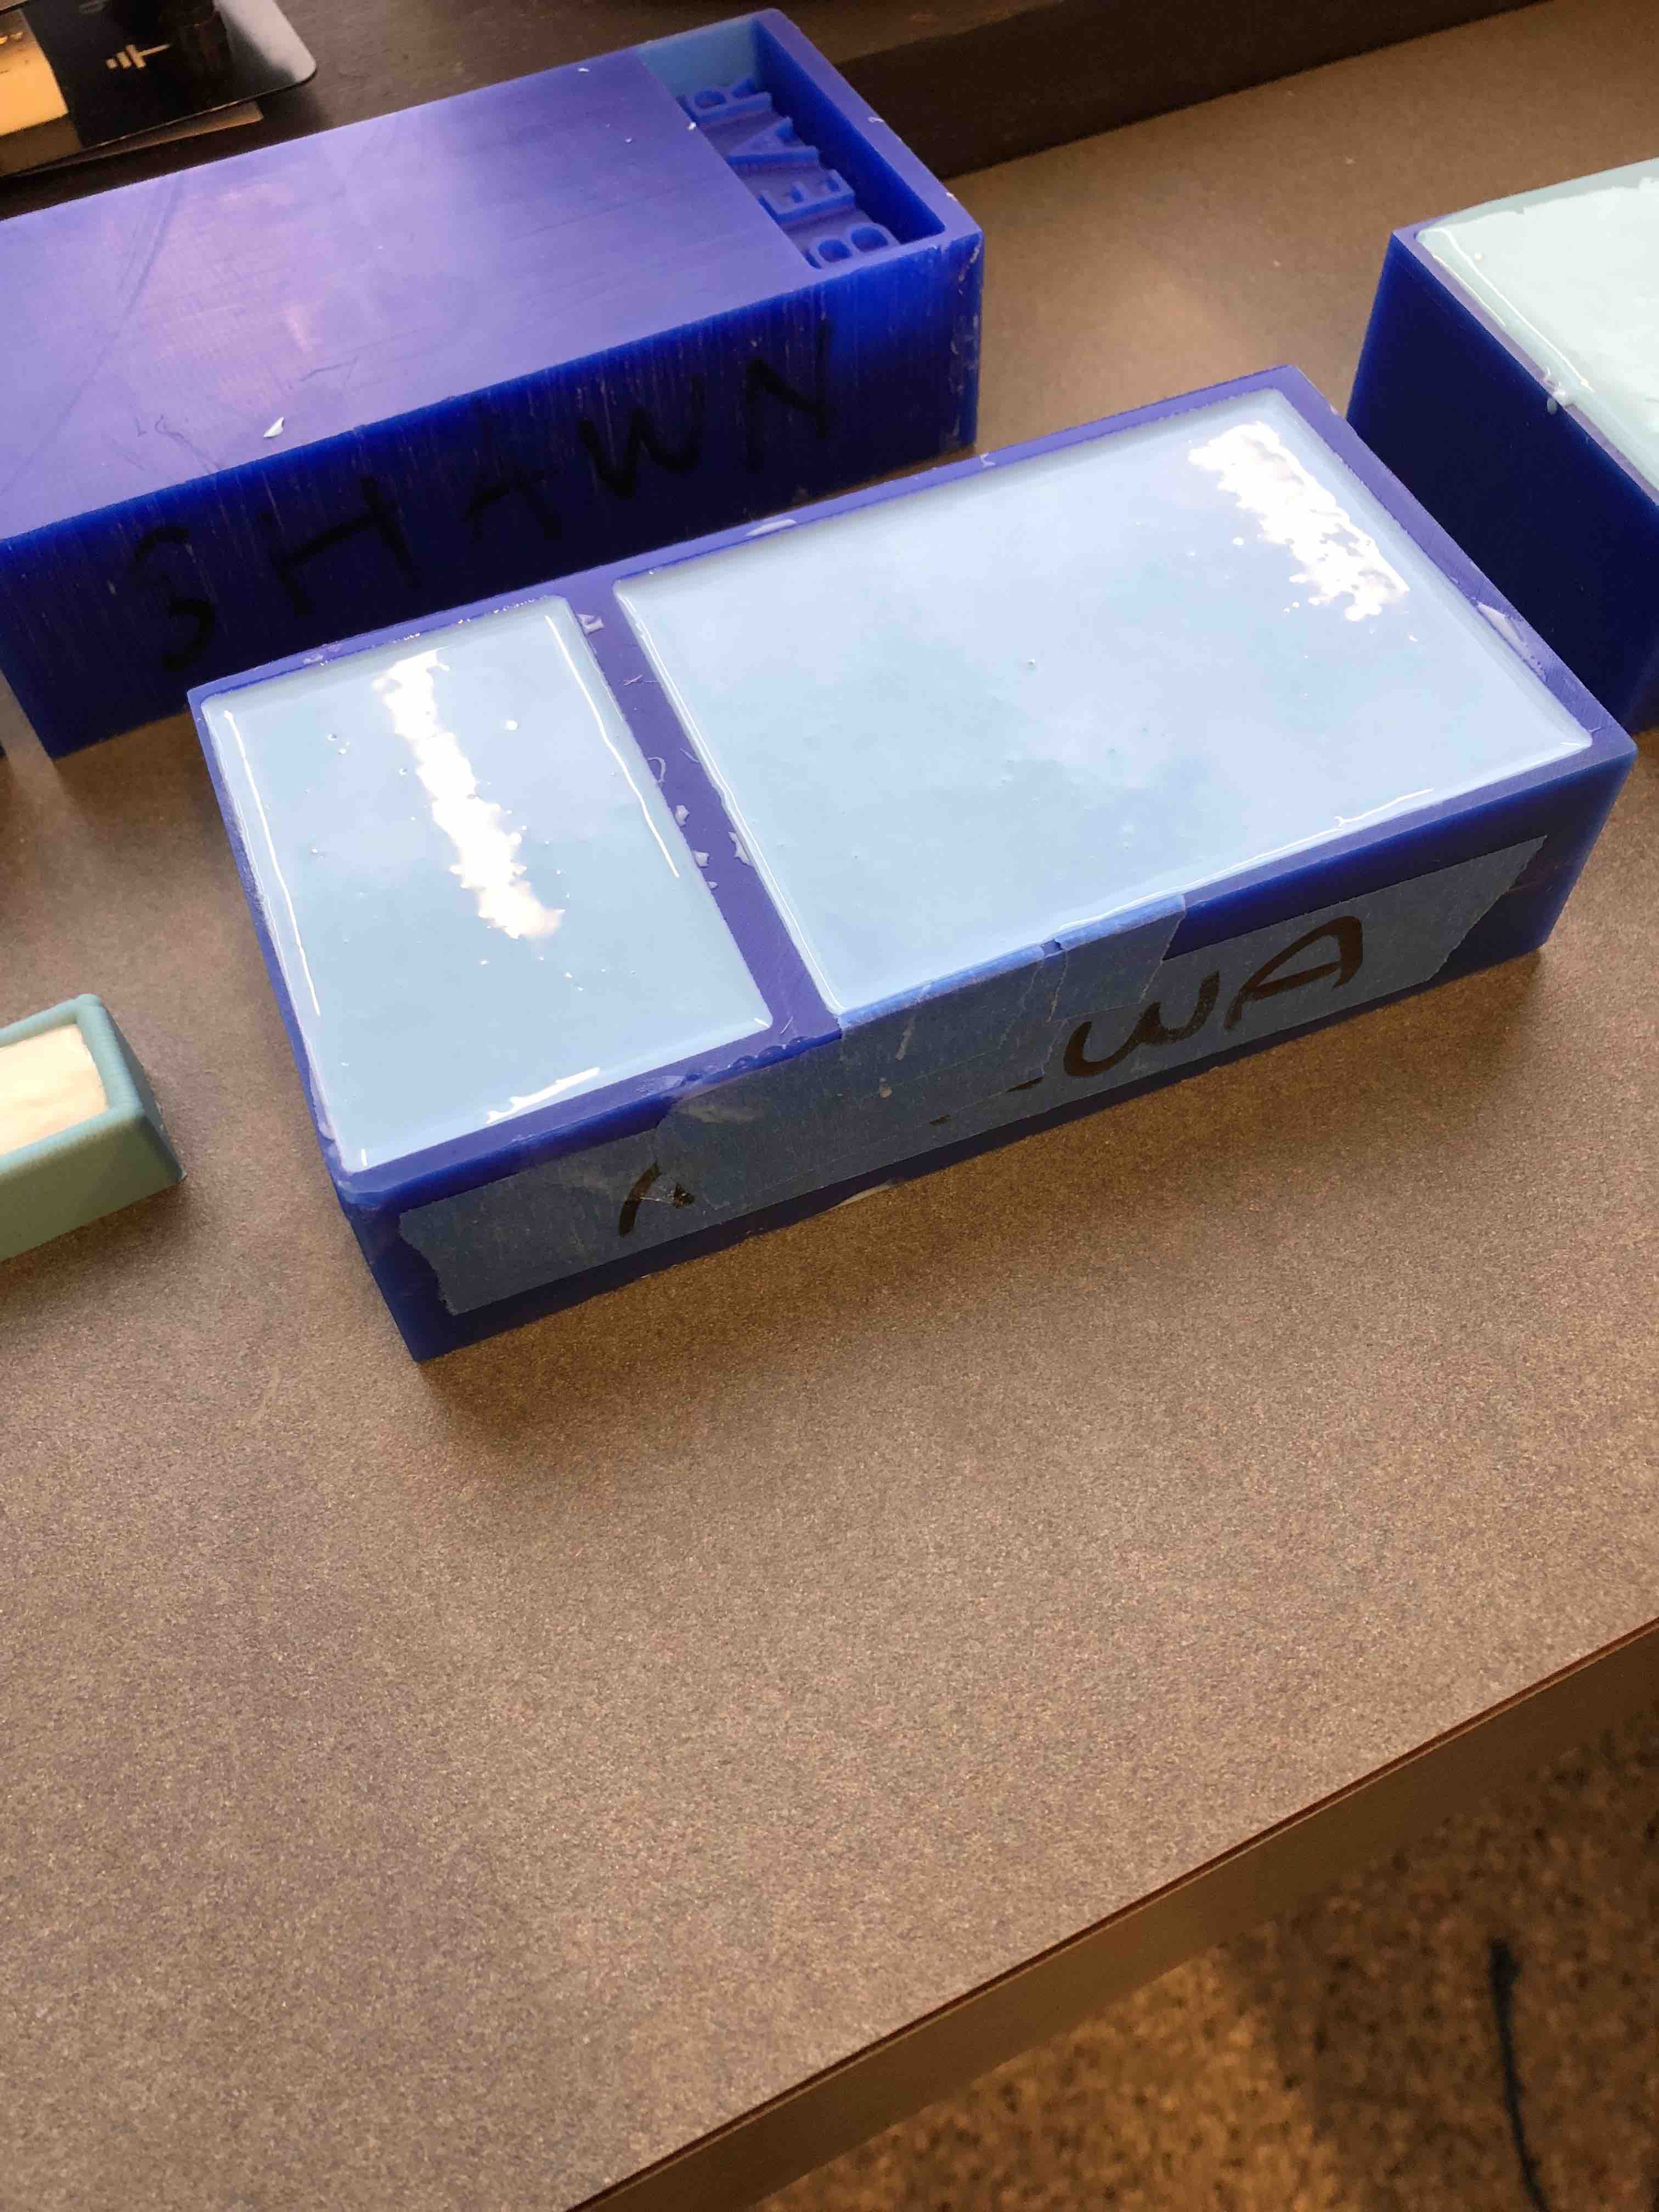
After the resin finished curing, beacuse the resin material is so thic and stiff, removing it was so hard, that my TA Ben helped me do it. It also resulted in breaking a part of the wax which we then used tape on. The tape hwoever did not stick as well it did before pouring the resin. I speculate that it is due to the presence of a thin layer of resin on the wax. This is beacuse tape does not stick to the mold created with the resin.
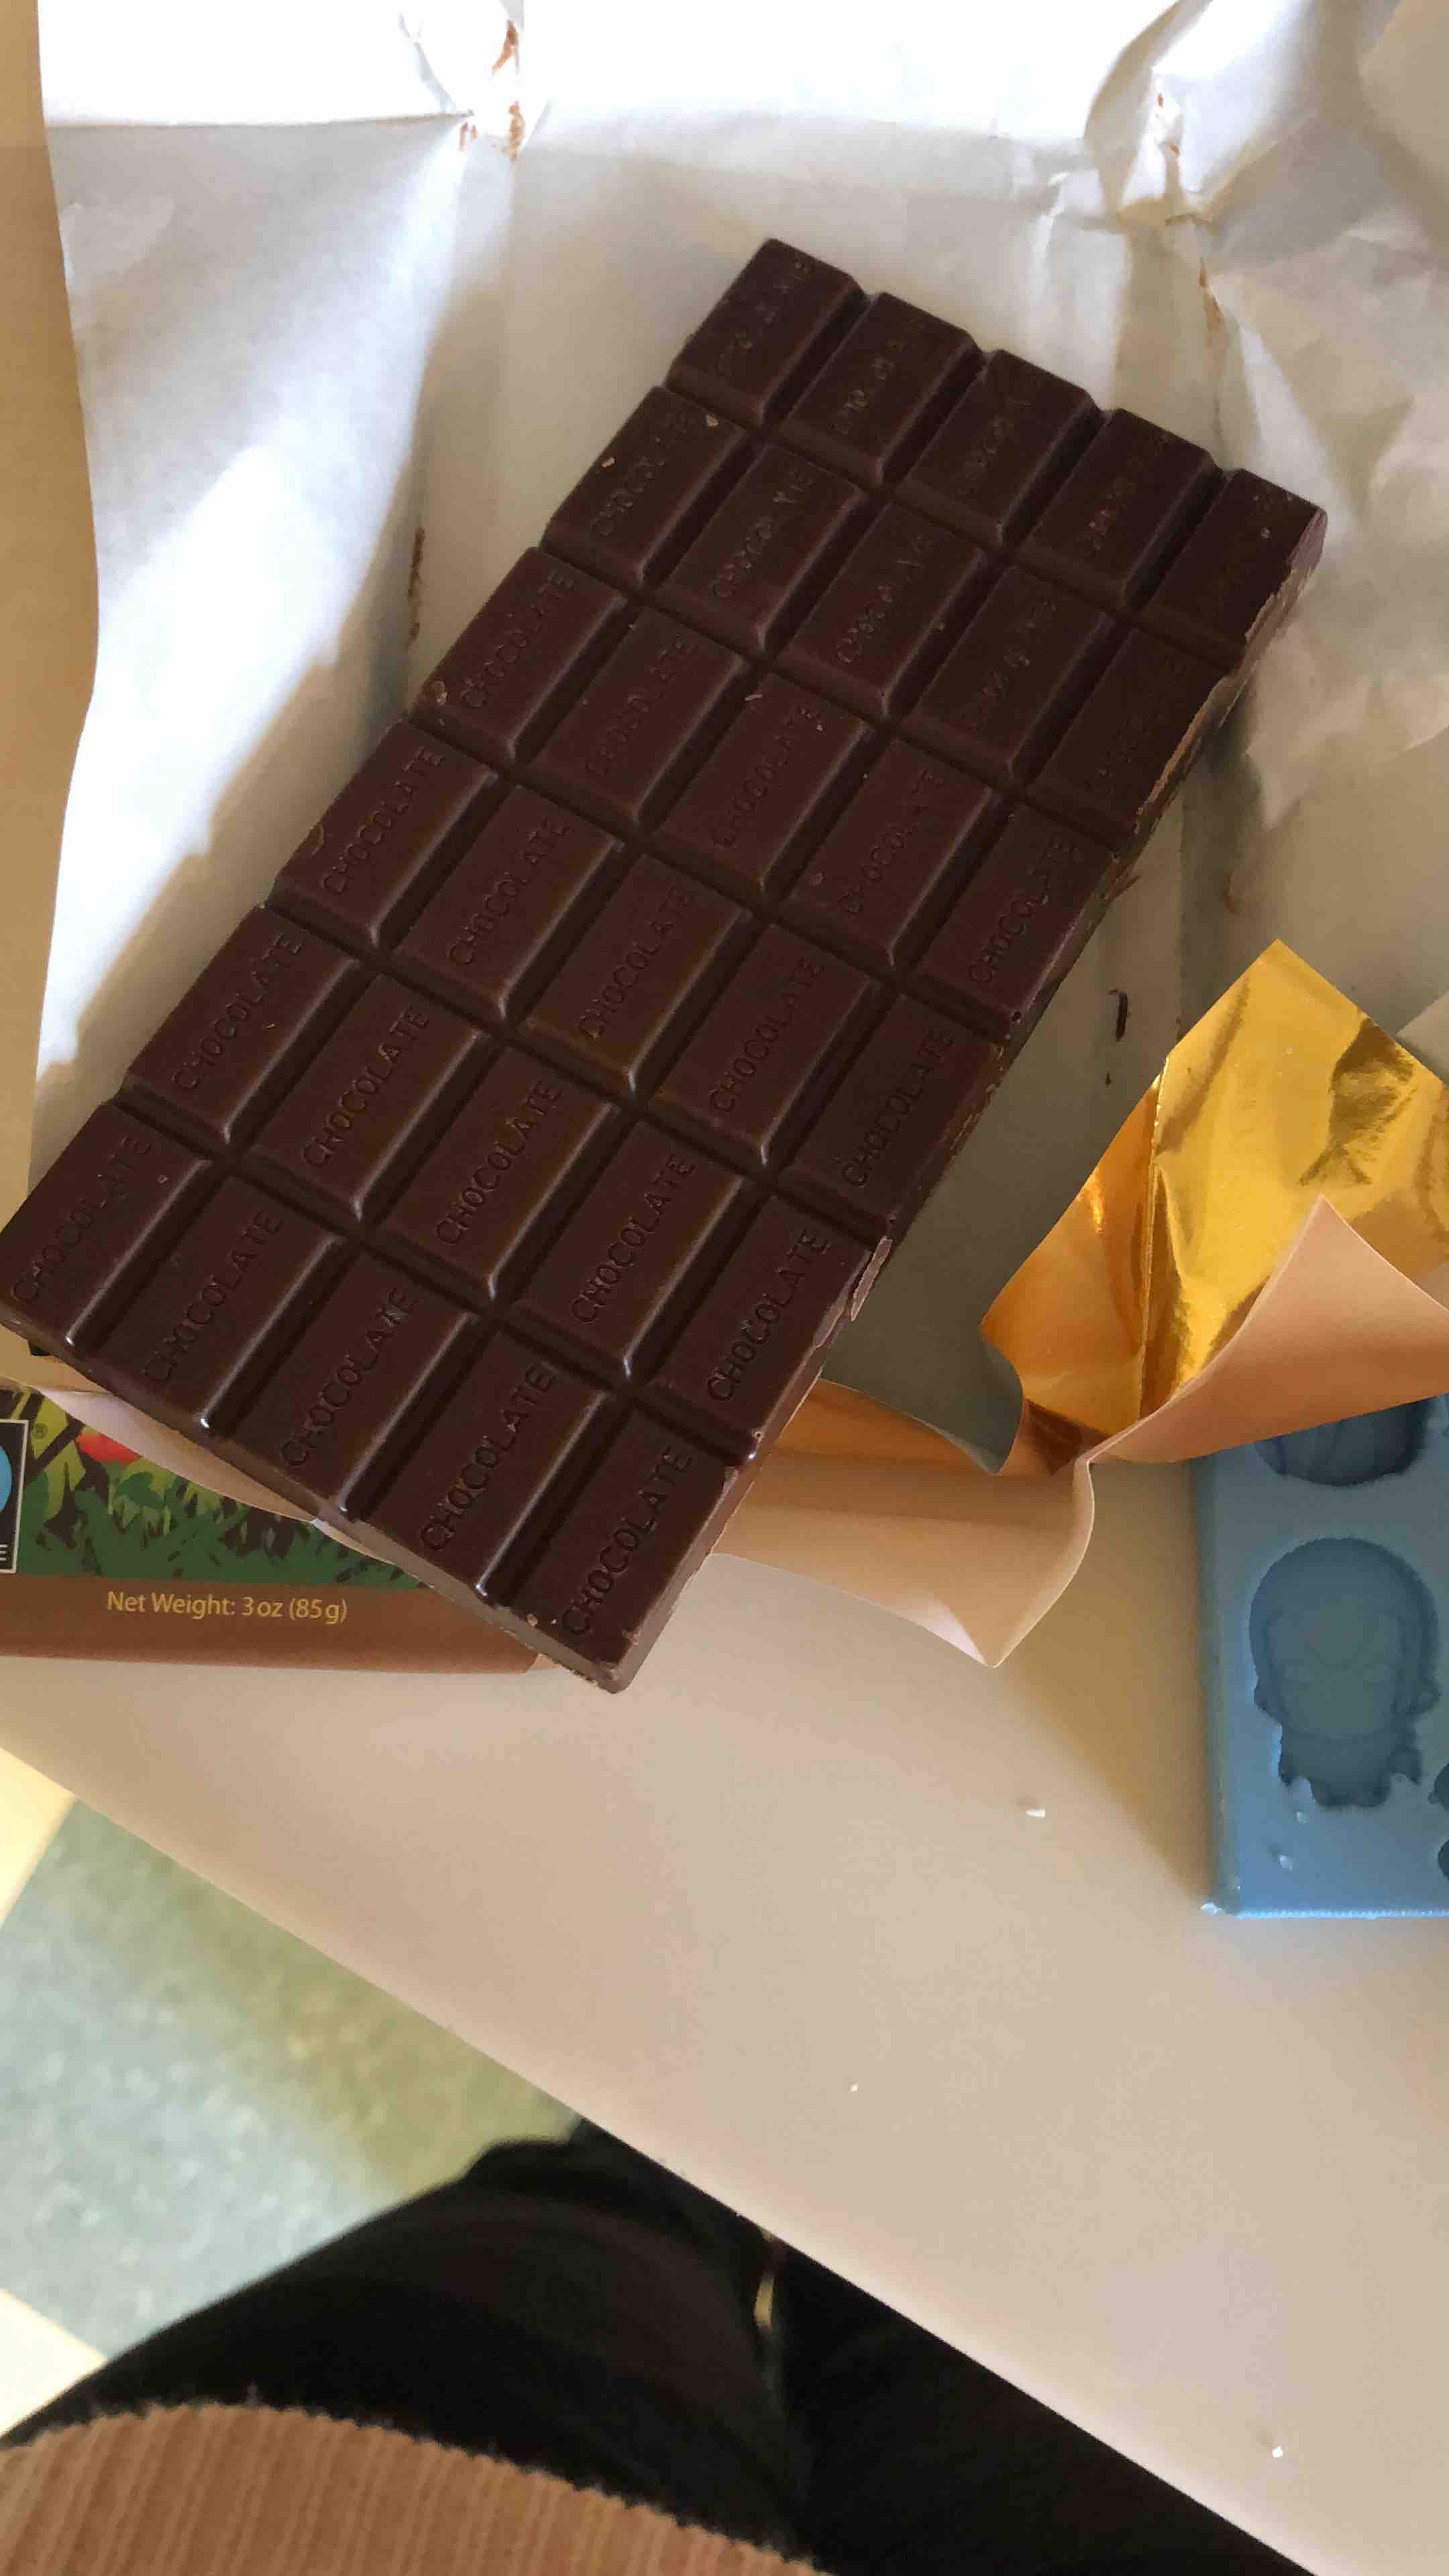
I decided on chocolate for the casting material. I bought normal (non-cooking pupose chocolate), which wasnt actually ideal since the oil within the chocolate congregated to the outer edges of the chocolate pieces after casting. It was my first time pouring chocolate into a mold, and given that I didn't even have any fancy cooking utensils on me, I think the results were faily okay.


Download Mold

.