MAKE SOMETHING BIG!!

So, how big should what I make be? Bigger than myself? Almost my size? Well-- that's basically what I made for this week!
This week's assignment was all about making something big using a 48"x 96" x 7/16" OSB wood on the shopbot located in the IDC lab in N51.
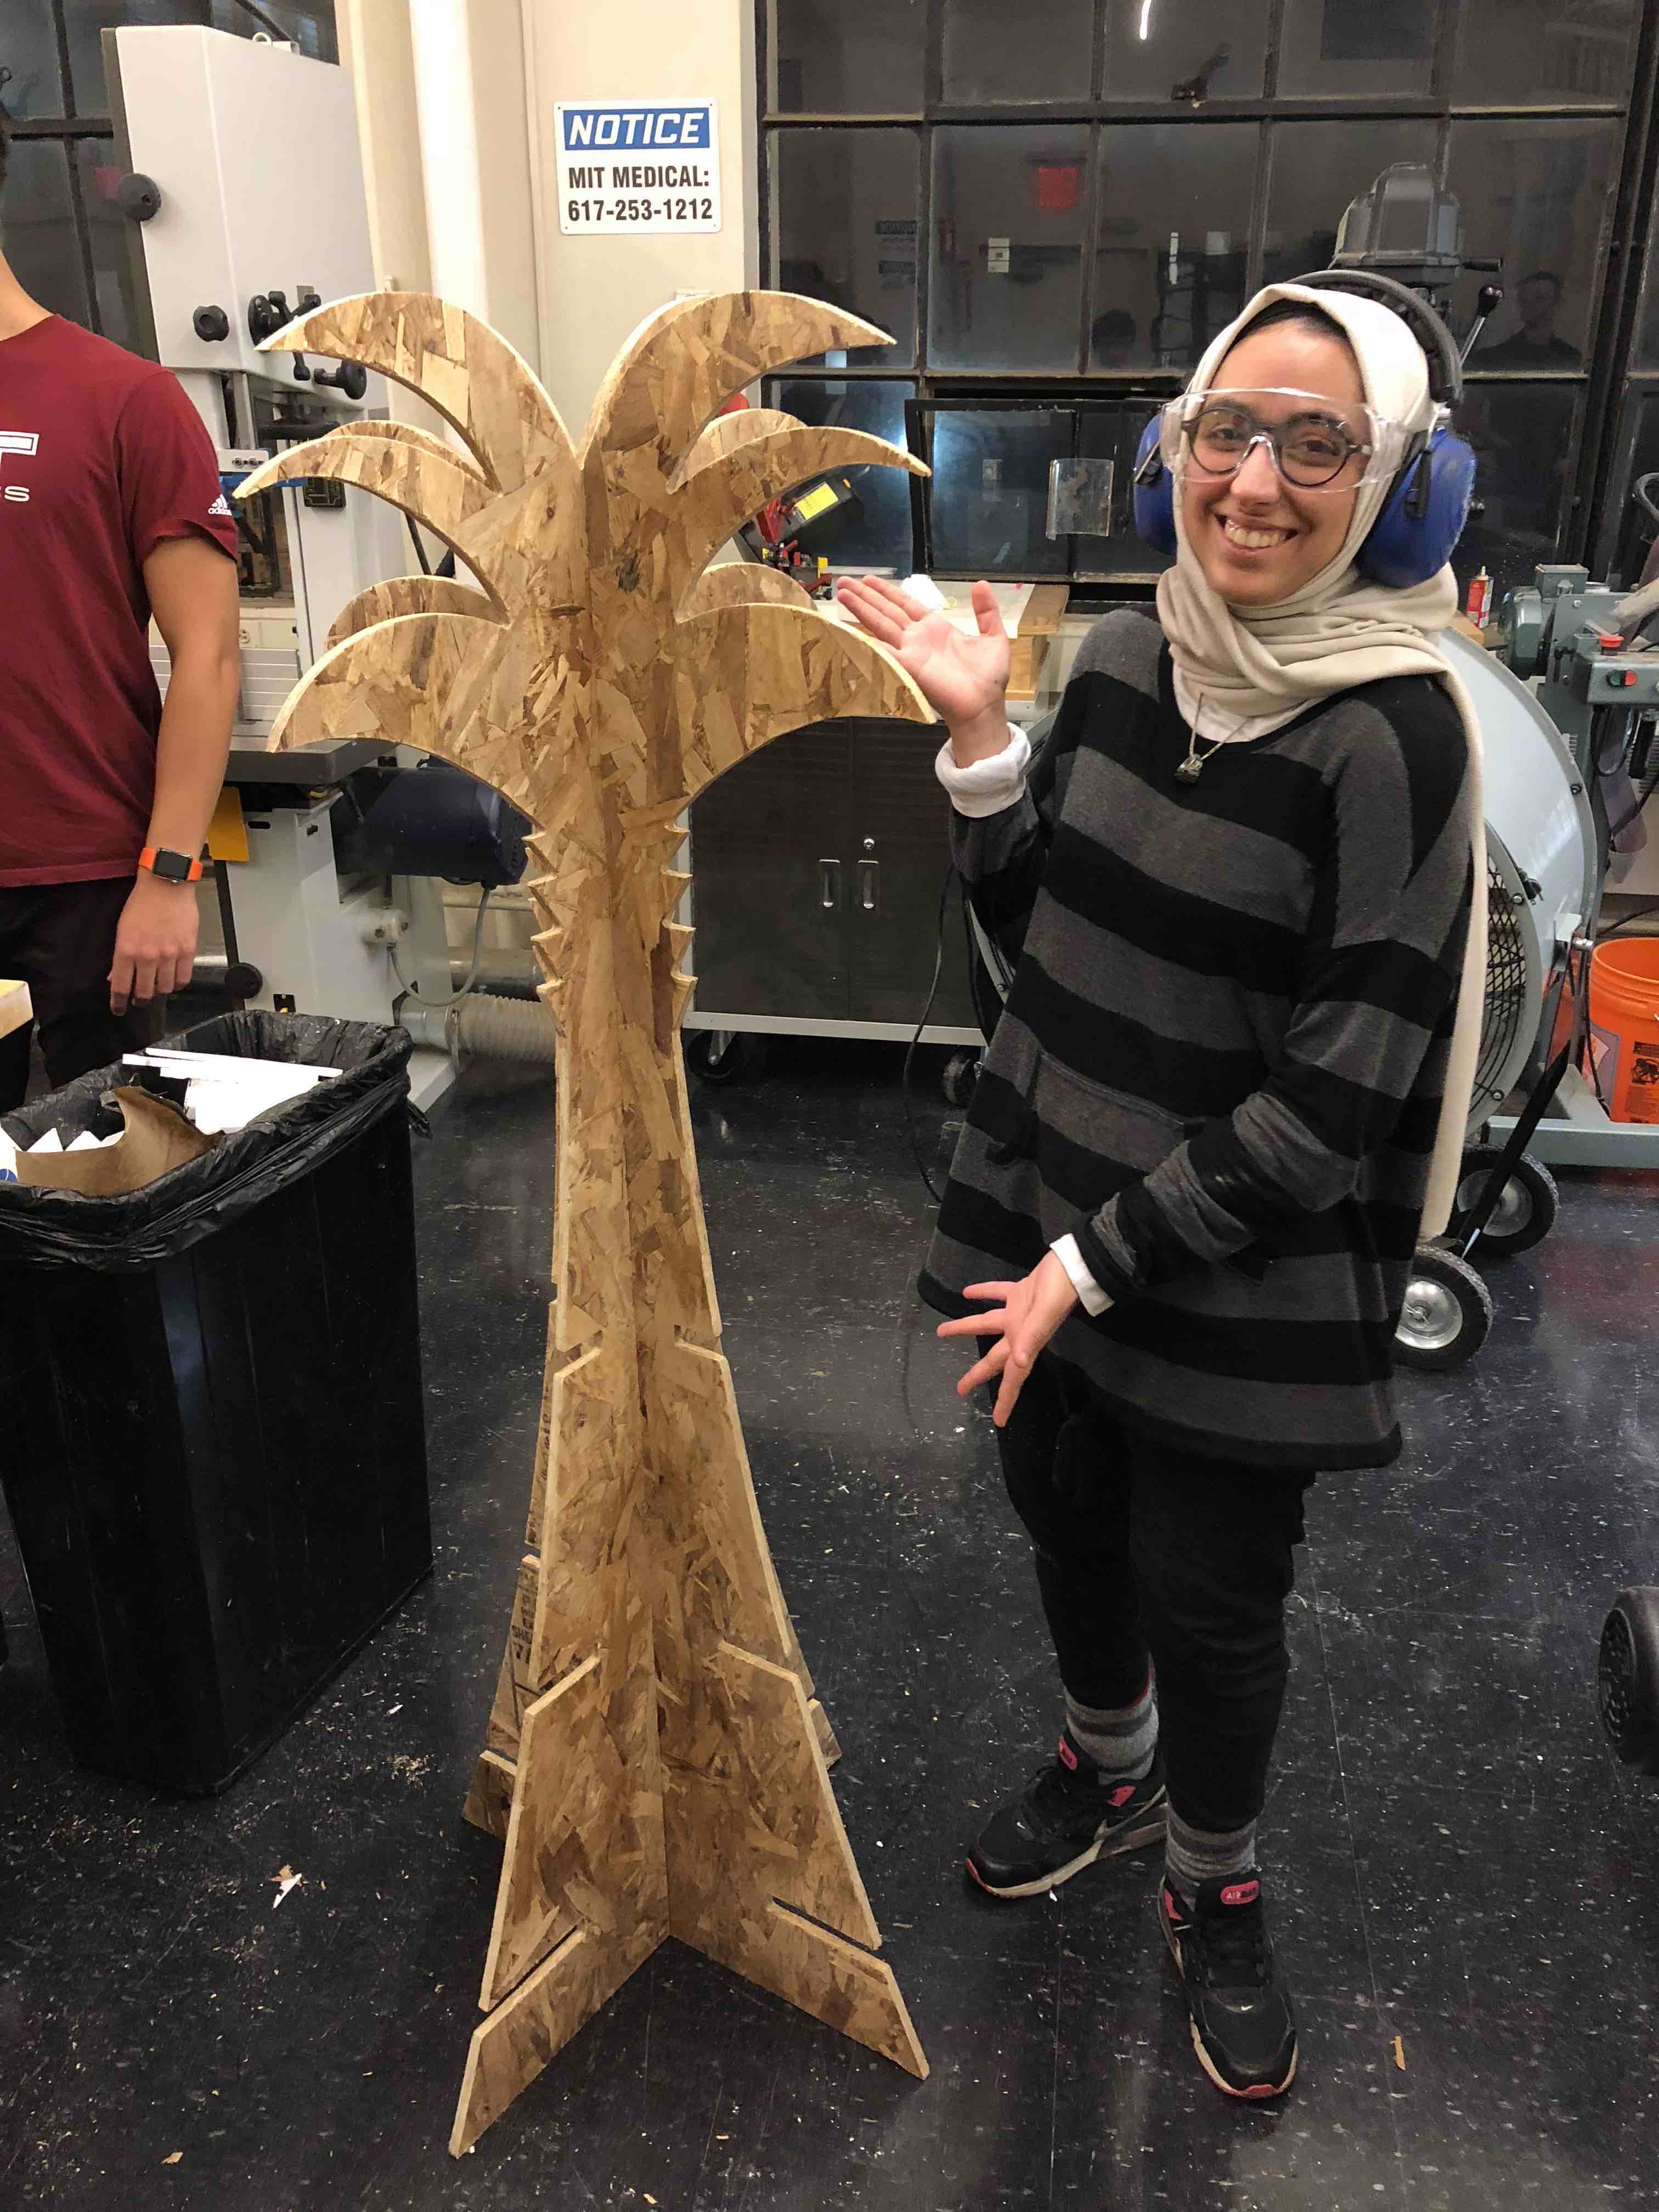
Initially, I wanted to make a huge PCB that looks like a palm tree carrying on my intention of making one during PCB design week-- however, due to the limitation within lab time (only one evening section worked for me since all other lab times conflicted with my classes) I could not do so. So I decided to make a Palm tree bookshelf to use as a clothes hanger, bookshelf, and bedside table. You name it!
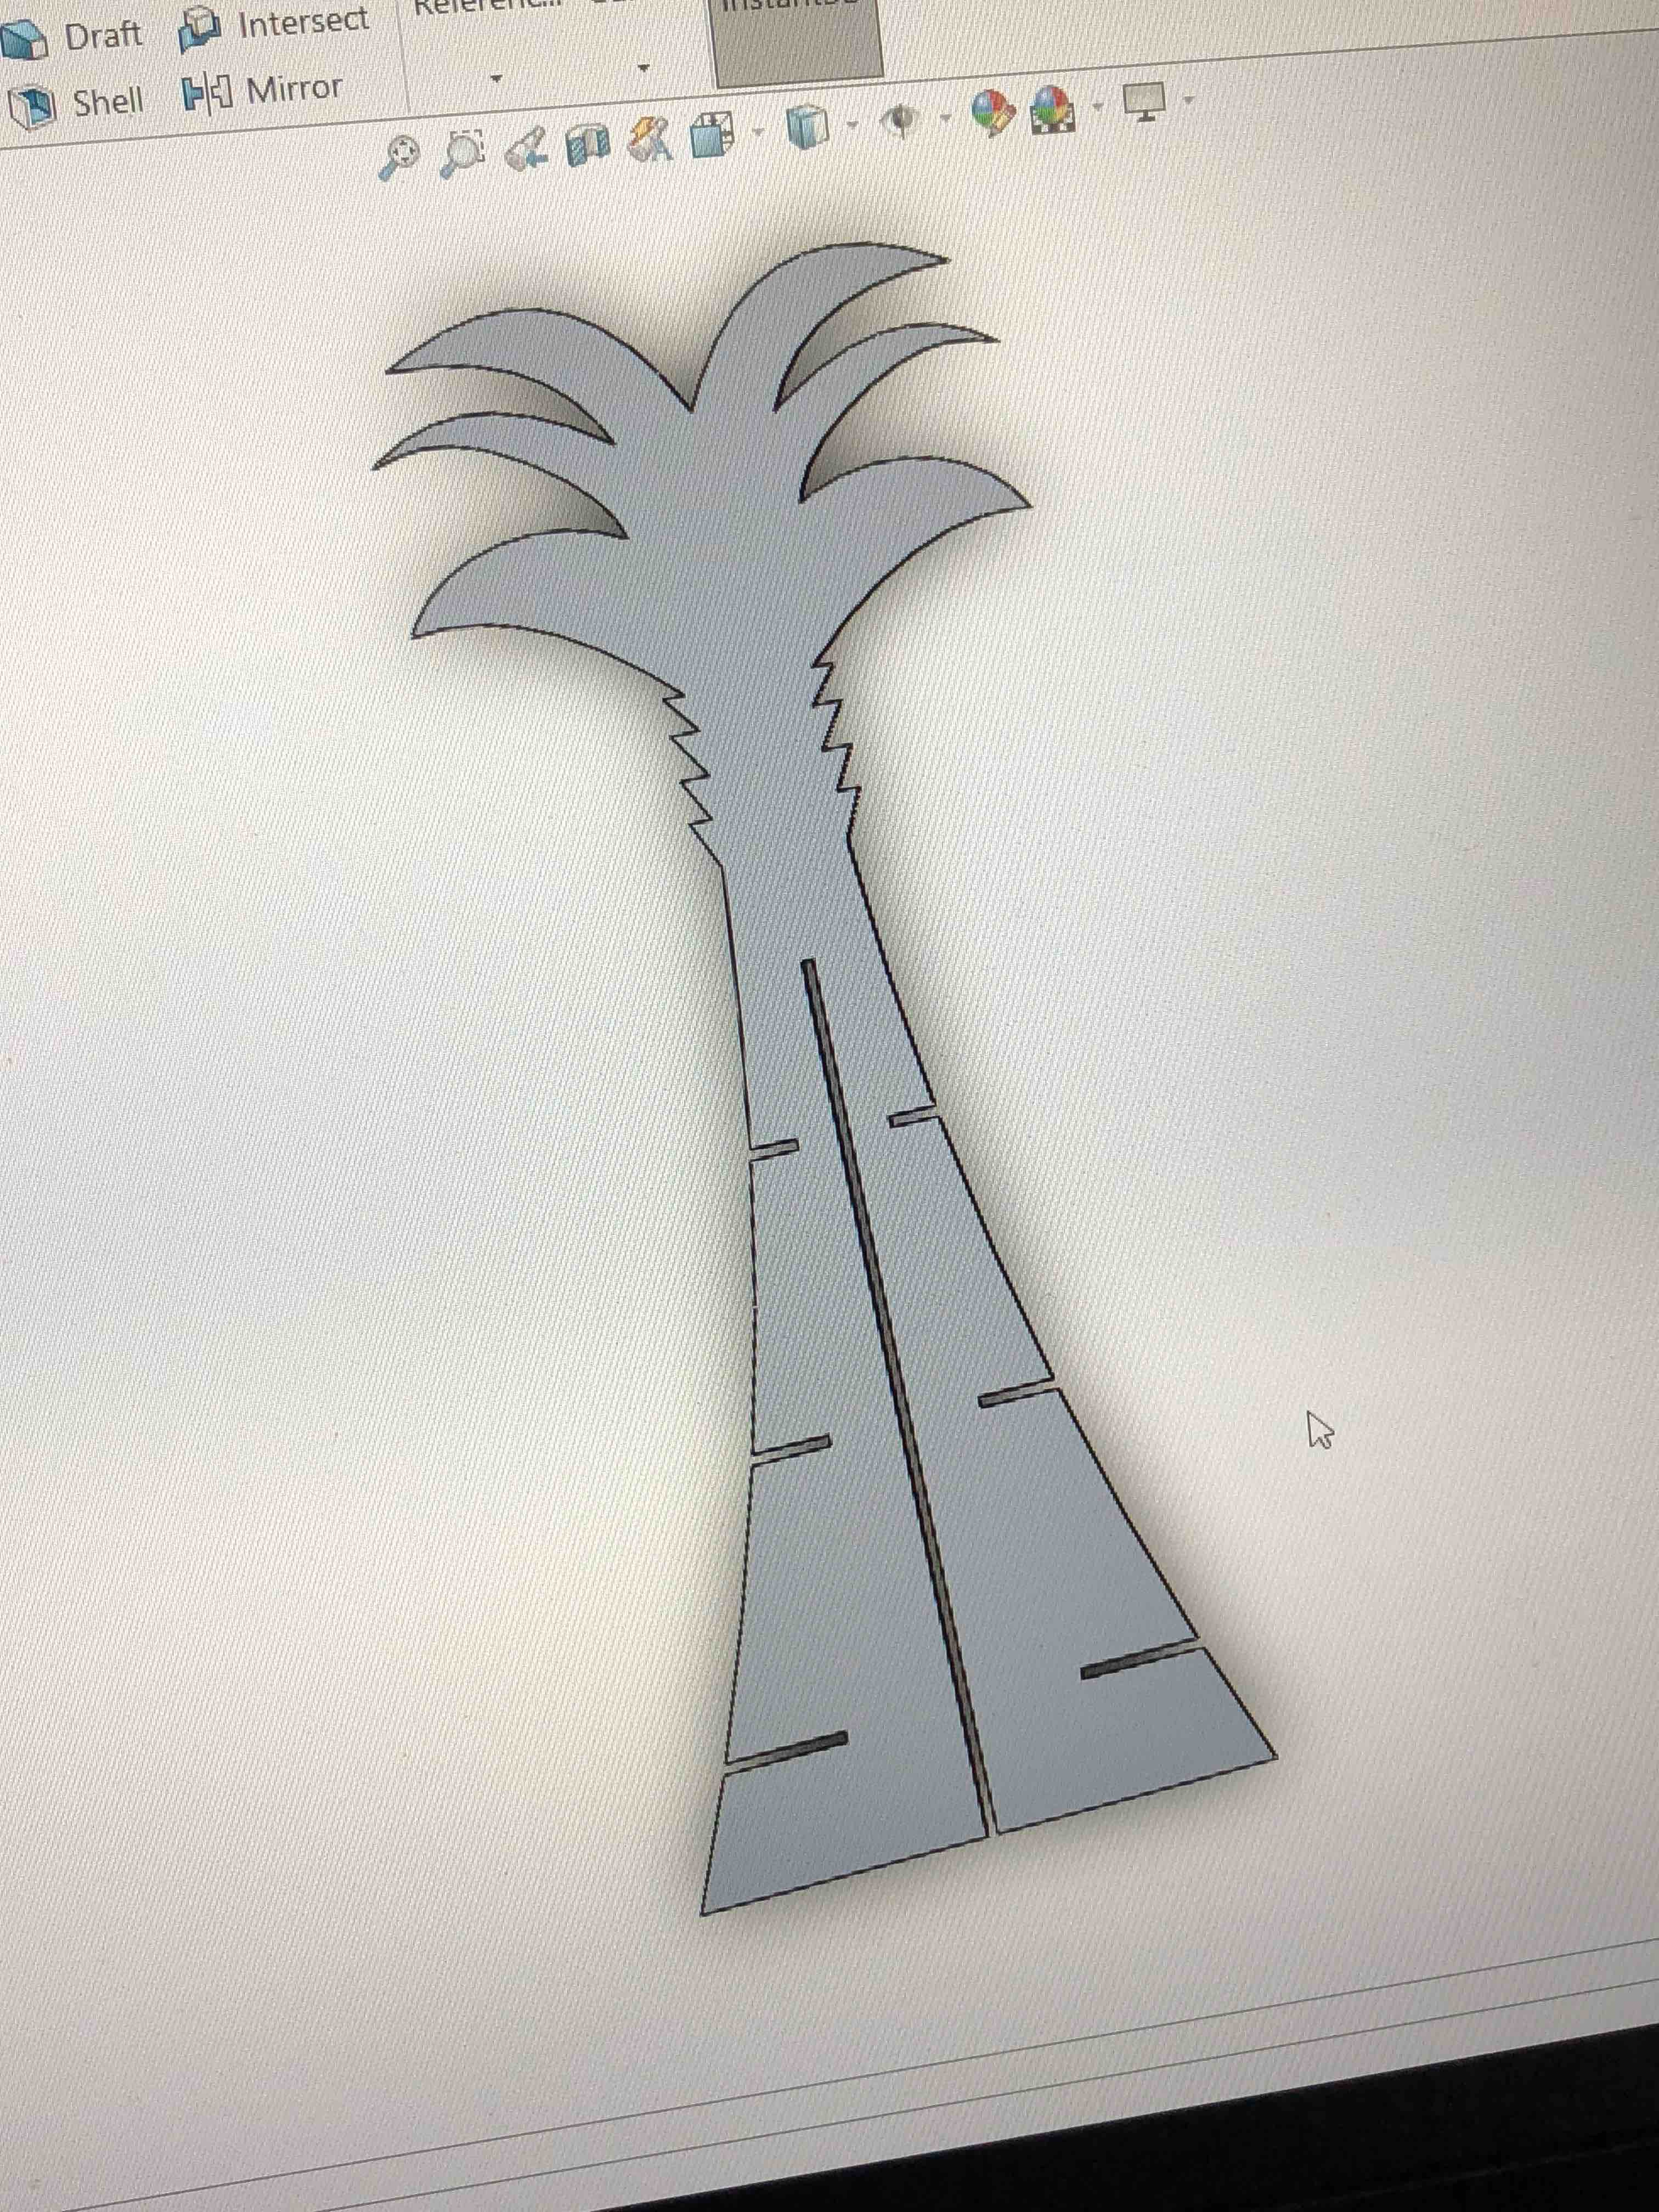
As has been the case in all previous assignments, I used solidworks to make my design. My plan was to model a design that supports itself by itself without using any fasteners, and that's what I made.
To make sure that what I design will not take space beyond the dimensionsal constraints of the OSB piece, I first created a board on Illustrator with the constrained dimensions, then drew boxes of max length and max width I would like my pieces to have. That really helped me decide and change dimensions before even making my design, which is a step I advise others to take when there are constraints like dimensions.
I made two pieces of identical palm tree figures with the only difference being the slits. One with a slit from above, and the other from below. The total length of the slits combined should be equal to the length of the palm tree figure. The width of these vertical slits wer 7/16". As for the the horizontal slits, since they would have two quarter circle shapes inserted in them, they were twice the thickness of the OSB piece.
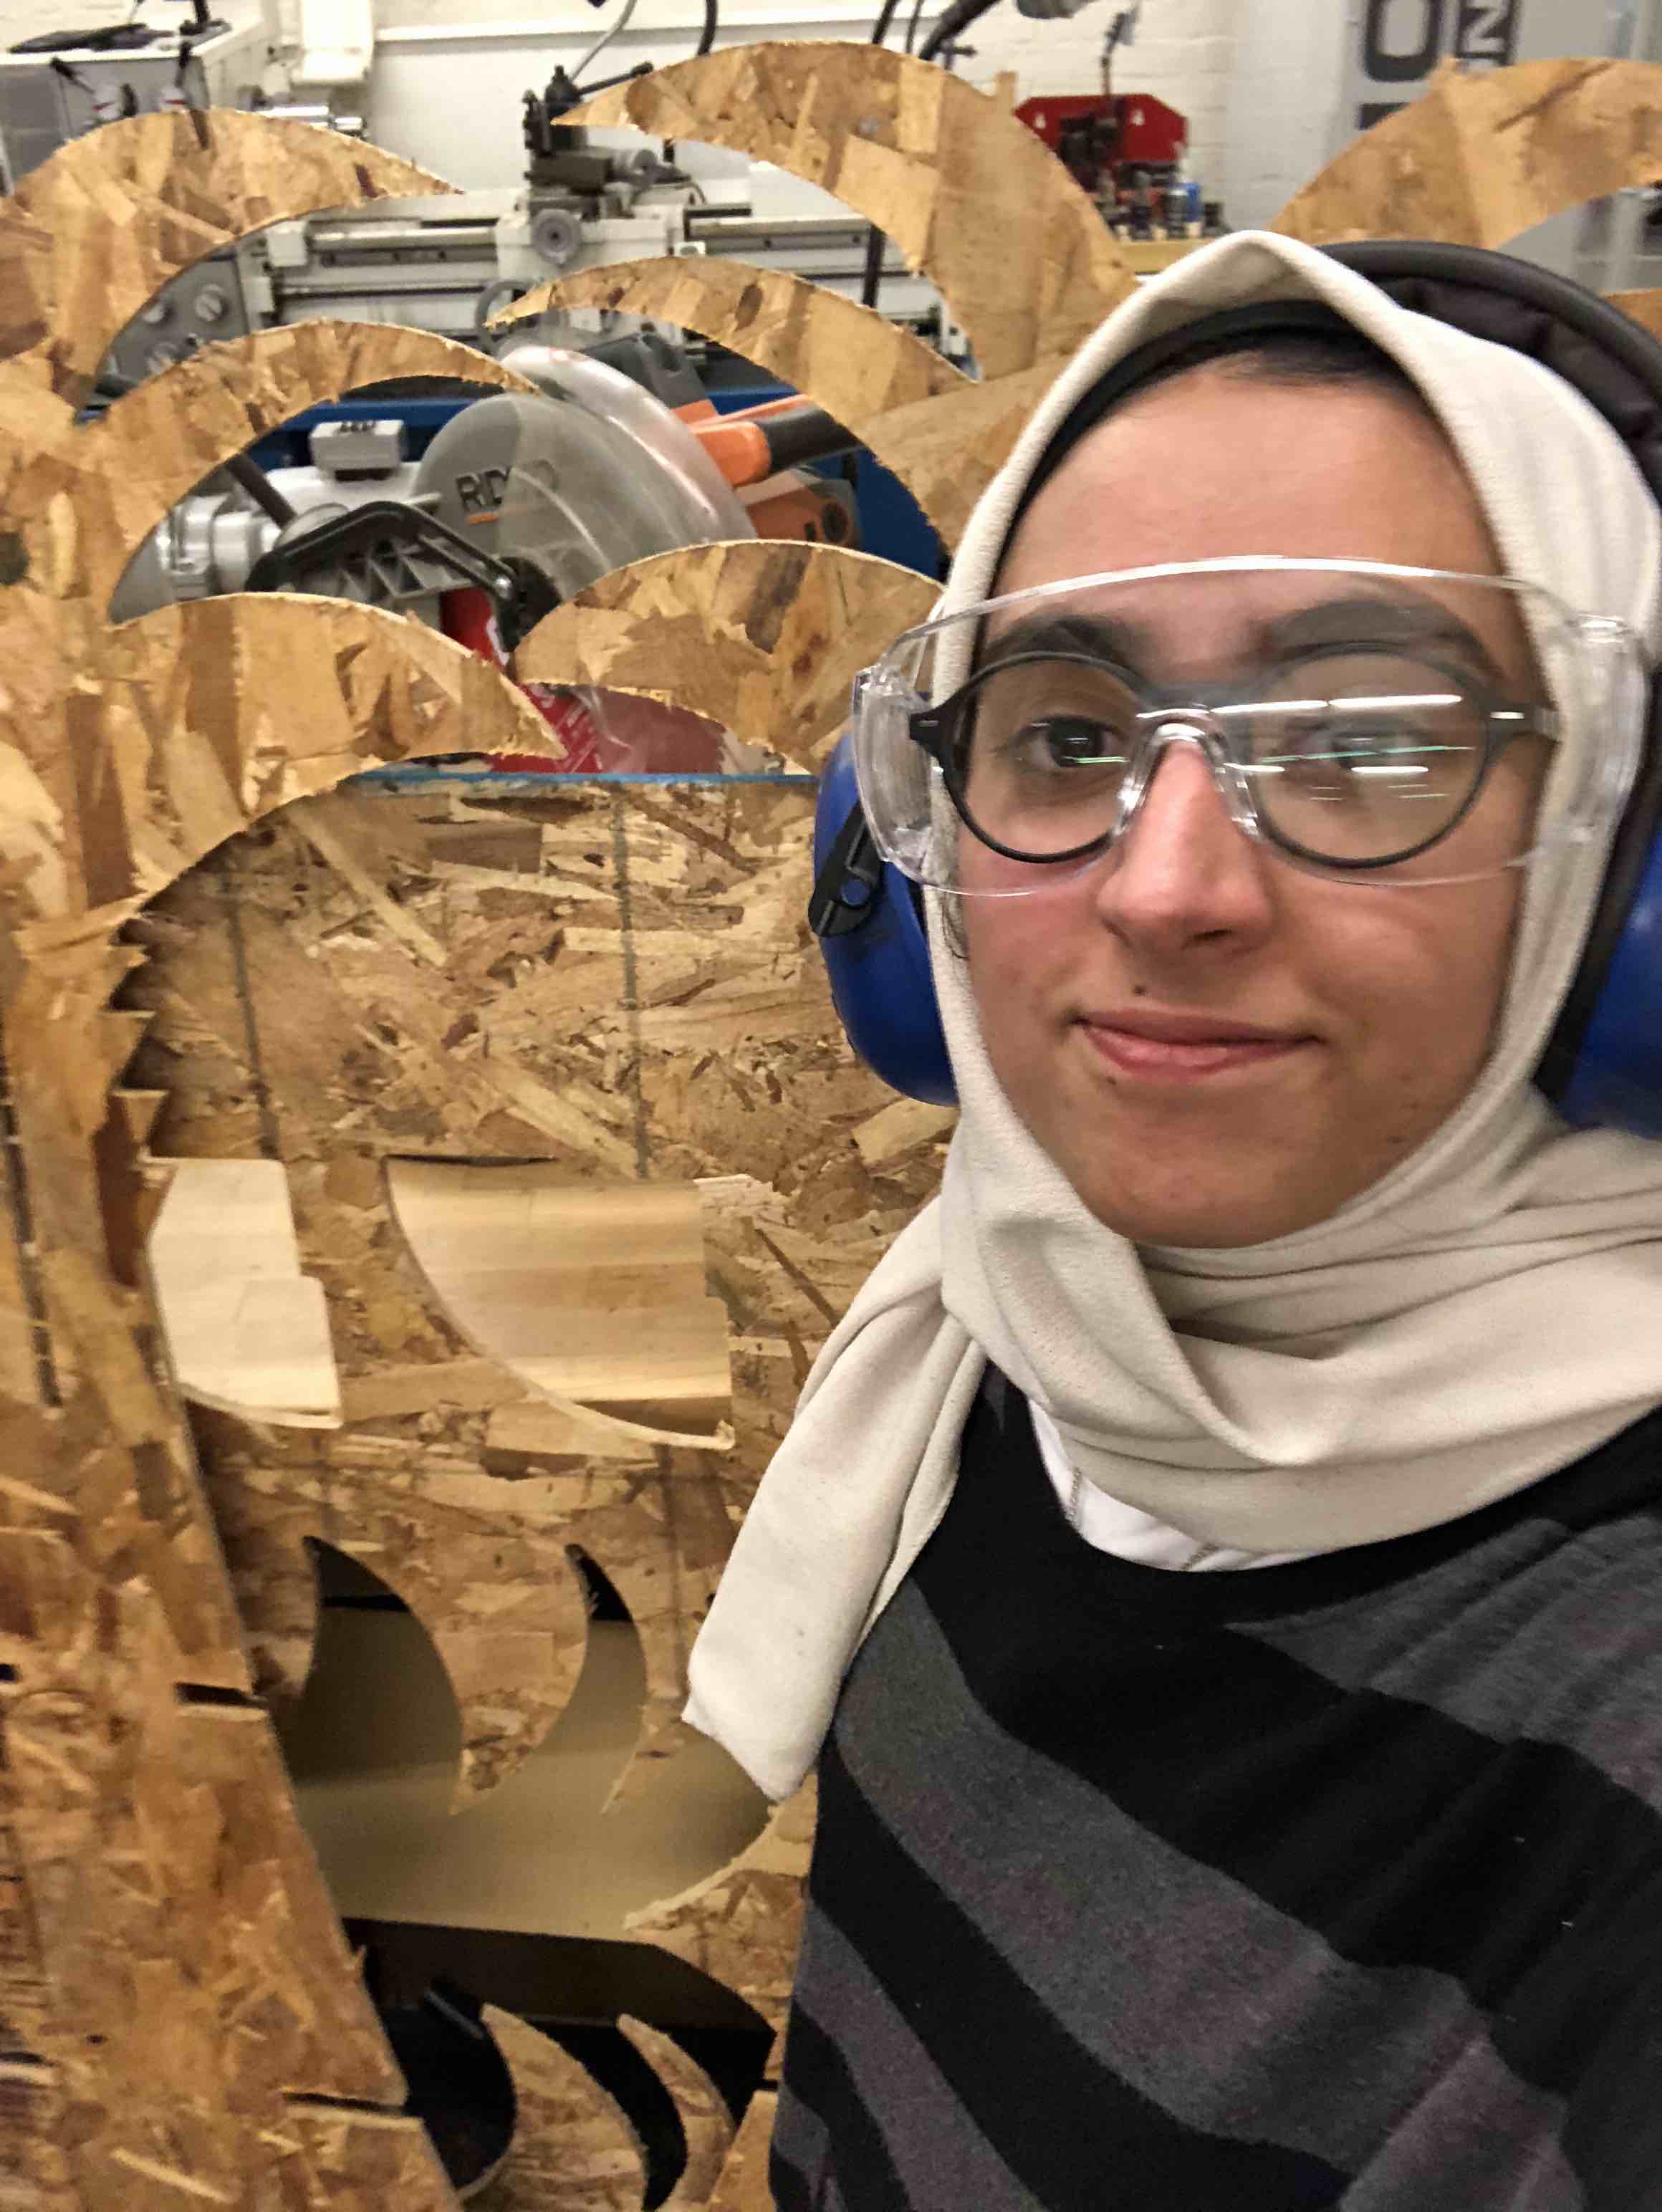
It was a pretty exciting moment to see my design cut by the shopbot, though we had to monitor the shopbot very carefully during the time to make sure that it doesn't cut outside its specified design parameters. So, I had a total of 14 pieces in total to both sand and mount on one another.
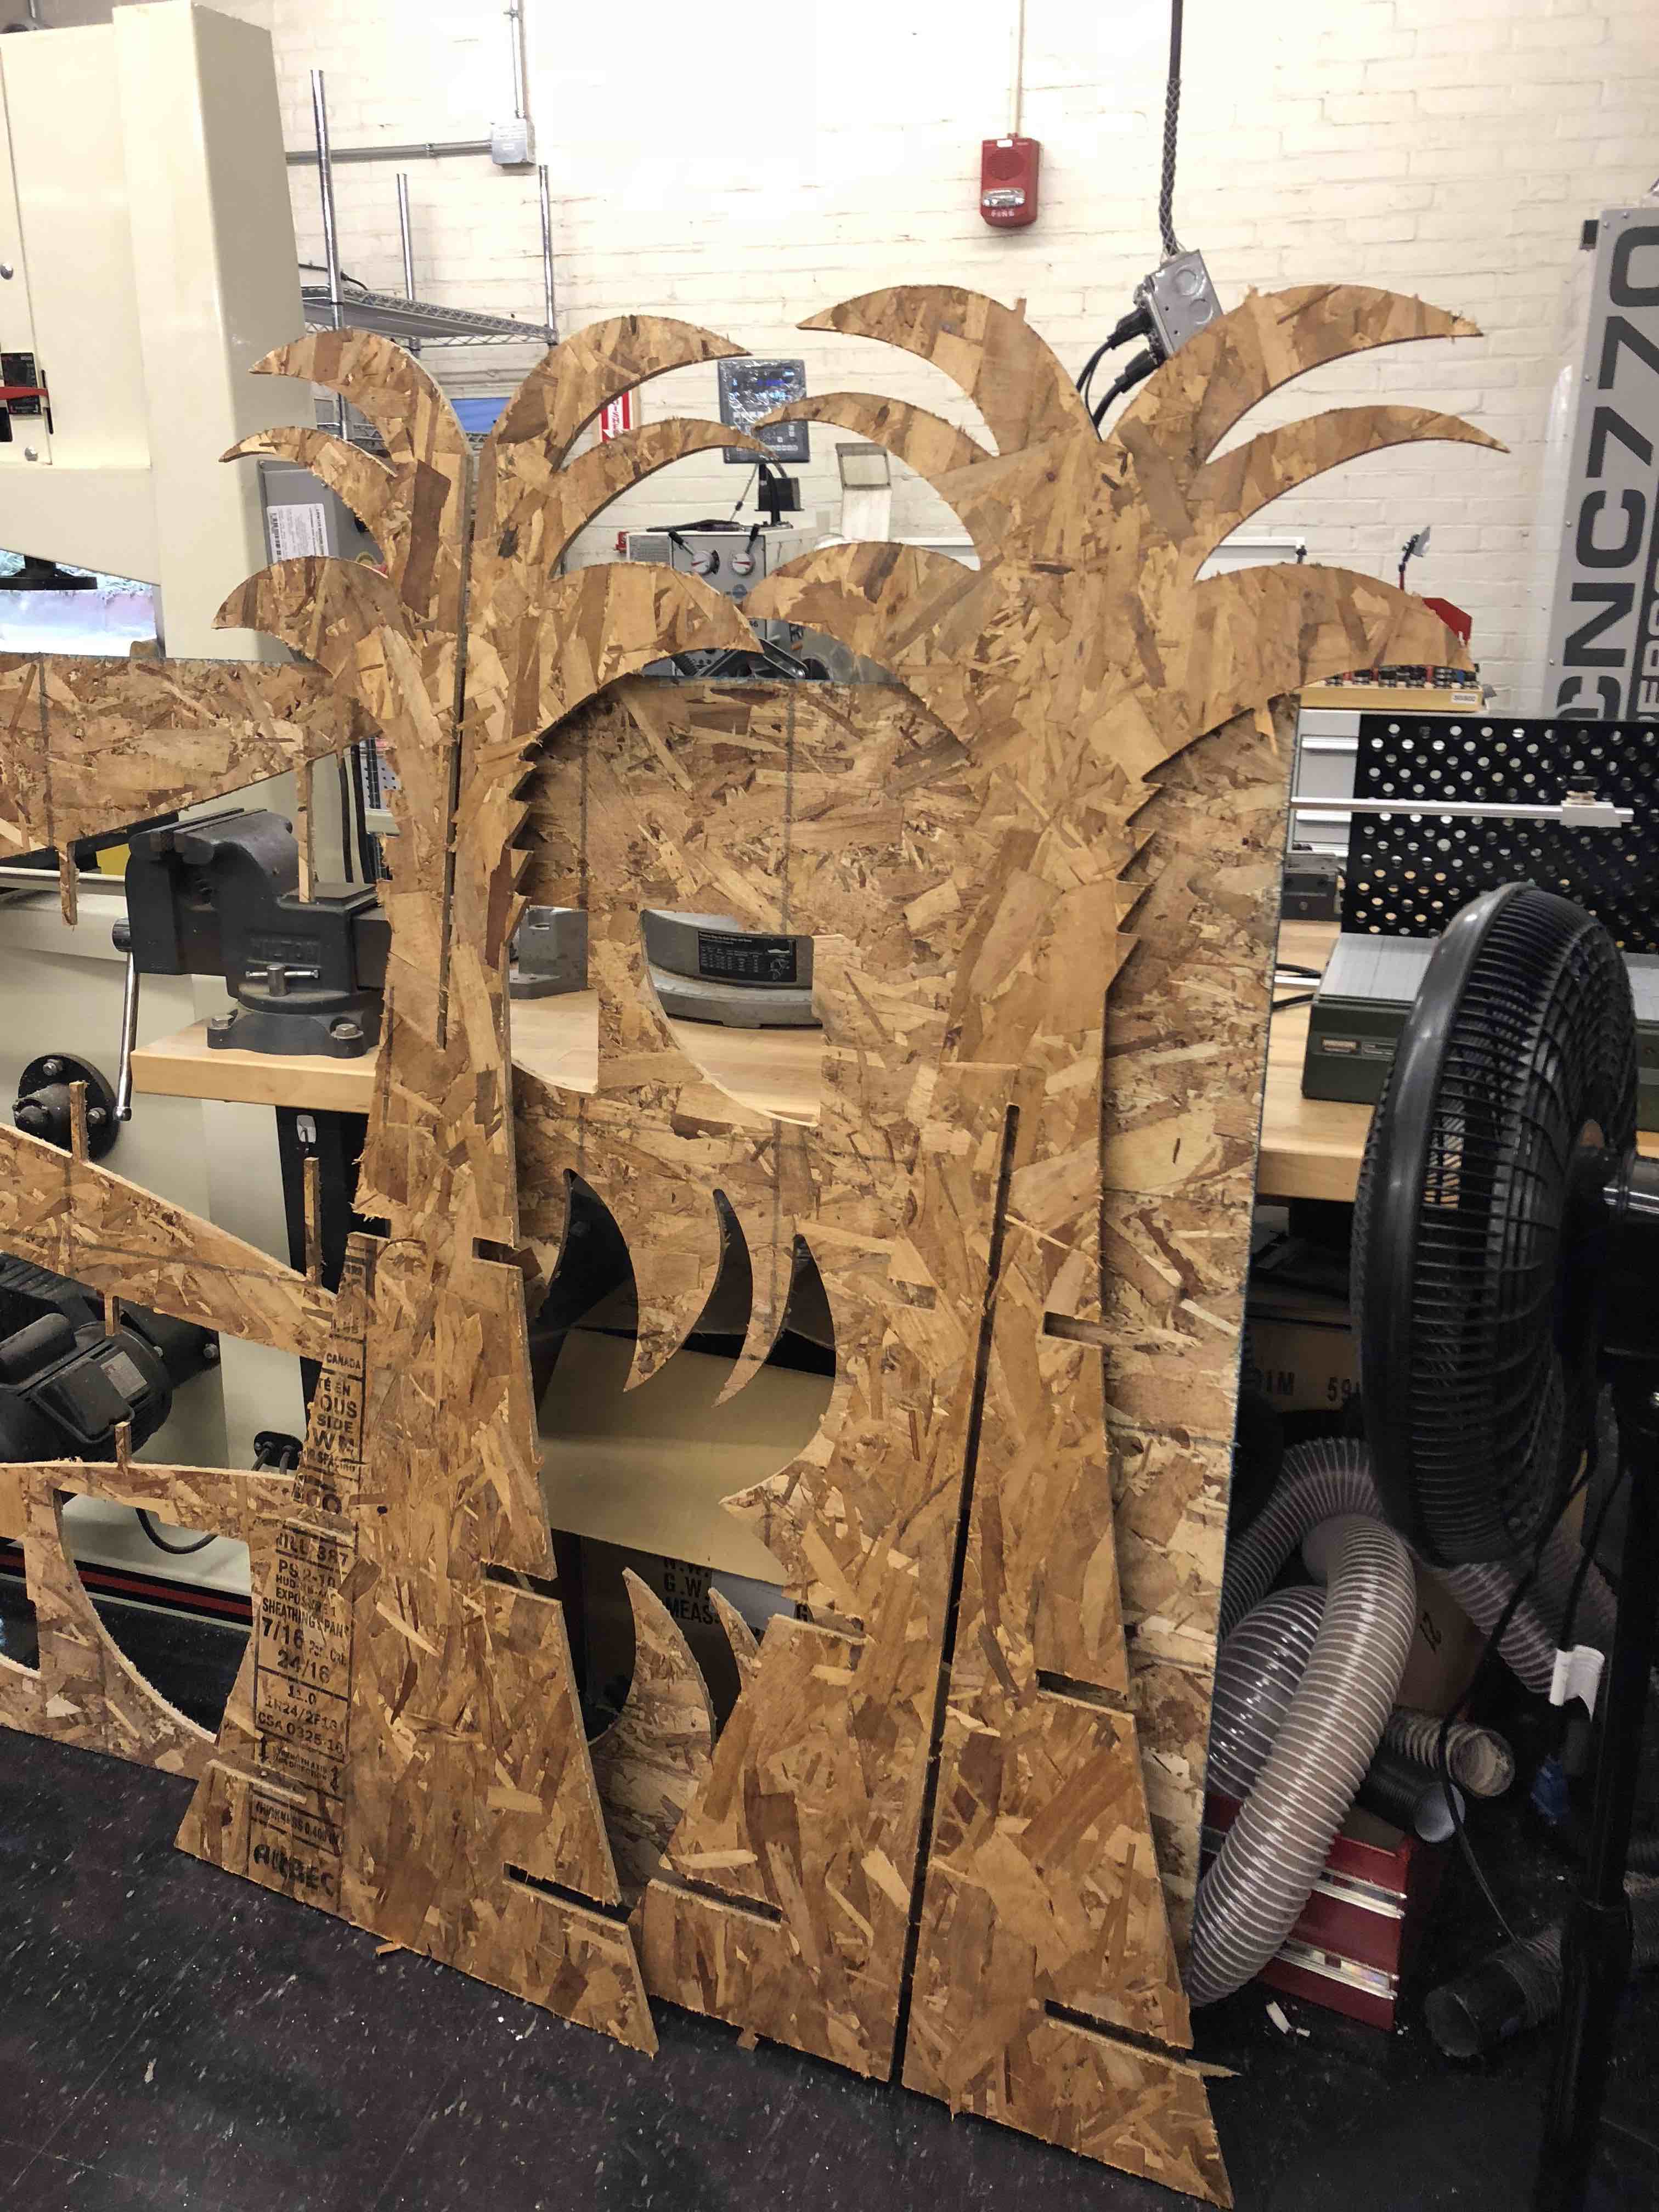
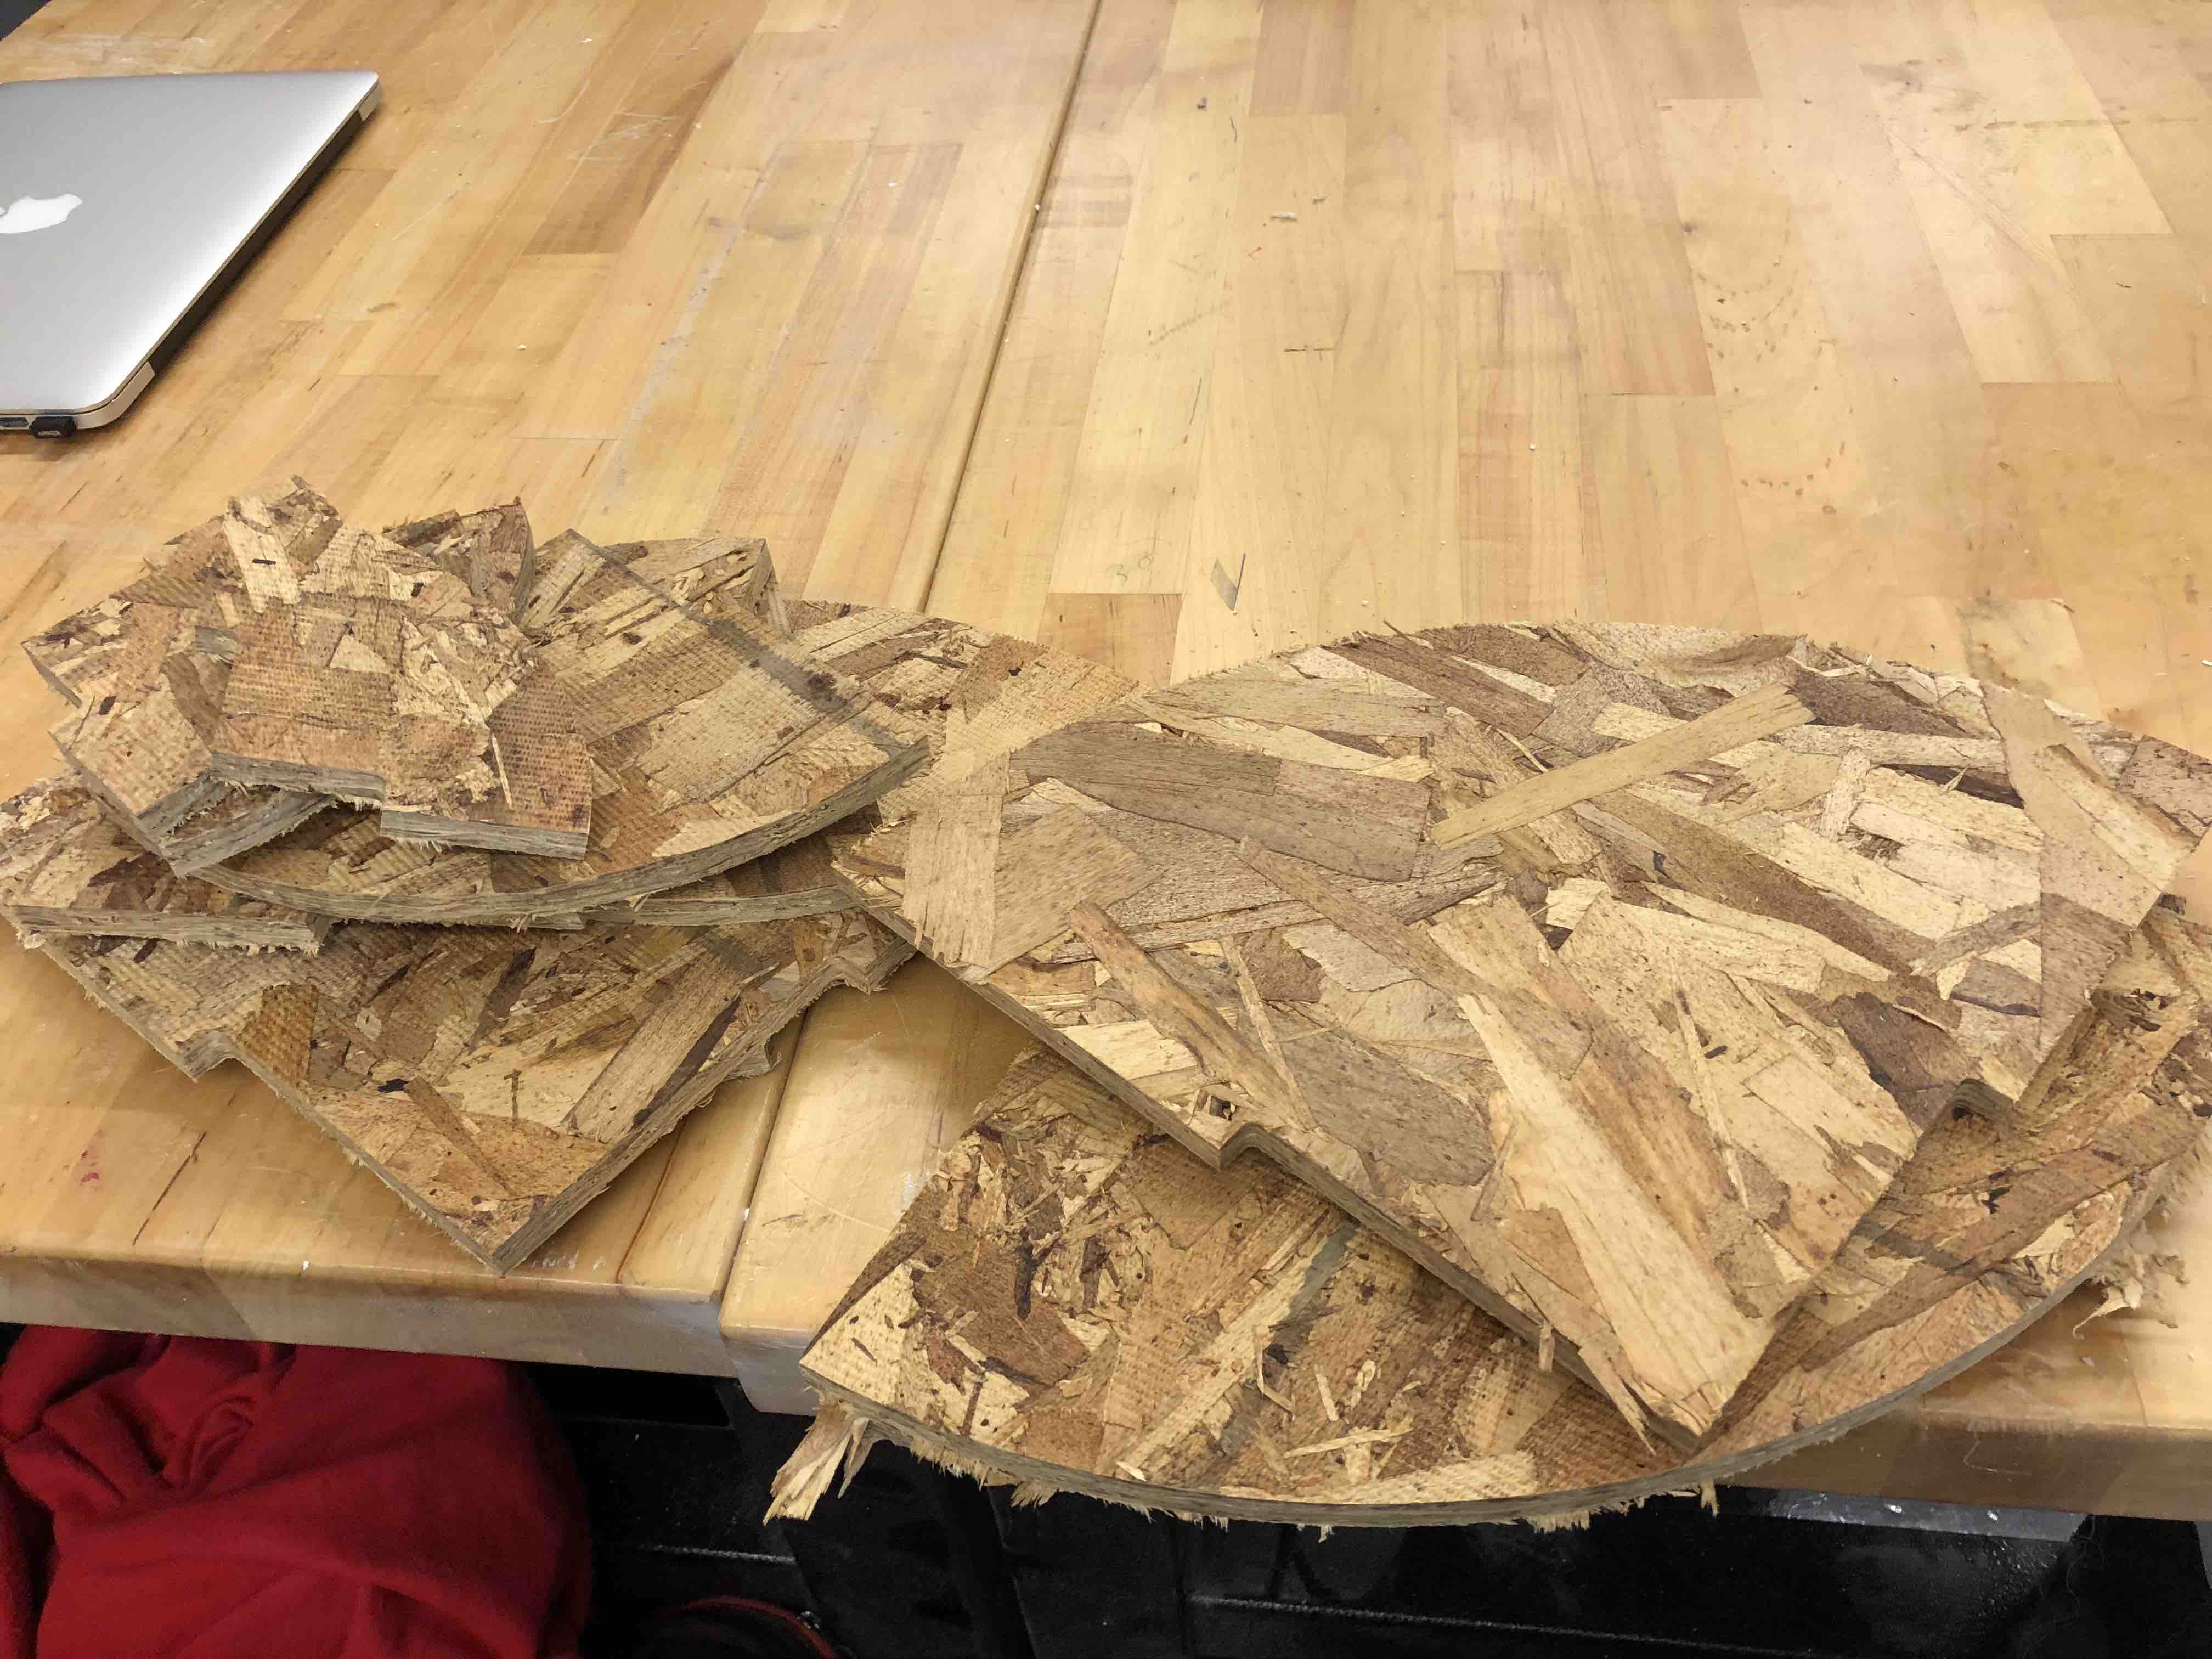
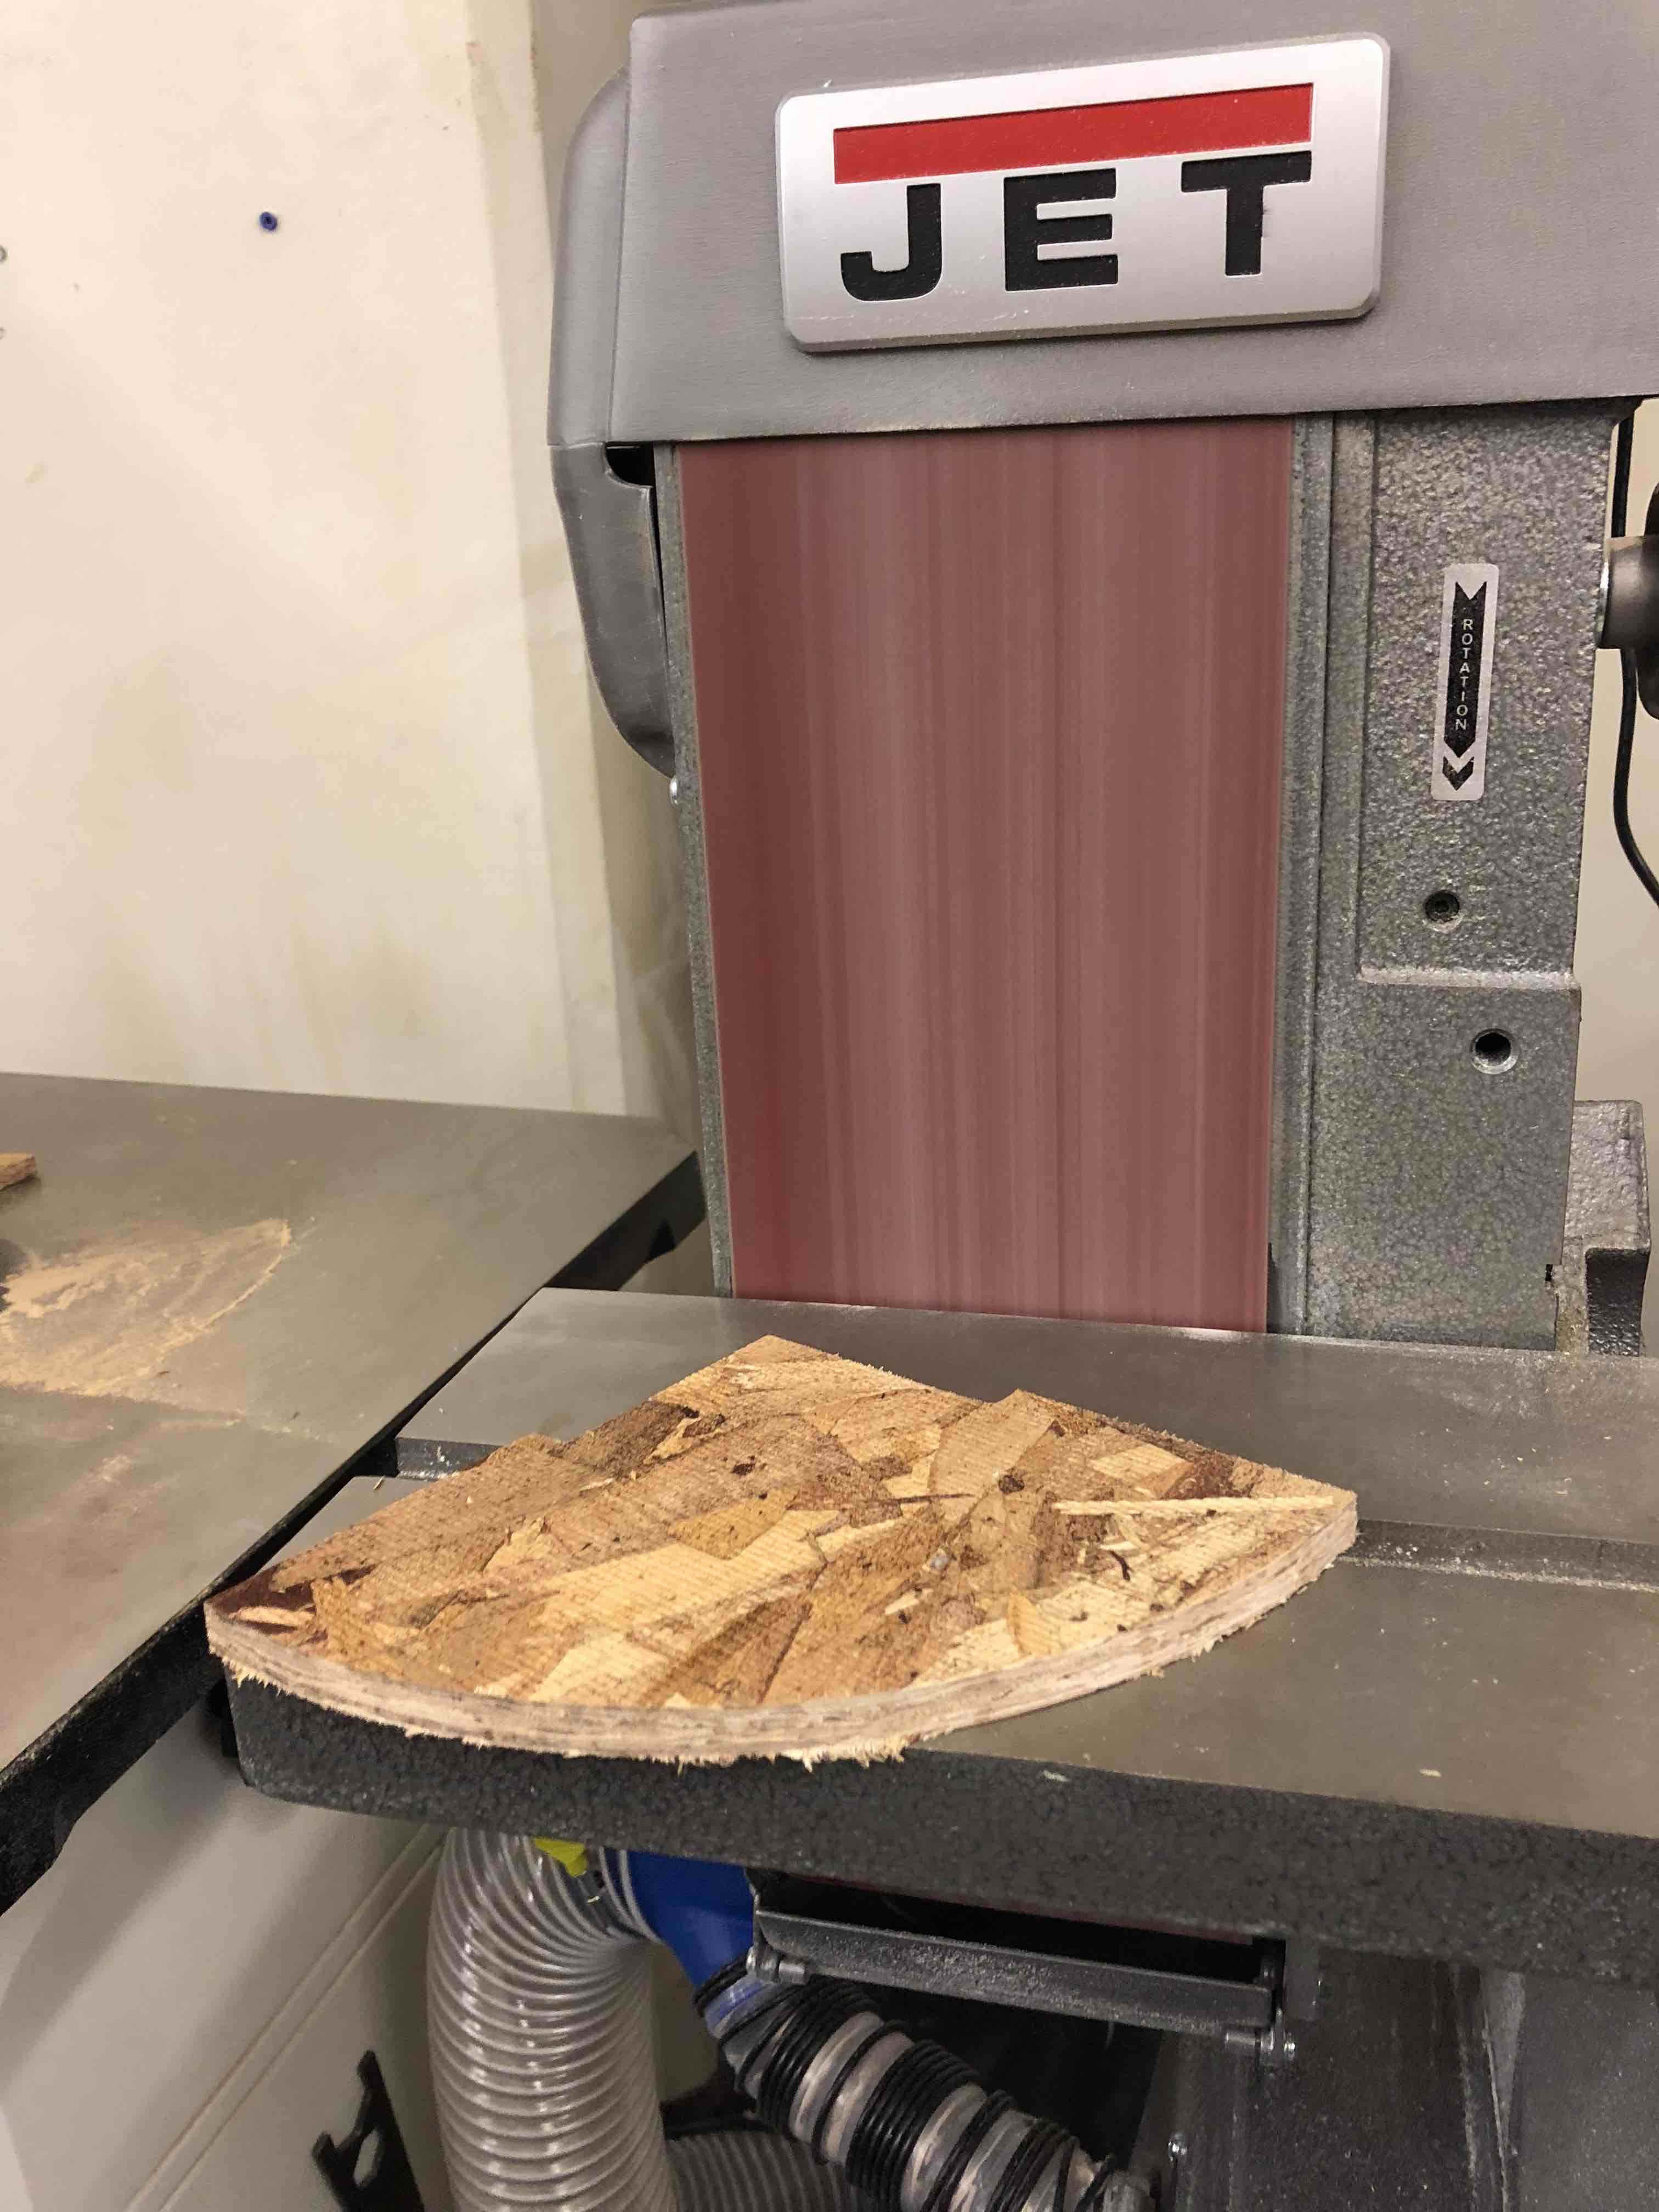
Sanding was pretty fun to do. I used both the sanding machines in shop, and did some manual sanding for narrow places such as the palm tree leaves and grooves in the trunk. Make sure that when you are sanding, you sand in one direction. In other words, don't do a periodic motion where you go forward and backward on a place you send in. Either sand away from yourself, or towards yourself. Though, I recommend sanding away as that is much easier.

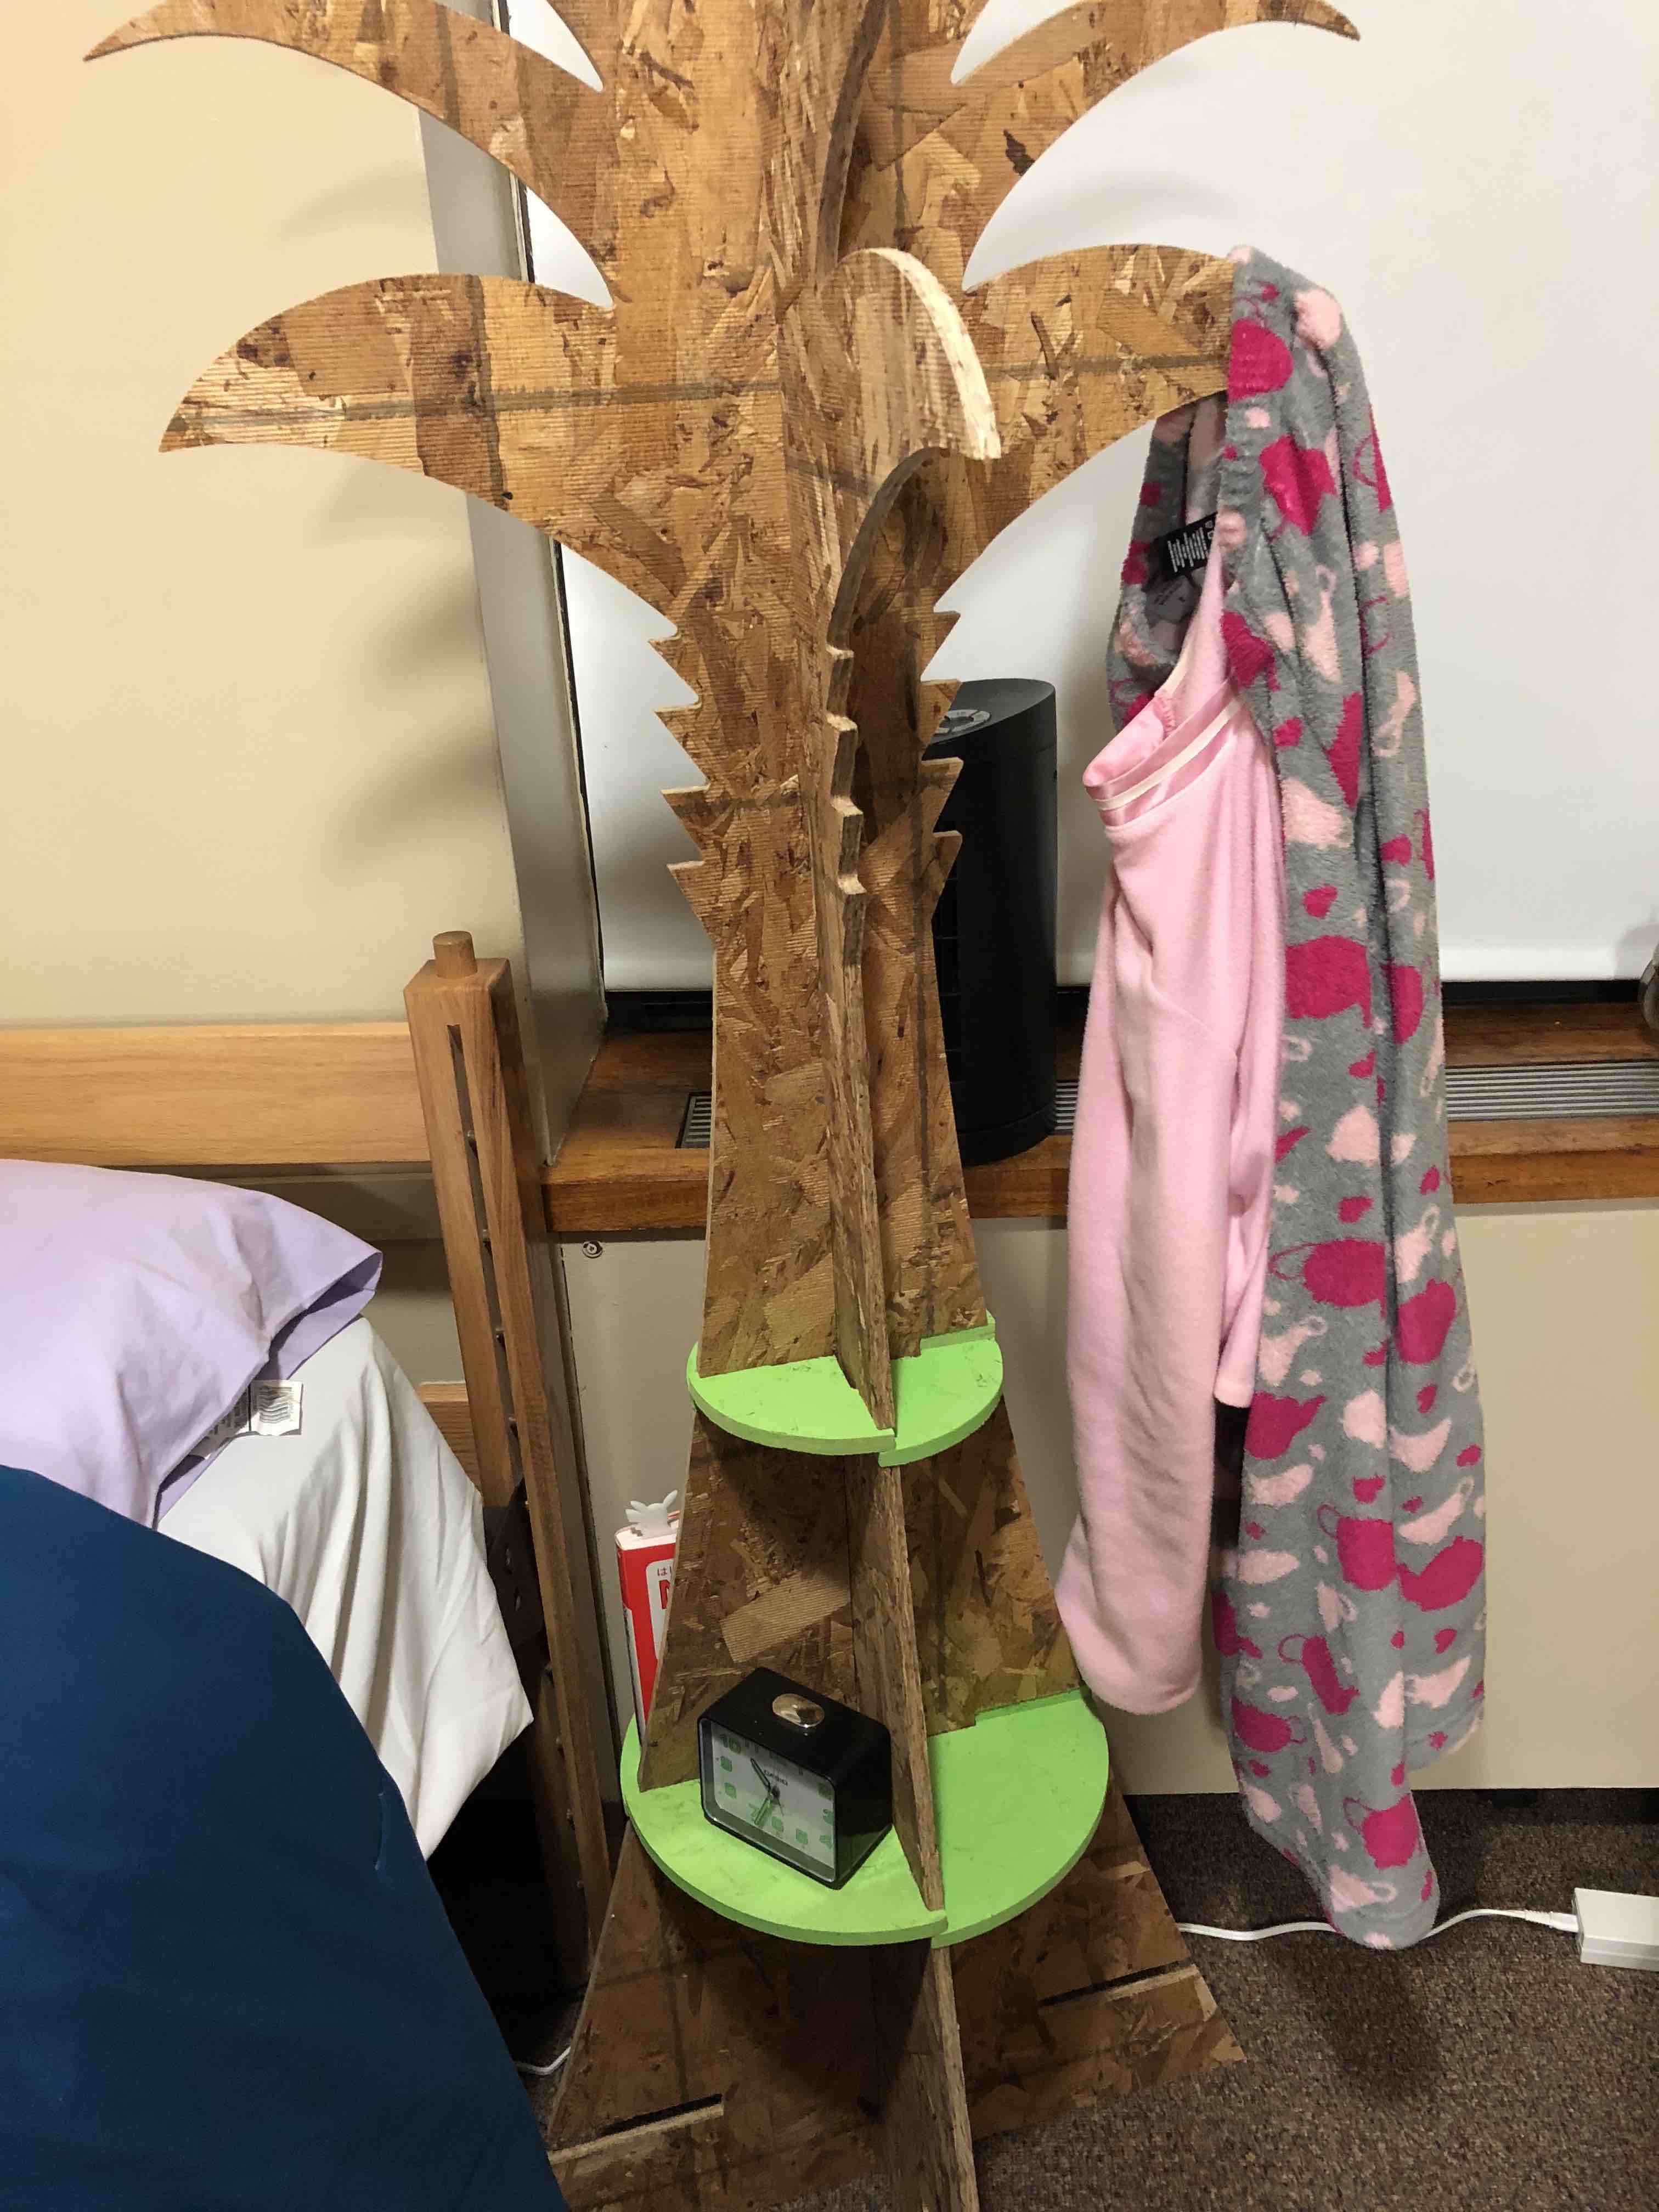
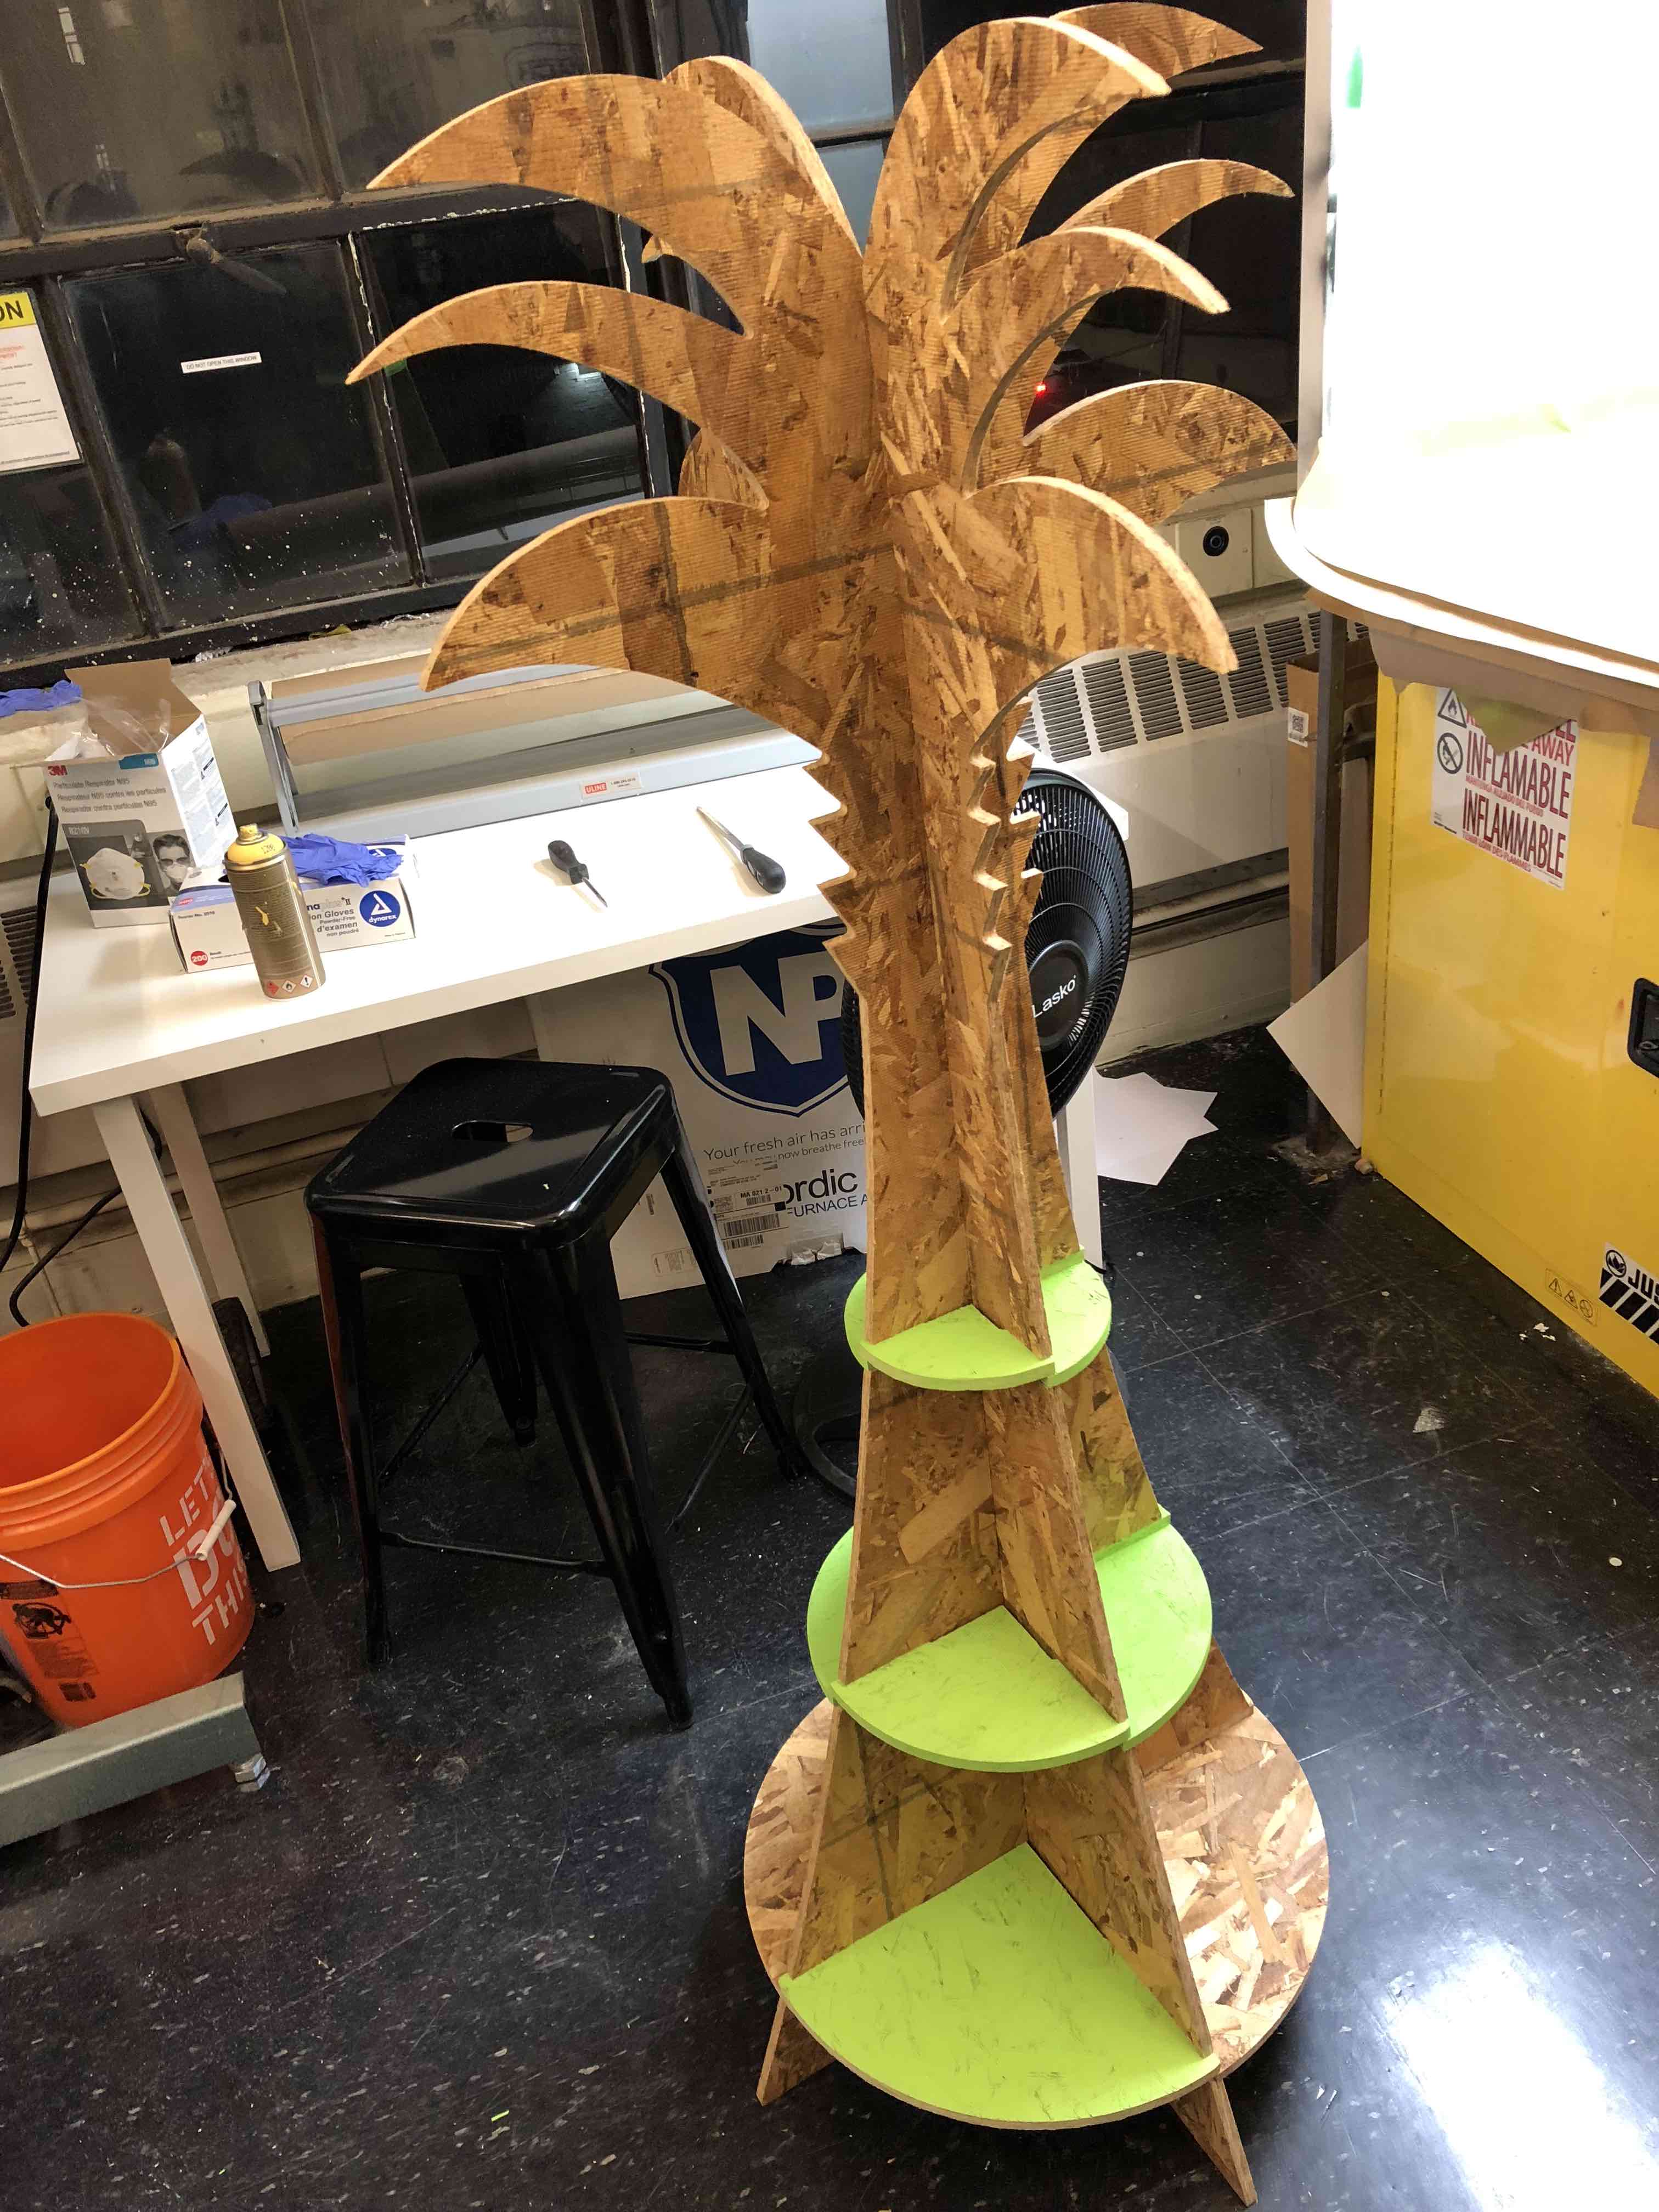
After I was done with the sanding, it was time for the moment of truth, to see if simply inserting OSB wood peices to one nother would yield a strong structure. In fact, everything fit nicely and was structrally stable.Even when I had my friend carry my palm tree bookshelf back to my dorm, he carried it with one hand and it didn't break or come loose! :)
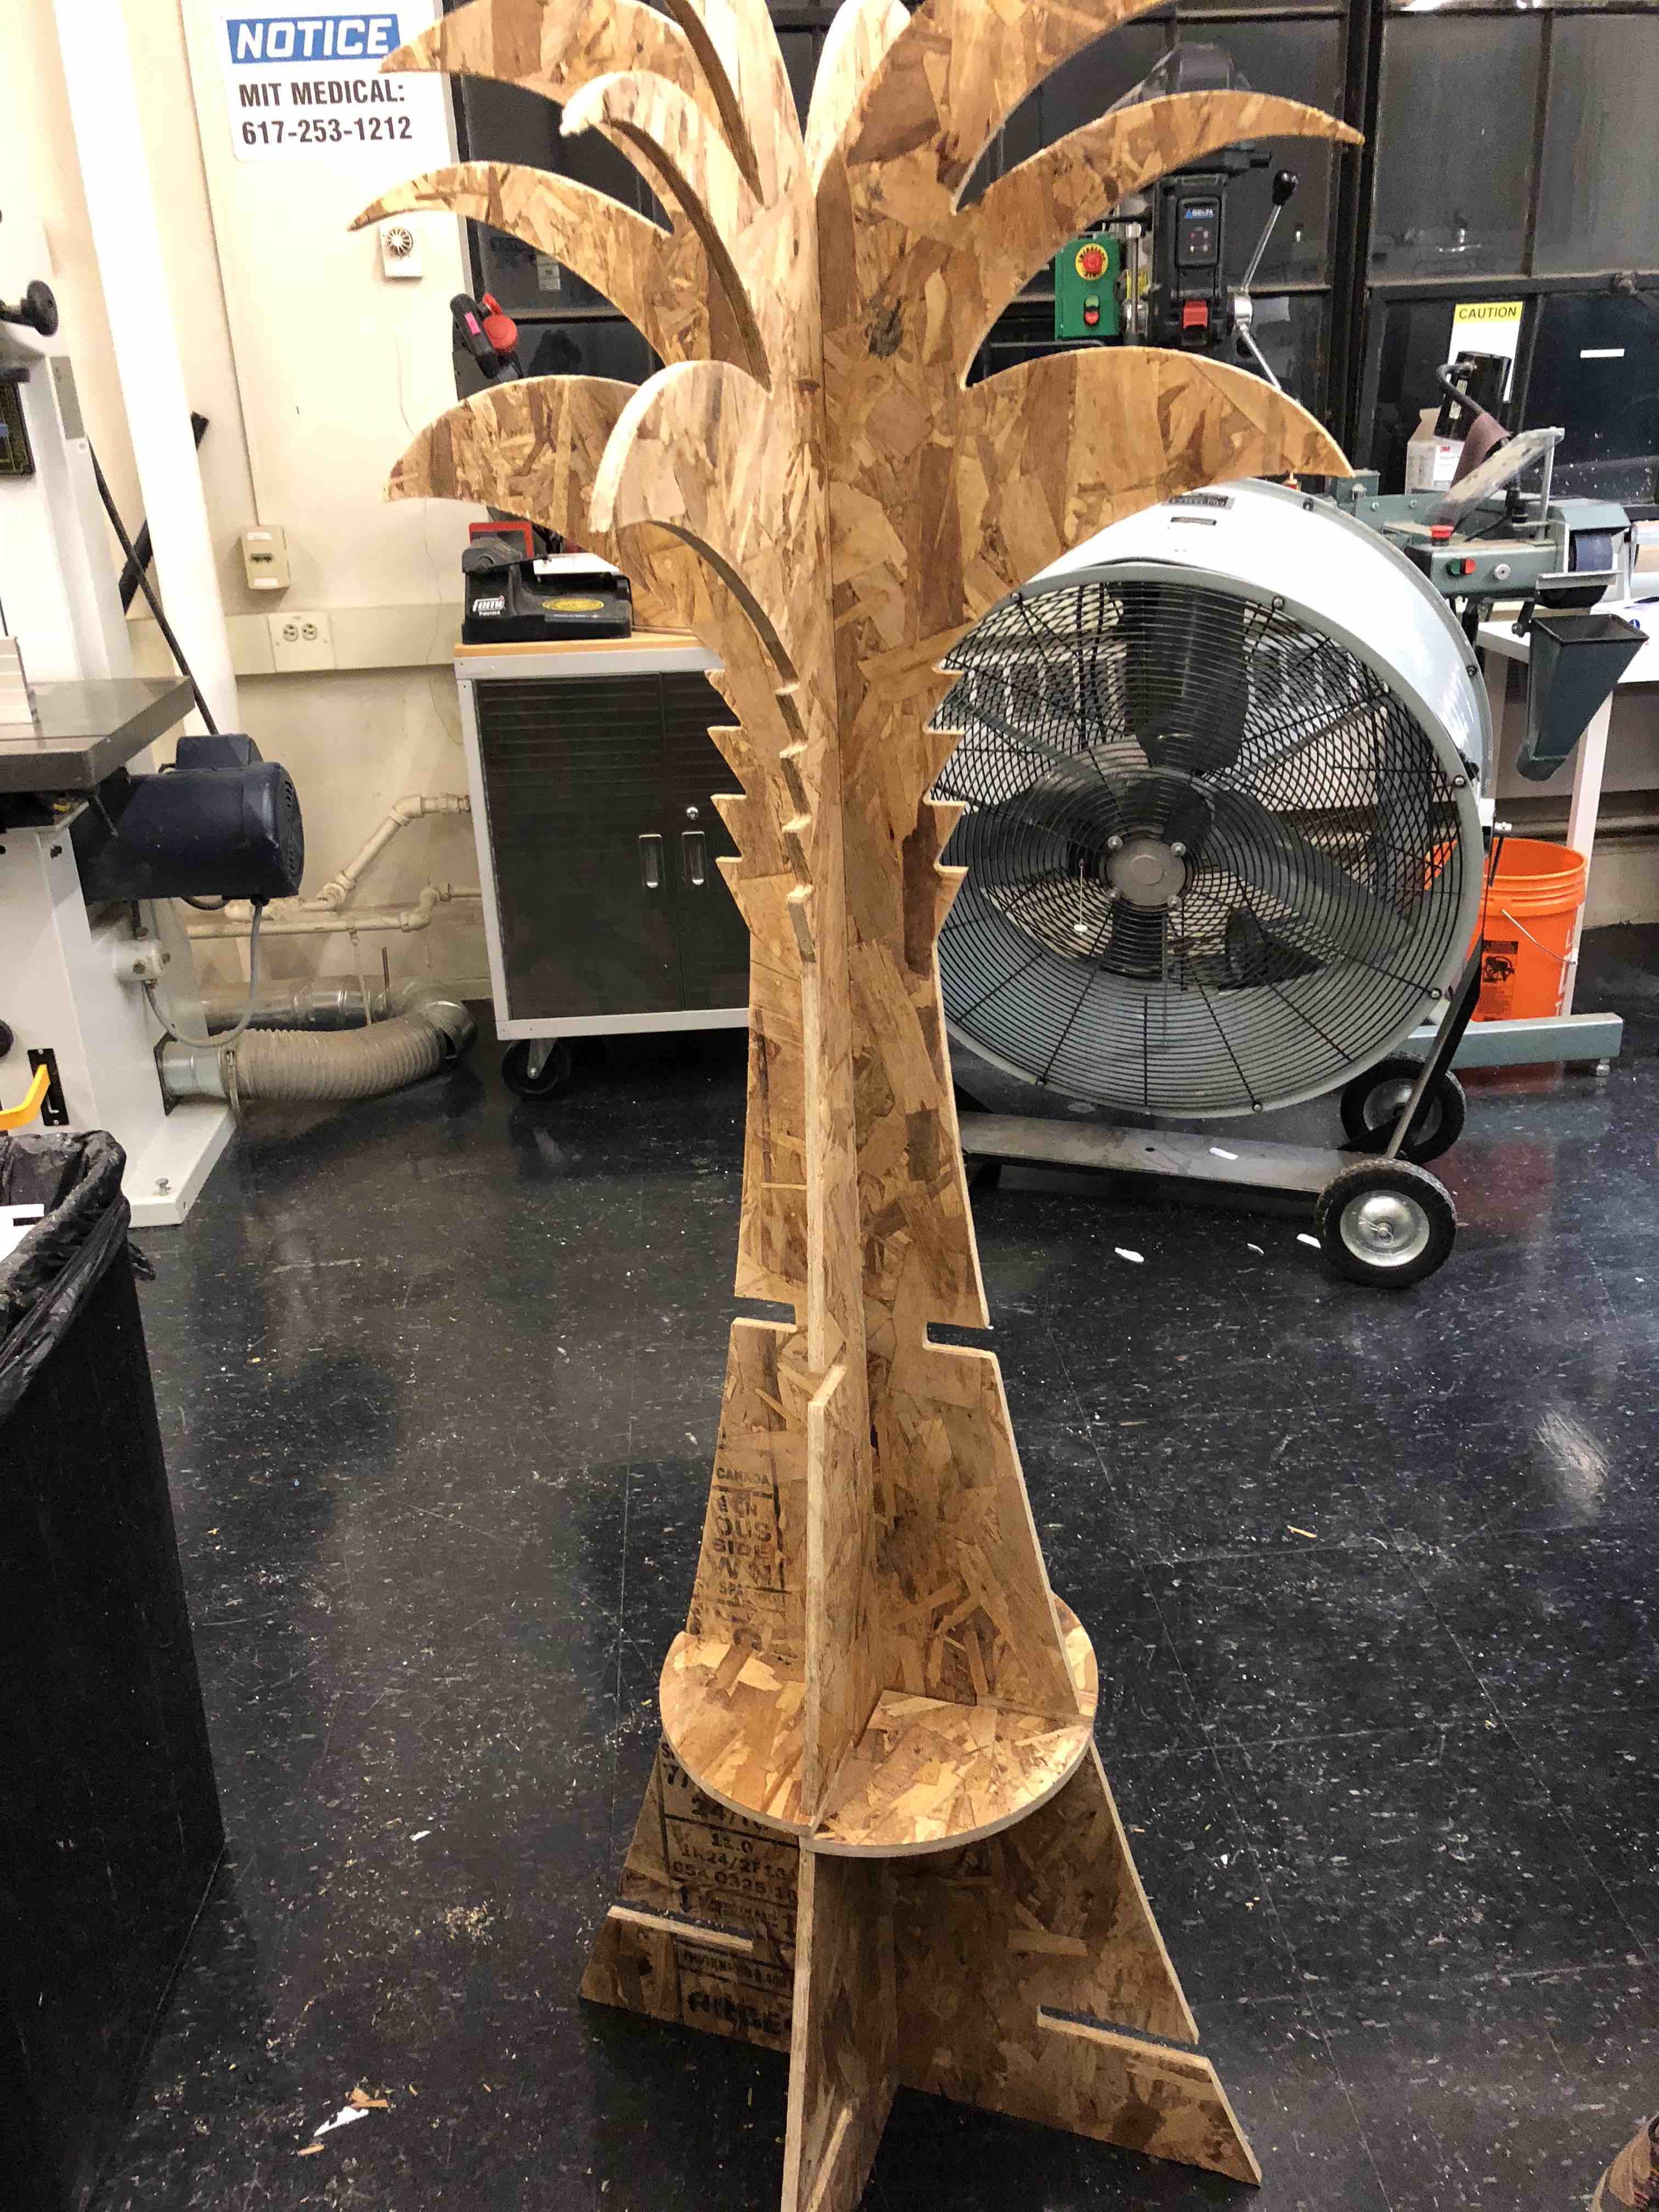
Finally, to wrap things up aesthetically, I applied green spray paint on the shelf segments of my piece. Unfortunately, I ran out of spray paint, so three pieces from the lower shelf portion were not painted, but that wasn't a problem. It still looked to me!
Download Palm Tree Side 1
Download Palm Tree Side 2
Download Lower Shelf
Download Middle Shelf
Download Top Shelf

.