Matt Groh
Molding and Casting
Welcome to the how-to on molding and casting in a fabrication laboratory. Our goal is to transform a 3d software model into many real-life objects. The process involves 4 steps: (1) design a 3d model, (2) cut out an initial (positive) mold (3) cast the (negative) mold (4) cast the end result. So, we're going from positive to negative to positive again. Horus, the ancient Egyptian sky god, was often represented as a sharp-eyed falcon. His eye is a symbol of protection against evil and a symbol of healing. We can all use perspective in life, so I thought it would be fun to recreate artifacts of the ancients.
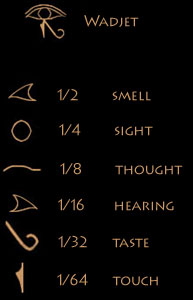
Wadjet, the eye of Horus, is represented as a symbol composed of 6 shattered pieces of the whole. Each of the 6 piece represents a sense and a fraction. If you add the 6 fractions, the sum is 63/64. The 1/64 is missing. Some say the 1/64 represents the magic required to restore Horus' eye. Others see the missing 64th as a statement to the impossibility of perfect. A psychologist might argue it's proprioception. I'd say the missing piece is our wanderlust. If we already had everything, life would be boring (though maybe easier!).
3D Modeling
Rather than design a 3D model from scratch, I searched online for open source 3D models of Horus. I found one on My Mini Factory. I imported the .stl file into PartWork3D, which has a nice step-by-step process for designing the cut lines. The key is setting the model and material sizes, choosing appropriate wall (.1 inches) and margin sizes (.15 inches) (the distance beween the model and the edge of rest of the material), going fast through the roughing toolpath, methodical through the finishing tool path, and voila.
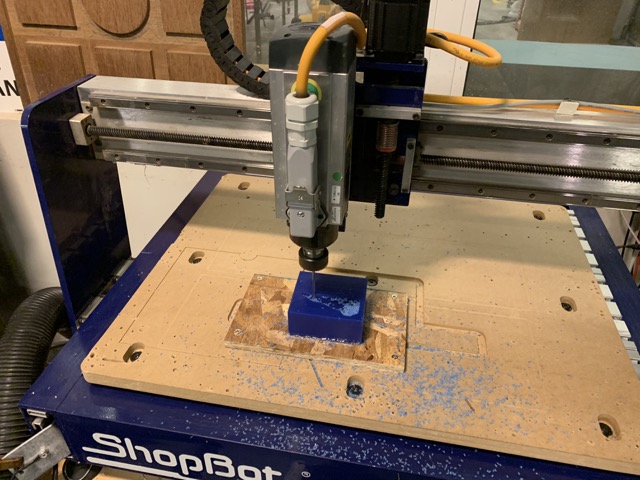
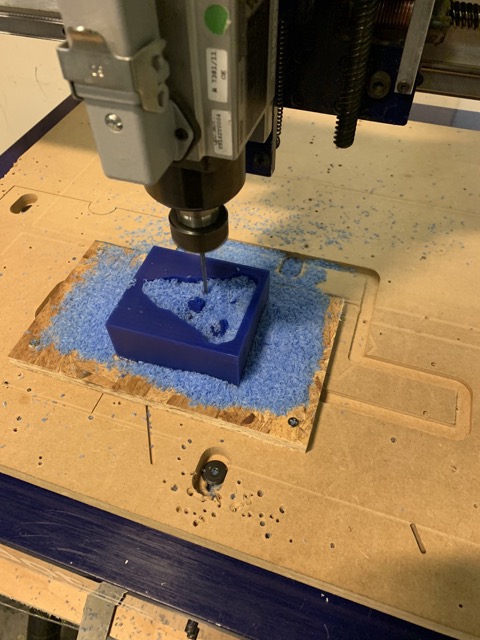
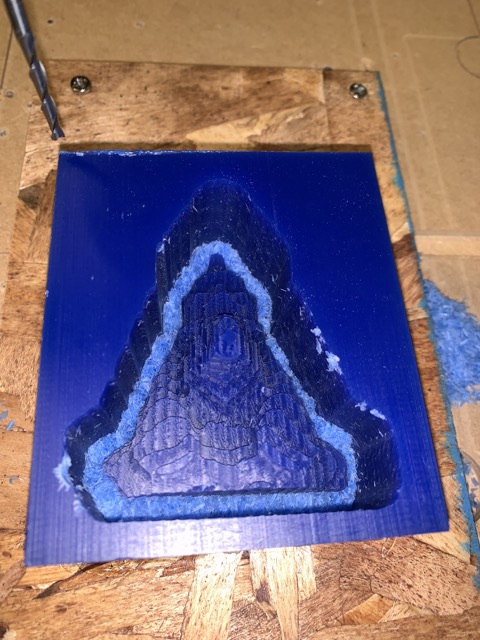
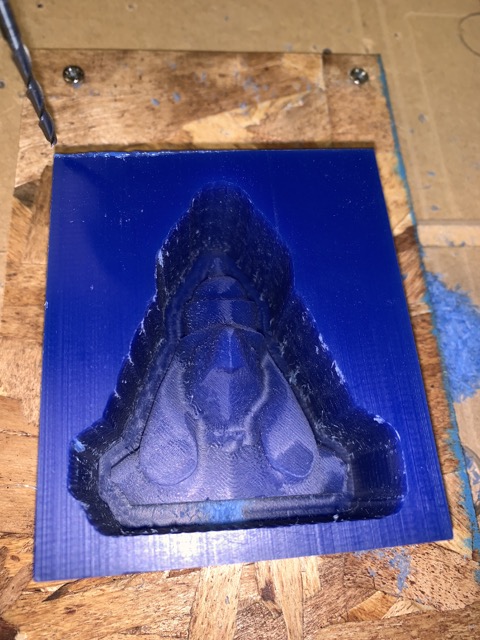
Milling a Wax Block with the Desktop ShopBot
The Shopbot machine is a small version of the Shopbot machine in the CBA Fab Lab that we used a couple weeks ago. It's basically the same process, but here's what you'll need to do
- Glue the block of wax onto a sacrificial layer. You'll want a sacrificial layer on top of the sacrificial layer because 20+ people working on a single sacrificial layer with glue over it would make the wax blocks on top no longer flat.
- Screw the sacrificial layer onto the other sacrificial layer
- Center the x,y coordinates. Center the z coordinates.
- Press go


Molding
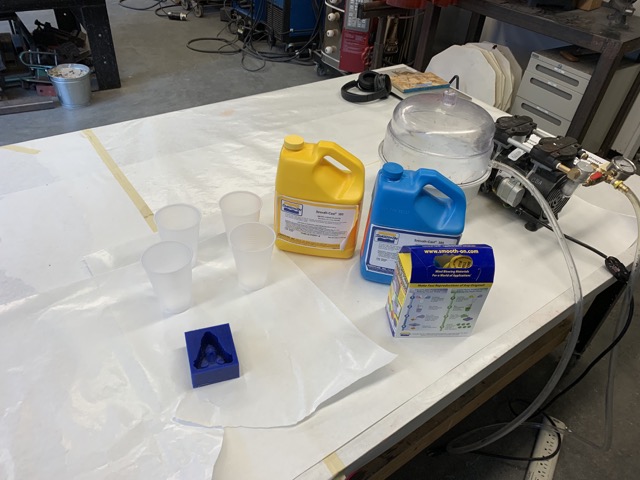
Simply pour Part A of Oomoo into a cup then pour the correct ratio of Part B of Oomoo into a cup. Then, stir. Then, place in a vacuum and get the bubbles out. Then, pour. Then, wait 75 minutes.
Casting
Pour part A into part B, mix it up, vacuum up the bubbles, and pour into your mold. Et fini
If only it were that easy to follow directions!
I went a little too fast, and instead of pouring the Oomoo into the wax, I poured the casting liquids. Initially, I was worried that I totally botched the project and I'd have to start over. Luckily, Tom was around and I asked him for advice. Tom suggest that we drill through the wax and poke the casted material out. Well, it was firmly stuck. So, that didn't work. Then, Sara suggested melting the wax. That would have been cool, but maybe a bit messy. Then, one of us thought of drilling a hole in the back and pulling the casted material out. So, we drilled into the casted material, put a screw through, clamped the wax tight, and pulled. It didn't work. Then, we just pulled harded. And booyakasha! It worked!!!