Computer-Controlled Machining
"Computer Numerical Control (CNC)...transforms a piece of material (metal, plastic, wood, ceramic, stone, or composite) into a specified shape by following coded programmed instructions and without a manual operator directly controlling the machining operation." -Wikipedia
Group Assignment
1. I learned how to safely operate the CNC machine.
Unfortunately, I was sick at the beginning of the week so I could not attend the group training session with the rest of the architecture students. However, they sent me pictures of tests cuts of particle board, which they measured using calipers (Fig. 1A). While the thickness of the board was supposed to measure 0.5", in reality, the boards varied slightly and were often around 0.45".
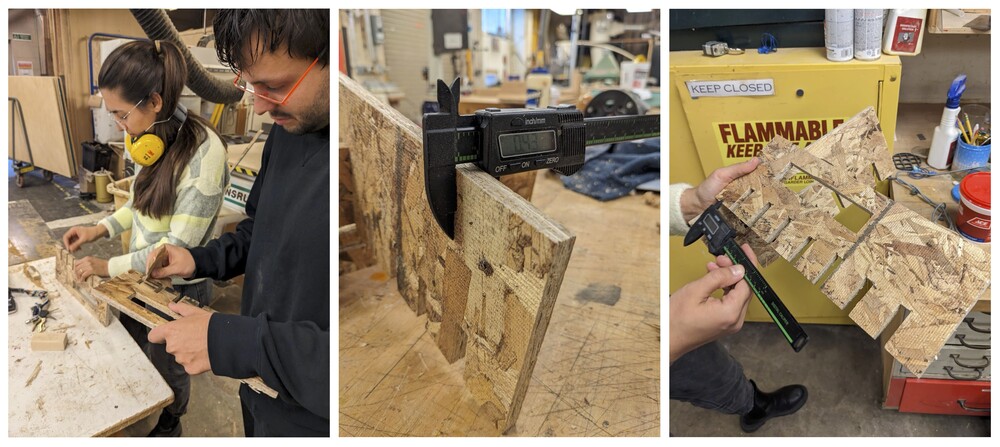
Fig. 1A. Measuring the thickness of the particle board.
I received the rest of the safety training individually from Technical Instructor Chris Dewart.
Individual Assignment
2. I designed a combination table and stool.
Being my first time making any sort of furniture, I wanted to make something useful that I could keep. I asked my parents for suggestions and they sent me a picture of a combination table and stool from the MOMA Design Store magazine (Fig. 2A).
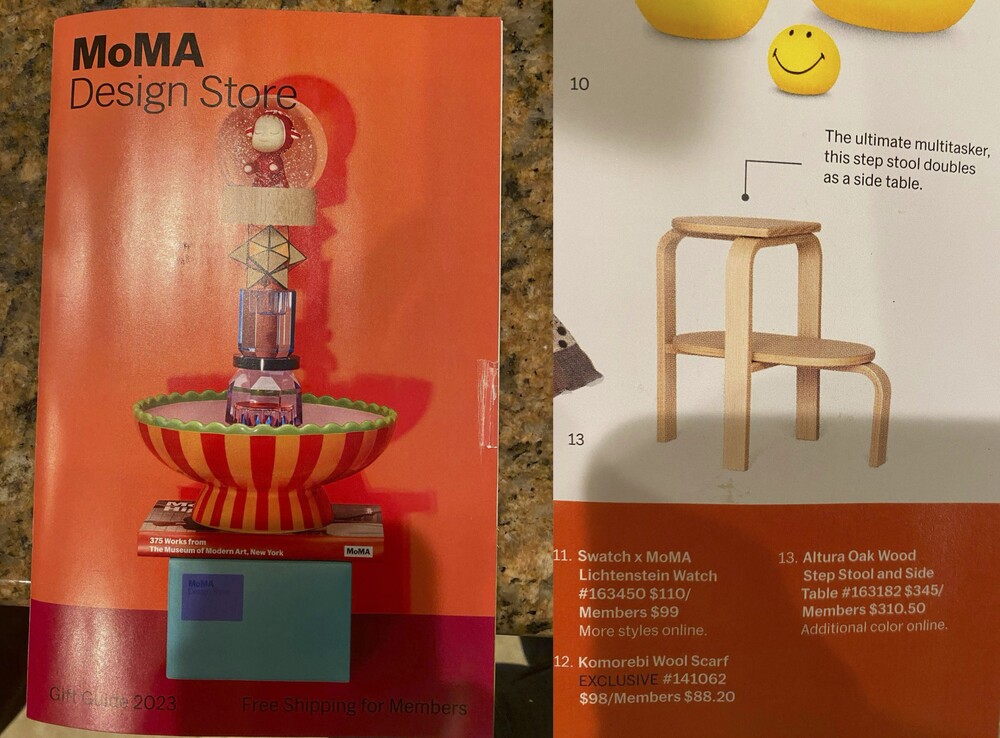
Fig. 2A. MOMA Design Store magazine.
I started off by sketching the furniture piece with a desired height in mind (Fig. 2B). Though I could not assess the exact shape of the frame from the magazine picture, I realized the frame could be made simply out of two peices that fit together. Whether or not this would be sturdy enough was a separate question, but I decided to proceed with the design. I explored the idea of using multiple layers of particle board to create the frame, but ultimately decided on just one layer, resulting in two pieces for the frame.
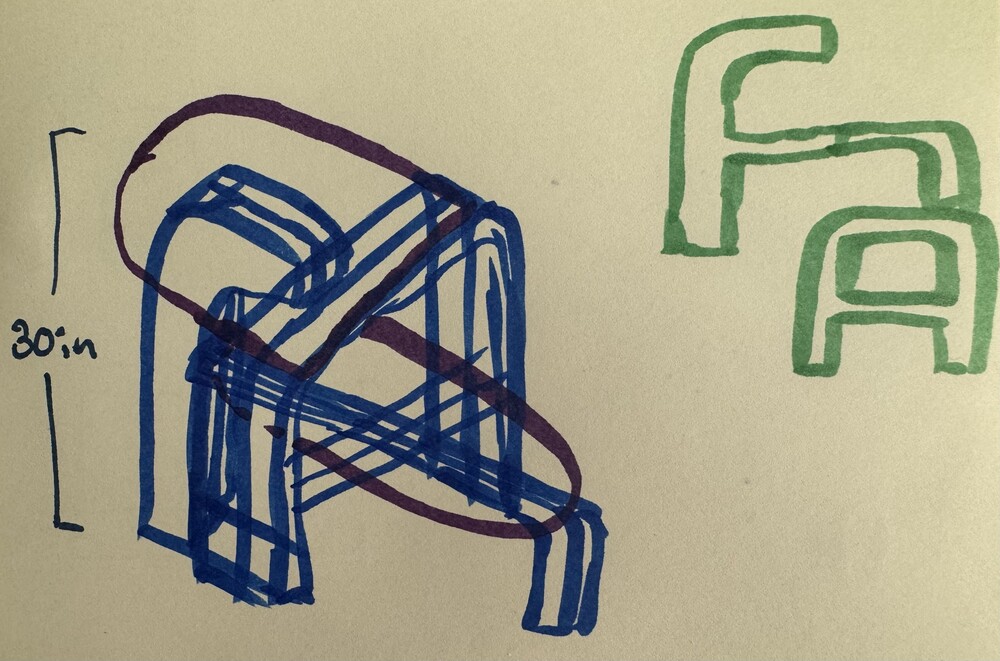
Fig. 2B. Sketch of the furniture piece.
I converted my sketch to a CAD drawing, which looked quite similar to the piece from the magazine (Fig. 2C).
Fig. 2C. CAD rendering of furniture piece.
I sent my CAD file to Jen, who suggested to make the top platform sturdier by adding supports and slots for the platform to fit into. I updated the CAD design accordingly (Fig. 2D).
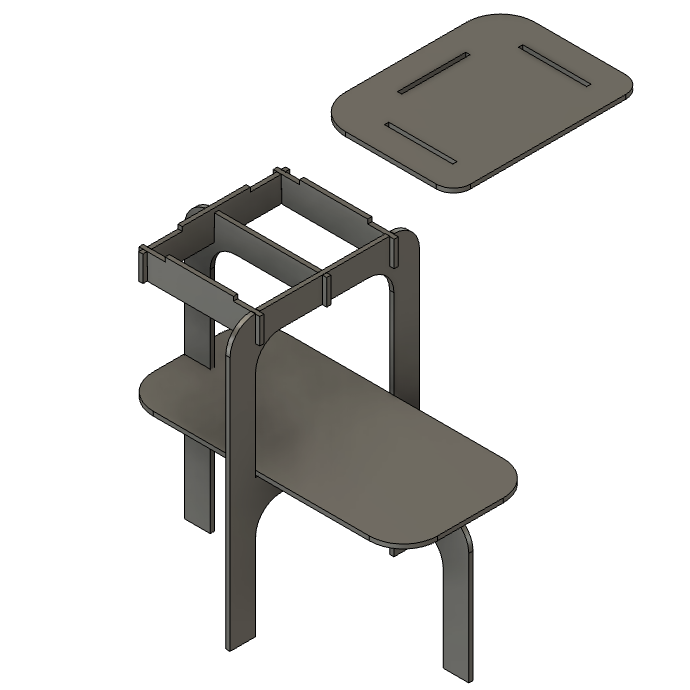
Fig. 2D. Refined top platform of furniture piece.
I created a separate CAD assembly for the template that the CNC machine would cut, and sent it to Chris Dewart. A furniture-making guru, he suggested extending the distance between the slots and edges on the connector pieces so that they would not run the risk of being ripped off by the machine. I updated the CAD file and and exported the final template (Fig. 2D). The .dxf file can be downloaded here.
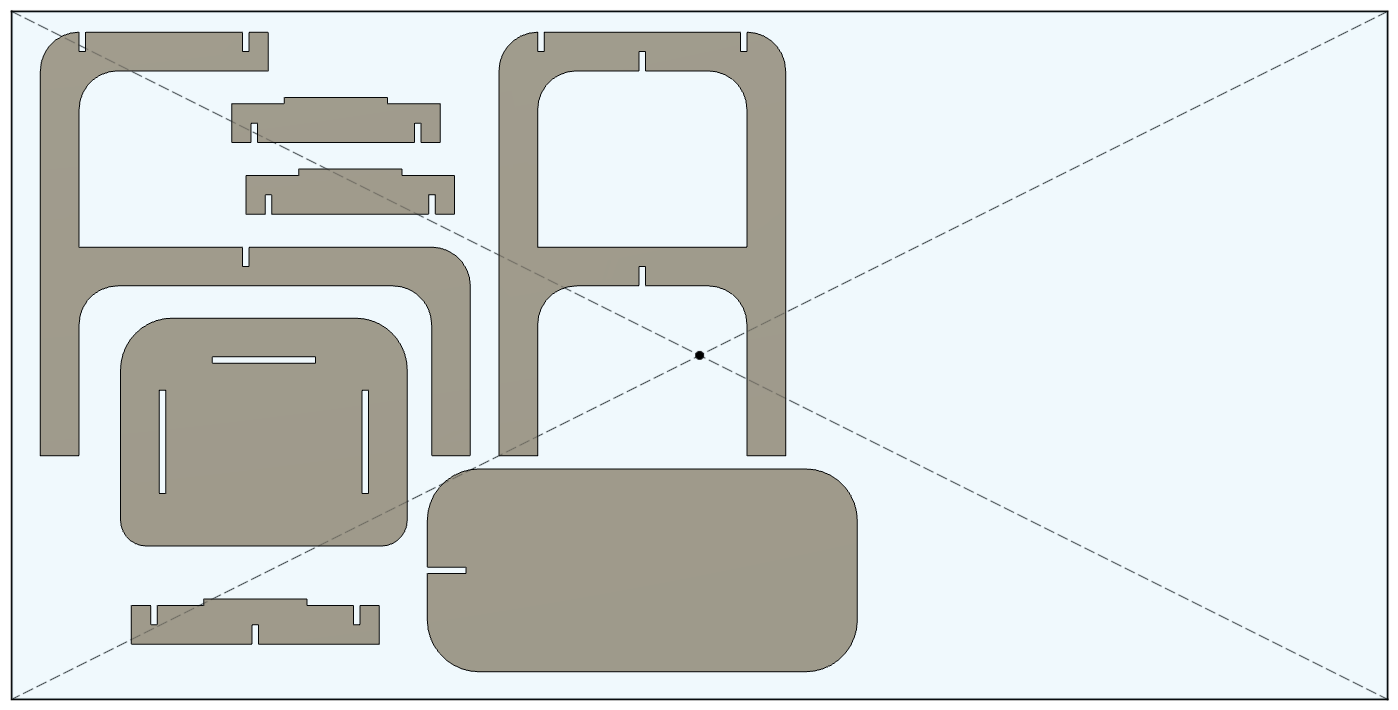
Fig. 2E. Template for cutting the parts.
Chris opened my template in Rhino and and showed me how to modify it in order to set the toolpath (Fig. 2F). This included adding points to the inner corners that would be cut in order for the program to recognize where to start and stop the tool.
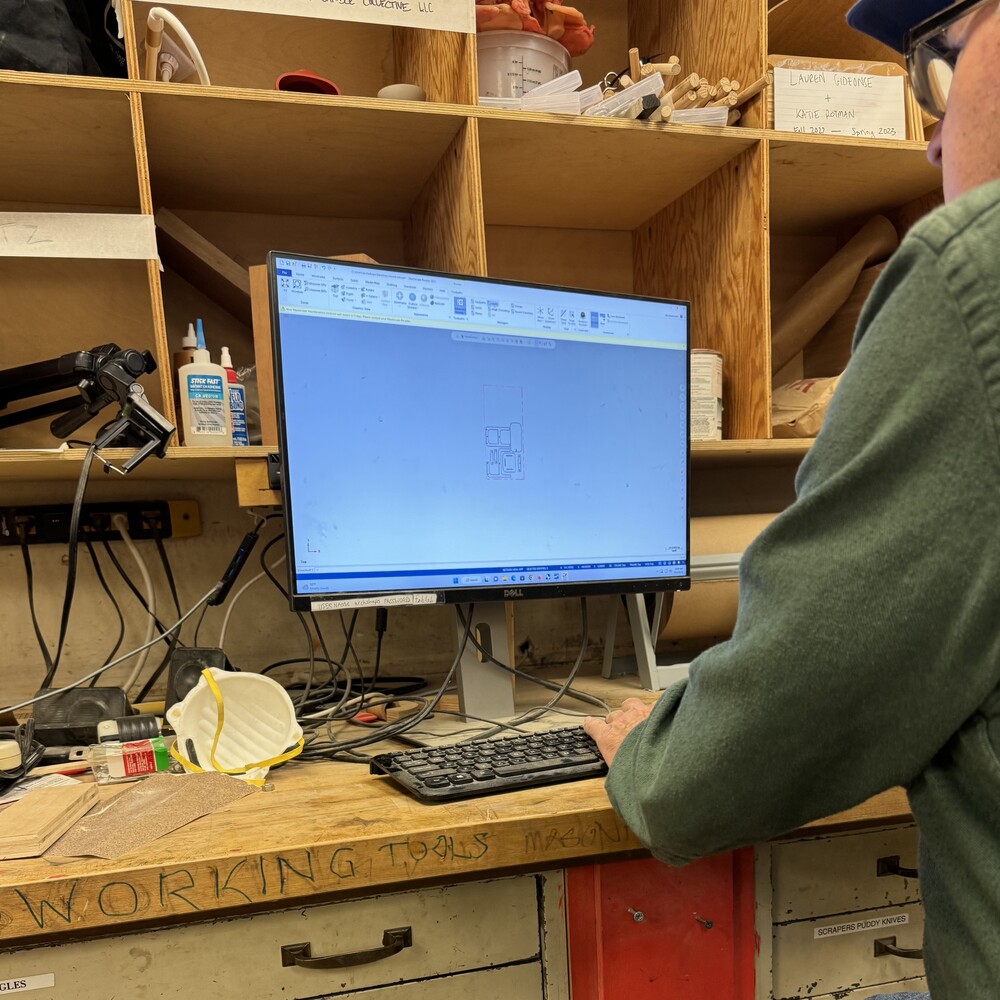
Fig. 2F. Setting the toolpath.
When the file was ready to be uploaded to the CNC machine, we set it up for cutting (Fig. 2G). The "C.R. ONSRUD" is a massive machine that includes a fast-moving cutting unit programmed to cut a material affixed to the platform underneath. In preparation for this process, Chris and I carried a large piece of particle board (8' by 4') from the nearby shed and placed it flat on the platform. To secure it down, Chris drilled a few screws into the corners of the board. We uploaded the cutting template to the machine via USB and then started the program. Watching the machine start, I was mesmerized by the automatic process of the cutting unit changing tools.
Fig. 2G. Setting up the CNC machine.
The machine began cutting the particle board, taking around 20 minutes to finish (Fig. 2H). Once complete, we realized the z-axis depth was not set to the full thickness of the board, so we had to run the program again in order to cut through the board. When the cut was finally complete, we vacuumed off the sawdust that was remaining within the grooves on the board and then removed the parts (Fig. 2I). We then removed the excess material from the platform of the CNC machine to recycle or reuse for future projects.
Fig. 2H. Cutting the particle board.
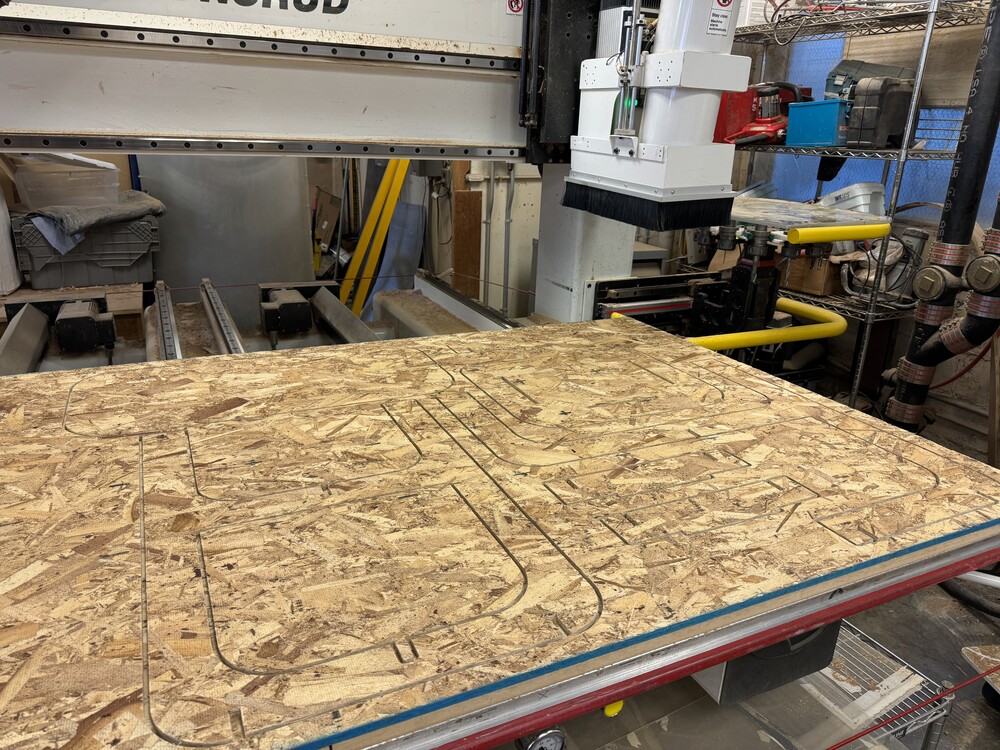
Fig. 2I. Finished cut.
I had a lot of fun with the next step, which was to use a tablesaw-like machine to smooth the rough edges of the cut parts (Fig. 2J). This machine was quite simple to use and it was very satisfying to remove the excess material from the sides of the parts.
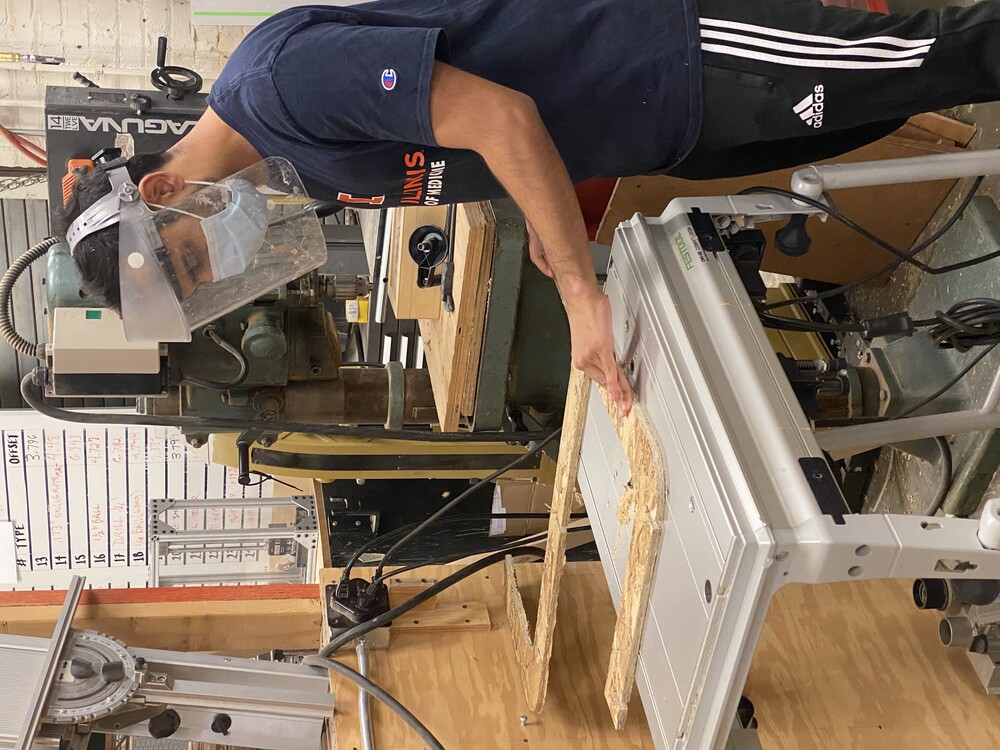
Fig. 2J. Smoothing out the edges of the parts.
I was left with my 7 parts that were to be assembled together (Fig. 2K). The assembly process was very simple, and required no more than a minute to fit all of the parts together (Fig. 2L).
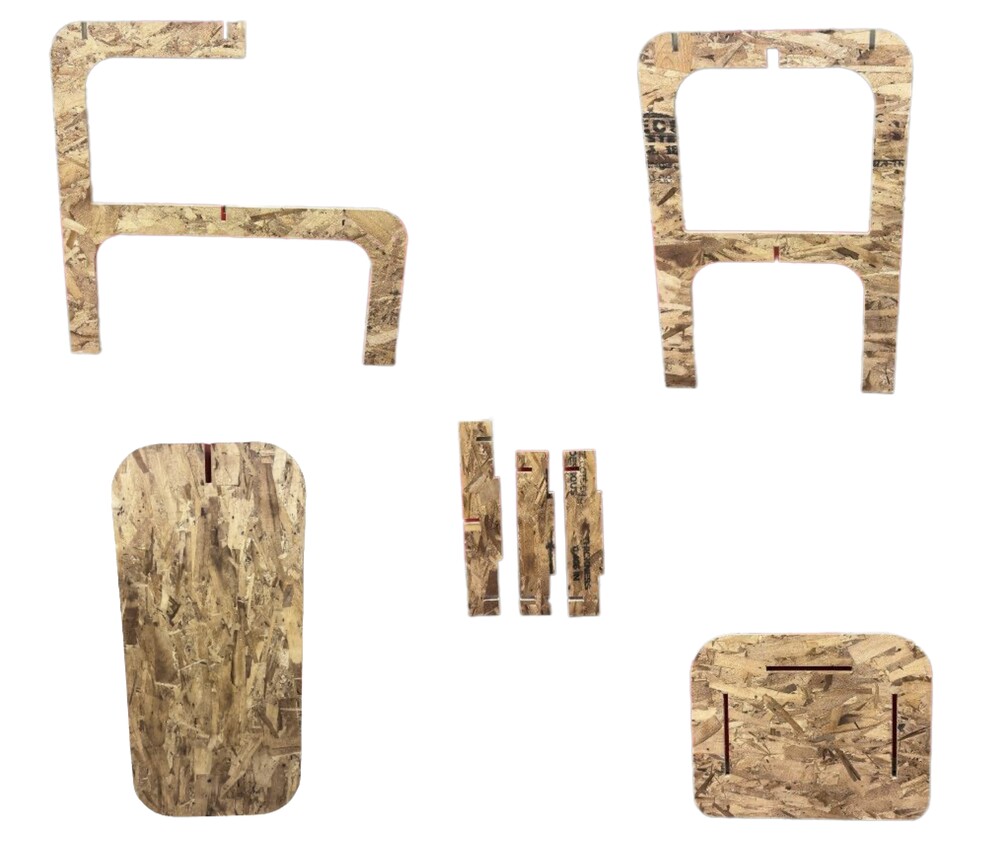
Fig. 2K. Final parts.
Fig. 2L. Assembling the combination table and stool.
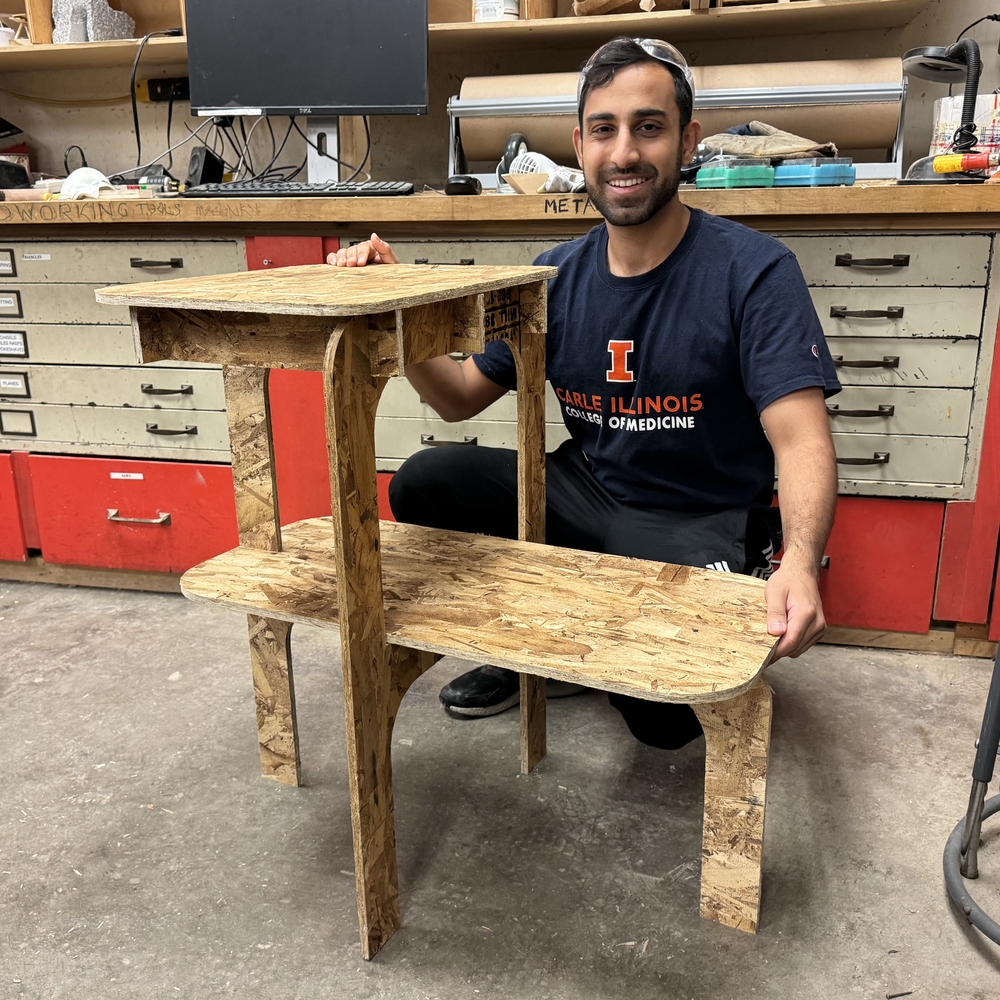
I was happy with the final furniture piece! While I probably would not use the stool functionality (the particle board does not seem like it could support my weight, but I am sure a different material would be able to), I would definitely use it as a table. I specifically designed the height of the platforms to allow for working or eating off of them while I sit on my couch in my room. Overall, furniture making was a great new skill to have learned and I hope to make some more furniture in the future!