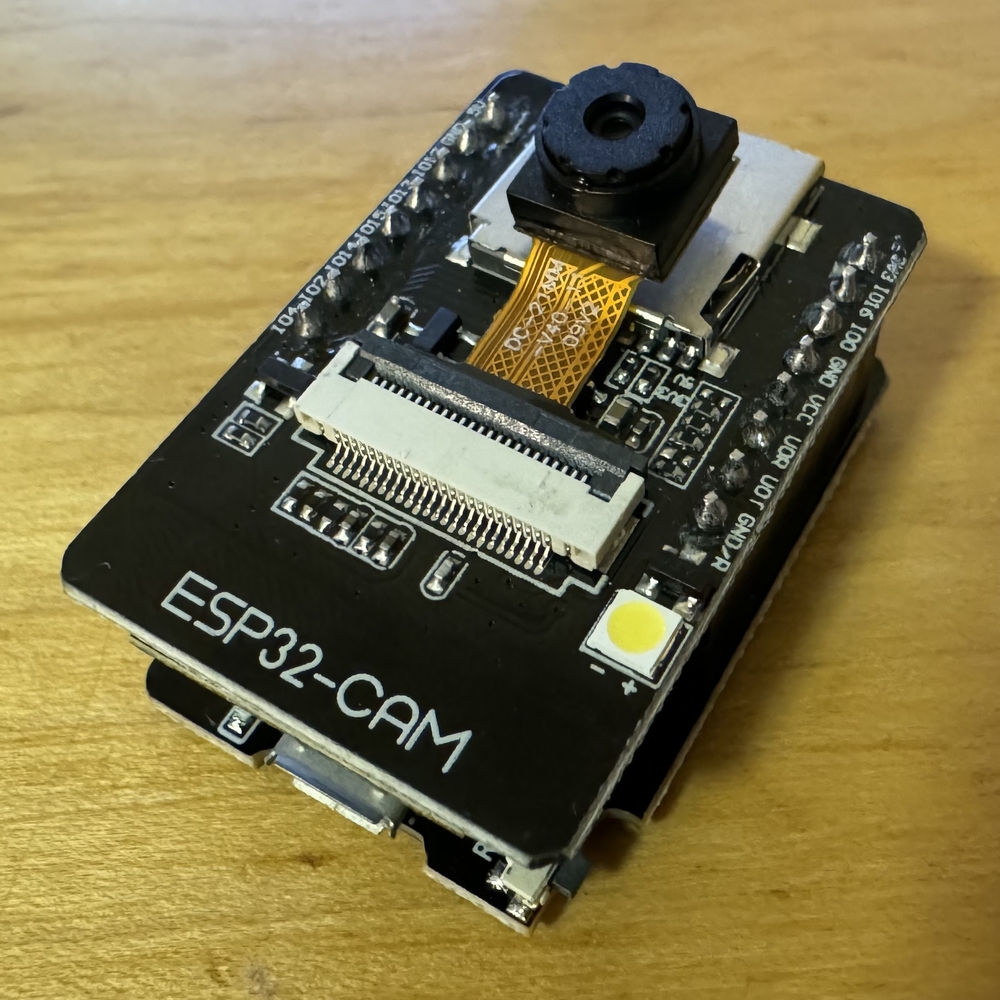
Networking and Communications
"A computer network is a set of computers sharing resources located on or provided by network nodes. Computers use common communication protocols over digital interconnections to communicate with each other." -Wikipedia
Individual Assignment
1. I created a wired node with a network and a local interface to take a photo and display it on the web.
This week I decided to use the ESP32-CAM, a microcontroller that would allow me to take a photo. The task for this week was to establish a network between the device and a local interface, so I knew I needed to transfer the photo to my computer. I mapped out what would be needed in this information transfer: a node, a network, and a local interface (Fig. 1A).
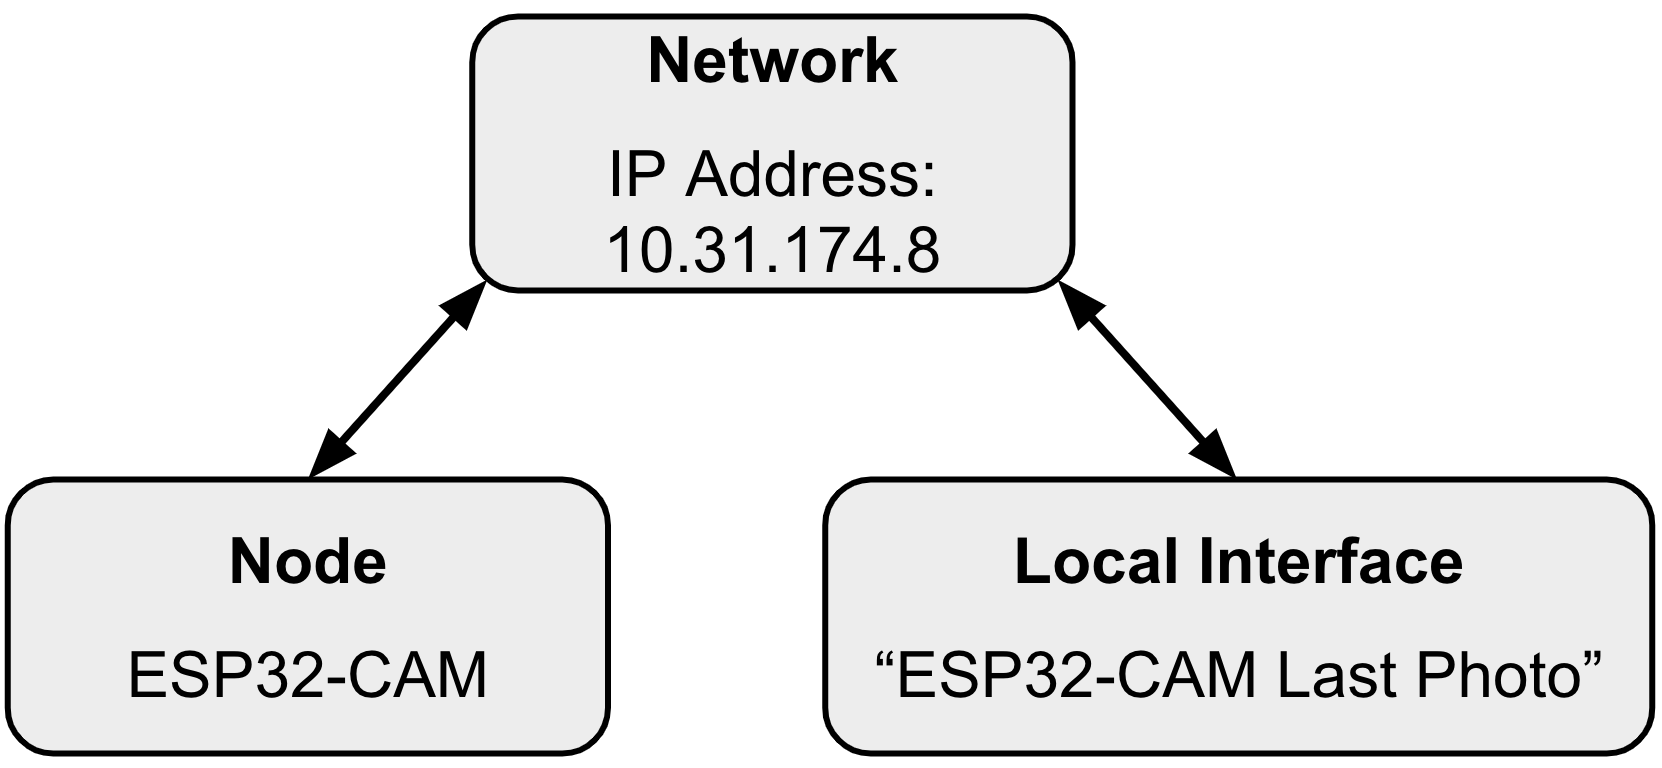
Fig. 1A. Map of information transfer.
With my node being the ESP32-CAM and the local interface being a program on my computer, I knew I needed to somehow connect the node with the local interface by way of the network, my IP address. In Prof. Gershenfeld's example, he used a FTDI connector to bridge the universal asynchronous receiver/transmitter (UART) on the programmer board to a USB to be connected to the computer (Fig. 1B).
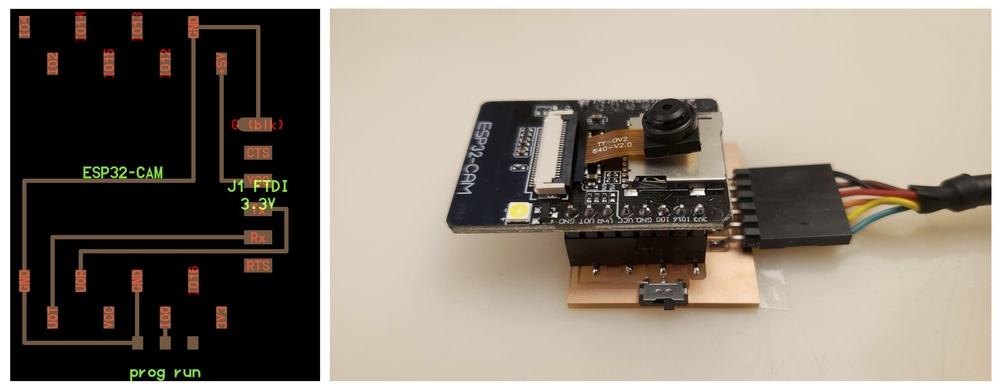
Fig. 1B. Prof. Gershenfeld's programmer board.
I designed and milled a programmer board similar to Prof. Gershenfeld's example, then soldered the necessary components (Fig. 1C).
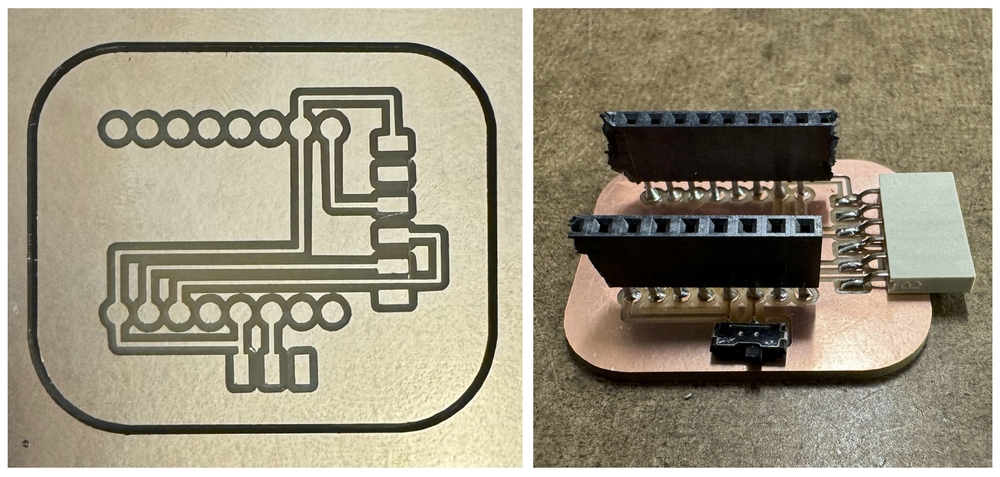
Fig. 1C. Designed, milled, and soldered a programmer board.
Following this, I realized that the Architecture Shop did not have an FTDI cable, so I was unable to connect the programmer board to my computer. Luckily, I was able to acquire a ESP32-CAM-MB USB Programmer, a device that served the exact purpose of the board I made (Fig. 1D).
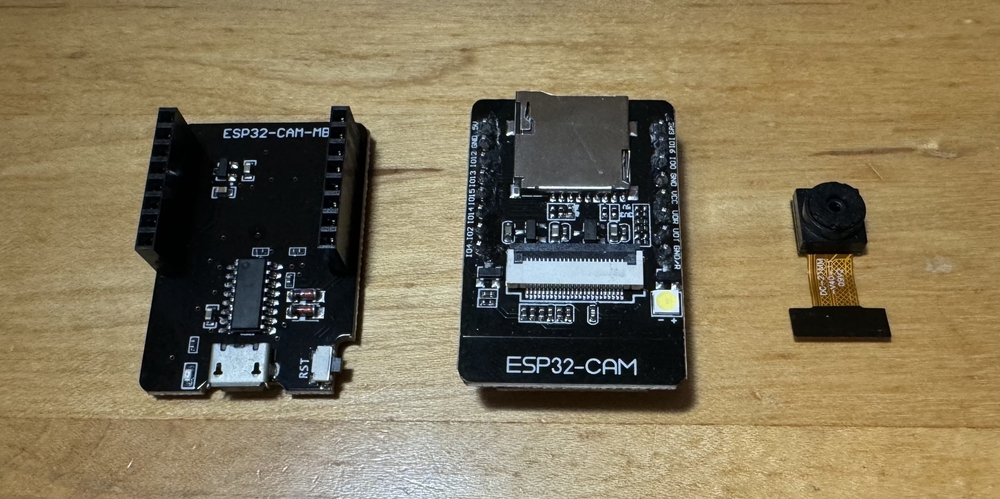
Fig. 1D. ESP32-CAM-MB, ESP32-CAM, and camera to be connected to each other.
Once connecting the devices together and plugging the ESP32-CAM-MB via USB to my computer, I tested the ESP32-CAM by uploading a simple program to blink the built-in LED (Fig. 1E).
Fig. 1E. Blinking LED test.
Using an online tutorial, I was able to create a local interface that enabled me to take a picture with the ESP32-CAM (Fig. 1F).
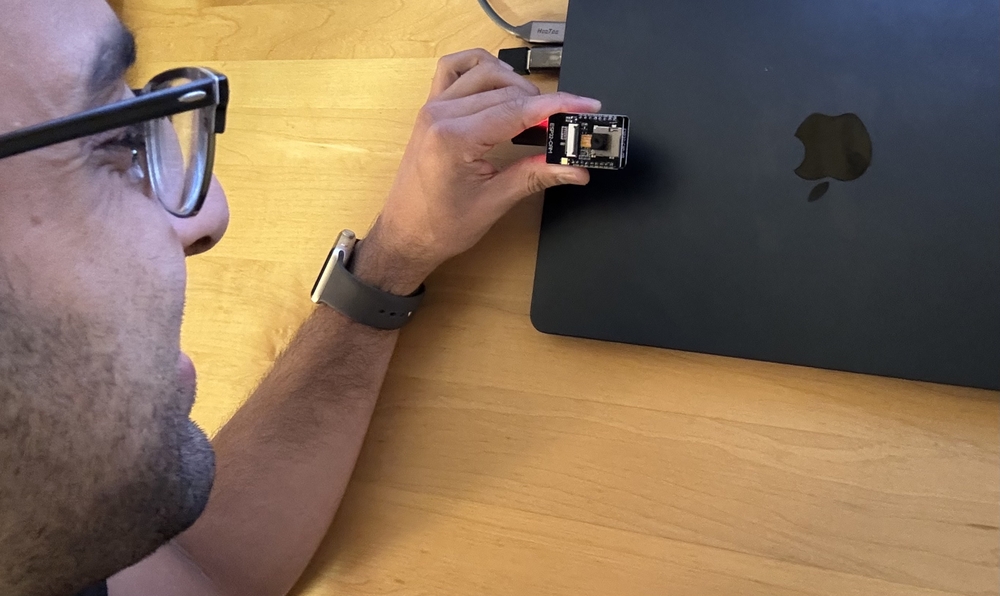
Fig. 1F. Taking a picture of myself with the ESP32-CAM.
Through the network I was able to load the picture I took with the device in the local interface, as well as rotate it to view it properly (Fig. 1G).
Fig. 1G. Process of taking, loading, and capturing a photo (video sped up 8x).
The networking and communications skills I learned this week will surely be useful if I ever want to make a interactive website and device in one of my projects in the future!
Group Assignment
2. The class sent a message between two projects.
During "show-and-tell" in the class session, a student in the Harvard section, Dünya Baradari showcased a project that allowed a message to be submitted from a computer and displayed on an LED screen (Fig. 2A). For the next five minutes, students around the class submitted messages that were displayed for all to see!
Fig. 2A. Dünya's project.
While this week we sent a message between several computers and a project, it would be nice to explore sending messages directly through several projects in the future.