14.WILD CARD WEEK
Softwares: Inkscape
Devices: Brother PE800 Embroidery Machine
Files: 14.Embroidery.jpeg
Devices: Brother PE800 Embroidery Machine
Files: 14.Embroidery.jpeg
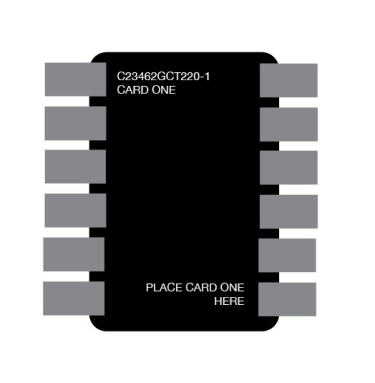
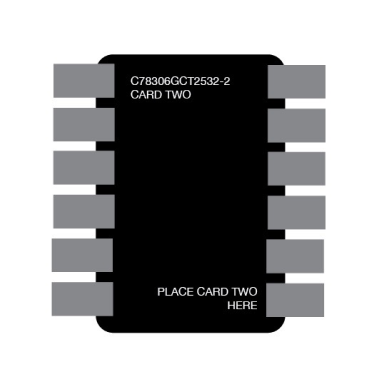
I then uploaded a png image of the second card placement, into Inkscape and
allowed it to create an embroidery Simulation of what would be produced. It
only picked up the back portion of the embroidery design, and although it
tried to do the font a little, it ultimately didn’t seem like the lettering
would come out right.
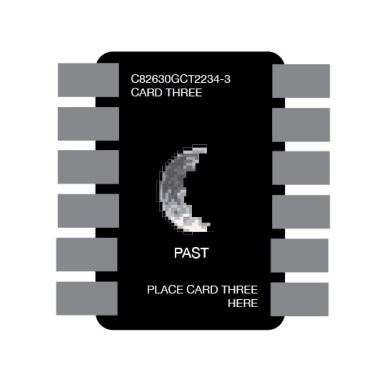
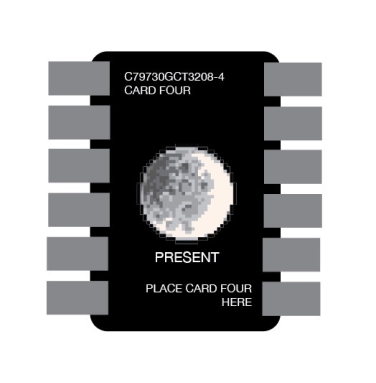
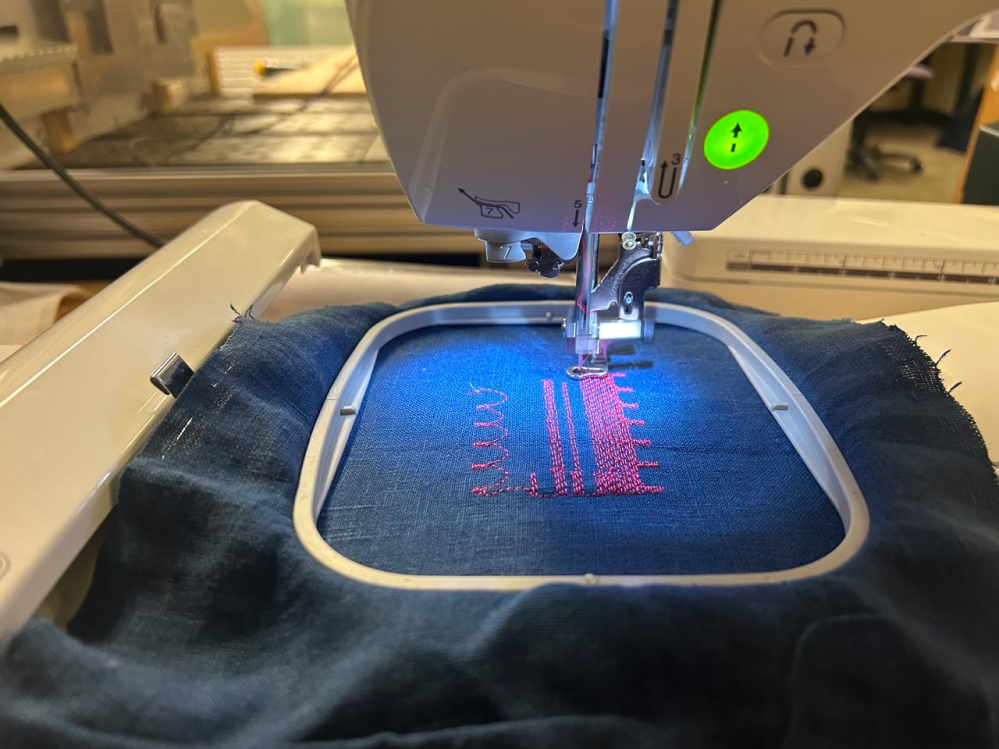
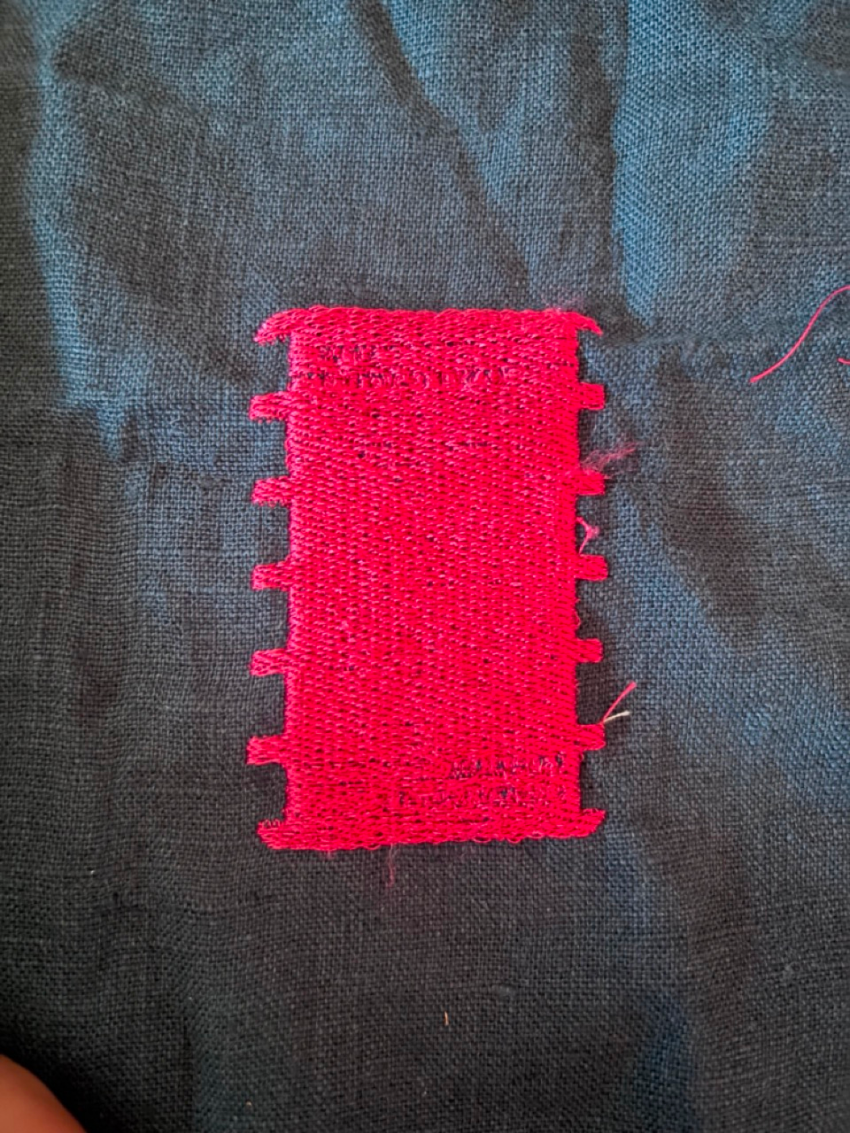
To embroider, I used a red thread that was already threaded into the machine
(it was already having issues with the top thread, so when it finally
started working again I didn’t want to rock the boat too much by rethreading
everything for a different color). I chose a blue weaver’s cloth and pressed
embroidery stabilizer cloth into the backside using an iron.
Although the words didn’t come out well, you can still see a little bit of
the outline of the letters, so I think if it was bigger (which in the final
version, it will be!) it might show better. I enjoyed the thickness of the
material, and I think the plan will be to individually embroider all the
elements and then sew them to the mat in the final steps.
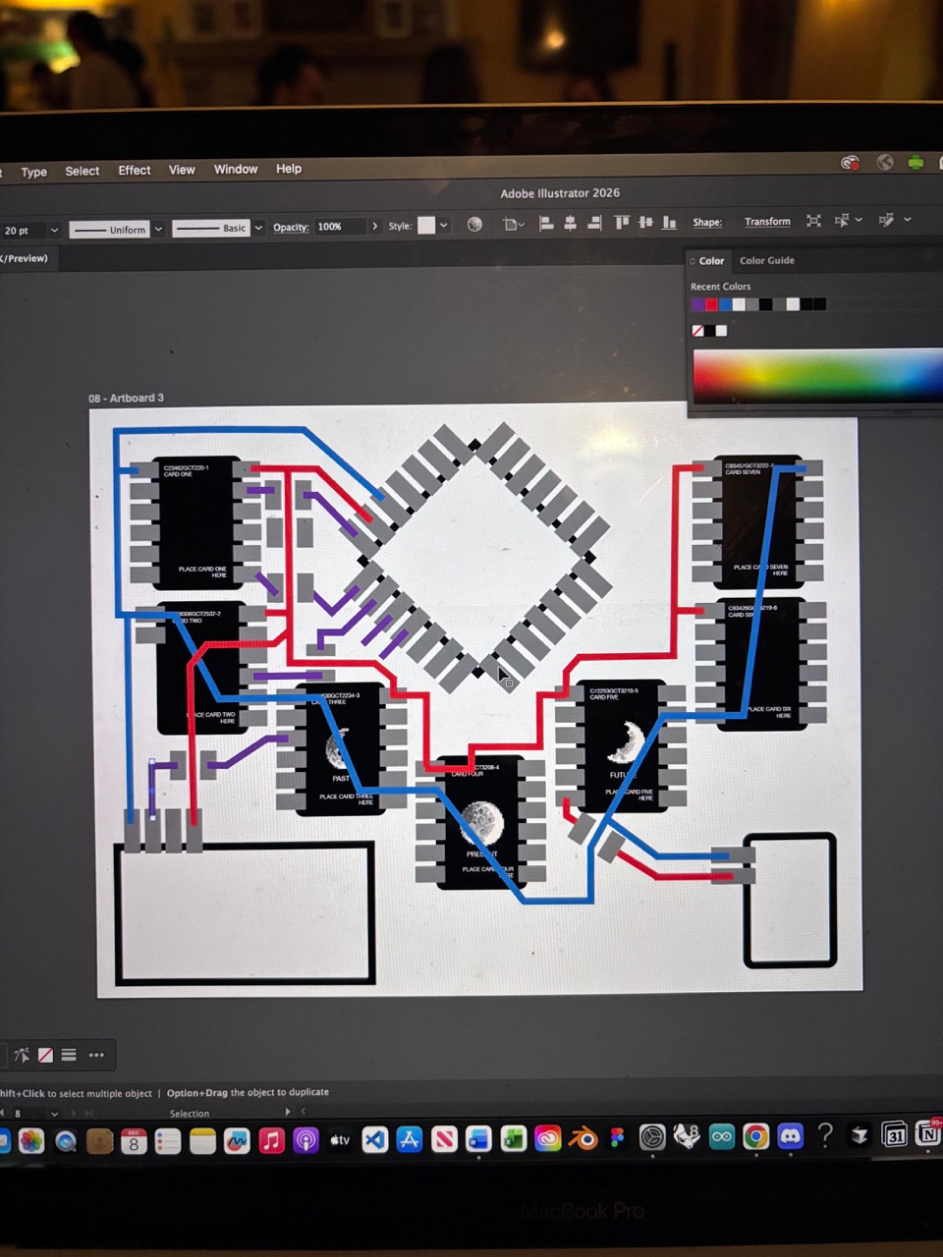
Object
placement
placement
Display Module
Card stand