2. Group Assignment: Test the Design Rules for your 3D printer
 Working with Mateo Fernandez and Nasibe Nur Dundar Arifoglu, we attempted to find the limits of the Sindoh PLA filaments.
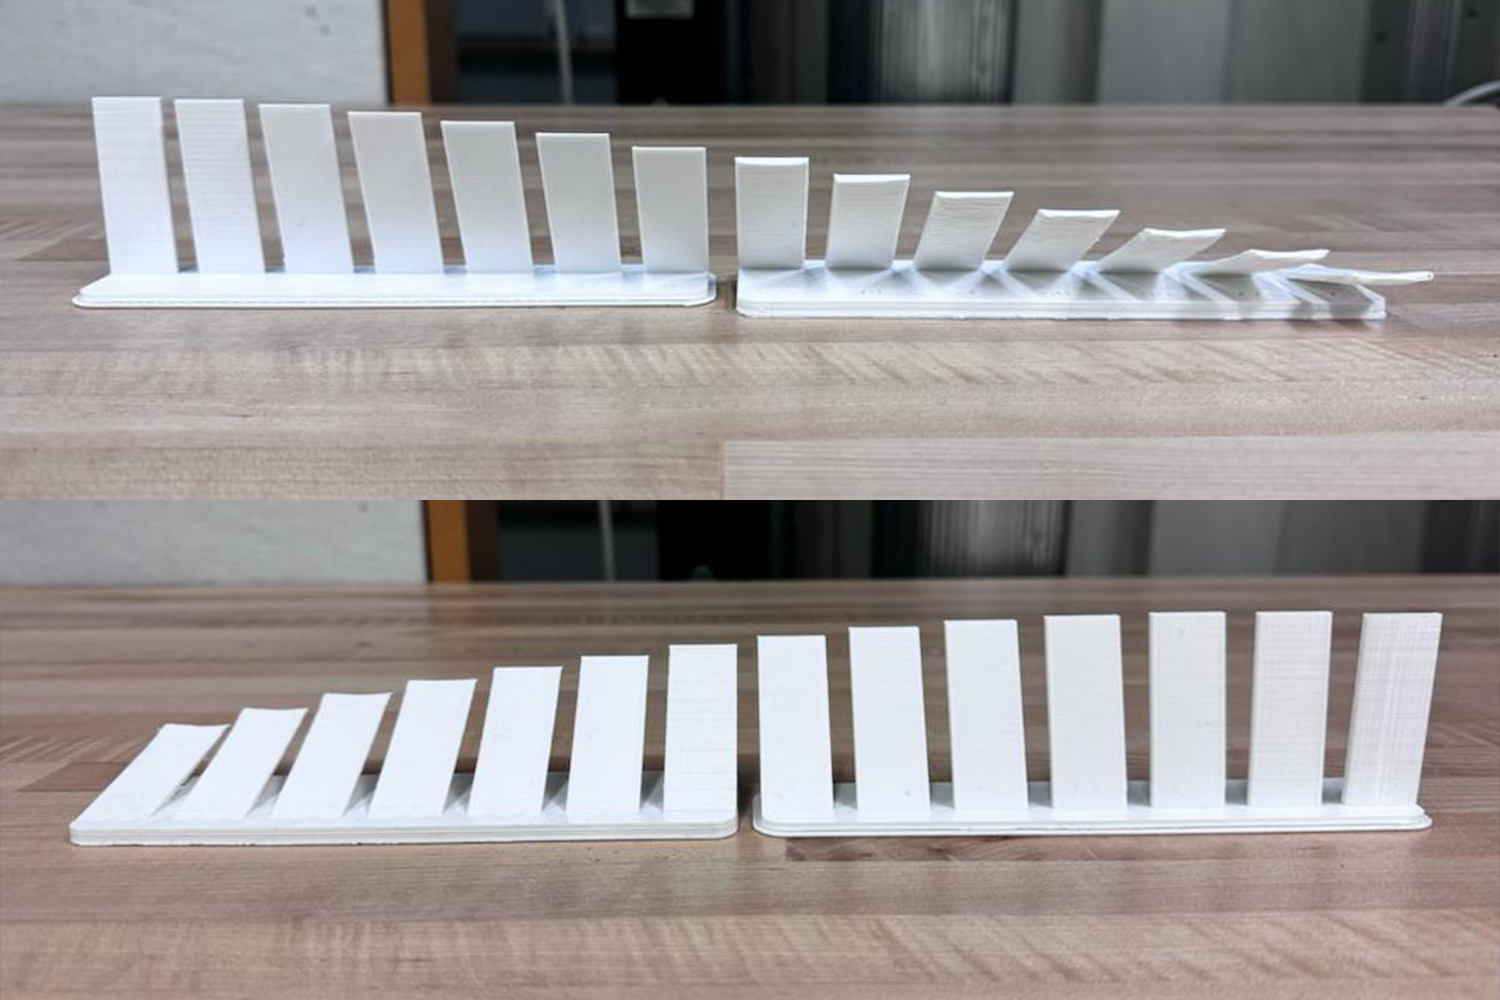
Modeling 0.75" wide x 0.1" deep x 2" tall extrusions, we angled them in 6 degree increments from a perfectly straight wall to a nearly horizontal cantilever.
3. Design and 3D print an object
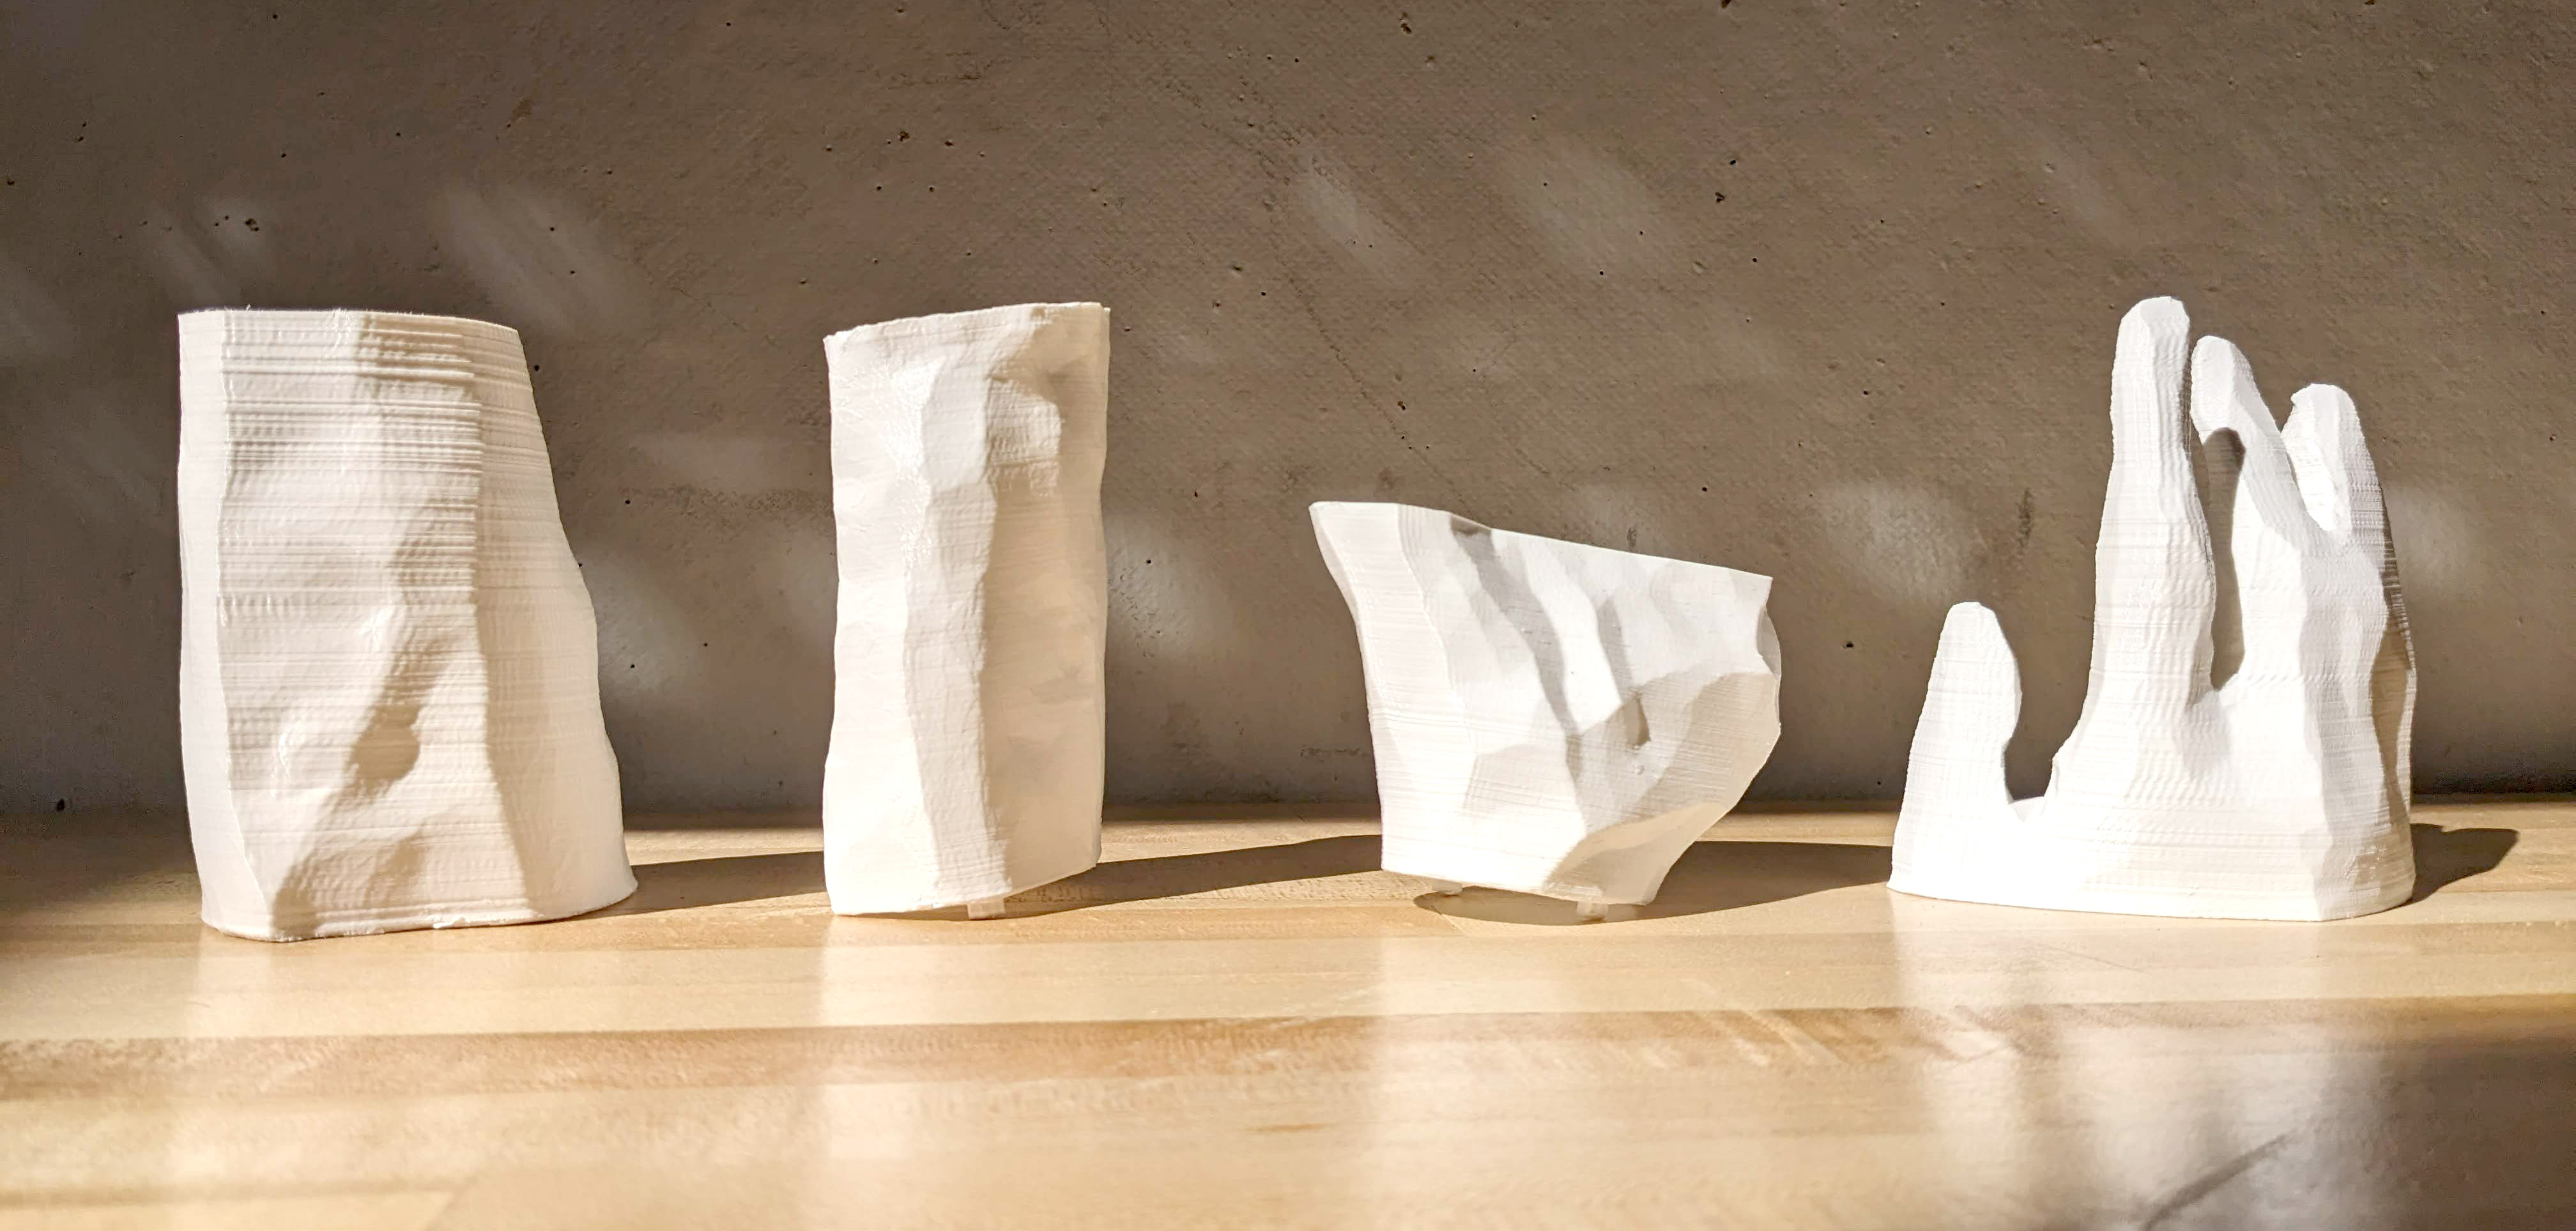 Pieces of Inez's arm, printed in PLA filament.
Testing.
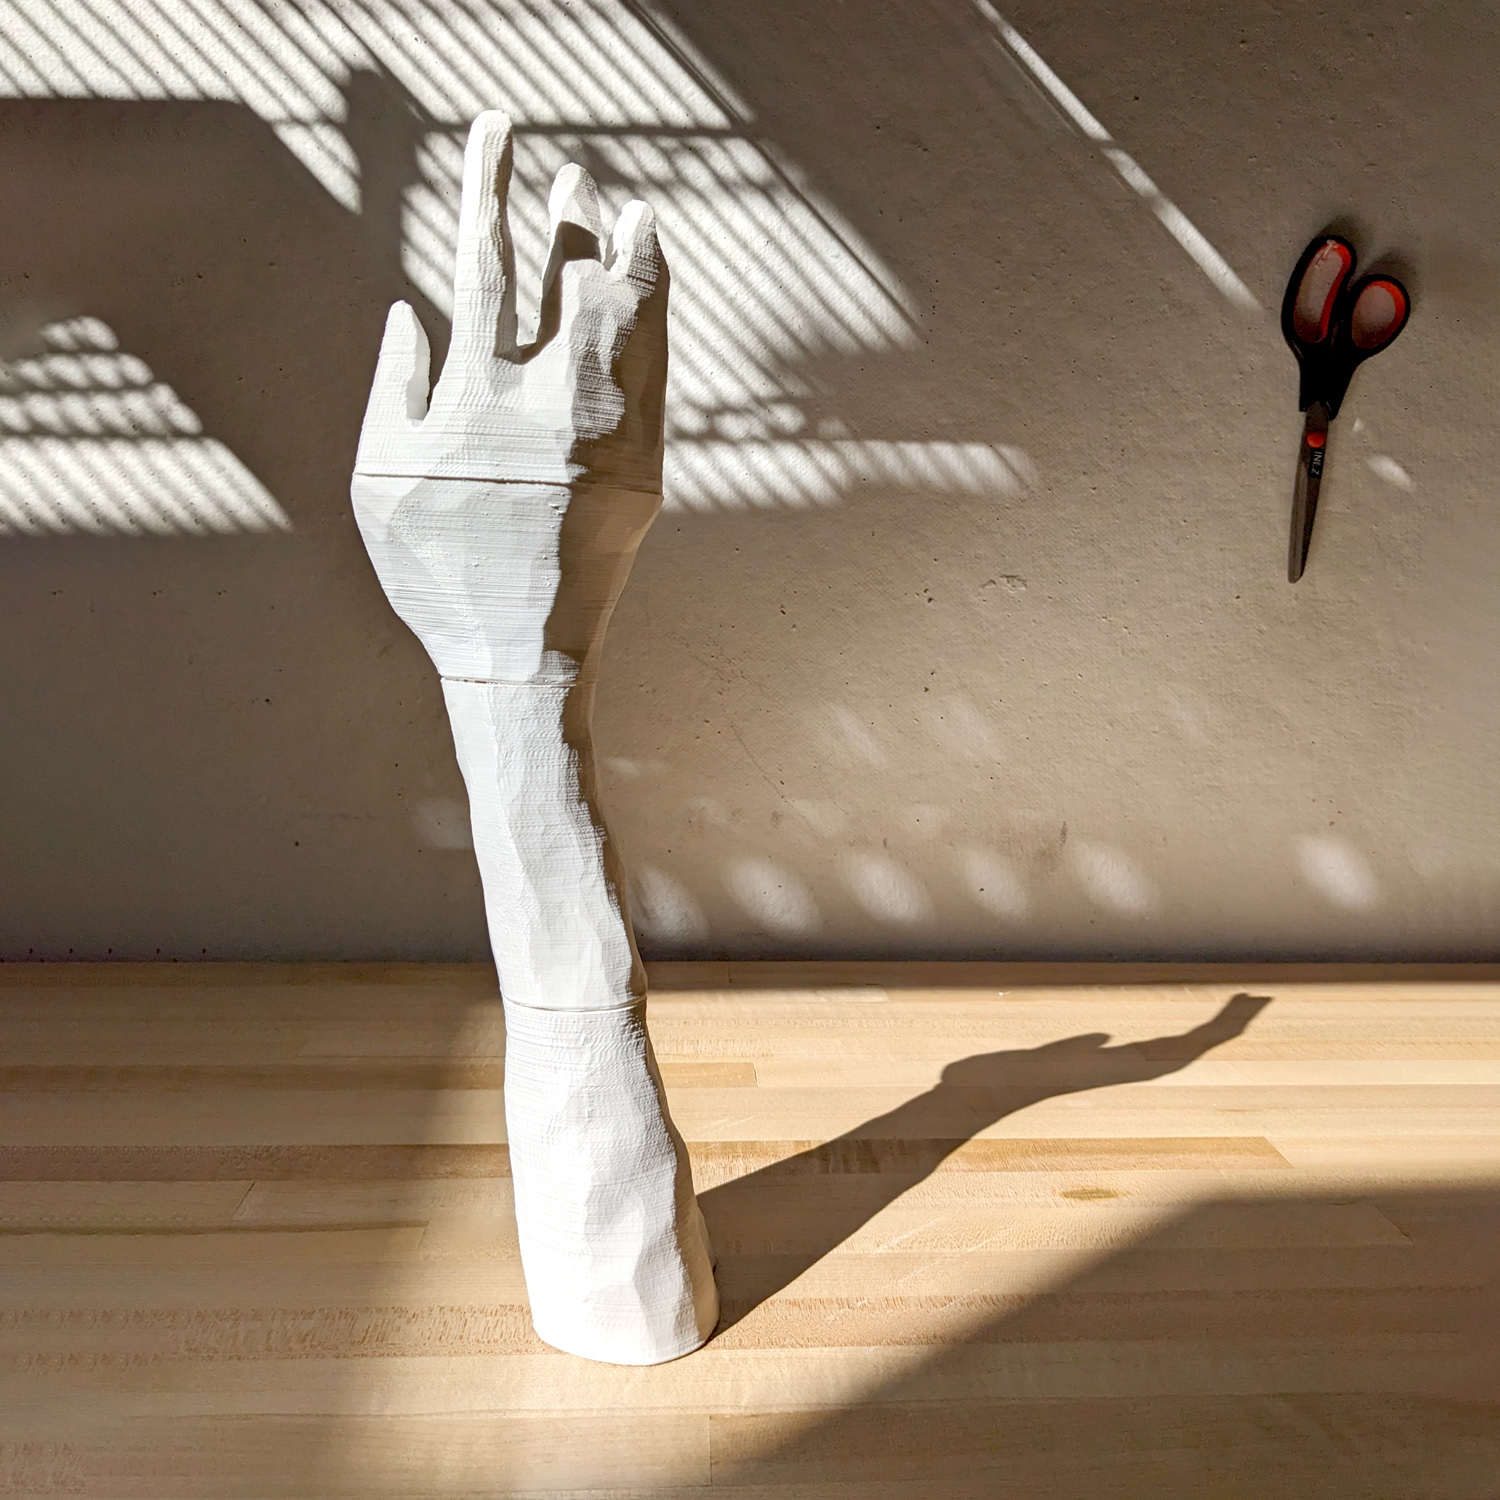 First pass at the assembled arm. Dimensions yet to be verified against Inez's real arm.
During the course of this process, I started to have many new ideas about construction of my wearable. I see now that I could use the 3D print of the 3D scanned arm as a positive to create casting moulds, or to 3D print flexible material onto the arm. I will explore these directions once I'm confident that the 3D print is the right dimension to proceed.
4. Formlabs Testing
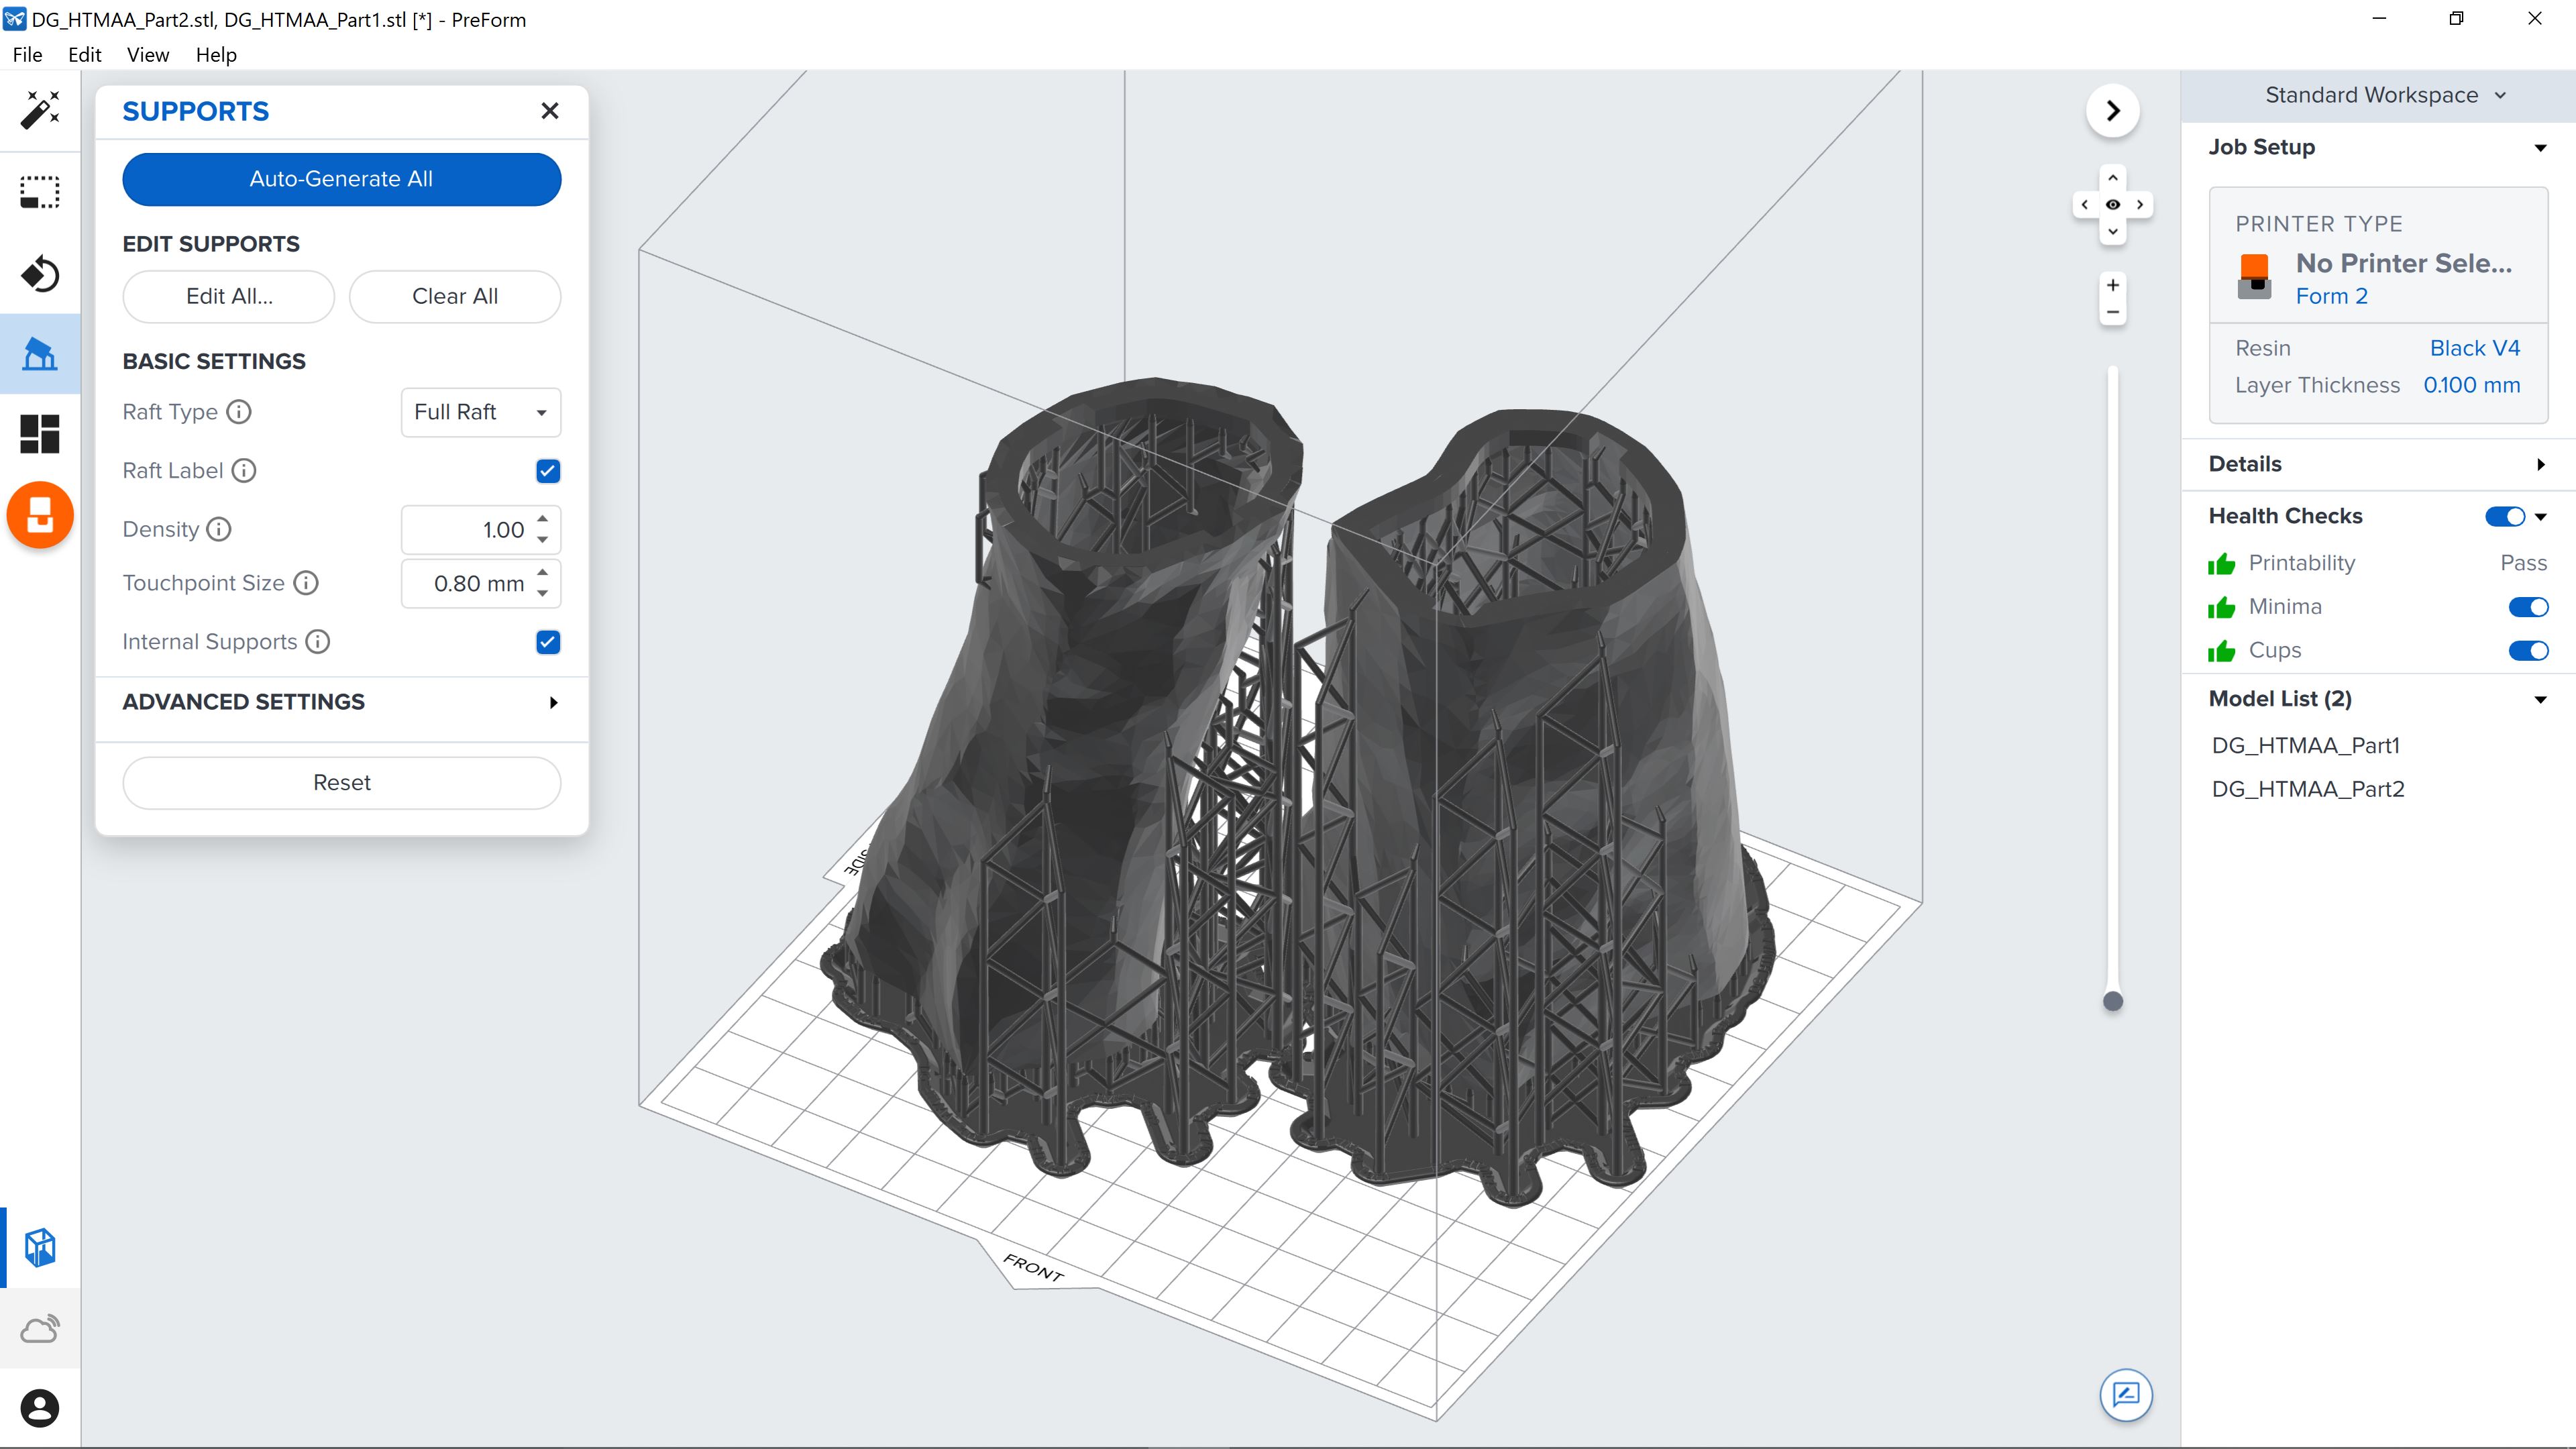 Testing "Preform," Formlabs' file preparation software.
This week, I wanted to test one alternate direction, which would be to use a Formlabs printer to print flexible material for the housing of my final project.
To this end, I quickly dove into self-teaching and troubleshooting on the Form 2 machines at the Self Assembly Lab.
For the purposes of the project I'll be doing in this class, I'm not sure that I need the quality of the resin print.
However, I'm pleased to discover that the process of submitting jobs is so similar to the process of preparing a Sindoh print.