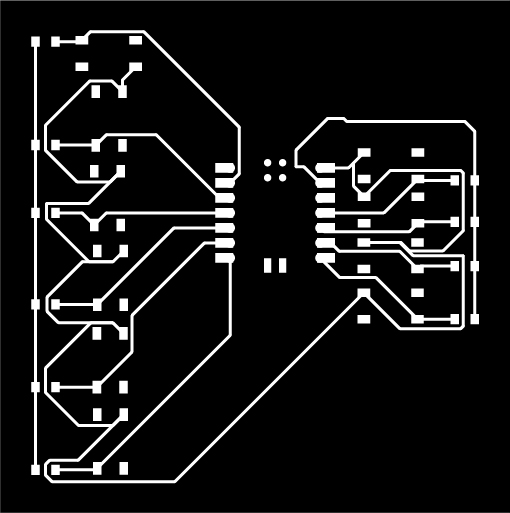
This week we were taking the PCB designs from the previous week and cutting, stuffing and testing them. I began with trying to cut the PCB board that I designed from
the previous week, with 9 input buttons and 9 resistors connecting to a Xiao.
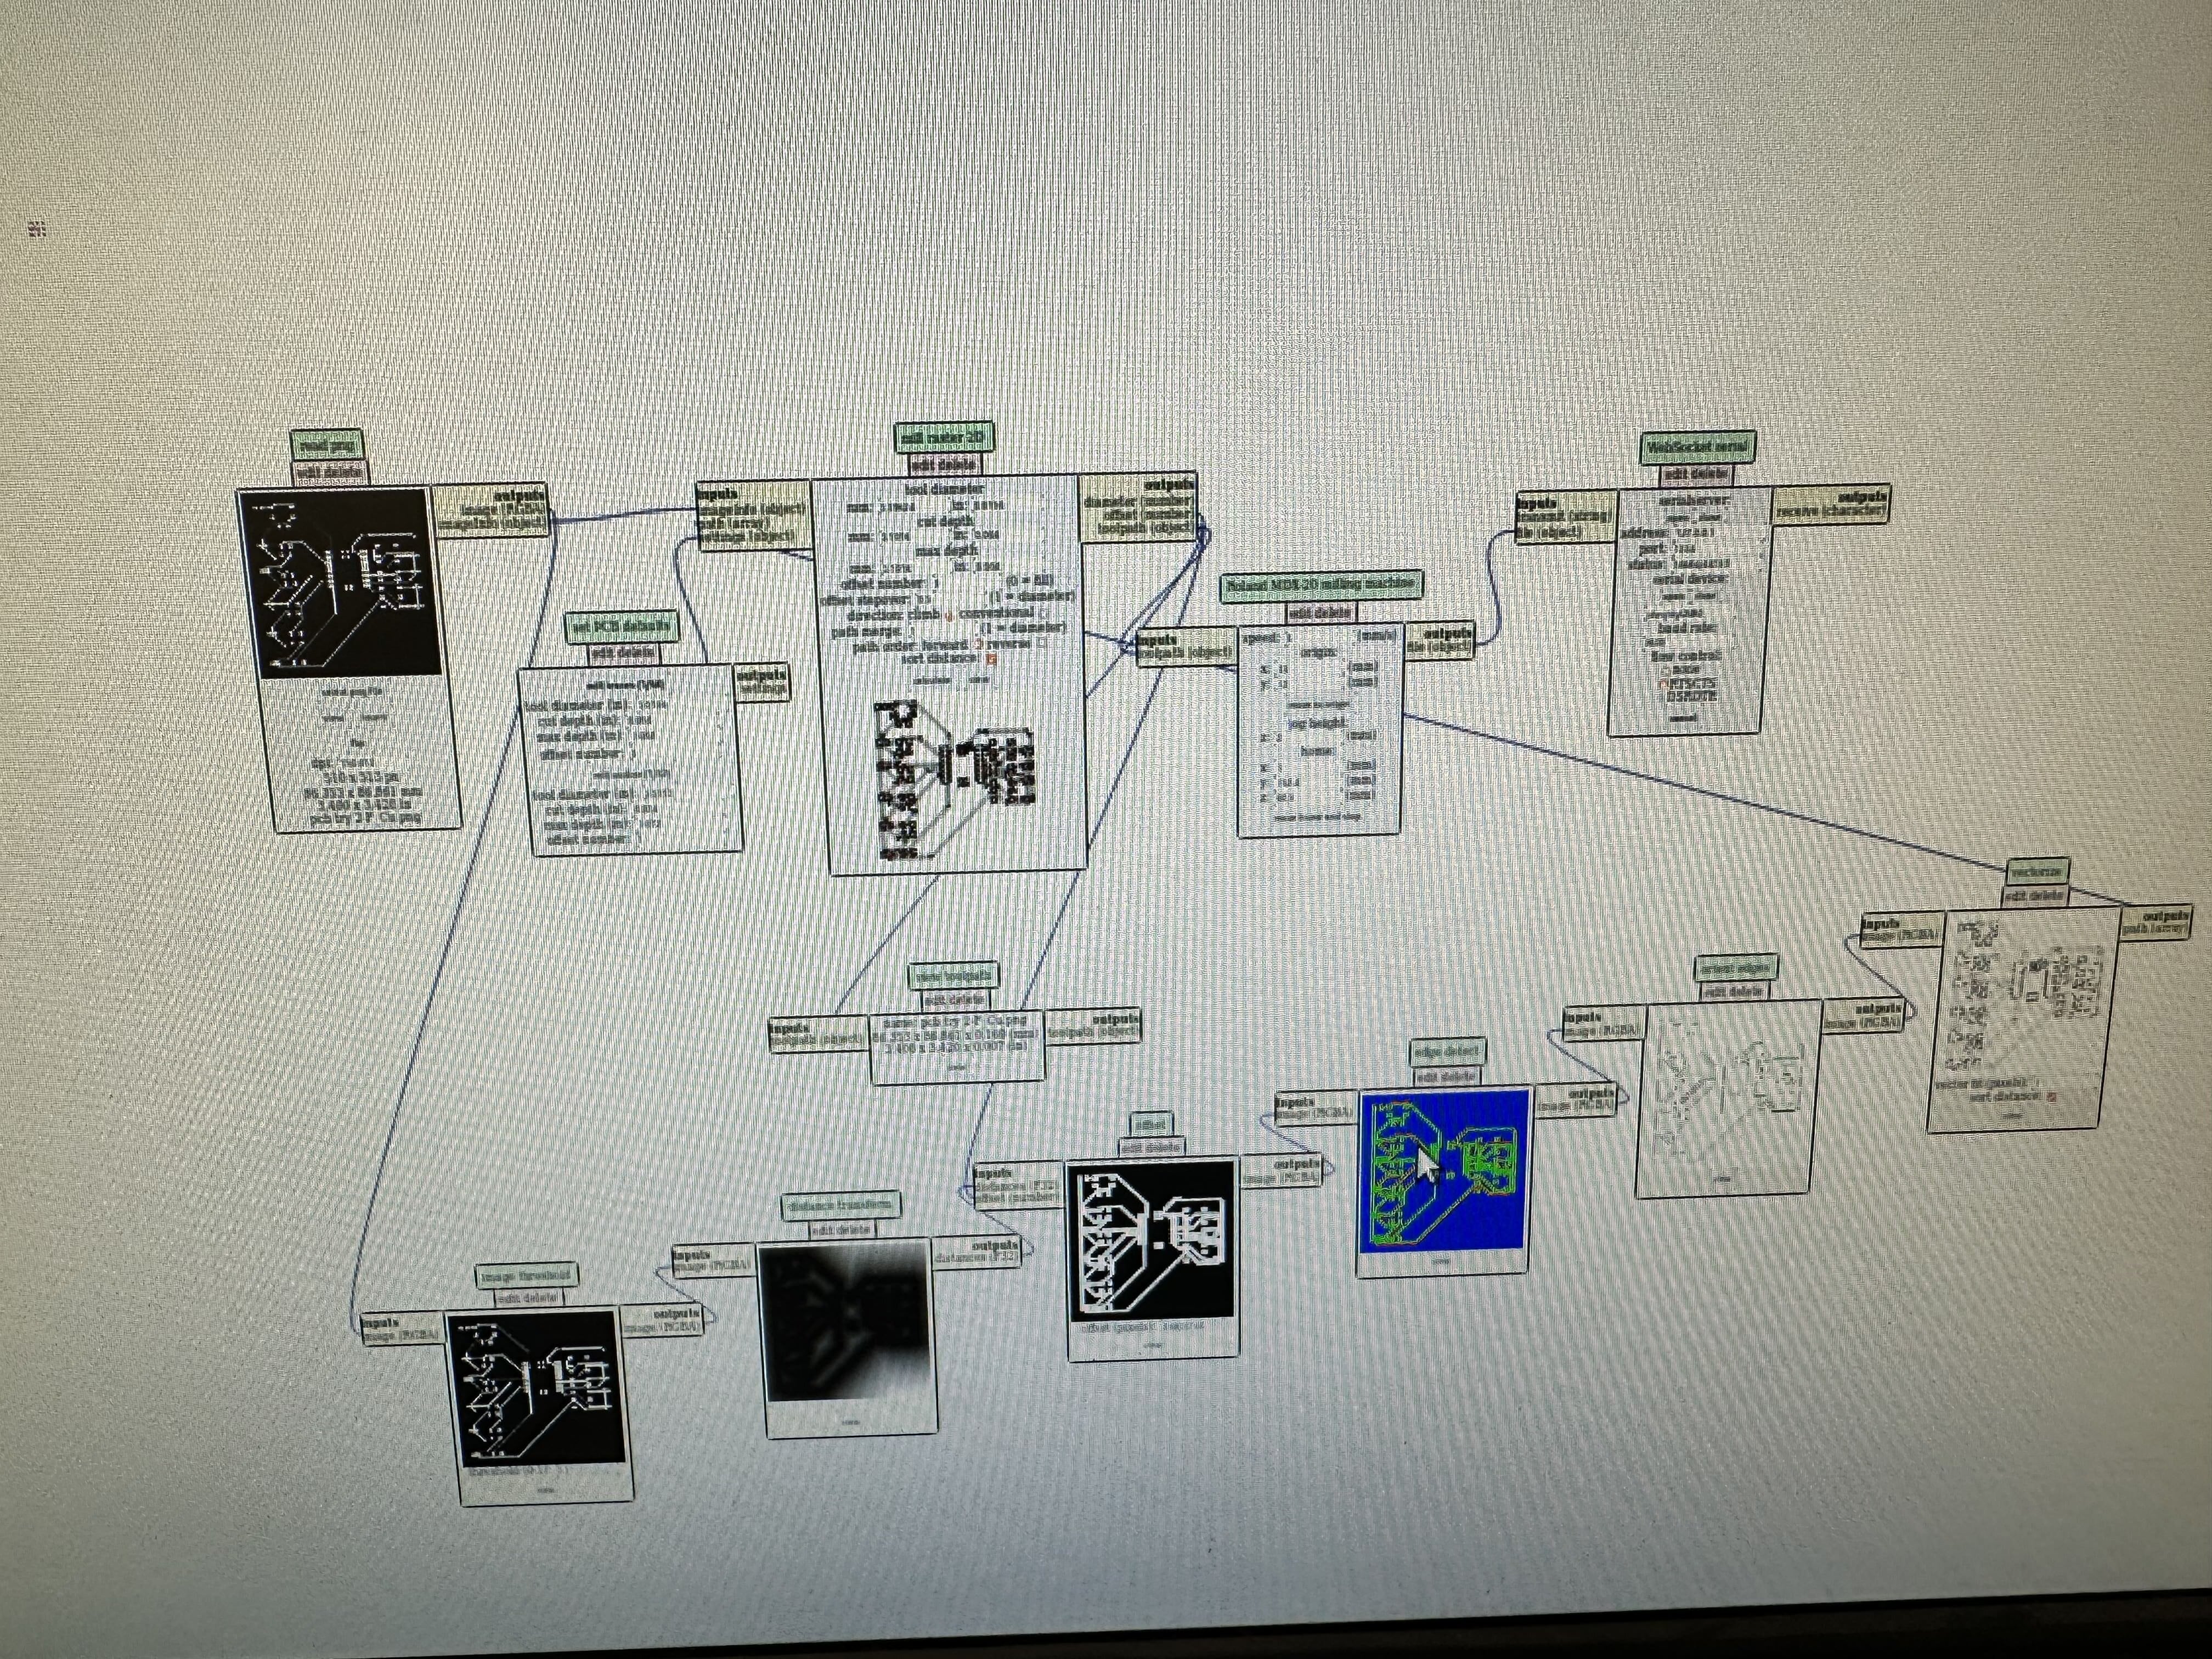
The process began with exporting the board as a .png file type and opening the html file on the computer. This is a very particular step for the machine on the right
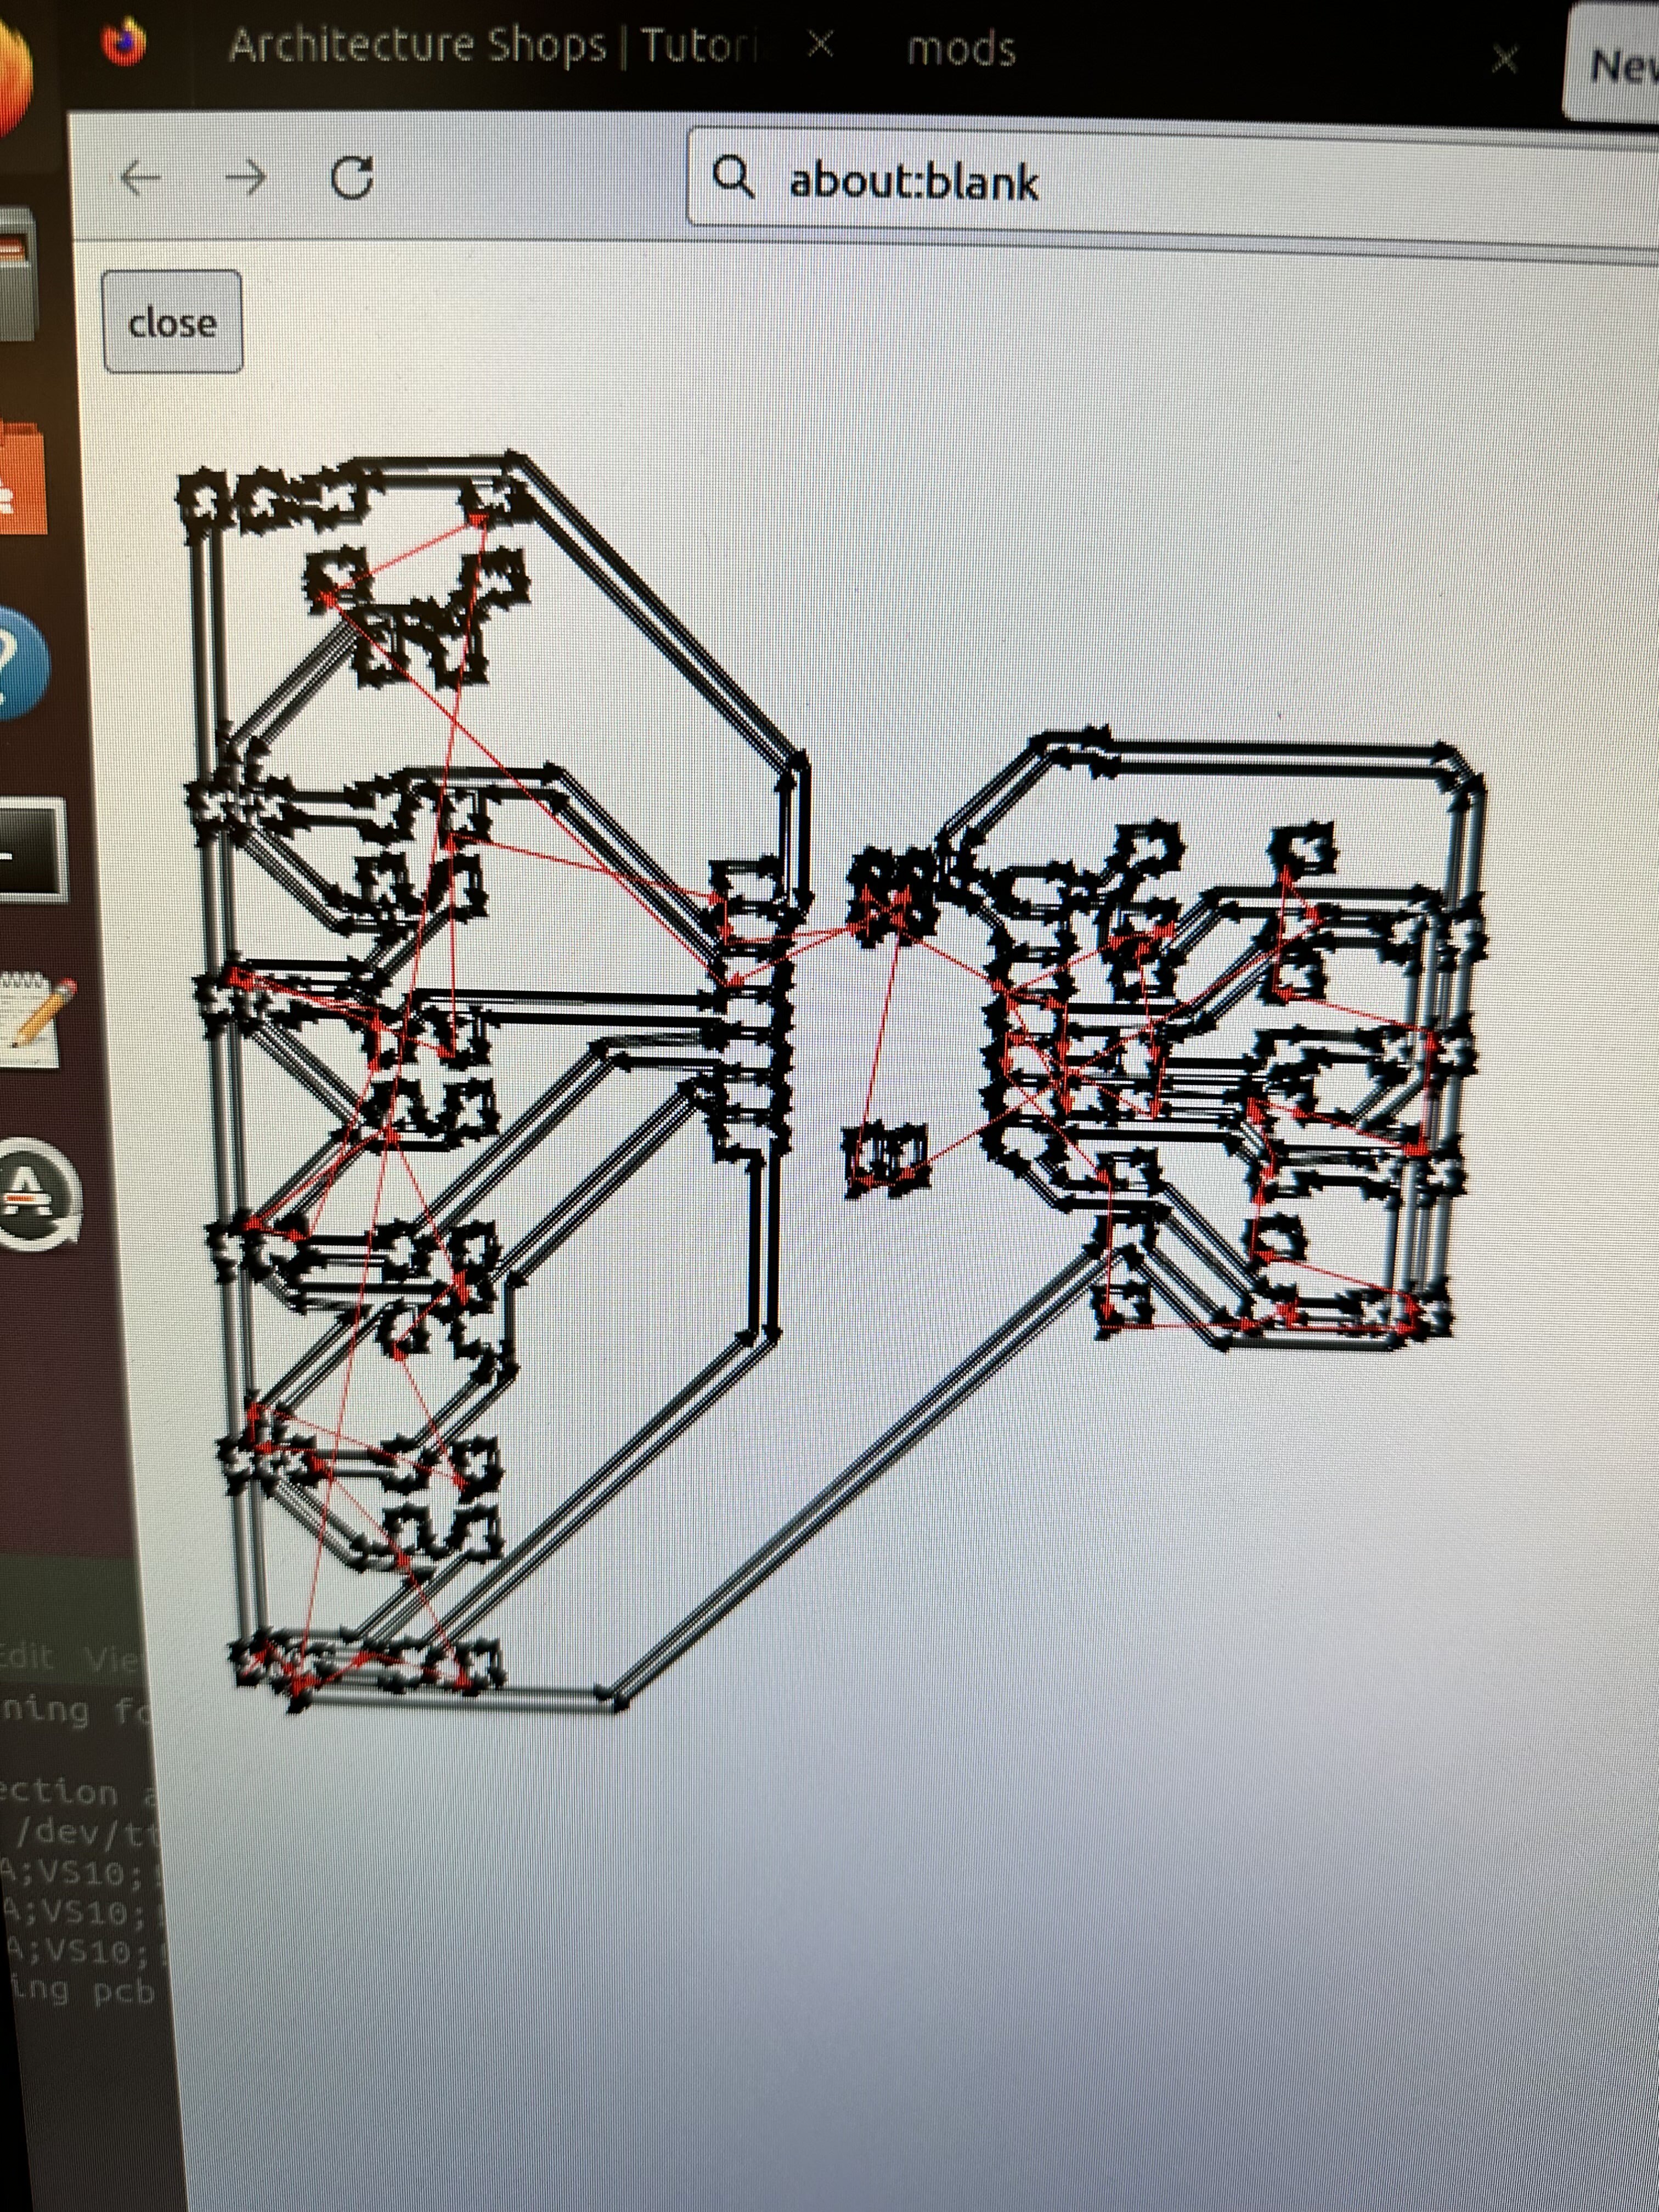
as the html file is localized. Following this, I began to manipulate the mods file by adding my png into it and generating the toolpaths.
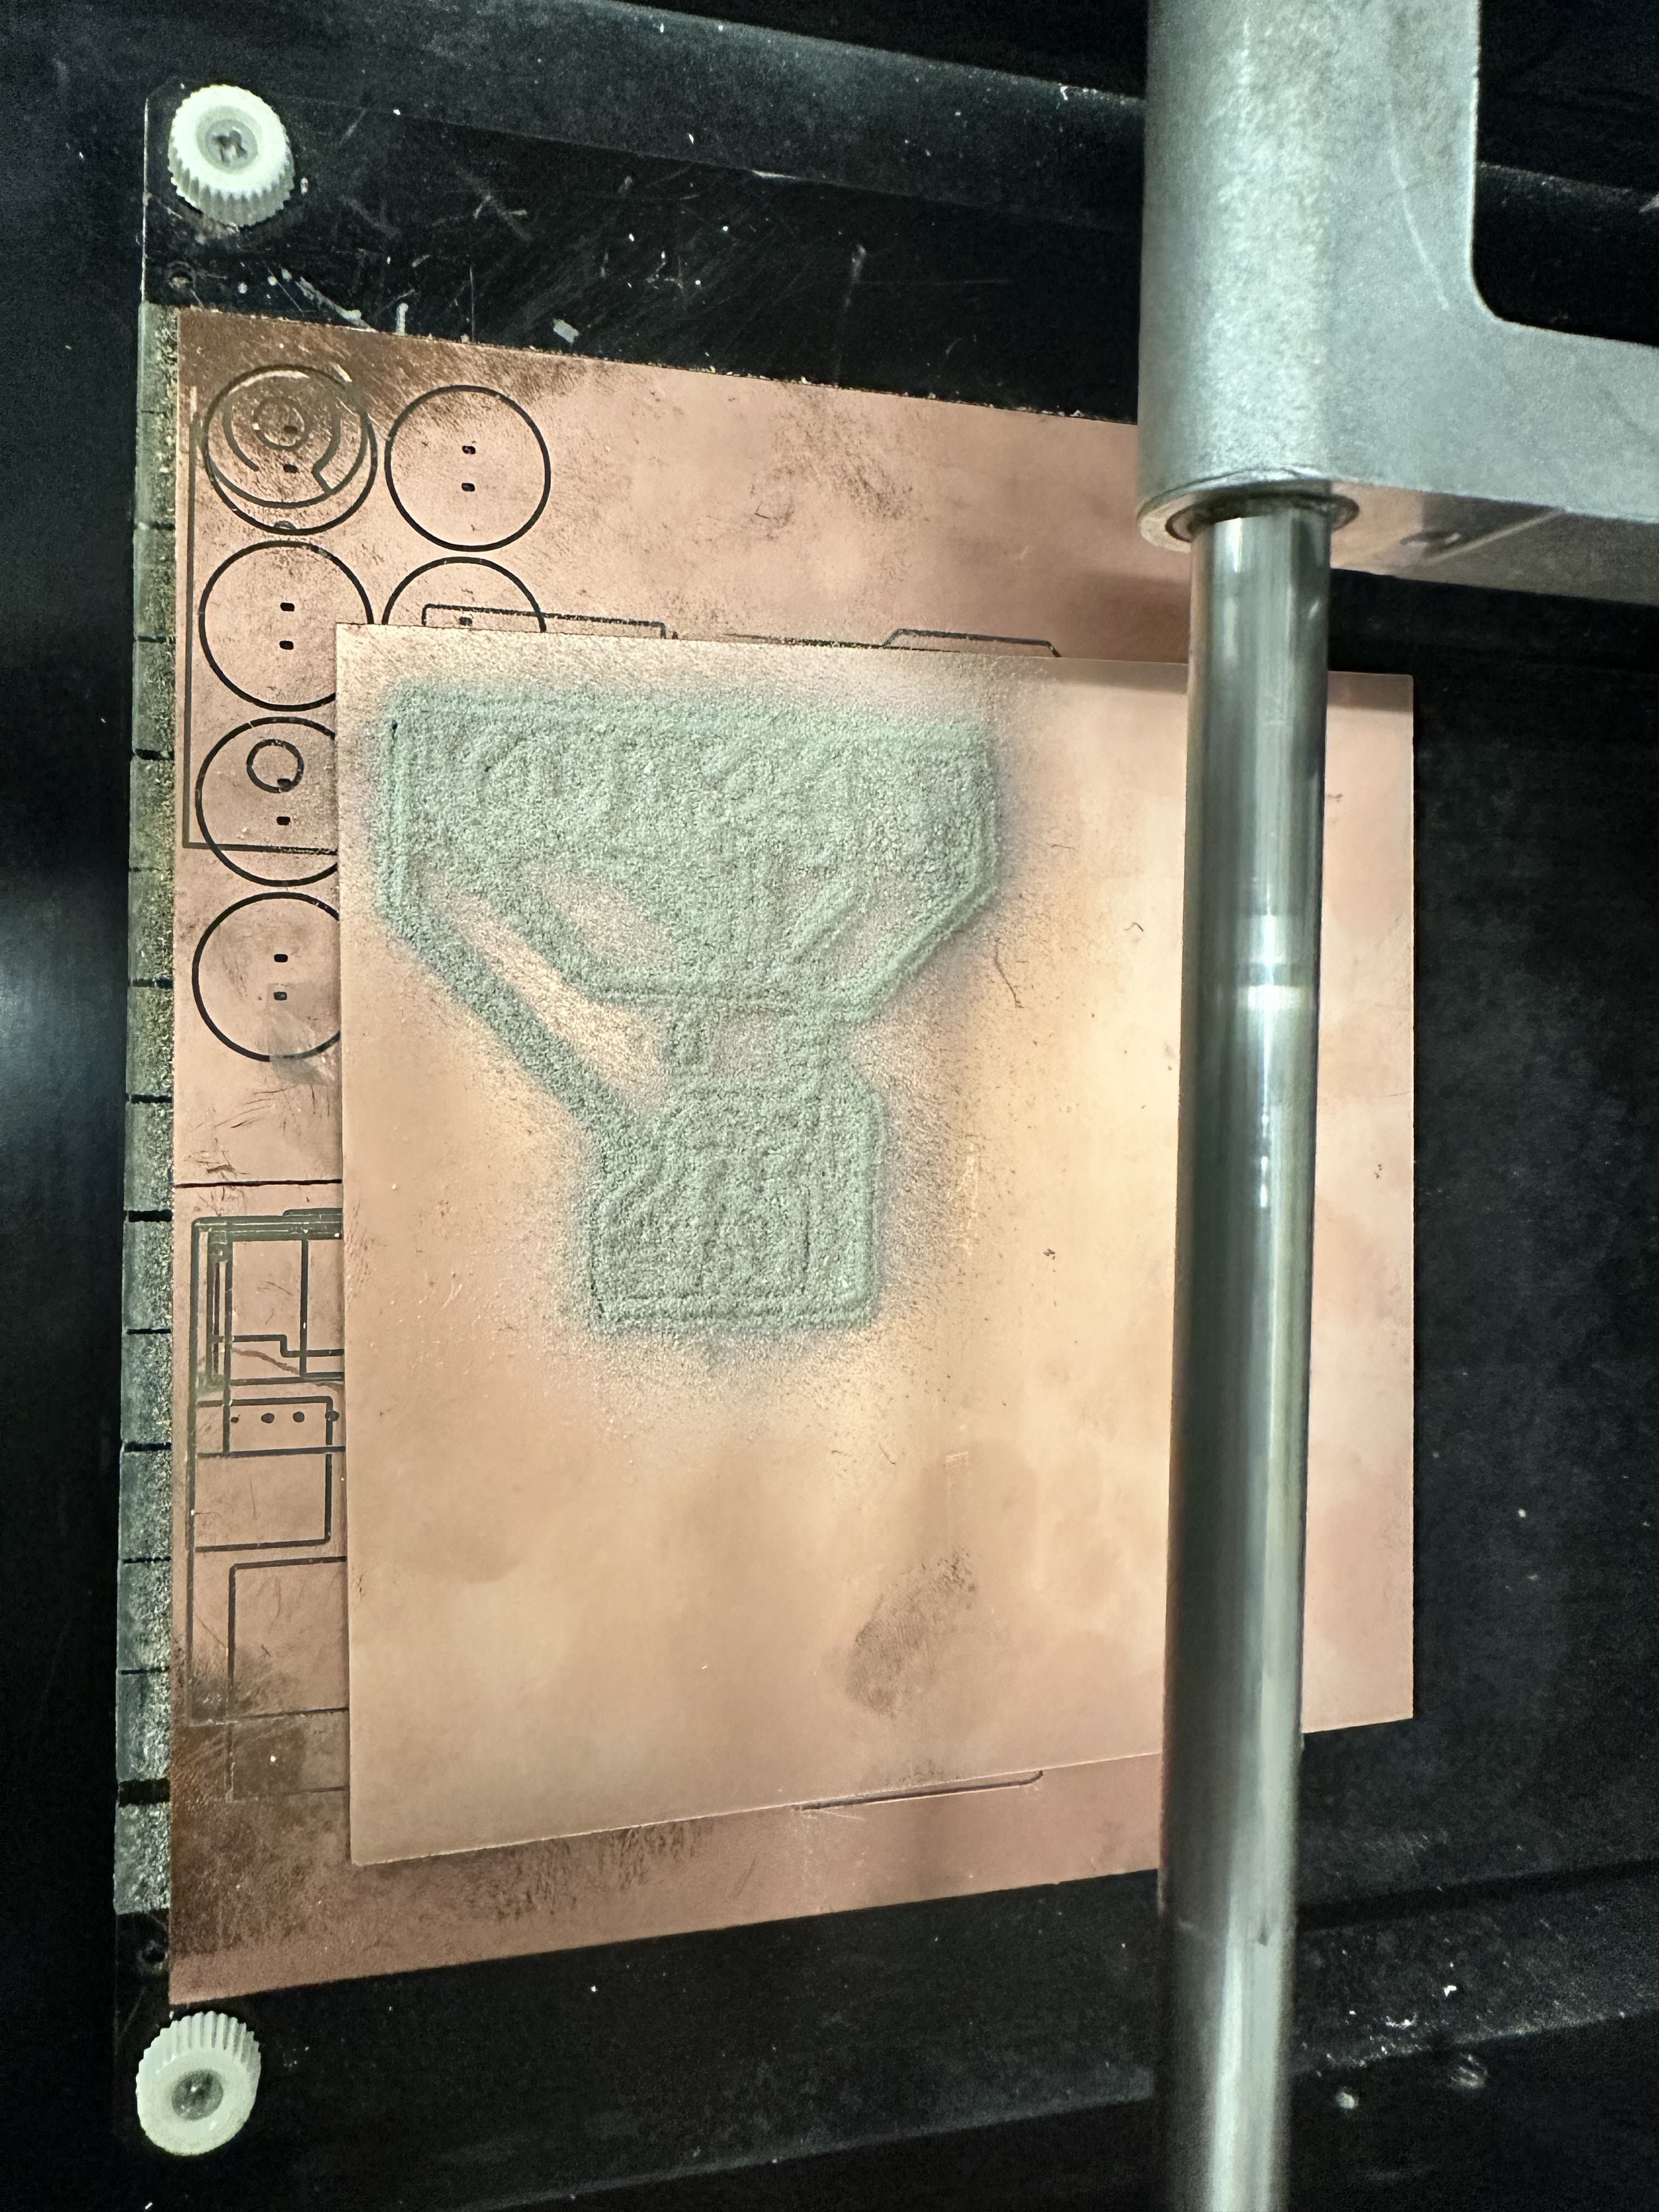
It turned out that due to the size of the Xiao and the ineffiency of how I laid out the buttons the board ended up being huge
(2.5" by 3") so it took quite a while to cut.
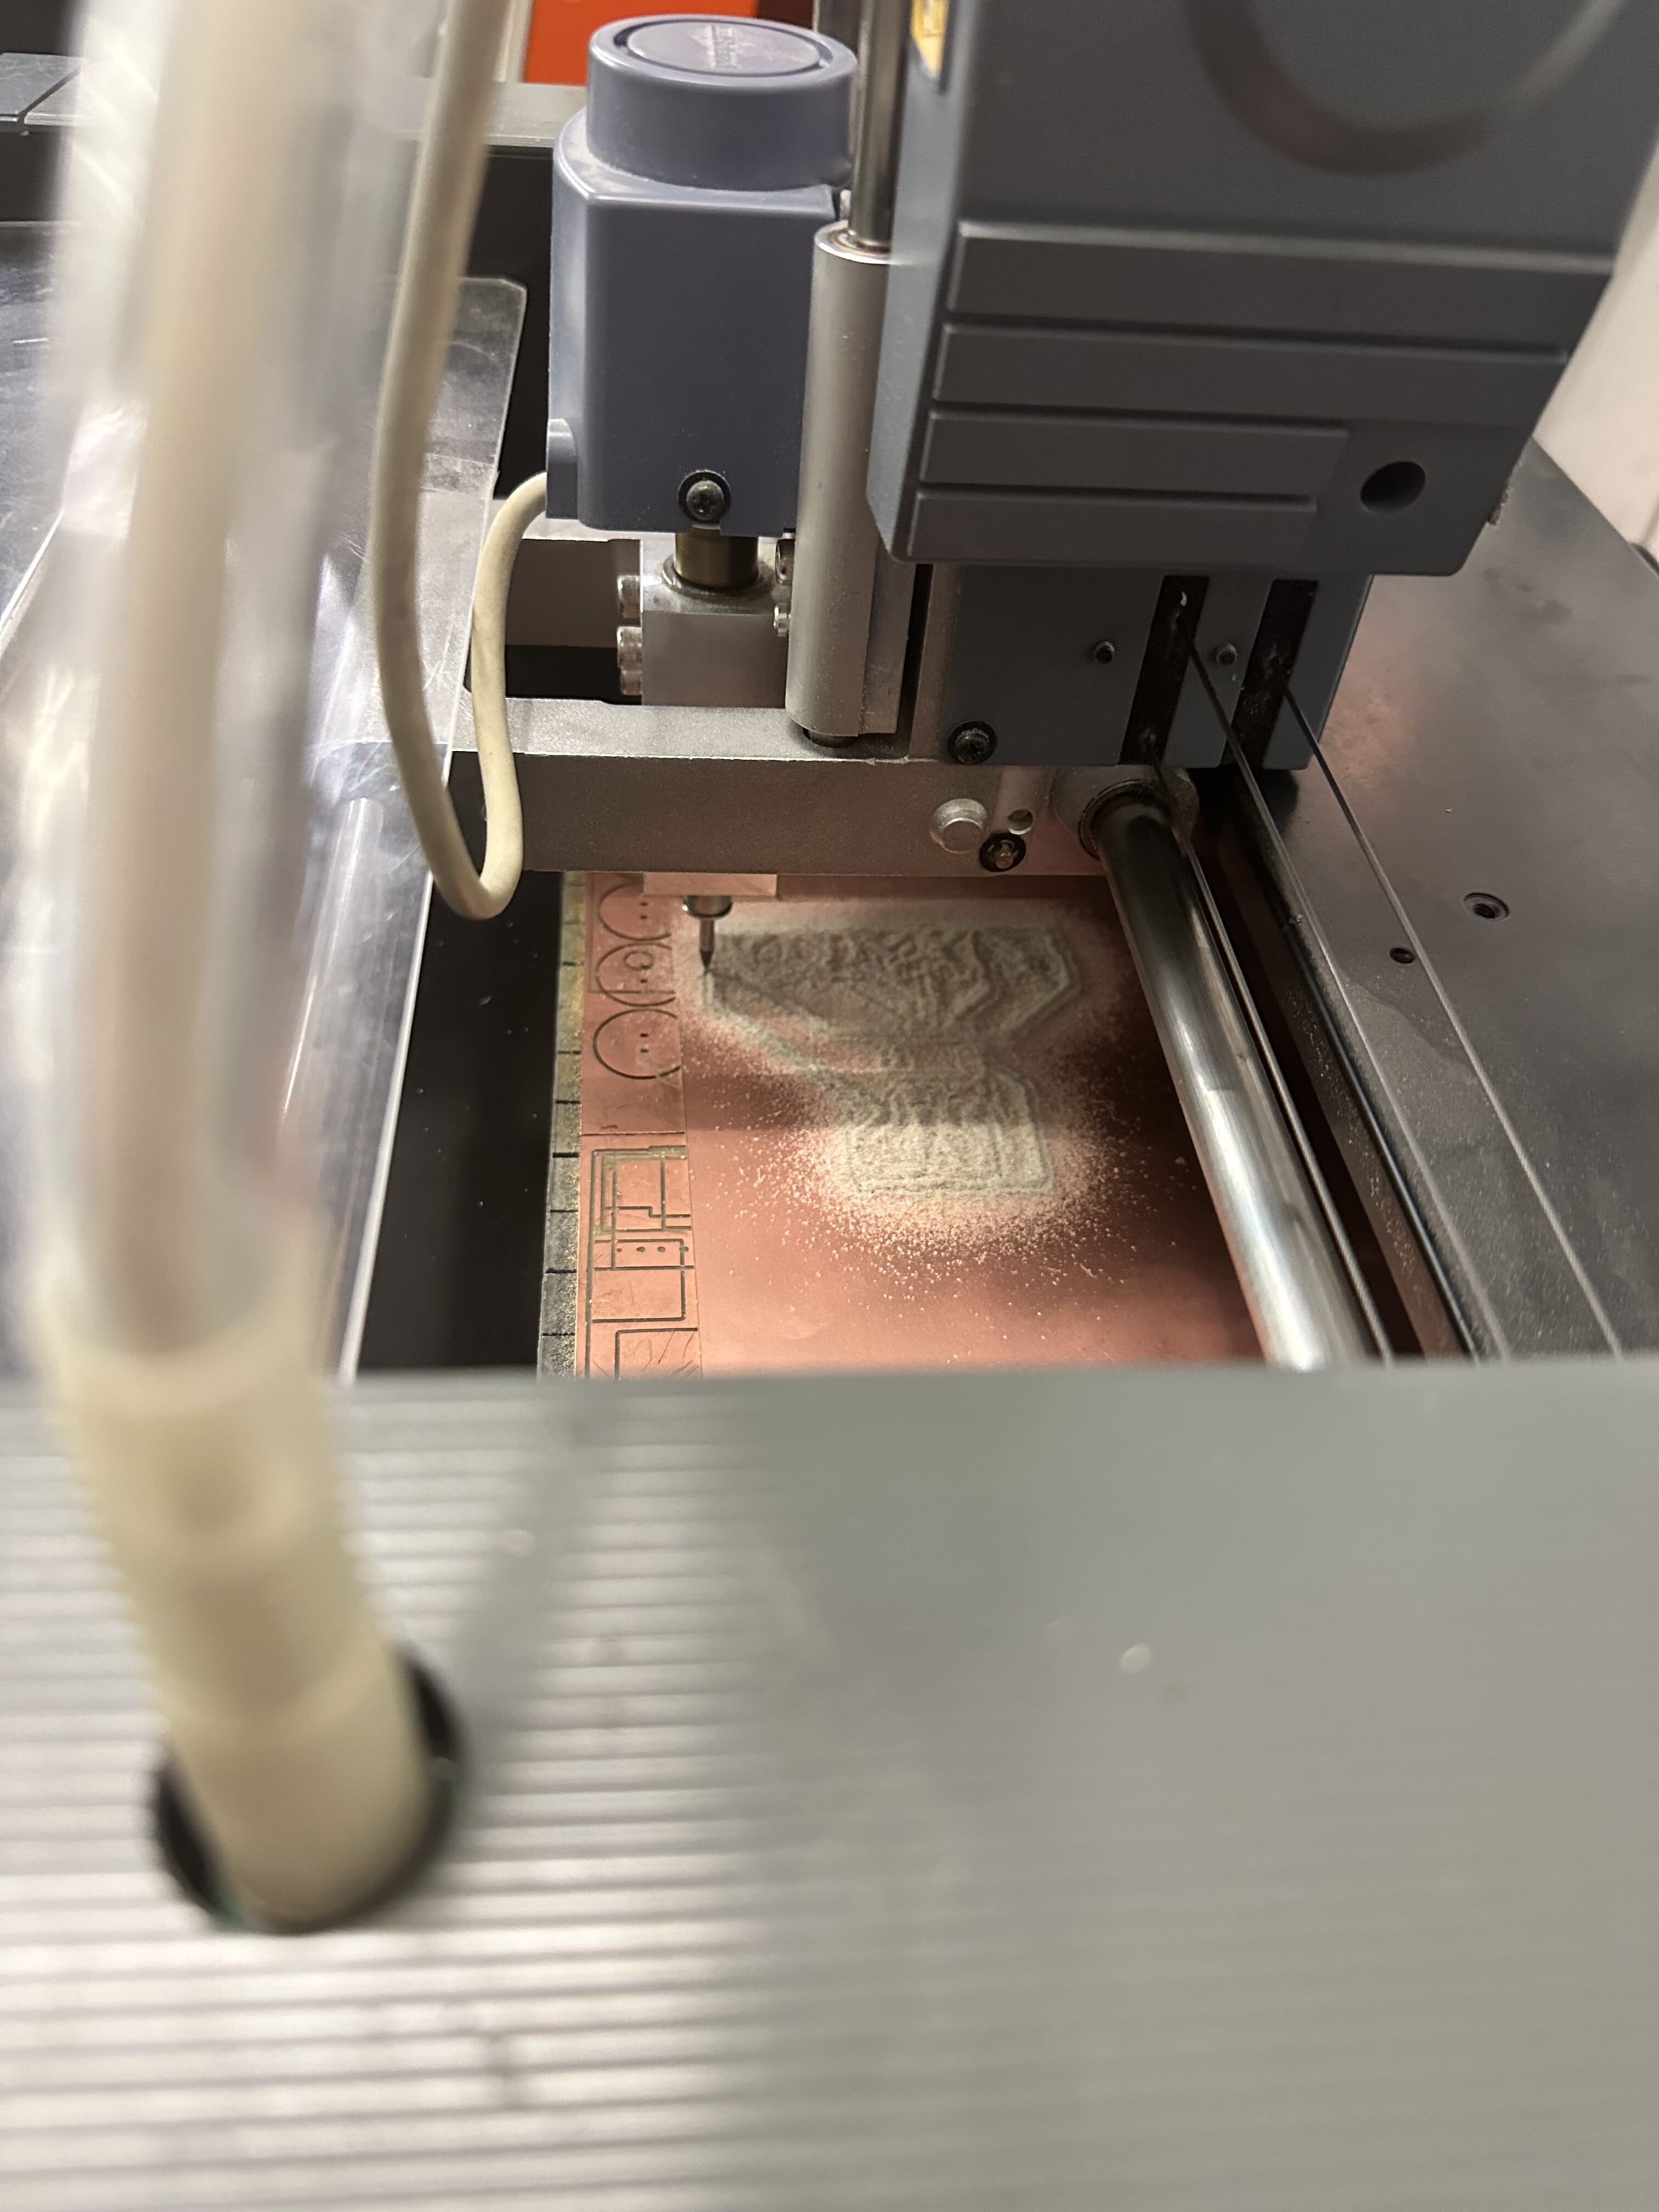
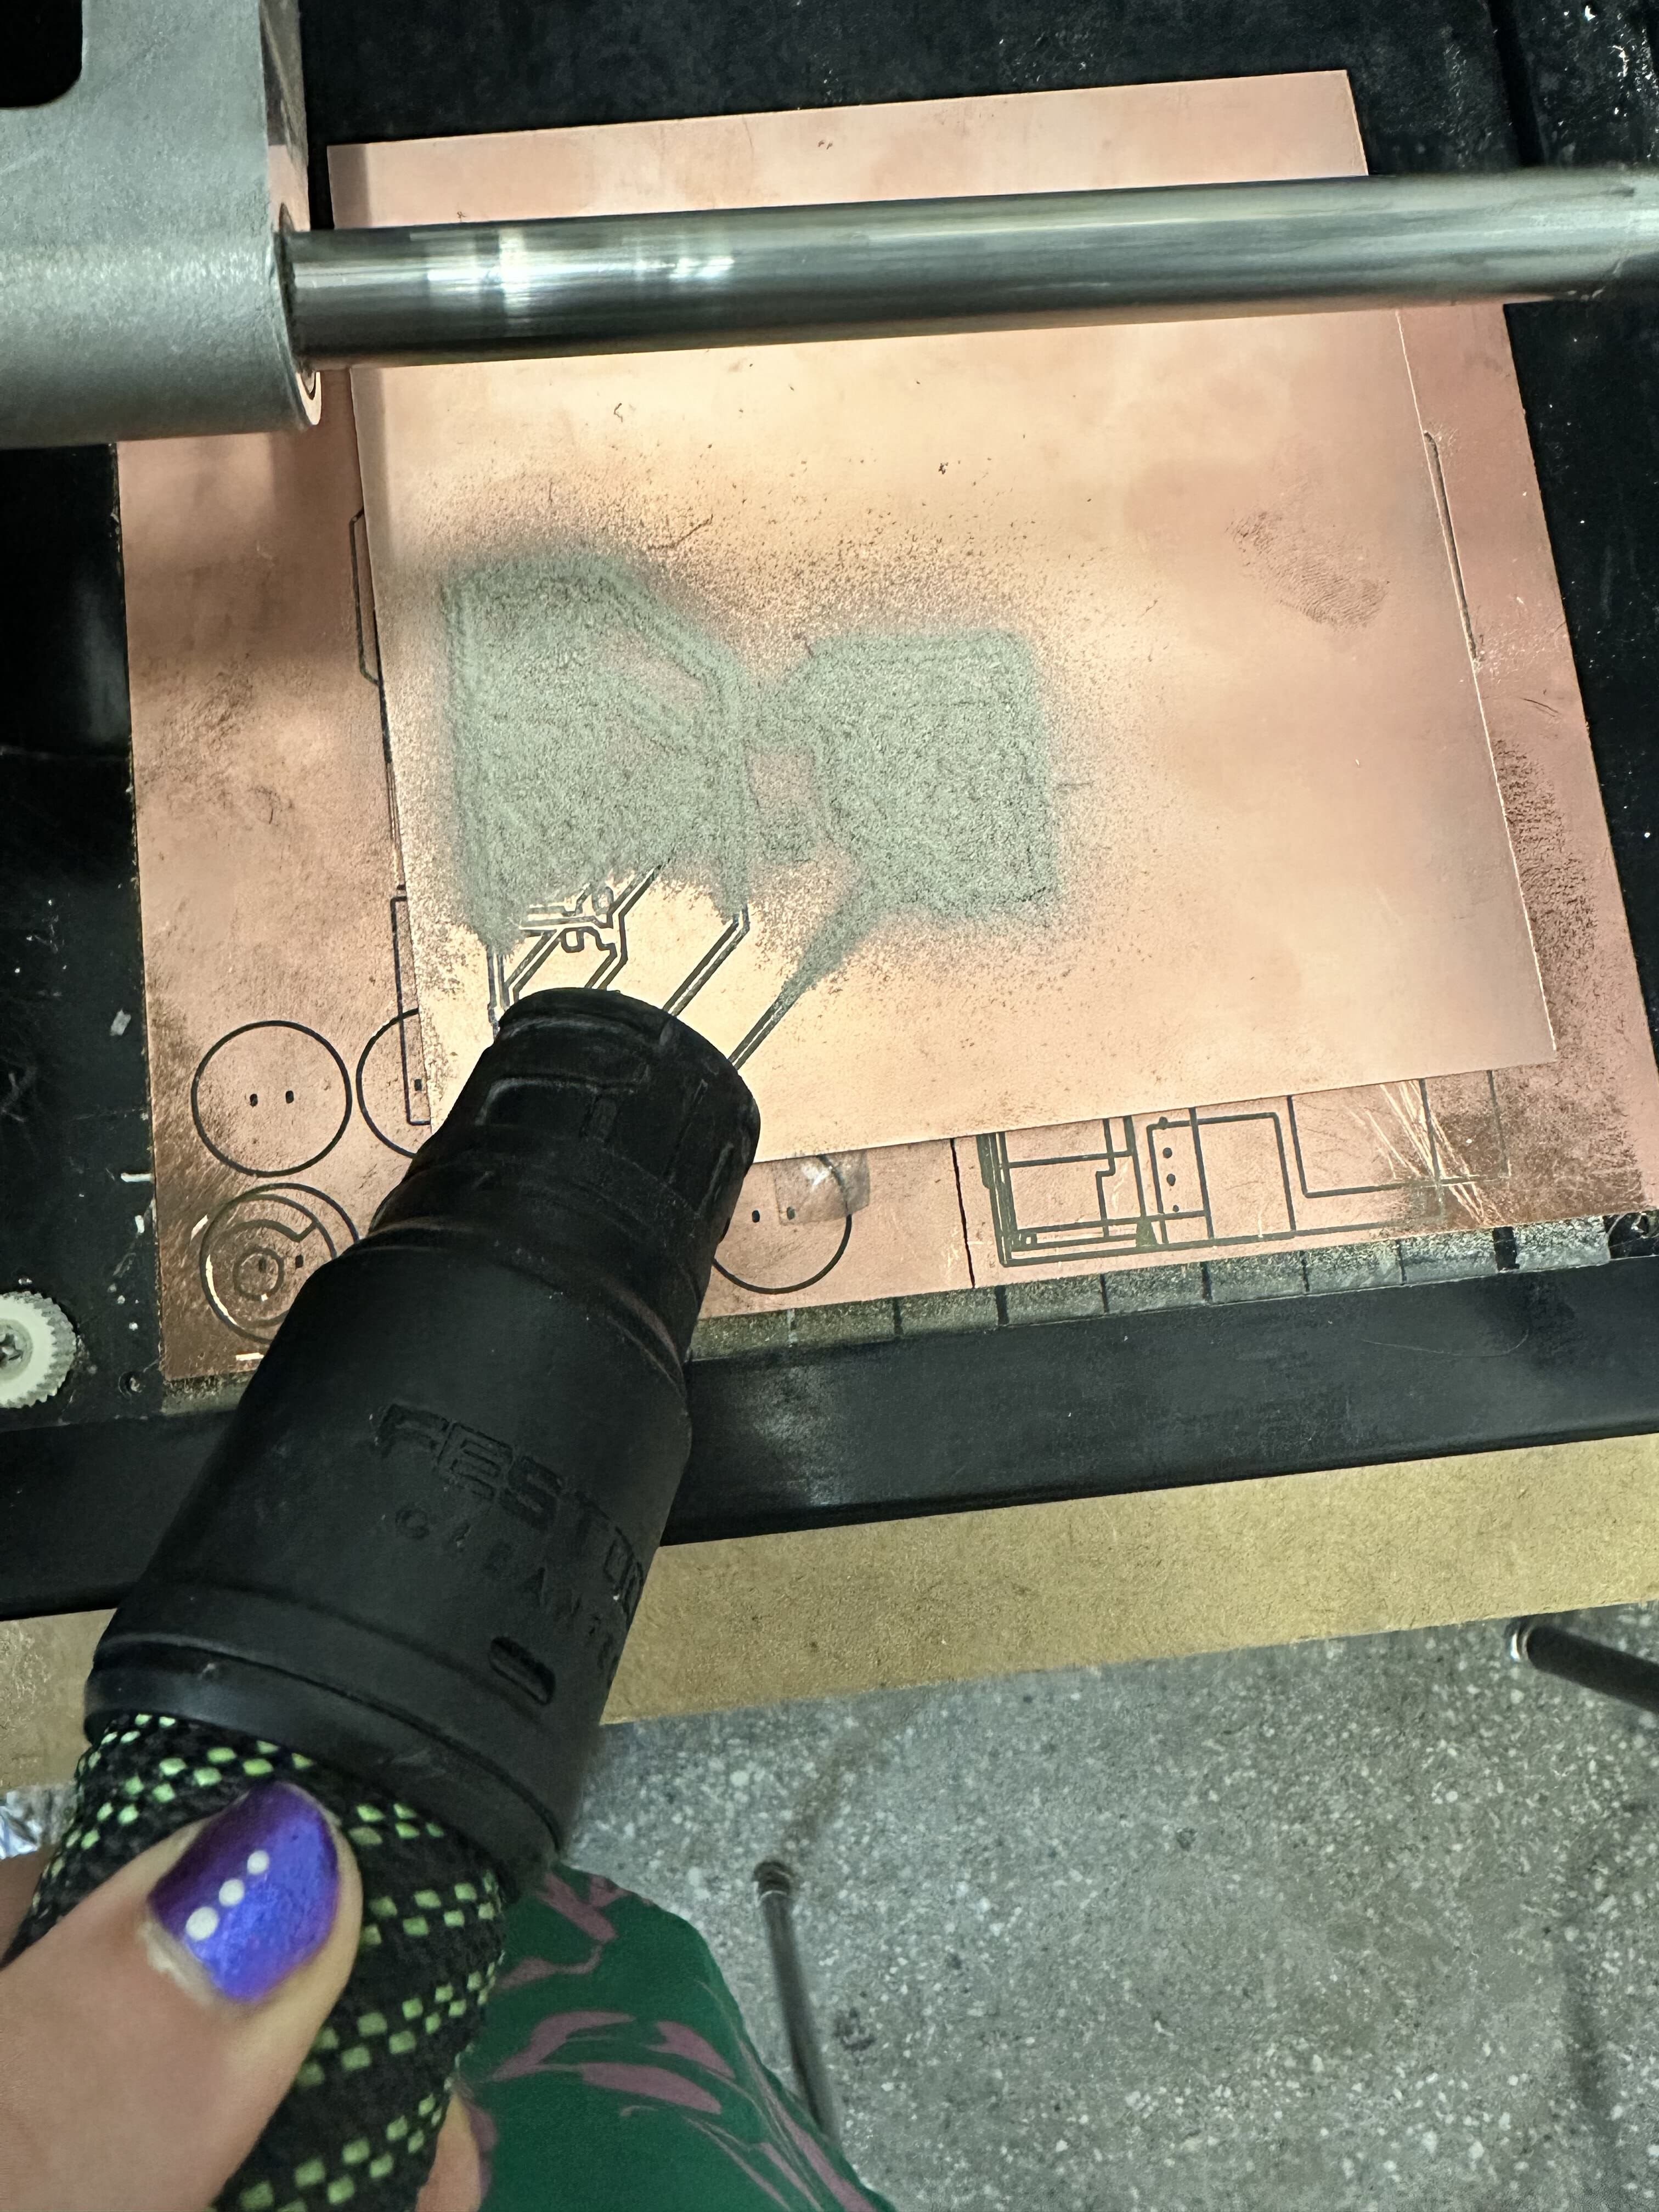
Next was the vaccuming process and the cleaning of the board itself. Unsurprisingly it was pretty straightforward,
although due to the size of my board I decided to use the bandsaw to cut it out rather than use the outline cut.
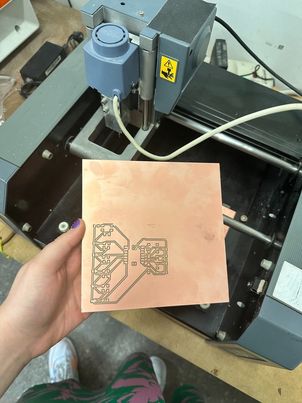
NUnfortunately, the moment i offically finished cutting the board and tried to place a Xiao on it I realized the way I laied
it out, it would be very challanging to plug anything into the port. So rather than stuffing it, I began working on another version of the layout.
. . , .
Stuffing a PCB
I have not yet had the chance to stuff my PCB, however this is something I will be working on over the course of this week alongside the next week's assignment.