.. ,

. . . ,,

week seven

large-format machining (almost) anything

. . , .


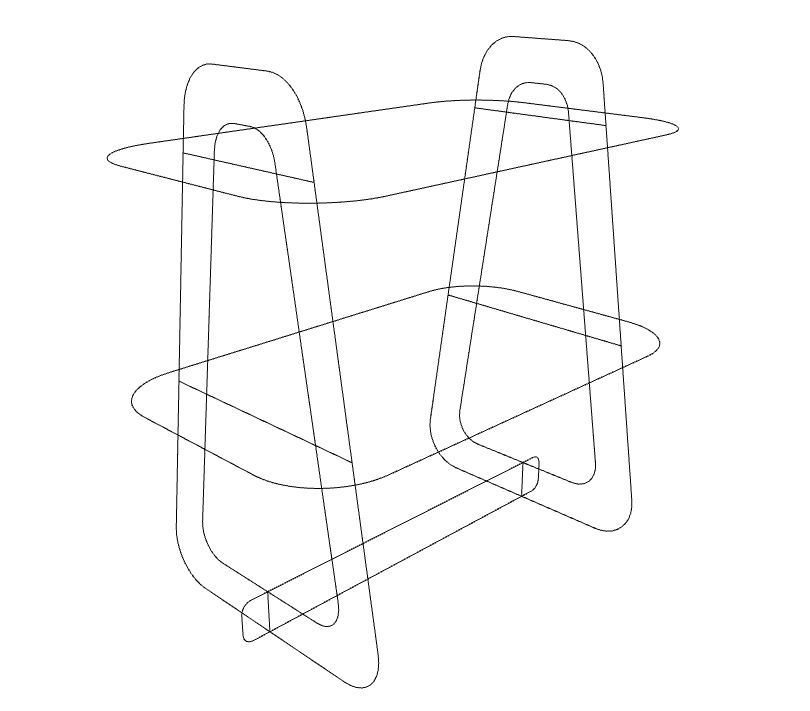
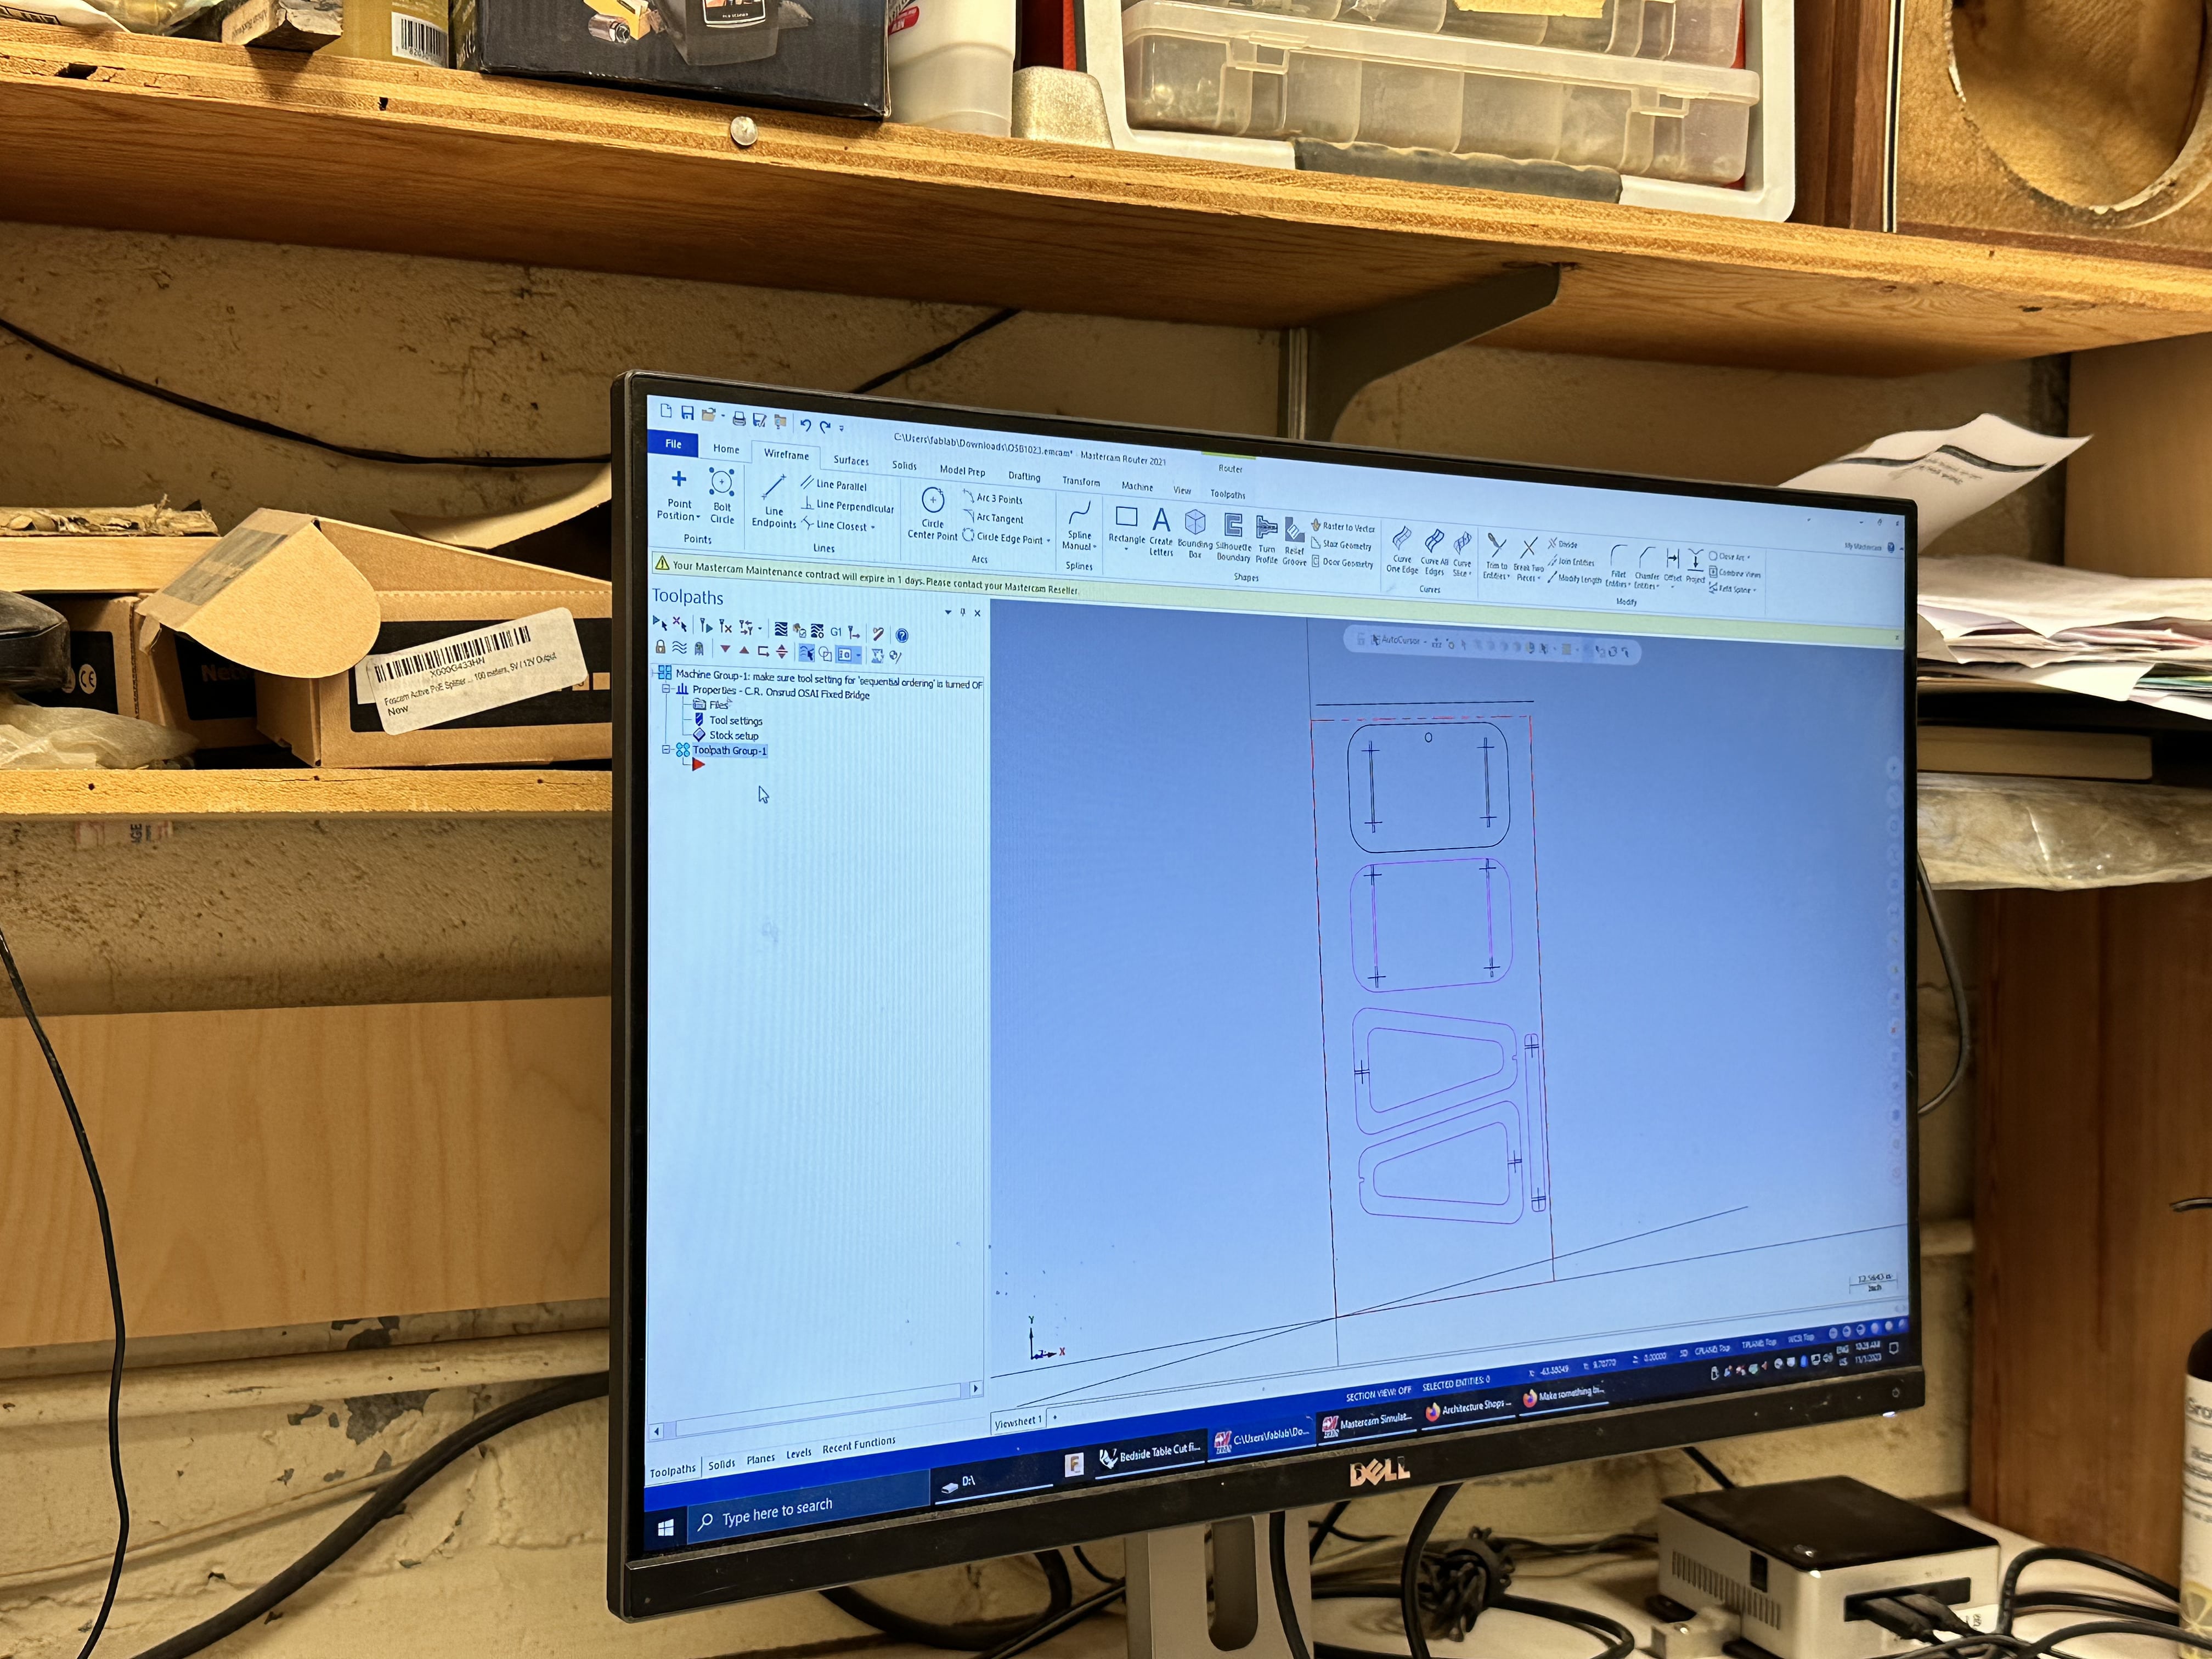
Designing a Large Object

The focus of this week has been CNCing, which is something I do have experience with, however I found myself at the ACADIA Conference in Denver for the majority of the week, which through a wrench into my plans of designing something revolutionairy and complex.

Earlier this week I had been hanging out on my bed, and I took off my glasses to see my iPad screen better. I have nowhere to place my glasses but on the bed next to me. I then accidently sat on said glasses and broke them. This was the last straw, and I decided to make myself a bedside table.

As my bed is very tall to fit suitcases underneath, I have not been able to find an appropirately sized bedside table. As I returned from the conference very late in the week, I also wanted my file to be as easy to cut as possible to maximize my chances of being able to finish cutting it.

Image of 3D model Image of 3D model


So the design I decided to go with was based around to legs (that are in the shape of loops), held together by 3 cross-bracing memebers. Of those members, two serve as surfaces to place itels, and the third is just a bar. I also added two ridges at the top of the legs to hang my glasses and an opening for wires in case I want to leave my phone charging.


Image of 3D model Image of 3D model


When laying out my file, I've noticed that sometimes its better to not create all of the hole sizing until the stock is mesured, so at first i left all the intersections as lines and then came in to offset them. Although the stock is 0.43" I decided to make the slots 0.425" on Charlie's suggestion so they may fit more snuggly together.


. . , .


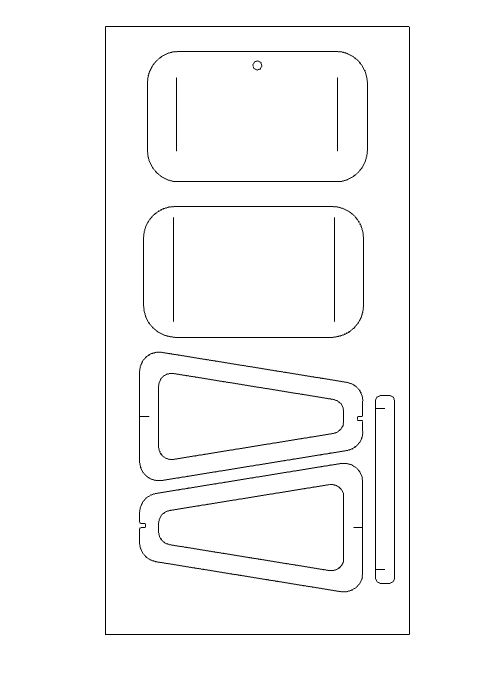
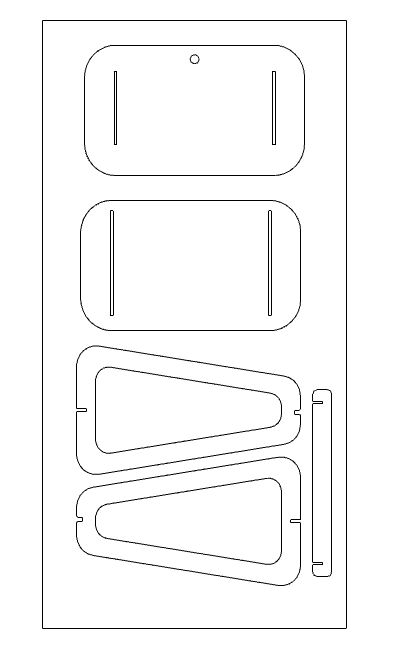
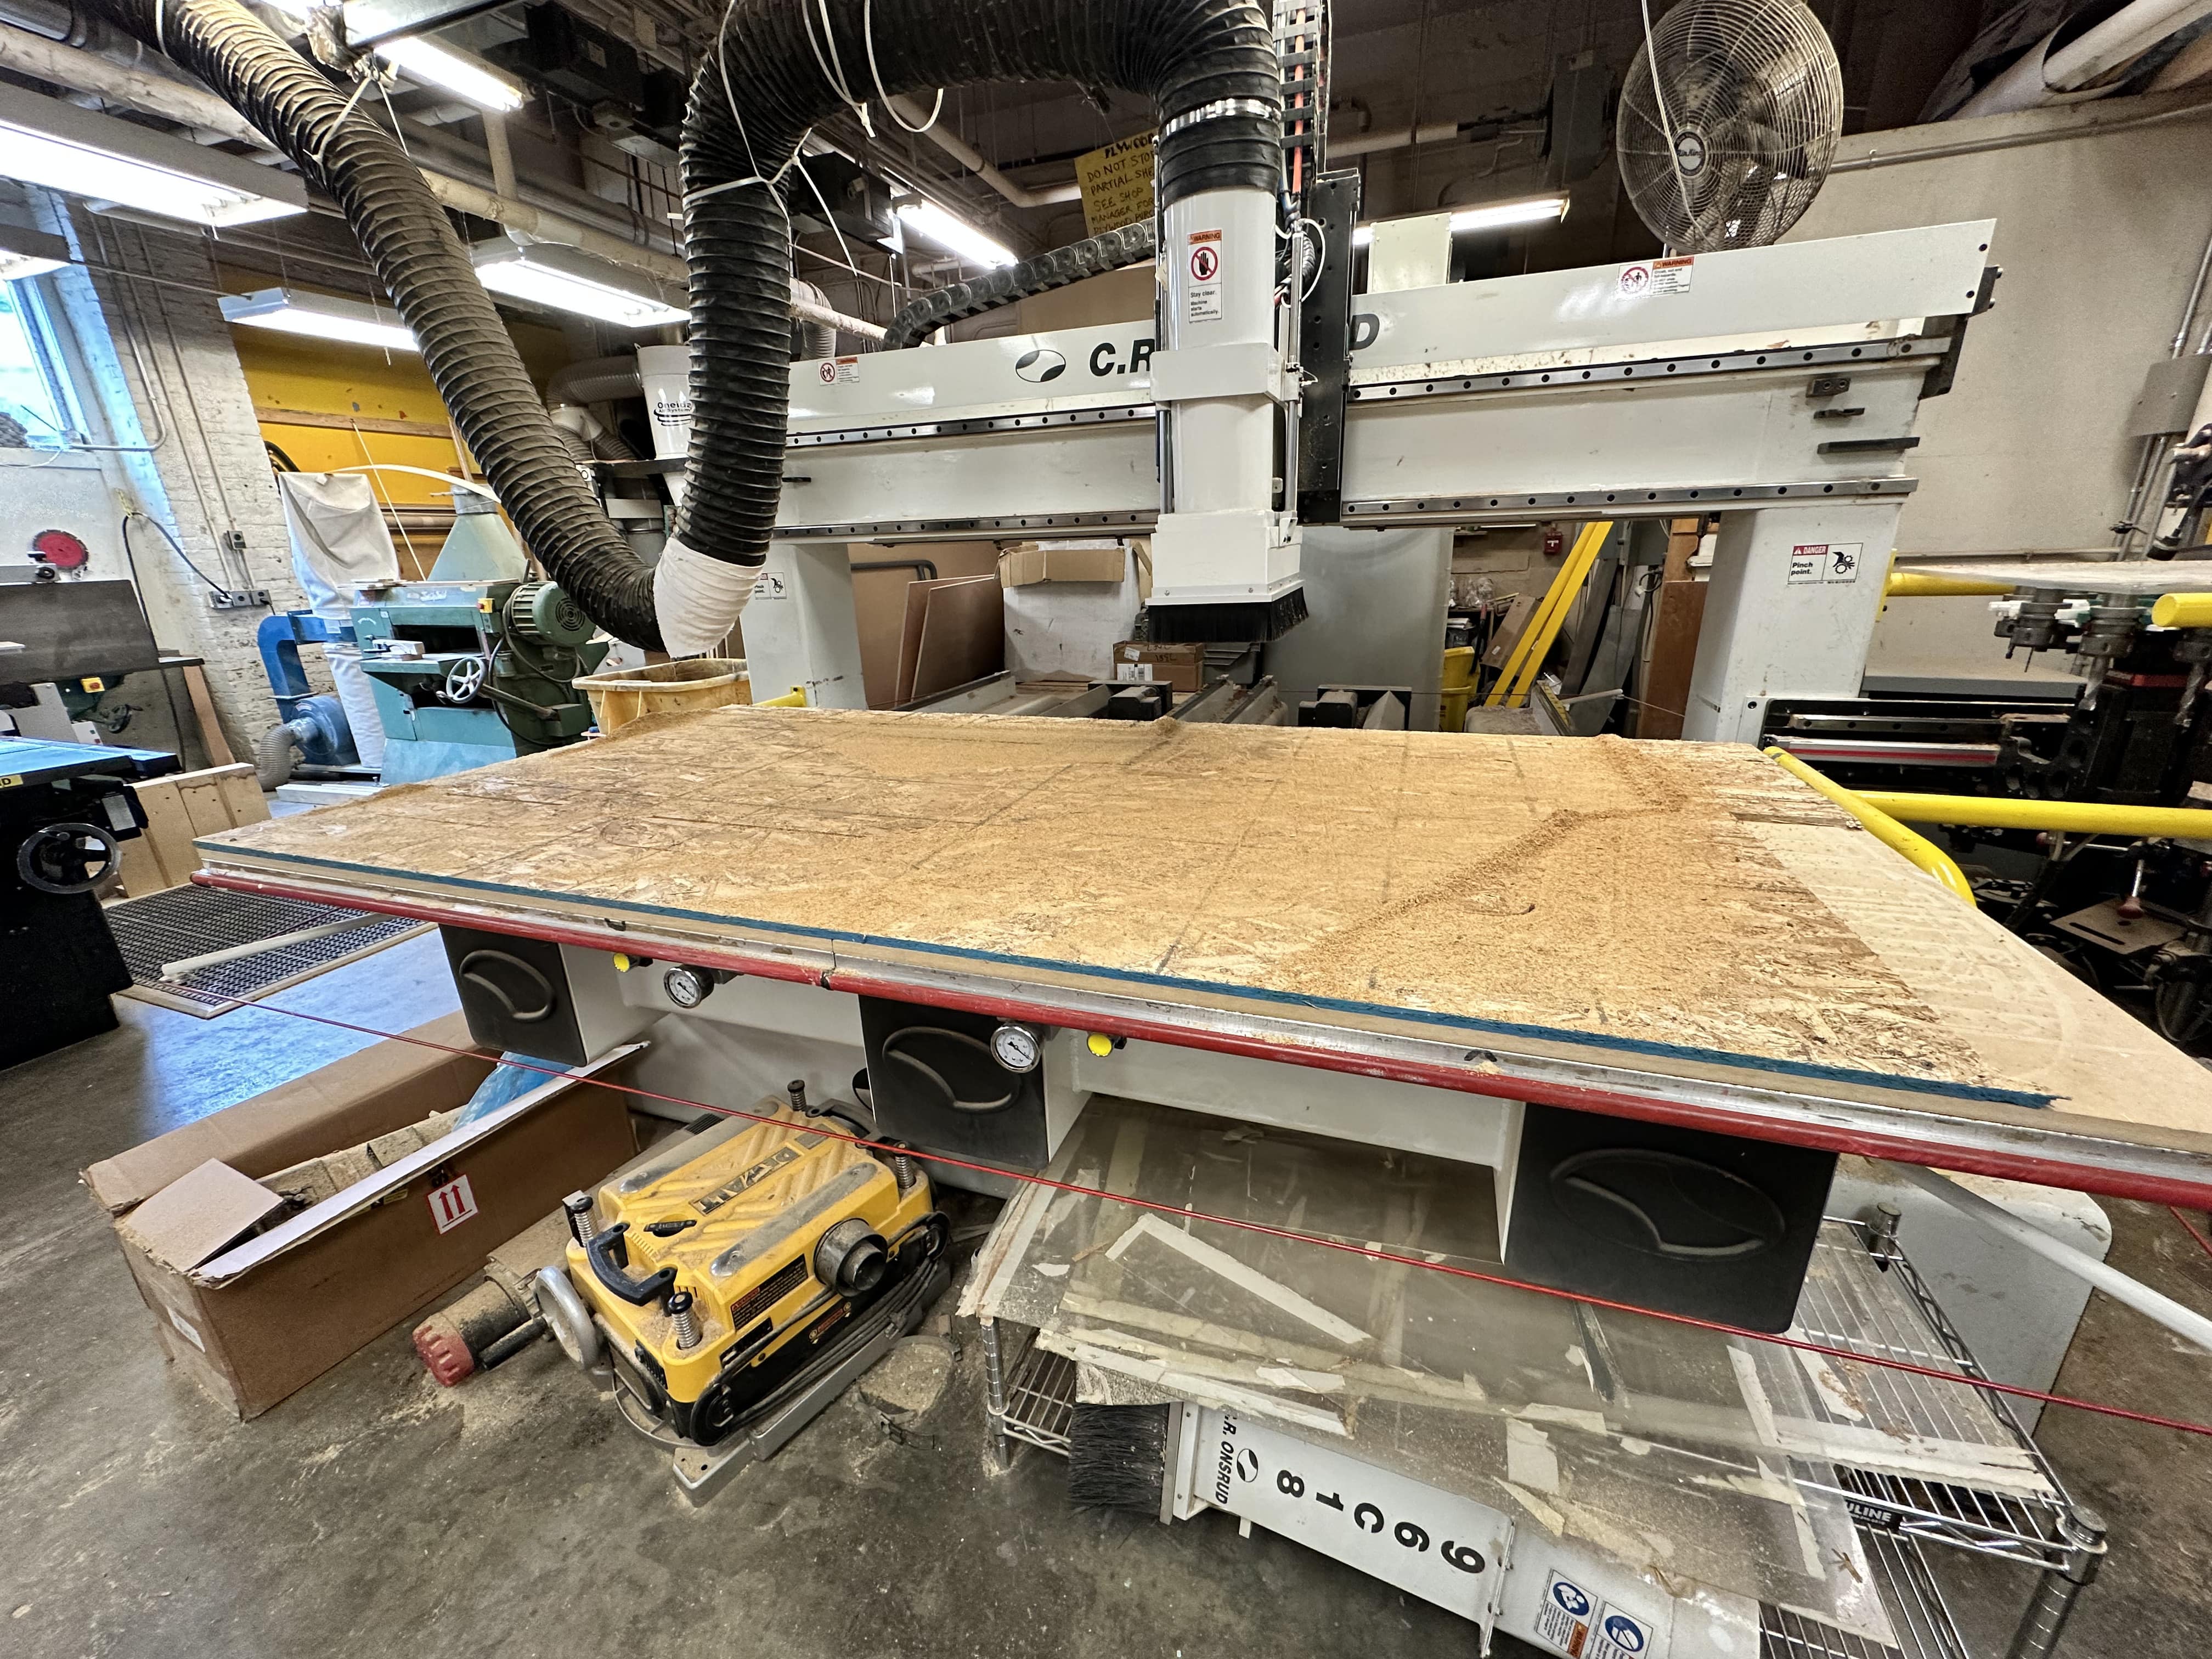
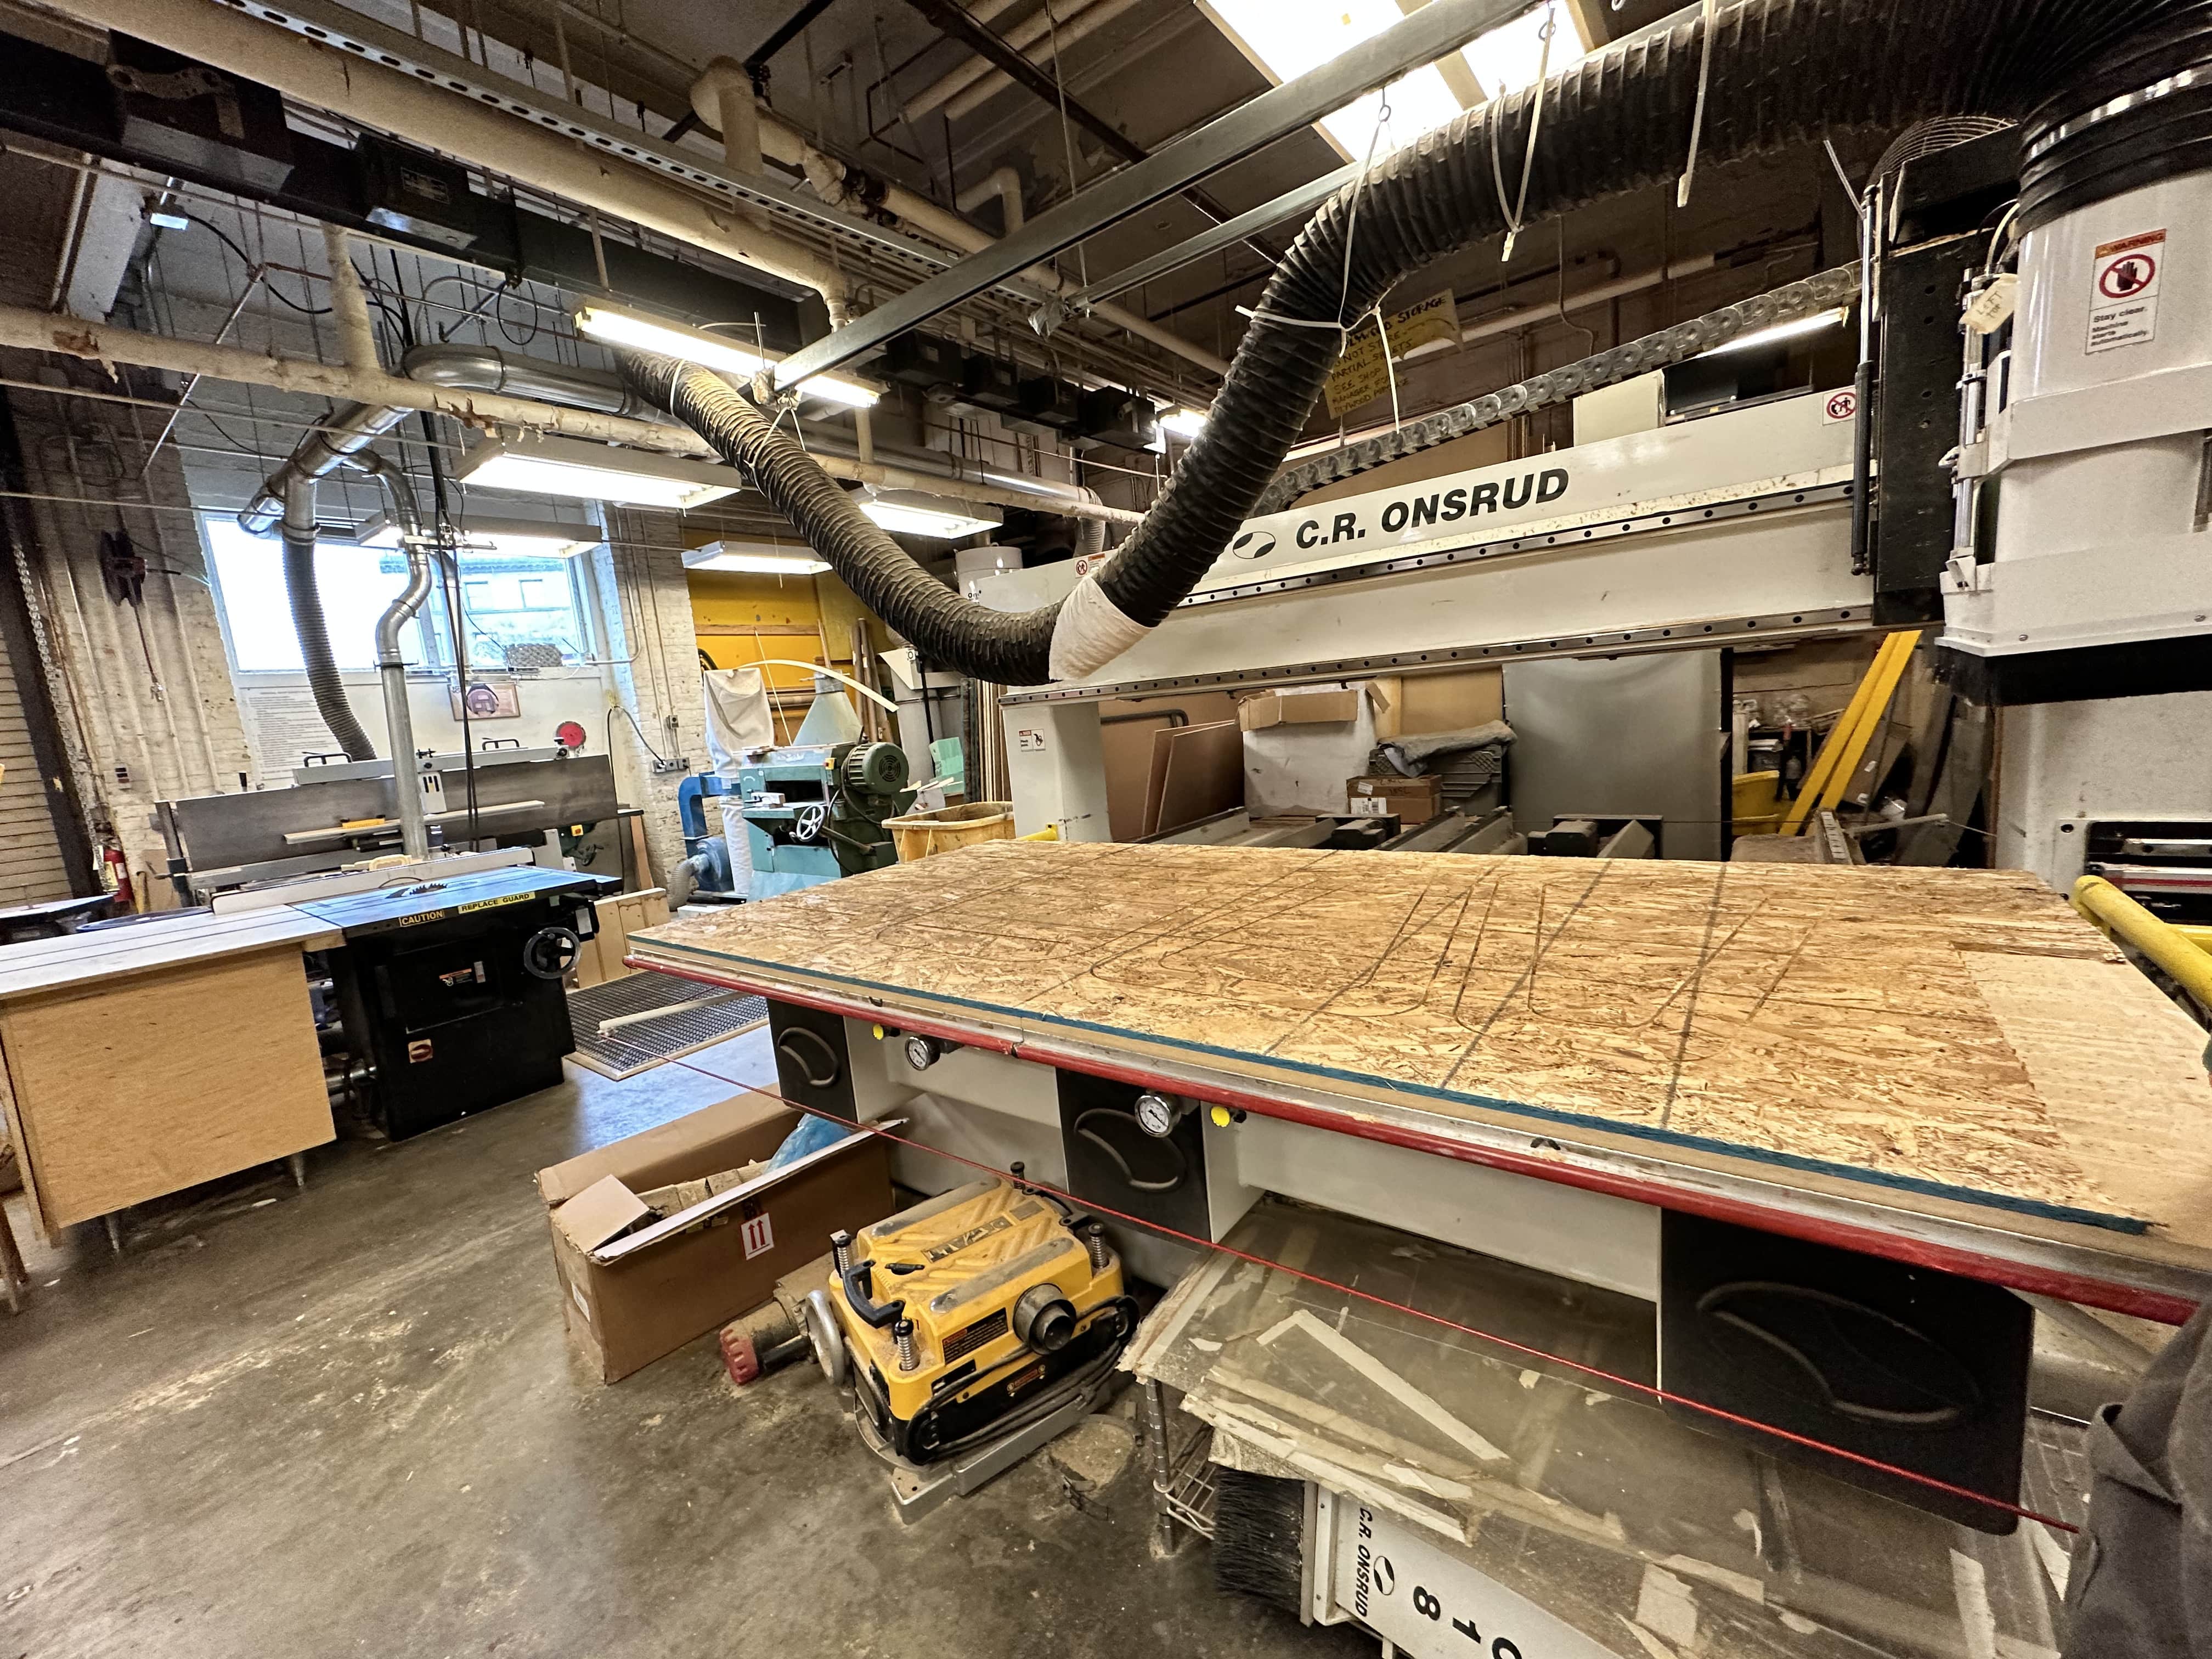
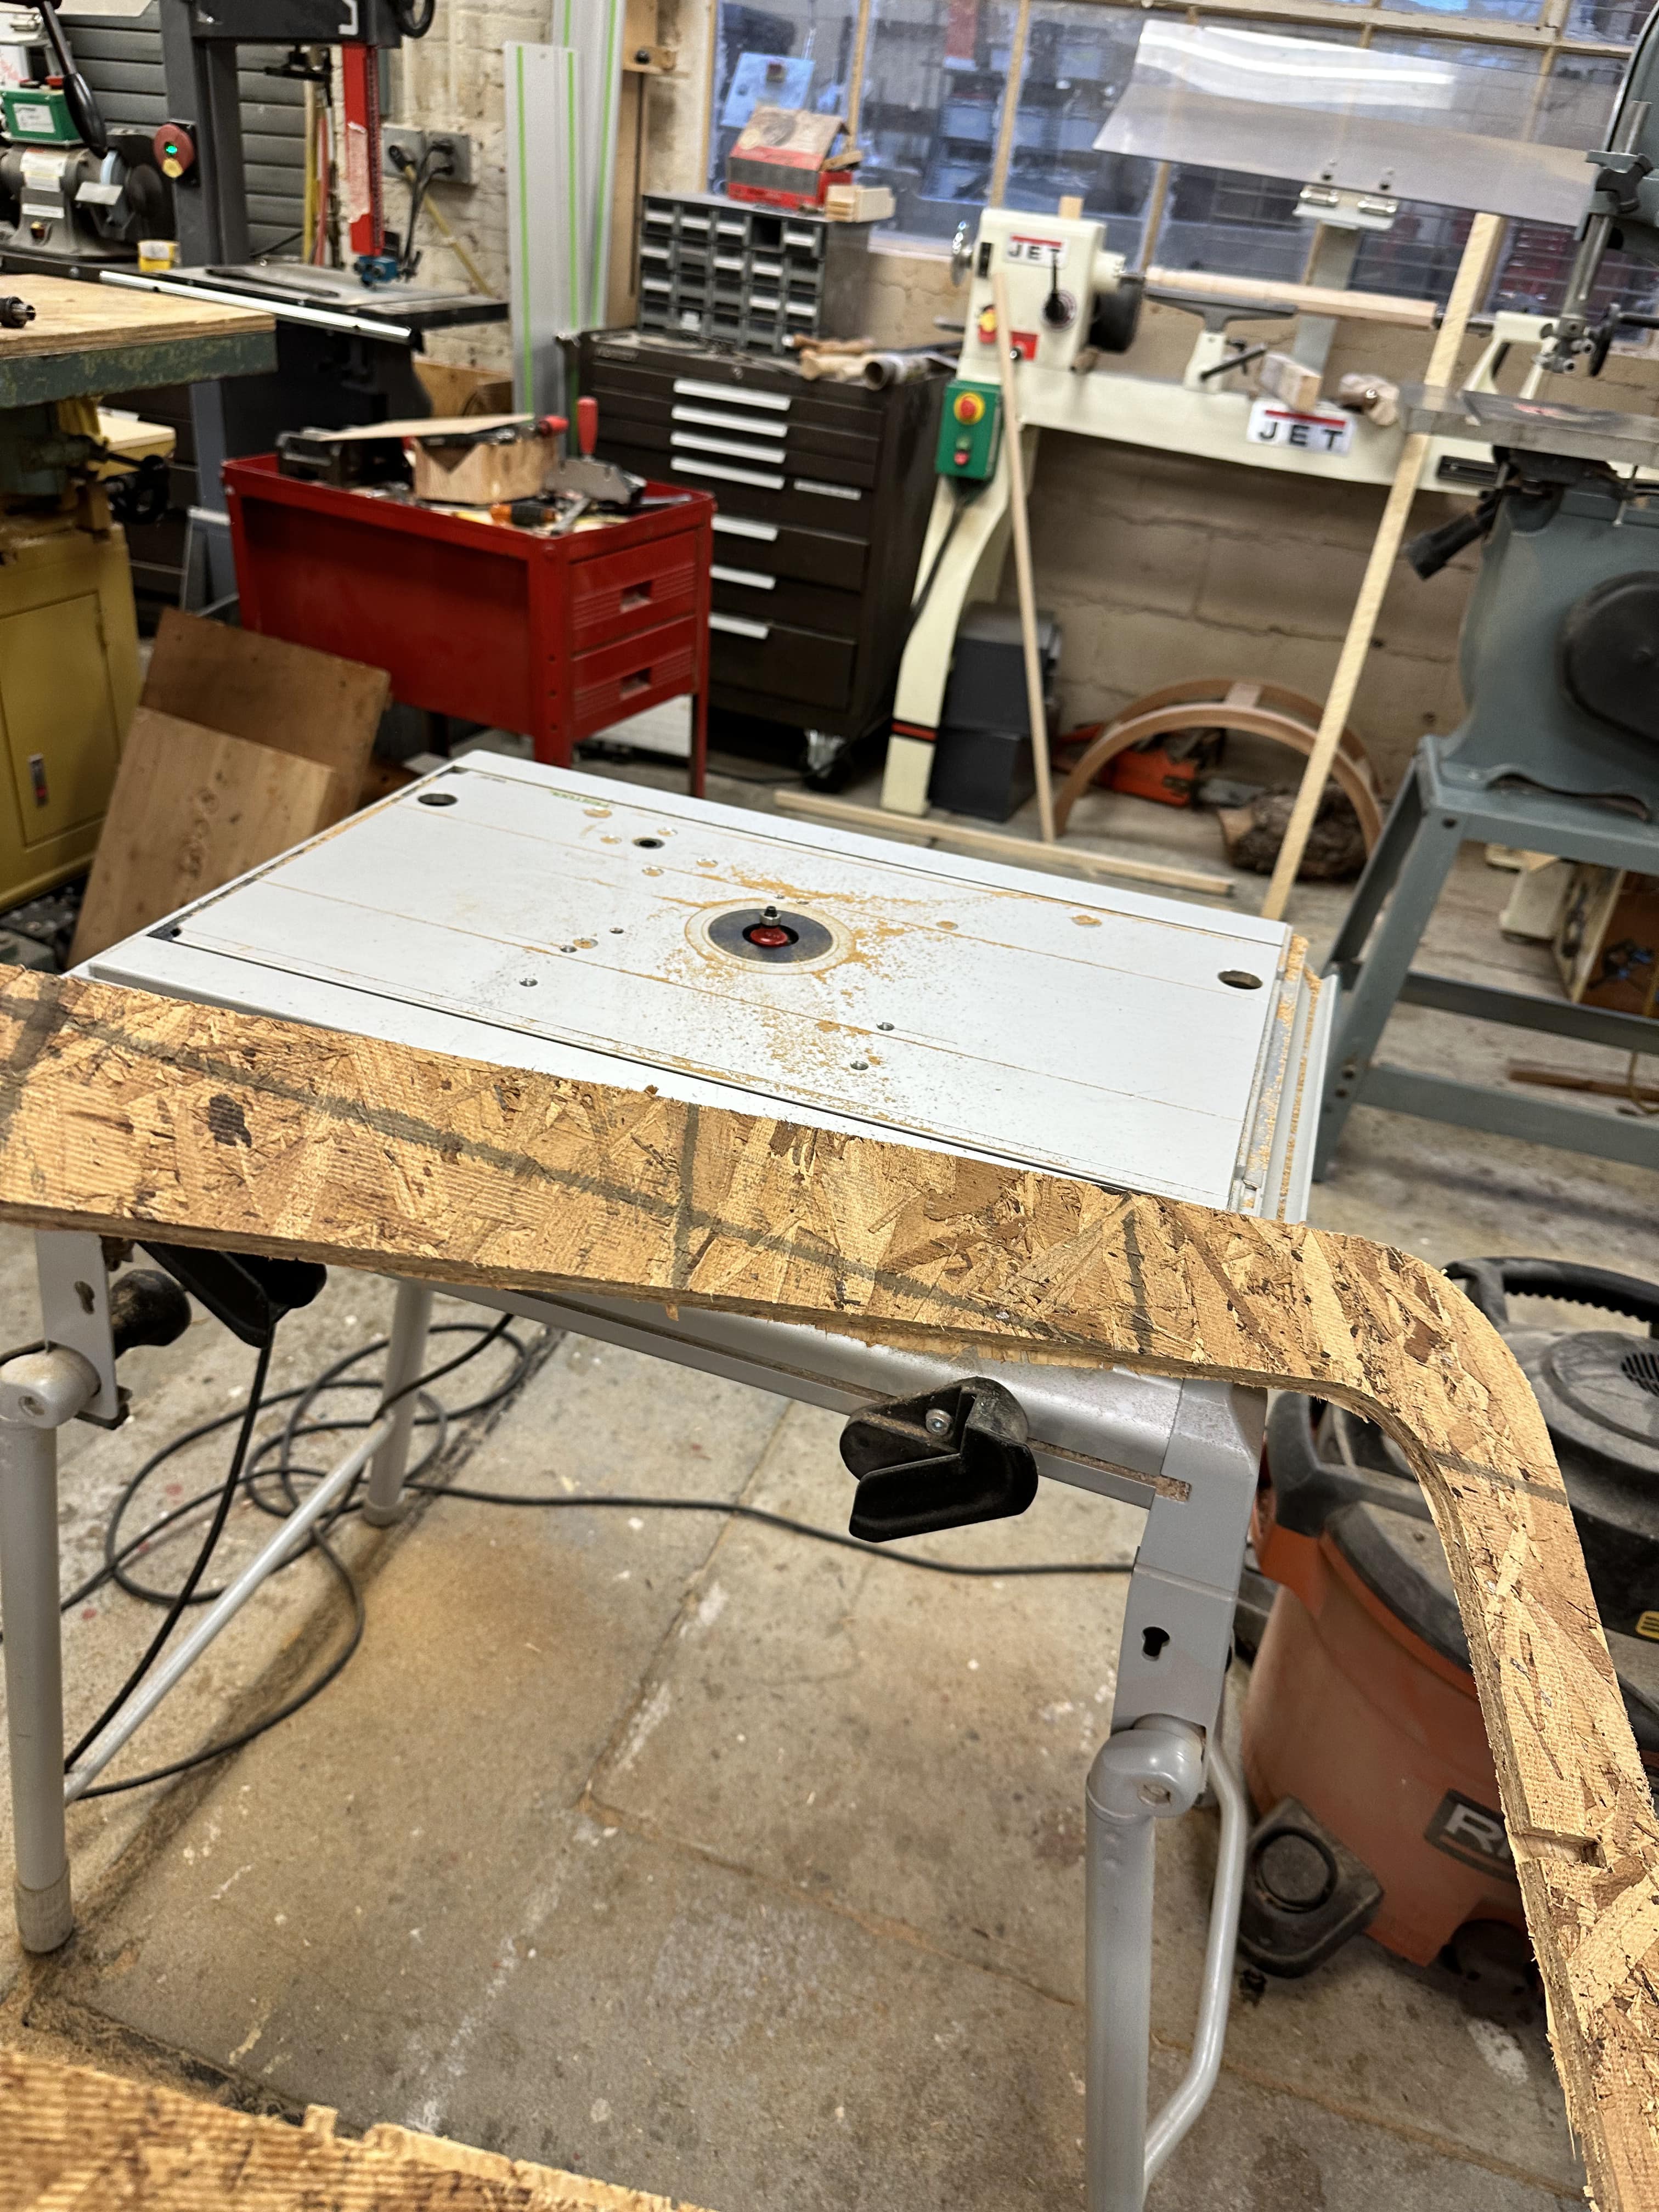
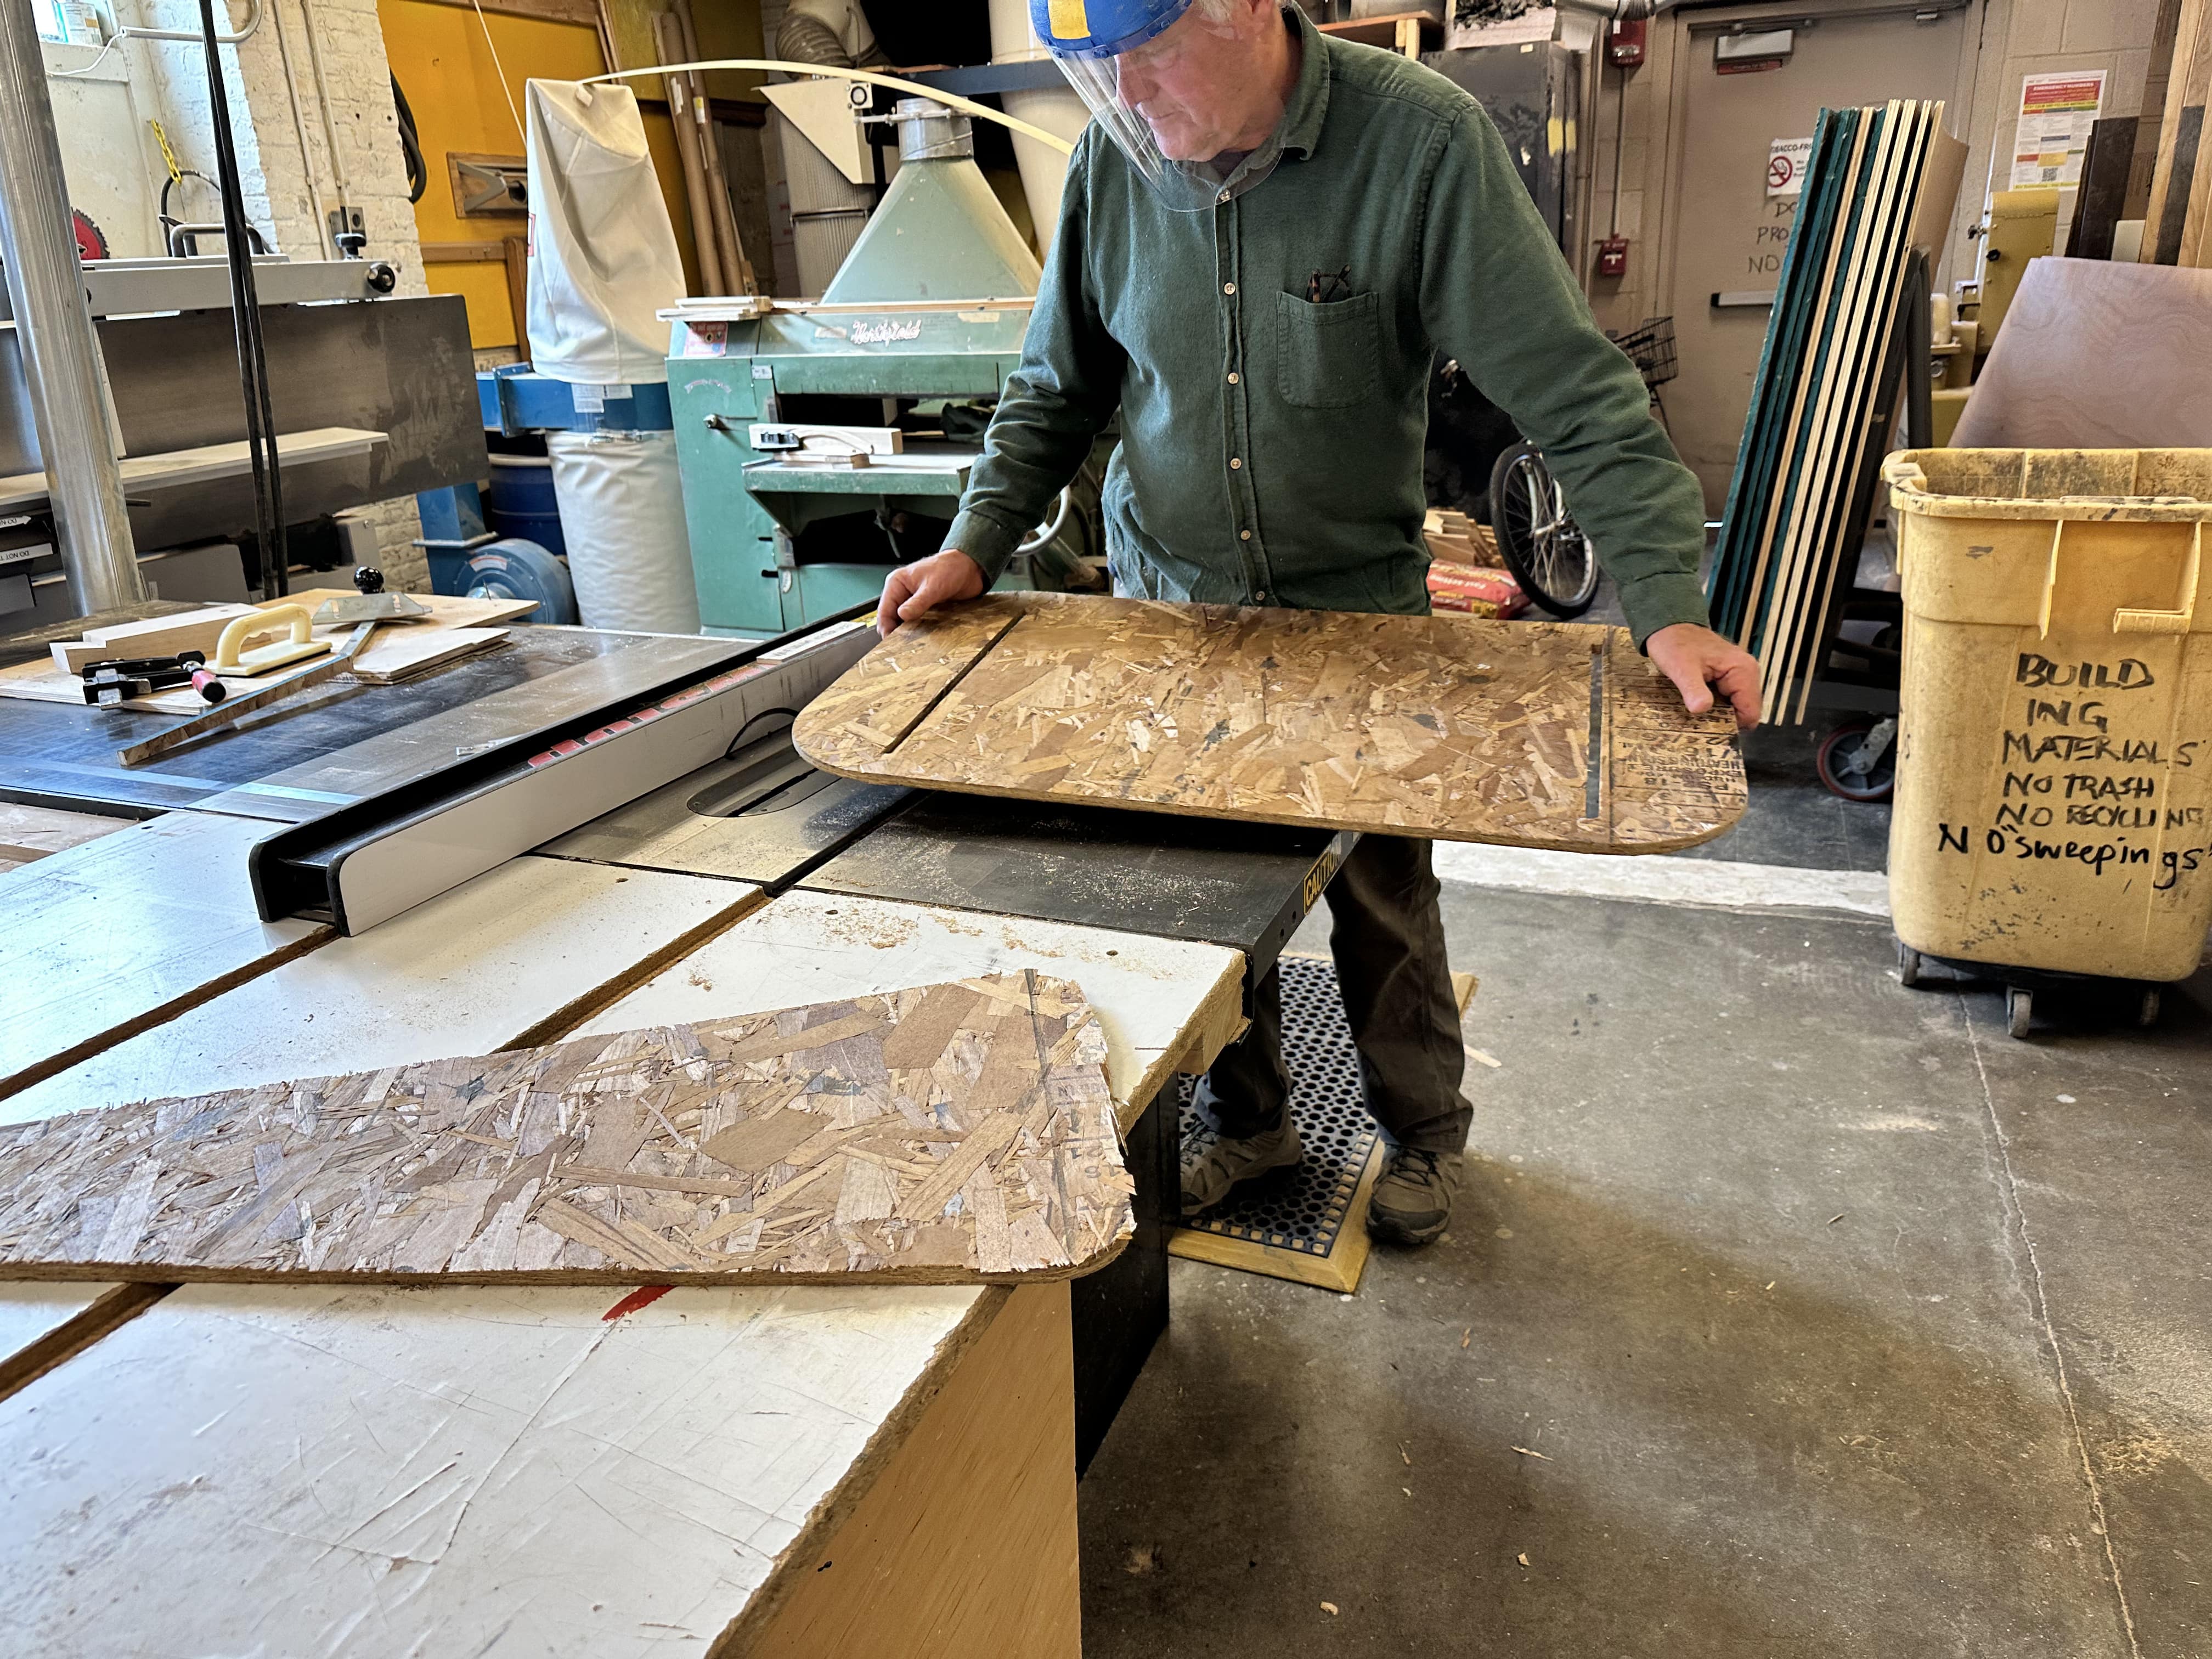
Cutting a Large Object

It's a bit of a challange to get ahold of someome in N51 that has the authority and ability to set up a CNC file. Although I went there after class, nobody there knew how to set up the file. So I had to return later to catch Chris himself. Finally I found him and he helped me set up my file. There were three paths, one with points at corners, one with the lines and one that cleaned up the corners.

Grasshopper file


The CNC was very quick (15min), we did need to drill the OSB into the sustrate becayse the vaccum wasn't functioning as well as it hould have been.

Image of 3D model Image of 3D model


. . , .


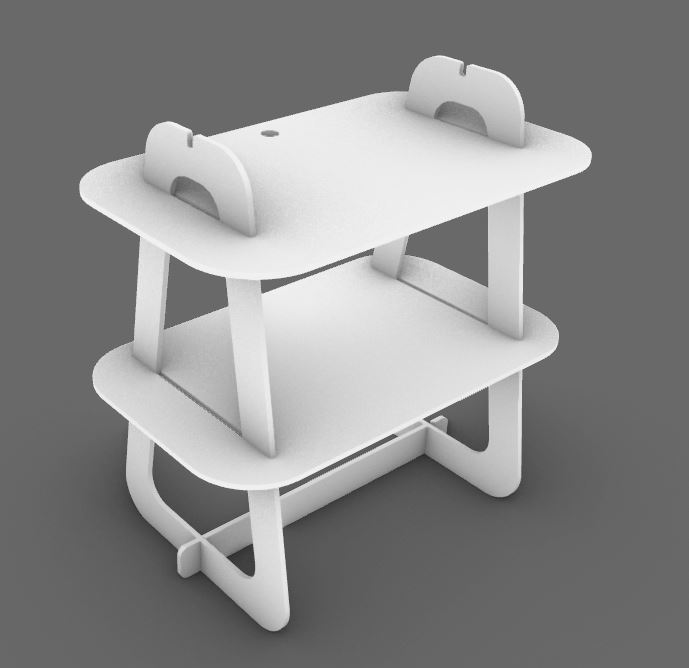
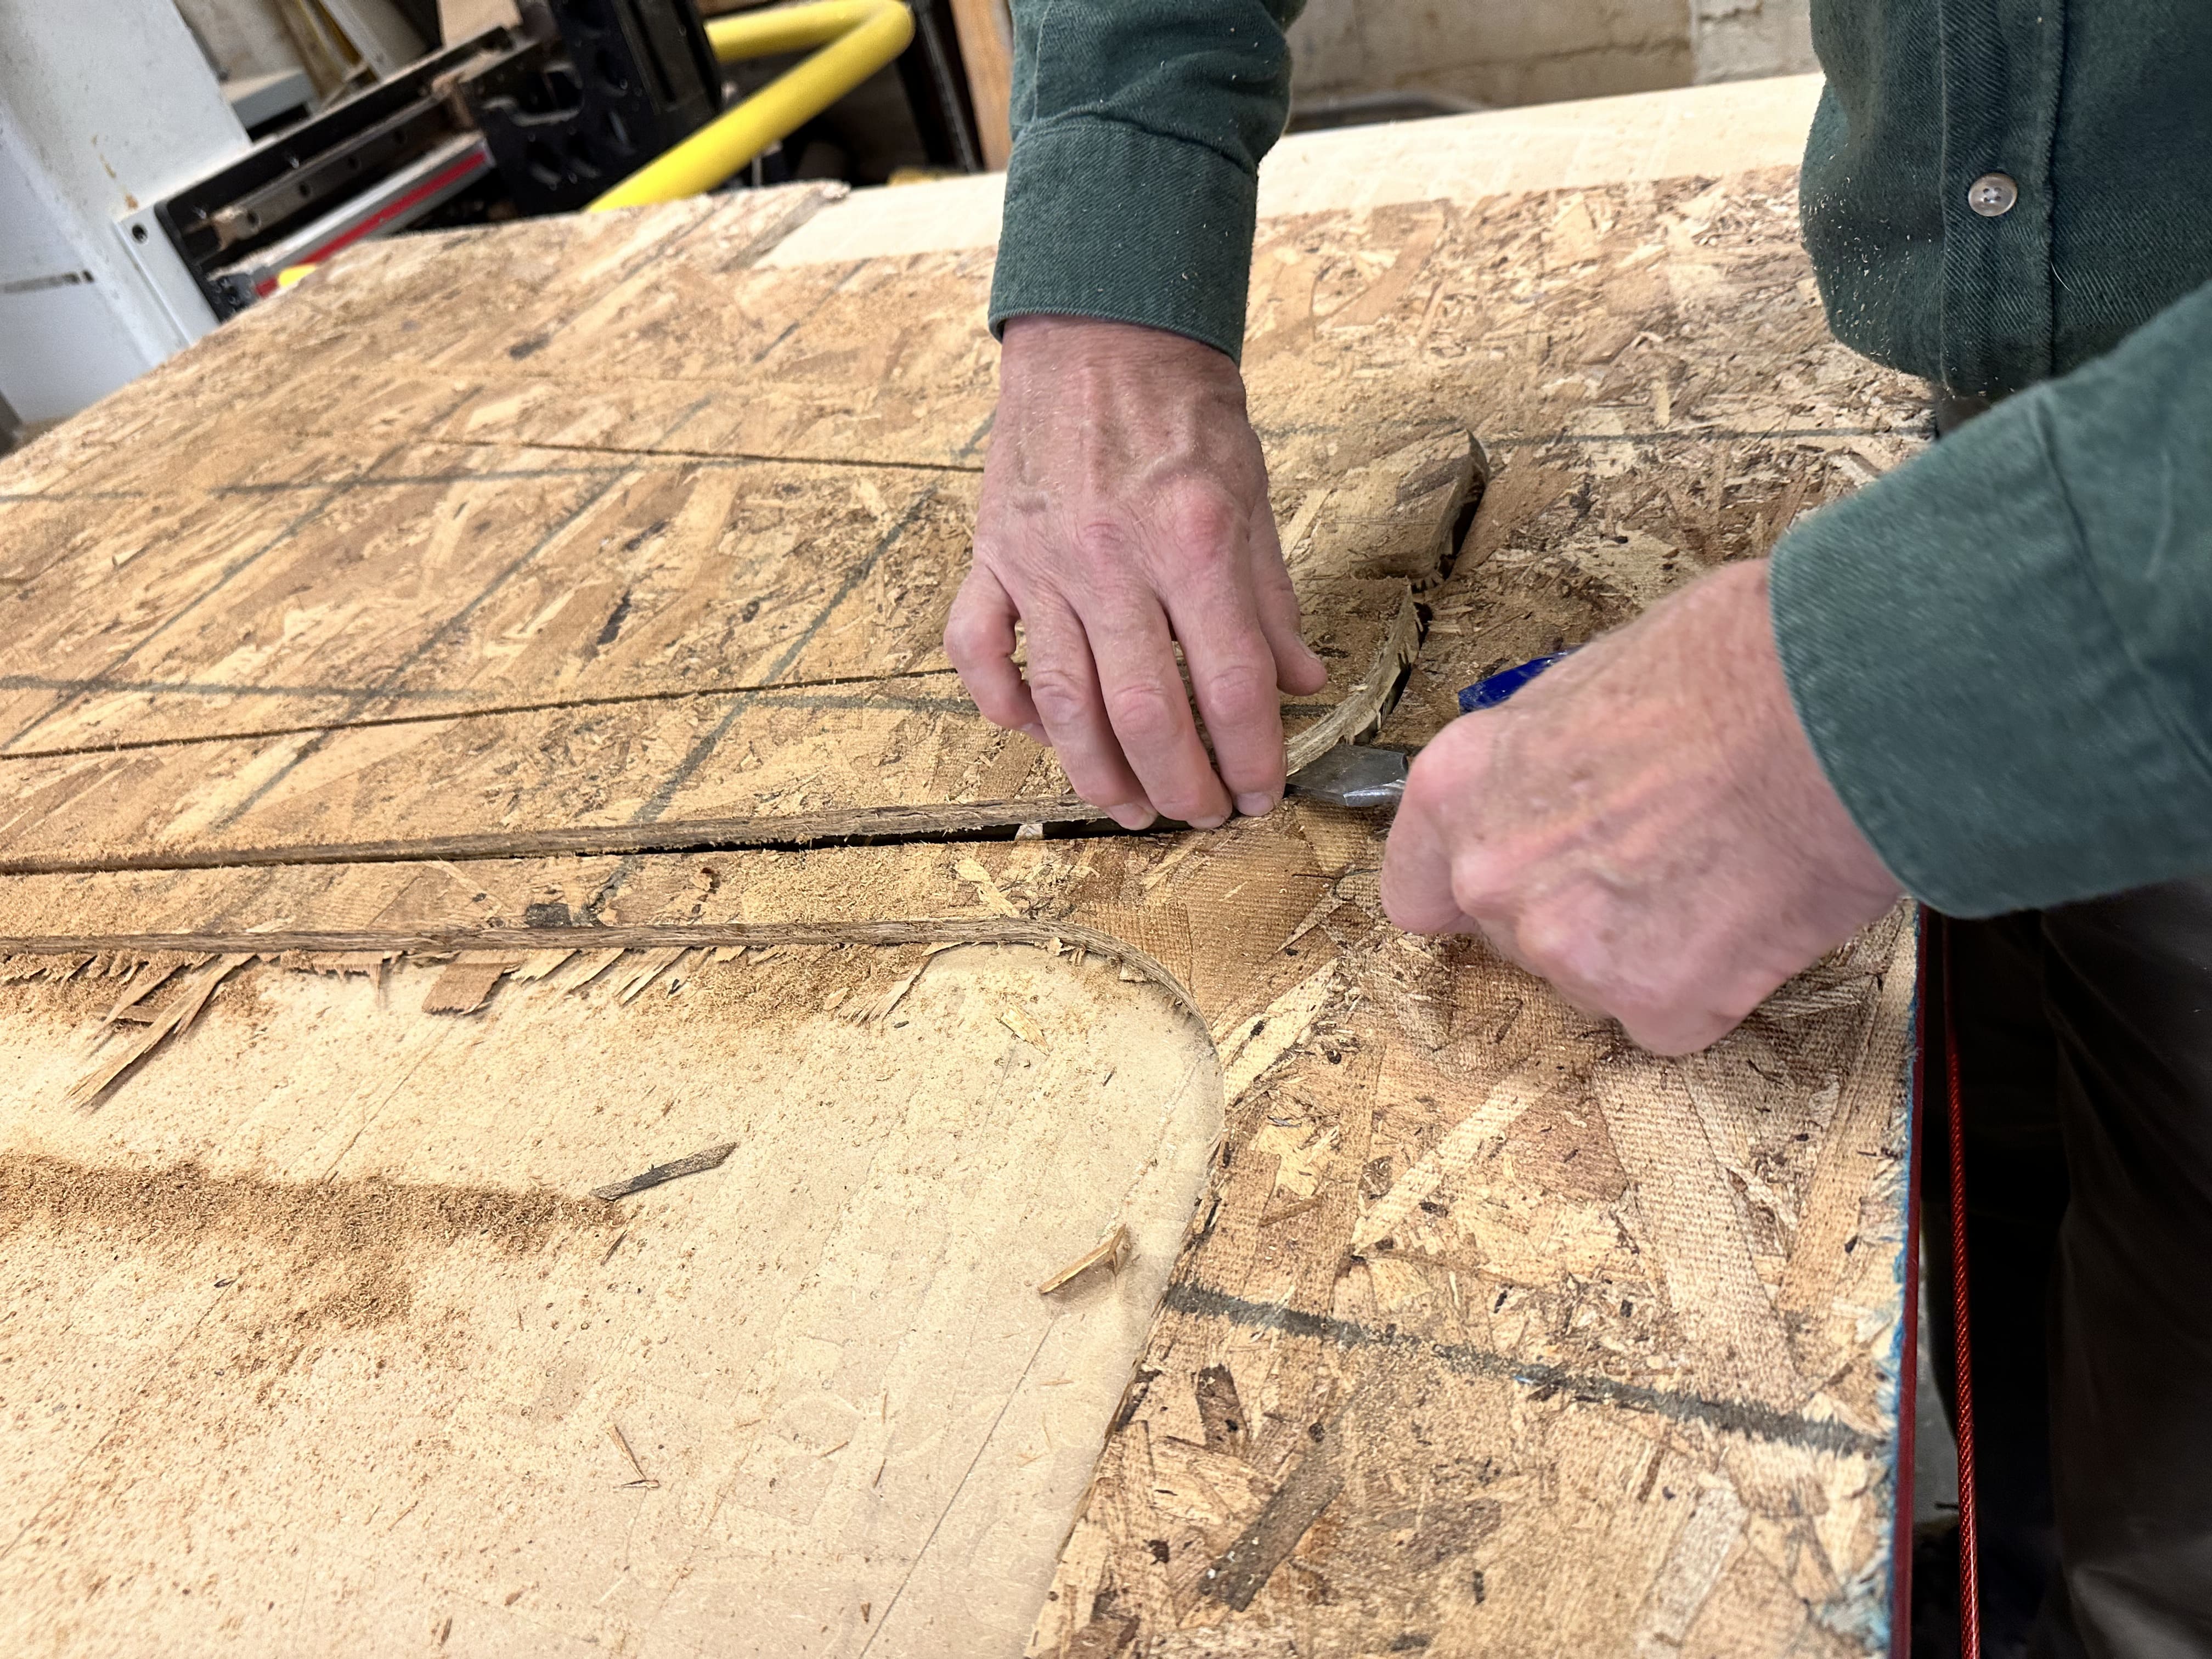
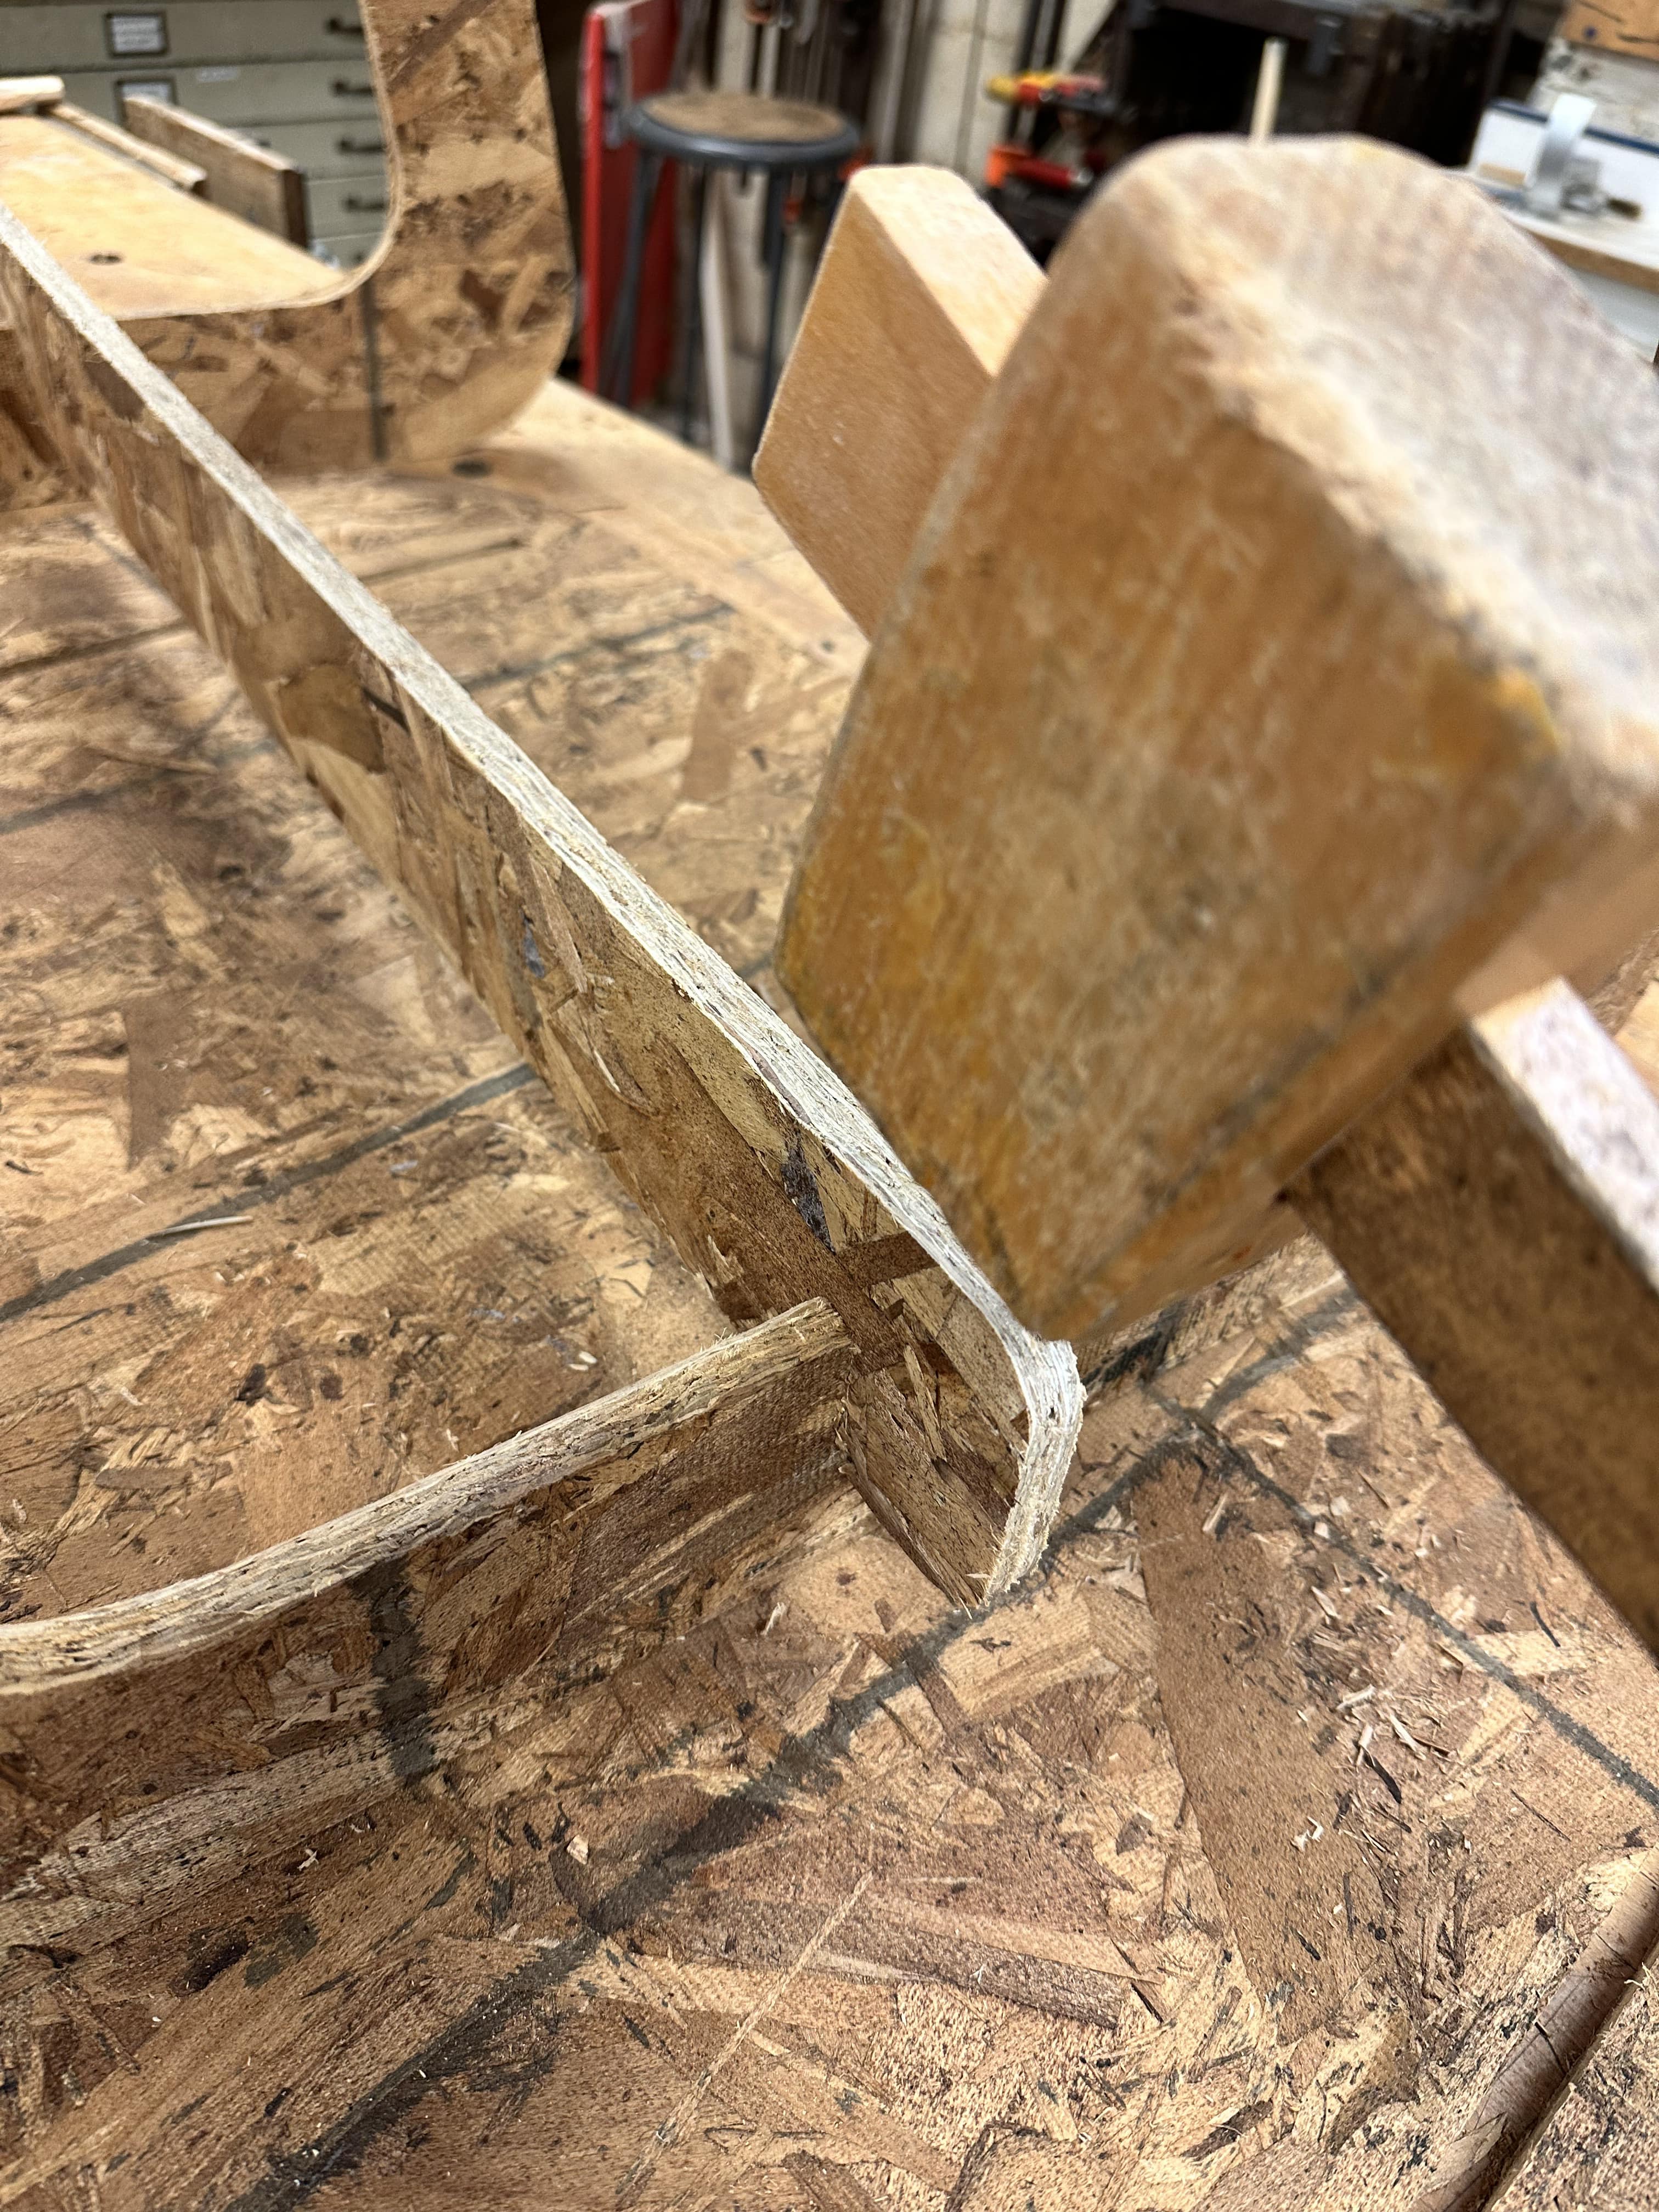
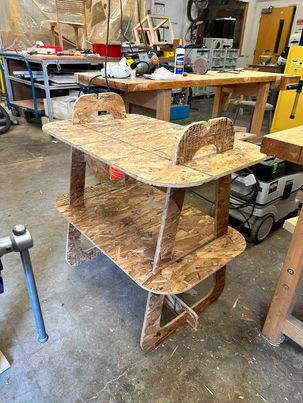
Assembling a Large Object

First we needed to vaccum the table so that there was any remote view of where the peices are. We then needed to use an exacto to cut the peices out of the OSB as the CNC intentionally did not cut all the way through.

Image of 3D model Image of 3D model


Next, was the task of fine tunning the edges. At first Chris instructed me to use the router to do this, but after completing 2 of the peices that started smoking, so I had to carry on by hand.

Image of 3D model Image of 3D model
As the peices were a bit tight and difficult to assemble, Chris helped me make the slots larger on the table saw.
Grasshopper file


This is how the final object came out! Its much larger than I had been imagining, I have no sense of how much 30 inches is I guess, but it will work!


Image of 3D model Image of 3D model


. . , .


!! 00 01 02 03 04 05 06 07 08 09 10 11 12 13 14 15 ??