.. ,
. . . ,,
week six
casting (almost) anything
. . , .
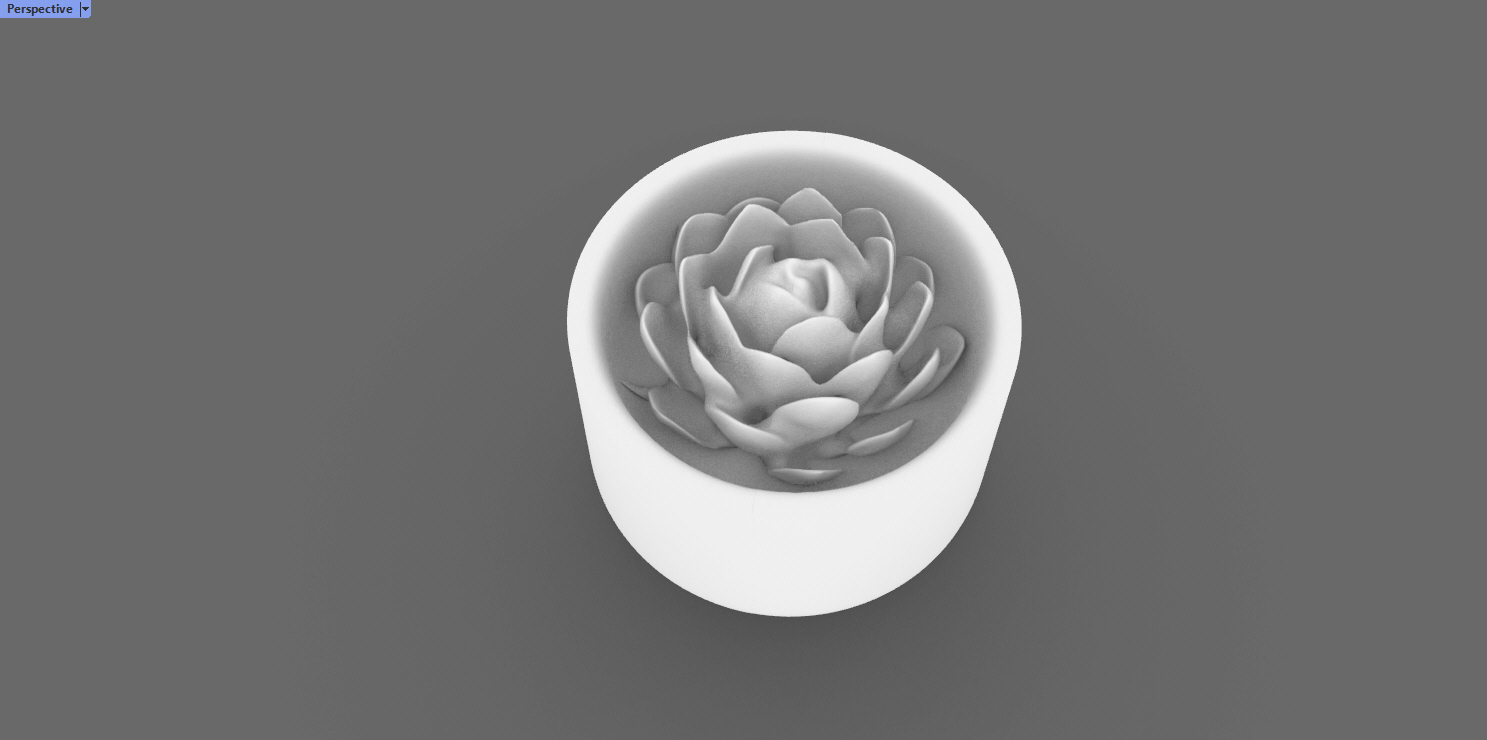
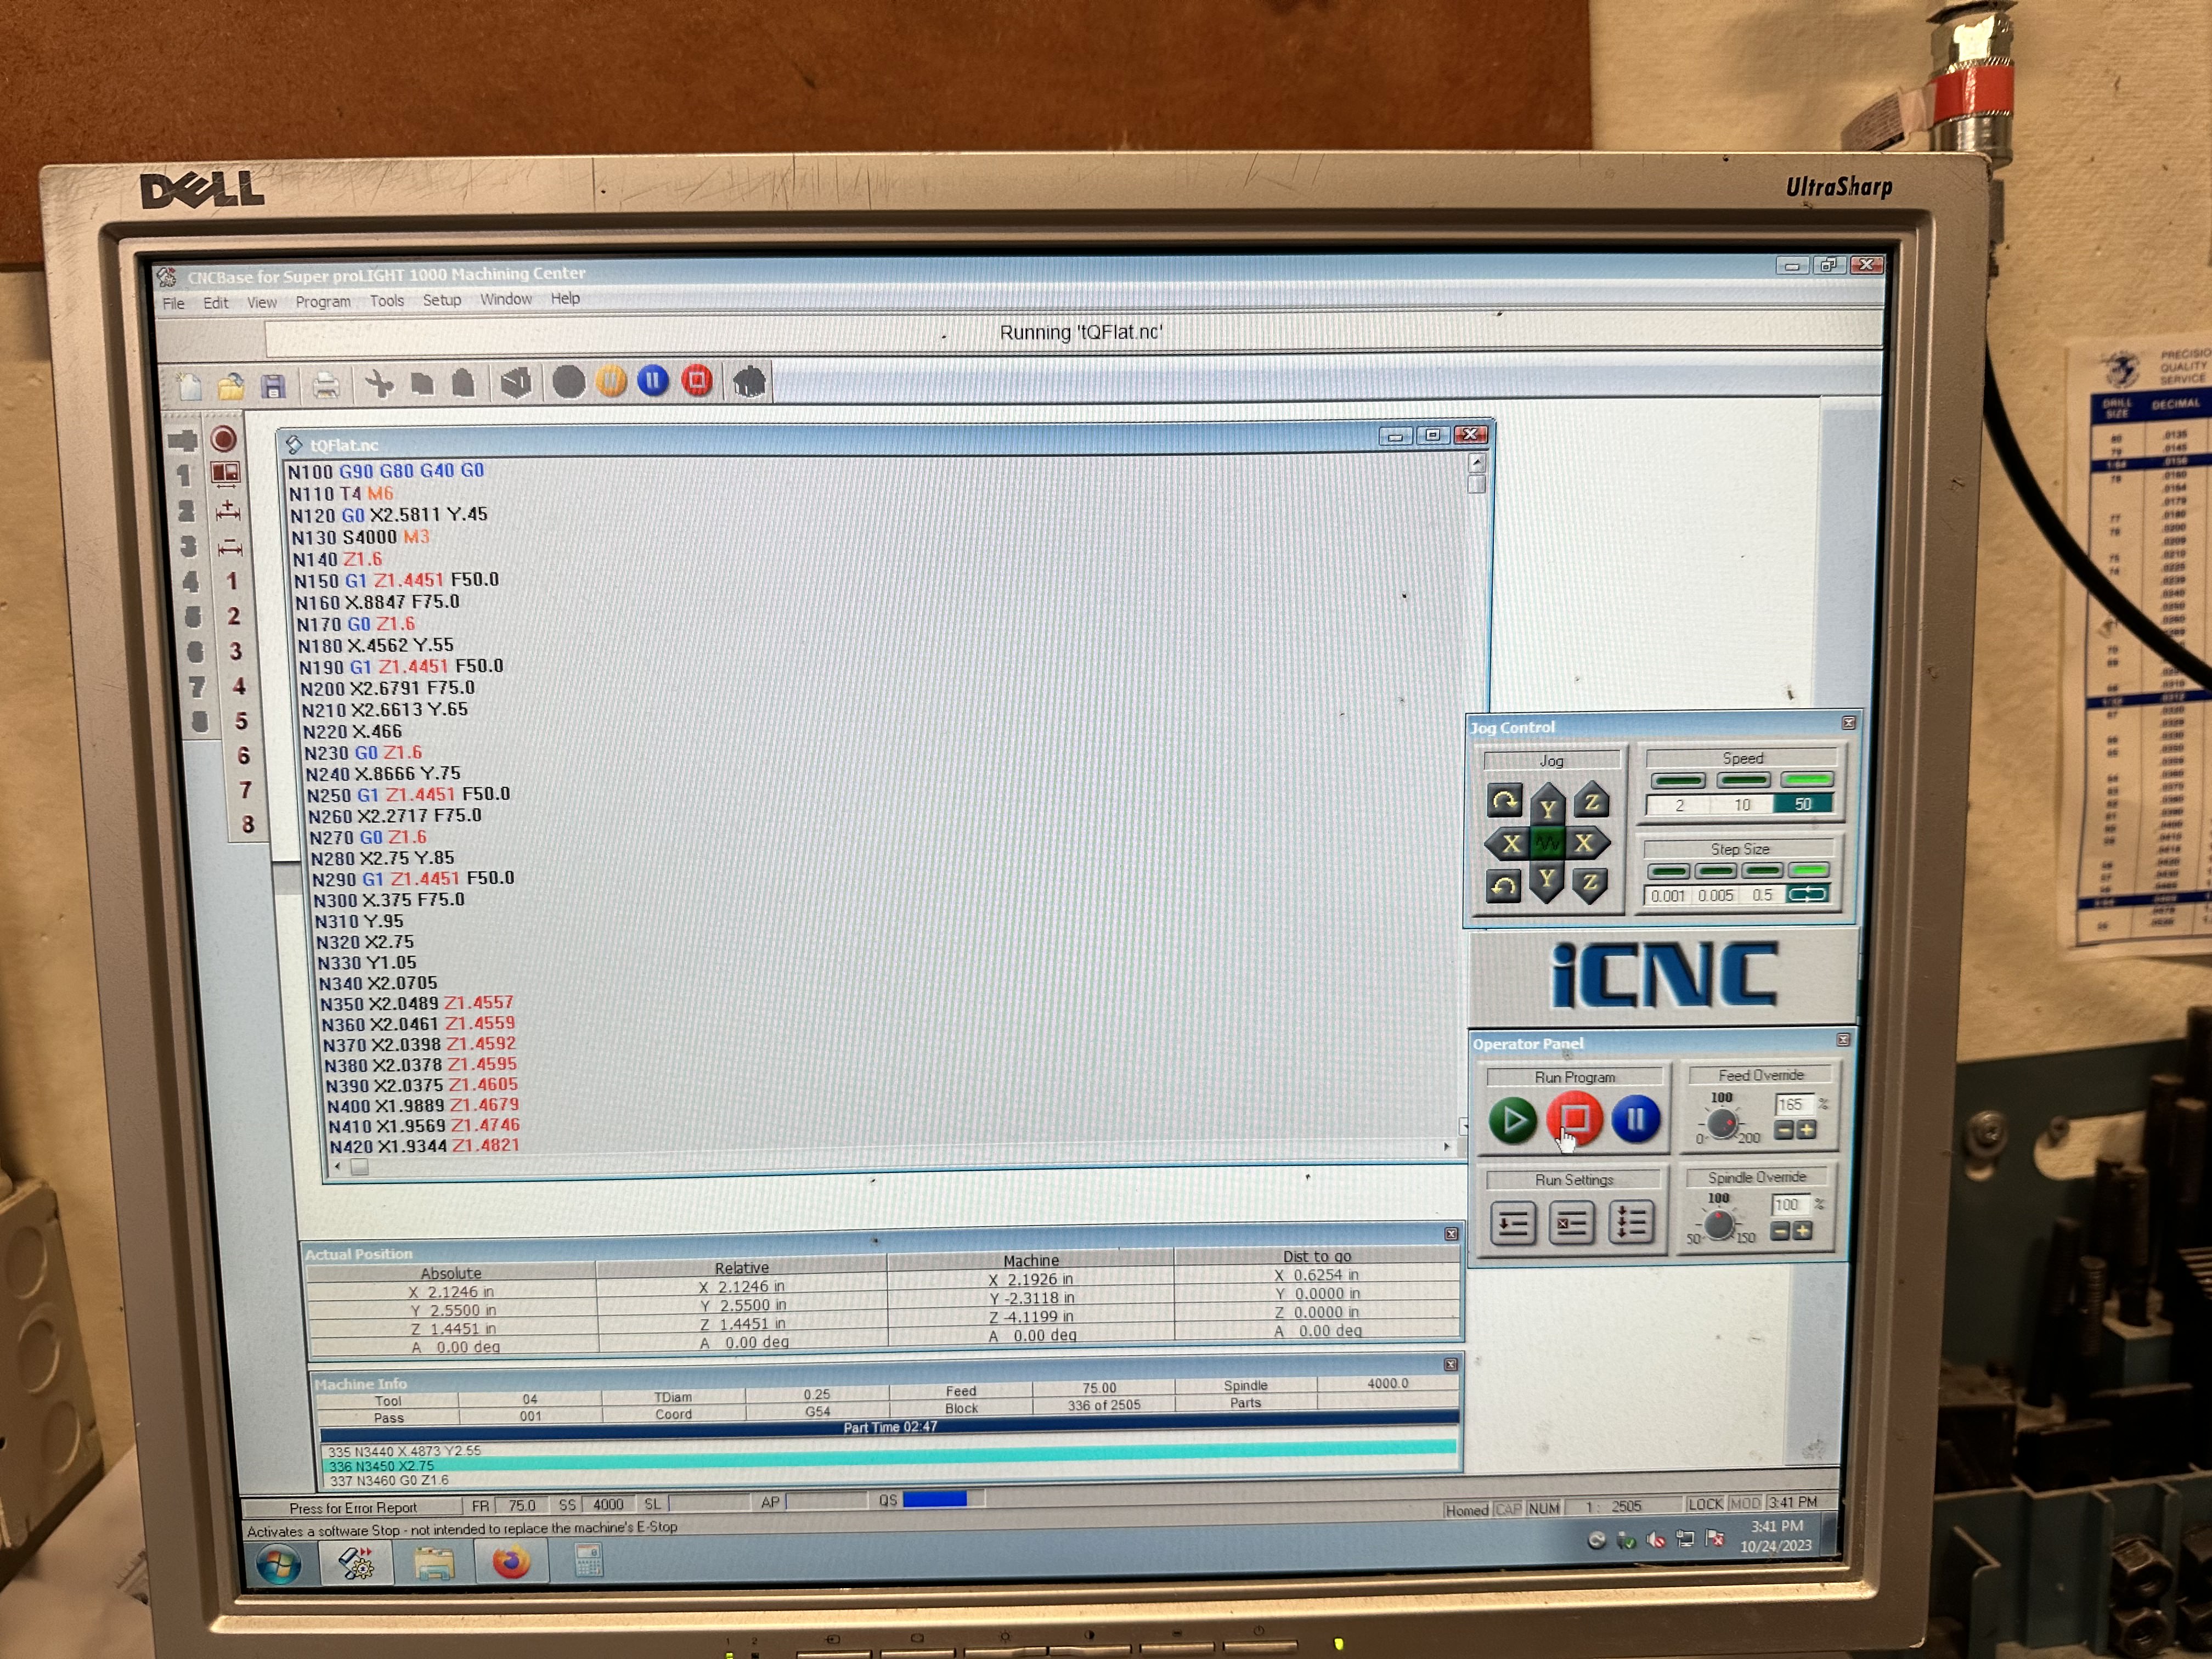
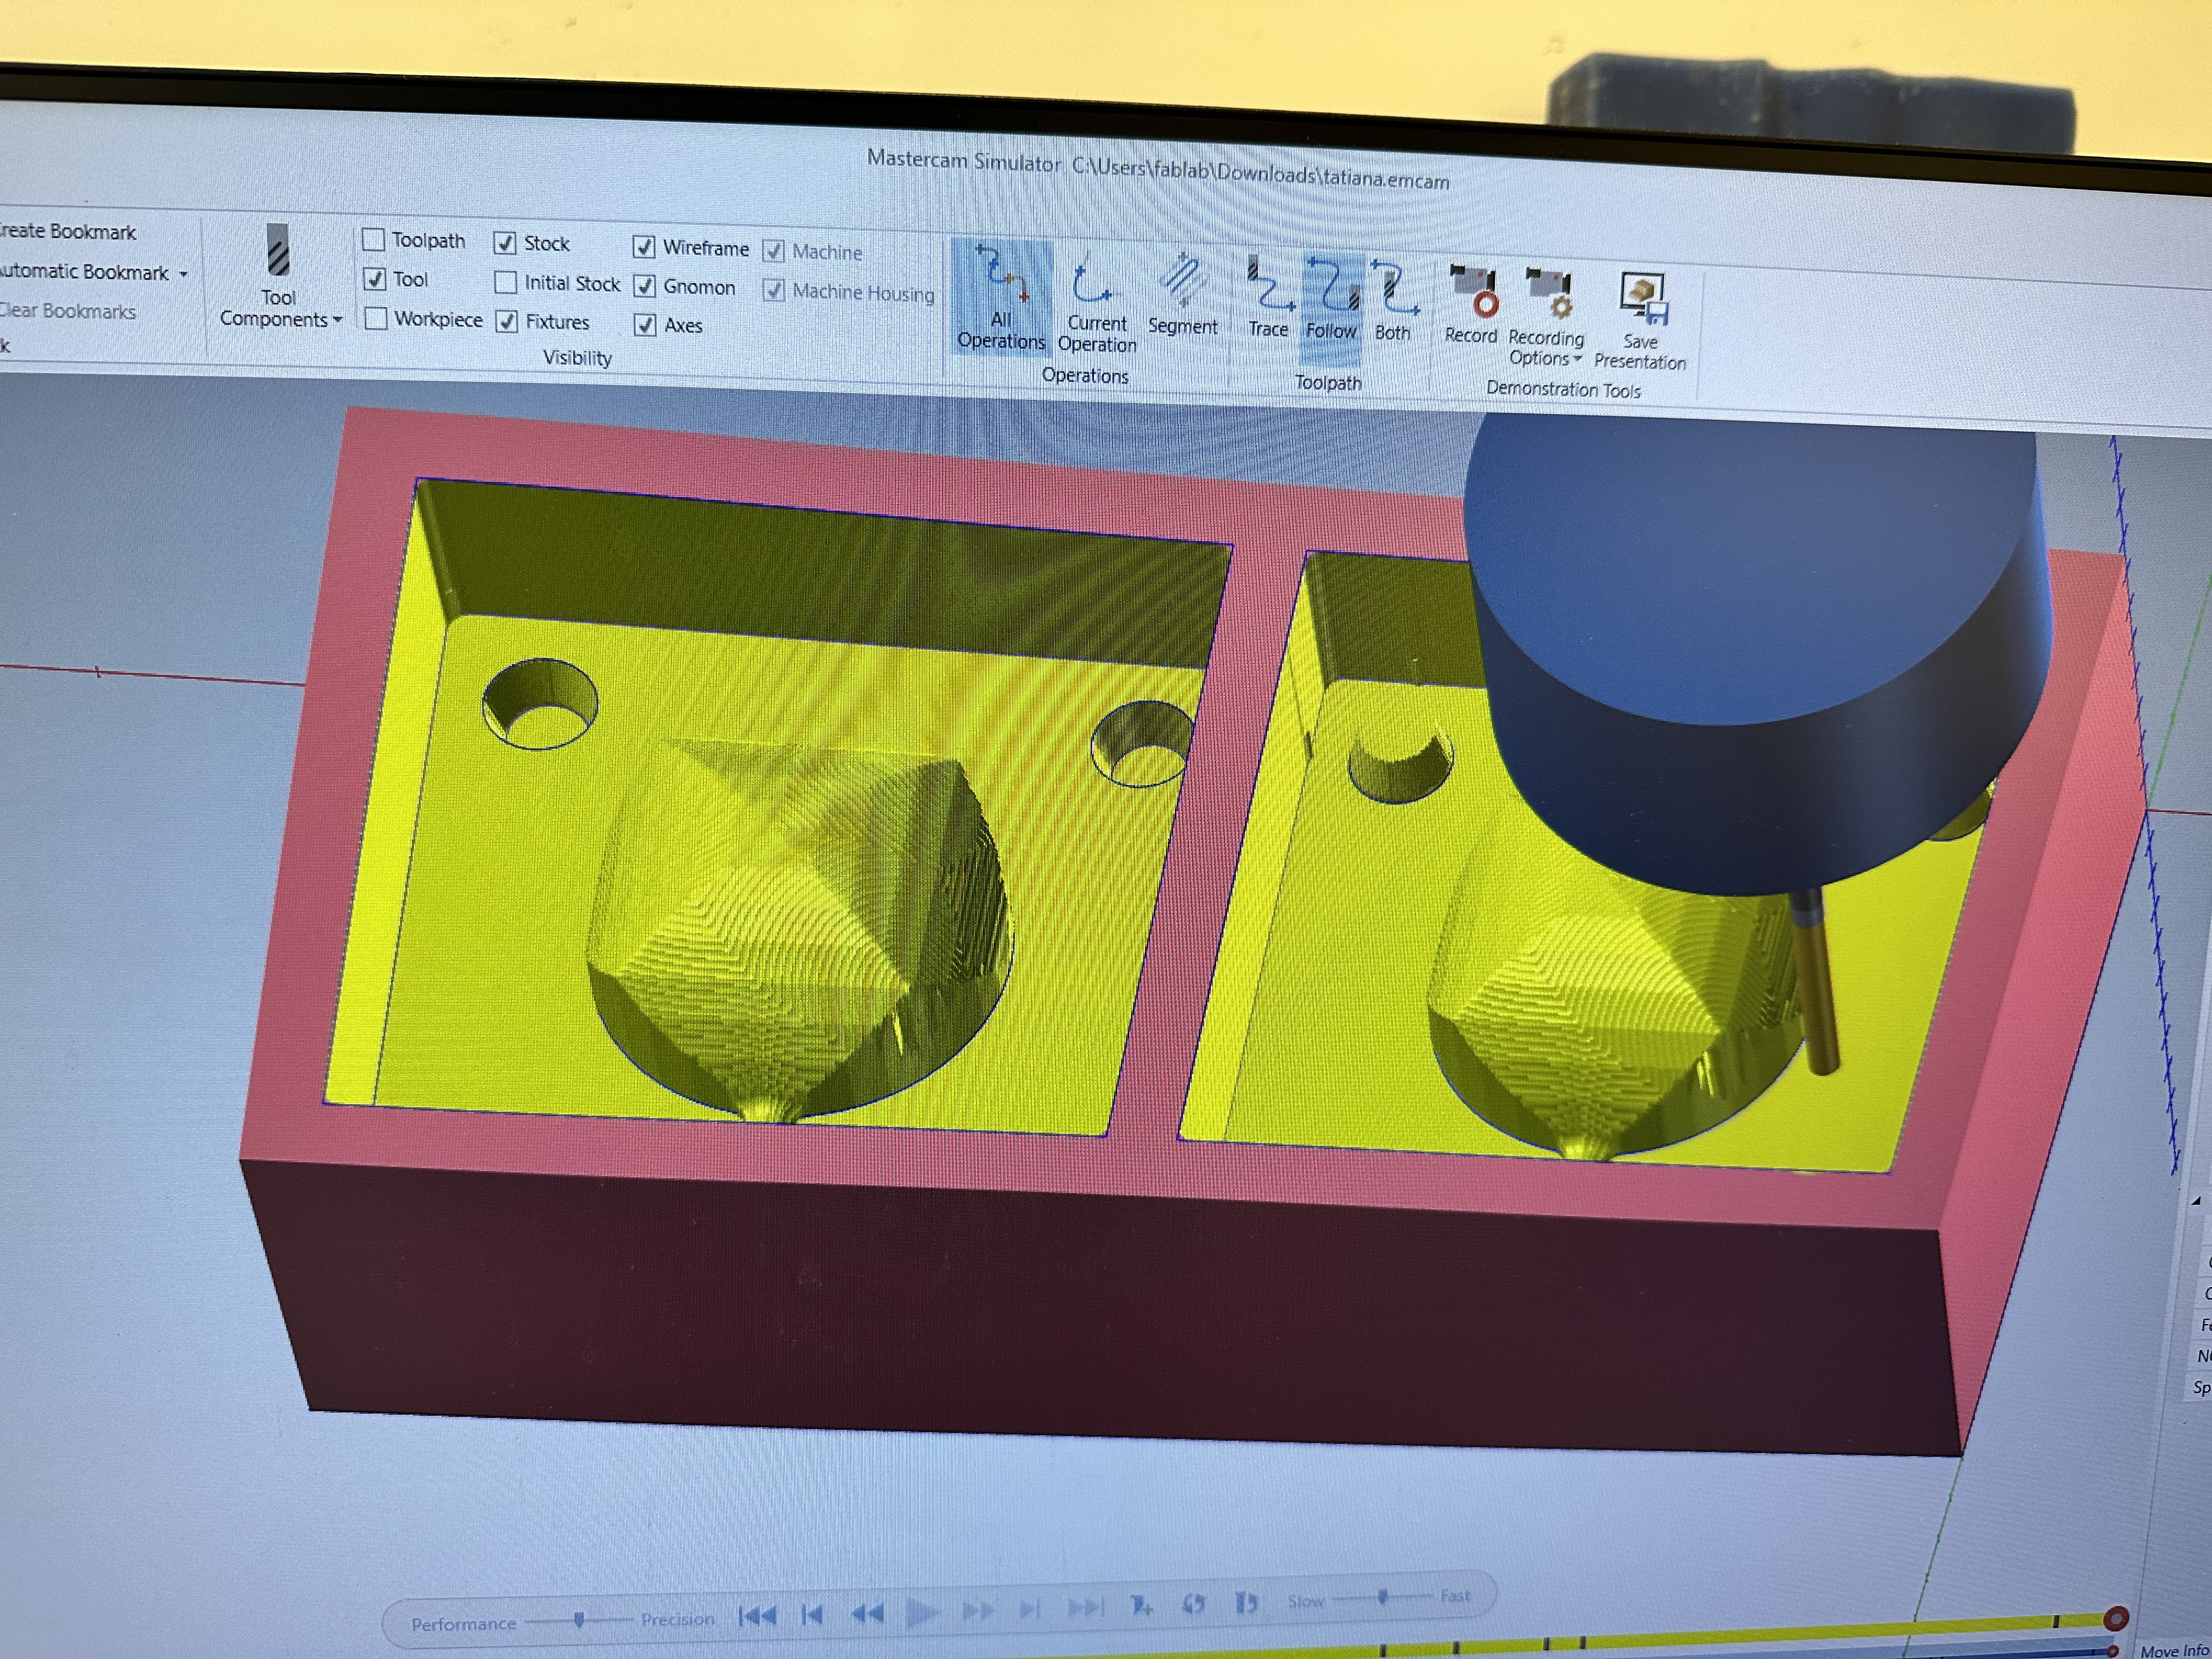
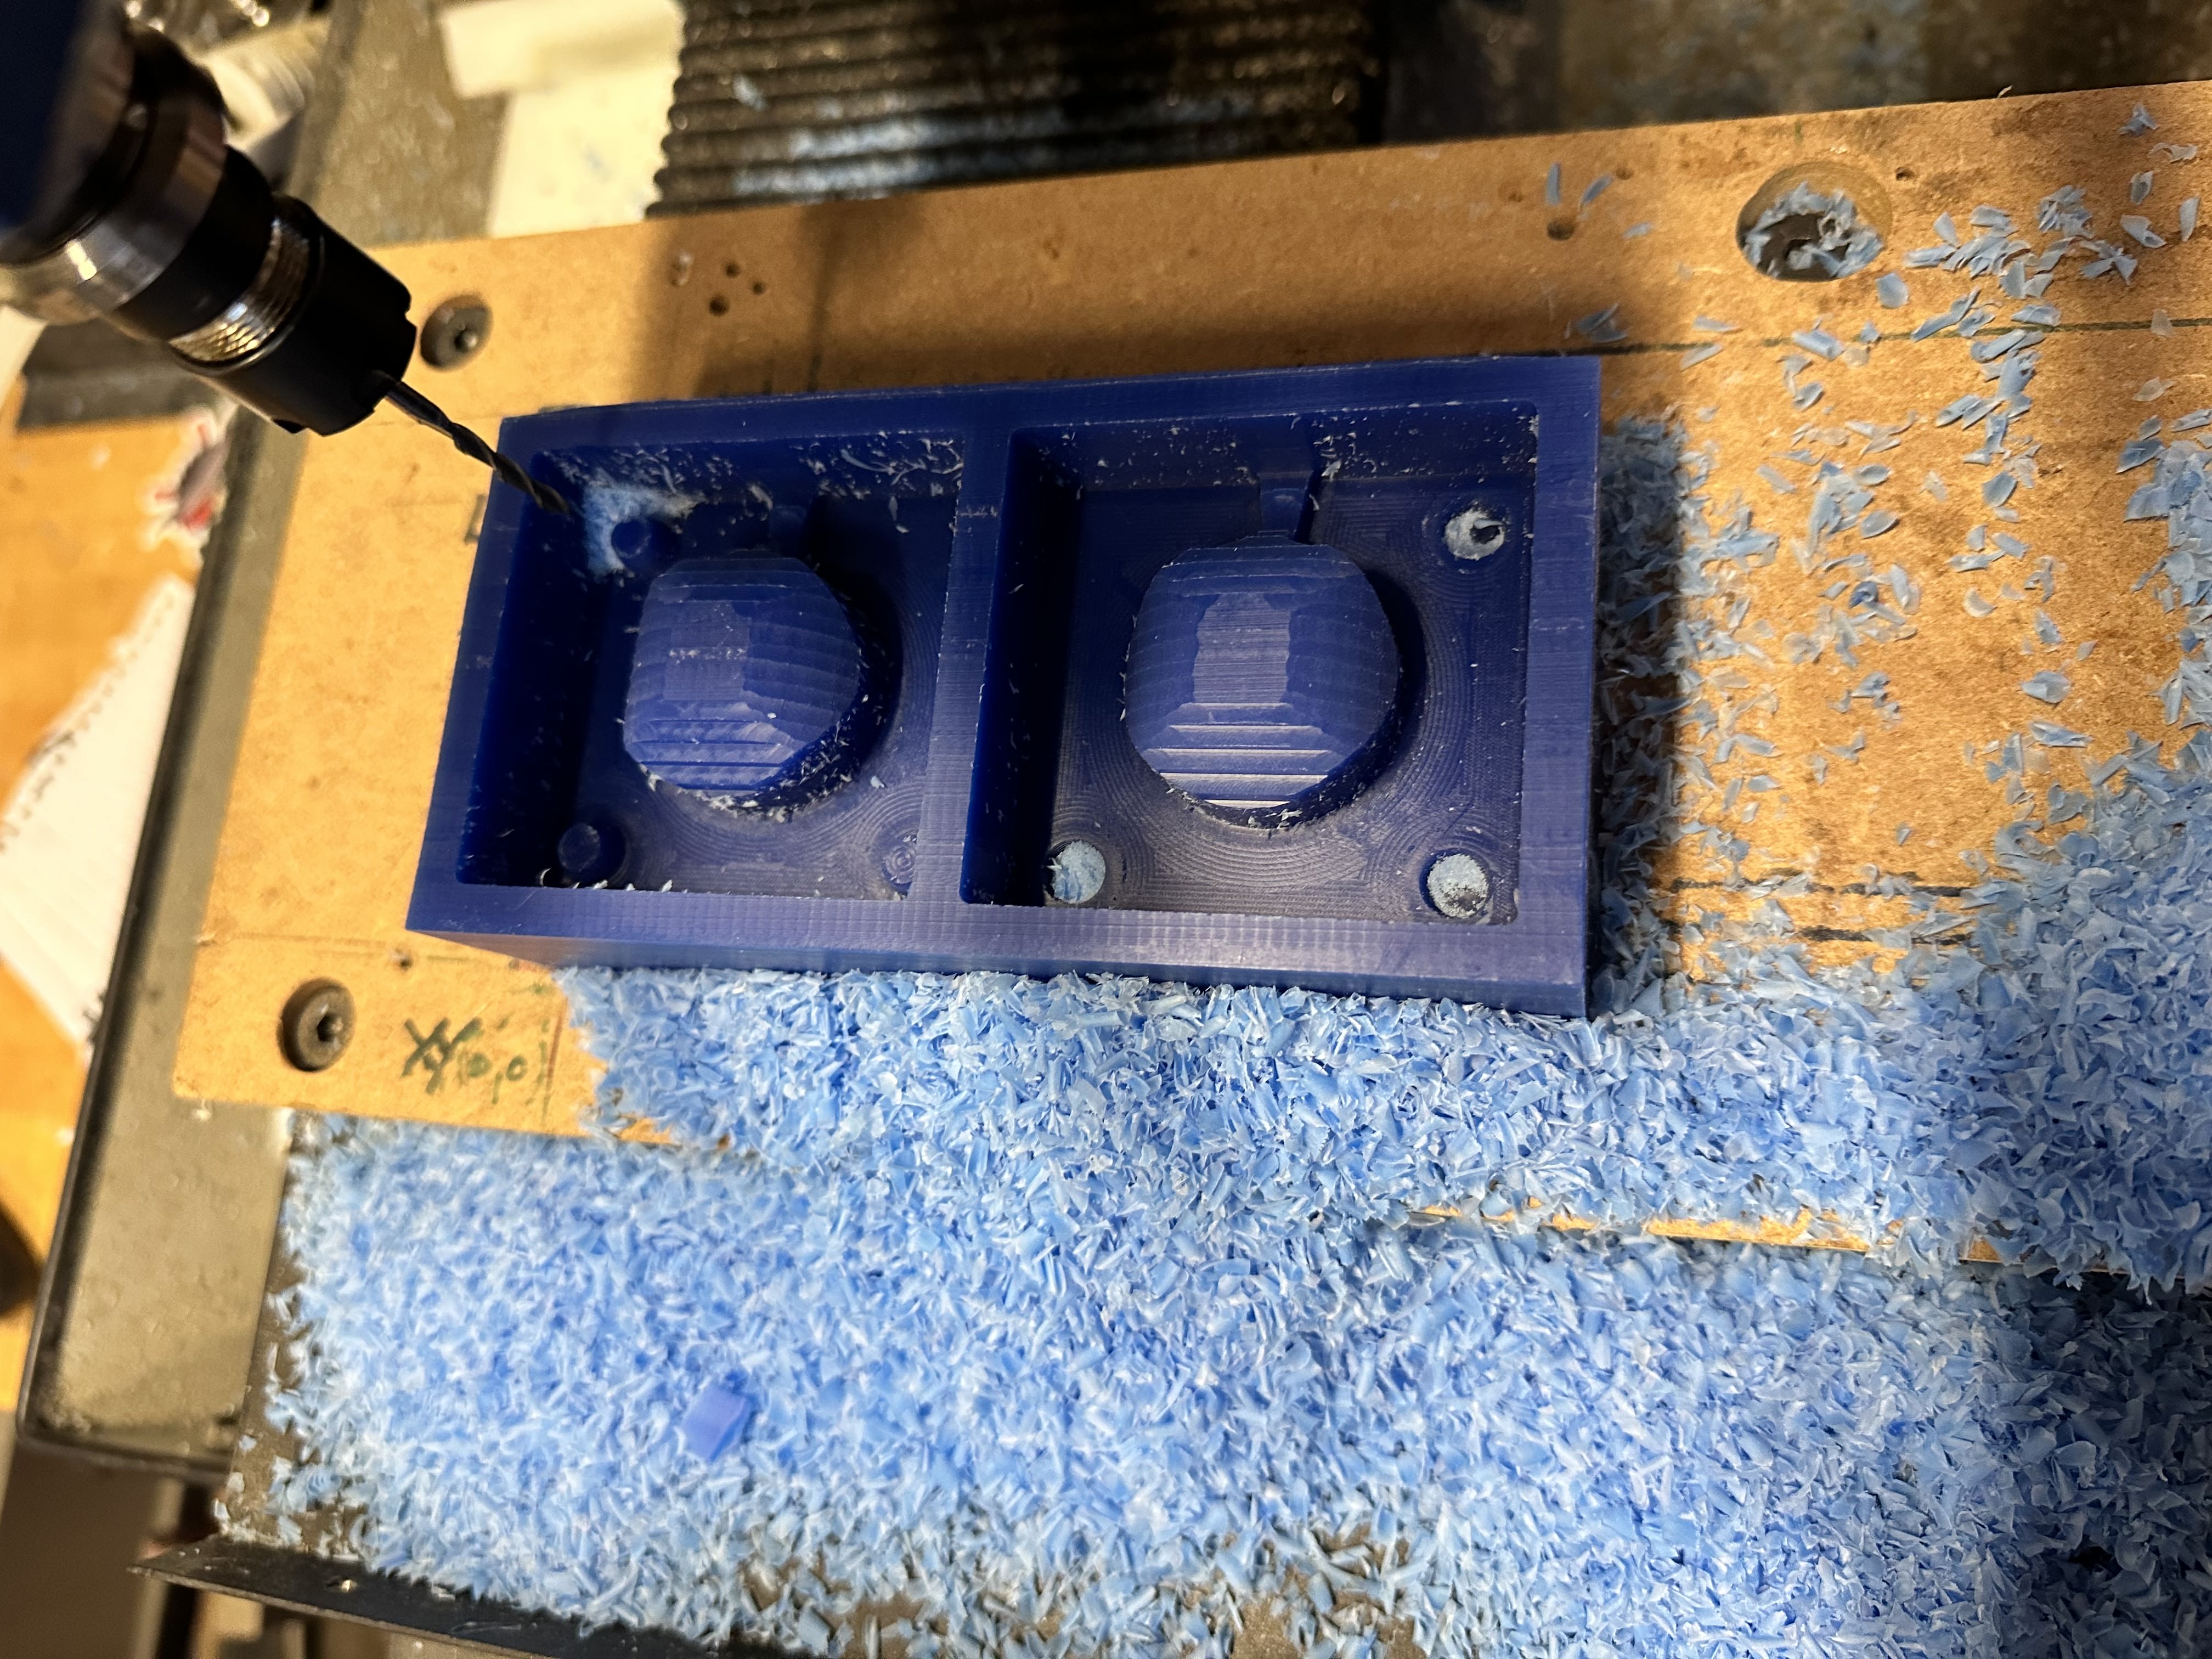
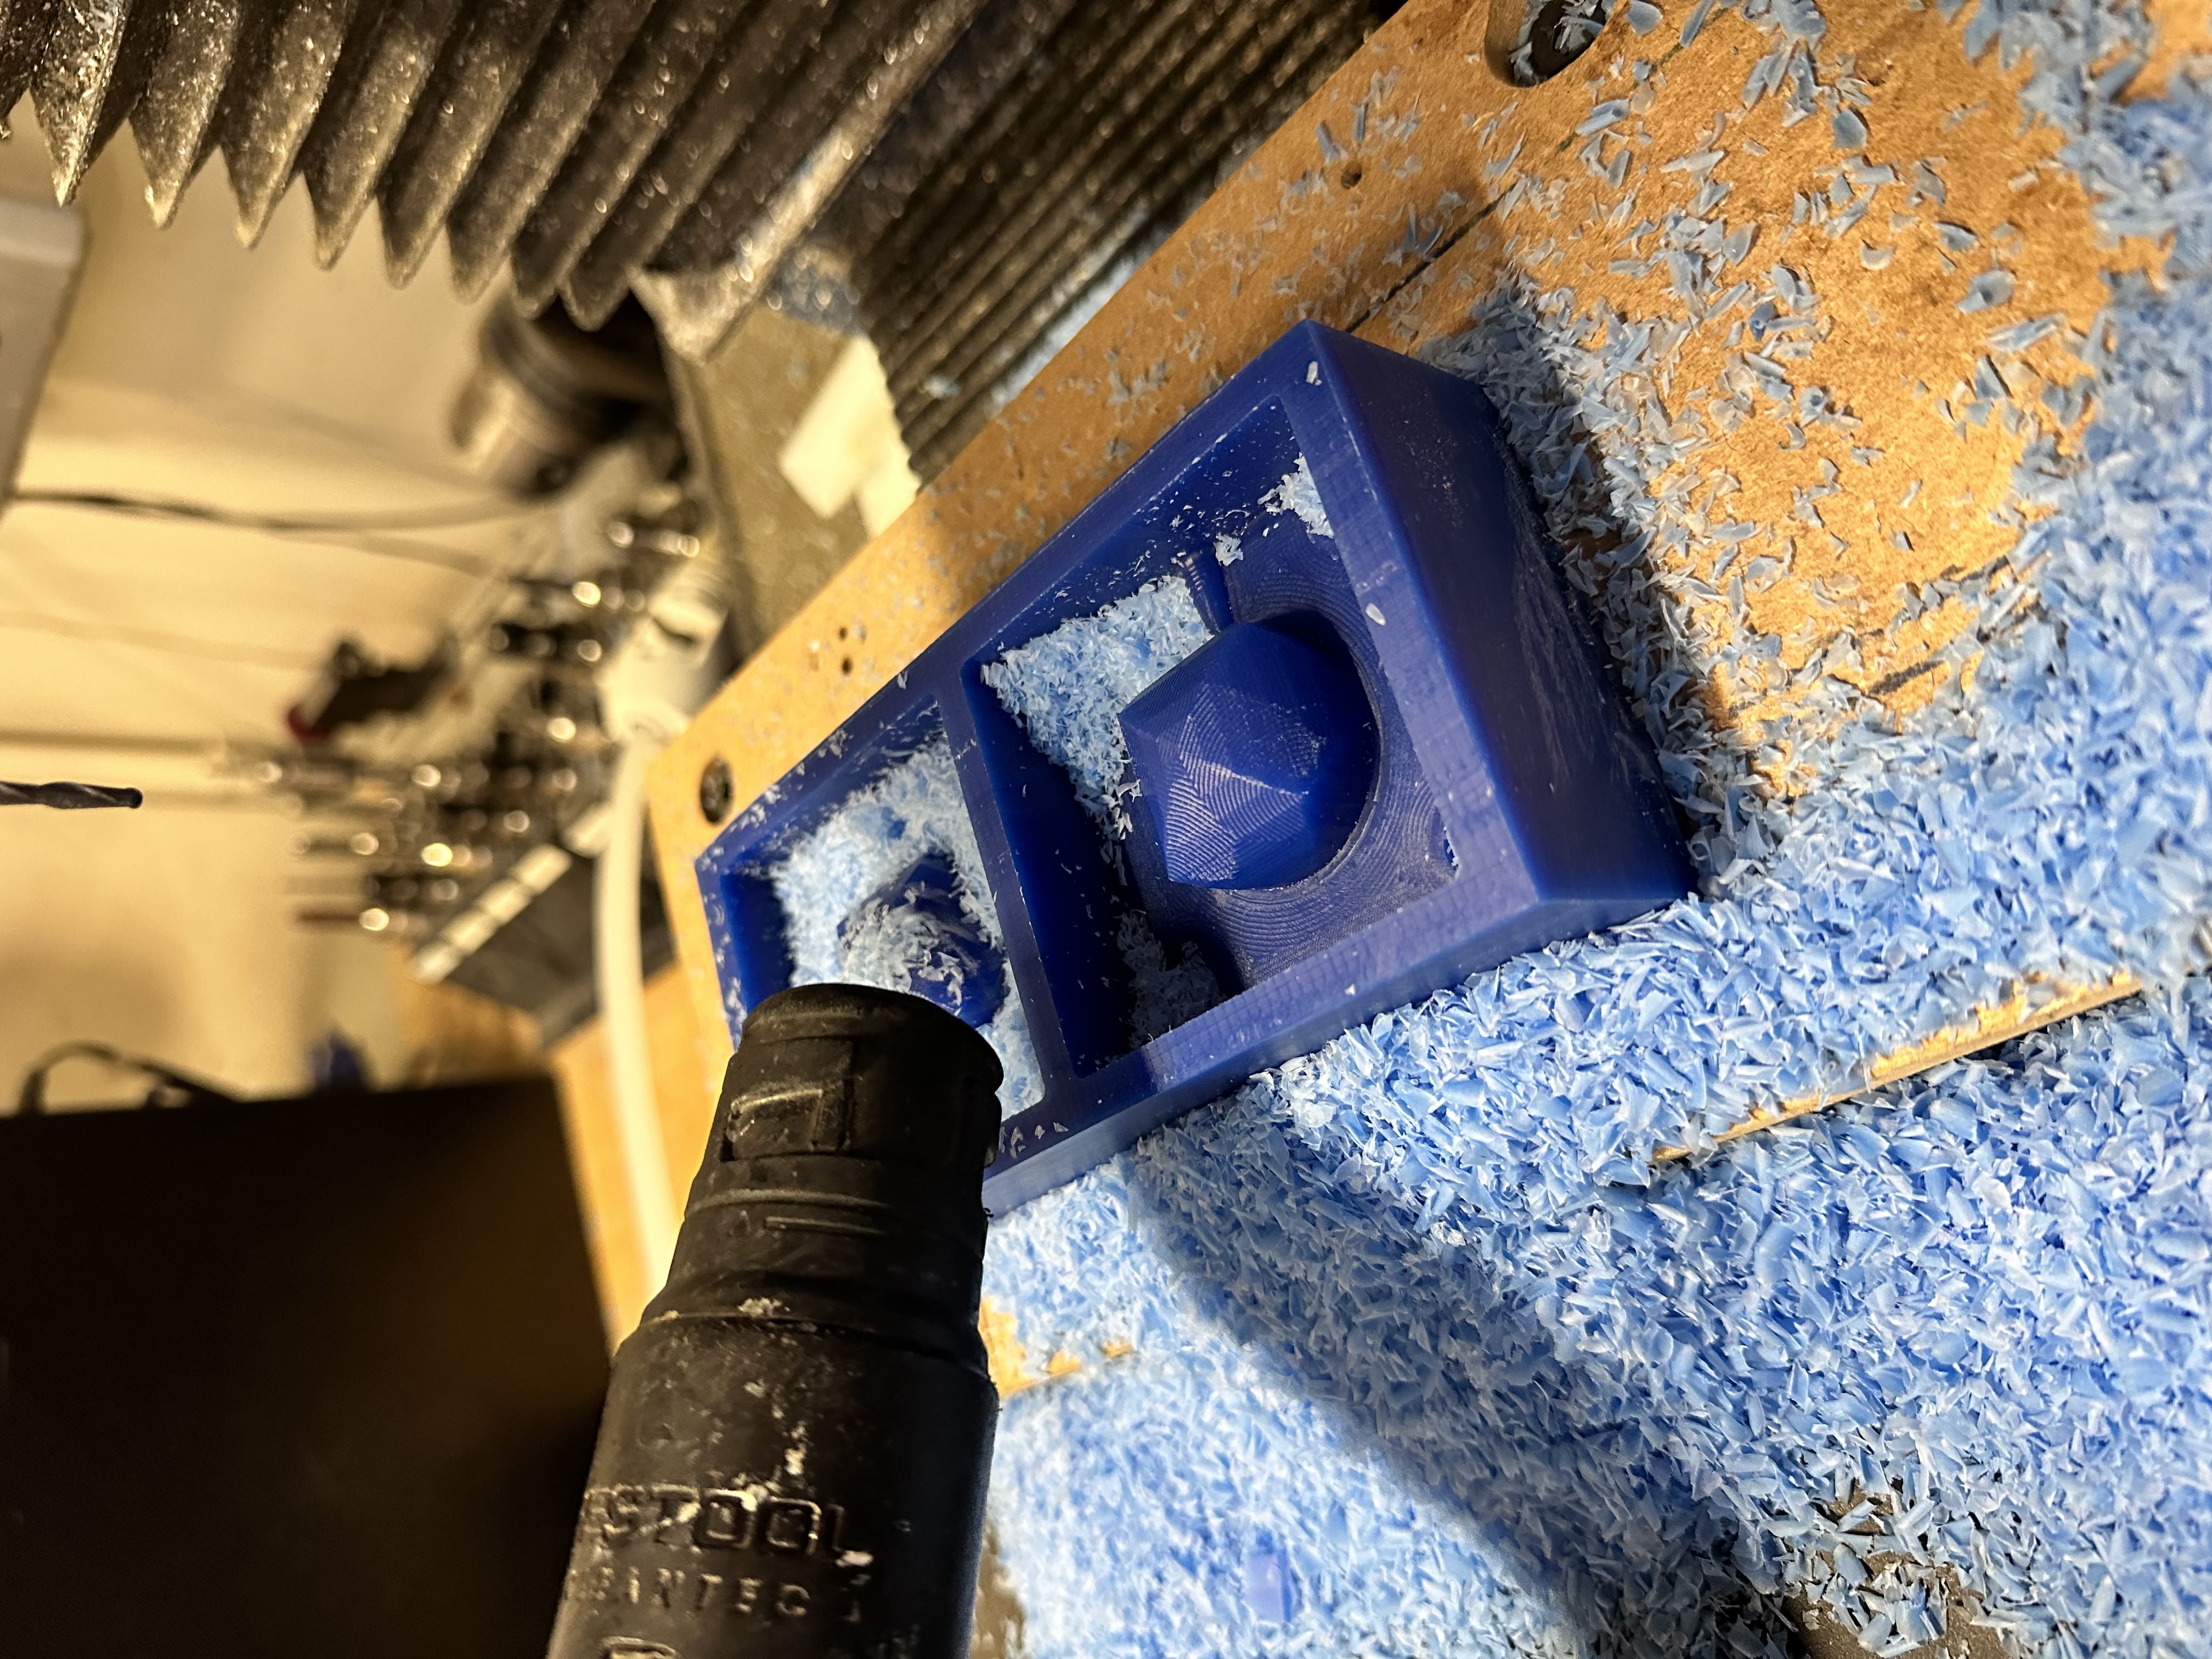
Cutting a Wax Mold
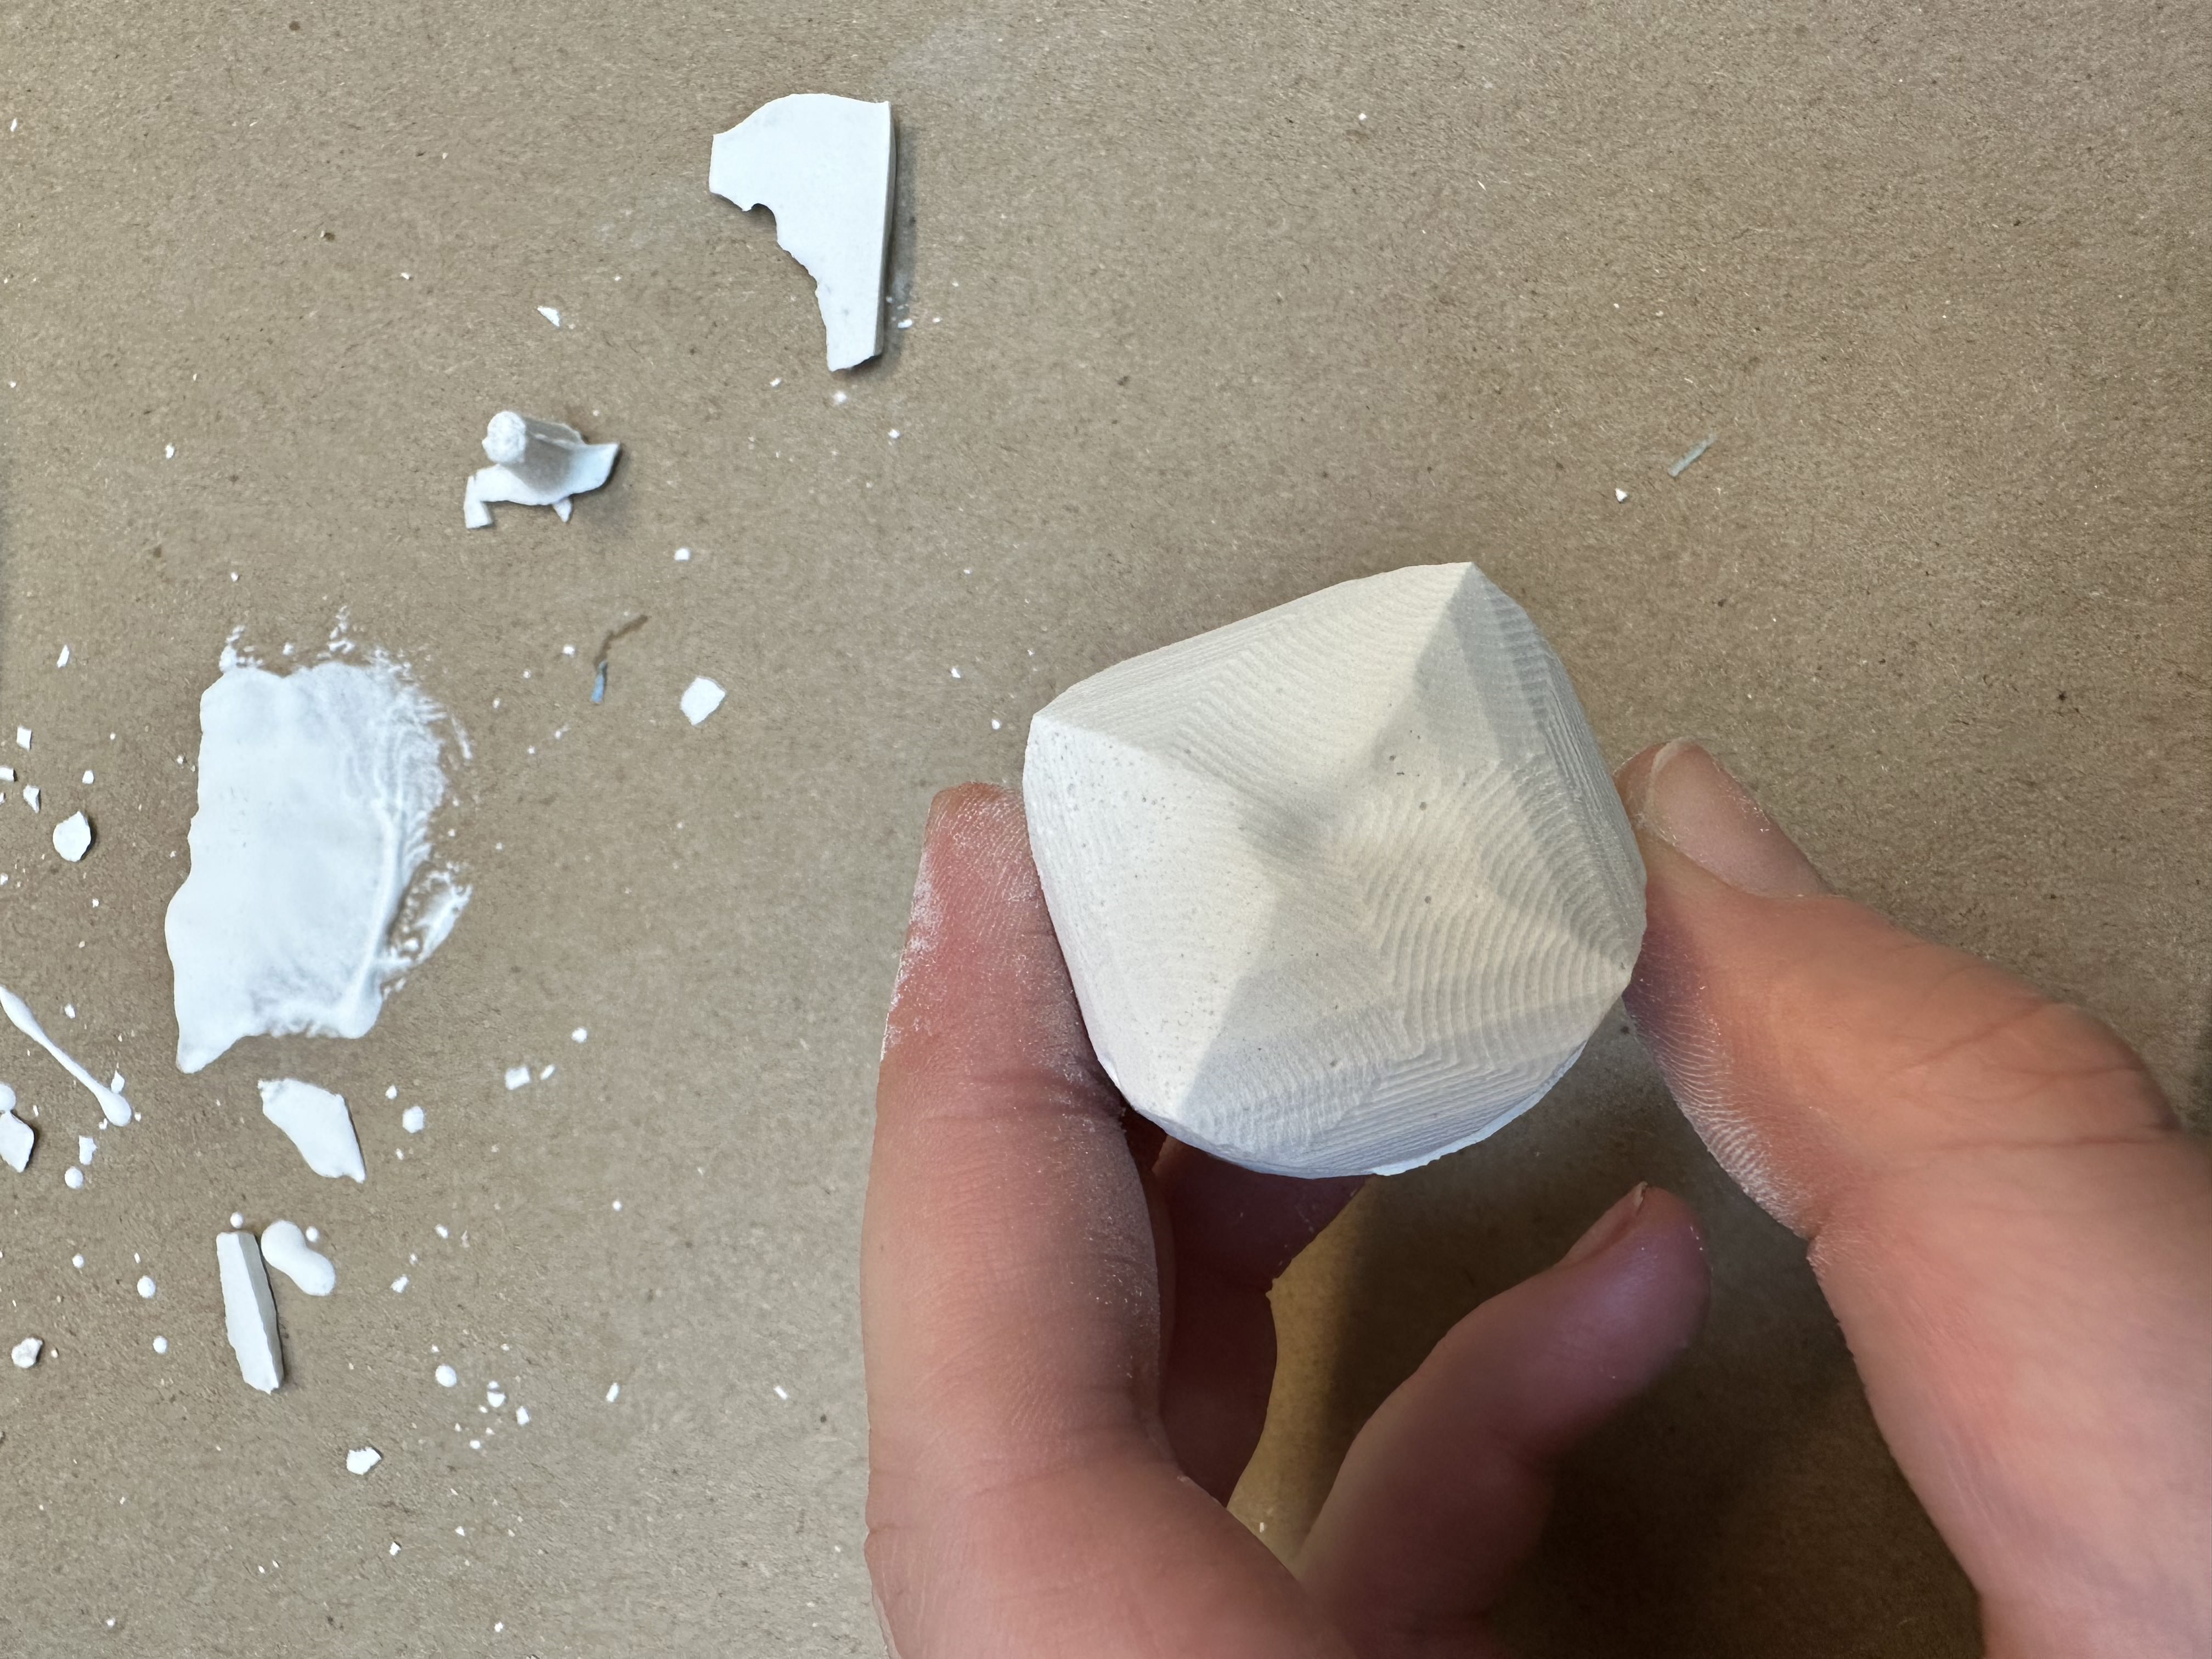
As I have several tiny succlents on my desk, I thought adding a plaster succulent would be very fun so I decided to model that.

. . , .
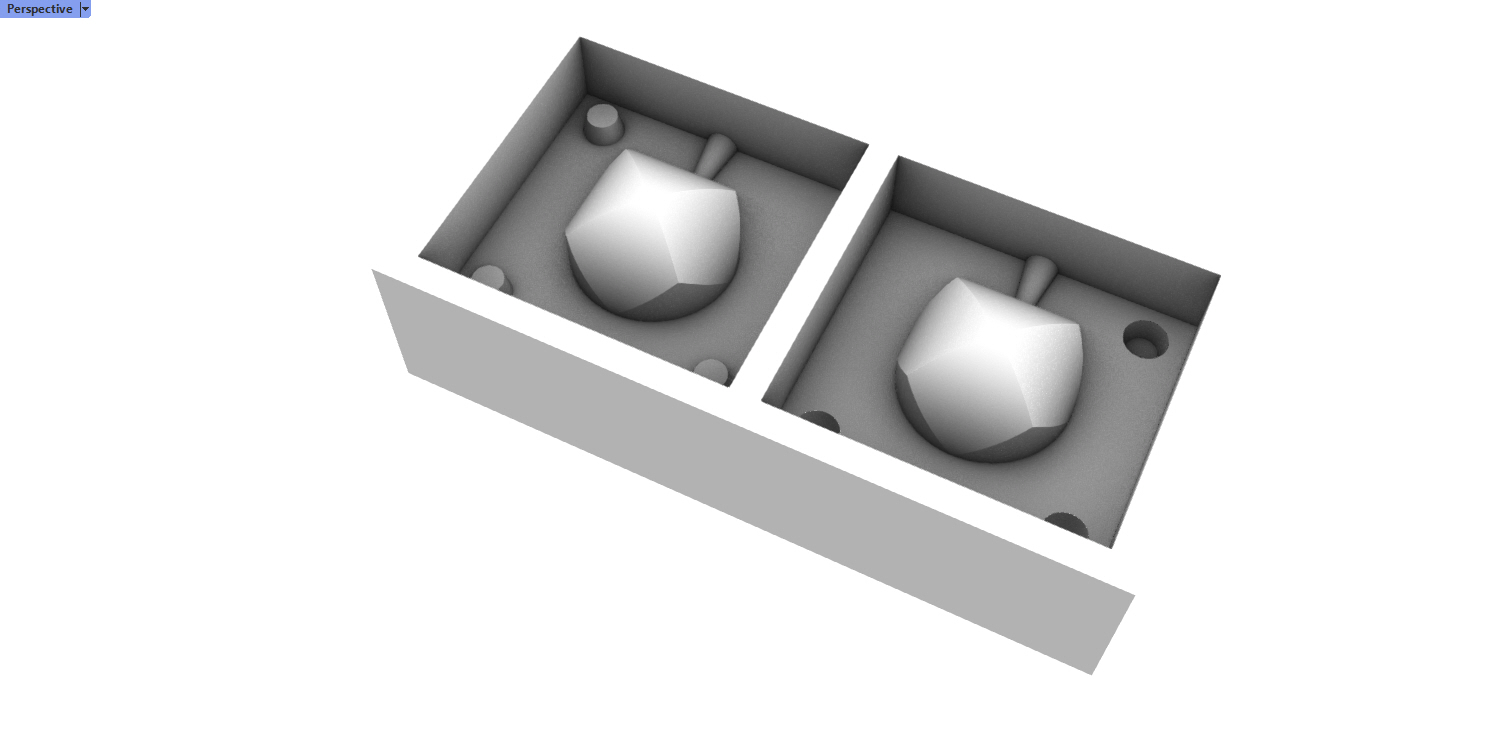
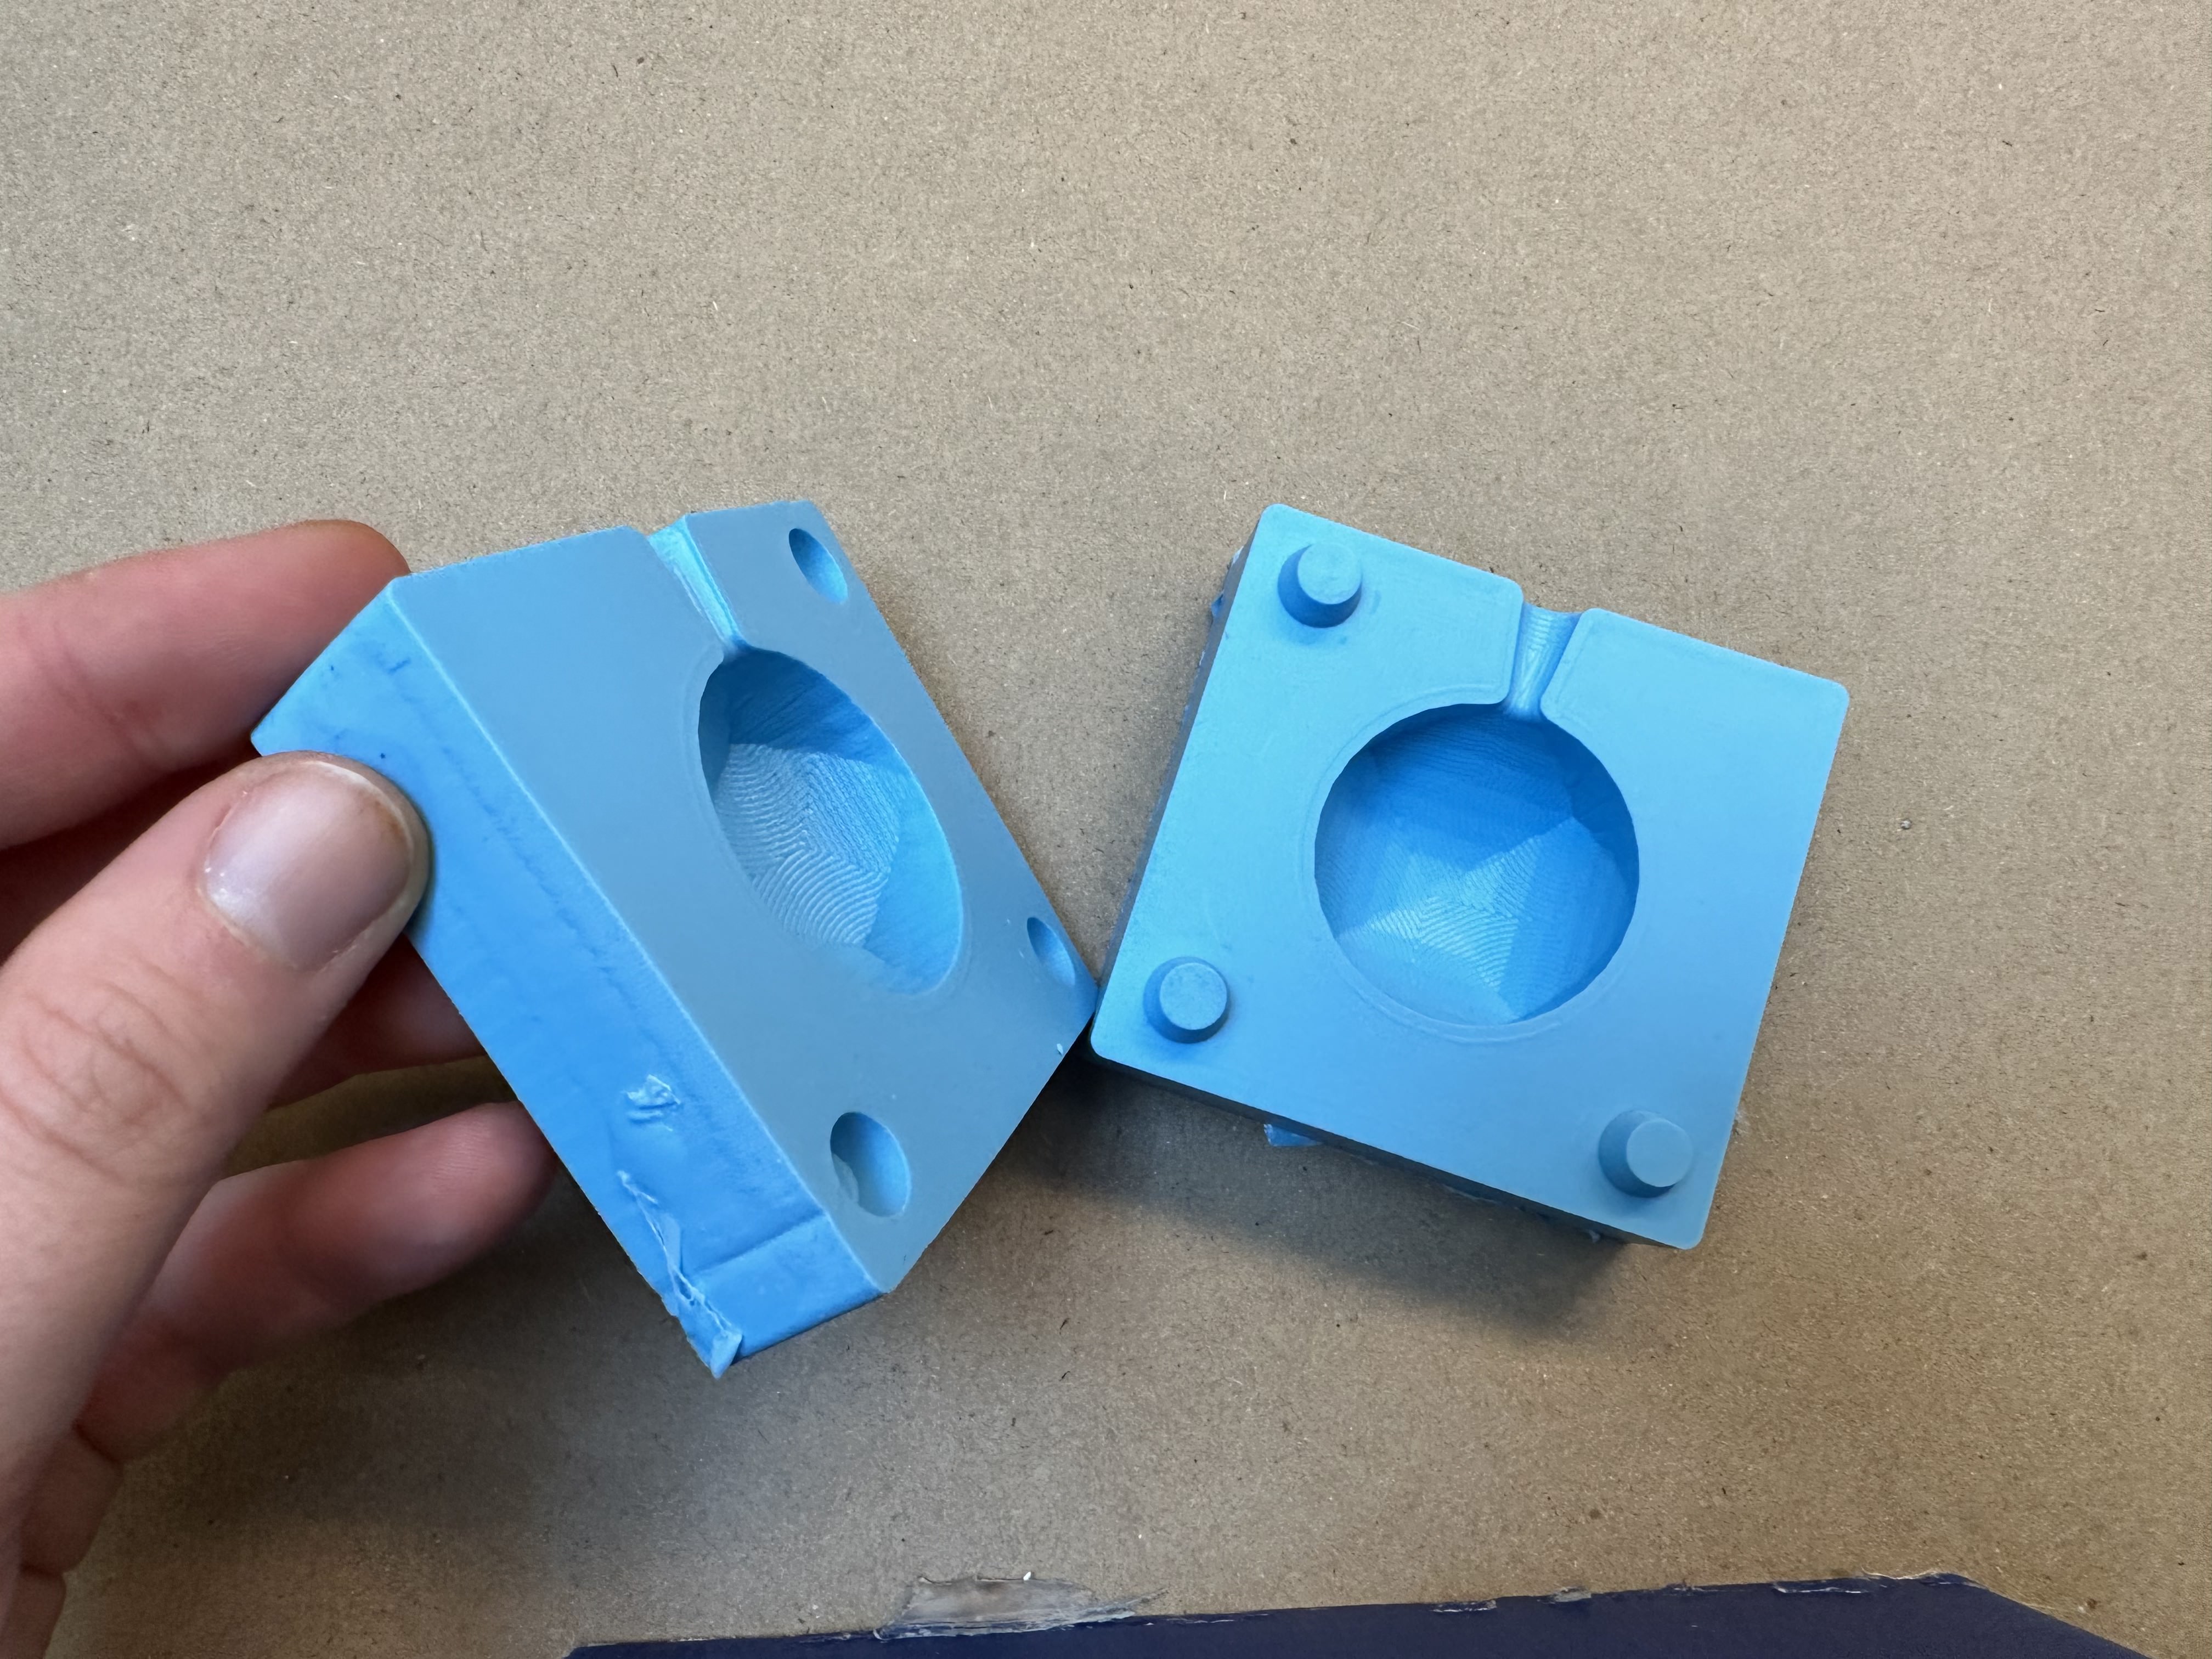
Casting a Silicone Mold
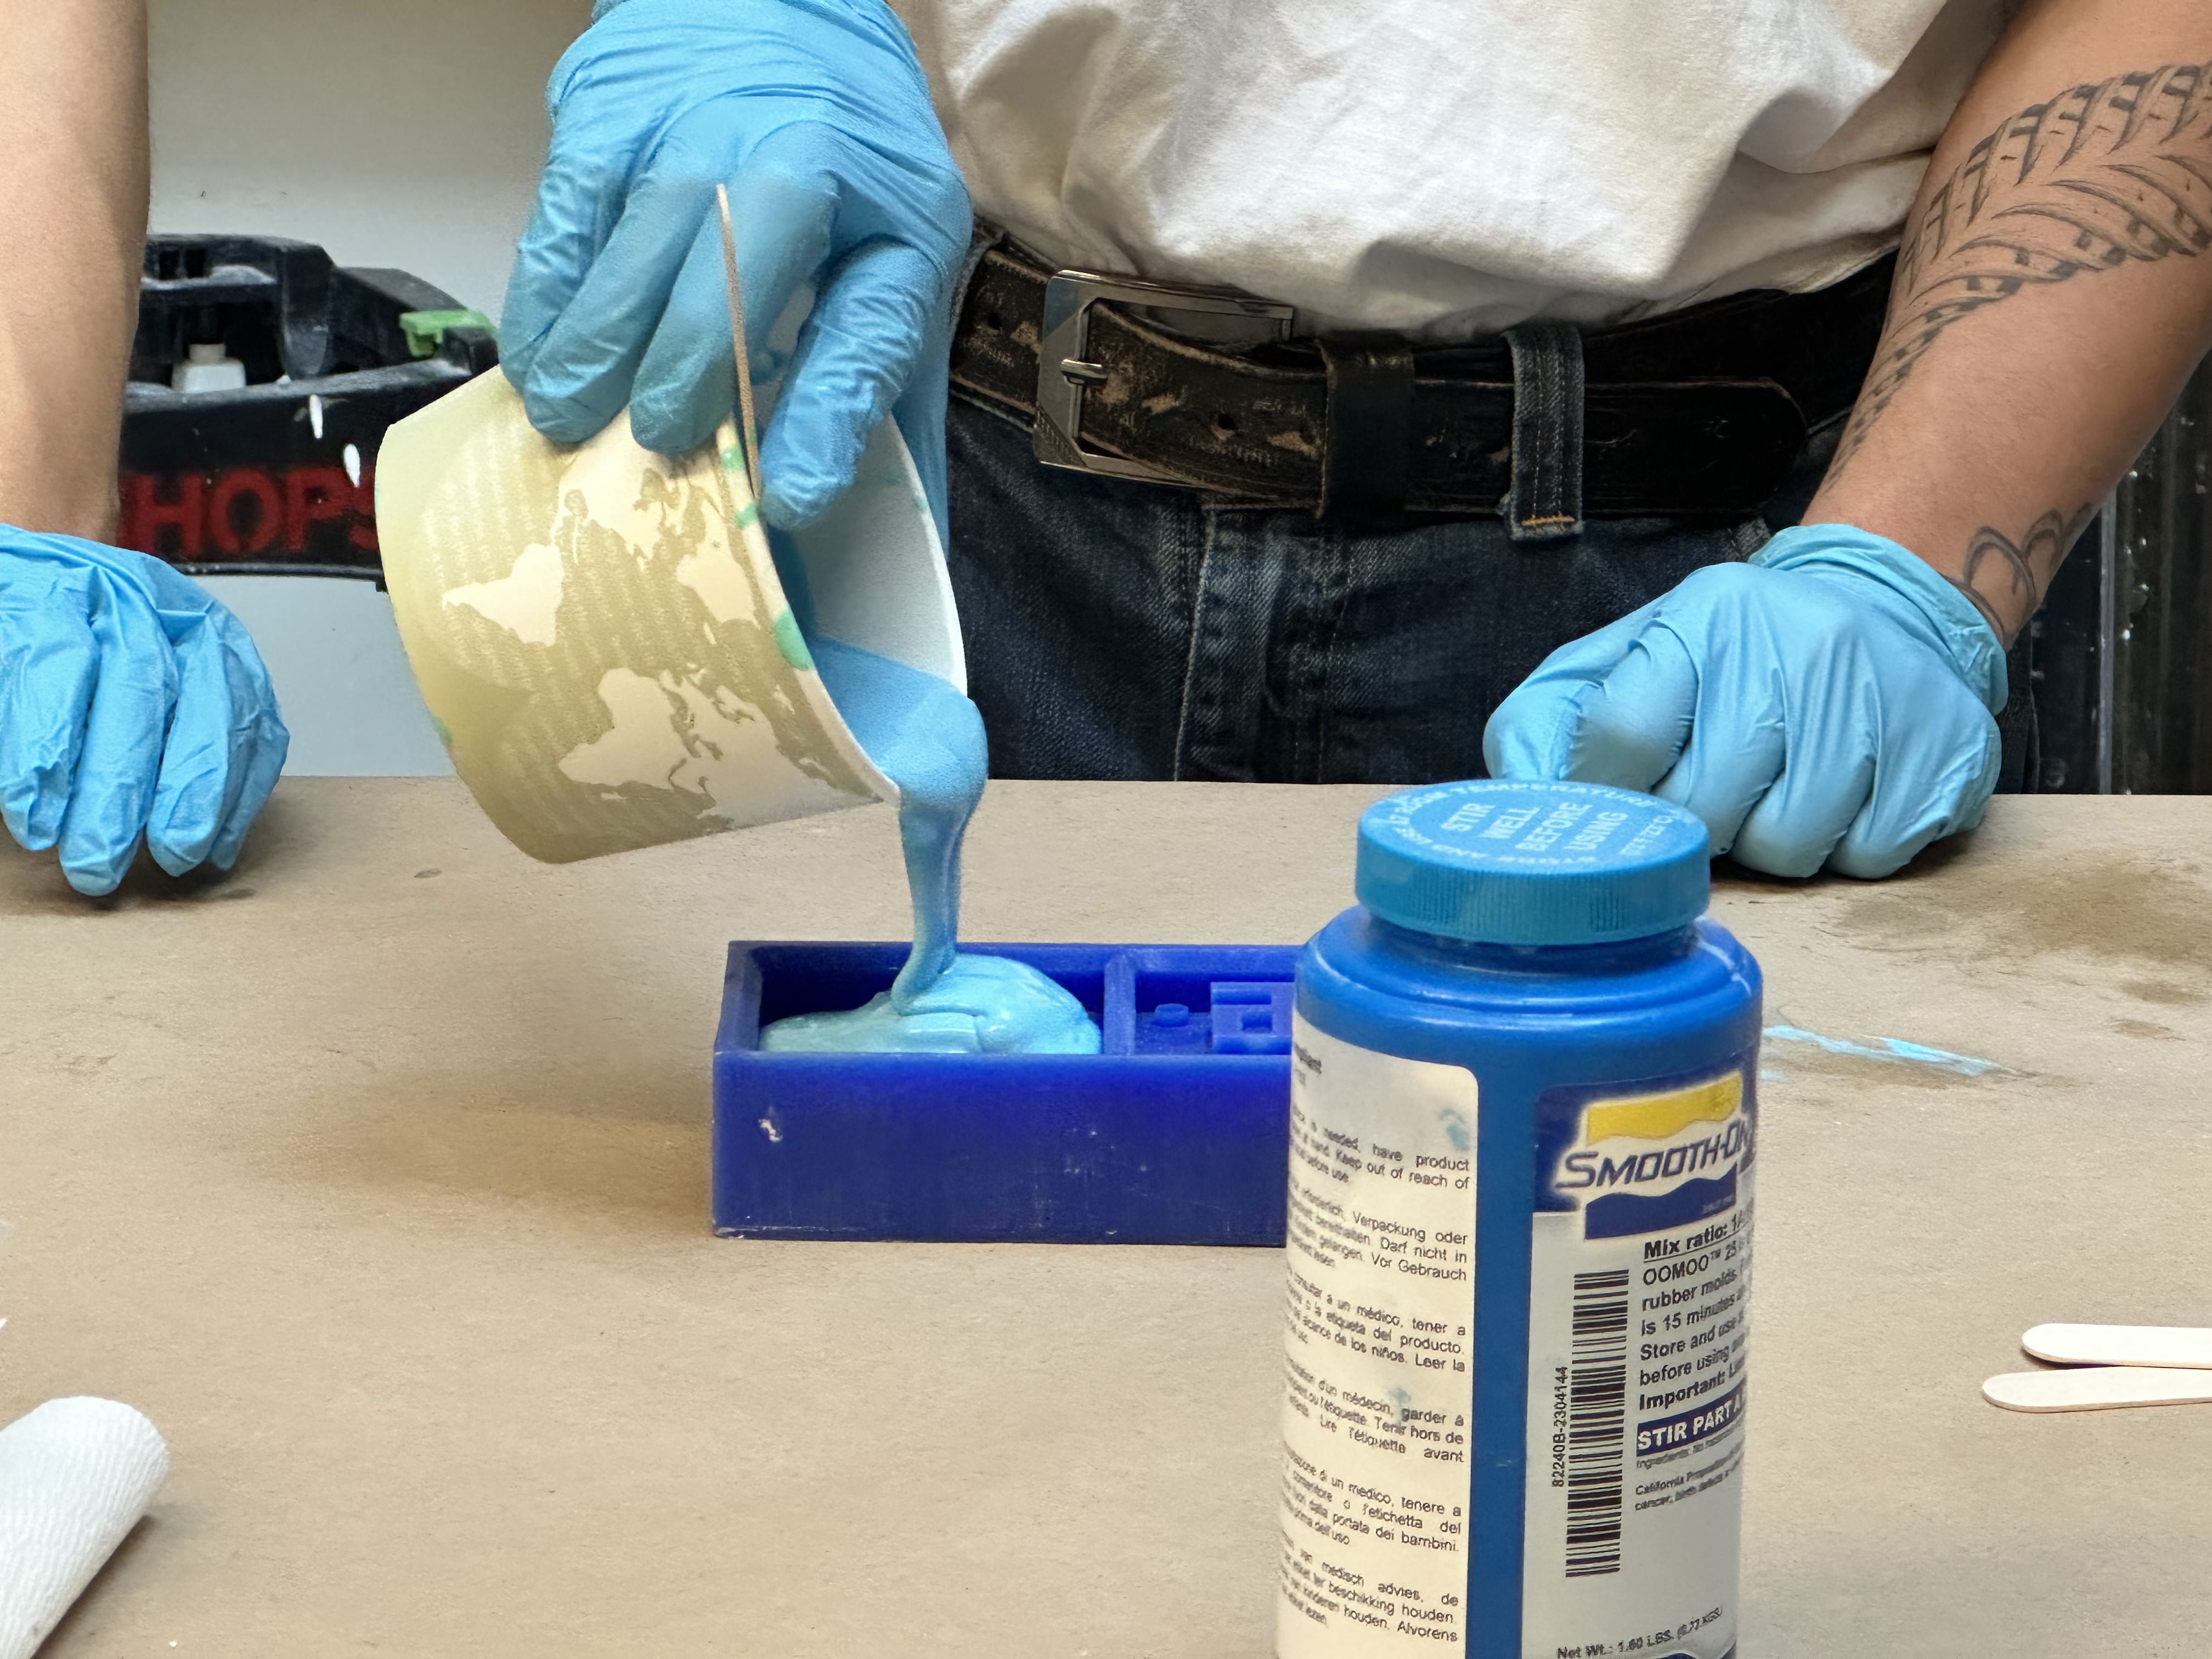
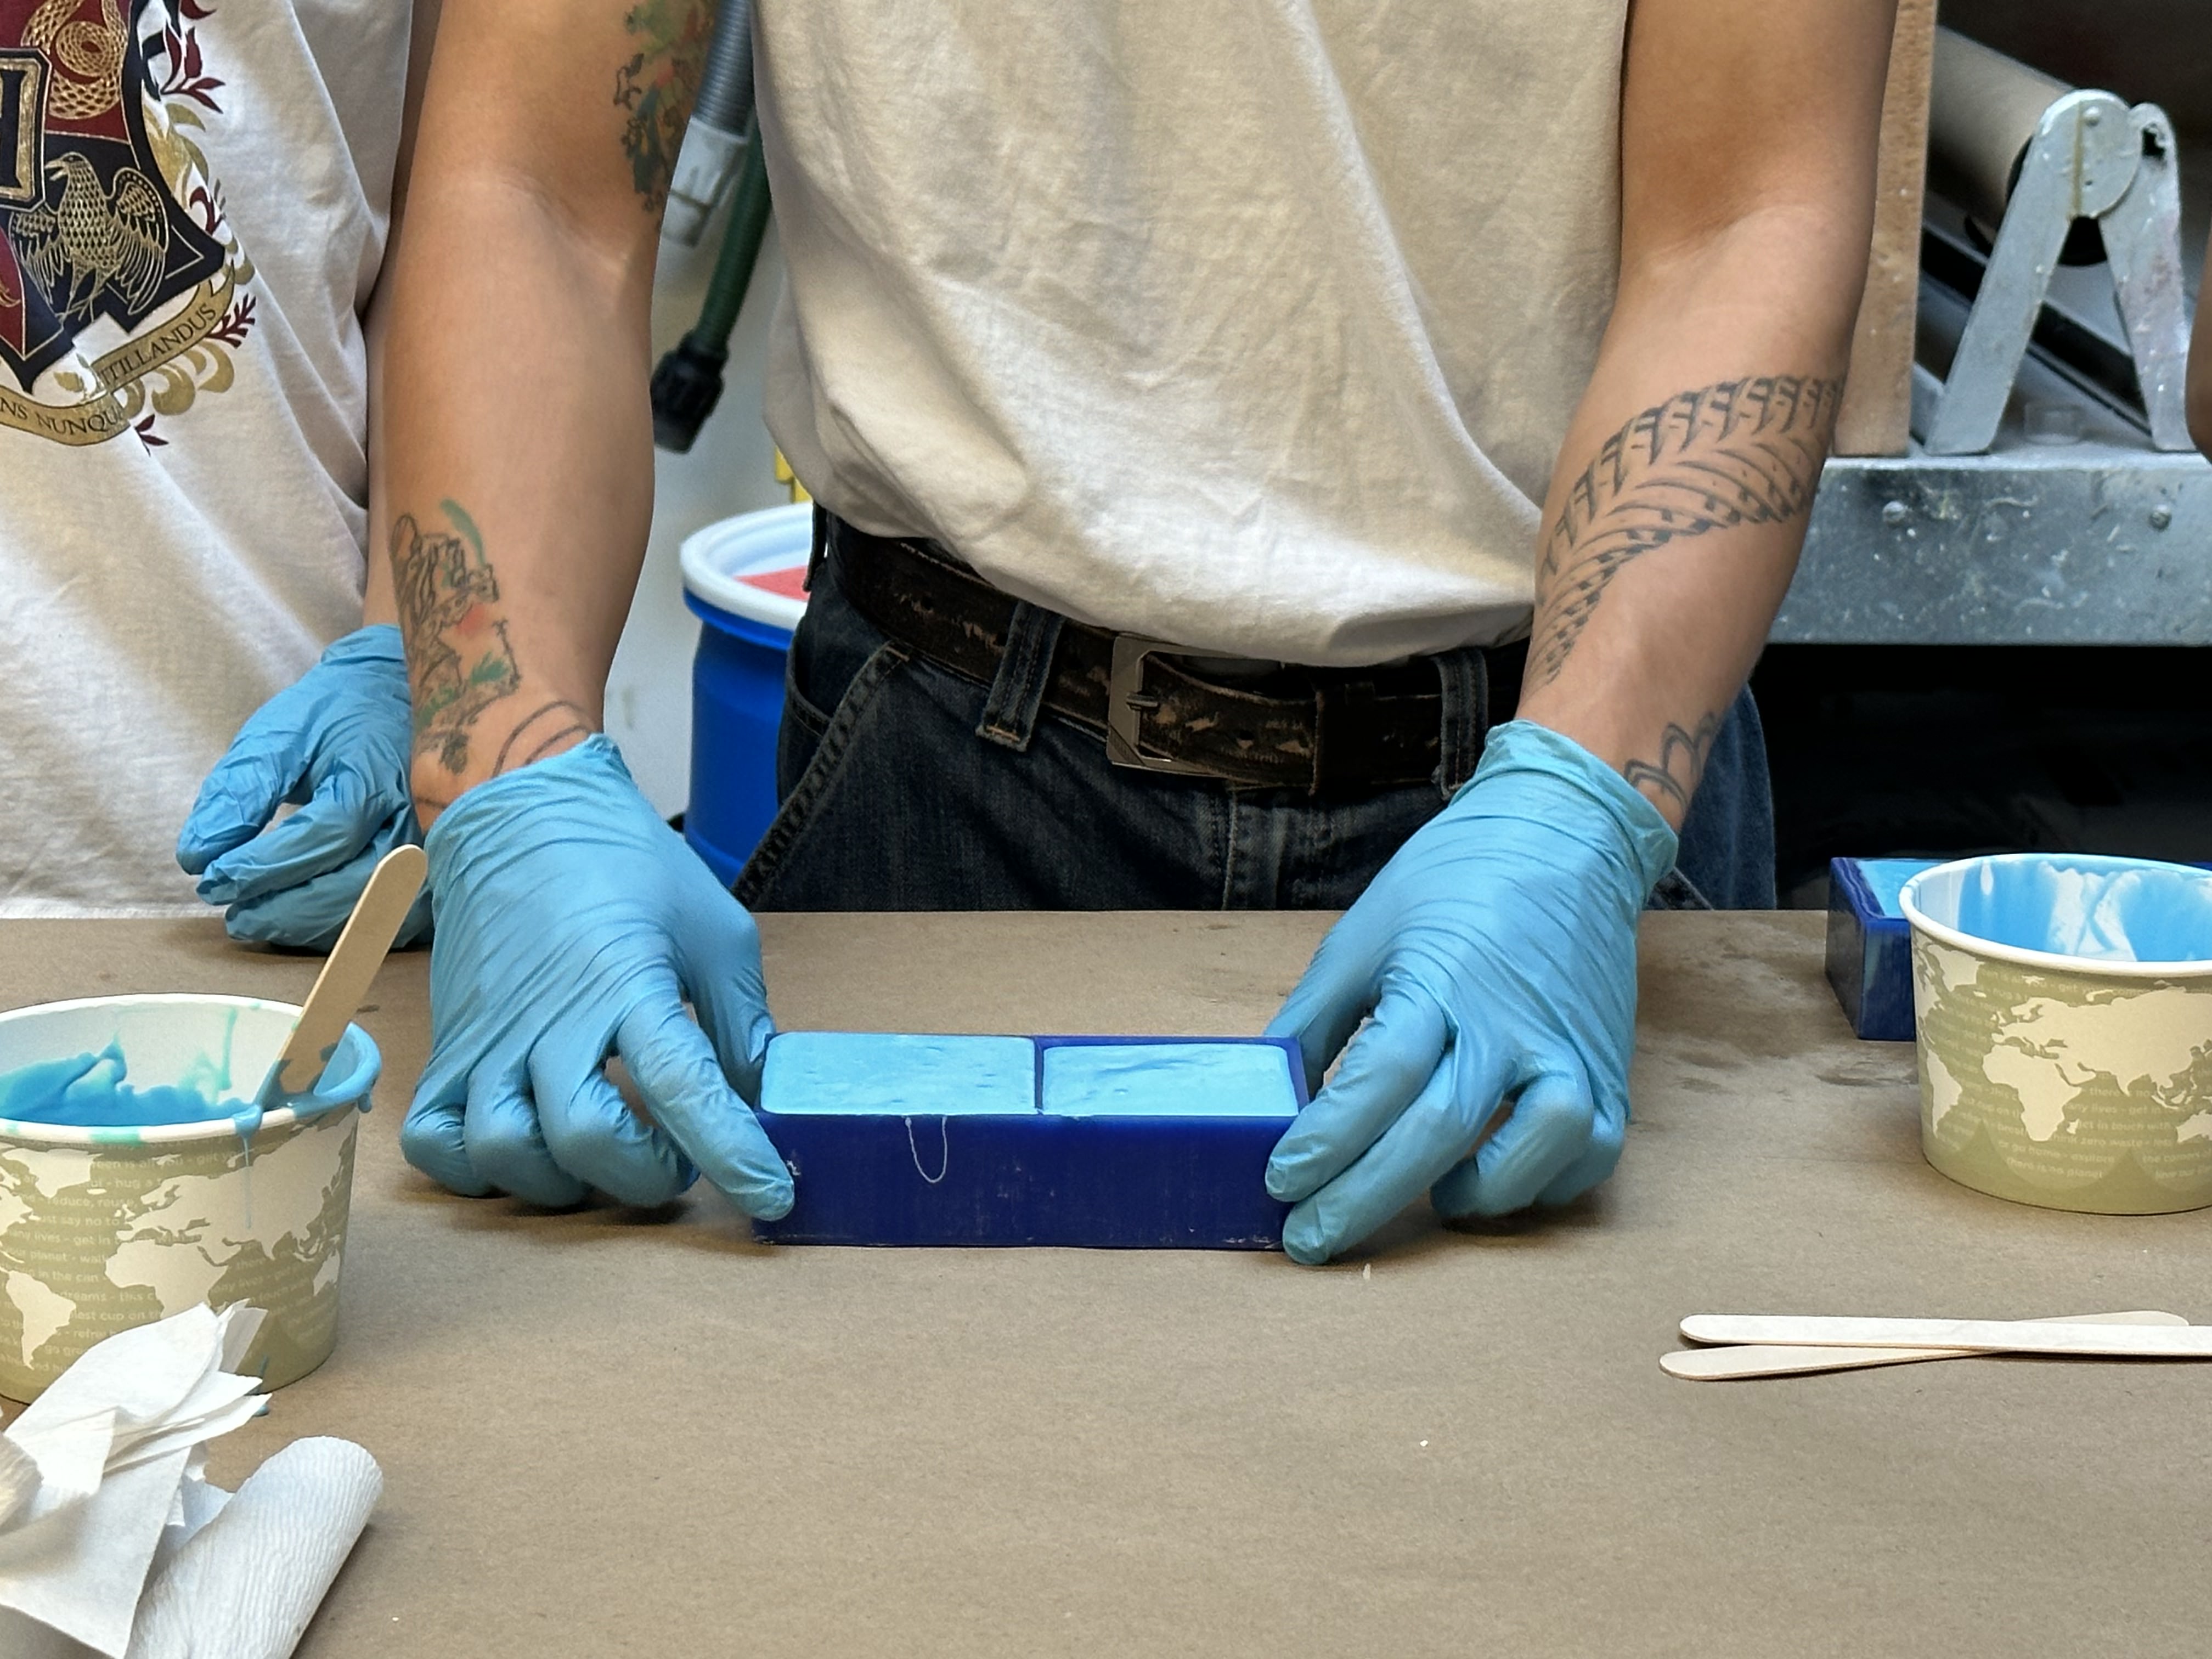
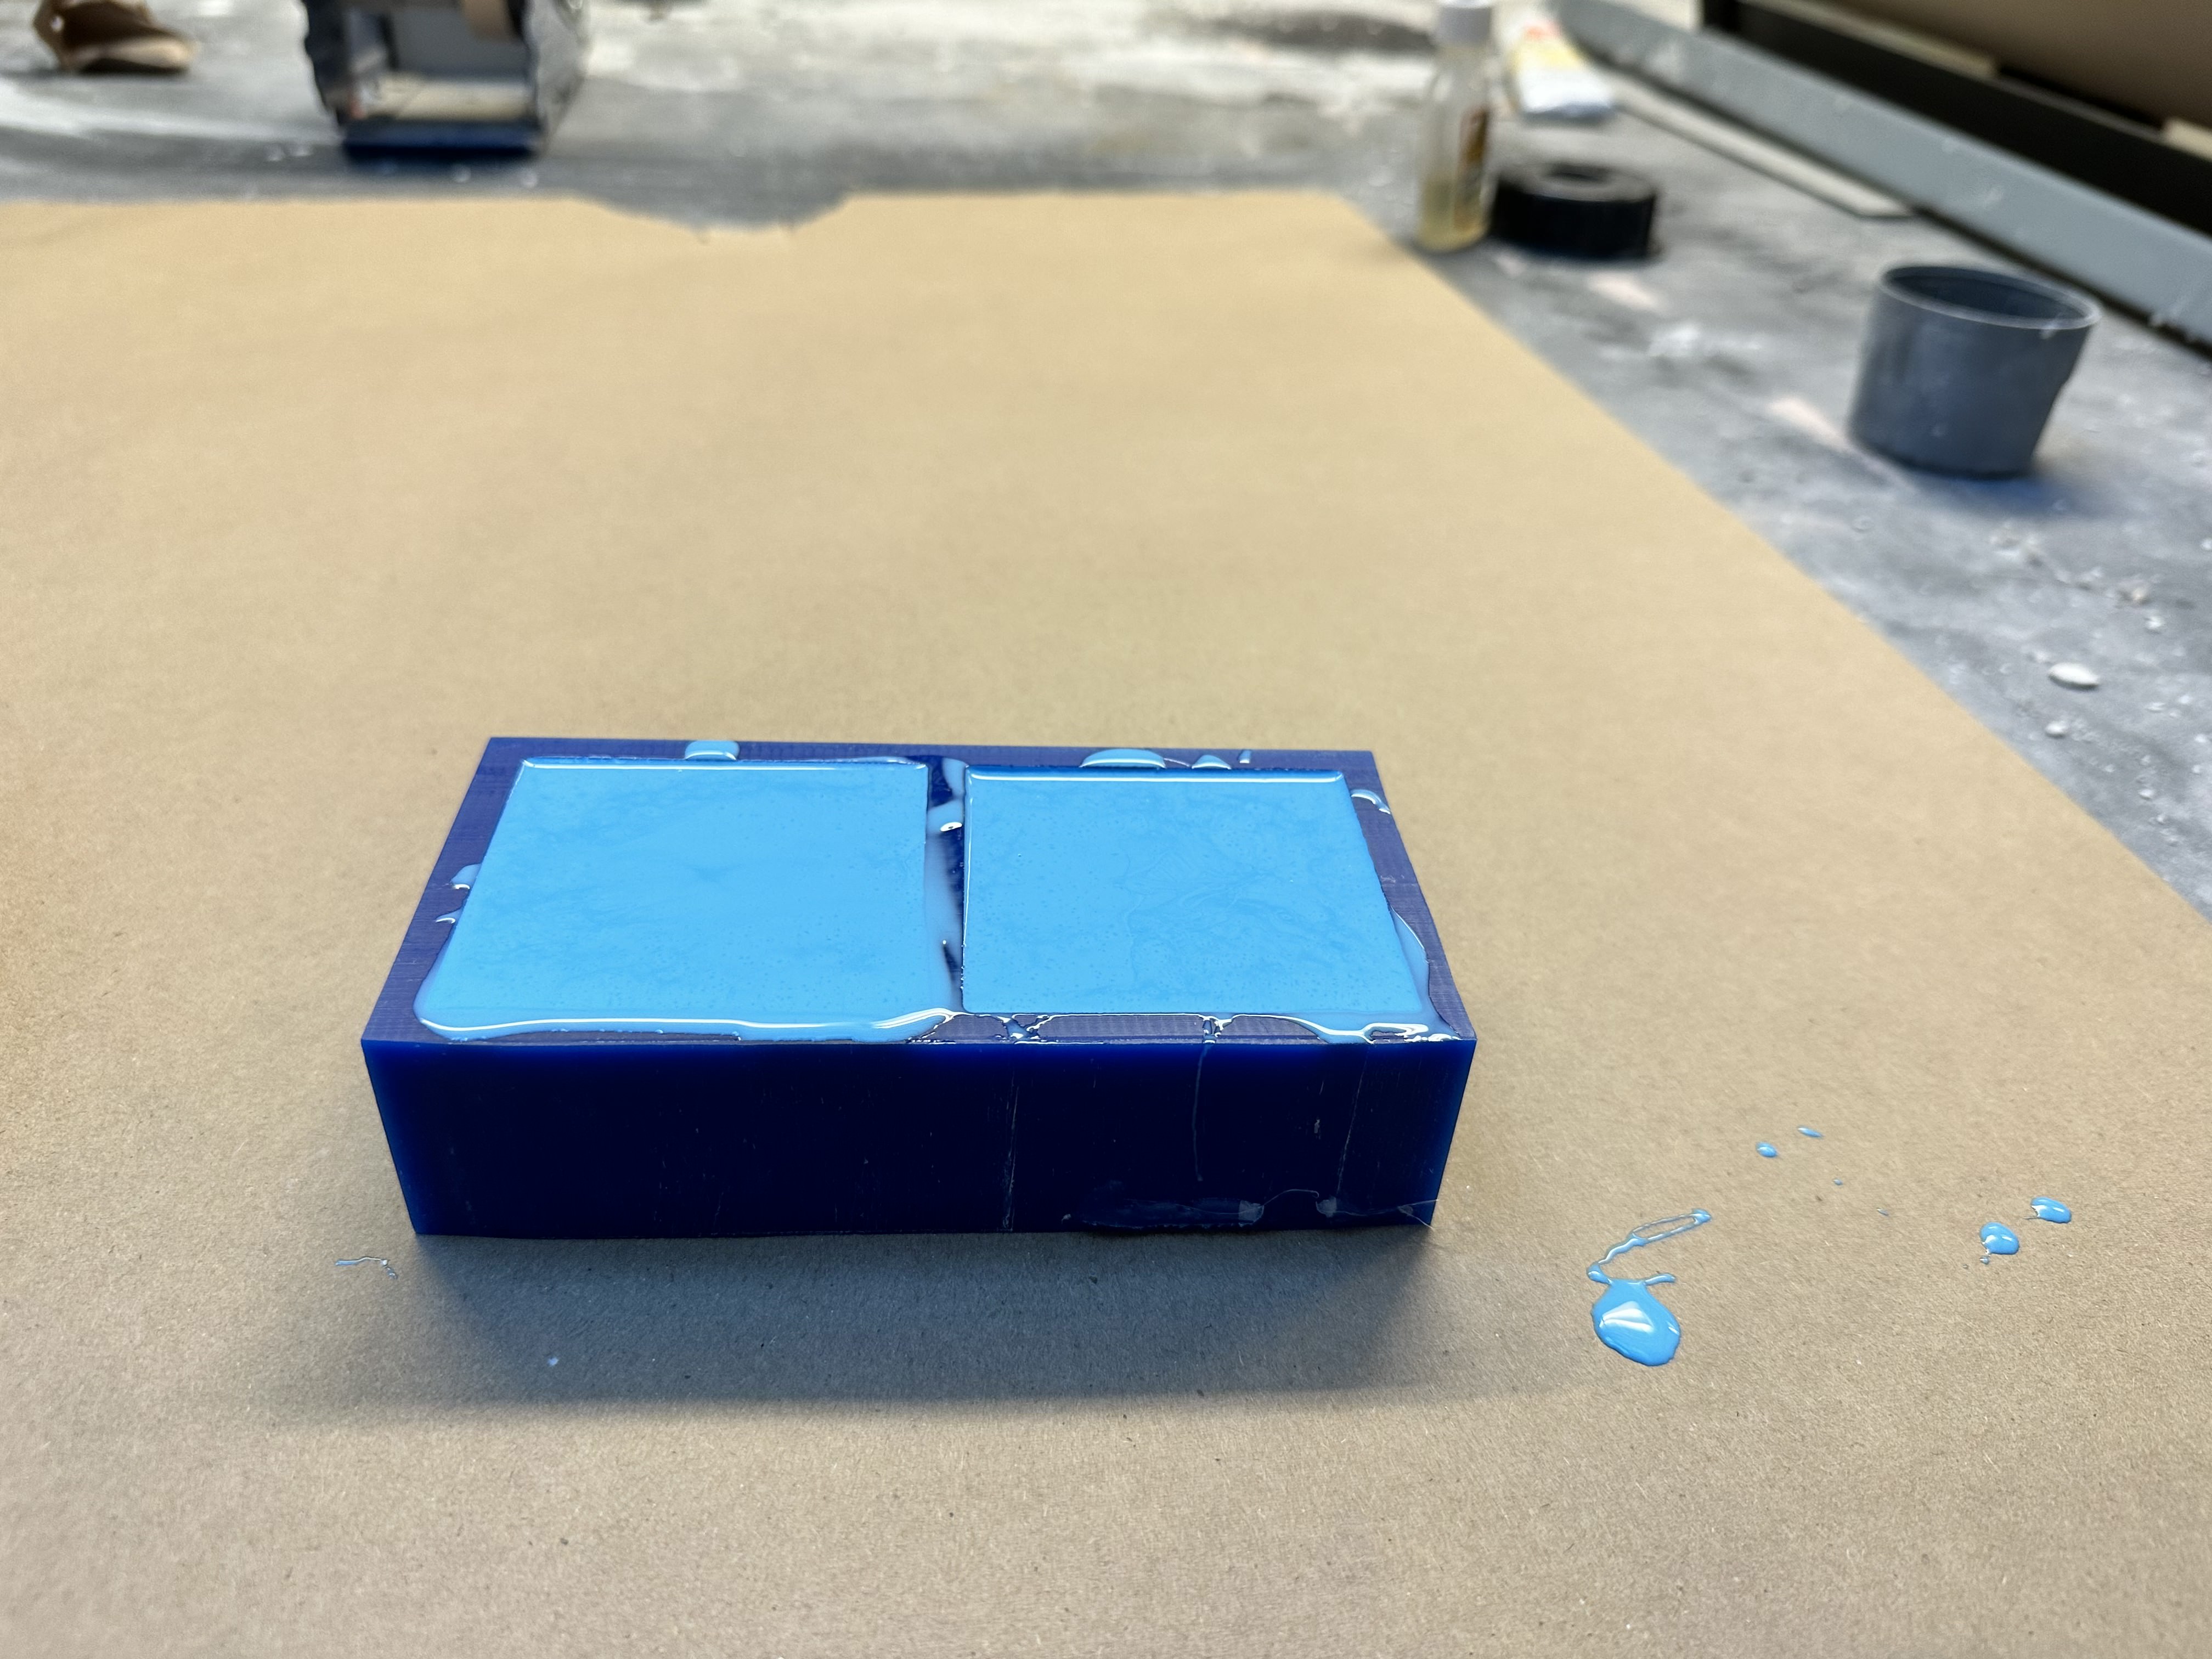
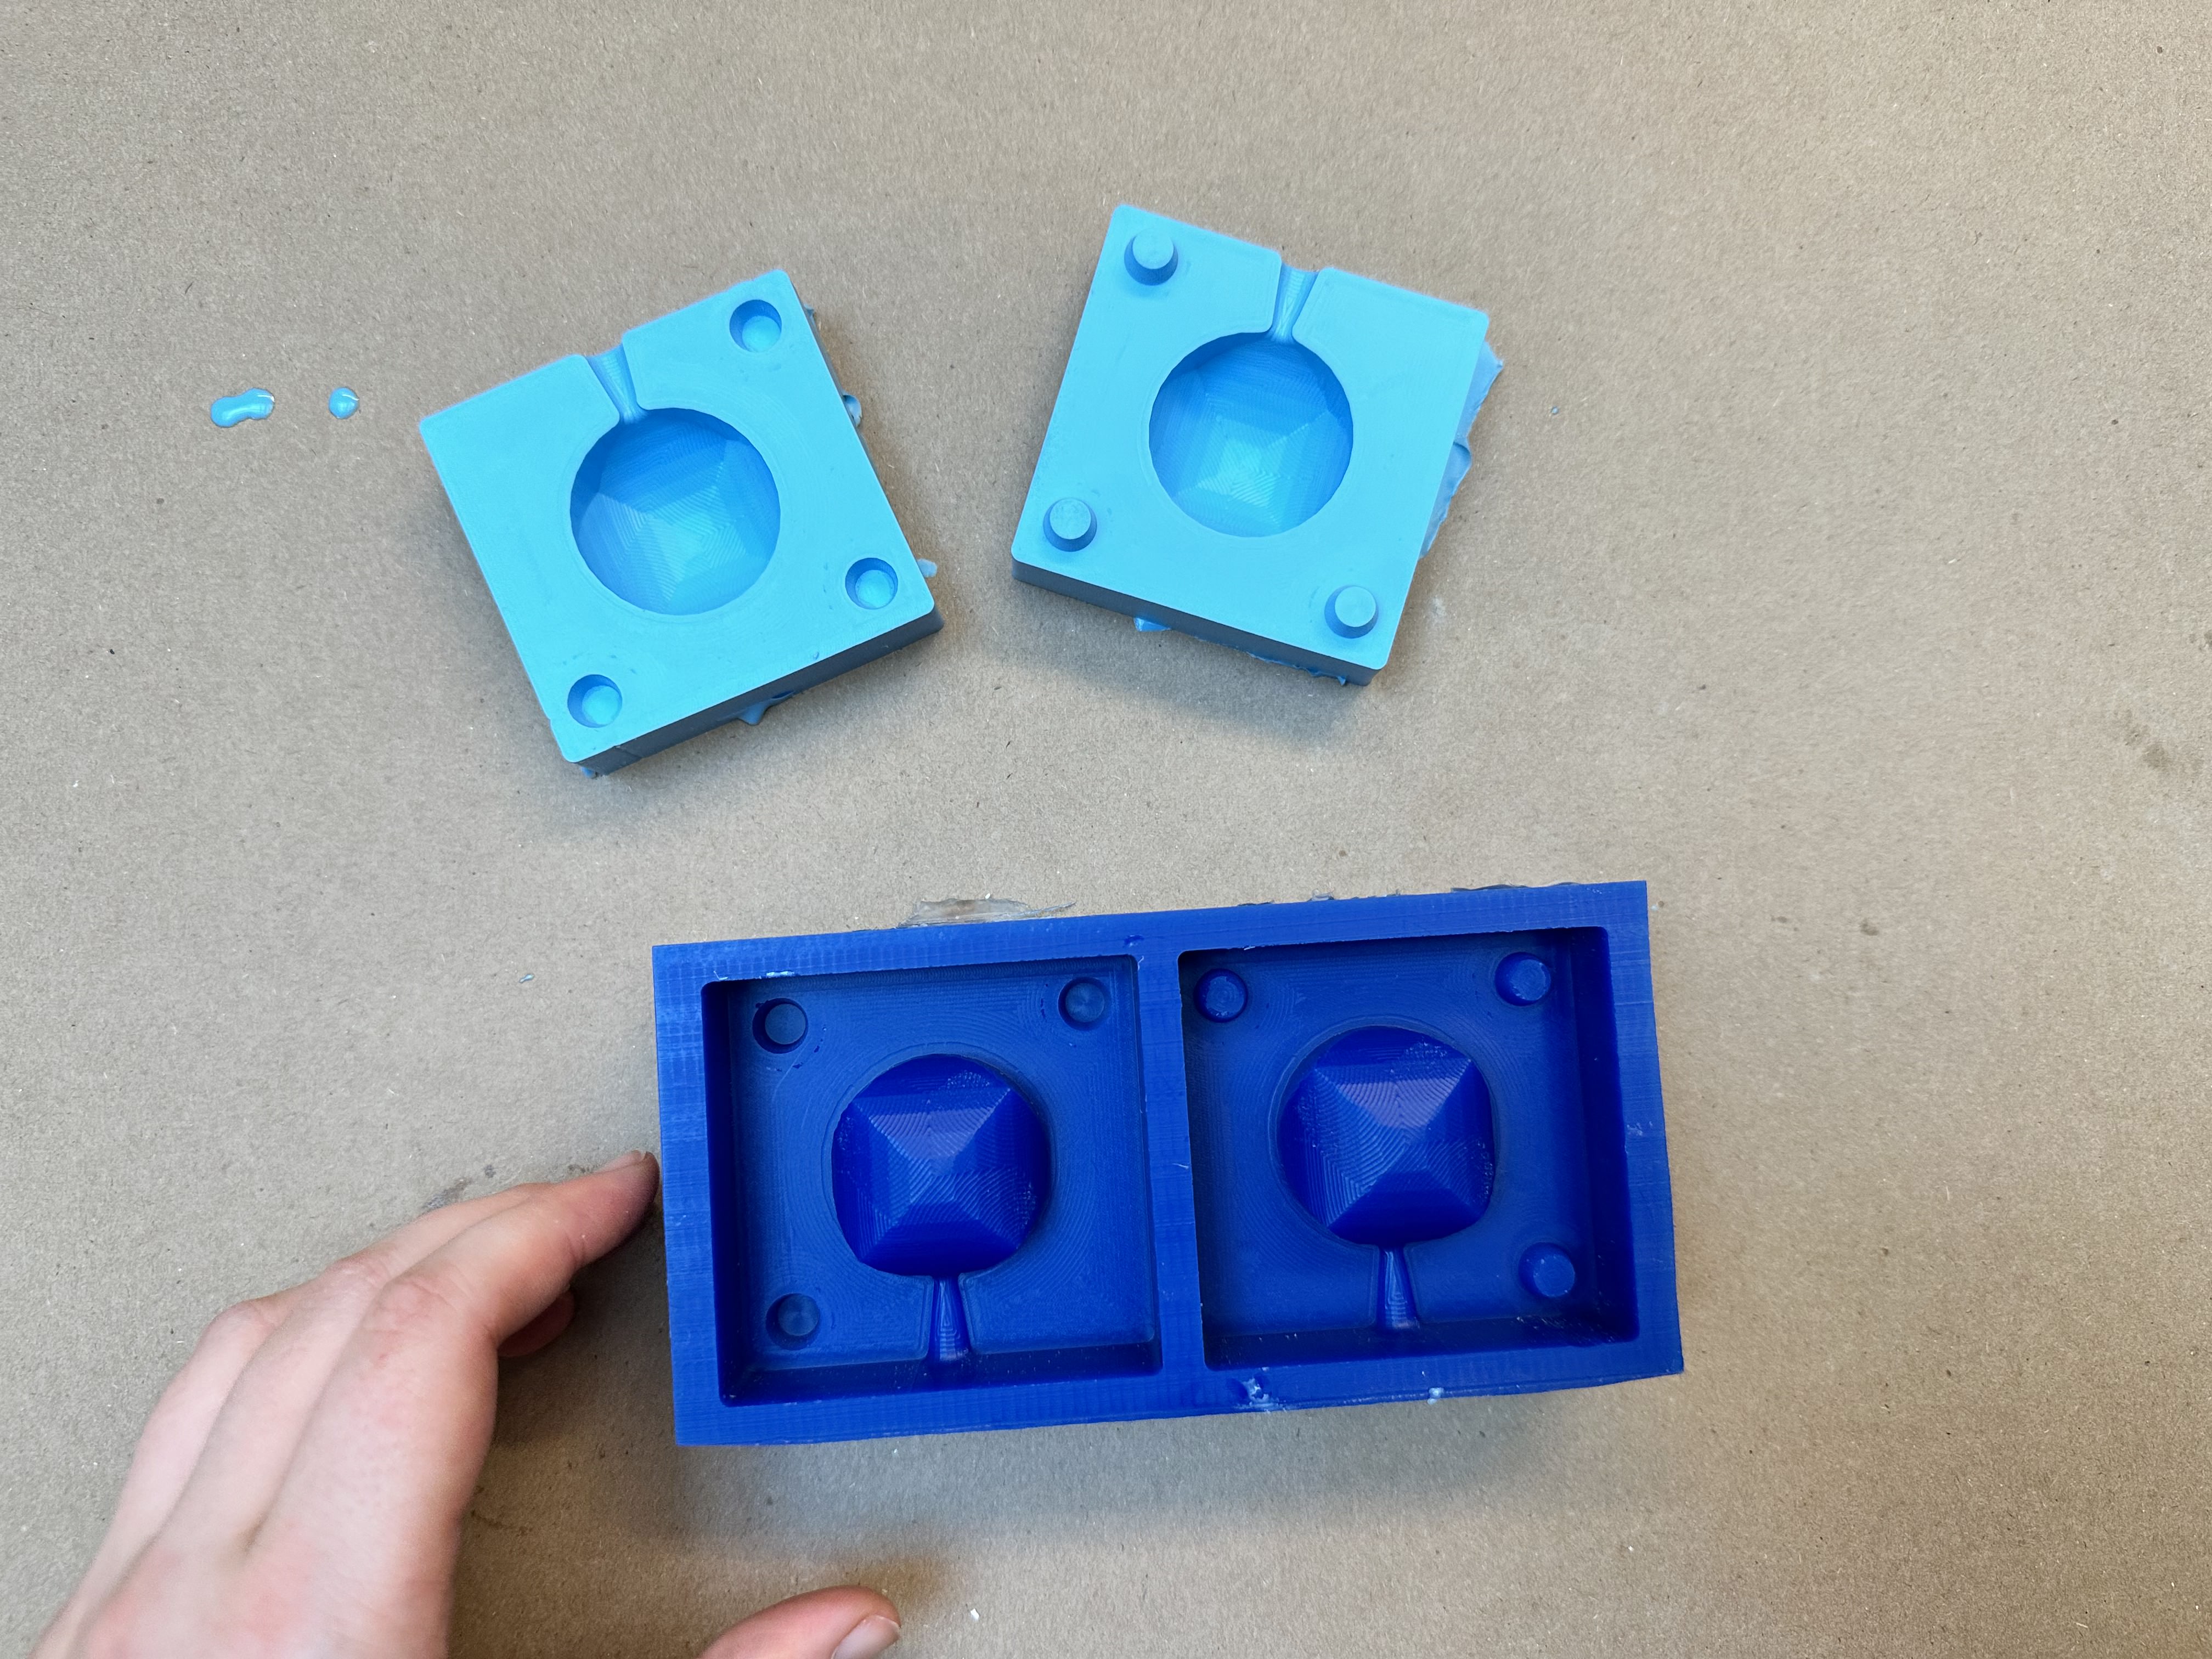
. . , .
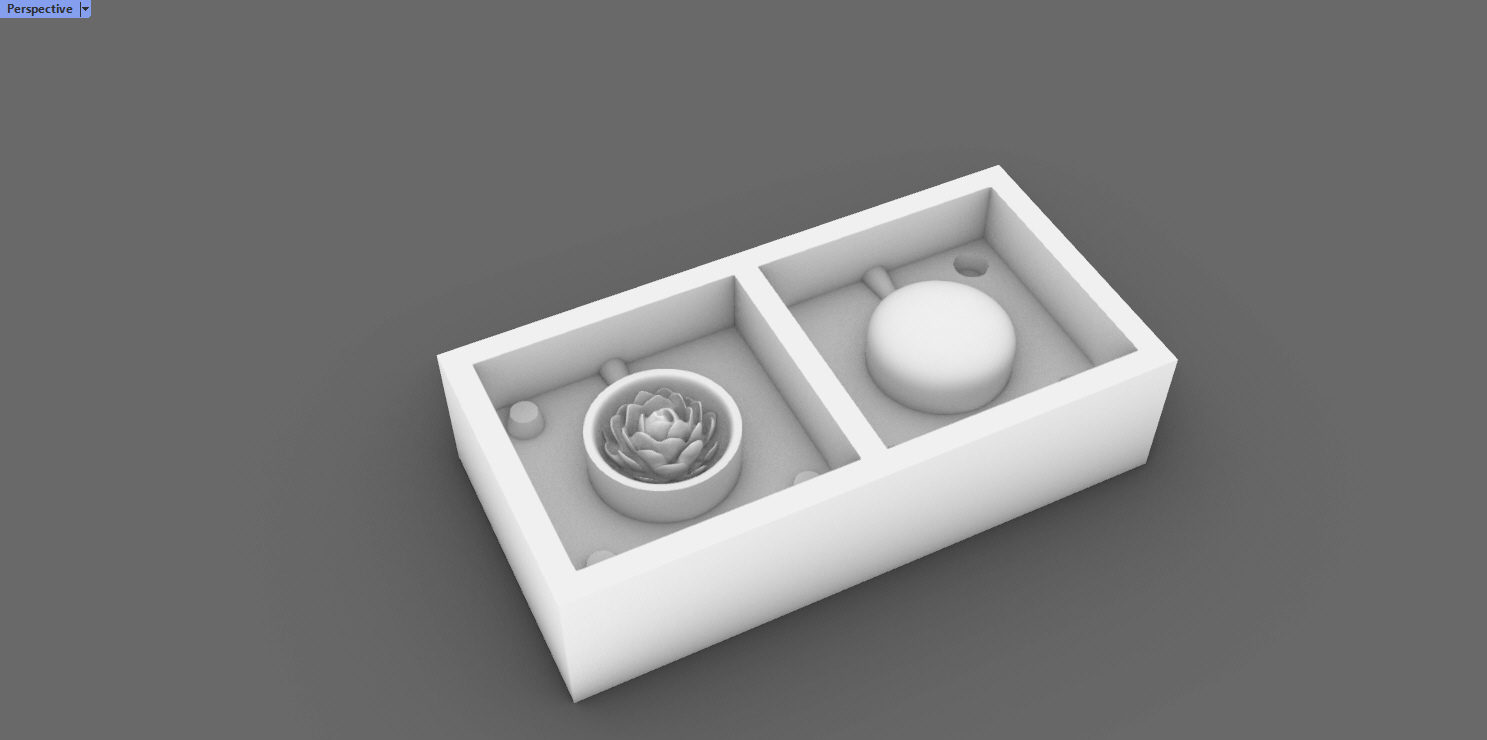
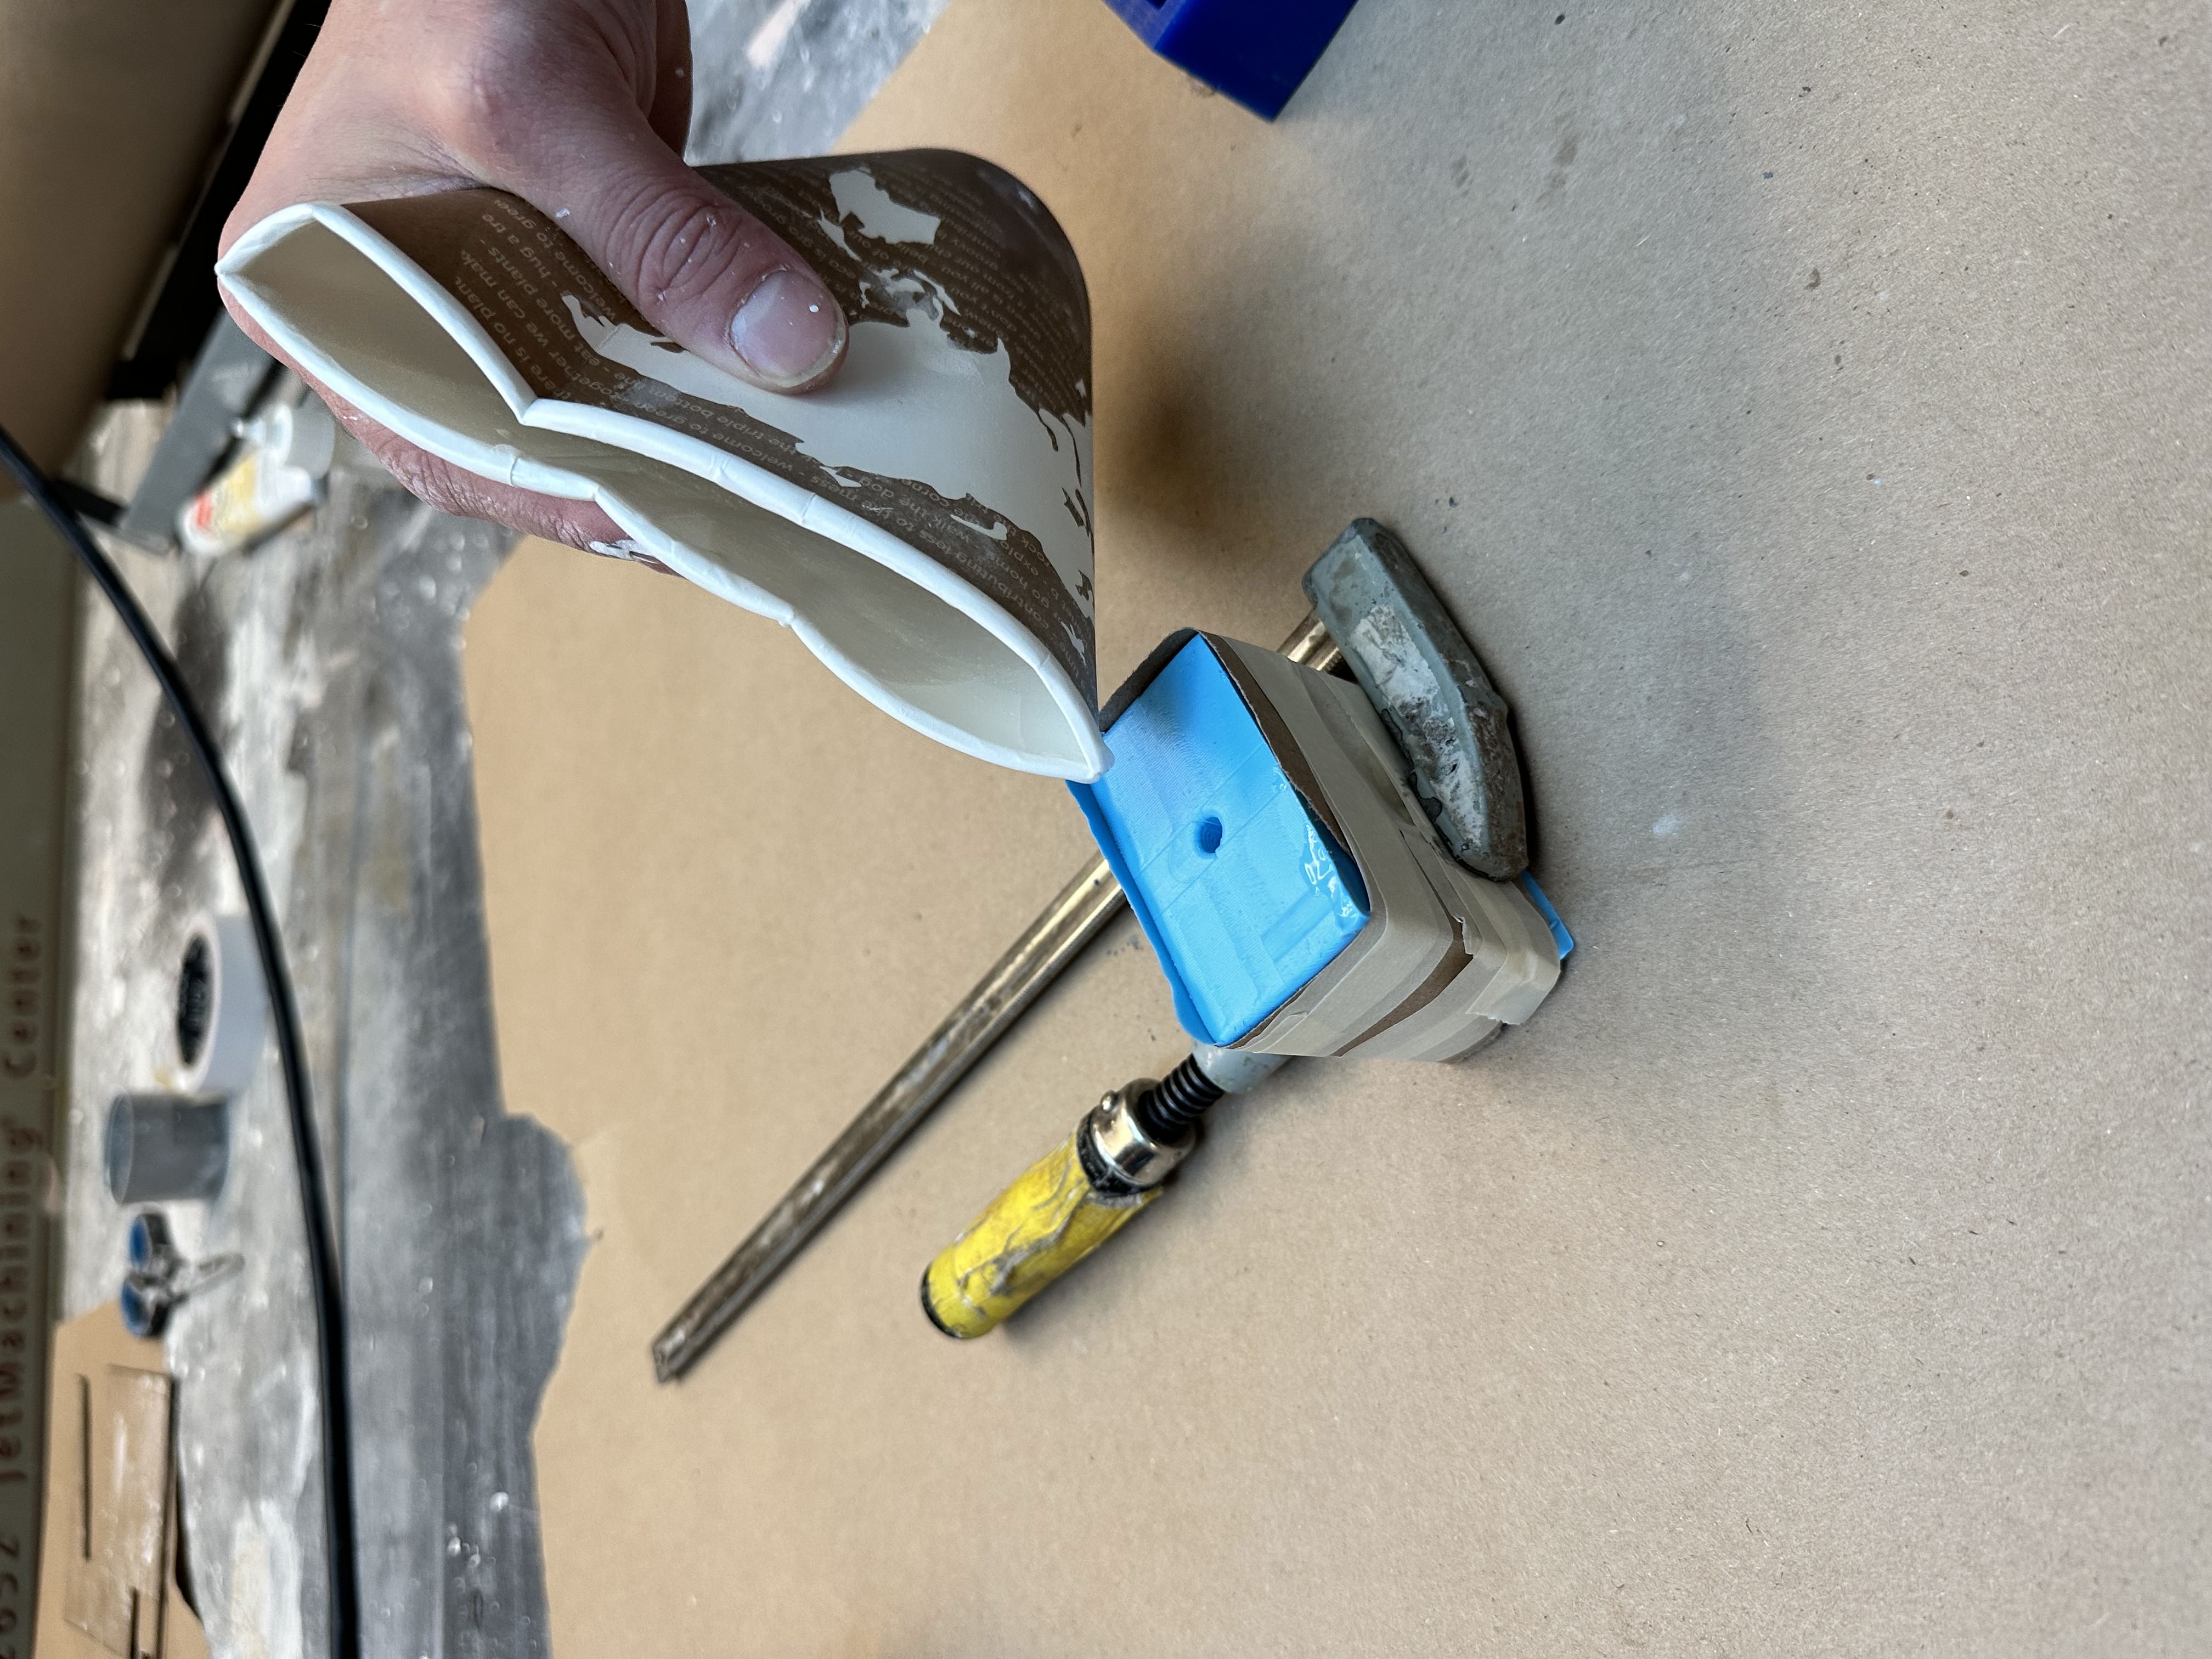
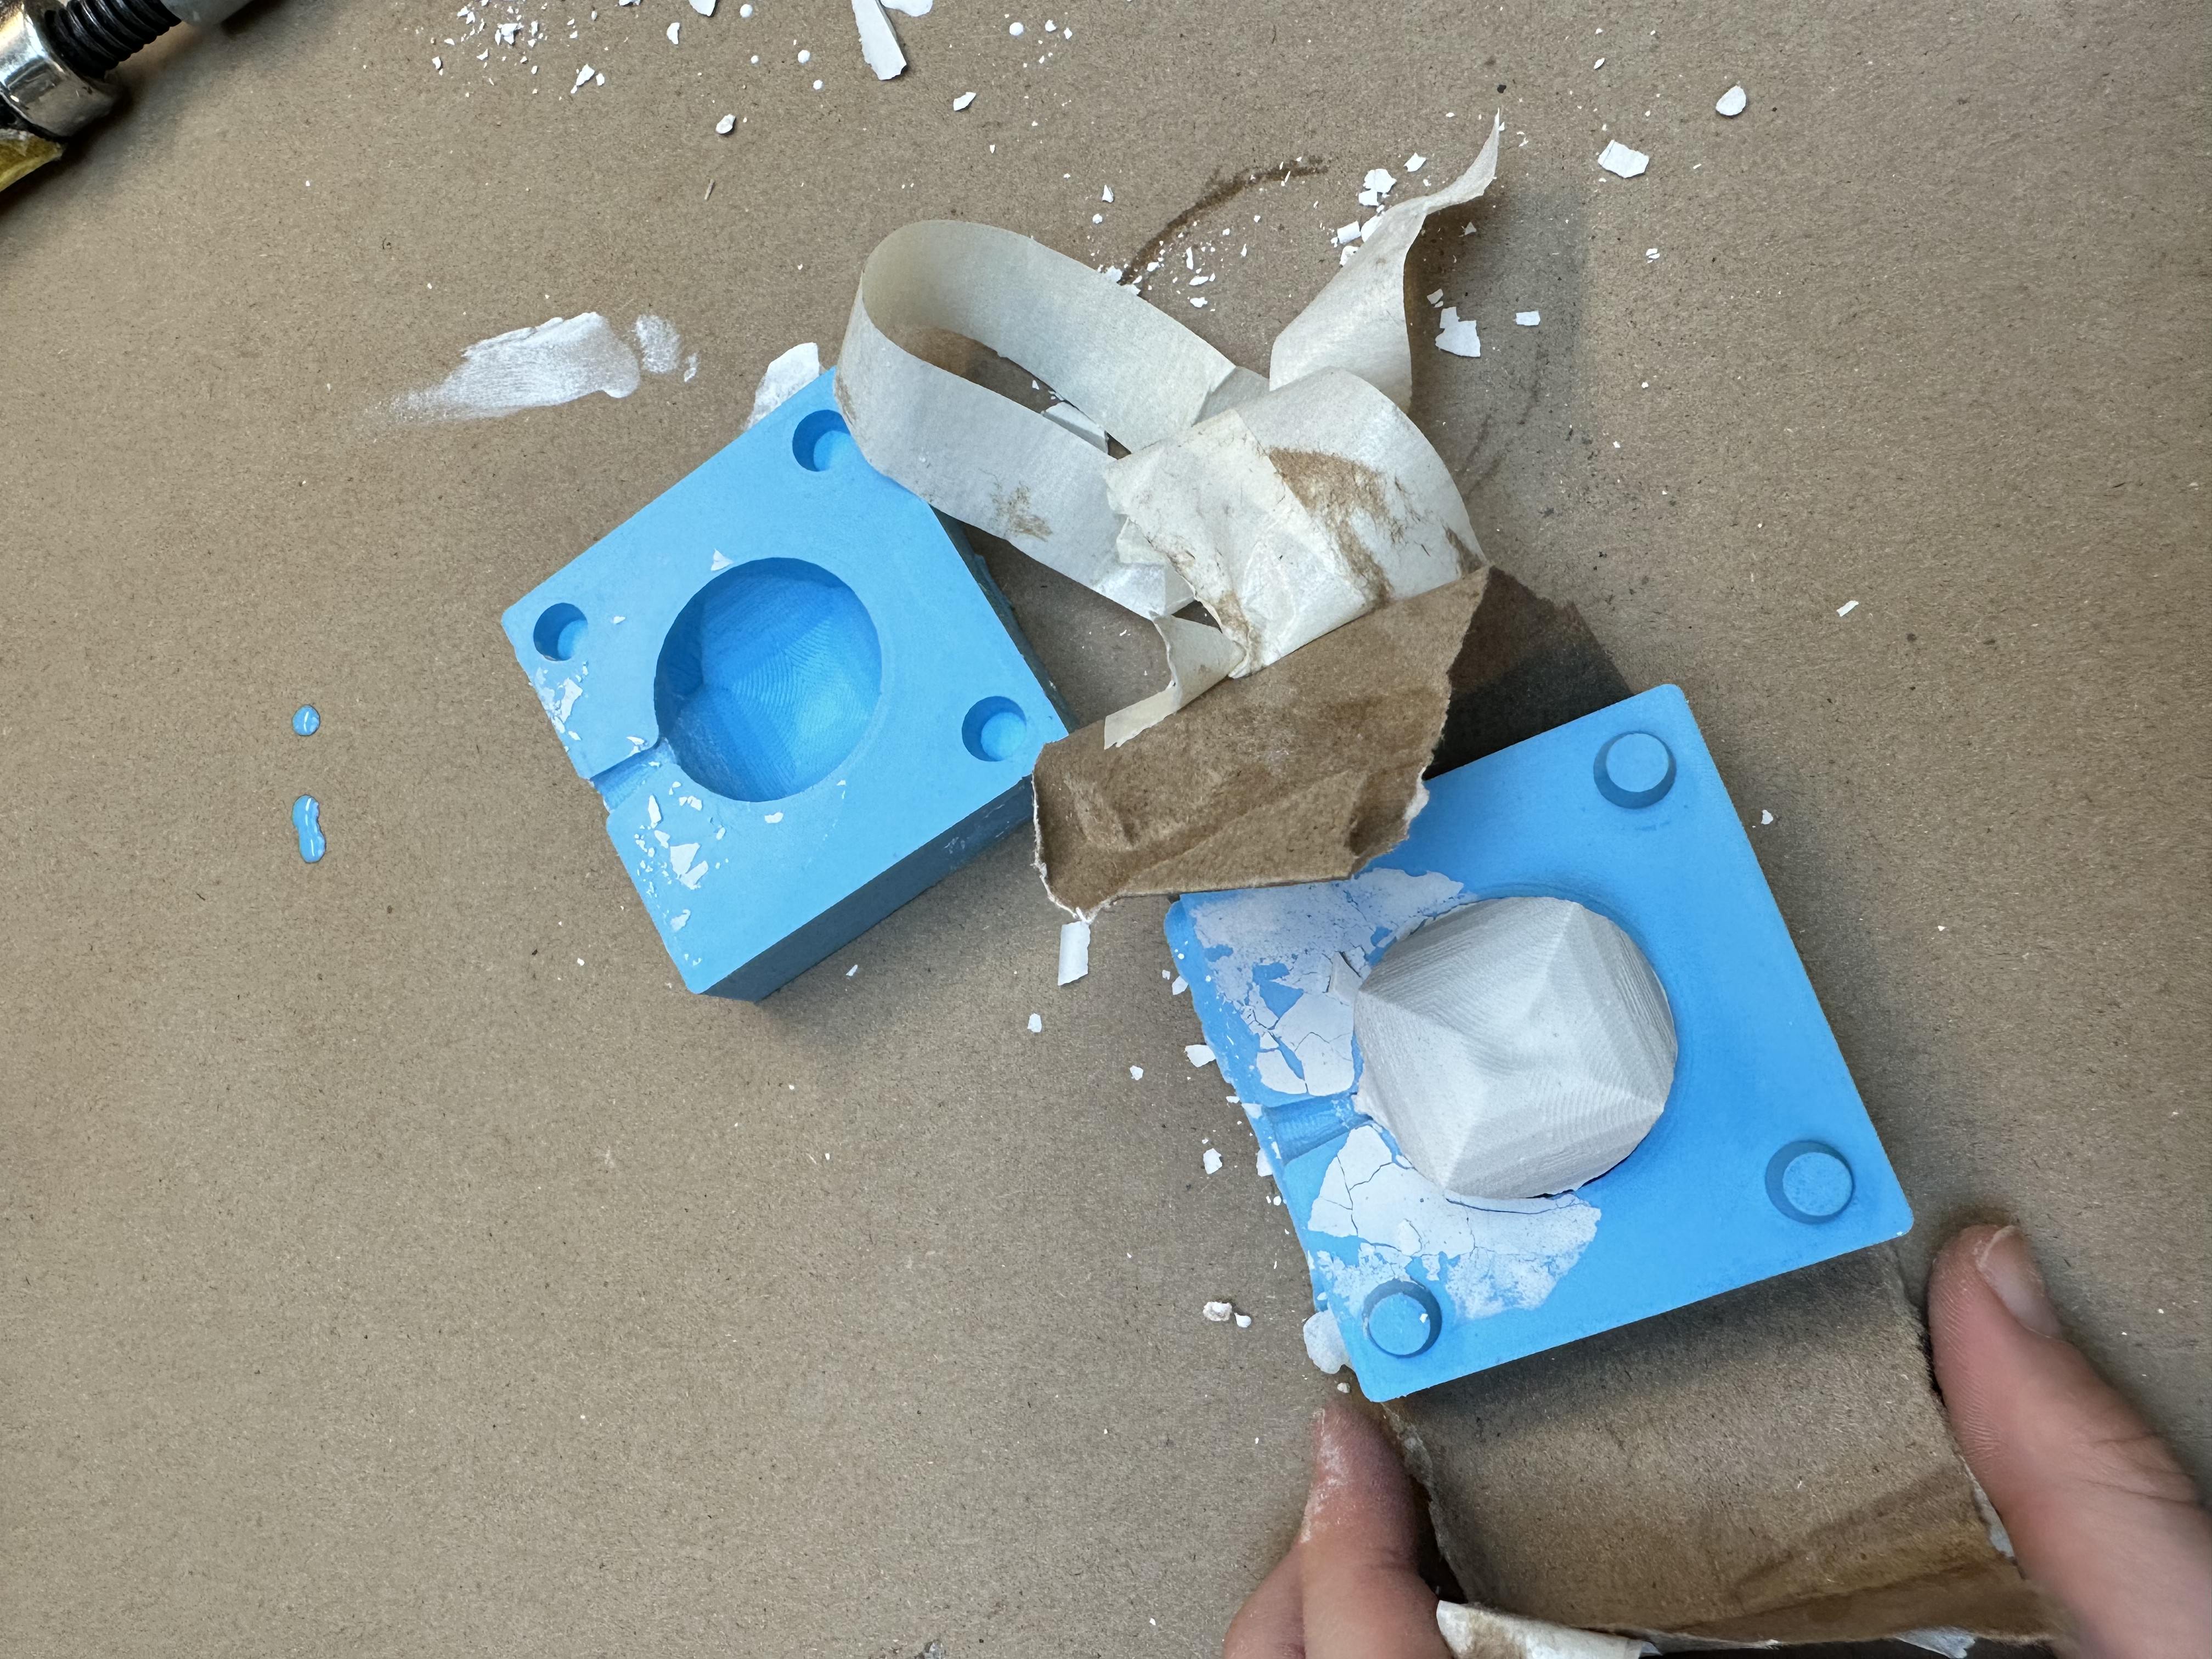
Casting the Plaster Geometry

. . , .
!! 00 01 02 03 04 05 06 07 08 09 10 11 12 13 14 15 ??