.. ,

. . . ,,

week eight

inputting (almost) anything

. . , .


Working with Buttons

For the input week I decided to start off with trying to get the buttons on my PCB to work. I decided that rather than having the buttons on the board itself, I would make mini PCBs for the buttons that would attach to the board with wires. This would be because in my project, which will be made of sillicon, the smaller the PCB itself the better, and if I can distribute the other element it would reduce its rigidity.

The first step was of course to mill said PCBs.

Image of 3D model Image of 3D model


Because the button PCBs ended being so small, even though I originally cut 8 only 3 survived into adulthood as the traces on many of them broke off or the bit got stuck on them whil eit was cutting out the outlines.

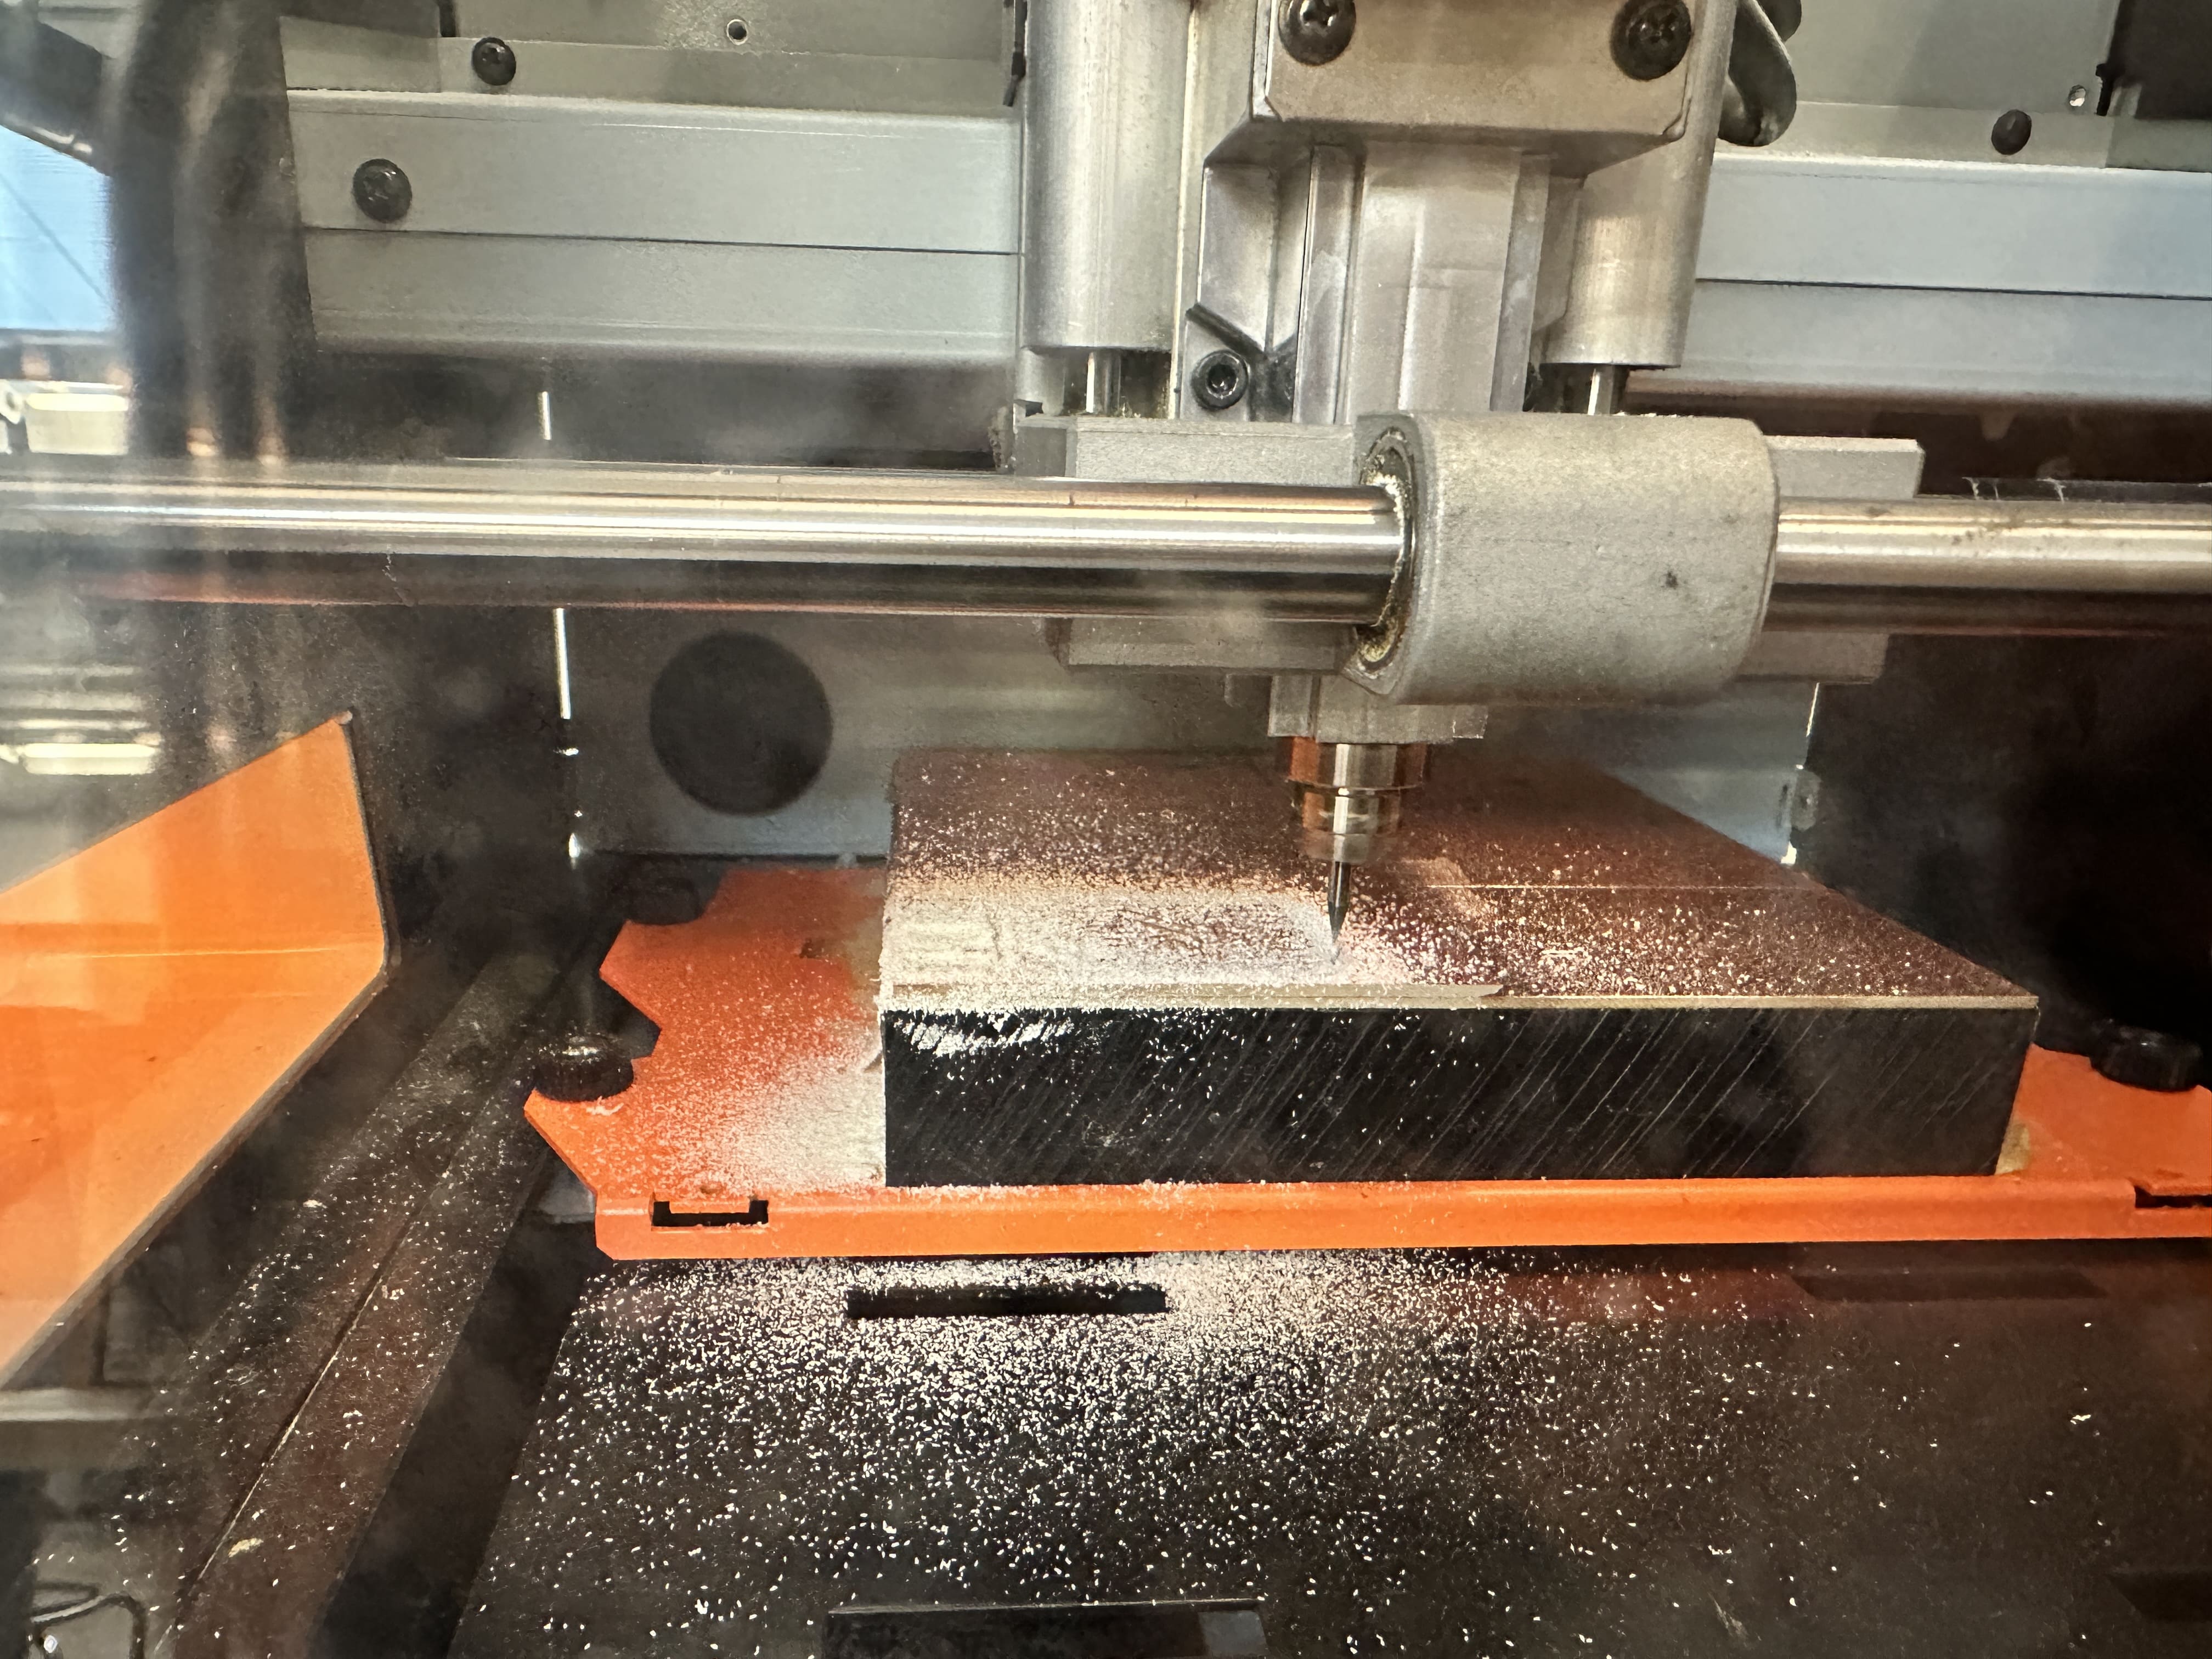
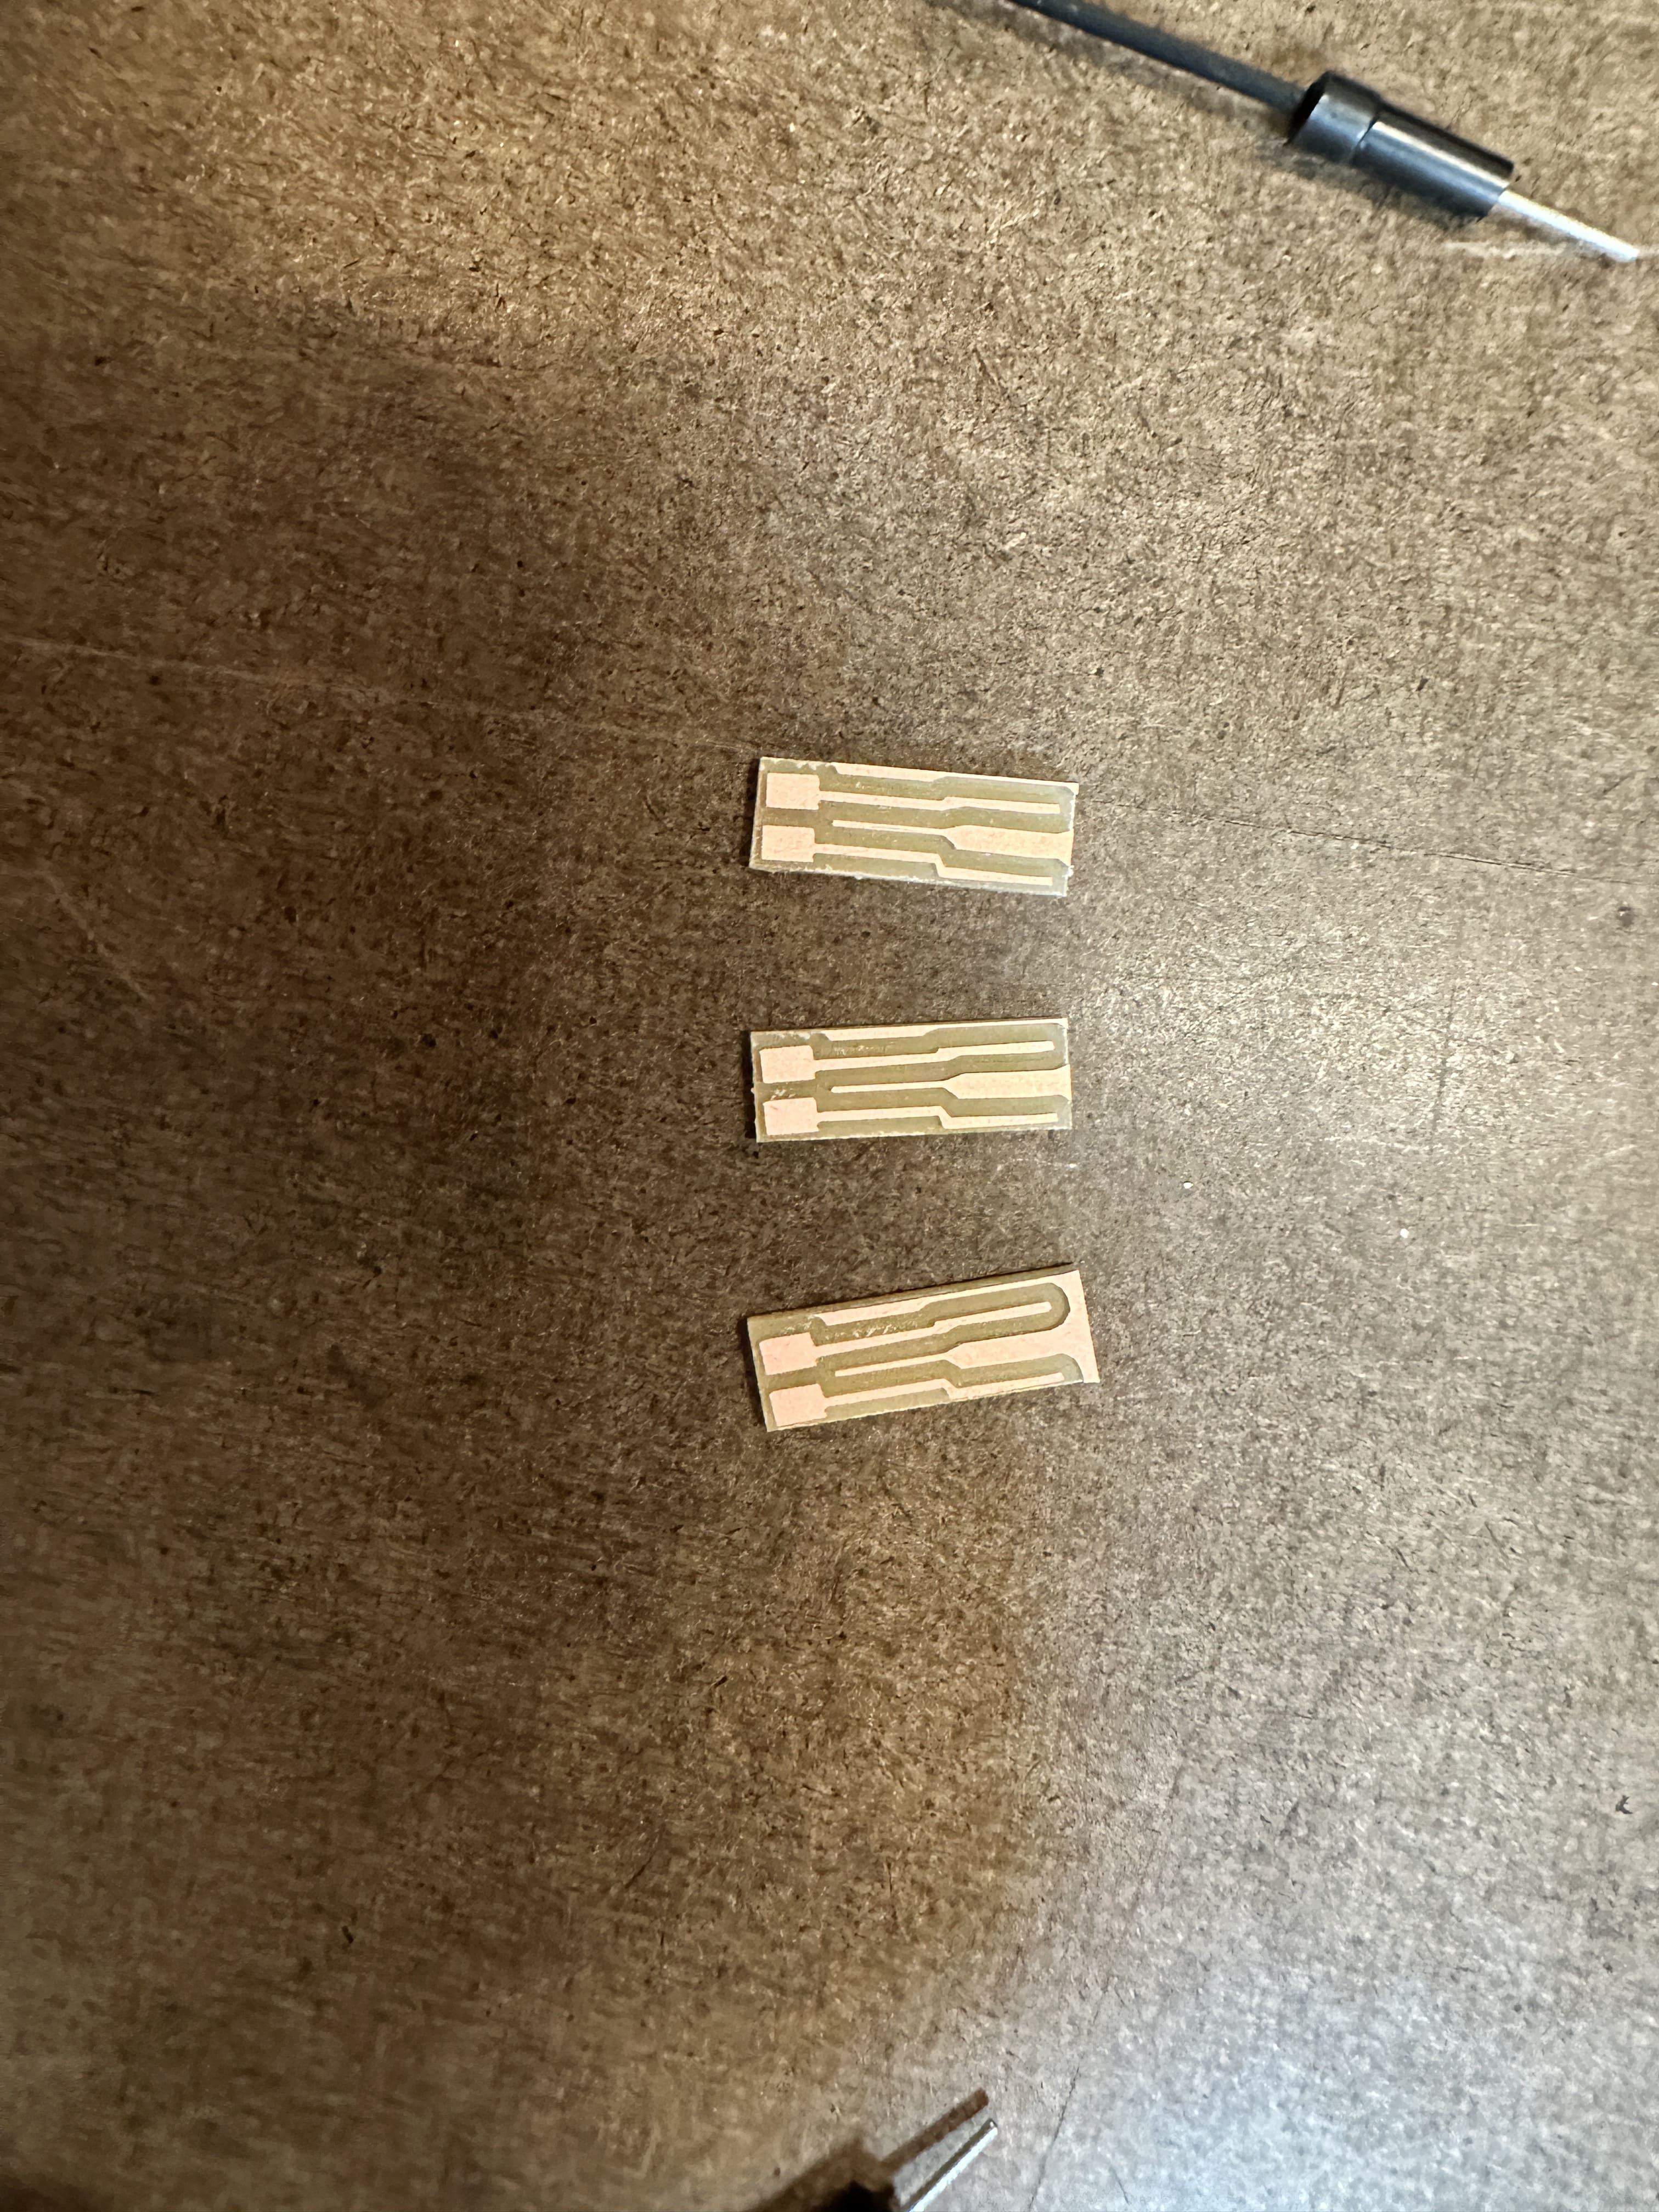
The next step was saudering the buttons onto the PCBs... a great challange due to the size of the PCBs in relation to the buttons.

Image of 3D model Image of 3D model


Next was the attachment step to the PCB itself, which I had made during the electronics fabrication week.

Image of 3D model Image of 3D model


In order to get the buttons working, I used arduino and made this code here.


const int buttonPin1 = 25;
const int buttonPin2 = 26;

int buttonState1 = 0;
int buttonState2 = 0;

int lastButtonState1 = 0;
int lastButtonState2 = 0;

void setup() {
  Serial.begin(9600);
  pinMode(buttonPin1, INPUT);
  pinMode(buttonPin2, INPUT);
}

void loop() {
   Serial.println("I'm alive");
  buttonState1 = digitalRead(buttonPin1);
  buttonState2 = digitalRead(buttonPin2);

  if (buttonState1 == HIGH && lastButtonState1 == LOW) {
    Serial.println("Button 1 pressed!");
  }

  if (buttonState2 == HIGH && lastButtonState2 == LOW) {
    Serial.println("Button 2 pressed!");
  }

  lastButtonState1 = buttonState1;
  lastButtonState2 = buttonState2;

  delay(50);
}     


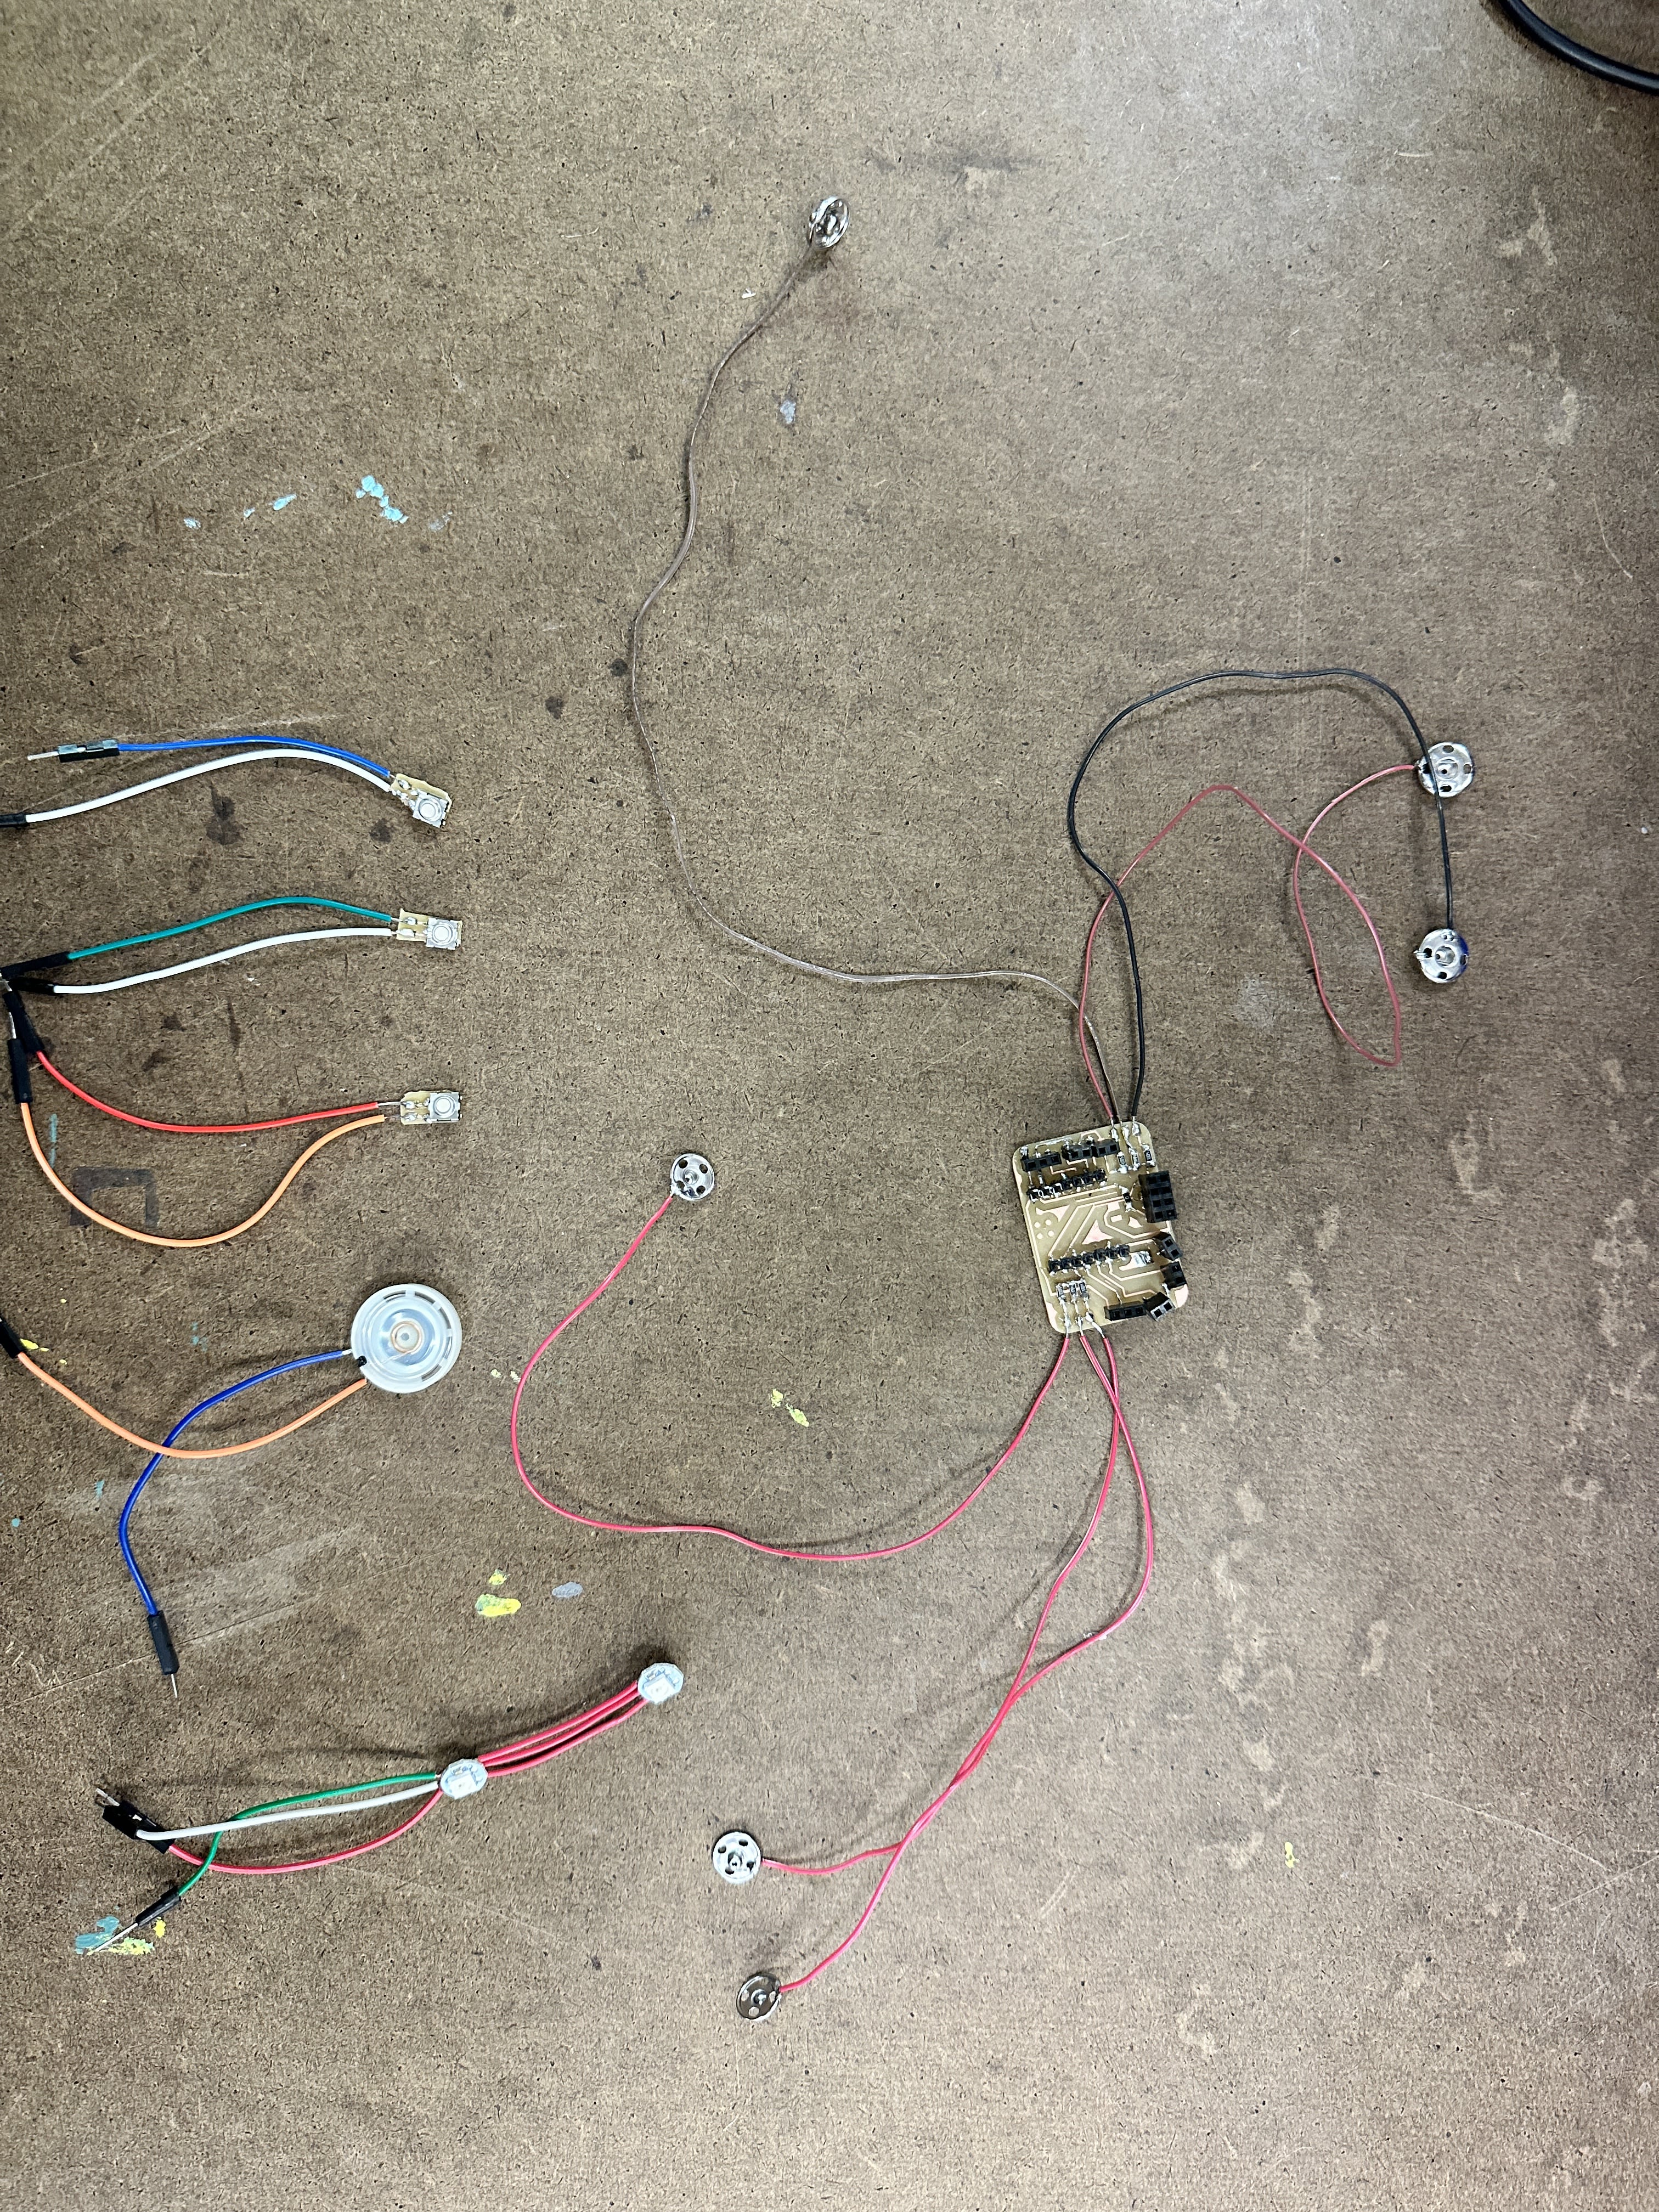
Working with a Speaker Module

Following the button fiasco, I decided to go ahead and move to working with a speaker module. According to the datasheet that came with it on Amazon, it was a digital input and so it would only give 0 and 1 as outputs (there is a sound or not).

The first of the two speakers I purchsed seemed to have a short within it as it always got very hot when I plugged it in, so I switched to the other one.

At first, I was only able to get 0 values but then I talked with Charlie and found out the penetiometer on the speaker can actually be rotated! Then I was able to calibrate the output. The code to make this portion function was actually very simple.


                                int soundValue = analogRead(soundPin);
                                Serial.println(soundValue);


. . , .


!! 00 01 02 03 04 05 06 07 08 09 10 11 12 ??