


This week was about milling a mold and casting parts in it.
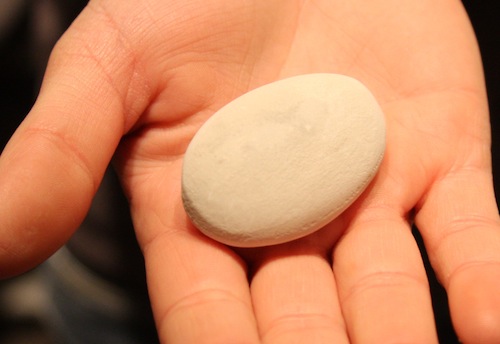
I decided I wanted to create a digitally designed pebble. A real pebble is not designed but created organically by erosion. The shape of this one would be completely digitally decided but still look like a natural pebble.
I also used this week to go further with CAD software. After the difficulty I had during the 3D printing week using Sketchup, it was time to move on. I started learning to do complex curves in Rhino (thanks to everyone who helped me figure this out). The first approach was to create slices of the pebble and loft a surface over them. This would have worked, but it wasn't a natural way to create a non-blobby pebble.
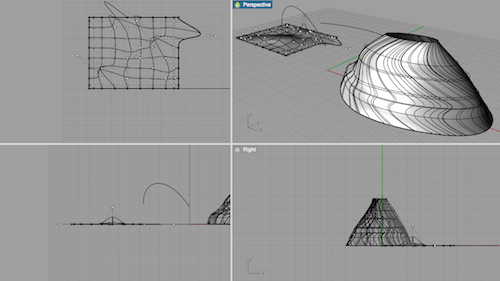
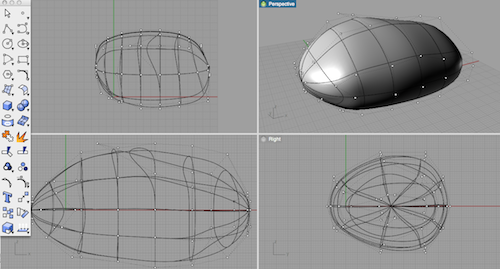
An easier approach turned out to be to create a sphere, give it extra control points (using rebuild) and move those control points to squish it into a pebble. I wanted to make it as asymmetrical and natural as possible. The first one was too asymmetrical and would have been impossible to mill with a two-part mold because it could not be milled straight down.
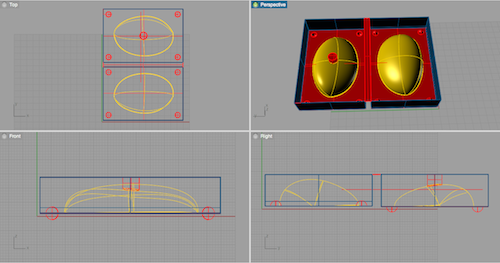
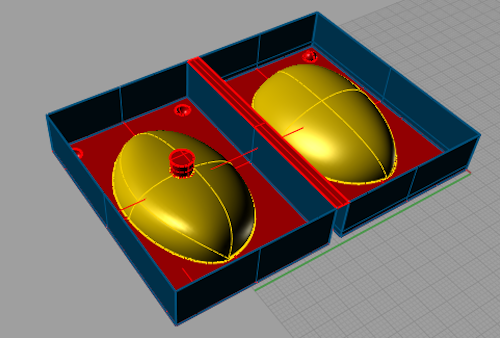
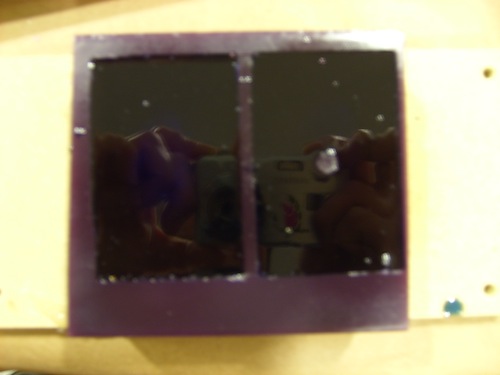
Once I made one I was happy with, I put a box around it, sliced it in half, and separated the two halves. Then I added a pouring hole and registration marks in the form of half-spheres (so that the mold would always close with the parts lined up). This was a positive mold for the rubber mold, because the wax is hard and I would not be able to cast hard objects in it.
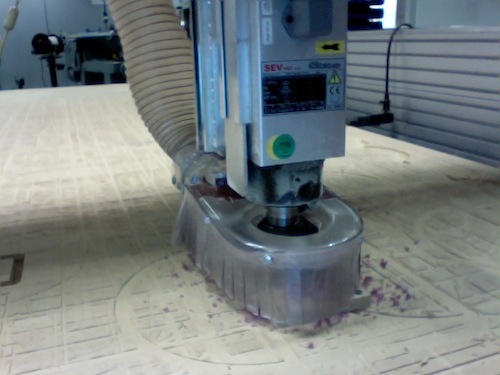
After seeing how long the Modela was taking to mill these molds, I decided to do it on the ShopBot. I did two passes (roughing and finishing) with the same 1/8" endmill. It took about 10 minutes. The finish didn't turn out very clean, possibly because I went too fast and the wax began to melt and clog the endmill. Fortunately this mostly affected the edges rather than the pebble, and I was able to clean it up by hand.
I mixed the rubber and poured it into the mold, then put it in the toaster oven for 50 minutes to set.
I used this to cast a pebble out of Hydrostone. Here's what I learned for the future: I needed to put the pouring hole at the highest point of the mold, and I needed an air hole.
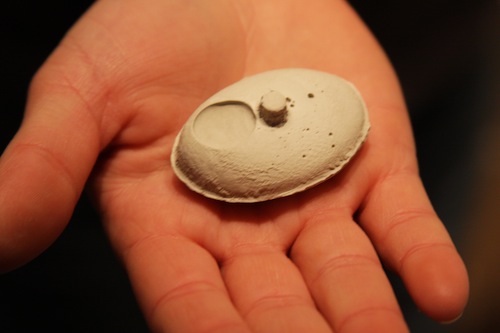
The pebble, after a bit of cleaning up:
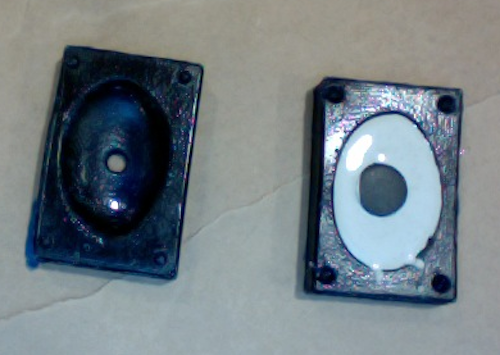
I designed the mold to be able to add electronics into the center before pouring the second half. To test this, I added an RFID tag:
Other fun application I thought of afterwards: endlessly reproduce the perfect skipping rock!