


Assignments
3D Printing
"Survived How to.. without using CAD tools"
I wrote a small matlab script which converts a mathematical equation into .STL file which can then be 3D printed.
Acknowledgement - The script is inspired by the work done by Bill McDonald and Mathew Roughan
Steps-
1) Describe your object in term of mathematical equation
f(th,r) = cos(5*th) + 6*exp(-r.^2)
2) Use the script to plot and generate .stl file
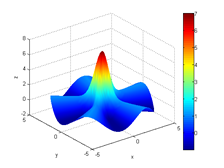
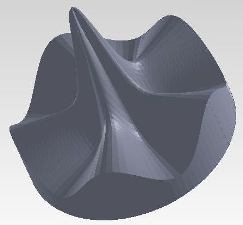
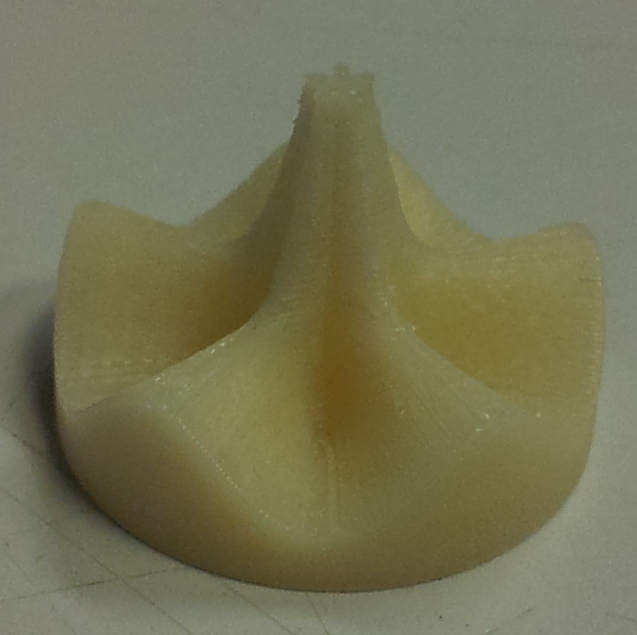
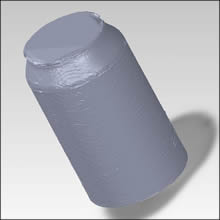
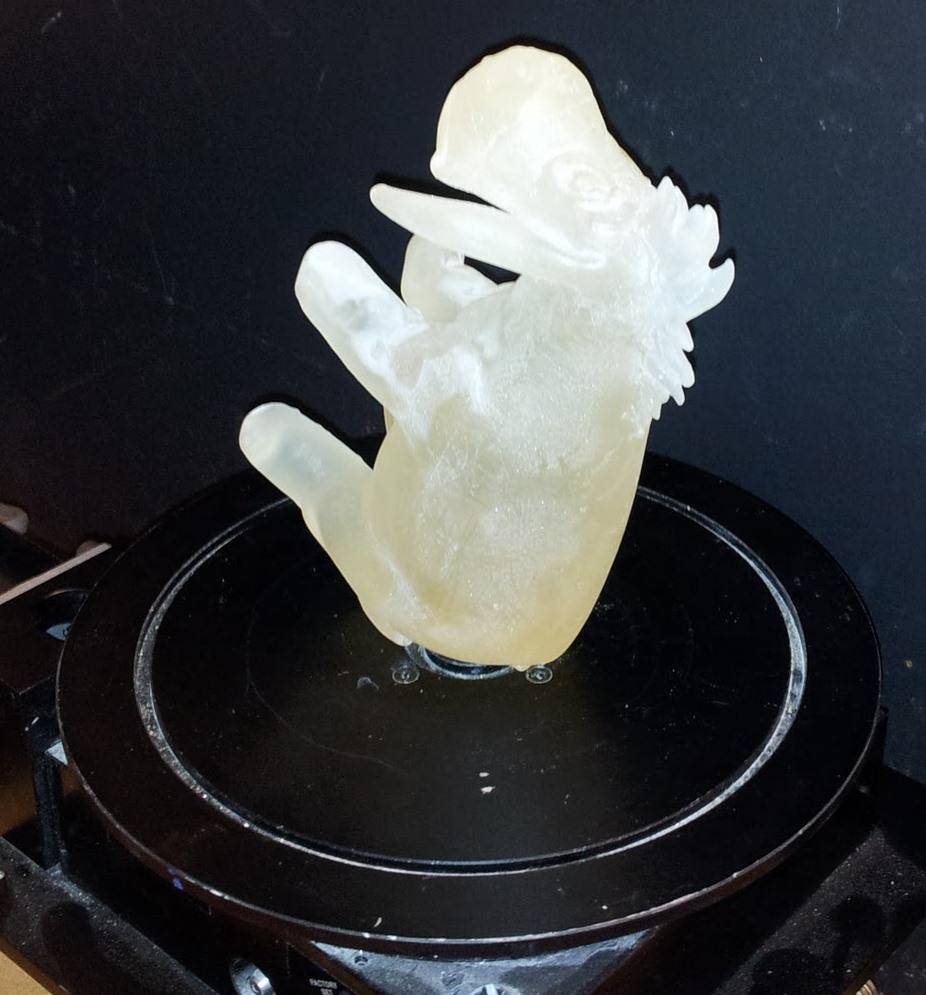
a) Plot b) .stl file (opned in solid works) c) 3D print
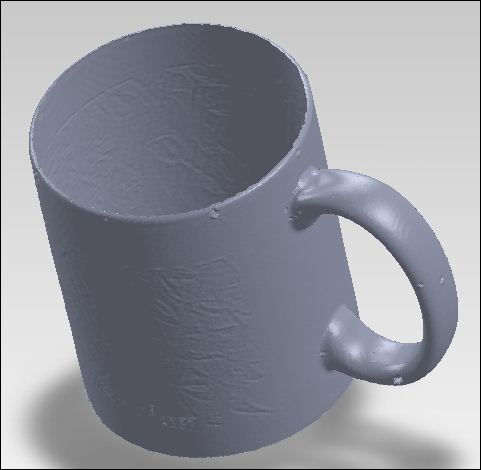
Scanning
For scanning, I used MINOLTA 3D digitizer with a Geomagic Studio and minolta plugin.
1)

2)

3)
3D Scanning Setup
The 3D scanning setup is shown below.
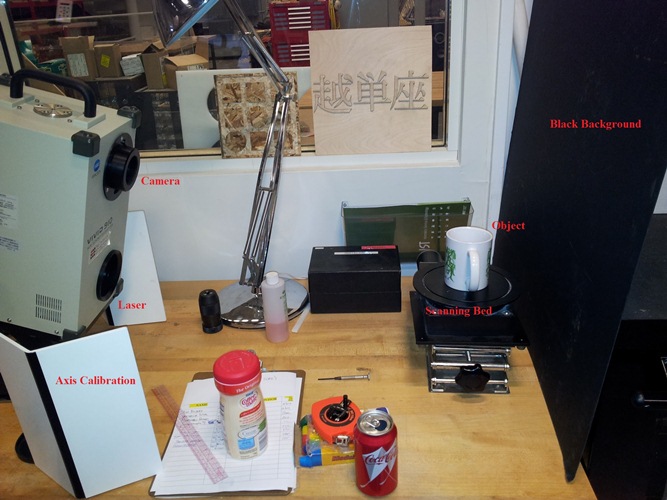
It consist of a laser source which shines the line laser on the object. The curvature of the object create a pattern which is then detected by the camera and used to calculate the profile of the object.
Steps for Scanning -
1) Open Geomagic studio 10 and then go to plugin for Minolta.
2) Click on the axis calibration button and place the Axis bars on the scanning stage.
3) Click on the "Show Live Image Video" and window will appear with two sub-windows each for color image and for depth image.
4) Check the Live video button below the window to get live stream from the camera. Move the stage up/down to get best view of the axis.
5) Adjust the distance so that you get maximum yellow color in the Show live Image window.
6) For scanning select "MultiScan" select the angle according to resolution you want and click on Scan. If the scan looks ok click on Next.
7) Once scan is finished merge all the parts (select all part, right click then select merge). Save it
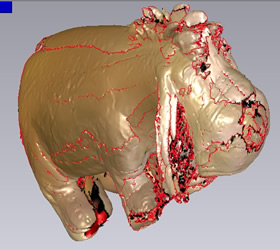
8) Fill holes by giong to Points -> Fill Holes. You can also resize the file.
9) Save as .stl so that you can view it in other softwares.