fingerjam
fingerjam turns gloves into a MIDI keyboard. The glove's fingers are equipped with force-sensitive resistors so you can play on any surface. The pressure signals are sent via bluetooth to the fingerjam application on your phone. When you're listening to a song, the app maps your fingers onto notes in the song's key (e.g. C major for Beyonce's 'Love on Top') - this is done using the Echo Nest API. This lets you jam to any song without worrying if you're playing the right notes!
prototype
I first prototyped the idea using FSRs, a Bluetooth Mate from SparkFun and an Arduino. I followed an adafruit tutorial on FSRs, but found 100k resistors better matched the force-resistance characteristics of my sensors. I used my laptop instead of an Android phone to test the Bluetooth serial communication, and wrote a simple Python script using PyBluez for bluetooth and pyFluidSynth for MIDI synthesis. Everything seems okay so far!
version 1
After talking with James, I decided on fingerjam's aesthetics. Fabric scraps are used to fasten the FSRs to the glove fingertips. The board and the bluetooth chip are enclosed in an acrylic box with cutouts for getting at a power switch and headers for the FSRs. The box is fastened to an elastic strap that you can wear on your wrist, like a watch. Also, LEDs light up based on your finger-presses to give you some visual feedback.
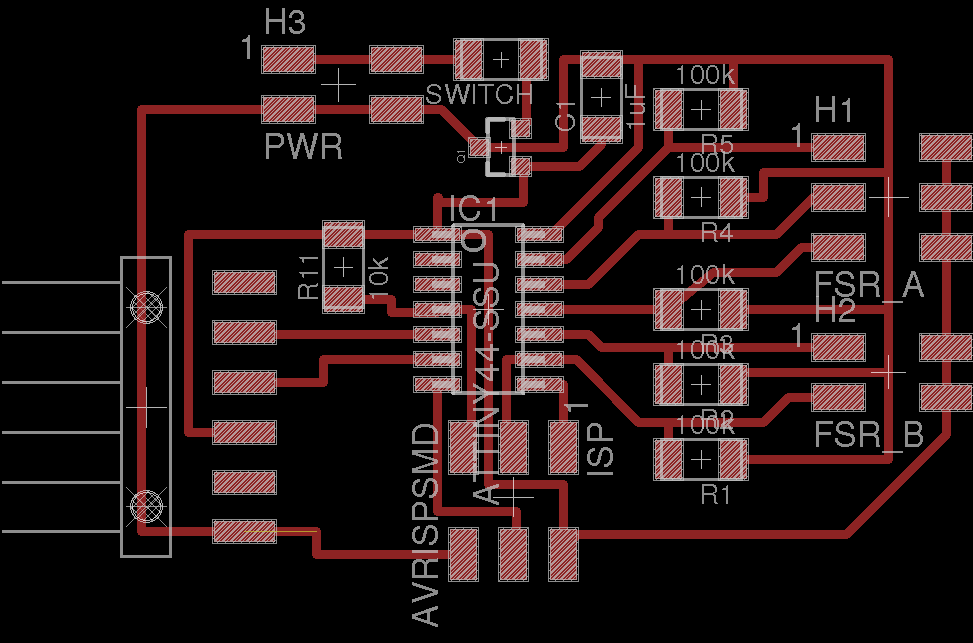
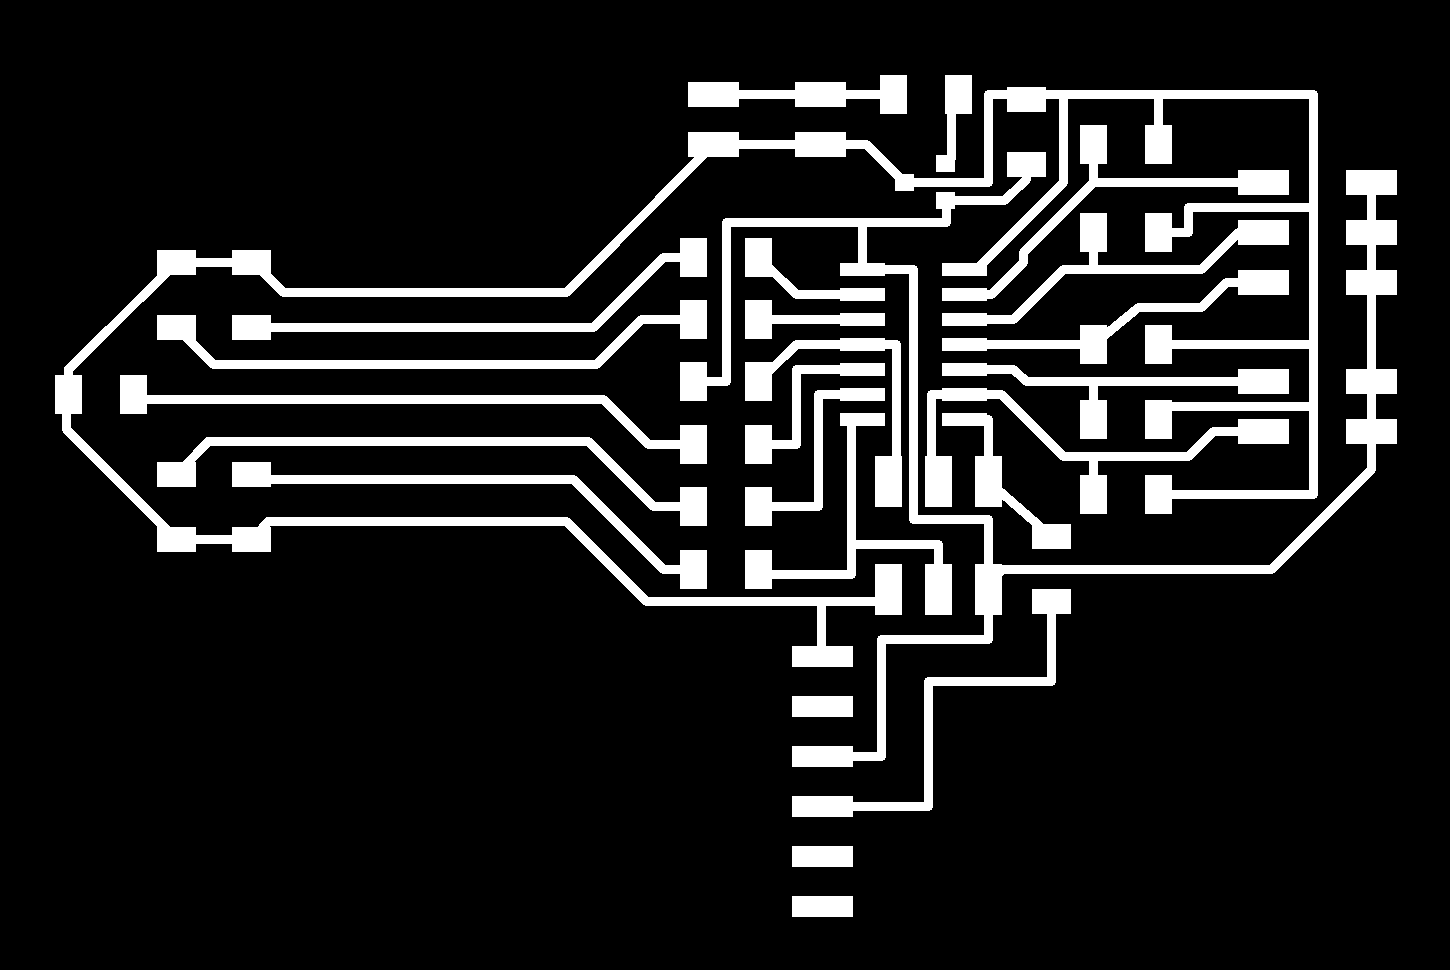
It took me awhile to work through all the kinks in the board design, but I arrived at this:

It's supposed to look like a guitar, where the 5 LEDs are the tuning pegs and the traces leading to them are the strings. I milled out and stuffed the guitar-shaped board.
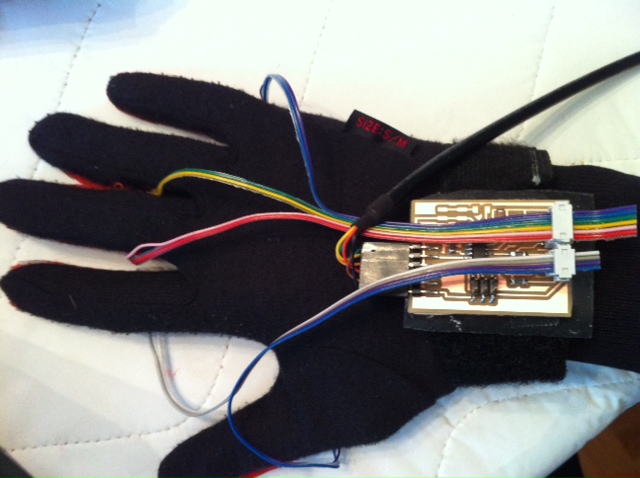
I also made the glove. First, I made connections between ribbon cable and the force-sensitive resistor leads. This was a tricky business, since it's quite easy to melt the plastic and staples on the package while soldering. I learned how to "tin" the wire with solder by holding the soldering iron on one side of the wire, then adding solder to the other side to coat it. I then brought the wire in contact with the FSR lead and applied a little bit of heat, so the solder would flow onto both surfaces.

With my girlfriend's help, I taped the FSRs to the glove fingertips. I added small cardboard squares to give the user some tactile feedback, and also to spread forces out more evenly on the FSR's active area. Using spray glue and some orange fabric borrowed from James, I covered the length of each finger.
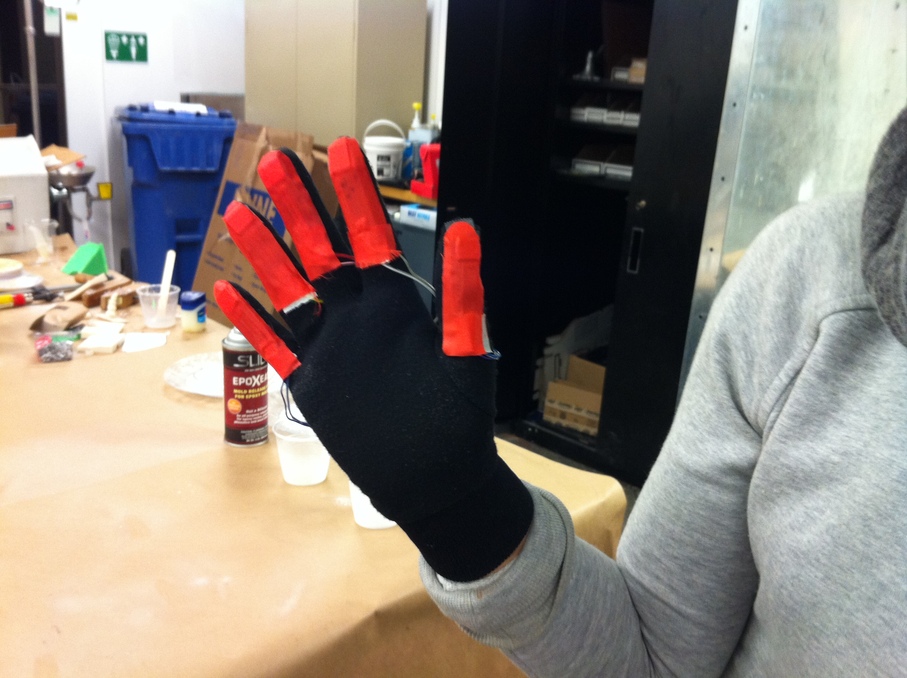
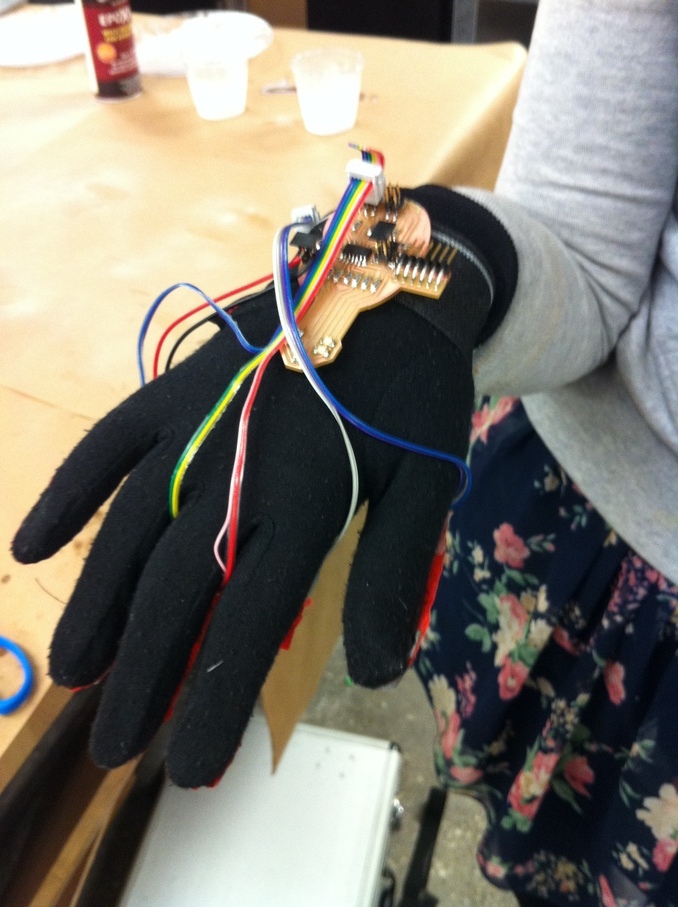
Lastly, I attached the board to an elastic strap. All the user has to do is plug the resistor cables into the board, plug in a battery and the Bluetooth Mate and everything's good to go!
version 2
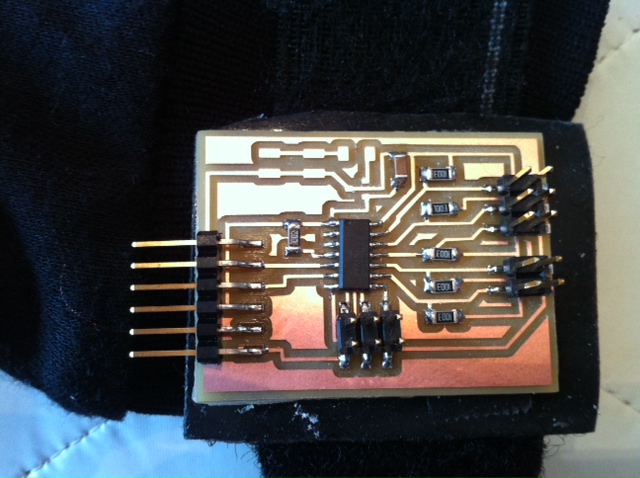
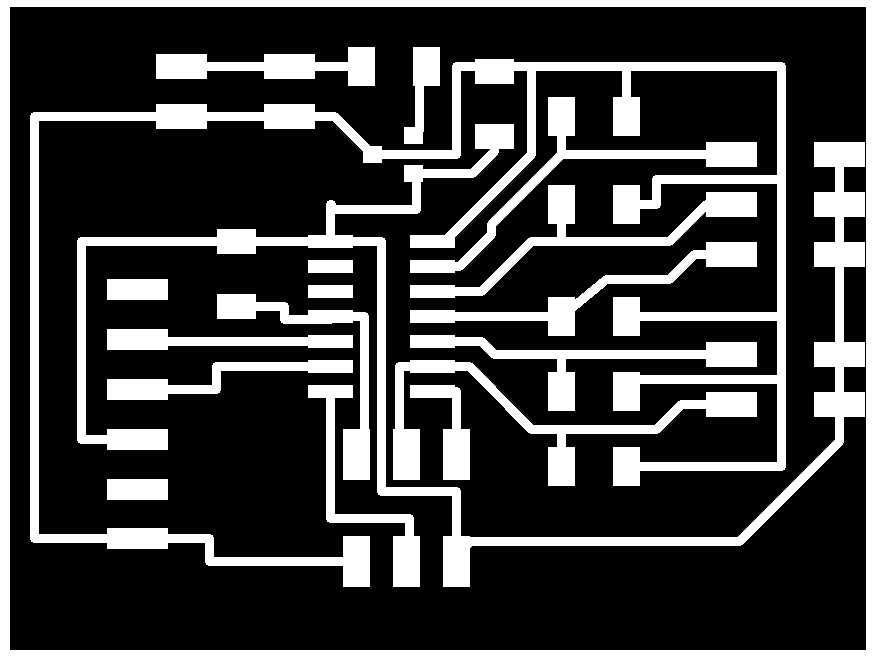
This worked fine for awhile, but on the night before the final presentations, my Bluetooth chip broke down, and in trying to use a direct FTDI serial connection to my laptop, I ripped some key traces off the board. I quickly redesigned and remilled the board, leaving off the LEDs to save some time.
When I tried to run my code, or even run the hello-echo program, the serial communications through FTDI didn't seem to be working properly, indicating that the ATtiny44's internal clock must have been a bit off 8MHz. Using Matt's advice from networking week, I tried using the AVRISP-mkII to auto-calibrate the t44's clock, but that failed on the command line.
I then tried adjusting the bit delay in the hello-echo program, and found that increasing it by 5us fixed my problems! I therefore had to use C instead of Arduino's SoftwareSerial library, and spent the first half hour of final presentations porting my code over. Success in the end!
I didn't get a chance to get an Android app going, so just got it playing CMaj notes with different instruments. And drums! I used more or less the same Python script running on my laptop as in my prototype, except receiving sensor data via pySerial instead of pyBluez.