press-fit construction kit
designing for raoul
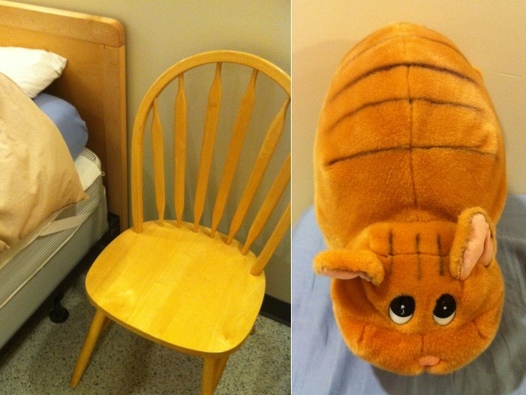
For my press-fit construction kit, I decided to make a bedside table. The goals of this project were three-fold. First, I wanted to replace the chair that I'm currently using as my bedside table. Second, Raoul (stuffed cat/tiger/ambiguous, pictured) needed a home. Third, I joined the class a week behind and kept the kit's design simple so I could work on the FabISP at the same time.
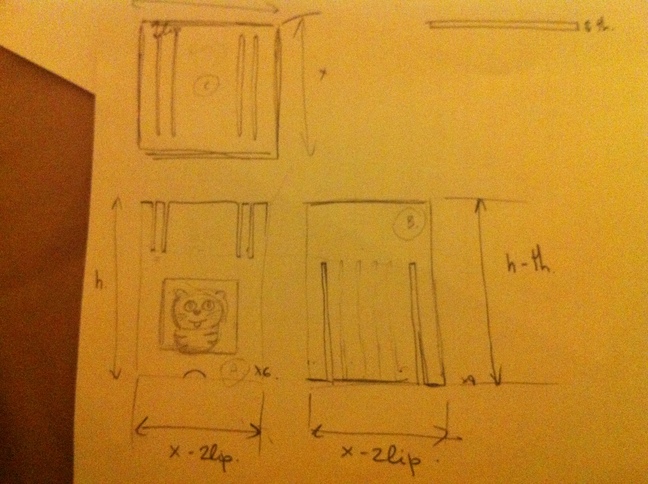
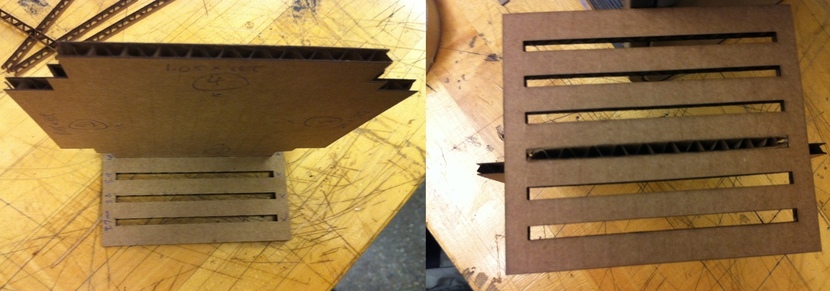
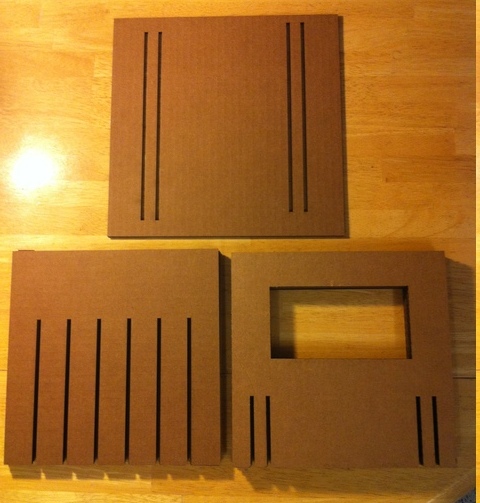
With the help of my girlfriend, Jenni, we sketched a simple table design with perpendicular, interlocking panels. The front-facing panels have a hole in them, forming a shelf where Raoul can comfortably sit. A single top panel serves as the tabletop, with the four perpendicular panels holding it in place through slots.
parametric modeling
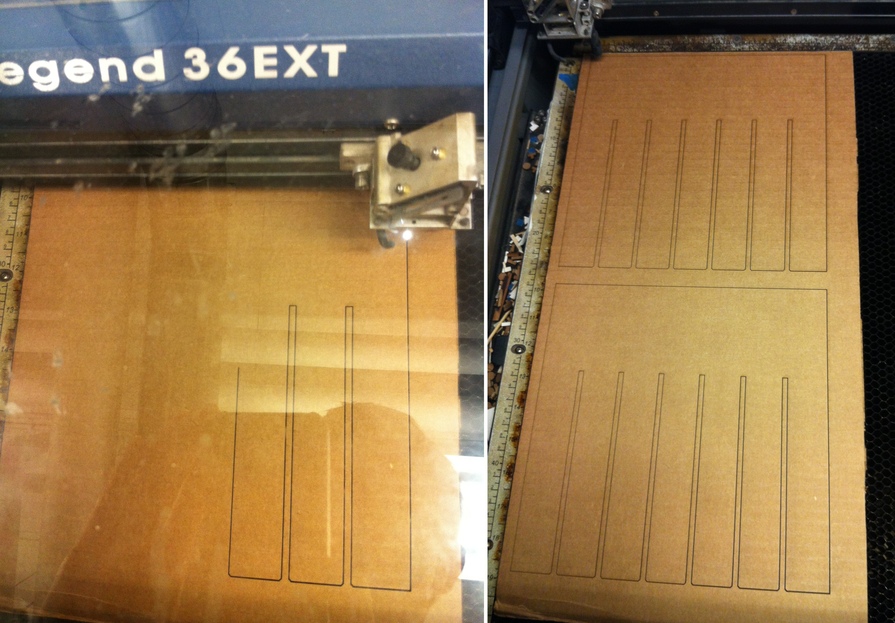
I used cad_ui to model the panels parametrically. From there, I exported the .cad file as an SVG, loaded it in Inkscape and saved the design out as an AutoCAD DXF file. In AutoCAD, I was able to re-scale the model based on a known dimension (usually a panel's width), set interior cuts and exterior cuts to separate layers and finally send the job to the laser cutter. More on this later.
The .cad files I used are here:
slot testing
In order to pick slot thicknesses and panel widths, I created a small slot tester model and cut it using the 120W Laser Cutter. More on the details of cutting in the next section, but the tester is shown below.
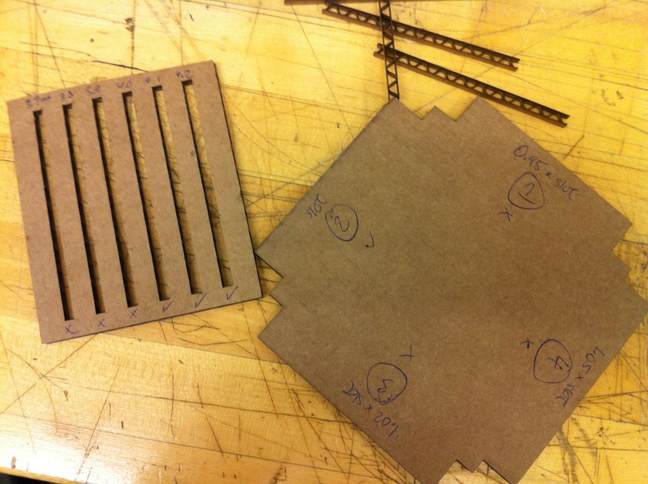
I found that a slot thickness of 4.0mm and a panel width exactly matching the slot length worked best.
final design
Since I was starting this project a week late, most of the corrugated cardboard was used and I had to work with smaller pieces. This wasn't ideal in trying to build a 1.5' high bedside table, so I had to build a miniature version at 9" high. Poor Raoul!
laser cutting
It took awhile to find the right power/speed settings to cut through the cardboard. First, I was using the 120W Epilog cutter, which turned out to have a burned-through lens. Using the 60W Epilog cutter, I ended up choosing 30% speed and 70% power to cut cleanly through the cardboard, as well as a frequency of 800.
I ended up with the parts I needed: a top panel, 6 perpendicular panels, and 4 front-facing panels.
assembly
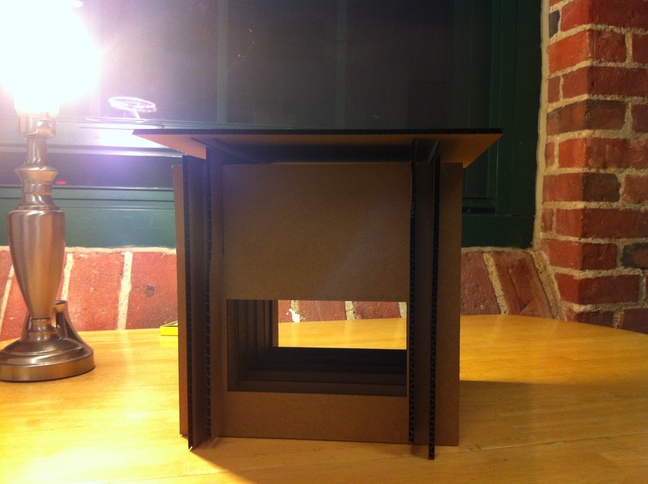
Assembly was fun and quick! There was very little give when I was inserting the final two perpendicular panels and I couldn't get them to slide all the way down. Also, it turns out my top panel design had a bug so I couldn't actually fix the top panel to the table. All of these problems will be fixed when I get material to build a regular-sized table / home for Raoul! The assembly process is below.
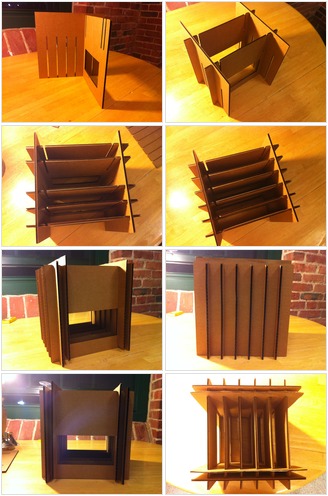
The (semi)finished product. Will revisit when I have more material and time, and will probably investigate using an acryllic top and etching.