embedded programming
This week I programmed my board from two weeks ago in a few different languages/environments. I made a first pass at changing webpage content based on the board's button press, in prepration for my final project on tangible database queries.
debouncing in avr-libc
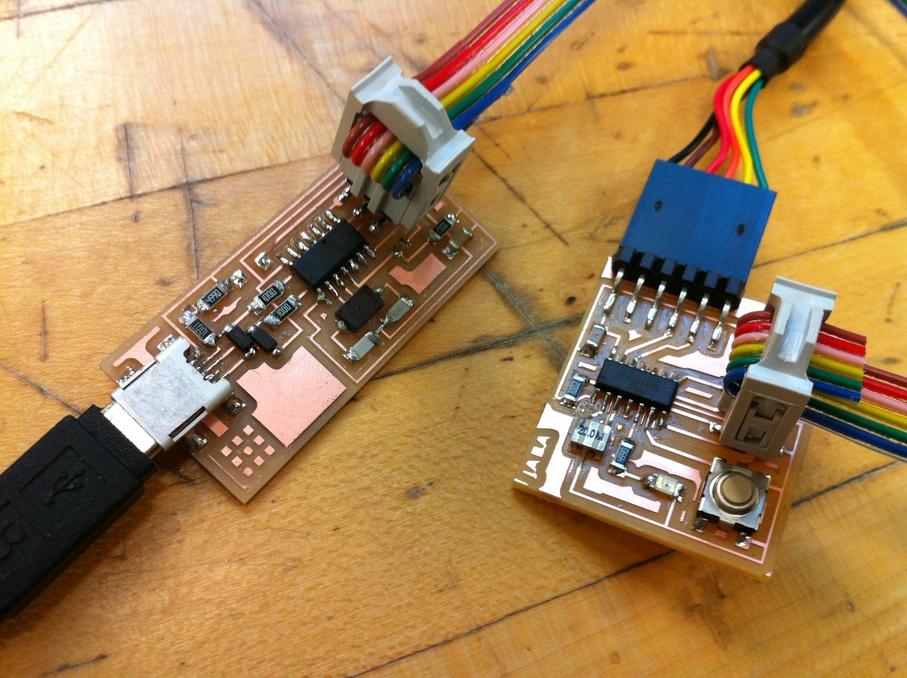
Two weeks ago, I was able to get the hello-echo and a button-blink programs working on my board. So I started this week by taking the task of treating the button as a switch for the LED. This means the button has to be debounced. I found a good tutorial on debouncing switch signals in avr-libc. I adjusted the code to my board and ran it, so that the button switched the LED on and off. When held down, the LED switches on every 0.5s.
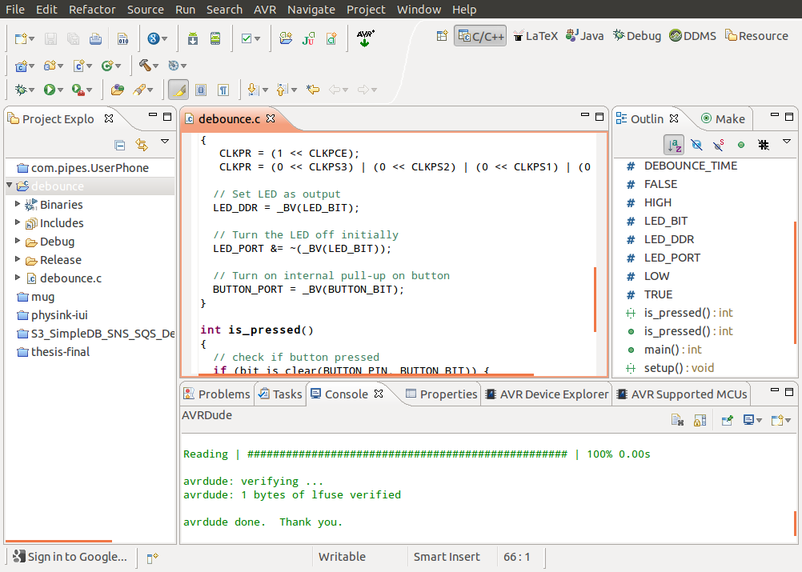
I found that I needed to add a couple of lines of code to set the clock dividers, as is done in the hello-echo program to prevent the debouncing timing from being off.
             CLKPR = (1 << CLKPCE);
             CLKPR = (0 << CLKPS3) | (0 << CLKPS2) | (0 << CLKPS1) | (0 << CLKPS0);
The board worked fine. When the light is flashing, it's cause I'm holding down the button.
AVR eclipse
I'm accustomed to programming in Eclipse, so thought it would be good to give the AVR-Eclipse plugin a try.
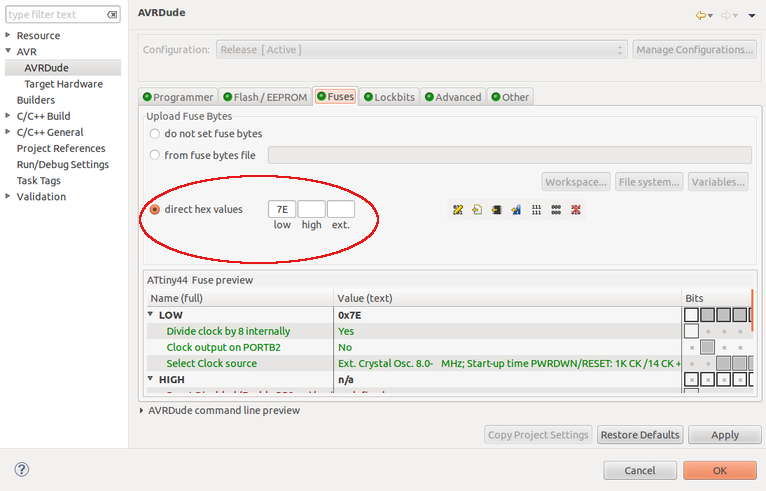
I followed the instructions on the website for installation and setup/compilation/programming the board. Things were pretty straightforward, but I made a few adjustments along the way to match the avrdude commands in the example Makefile. In particular:
- Choosing the ATtiny44 and the 20MHz external clock speed
- Set the port (-P) option on Ubuntu as "usb"
- Decoding the fuse programming option (-U lfuse:w:0x7E:m) as lower fuse:write:value:use-immediate-byte-value. Filled in the Eclipse config accordingly (image below).
- Adjusting the permissions on writing to the USBTiny device in udev, following this page.
I copied in the same debounce.c code. Made an adjustment to the LED timing so I'd know the board was programmed by AVR-Eclipse properly. Everything worked fine! Definitely a nicer IDE than VIM and the command line.
arduino/wiring for the ATtiny
I then followed this famed High-Low Tech tutorial to use the Arduino IDE and my FabISP to program the board. For clarity, it should be emphasized that when you 'burn the bootloader', you are programming the fuses to work at a certain clock speed. So choose the 20MHz version of the ATtiny, not the 8MHz version, both for burning the bootloader and programming the board.
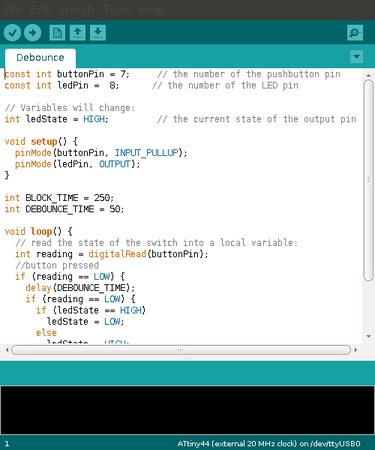
I ported the debouncing code over to Arduino's language and uploaded the sketch and things worked fine. A much friendlier API for programming the board...less control though.
ATtiny and the web browser
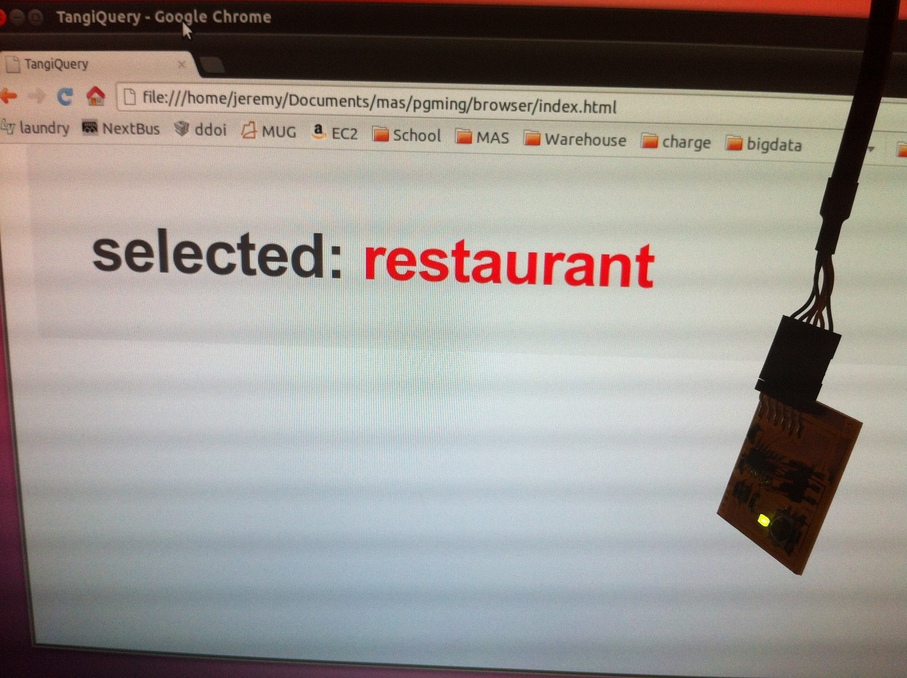
For my final project, I want to build a set of blocks that allow you to piece together database queries in a tangible way. Part of this is a 'WHAT' block, where you indicate which column in a database you want to visualize. My plan is to implement the visualization in a web browser, so I used the serial connection from my board to change a webpage's content. Specifically, I made it so that pressing the board's button causes the web page to cycle through columns in a database.
First, I modified the debouncing code so that button presses would cause column ID numbers (from 0 through 4) to be sent to my laptop, using the SoftwareSerial library. I then wrote a node.js server running on the laptop, which receives characters from the board and sends them through a socket to a webpage. The webpage uses the column ID to show the name of the selected column.
Video is below...there seems to be some latency between the button press and the webpage update. Need to look into that. I hope to make a new board that supports a more expressive user interface for building each part of the query.