molding and casting
This week I attempted to mold and cast the crest of my family name, the Scott Clan.
learning rhino: extrusion
I'm very new to 3D modeling and haven't used CAD tools to a great extent in the past, so I devoted many hours this week to learning Rhino. I used it to extrude a solid relief of the crest, based on an SVG I handily found on Wikipedia. I tried to make a plan for the different depths I would assign to various parts of the crest.
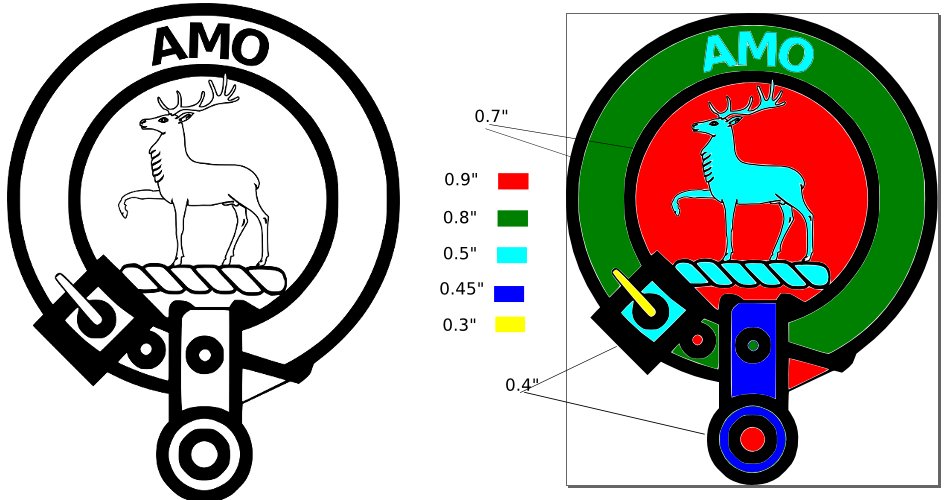
First, I exported the SVG as a DXF file so I could open it as a set of curves in Rhino. After completing a bunch of tutorials and going through several rounds of trial and error in trying to extrude capped solids from the curves, I made a number of edits to the SVG to simplify things. I got rid of most intersecting paths (e.g. around the legs), added paths in a number of places (e.g. the buckle), and in general tried to delineate distinct sections that should be extruded to different depths.
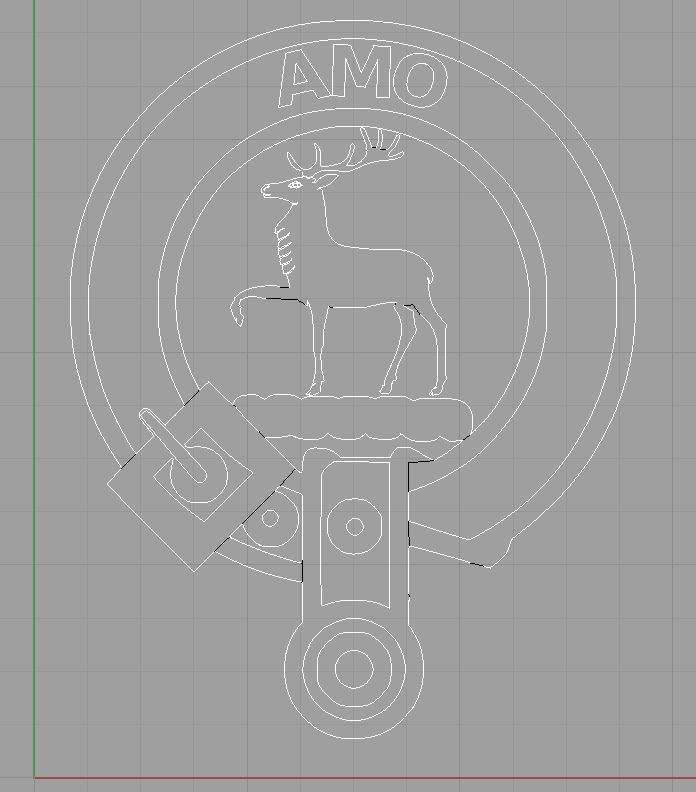
The curves in Rhino.
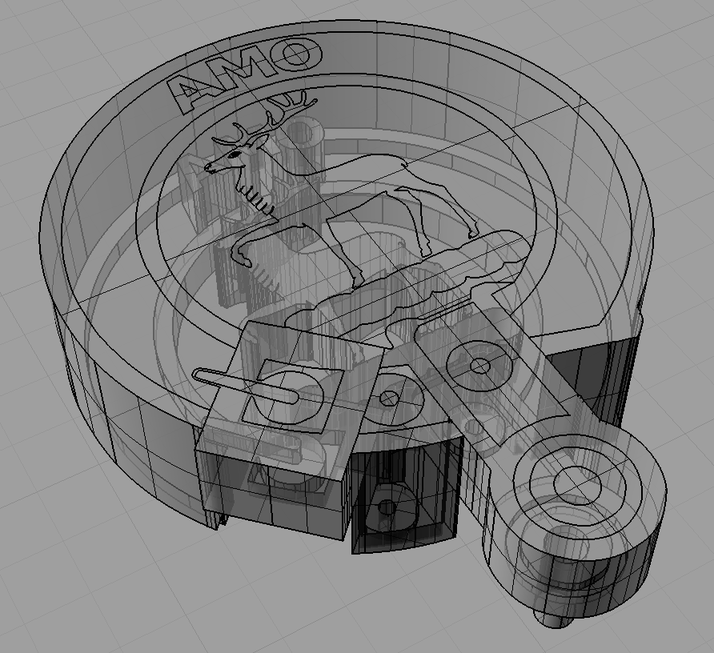
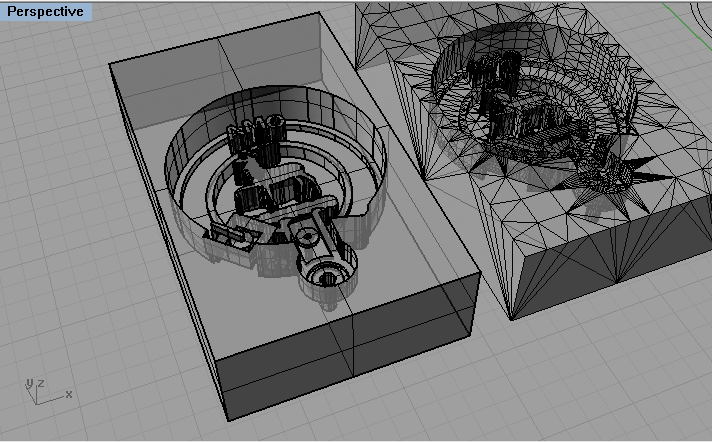
I then painstakingly extruded each area of the crest, according to my colored diagram above. I'm not sure if I did things in the most efficient manner: hiding extruded solids so I could only select curves, using windowing/crossing selections, extruding straight from the curve. I took the union of the extruded solids to get one solid model. Either way, I ended up with a cool looking 3D crest!
I set up a 3"x5"x1.25" block, which I would use to subtract the crest solid.
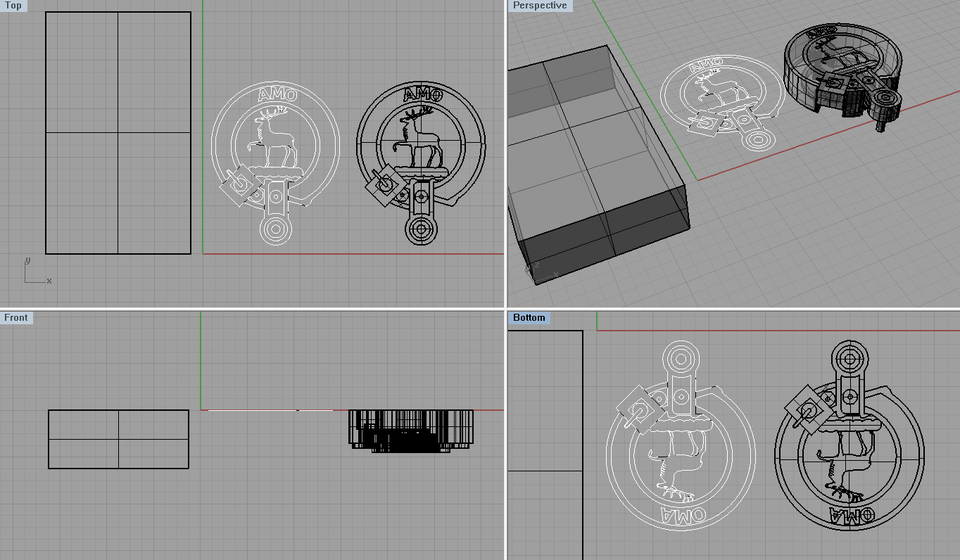
After doing a boolean difference, I converted the solid to a mesh, which I exported as the wax mold STL.
All in all, using Rhino was a positive experience. The tutorials were very helpful and dealing with the crest was a challenging foray into working with 3D shapes.
milling the wax
I milled the wax mold using a rough pass and finish pass. I used the default settings for both passes. The rough pass took a really long time...40 minutes or so.
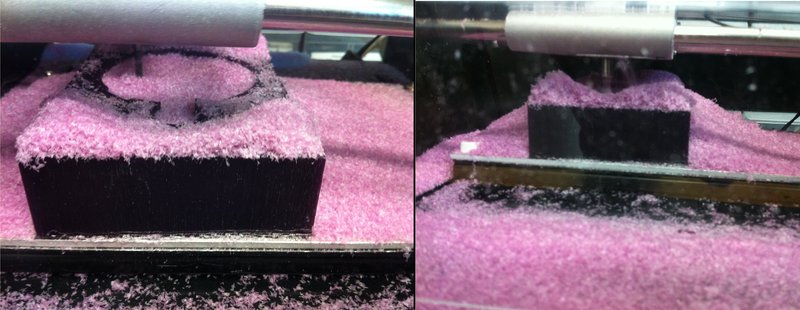
Tons of lost wax - had to empty out the Dustbuster, which was pretty cathartic. The finish pass took a long time as well (another 2 hours). Here's the wax mold after the rough and finish passes.
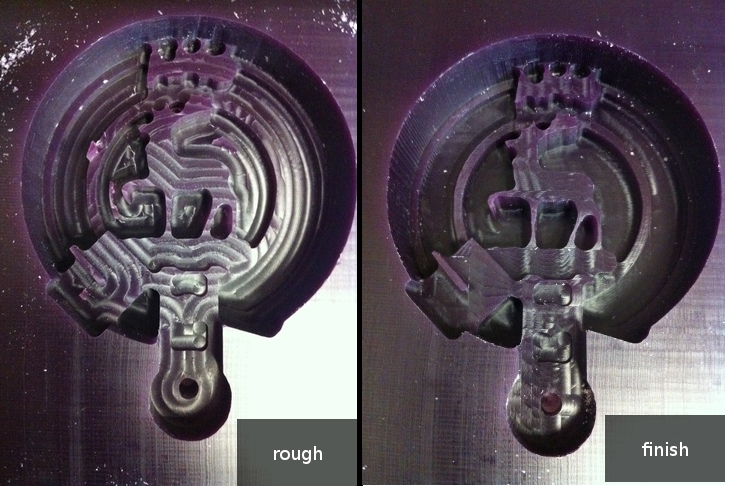
The finished mold is a lot cleaner obviously. Unfortunately a lot of the features didn't come out (lettering, stag's eye), probably because of the cut diameter and the endmill size (1/8"). Should have been more aware of this. Also, some of the layers on the buckle didn't come out - their depths might have been too similar.
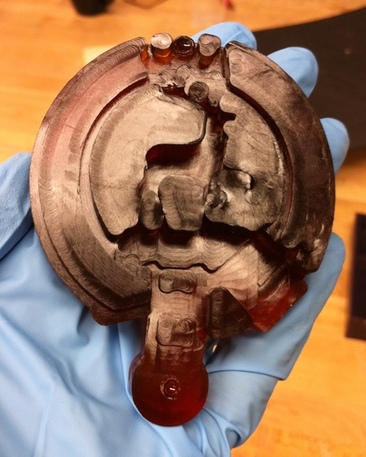
casting a flexible mold
I wasn't really clear on the differences between OOMOO and PMC, so just reached in and grabbed the PMC. I mixed Part A and Part B in a 1:1 ratio, tilted my mold and poured starting from the belt. I kind of forgot to pour slowly, so there were lots of air bubbles rising to the surface. I let the PMC sit for 2 hours.
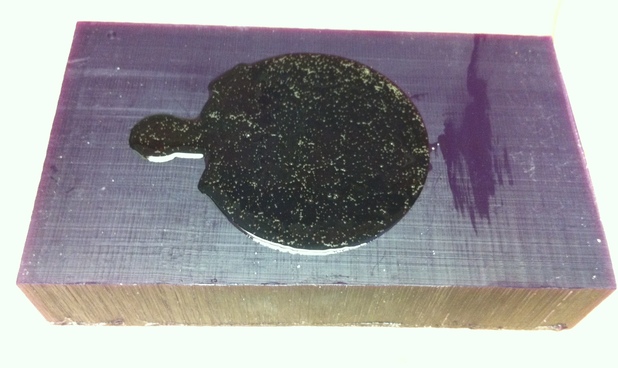
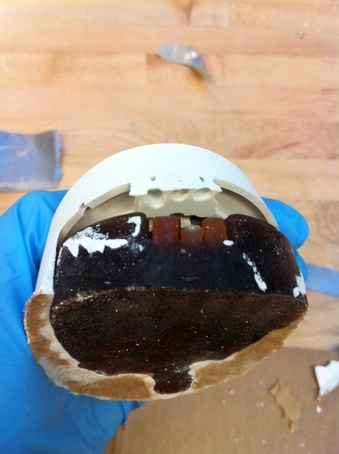
Peeling the flexible mold out was a bit nervy. Once I got it out, I noticed a number of things. First, the flexible mold came out pretty nicely and it was cool to see how deformable it was. Second, I realized that the negative of the crest wasn't able to capture the belt buckle hole very well (no protruding cylinder). Lastly, and most importantly, I realized my design didn't include a well for the negative, flexible mold to sit in. This made casting the drystone more difficult...
casting plaster
Since I had no boundaries to hold in the drystone, I had to create my own little casting fortress. It was a bit of a squeeze, but I managed to use the top half of a mixing cup to create a wall around the flexible mold. I used a glue gun and a bunch of duct tape to seal the cup to a piece of cardboard.
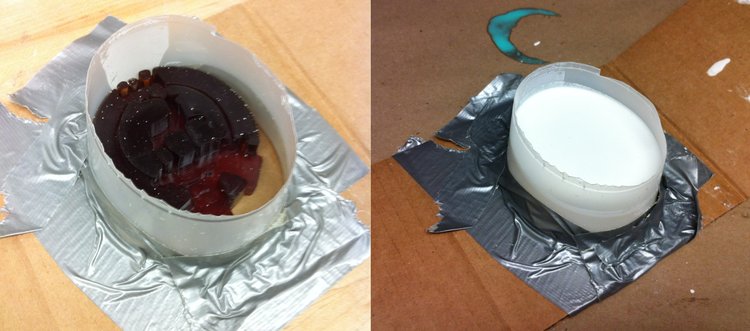
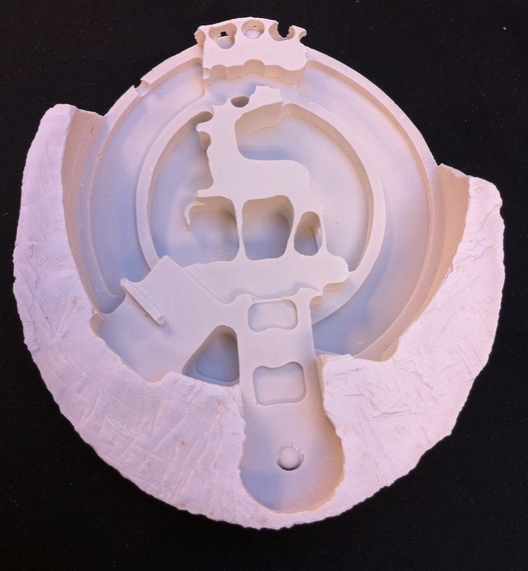
I mixed the Drystone powder and water in a 150g:30g (5:1) ratio. There was a bit of leakage underneath the flexible mold, but after some peeling away and chiseling I got to the final product.