3D Scanning and Printing
Machine: Konica Minolta VIVID910 3D Digitizer, 3D Systems Invision si2 3D Printer
Material: Acrylic plastic, Wax
Design Software: GeoMagic
Share: Shell.stl
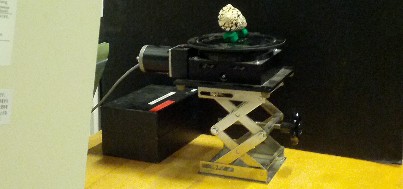
Two features of my Conus textile shell influenced how I set it on the Minolta's stage. Because it is conical, I elevated the shell with two clay supports to expose the rounded bottom of the shell. Because it contains an aperture (the space the sea snail occupies), I oriented the shell with the outer lip edge on top to expose the interior lip.
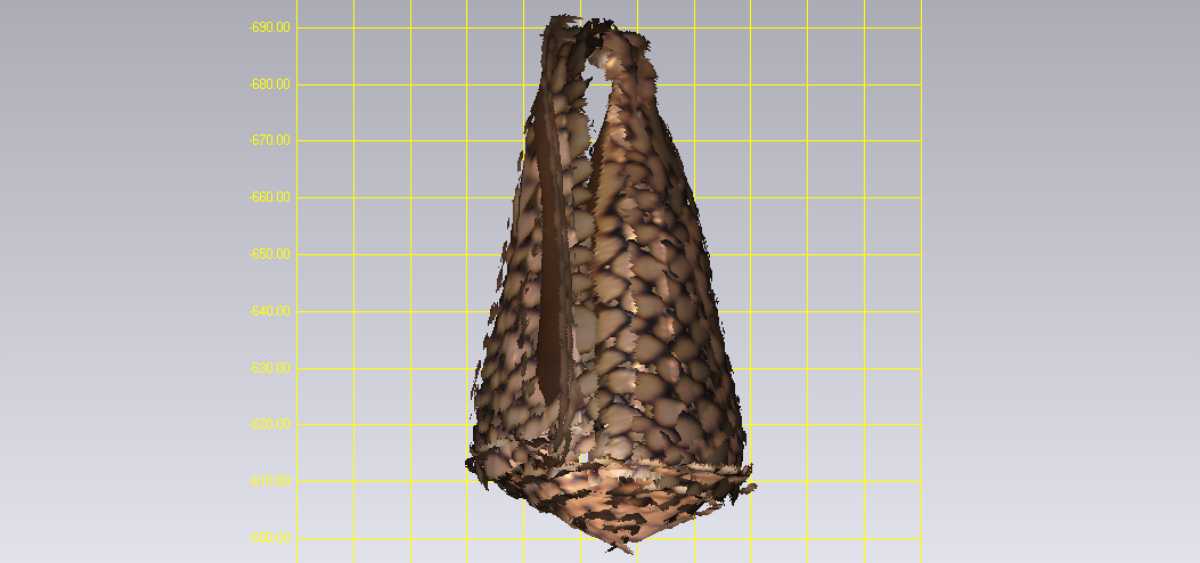
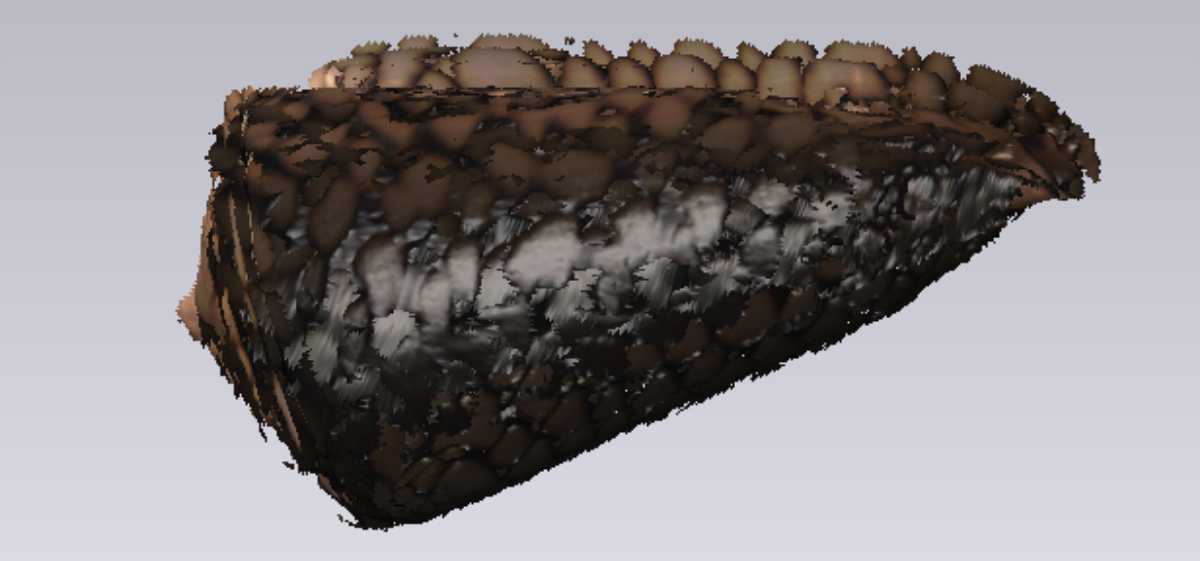
Post-scan I could see the Minolta had difficulty with both features. A long hole replaced the rounded base of the shell and the outer lip of the shell was noticably jagged.
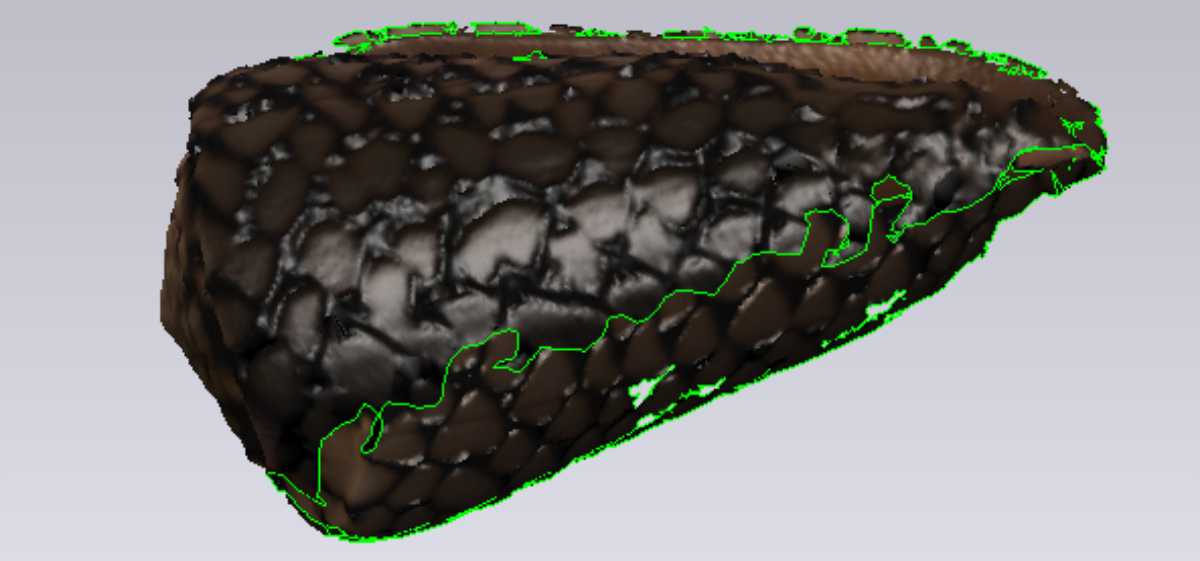
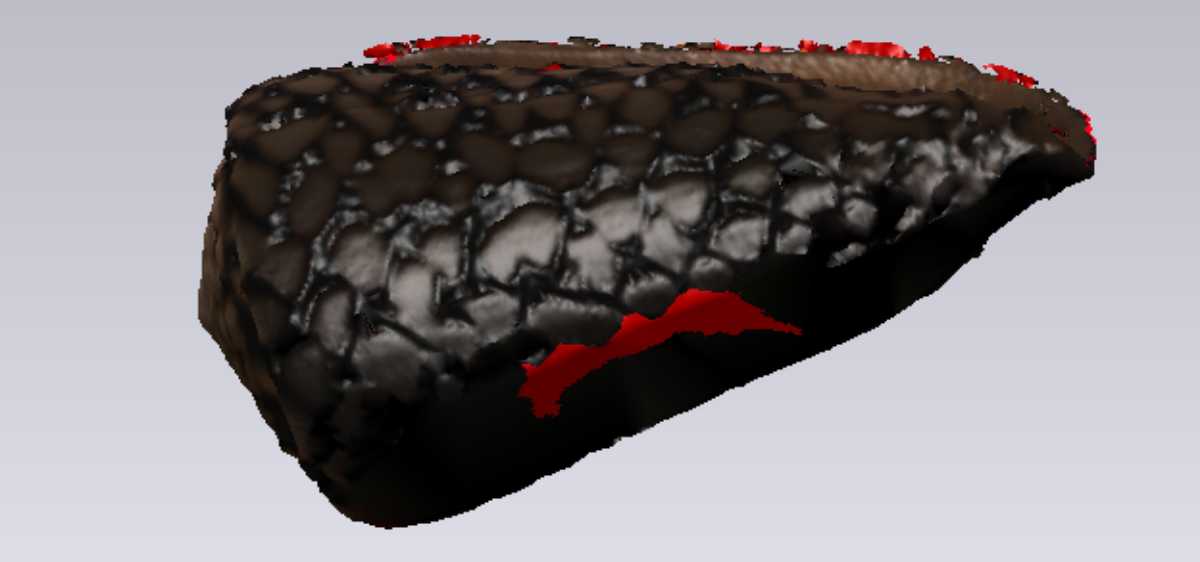
However, merging the object eliminated many of the artifacts along the outer lip of the shell. Partial filling the large hole allowed me to capture most of the curvature at the base. The remaining ~40 holes were each completely filled. Since these were all much smaller, I could tolerate occasional flat filling-surfaces.
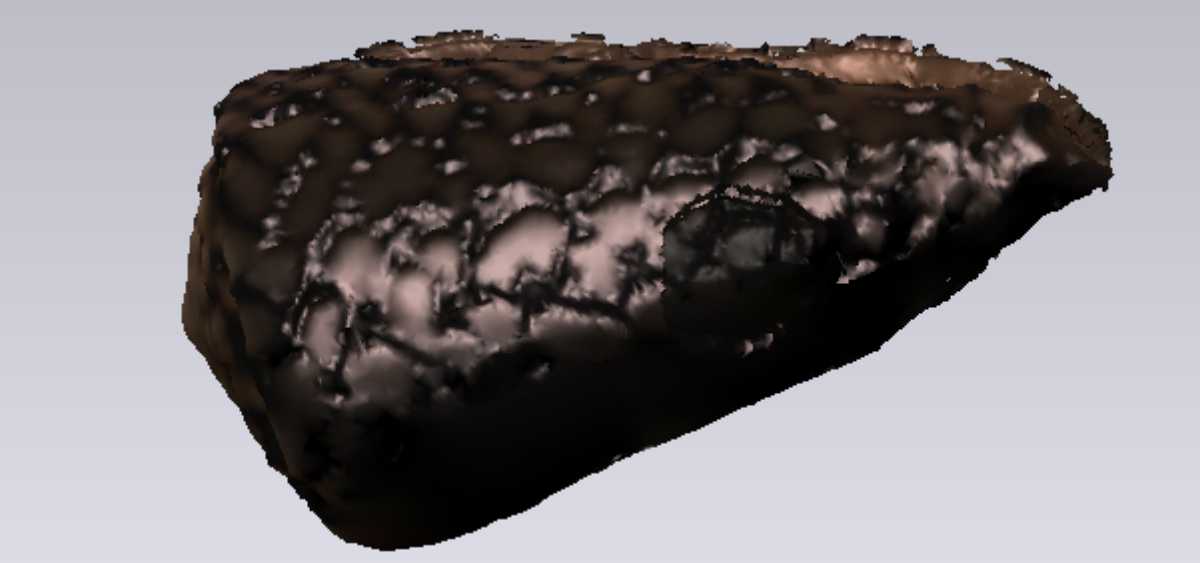
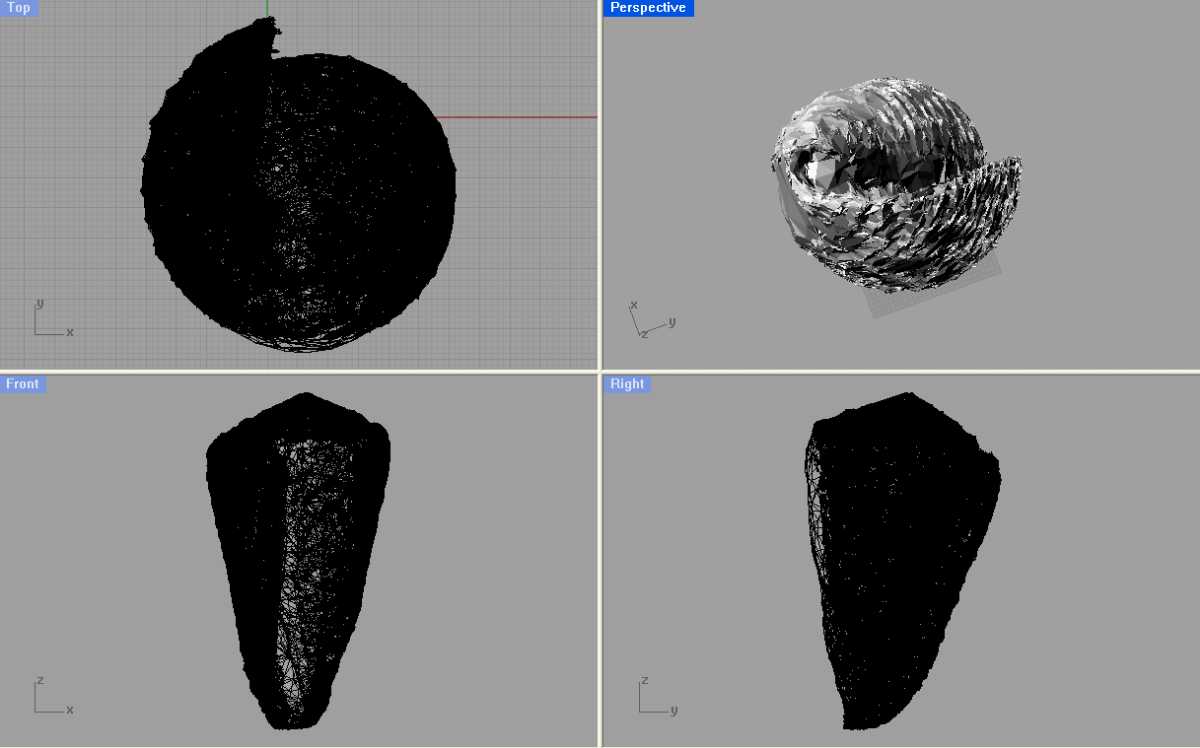
Saving as an STL at this point failed - the file was not watertight. To make the file water-tight, I thickened the shell by 1mm. The resulting STL included almost 400,000 triangles and was >100MB in size. I decimated the triangle count by 75%, which brought the STL size down to ~20MB and allowed me to send the file to Tom for printing. (Note: the second image shows the STL opened in Rhino)
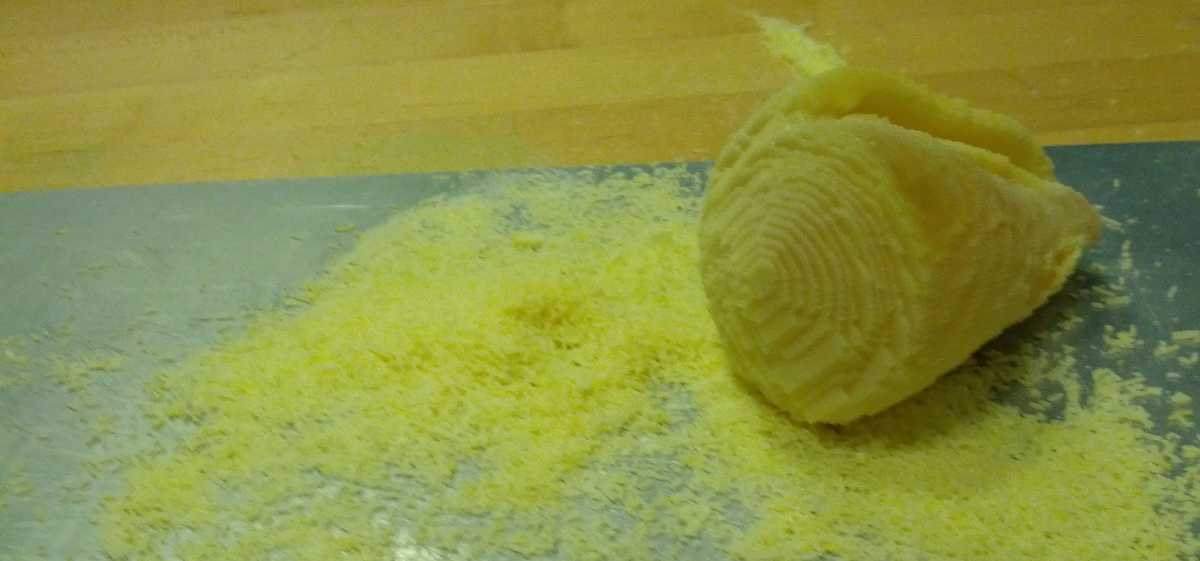
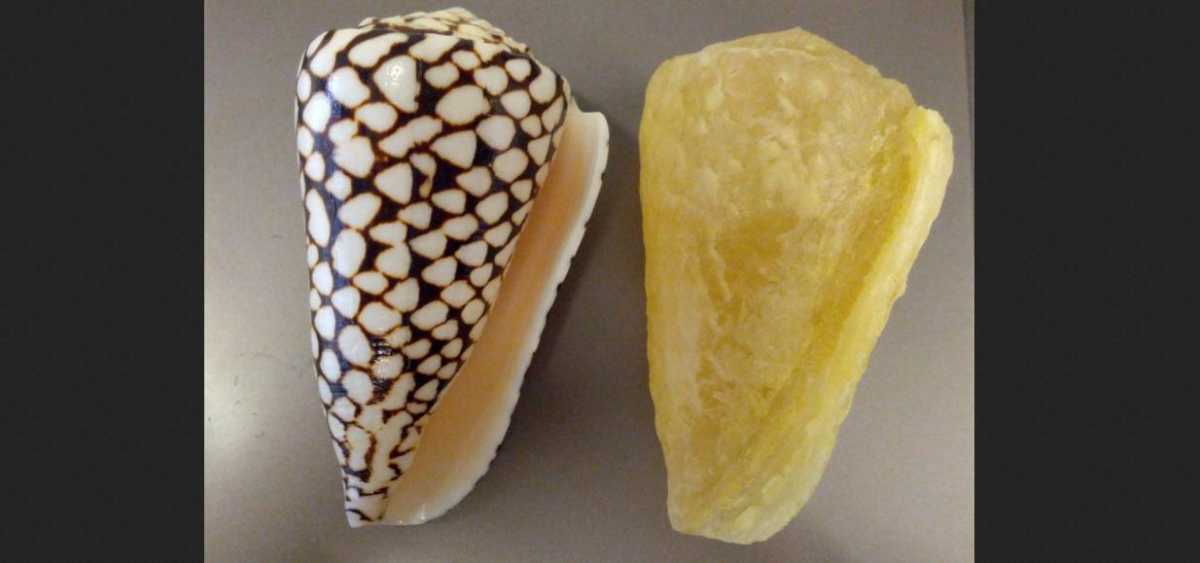
An hour in an oven at 175F and the wax support mostly melted away. The final acrylic output is on top beside the original shell.