Final Project
Machine: ALL
Material: ALL
Software: ALL
Share: hello.LCD.44.ftdi.bus.cad, calculator.buttons.v2.cad , nmj.LCD.calc.84.c , calculator.buttons.v2.c
I made a functioning calculator with an ATtiny44 and ATtiny84 combination. I achieved 16 button output on the former using input matrix scanning, in which 4 pins transmit and 4 others receive. By pulling individual transmits low while the others are high, pushing the button creates a short, pulling down the receive. The process is described in more detail by Open Music Labs, which can be found by the hyperlinked schematic below. You can also look at my code to see an implementation.
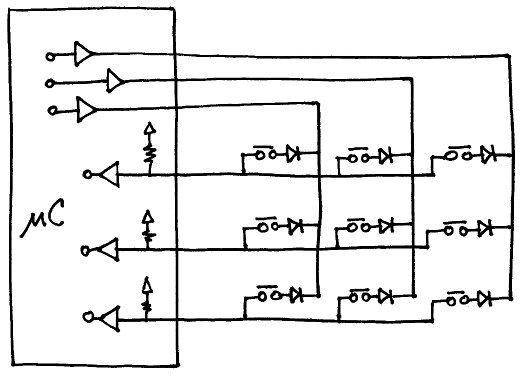
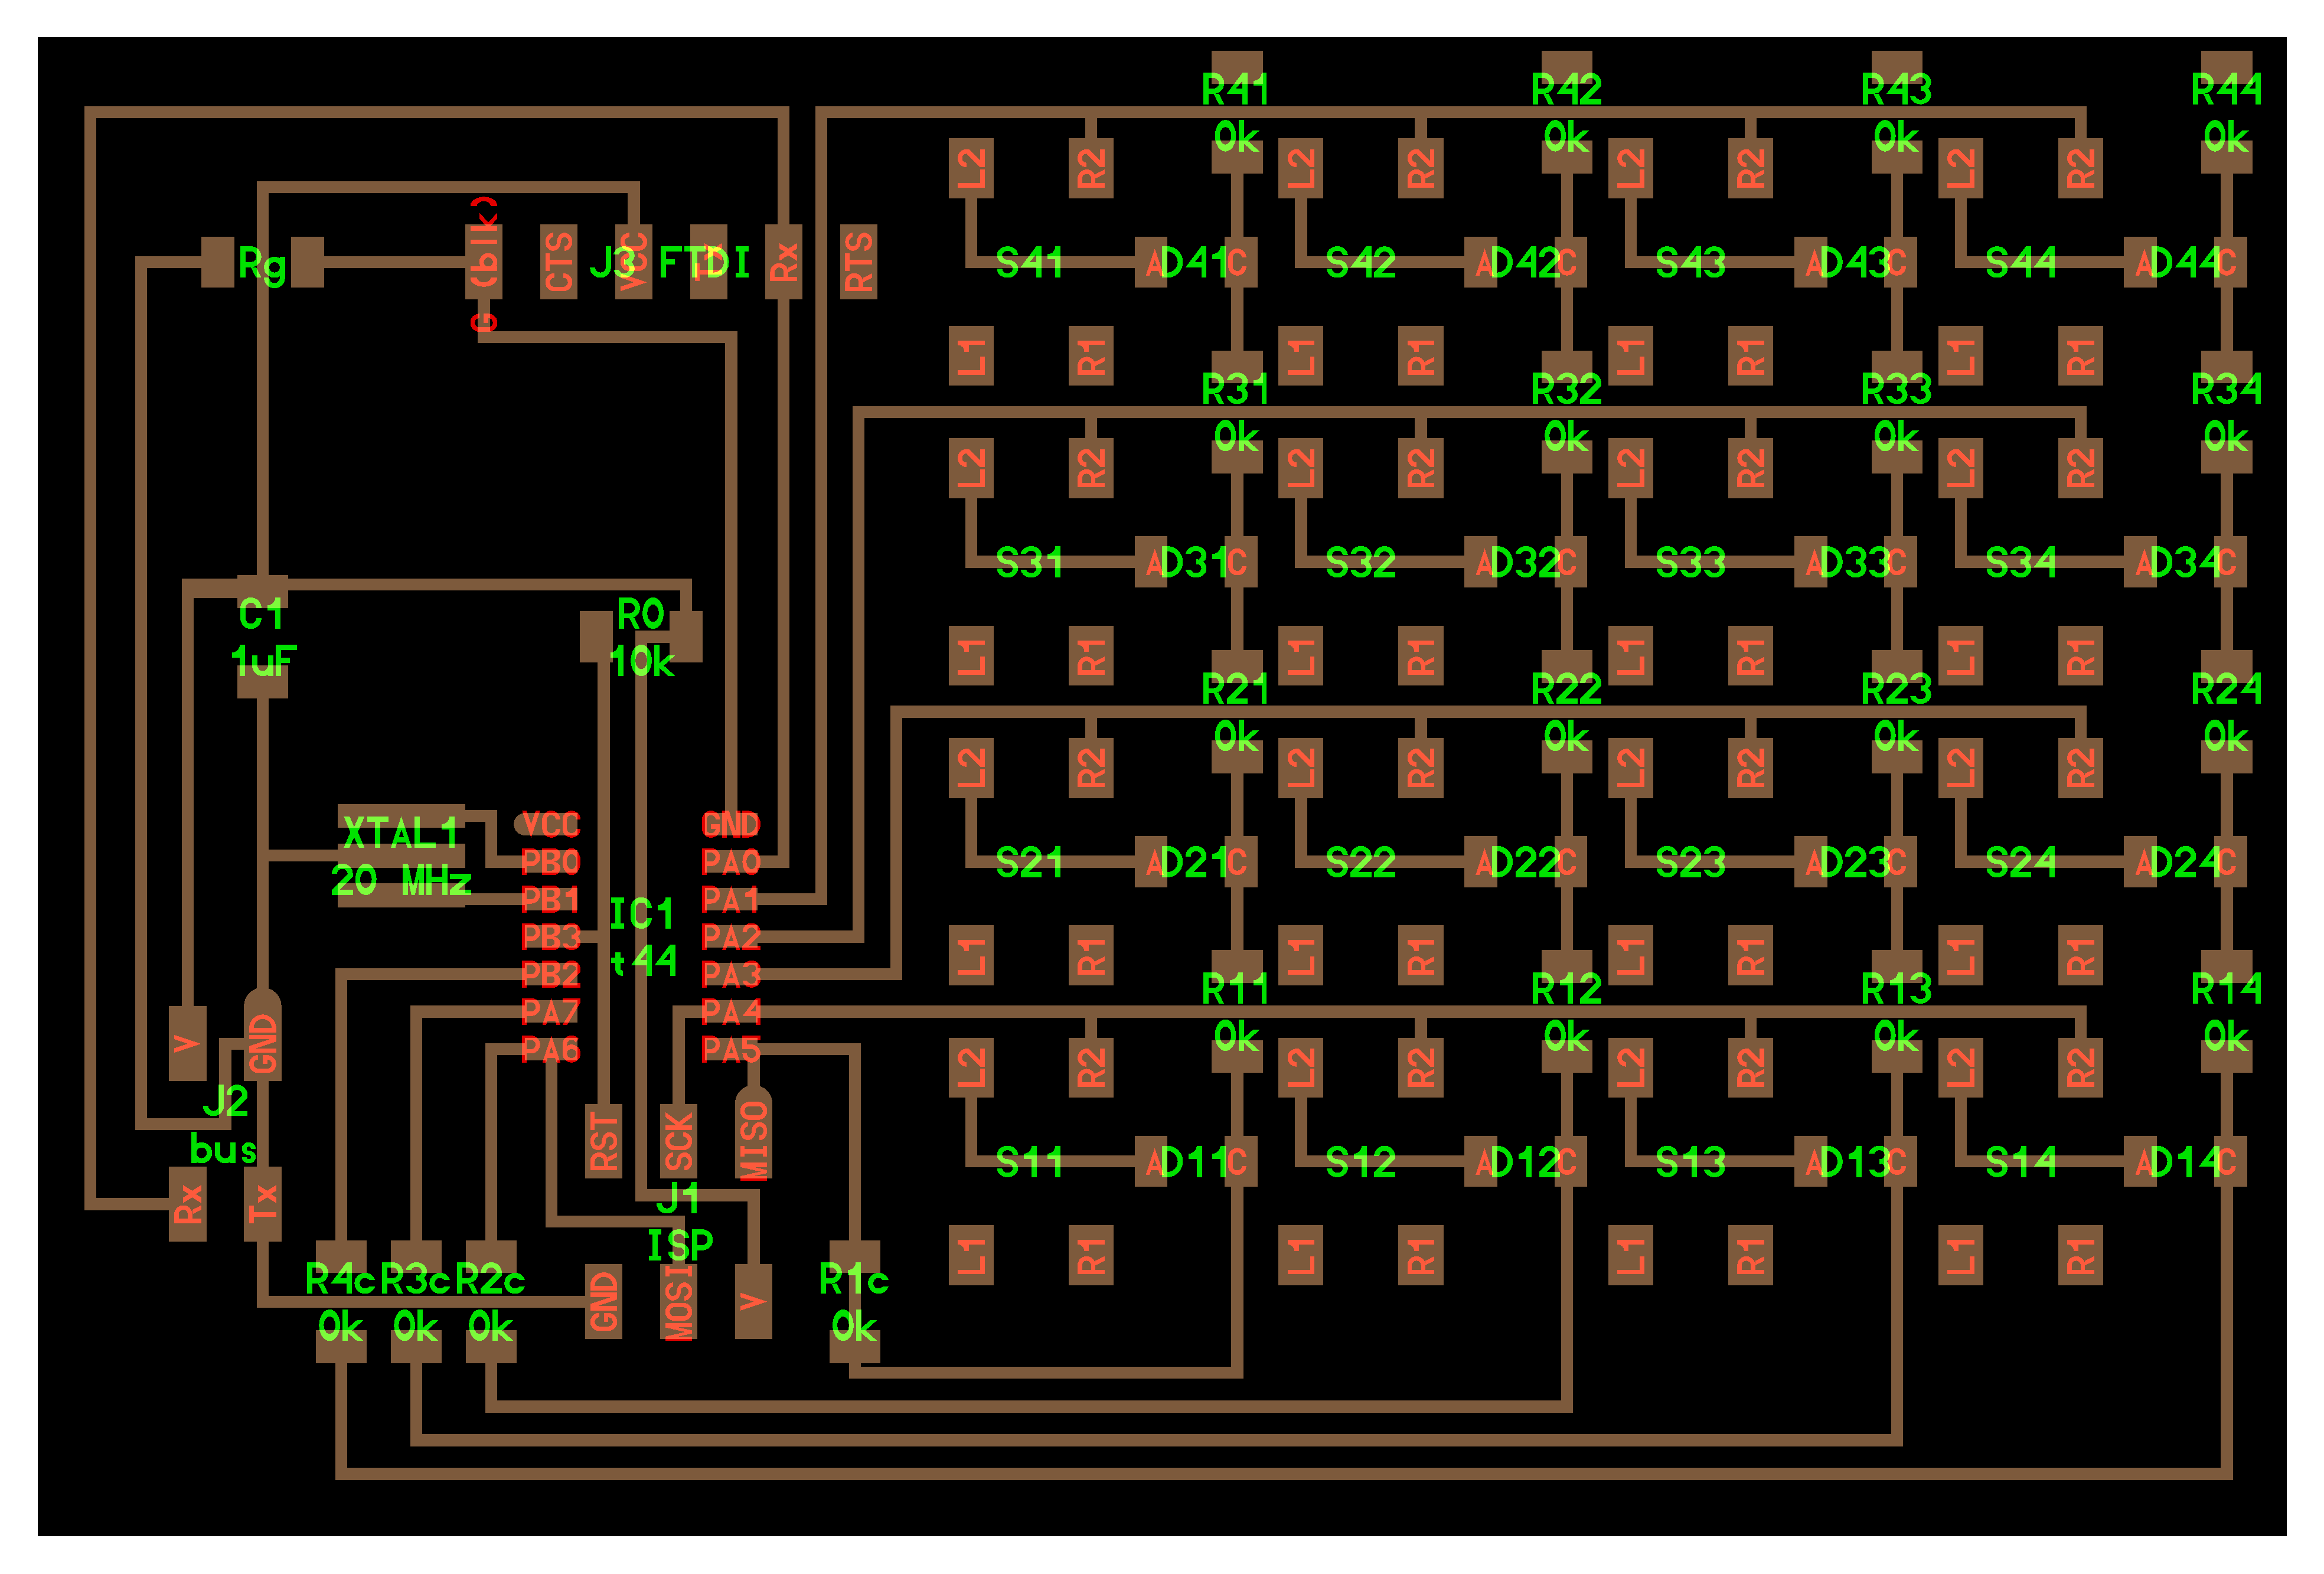
Designed the board in kokopelli. It is 3'x2' so you can even mill this out of the smaller copper boards we stock. 4.7V Zener diodes between the trasmit connection to a button and the common transmit trace for a column, in the direction of the latter, prevents cross-talk between rows. Voltage, ground, and transmission of button events can be delivered by either an FTDI or serial bus header.
Also modified the LCD screen layout because 2x5 headers were not in stock. Added FTDI and serial bus again for receiving button events. It shares power with the button board from the ISP header.
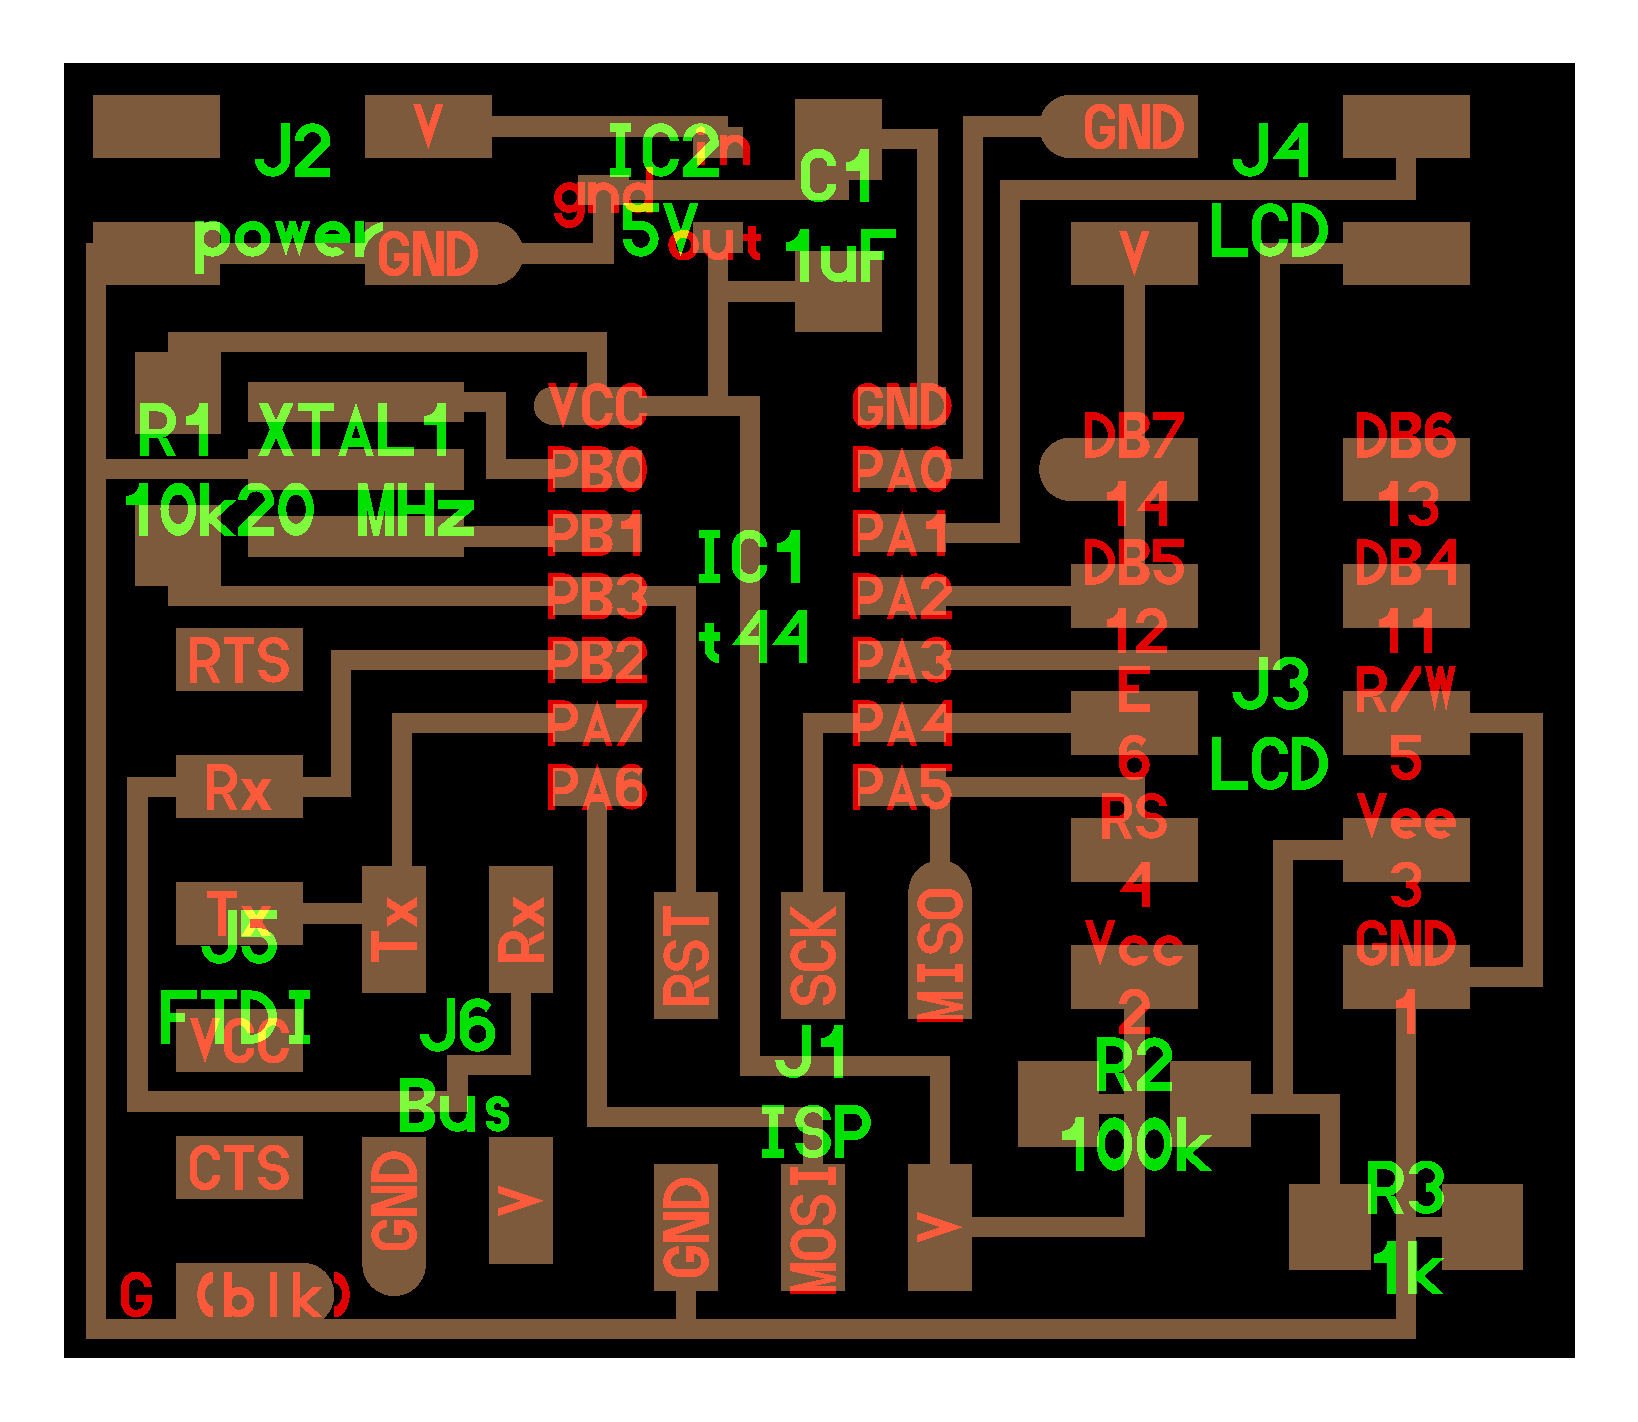
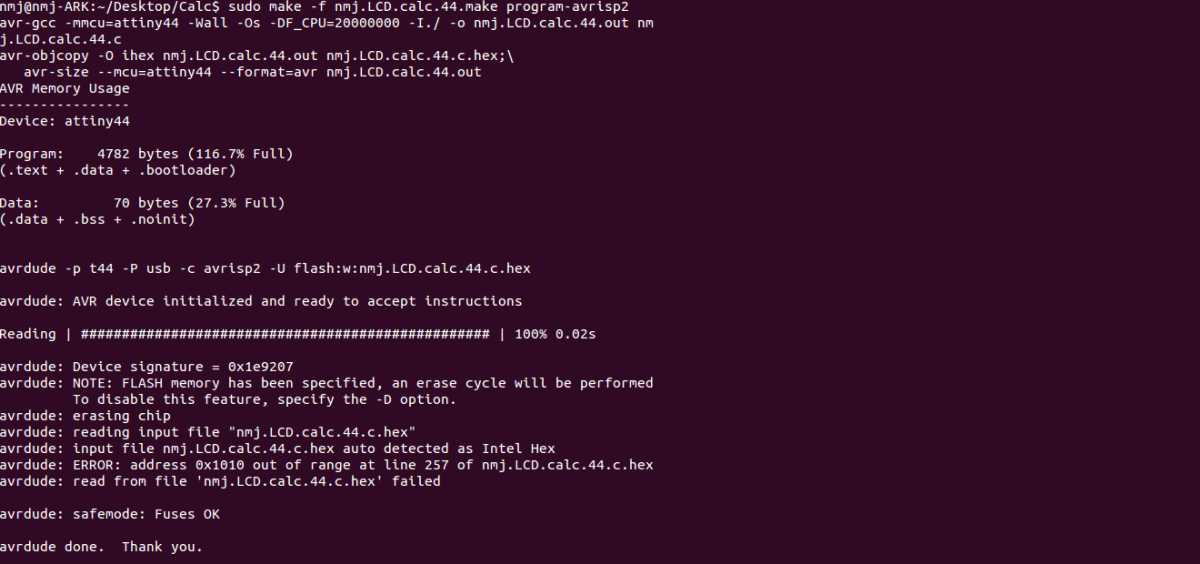
Calculations are performed on the LCD-controlling board. I swapped the ATtiny44 (4K of flash and 256 bytes of EEPROM and SRAM) with the 84 (8K of flash and 516 bytes of EEPROM and SRAM) to have enough space to import float handling libraries. Note, they share the same footprint and datasheet.You will receive this error if you do not.
Included FTDI headers on both boards so I can debug them indpendently. The decimal point button clears the screen with two clicks or when a number already has a decimal point. The operation buttons only work when one number has been input. The equals buttons only works when there are two, and can be pressed multiple times to iterate the operation.
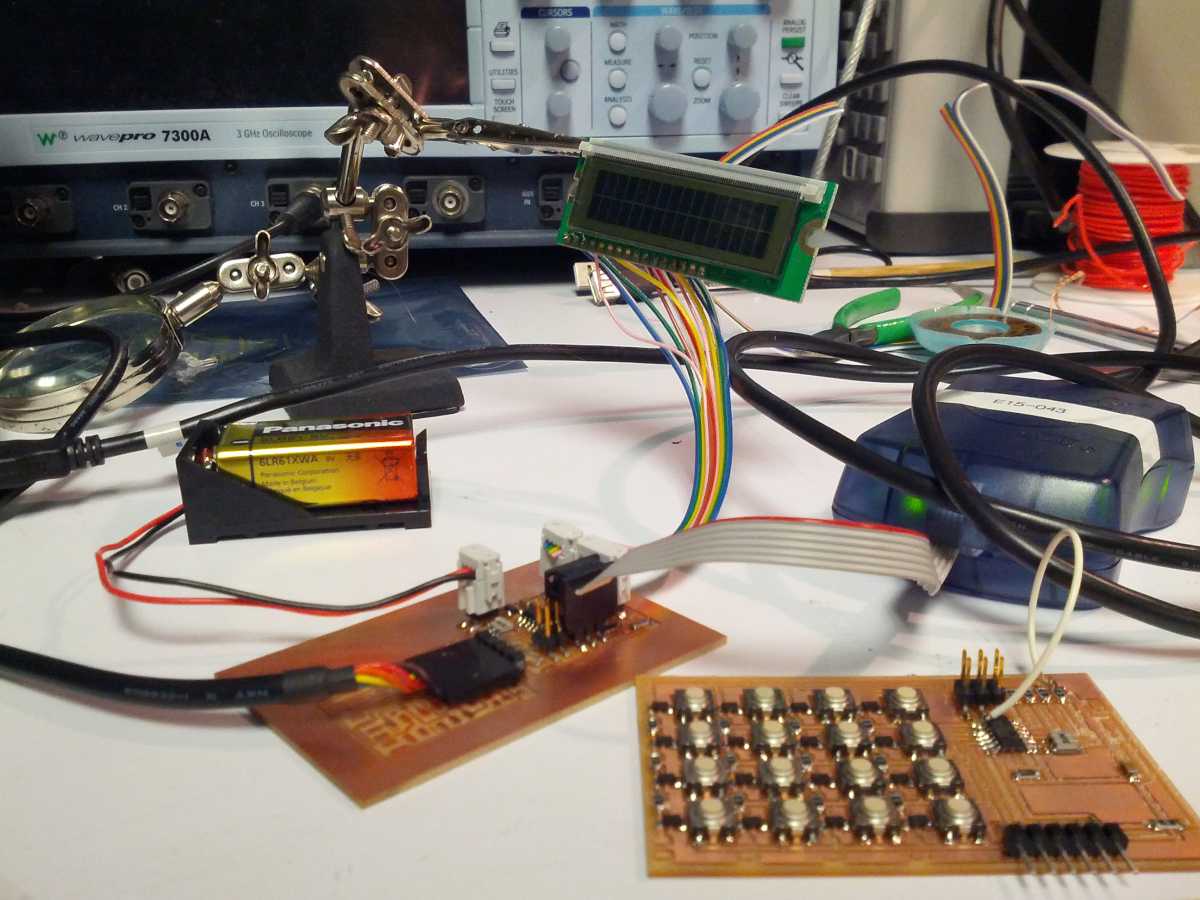
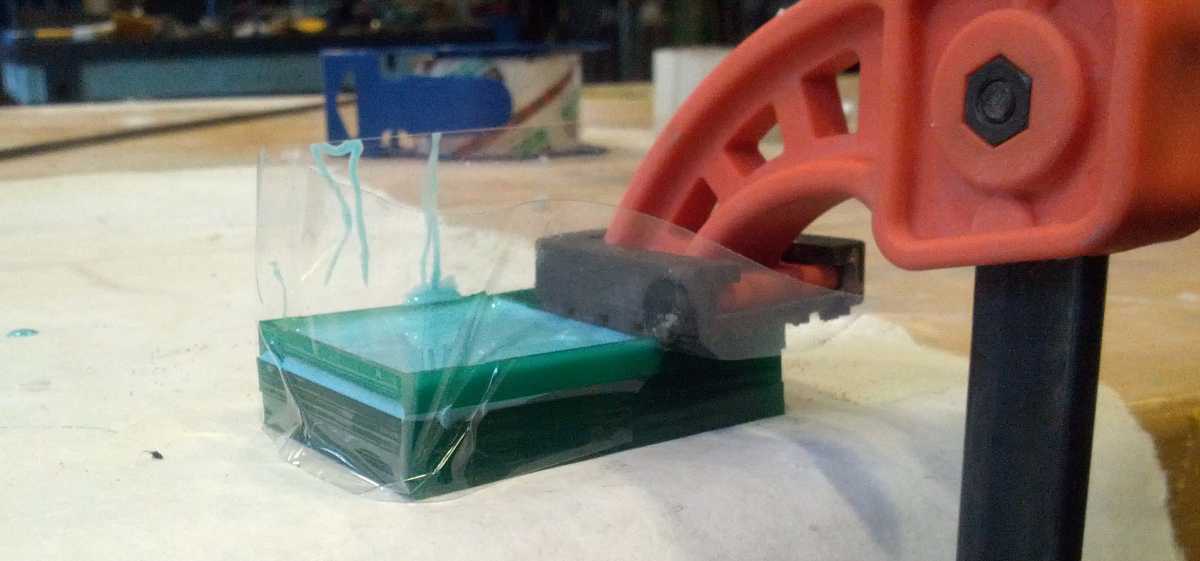
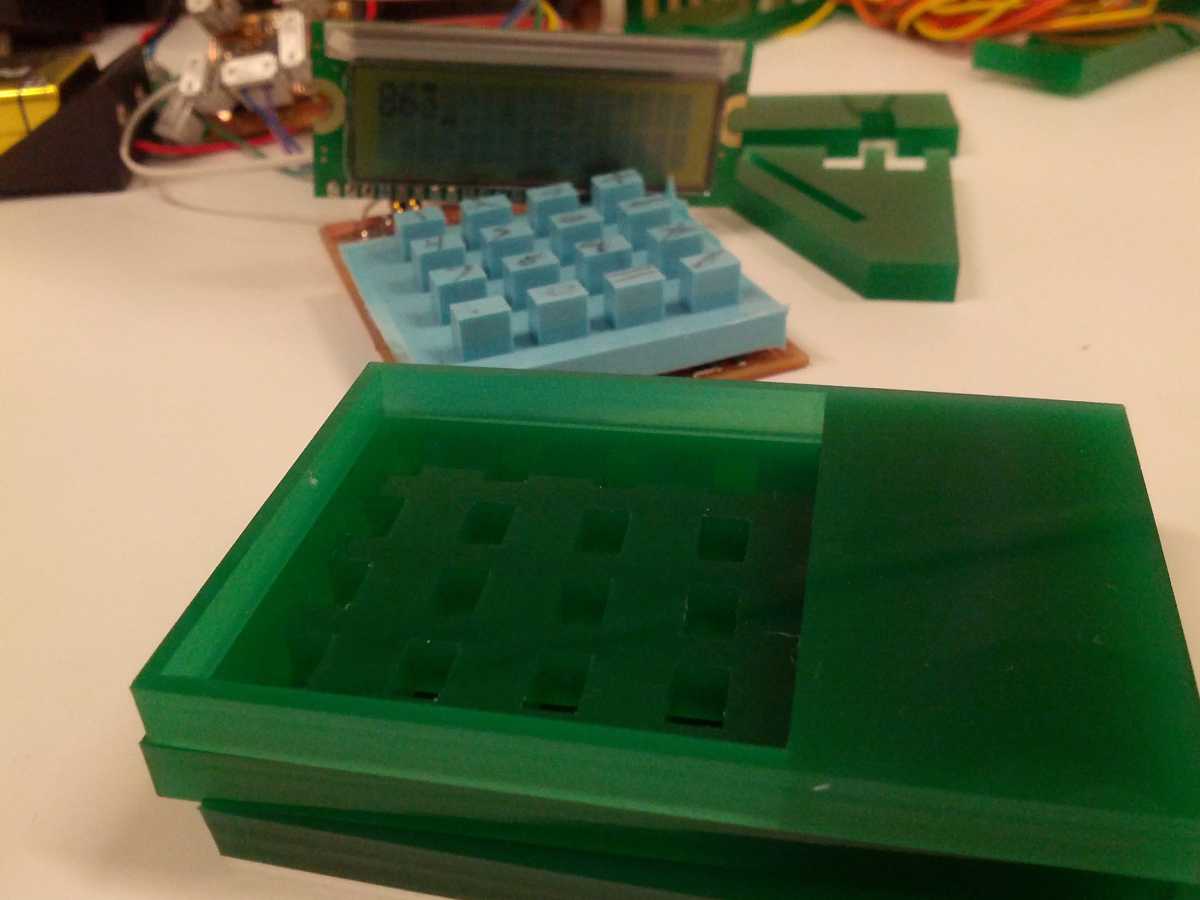
Clamps were helpful for holding my LCD while debugging, but I made an angled press-fit constuction once the calculator was ready to be filmed in action. Video is located on top. I also used my kokopelli png's to create a button case in Corel Draw, which unfortunately did not leave enough clearence to push the button.
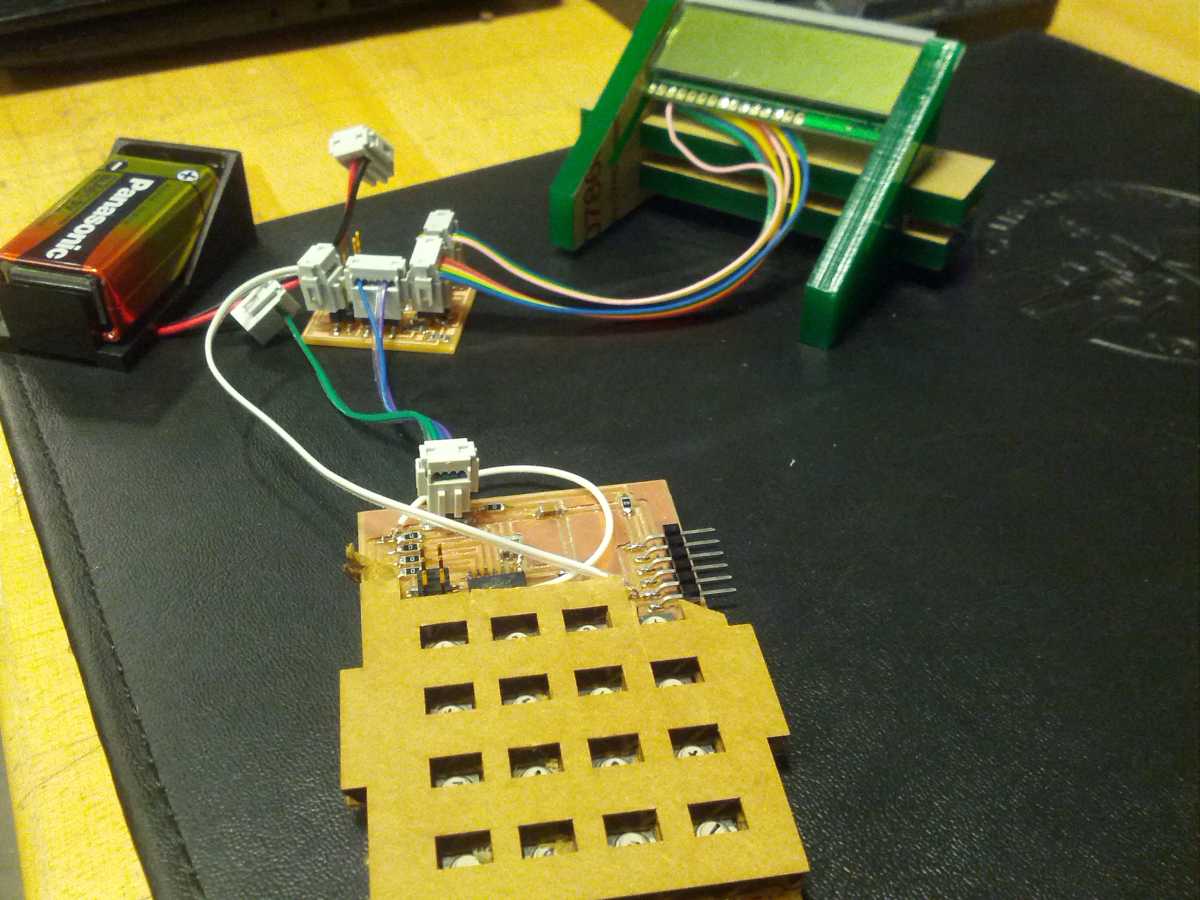
I used this mask to create an acrylic mold for a Silicone button pad that will enable me to both include a case and effectively push the buttons.
