
At Intel, I was on a team working on the development of the Creative Senz3D time-of-flight depth sensing camera and Perceptual Computing SDK. Early on, I did some prototyping work and became interested in the idea of 3D scanning and reconstruction of objects and the real world.
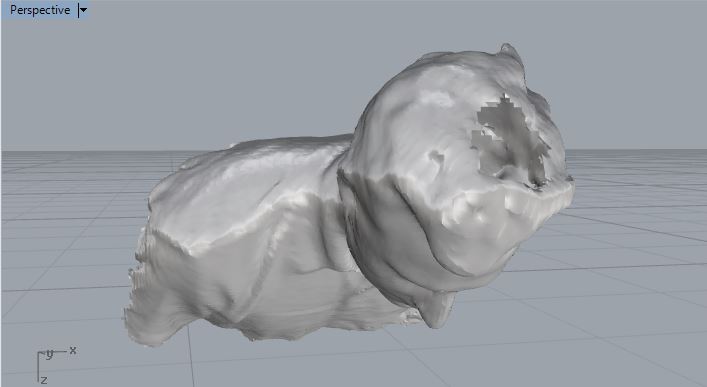
The original scan also has holes on the top and bottom because of missing data.
Of course, from the early days when Kinect hacking was popular, I quickly discovered that real-time 3D reconstruction with a depth camera is a challenging, unsolved problem (it was at the time–at least). I did some work on it early on, but did not have the talent, time or interest to solve the problem. Having depth is but a small part of the solution. There needs to be a robust method to stitch real world re-projected depth maps (point clouds) from different angles. So, when a user is scanning the object or scene with a camera, the computer must determine what the translation and new rotation of the camera is to stitch the depth maps together. And it doesn’t end there… even once you’ve got a good reconstruction of the scene in a giant point cloud format, to make something meaningful out of the data, you have to convert the point cloud to a mesh. Once you’ve got a mesh, you’re good to go… but only so long as you’ve made sure that your scanning algorithm has closed all the loops when you scan around the object. One of my co-workers was doing development of 3D reconstruction algorithm full-time, and so before I came to media lab I asked him to scan me so I could have an image of myself for posterity. Here is the process of what I did to make something useful out of myself.
Step 1 – Fix your 3D Scan, using various Meshlab filters
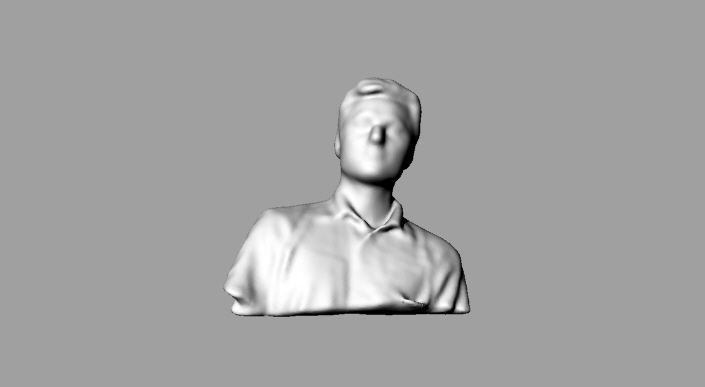
Filled all holes and made sure it was air-tight
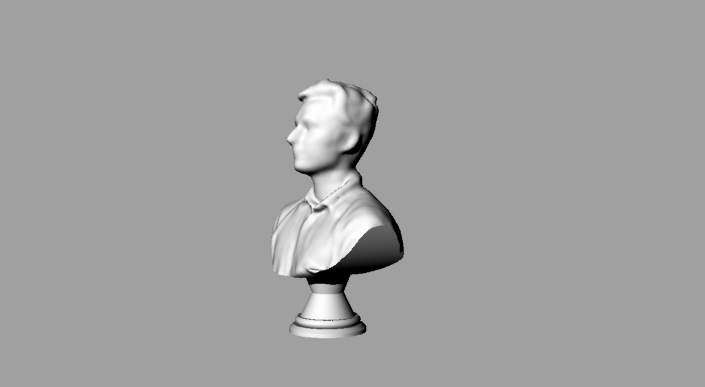
Step 2 – Orient and sculpt yourself

A sculptor cuts away a U-curve from the bust to emphasize the chest area
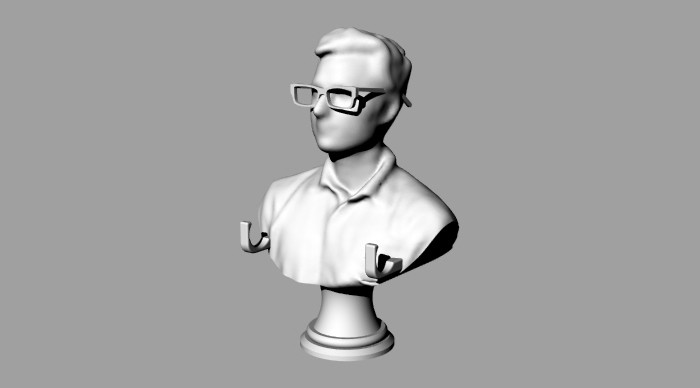
Step 3 – Glorify the self
The column symbolizes grandeur and greatness. Reach for the stars, never give up!
Step 4 – Design to accessorize
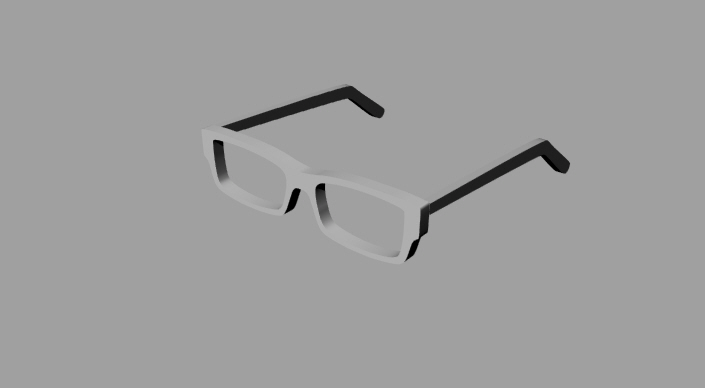
A pair of killer glasses should do the trick
Step 5 – Add some flare

Don’t not be a lady killer
Step 6 – Add function

“Form ever follows function” is not always true
Step 7 – Print and enjoy your new pen holder
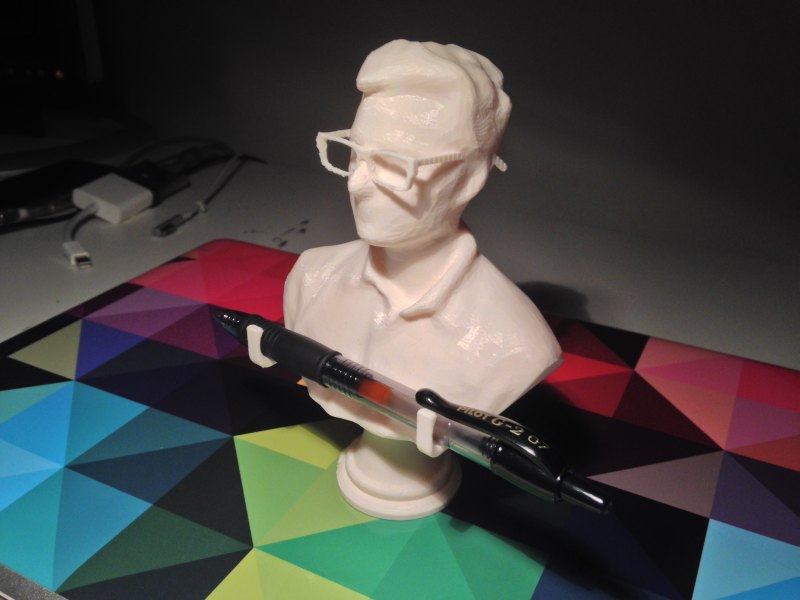
That’s it folks! I now have a functional object on my desk, a pen holder made from my classy bust.