
I spend a lot of time in the lab working on class projects and research, so I often find myself in the situation where I’m tired and want to take a half-hour nap to recharge. The problem is that the couches in the lab are usually occupied, or they are located in loud open social spaces that are not conducive for getting good rest.
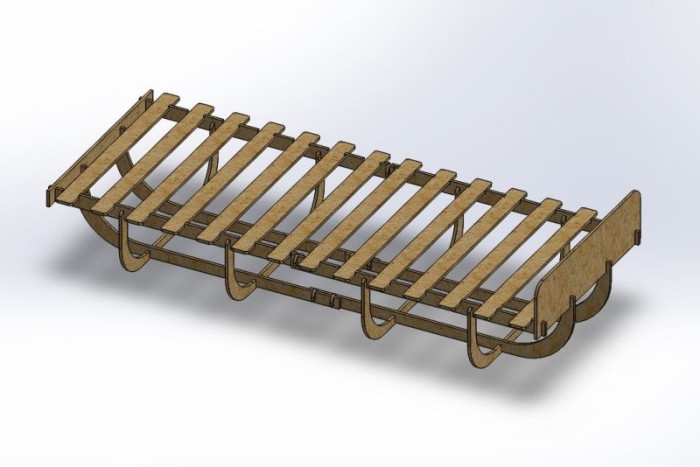
What’s the solution to my napping problem? For this project, we were tasked to “make something big”, and I figured I would design a simple cot for myself that could be easily assembled and disassembled at will. I decided to use this project as a way to learn how to use Solidworks and get more experience on press-fit design practices, so I made it a parametric design of a cot (a cot which is custom-tailored to the user). I call it peaCot.
The parameters (made as global variables in the solidworks design projects) are as follows:
- Material Thickness – Must know this for press fit, as sheets of OSB will vary, but also maybe someone would desire to use plywood, or other, more rigid material.
- User Height – With no shoes on
- User Width – Measured at the widest point (usually the shoulders)
- Width Padding – Can be set otherwise, but for comfort I set the padding to 10cm on each side
- Height Padding – Also can be changed, but for default was set to 15cm on top and bottom
- Bed Height – This can be changed, too, but default of 30cm

Filing down the sides of cutouts for OSB is a good idea
Making the design was not so challenging… but, making the design rigid and sturdy was quite challenging. Initially I made the design with only the legs running across the width. This was problematic because the structure would sway along the length really badly–it was unusable. Also to note, my first attempt at press-fit failed as well because the spacing on the slots did not match the thickness of the material. Not to worry! Since the design was made parametrically, all I had to do was change the global variable associated with the thickness of the material, and POW! all the slots were sized appropriately.
Cutting the design on the shop bot was incredibly fun, albeit at times daunting. I was really worried that I would hurt myself and forget steps along the process. But, the process is pretty basic–mount the oriented strand board (OSB) on the sacrificial layer, change your drill to appropriate size (1/4″ was fine for cutting through, I used 1/8″ for engraving), zero the shopbot x,y, and z coordinates, create toolpaths of your design, send to the shopbot, start the drill and GO!
I have to pause here for a brief moment and document how much I LOVED using this start button. Talk about great design–pressing this button makes one feel like a KING. I wish all devices had these buttons. My only regret was that I never had to use the big red STOP button. But I guess that is for the better.

Hey you–pssst… wanna feel like a KING? Just press this.
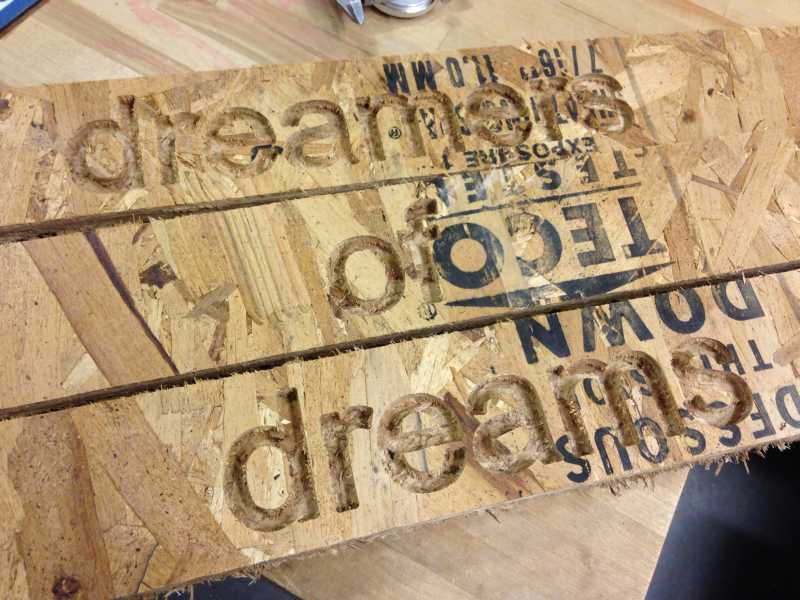
Engraving should be done with an 1/8″ endmill to get the path around the text
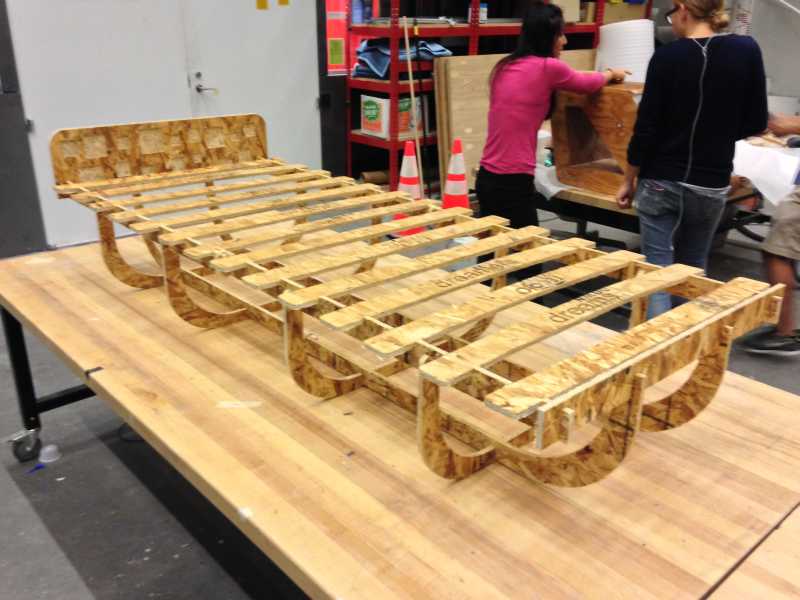
After cutting, I had to cut over the slats twice to free them from the OSB, because I changed out the OSB for a new one, and the new one was really warped. In the future, I would cut my slats along the longer side of the board, instead of the shorter side. The reason for this is because OSB is usually warped or curved along the short side, which made all of my slats funky and curved.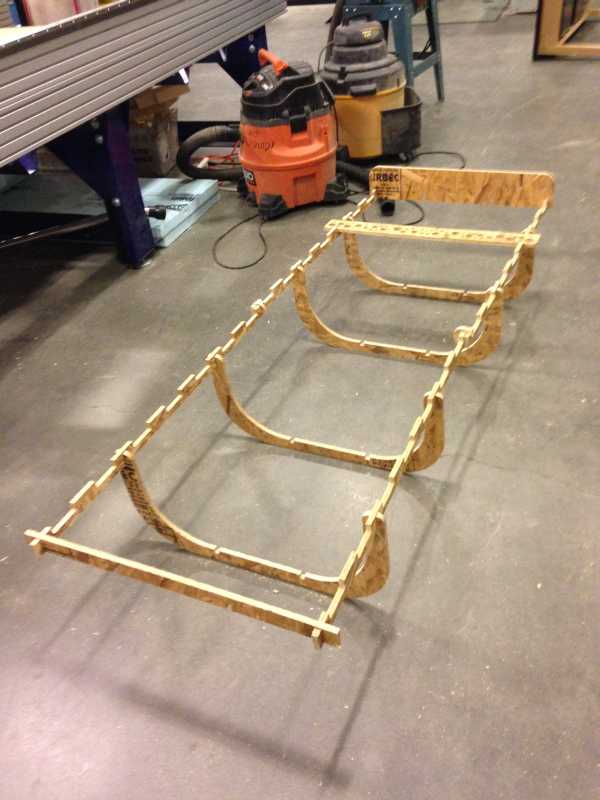
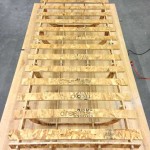
Assembly was easy and straight-forward. I correctly gauged the slots and they fit with enough pressure to hold and maintain rigidity throughout the cot. Unfortunately, the slats feel too weak to sleep on. They ought to be milled from something harder, or perhaps doubled up to get more support.
-
- Easy to assemble

-
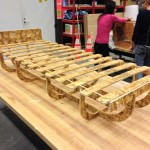
- Voila!
-
- “We are the music makers”

-
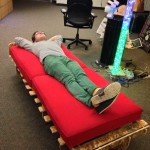
- Ermal tries rev 2
