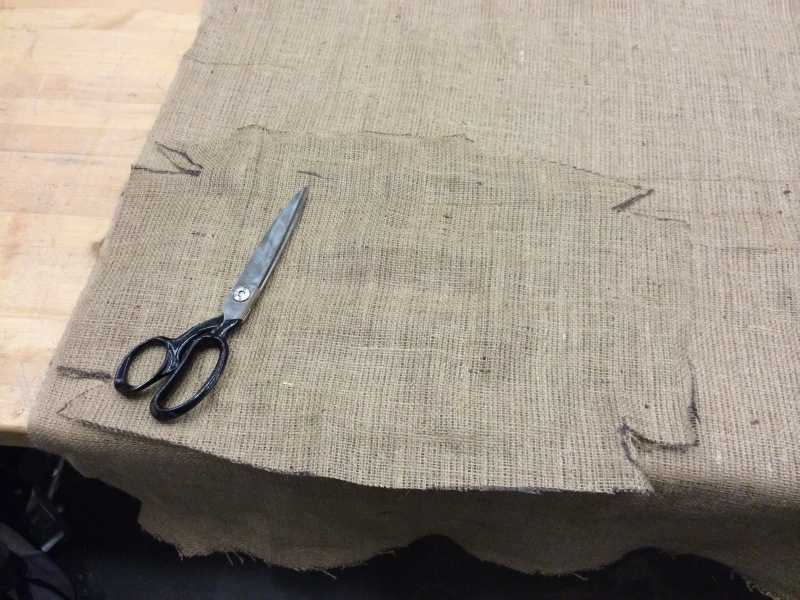
Composite materials are materials made from multiple materials (called constituent materials) that form a significantly different physical property when they are put together. Our assignment was to make a composite material from burlap, a woven fabric, and epoxy which forms a pretty strong material.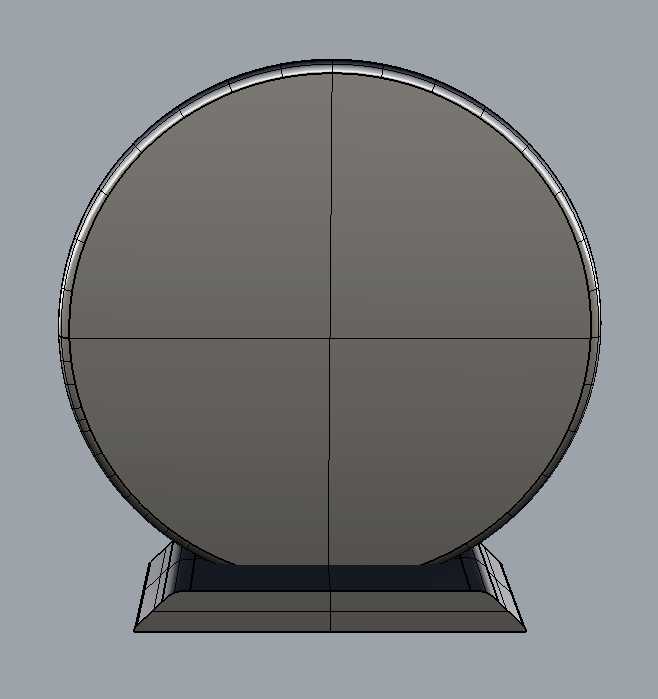
This week was pretty hectic, and I really needed the weekend time, so I decided on something simple: make “shoes” for my bike. I just need something to rest my bike on so it doesn’t move and scuff up the beautiful hardwood on my apartment floor.
I took some measurements of my bike wheel, and made this simple design to fit the exact dimensions of my bike tires. I struggled to choose whether to mold the negative (shown here) or the positive of the mold.
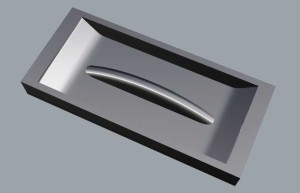
Some classmates suggested that it wouldn’t make a difference, but I believe that I ended up paying a heavy price for this as the composite came out less than desired.
At any rate, I made it through to the end with something functional, but learned many lessons, which I will document below.
I used Rhinoceros to make the design, and exported to STL. From there, I used Partworks 3D to create the ShopBot toolpath. Since I didn’t have many fine features, I opted for the 0.5″ ball-end endmill and for the final toolpath, I chose 15% passover (although that may have been overkill).
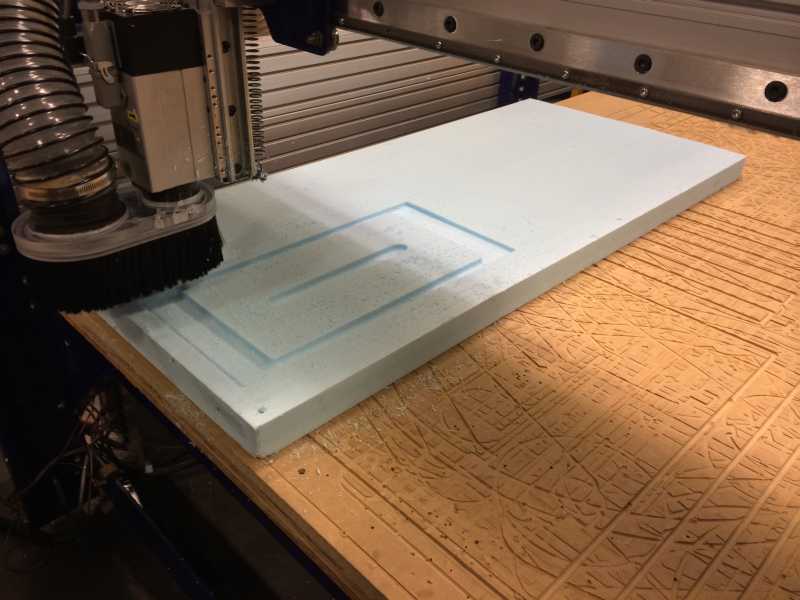
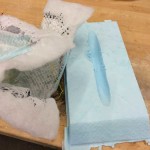
I was pleased with the foam cutout and was ready to move on the next step.
I could have opted for a better cutout of the burlap with laser cutter, but that would have taken a lot of time, which I didn’t have. So, I just sort of eye-balled it and made an approximate cut with slits along the corners of the prism.
Next, I prepared the solution of epoxy and used the porous plastic material between the burlap and breathable layers.
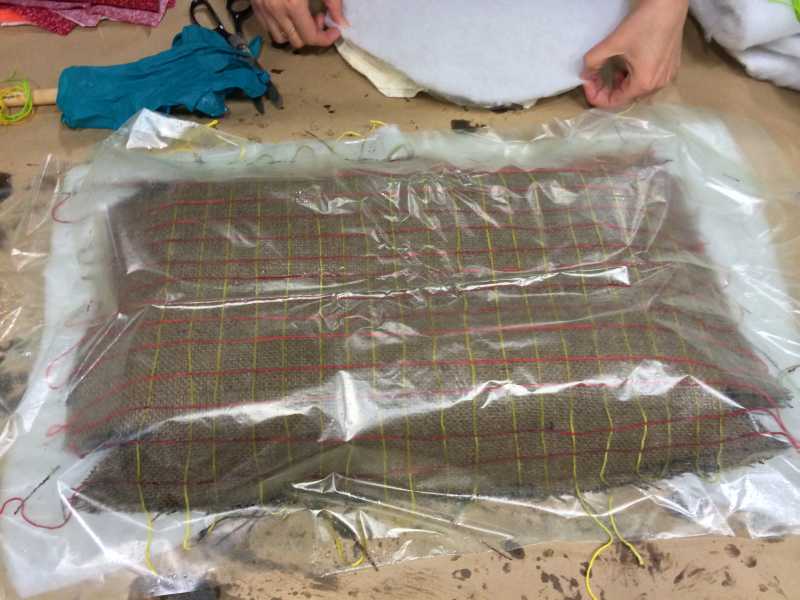
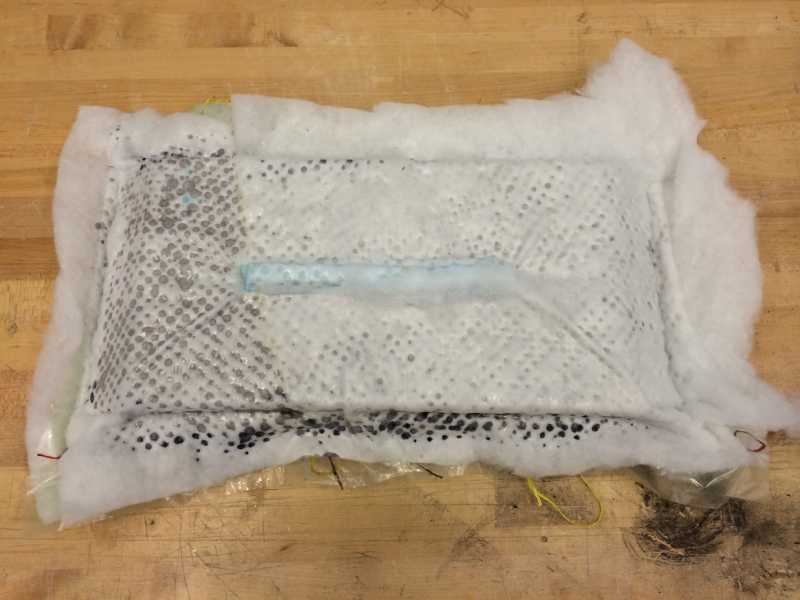
The technique is to layer the material as follows (from bottom to top): foam, breathable layer, porous plastic, three layers of burlap with epoxy coating, porous plastic, breathable layer. Note that I also added colored string on the last layer of burlap for decoration.
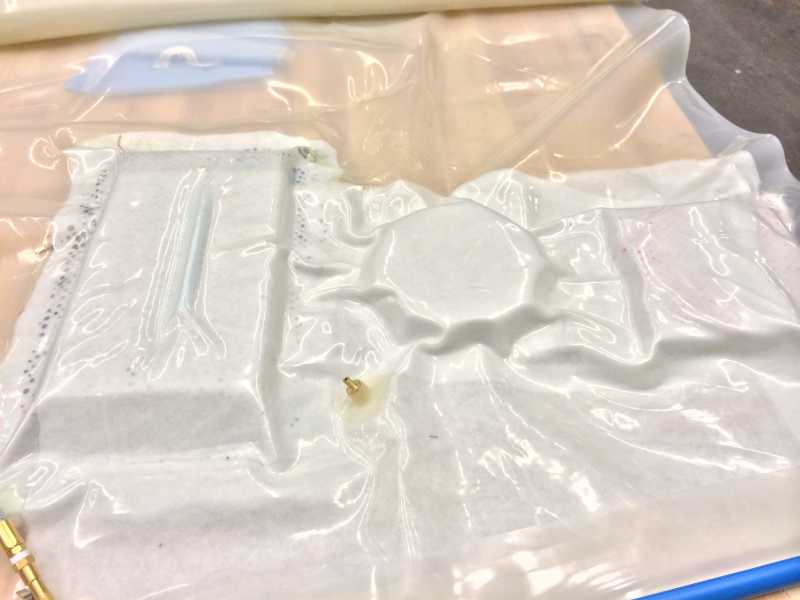 Phew! It was ready and we turned on the vacuum. Since I did not use the negative, the vacuum would not suck the burlap into the groove properly because of the size. So I made an approximate male part out of foam and stuck it in there to make sure that the groove formed properly.
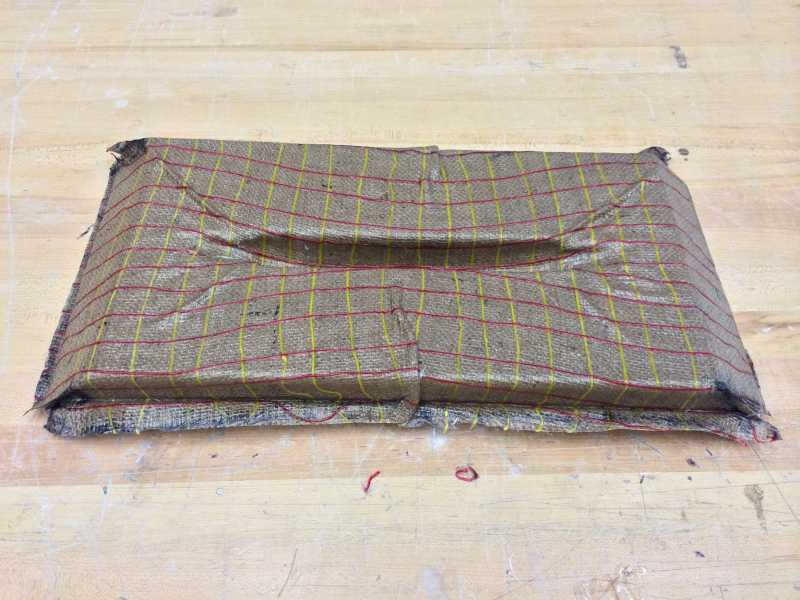
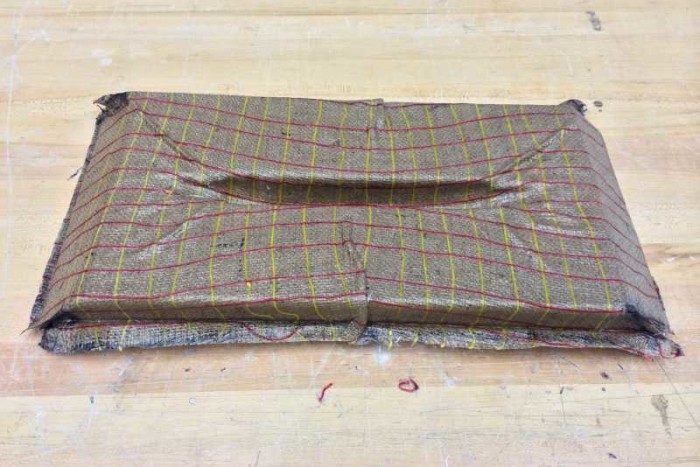
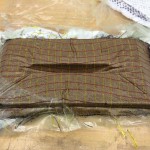
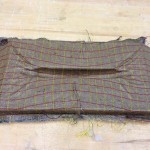
 After 12 hours, it was ready and looked like this. The following pictures how I dismantled it.
-
- Broke the foam :-(

-
- Wrinkles everywhere
-
- Needs some adjustment
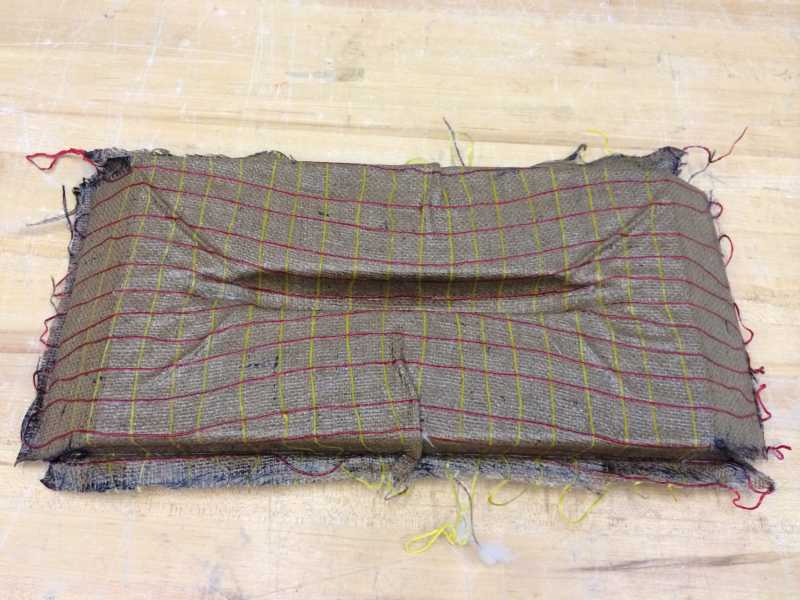
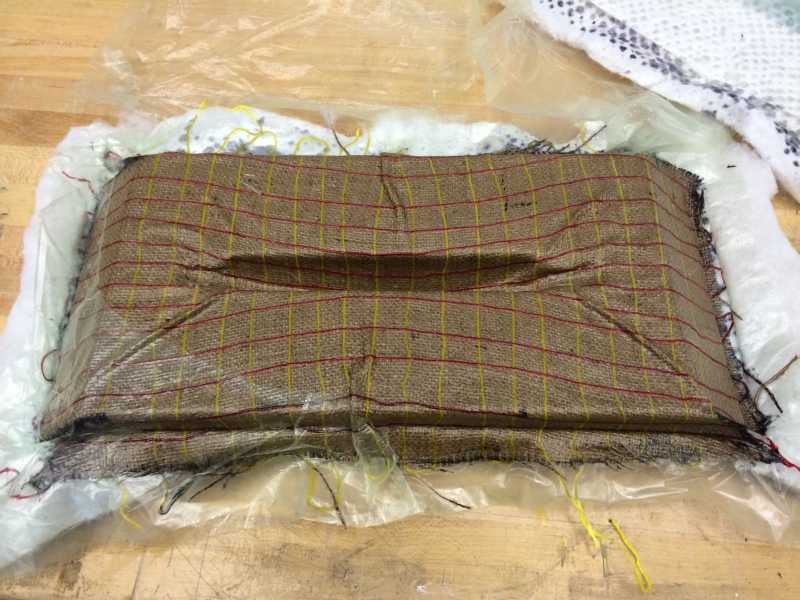
There it is, folks. Not the prettiest thing, but it is a bike shoe. Something unintentional which I quite liked was the sucking in visual effect that is seen by the placement of colored string. Reminds me of those examples of the warping of space-time fabric due to strong gravitational forces a la theory of relativity.
I’m not trying to claim that I’ve stumbled onto something great that could change the world, but I may have.