Xin Wen
Week 10: Machine Design
EECS delta hopper
1. Project Planning
2. Manufacturing
3. Post Processing
4. Final Machine!
This week's assignment was to make a machine with people in our section. The EECS section decided to make a delta picker. I was originally on the end effector team but it turned out that there wasn't much to do with end effector so I helped out with modifying the design and generating toolpaths for manufacturing, machine frame manufacturing, and finally the assembling. HERE is our group's page that documents the entire process and all the files we created. Also, Jake's documentation was very helpful.
Tools used: OnShape, Rhino, VCarve, ShopBot, Laser cutter, various hand tools and power tools, gitlab issue tracker (for communication)
1. Project Planning
We decided to make a delta picker!
2. Manufacturing
I was on the end effector team but since there's not much to do with the end effector before the machine is assembled, I helped out with design and manufacturing. I converted our 3D models into 2D design to be milled on the ShopBot. I used Rhino and the explode command to get the 2D outline.
We realized some of the design needed to modified when we were converting them into 2D design. The lesson was the design team and manufacturing team really needed to have good commmunication. Since our design people were away during the weekend, it was quite confusing at time to look at the models ourselves. And we had to do a lot of back and forth once we figured out the design wasn't realistic for manufacturing. After I converted them into 2D outlines, we needed to generate toolpath. Again, it was a bit confusing to know how deep the tool needed to go since we didn't have the dimensions written down anywhere so I went back to the 3D design and measured things. However, some of the toolpaths needed to be regenerated and someone else was doing it but my documentation on gitlab wasn't clear enough so there was again confusion. For future machine design, it will be way better to have either really clear documentation or have the same people completing one task.
However, some thing we realized after the pieces were cut was that the machine bottom and top was too small that it was almost as small as the end effector which means the delta machine couldn't really move around. Then Elysa and I redesigned the plate and people cut it out in plywood.
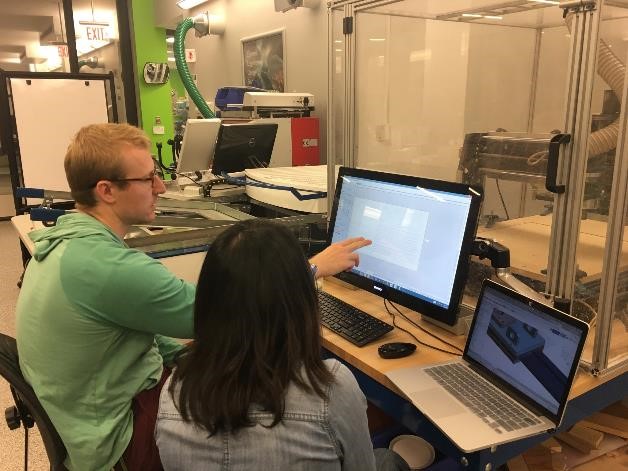
Figure 1. Gavin showed us how to genereate toolpath.

Figure 2. More toolpath generating.
3. Post Processing and Assembly
After some parts were made, I helped out with post processing and later final assembly. There was quite a bit of post processing to be done after the parts were milled. The rails didn't have clean finish so the pinion couldn't slide. We used angle cutter and sandpaper to smooth them. Also, we realizd we forgot to generate toolpath for the holes on the slider even though they were on the 2D design, so we had to drill the holes with a drill and tap all the holes.
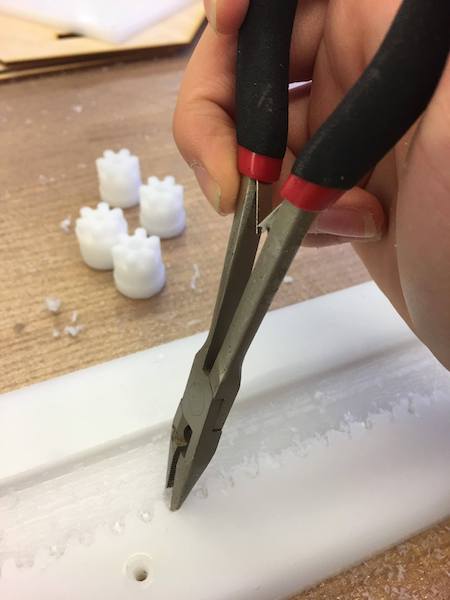
Figure 3. Clearing the rail.
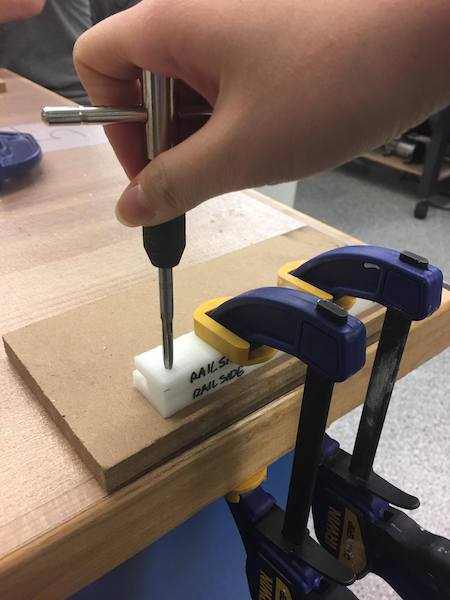
Figure 4. Tapping the sliders.
Additionally, we realized some of the parts milled out were unusable because the machine didn't cut out the right angle but we didn't have time to remill them with HDPE, so we laser cut some parts out of acrylic, e.g. the part that holds the motors.
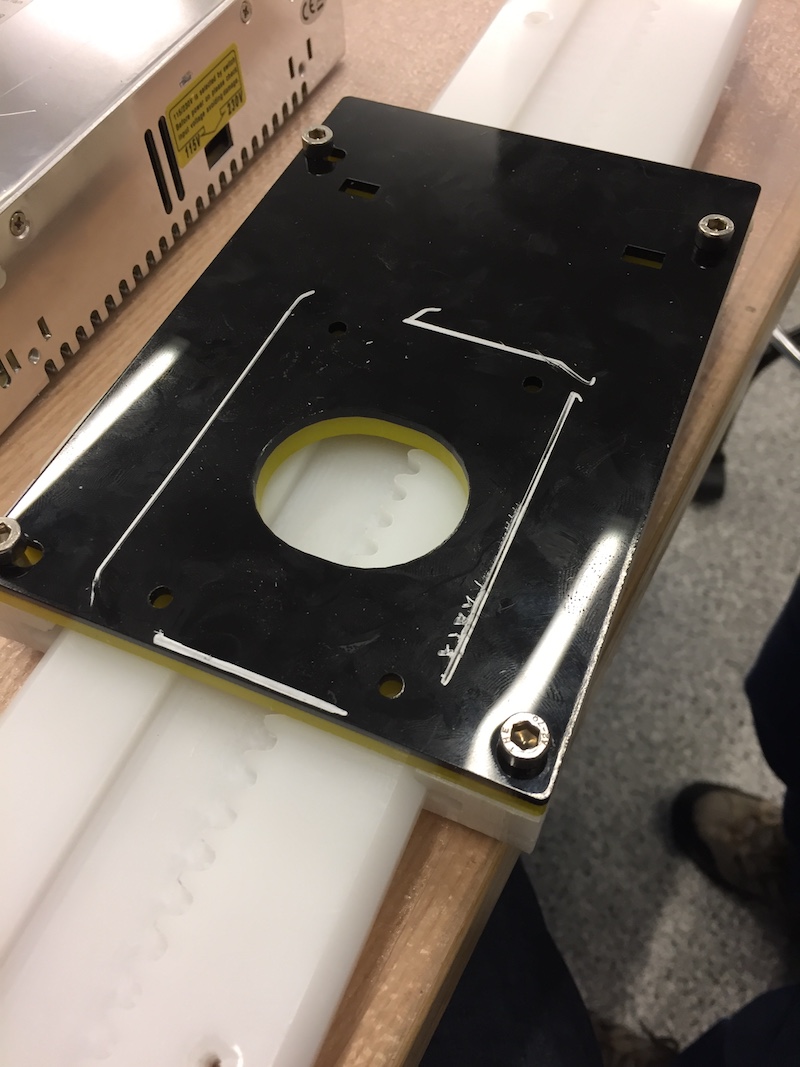
Figure 5.
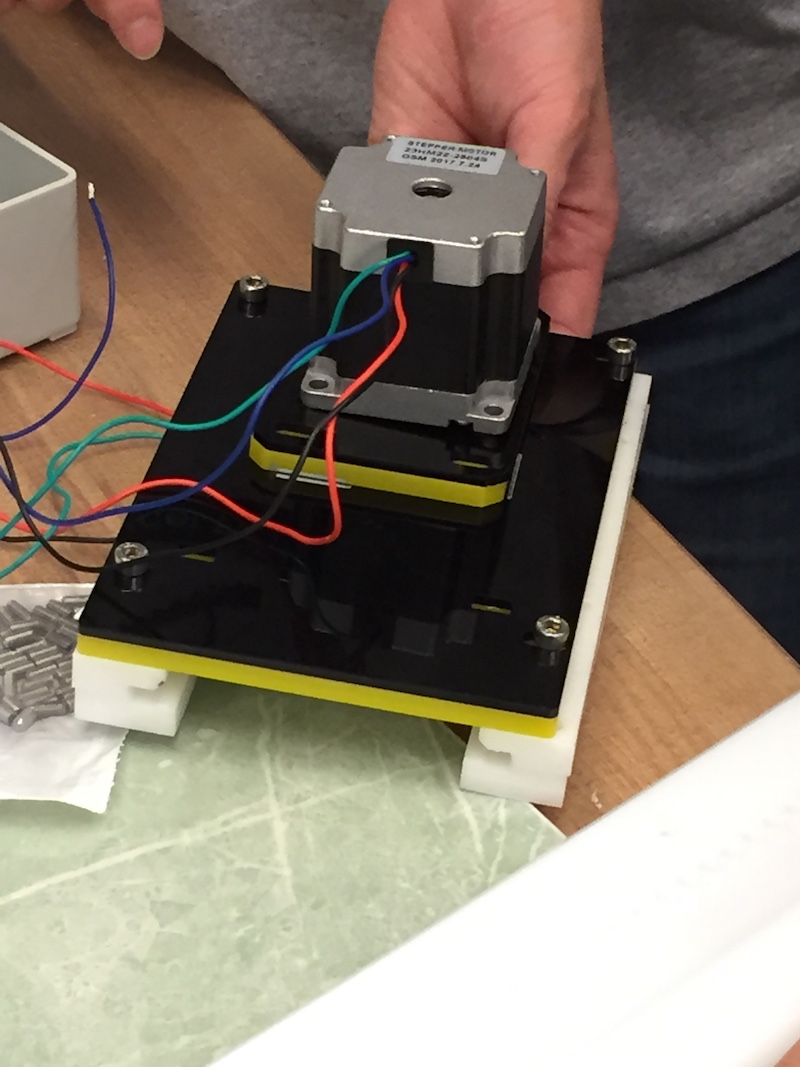
Figure 6. Acrylic for holding the motors.
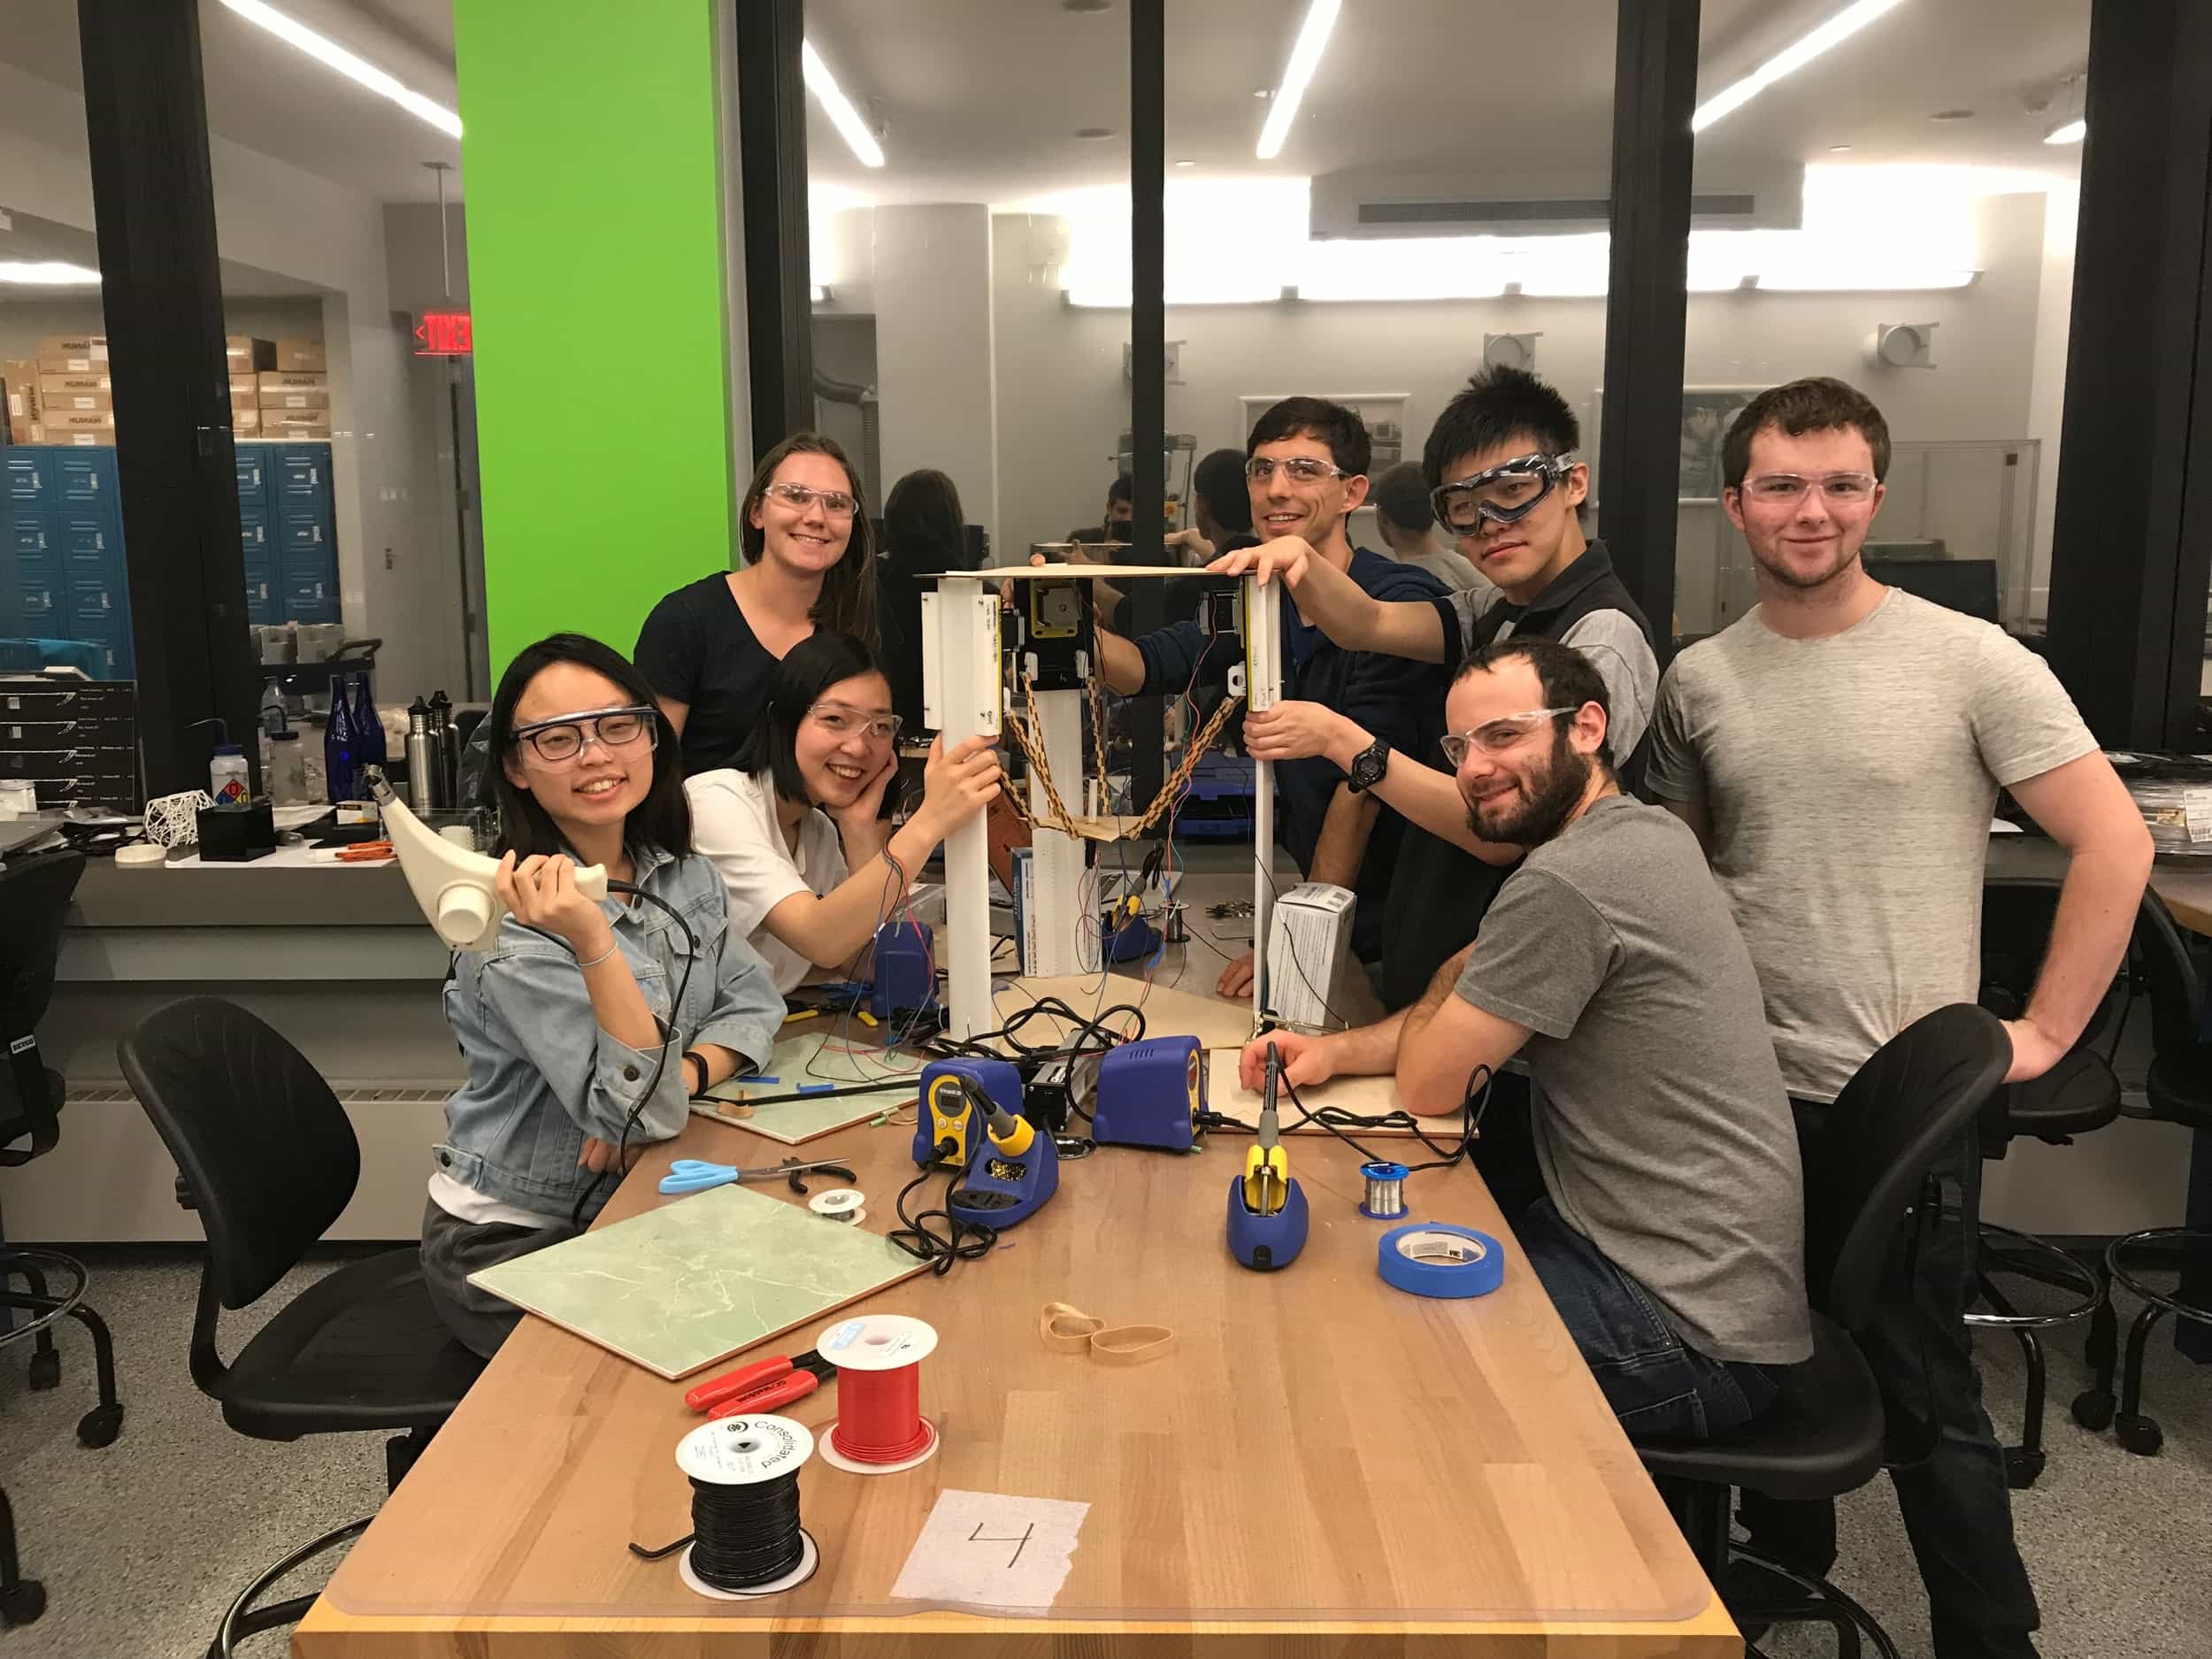
Finally, it was late Tuesday night and we were ready for assembly. I didn't take many picture because we were crunch for time. But our group page has great documentation of the process! It was quite eventful to stay late in EDS. After midnight, the lights started to flash every hour or so. But the team was great!
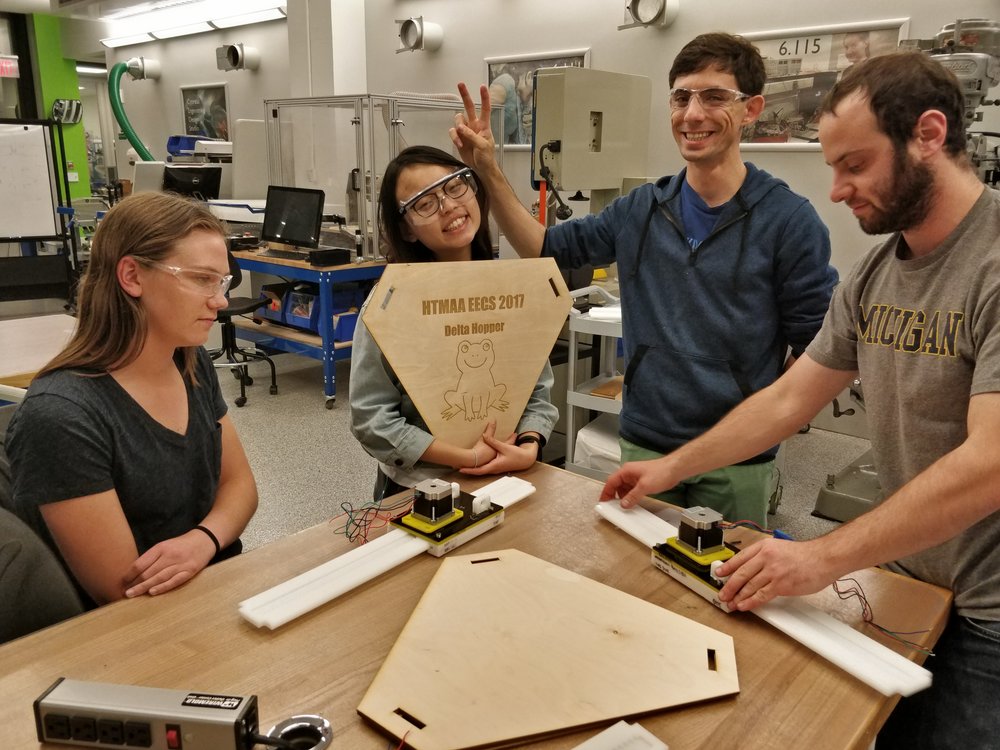
Figure 7. We were ready to assemble!
4. Final Machine!
You could see it in action in the video. Ironically, we stayed up so late that some of us slept through the presentation the second day...