Xin Wen
Week 14: Composite
1 + 1 > 2
1. Making a test coupon
2. Modeling in Rhino
3. Milling the Foam
3. Making the Composite
This week's assignment is to first make test coupons for the composite fabrication process, then make a 3D mold out of foam and produce a composite part with it. I was listening to a podcast that talked about Yanagi Sōetsu who founded the mingei (folk craft) movement. He claimed that your everday objects should be made by anonymous crafts people by hand rather than artists. I then came across his son Yanagi Sori's butterfly stool, which is this beautiful curvy stool that costs more than $700. I realized the form would be ideal for this week's assignment and I would be the anonymous crafts people who makes my own everyday object.
The fabrication process has not been going very well. I finished the model by Thursday but I didn't have enough time to machine on Friday. EDS was closed on Saturday. Then when I went in on Sunday, the machine was powered off because the undergrad TA could not supervise us using the heavy-duty power tools. Then the computer that interfaces with the Shark was down on Monday so I didn't get to start milling my foam until Tuesday afternoon. So far (before the start of class on Wednesday), I've only done a test coupon and machined the first piece of foam (out of four). I'm going to finish milling the rest and make the composite in the coming week.
1. Making a Test Coupon
I got the pictures from our test coupon making sessions from Priyanka. I didn't take pictures of making my own composite because the process is messy and time sensitive. Here's the basic workflow.
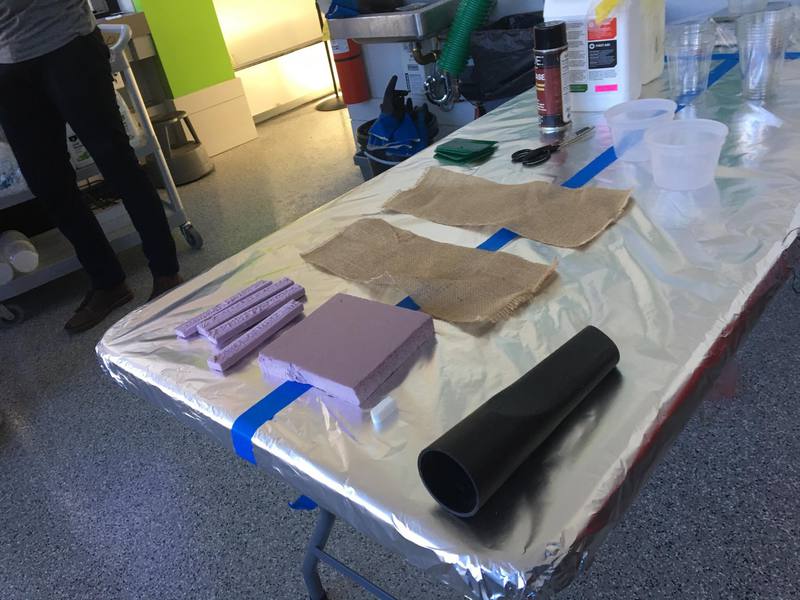
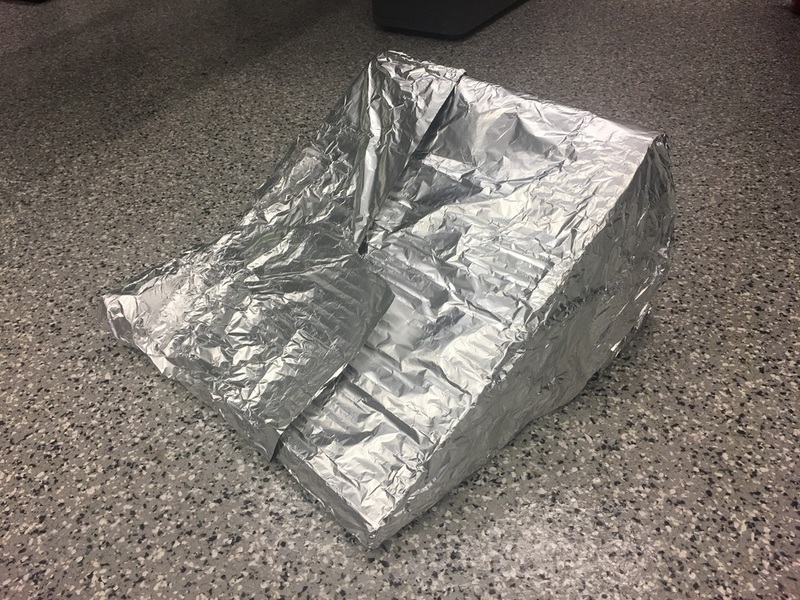
You want to get your 3D mold and fabric ready. If you want to take out the foam core later, you need to wrap it in foil and spray release agent on it.
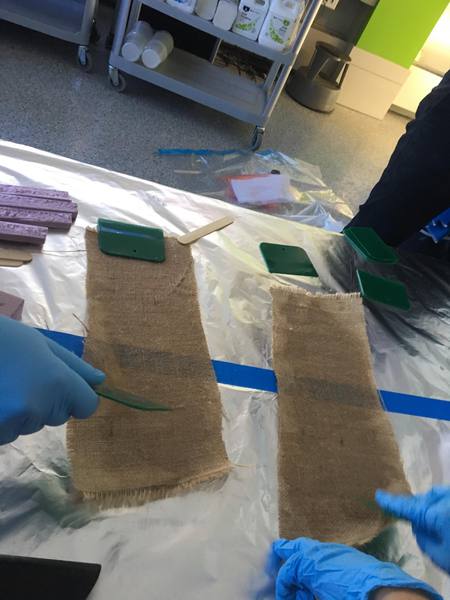
Then read the datasheet of epoxy and mix with the correct ratio. Remember to wear gloves! You could feel that the mixture is getting hotter as you stir. Then spread a generous amount of epoxy on the fabric. Layers the fabric on your 3D mold.
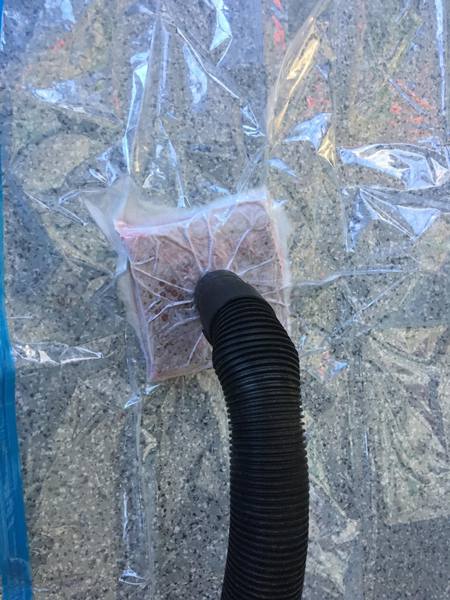
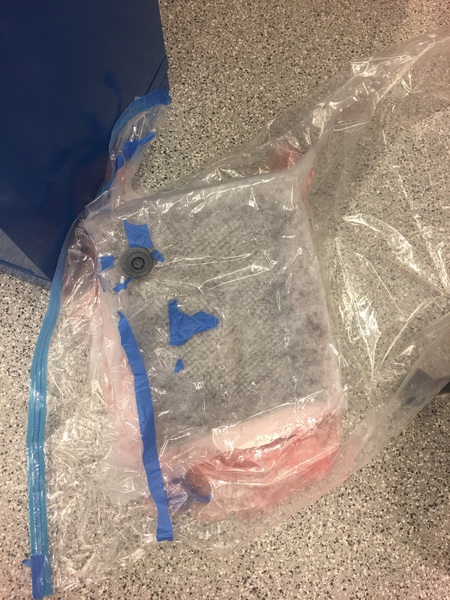
Once you finish layering the fabric, cover the fabric a breatheable layer and then the cotton like layer to soak up epoxy later. Put all of them in a vacumm bag and use the vacumm as a clamp.
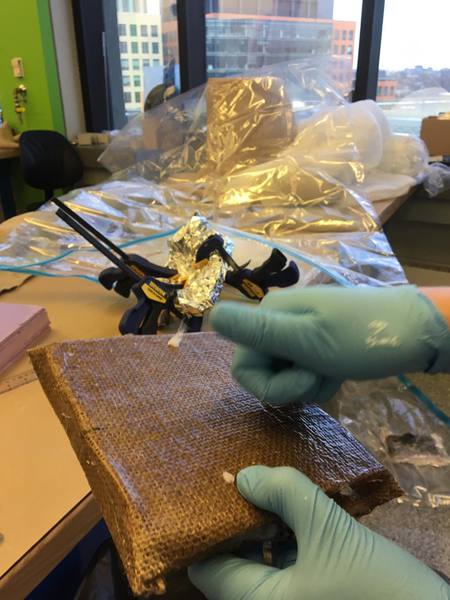
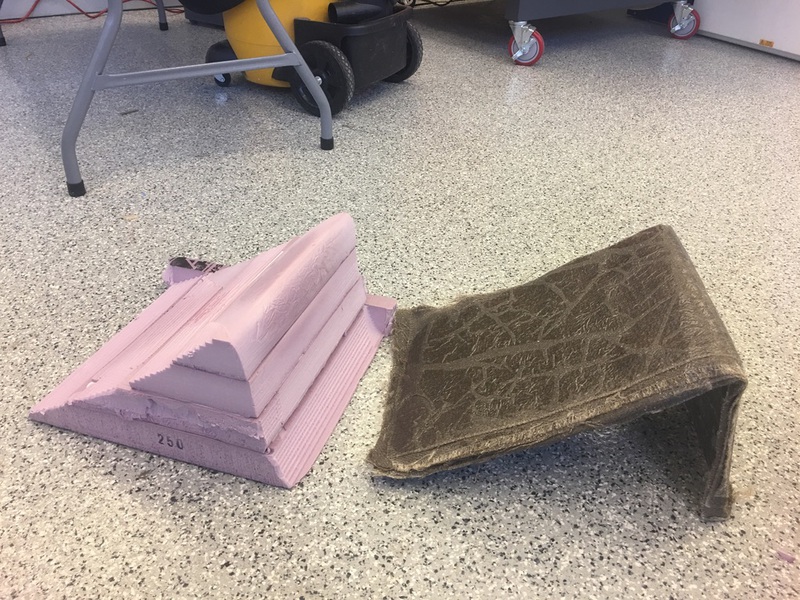
We left it overnight and it was cured the second day. It was amazing how soft fabric and epoxy can make such strong structure.
2. Modeling in Rhino
Many thanks to Dishita and Grace for helping me making the model! I found a model of the butterfly stool here. I was going to fit the top surface to a box in Rhino so I can mill it out. BoundingBox and BooleanSplit were very useful commands. However, I was not able to BooleanSplit on the model with the bounding box or BooleanJoin the separate parts in the model. Dishita said it was probabaly because the model were made of separate parts that were overlapping.
The solution we came up with was to project the side surface onto a planar surface to get a planar curve. We then extruded the planar curve to the width or the stool and created a bounding box out of it. Then we split the box with the side surface. Finally, there were a bit of extra unwanted material in the corners. We just made boxes around those parts to split it from the wanted material and deleted them.
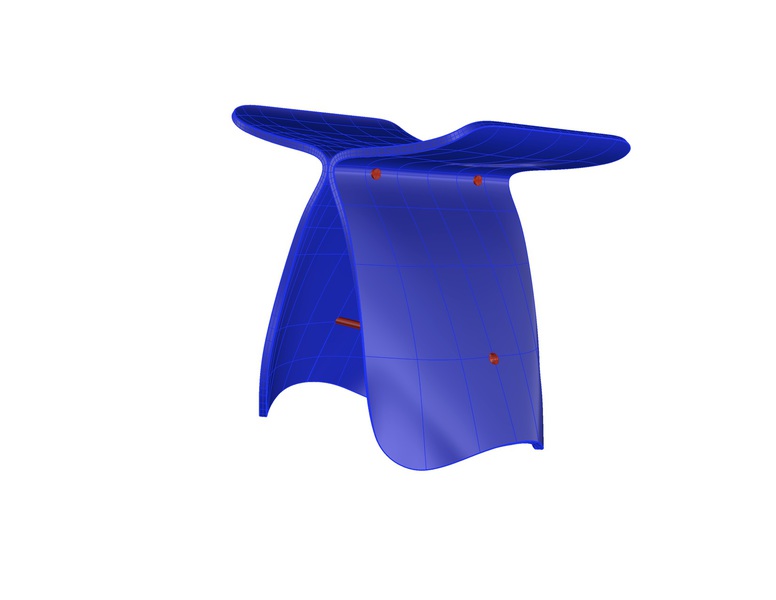
The chair I found.
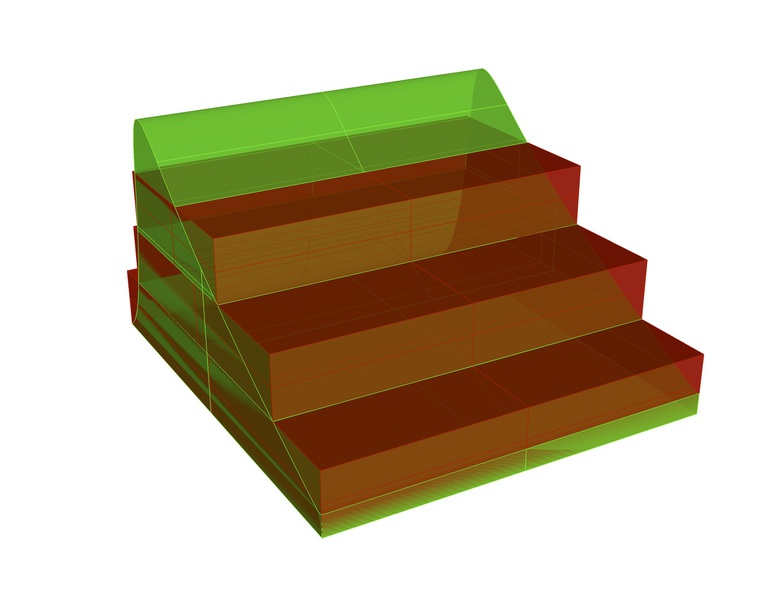
Final 3D model.
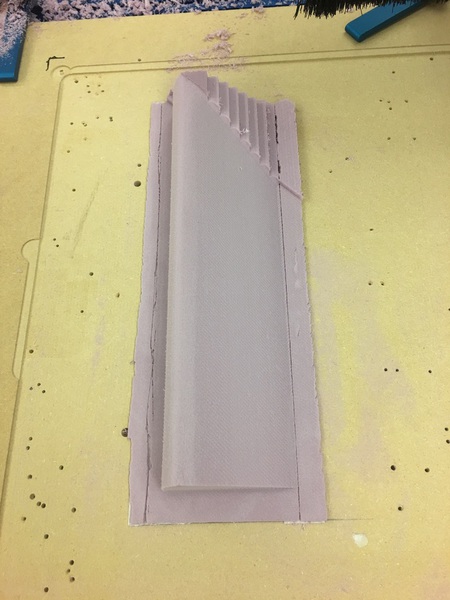
2. Milling the Foam
Milling was quite eventful. We found that since the Shark cnc uses open-loop so that if you turn up the feedrate too much, it will lose its z-position. 70% was a pretty sweet spot. After two weeks, I finally got all of my parts milled. The foam was milled beautifully. Because my jobs were taking so long, I decided to skip the finishing tool path for most of them but it didn't affect the final outcome.
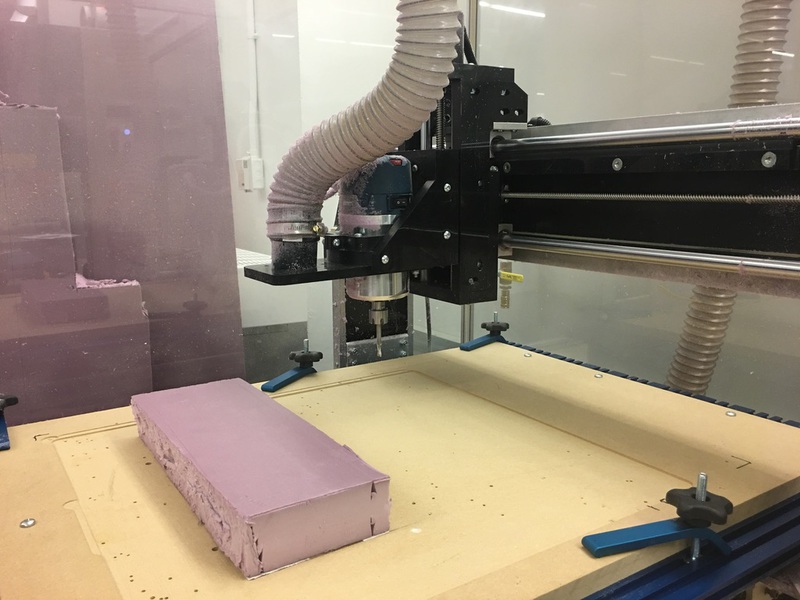
The last bit of the finishing toolpath was not finished because the machine lost its z and was aircutting.

4. Making the Composite
The process was the same as the test coupon. I only made half of the chair so far so it's kinda a different stool. I sat on it (in the configuration shown in the last picture) and it was really sturdy. Once I finish the final project I will get back to make the other half.