Xin Wen
3D Scanning and Printing
Xin's virtual plastic surgery practice
1. 3D Scanning: You Would Think It's Easy by Now
2. 3D Modeling for Additive Manufacturing
3. 3D Printing: (not so) Fast Prototyping
I LOVE 3D stuff so this week was especially exciting for me! When I was younger, if I saw something that I couldn't buy, I would go home and make a mockup with cardboards and stuff. So of course I was super excited when I first learned about 3D printing; my inner hoarder was screaming with joy. However, while 3D printing has been advancing quickly, there are still limitations, some of which I ran into this week. Follow along!
Tools used: Sense 3D scanner, INTEL RealSense, Kinect, MeshMixer by Autodesk, Rhino/Grasshopper, Sindoh 3D printer, Stratesys
1. 3D Scanning: You Would Think It's Easy by Now
I wanted to scan my hand to make a ring stand. My initial (ambitious) idea was to make a model out of the scan and add ball joints to where my actual joints would be to be able to move the fingers. However, even getting a decent scan of my hand took about five hours so I ended up just making an one-piece ring stand. Looking back at my experiments, I found it much easier to scan a large object with a solid background.
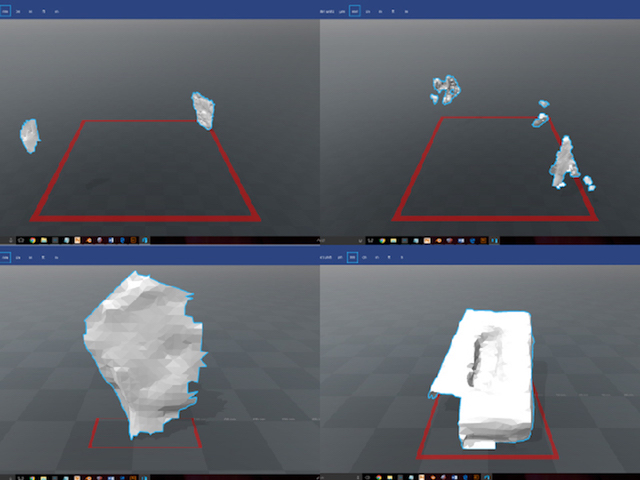
Figure 1. Attempts with SENSE 3D scanner.
I started with the SENSE 3D scanner with my hand up in the air. It was very hard for the scanner to pick out my hand from the surrounding. Eventually, it picked out the front of my hand (in bottom left of Figure 1) but lost track when I tried to get the side view. I then tried to scan a box of glove (bottom right) to just test the scanner and it did a pretty good job of picking out the geometry.
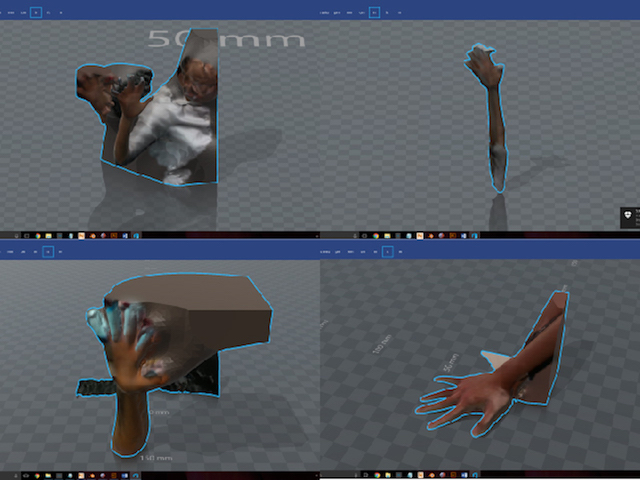
Figure 2. Attempts with INTEL RealSense camera.

Figure 3. Scanning in process.
I then tried Kinect and RealSense depth-sensing camera. Moji from our lab graciously offered to help scan my hand. We had trouble with getting Kinect to scan at the right depth. It got really good scans of the surroundings but not my hand. The whole time I had my hand either upright or stretched out in the air. Finally, we decided to try having my hand on the table (I think we didn't try this at first because we wanted to get a 360 degree scan) and just scan the top part and I was able to get a decend scan!
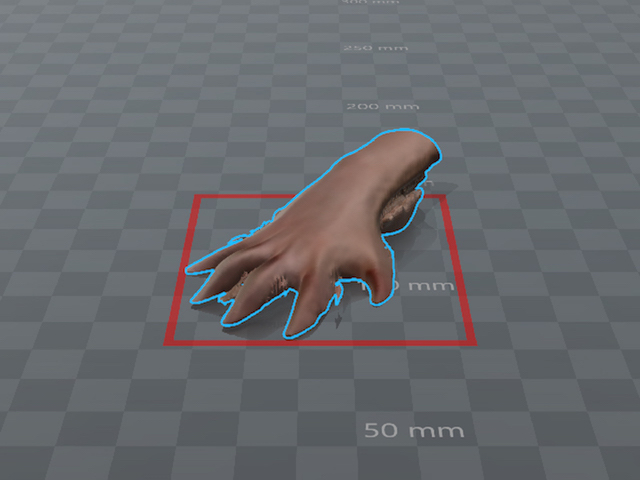
Figure 4. Finally got a decent (Frankeinstein style) hand!
After getting the Frankeinstein hand model, I tried couple softwares to fix it, including Netfabb, MeshLab, but they were kind of hard to use. I was mumbling, "someone should make a software that's as intuitive as sculpting with your hand" and then I came across Meshmixer by Autodesk. It was exactly what I needed. It also saves your progress so you can go back to an earlier version. I felt like I was doing plastic surgery on my hand model.

Figure 5. Had so much fun with Meshmixer.
Then I downloaded a dish model from thingiverse to make the stand for my ring stand and combined it with my hand in Blender. Finally, I loaded the ring stand model to Netfabb and used the repair function to make sure it is ok to print.
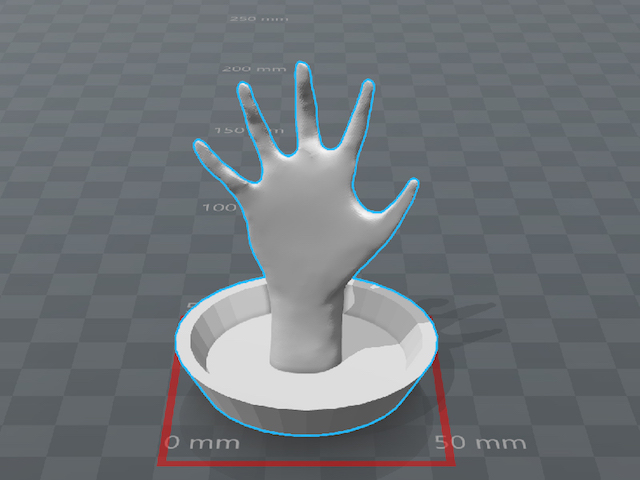
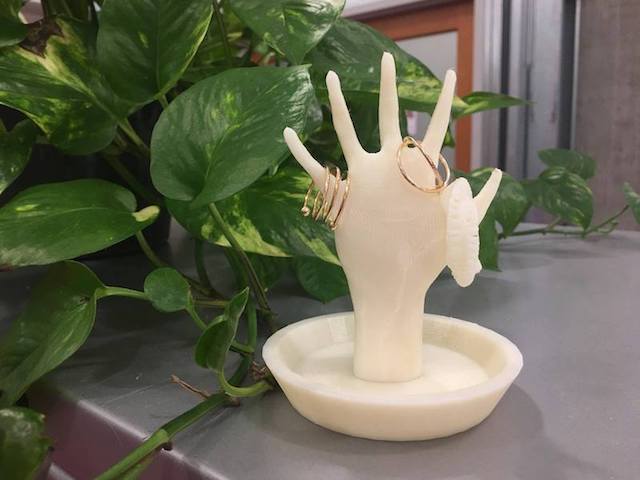
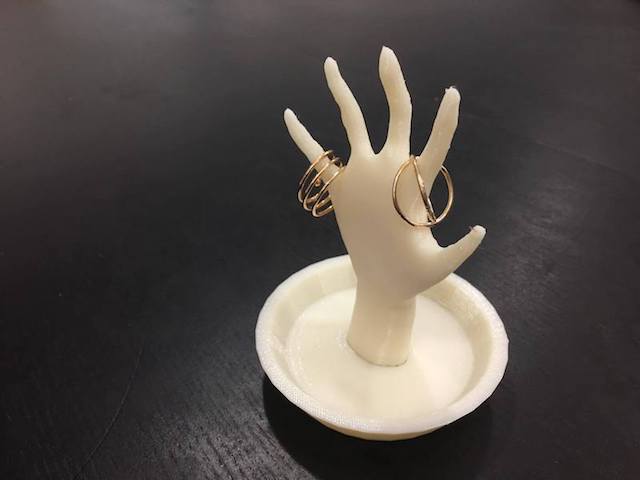
Figure 6. Ringstand.
2. 3D Modeling for Additive Manufacturing
For this week's assignment, we had to make a model that couldn't be made subtractively. When I was doing week 1 assignment, I started in Rhino but avoided learning grasshopper cuz all the node editors seemed very intimidating. The TA mentioned Rhino would be really good for the 3D printing assignment because you can do very complex 3D shapes. So I figured I really just need to stop running away from my problems and learn grasshopper.
I made a voronoid moobius ring with grasshopper following Hacken Li's tutorial. While I didn't come up with the design, I finally made the first step to learn how to use grasshopper. And it was actually a lot of fun! The final model was made by using the FlowAlongSrf command to fit the voronoid pattern onto the mobius ring. I used the top design first but it didn't work out when I printed on Sindoh's 3DWox so I made a second model with smaller holes on triangular mobius instead of square mobius.
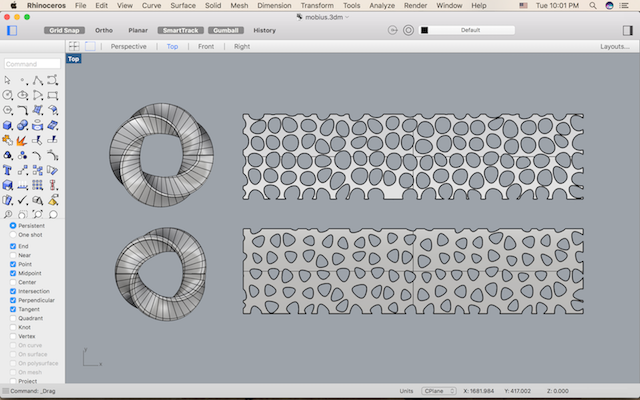
Figure 7. The final model was made by using the FlowAlongSrf command to fit the voronoid pattern onto the mobius ring.
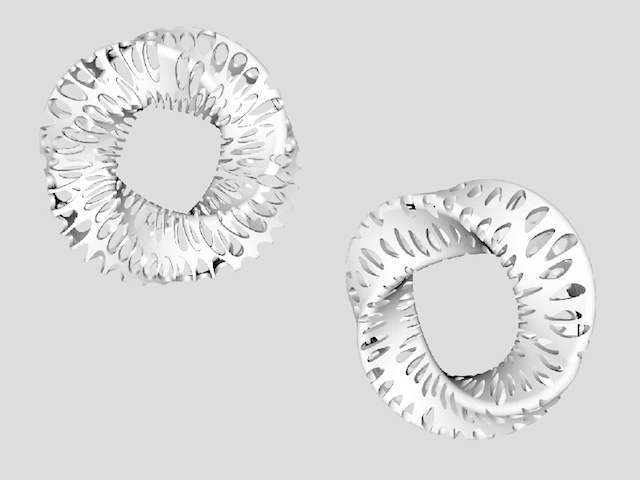
Figure 8. Models generated from Rhino. The top left one failed when I printed it on Sindoh 3DWox so I made a simplier one with smaller holes (bottom right) and printed it on Stratasys.
3. 3D Printing: (not so) Fast Prototyping
3D printing is pretty good for printing smaller objects but build time increases more than linearly with respect to build volume. I first tried to print my mobius ring on Sindoh 3DWox but quickly it was obvious that I was creating a spaghetti monster.
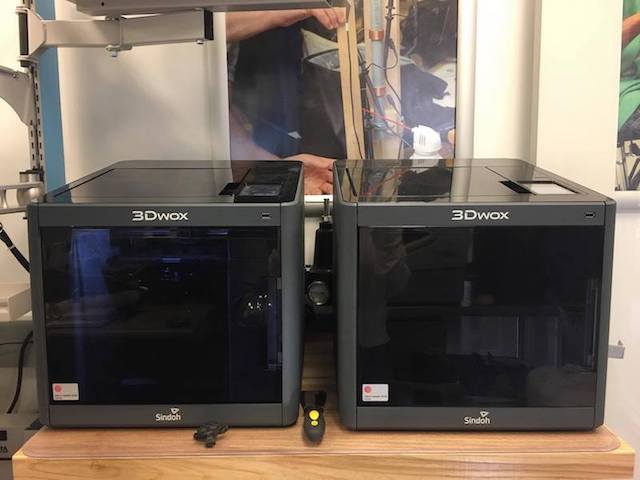
Figure 9. Sindoh 3DWox.
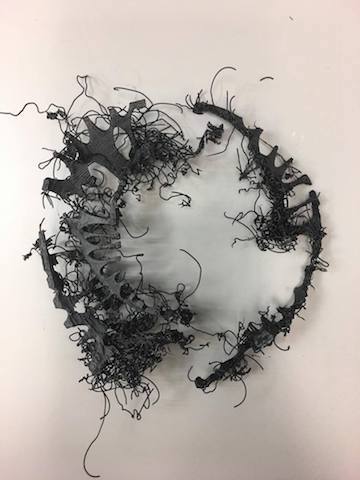
Figure 10. Failed first print.
I went back to modify my model and printed a much smaller version on the Stratasys the second day along with my ring stand. The Stratasys is really nice because it has solvable support so you can get more intricate details. I wanted to print the ring stand at almost a 1-to-1 scale but it would use too much material so I scaled it down by quite a bit.
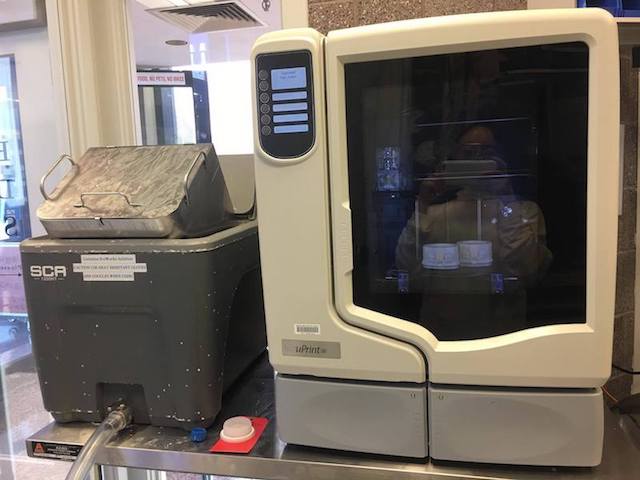
Figure 11. Stratasys and waterbath to desolve support materials.
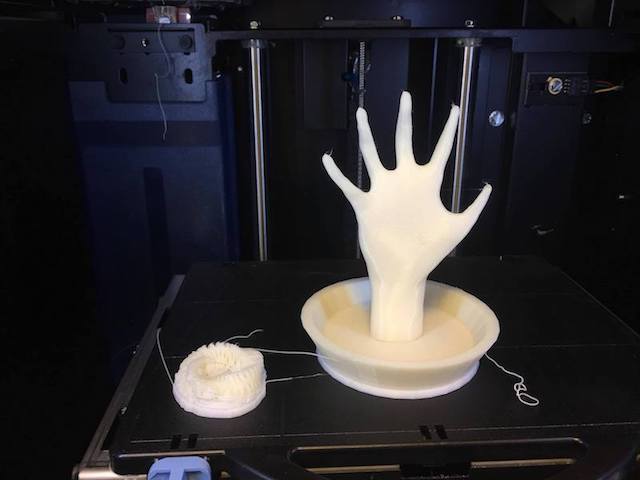
Figure 12. Fresh out of the printer!

Figure 13. It's a bit creepy to see a hand floating in the water bath.
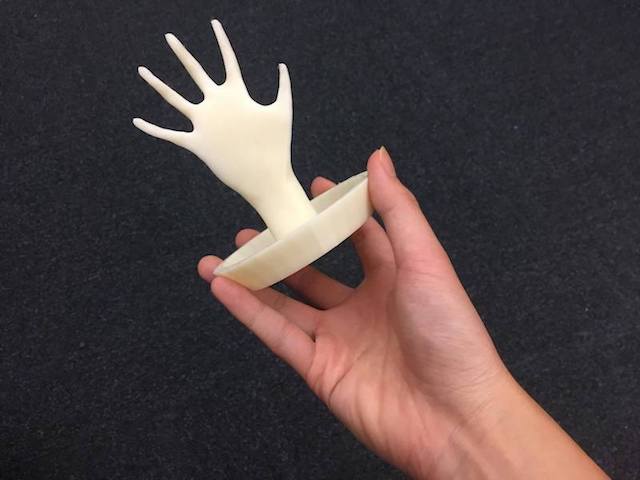
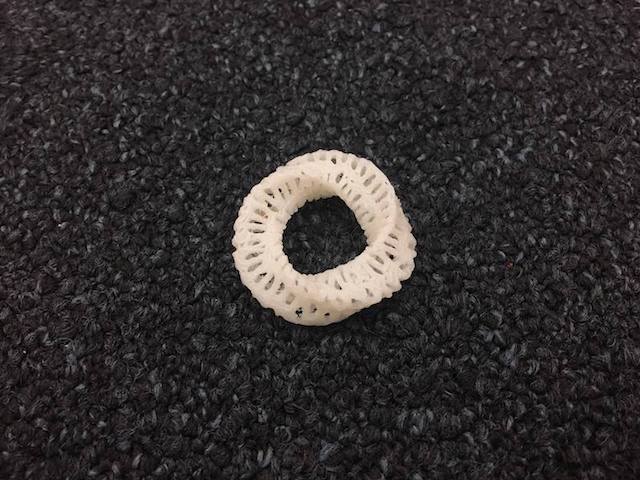
Figure 14. Figure 15. After leaving them in the hot water bath for about 4 hours, I now have a mobius ring and a ring stand to keep it!