Xin Wen
Computer-Controlled Cutting
when you don't have money for real furniture
1. Attempt at Making a Panda Shelf
2. Parametric Design
3. Puzzle Time!
4. Vinyl Cutting
5. Updates on Panda
This week we learned about computer-controlled cutting. While I've learned how to use a lasercutter in other classes before, I was really amazed by how powerful the tool is. One really cool thing I learned this week was parametric design. My CAD knowledge was pretty much how to make a box by typing in its length, width, and height or find a model on Thingiverse... So after learning about parametric design, where you specify parameters so you can easily change your design later, I felt like I got upgraded from "Hello World" to writing a function (although it turned out that it was not as simple as I thought....)! In addition, learning how to use the vinyl cutter was like discovering a whole new world. I briefly thought about opening an Etsy sticker store but then I looked up how much the model in EDS cost and it was around $2000...
Tools used: Rhino, Fusion360, illustrator, laser cutter (by Universal), vinyl cutter.
Terms to know: parametric design, chamfer, kerf.
1. Attempt at Making a Panda Shelf
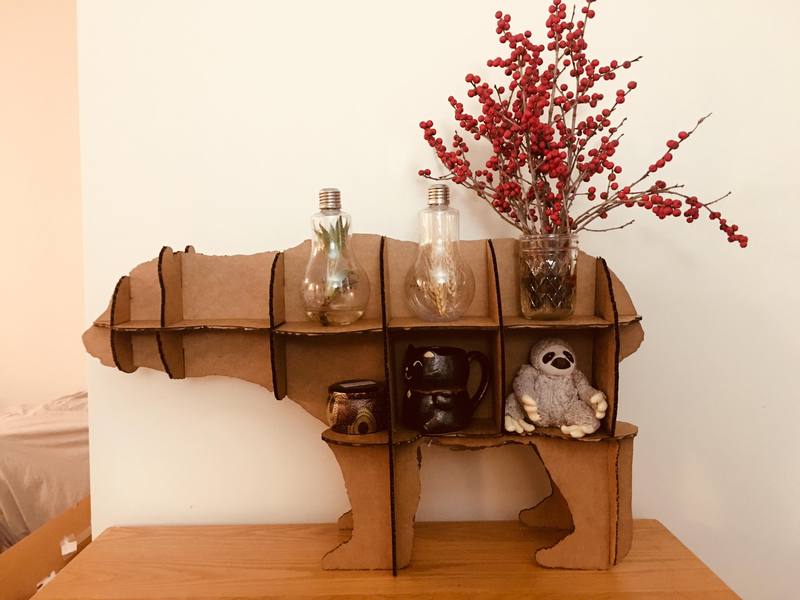
I've always wanted a book shelf in a shape of an animal but the ones I found online were about $700, so I was really excited to make a panda press-fit shelf for this week. However, given how much time I ended up spending on designing the lasercut files, even with minimum wage, I would have saved money by buying the ready-made animal shelf rather than making it myself... Haha jokes aside, it's quite a different feeling to produce your own than to buy things.
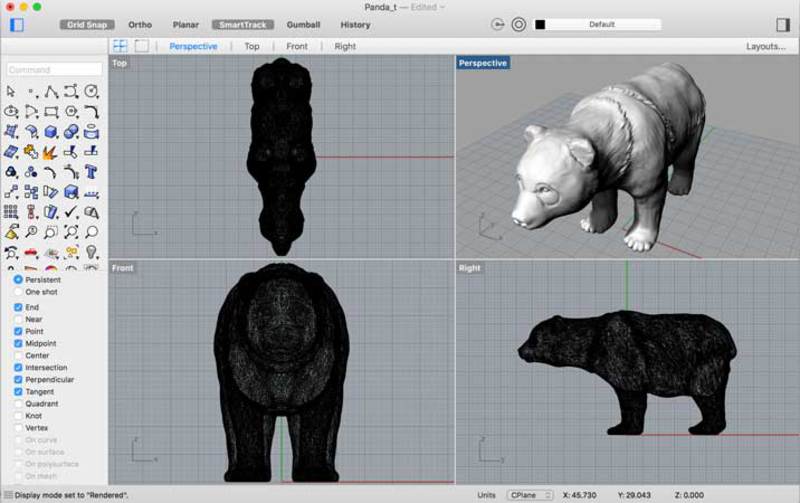
Figure 1. Panda Model downloaded from Thingiverse.
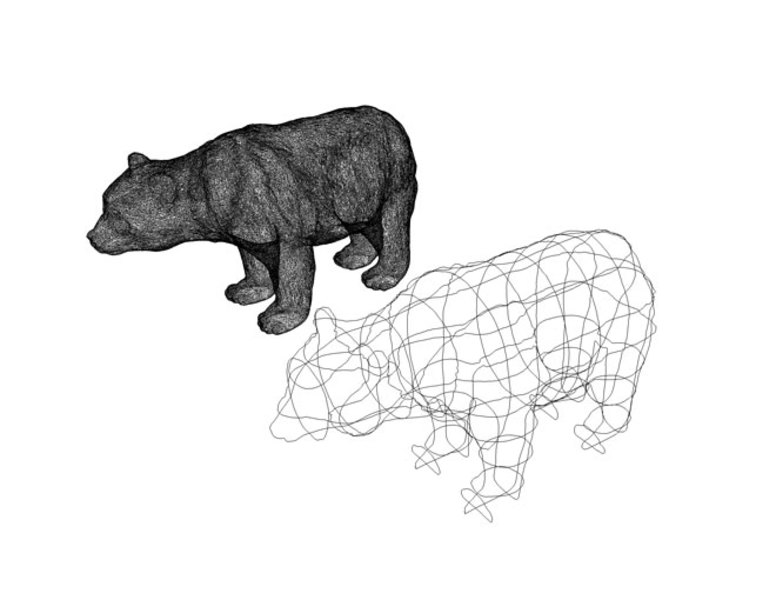
Figure 2. To genereate the lasercut files from a 3D model, I followed Ani's documentation.
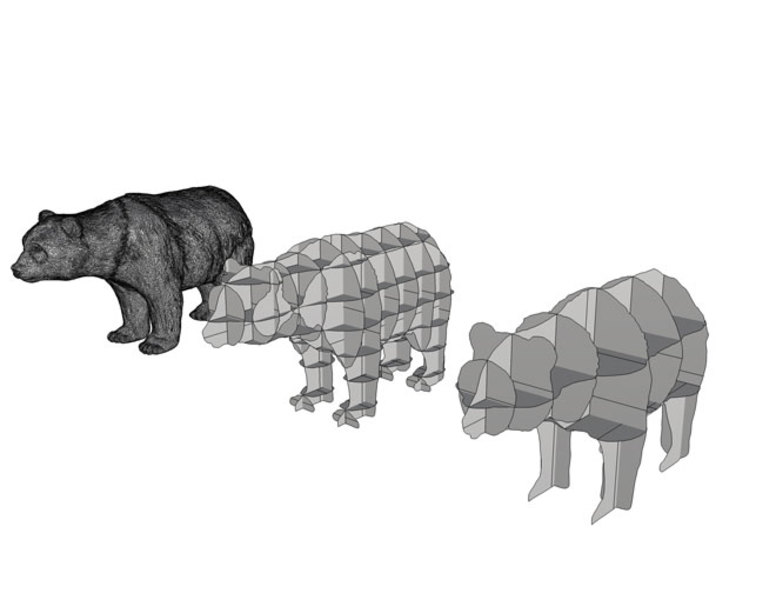
Figure 3. Press-fit model on the right.
2. Parametric Design
I realized that Ani didn't do parametric design. I couldn't figure out how to do parametric design in Rhino (eventually I learned how to use grasshopper in a later week) so I tried export the design to Fusion360. Unfortuantely, in Fusion, if you don't start from a 2D sketch, e.g. when I imported stl files, it's incrediably hard to do parametric design. After spending a really long time trying to figure it out and unsuccessfully trying to trace the model into a sketch, I decided to start with some simple shapes in Fusion360 to get to know the software.
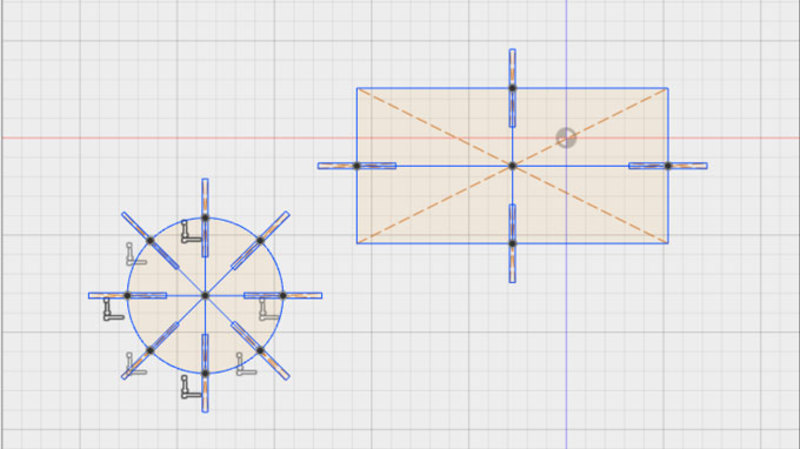
Figure 4. New design made in Fusion 360.
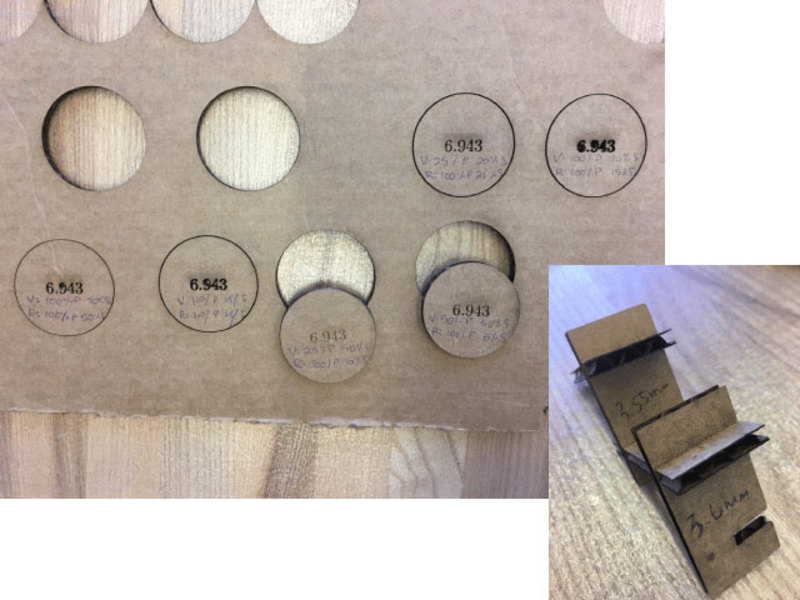
Figure 5. Group Assignment.
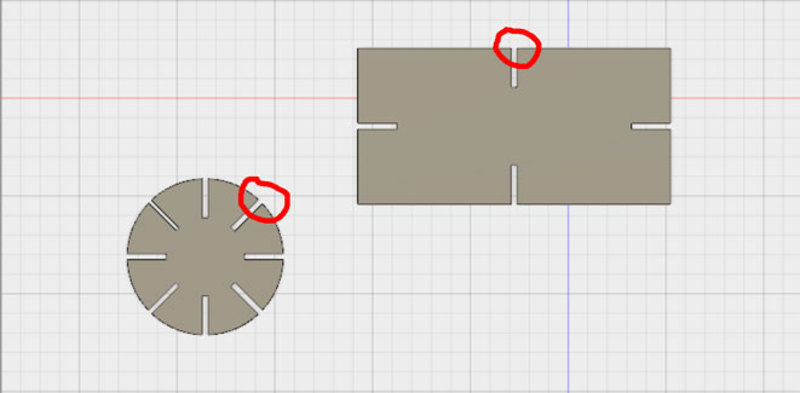
Figure 6. Chamfer added.
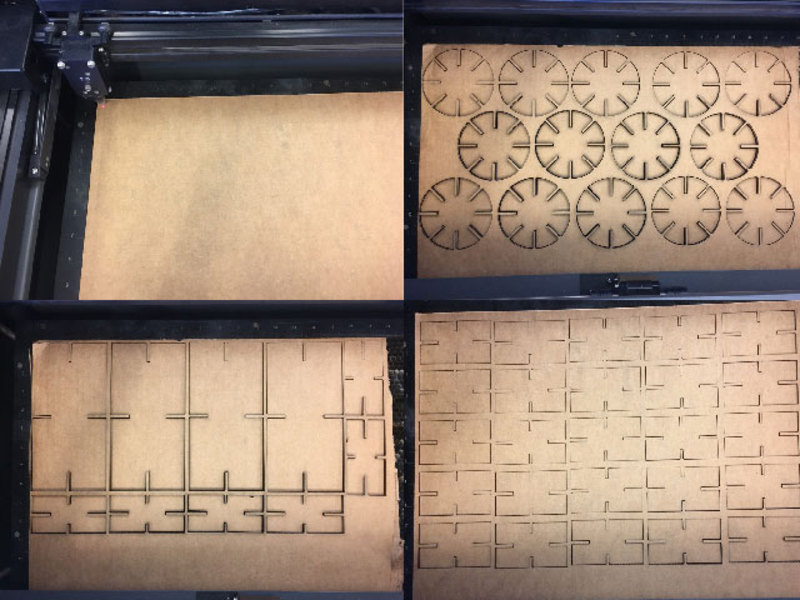
Figure 7. Lasercut time!
3. Puzzle Time!
I brought all the pieces to my lab and people got pretty creative with them.
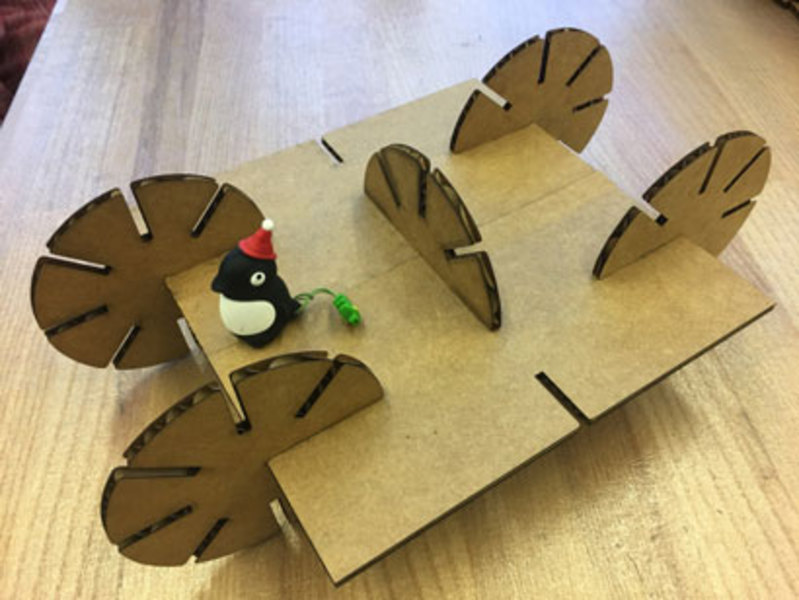
Figure 8. A little car for my USB penguin.
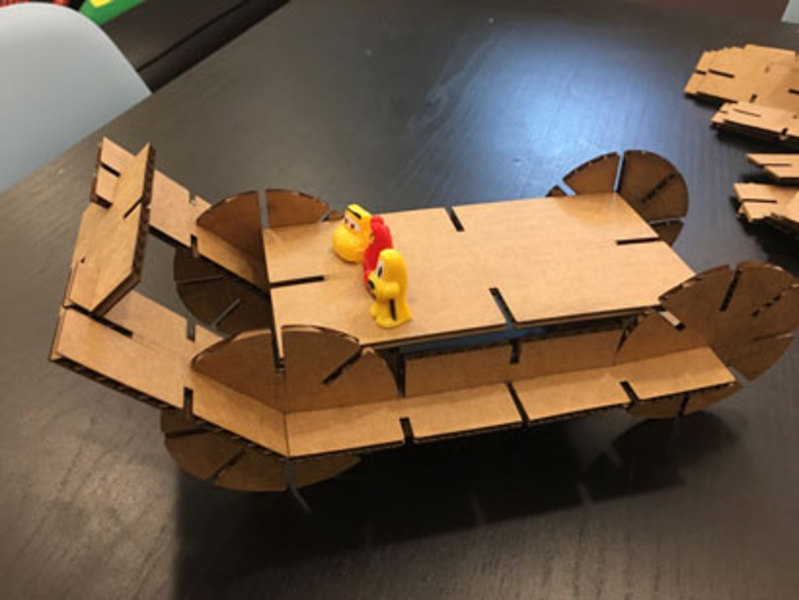
Figure 9. Another car.
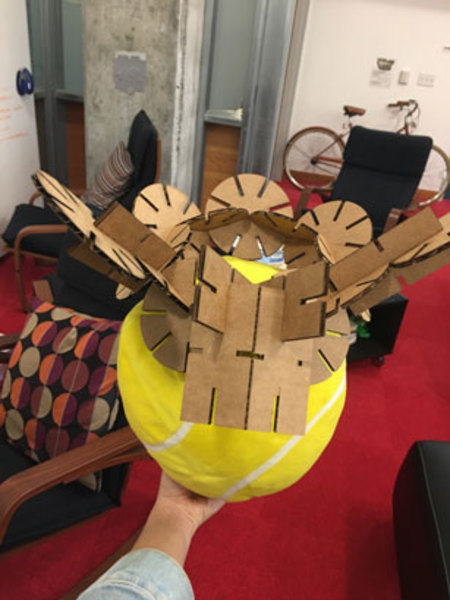
Figure 10. Someone made a hat.
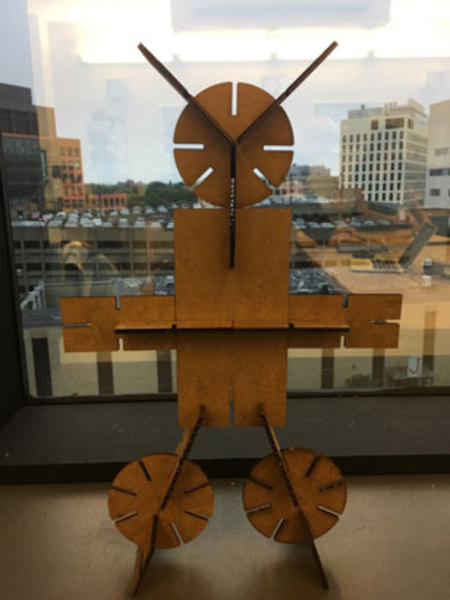
Figure 11. Stick (more like block?) figure.
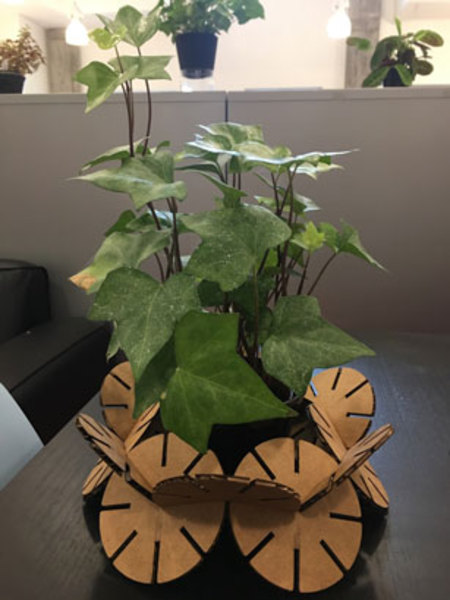
Figure 12. A new home for our plant.
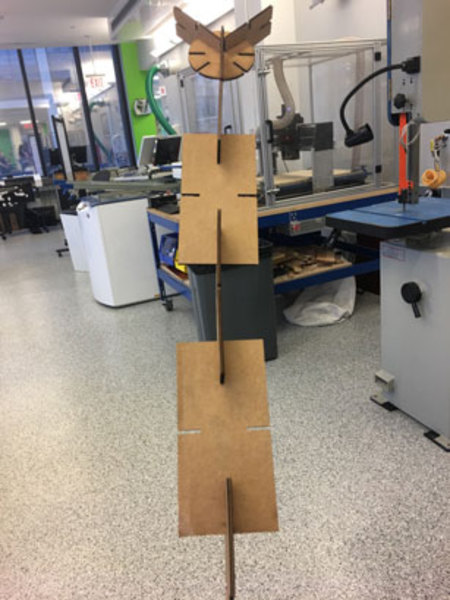
Figure 13. A stick to wave at the motion-sensitive light in my apartment.
4. Vinyl Cutting
Vinyal Cutting was really fun. And I got to use mod for the first time. It's great that it visualizes all the image processing.
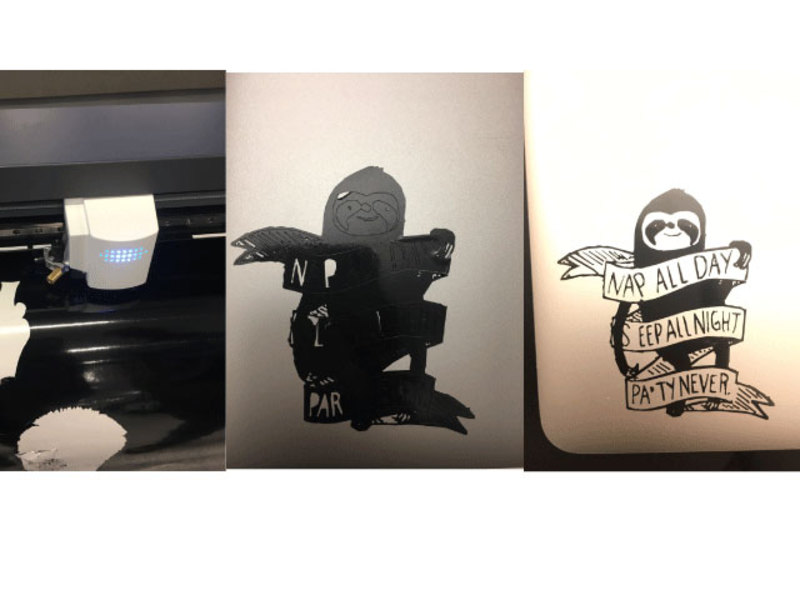
Figure 14. What I wish life is about.
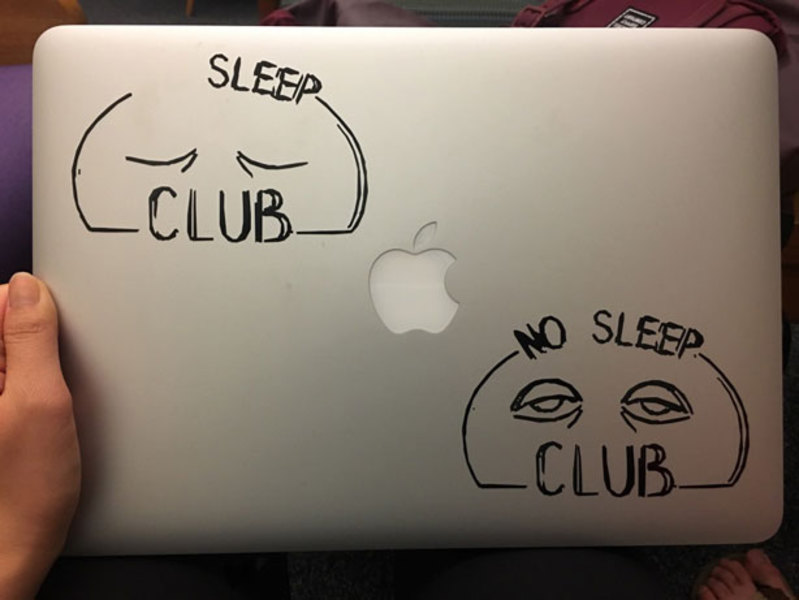
Figure 15. What life usually is (bottom right corner).
5. Updates on Panda
I eventually finished making the panda shelf even though the design was not parametric.
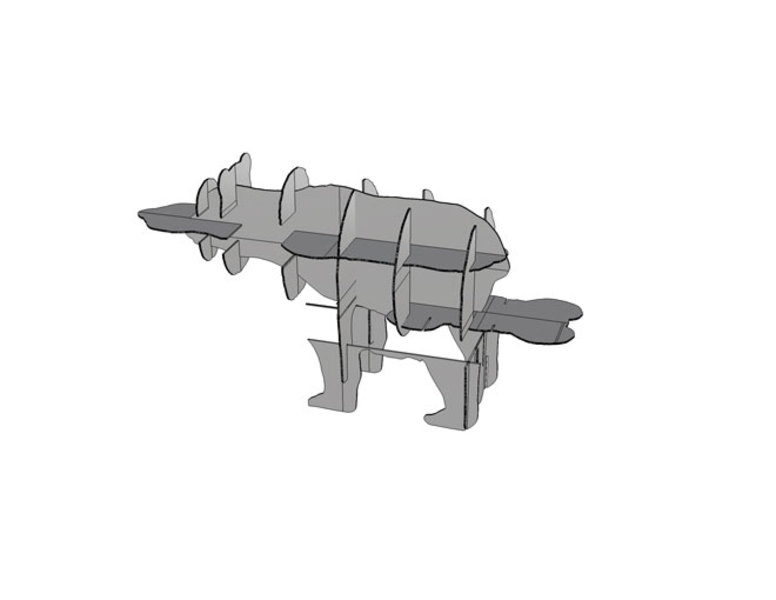
Figure 16. Panda model with slots created (not parametric).
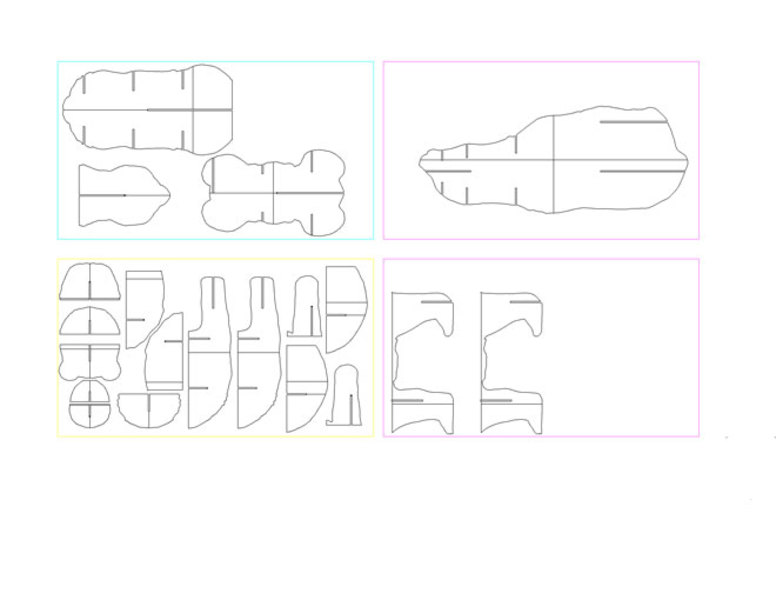
Figure 17. Pieces made for lasercutting.
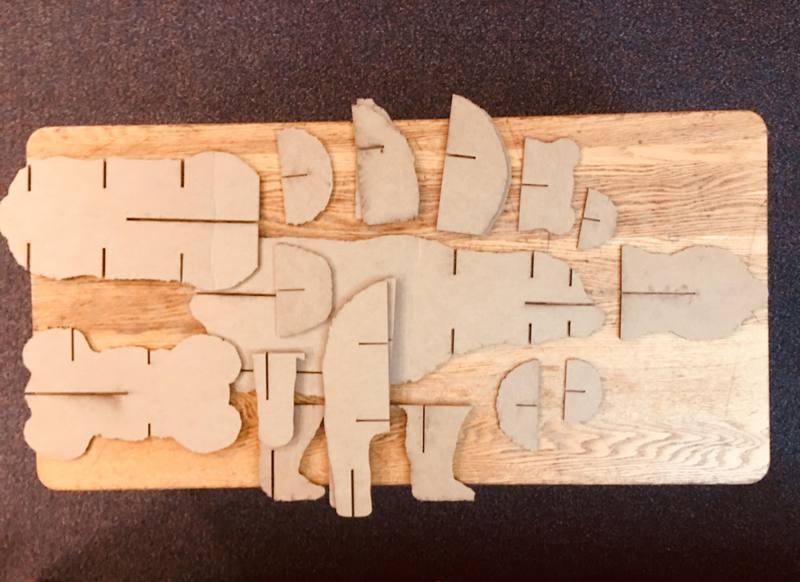
Figure 18. Ready to assemble!
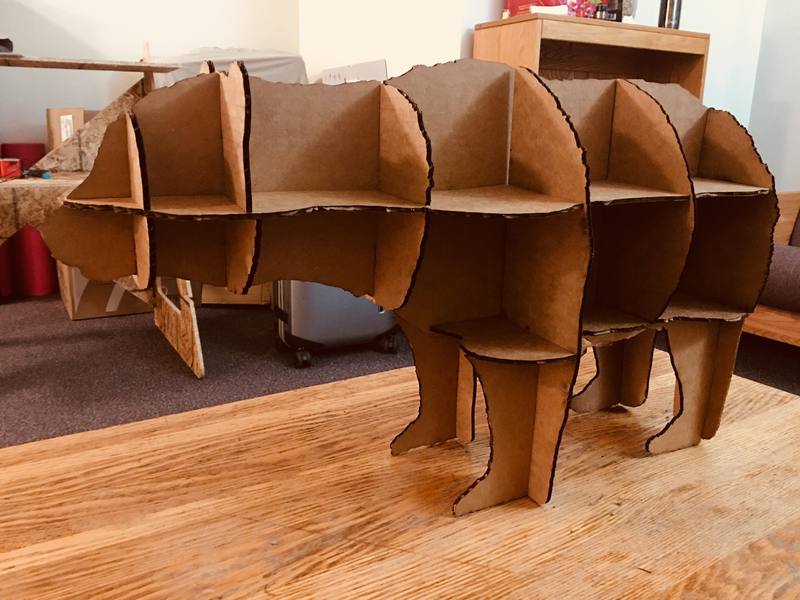
Figure 19. Photoshoot time!
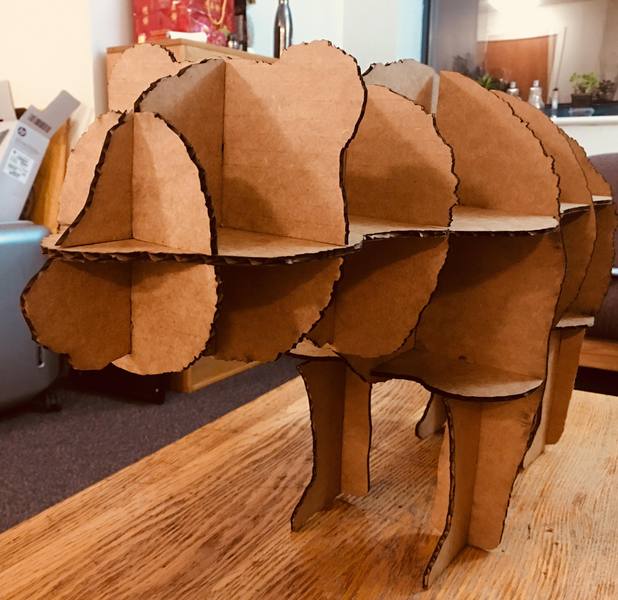
Figure 20.