Final
Project Proposal
Initial Thoughts
Attend. To stretch to ; hence, to direct the mind or observant faculties, to listen, apply oneself; to watch over, minister to, wait upon, follow, frequent; to wait for, await, expect. In almost every variety of meaning it is, or has been, both transitive and intransitive, the latter construed with to, unto, on, upon, and having indirect passive, as: we must attend to this, this must be attended to.
What is the relationship between waiting and listening? How to make the condition(s) to: witness, register, process, receive, understand, see, conceive, experience, perceive, follow.
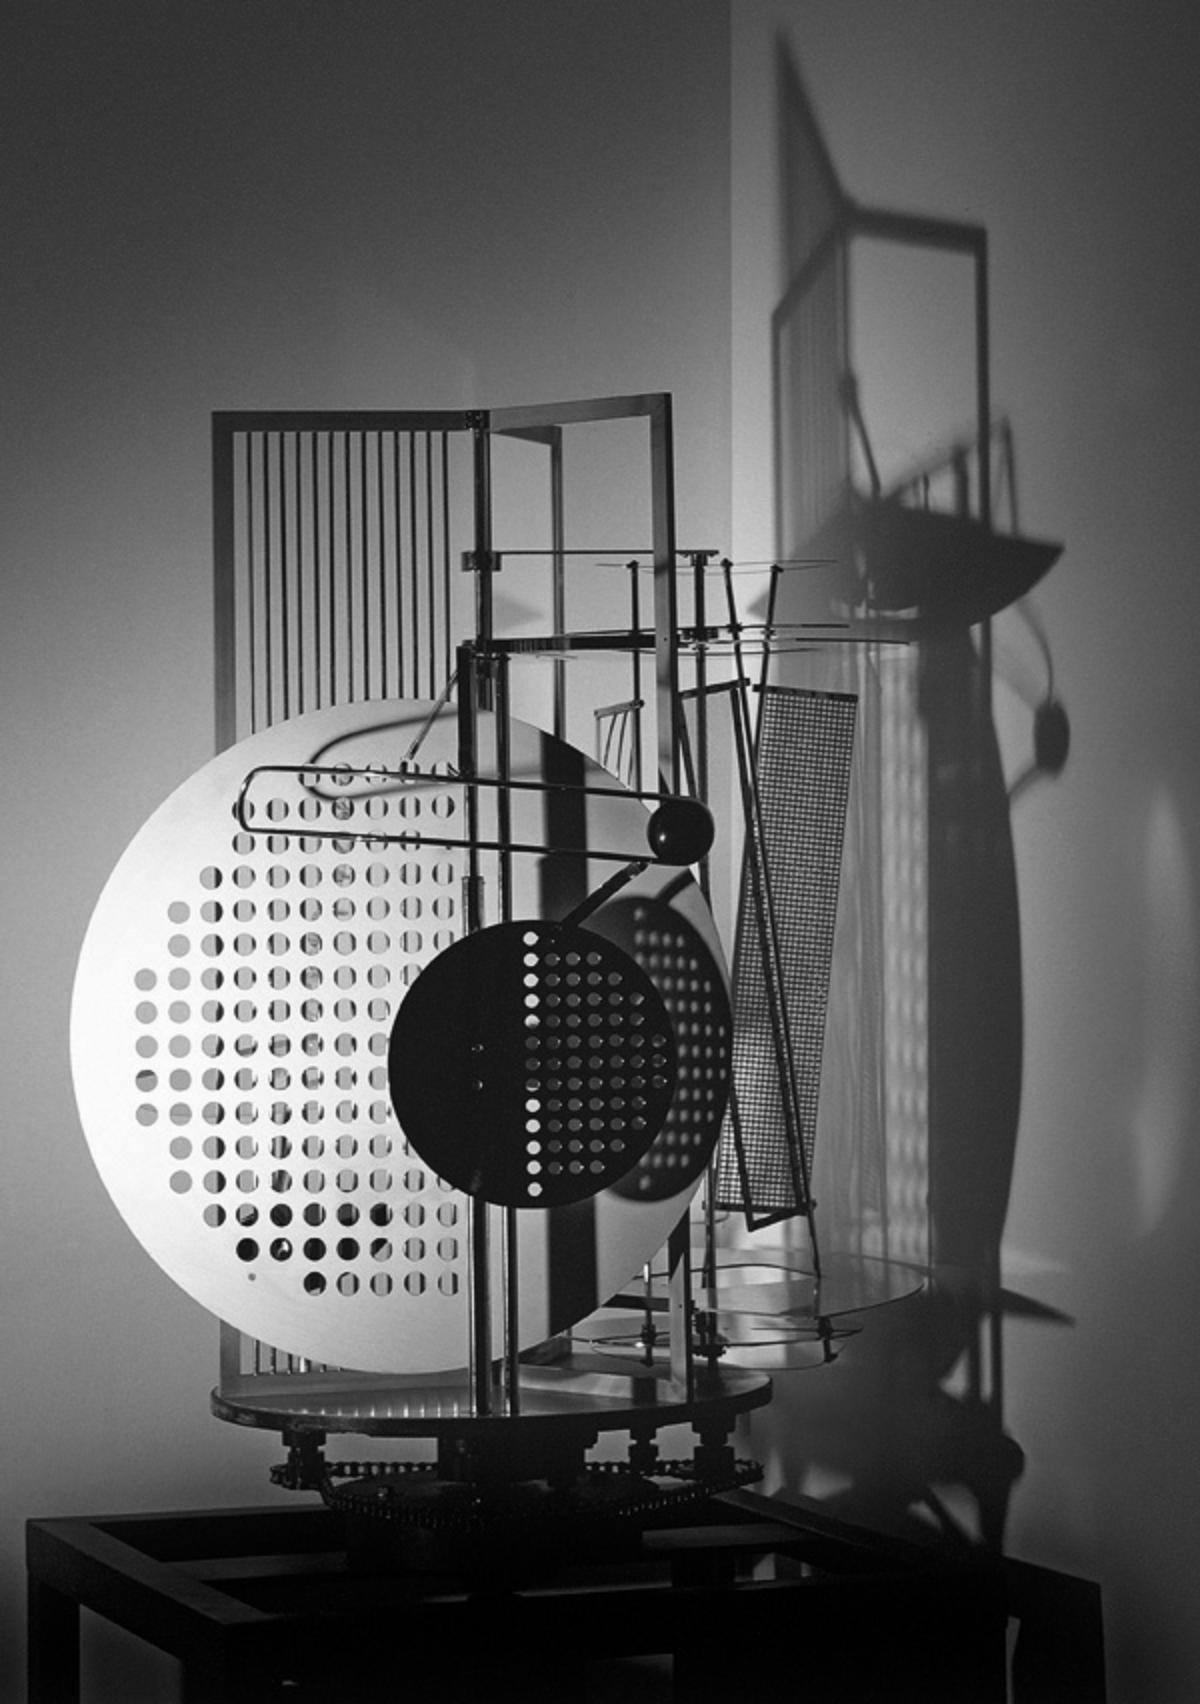
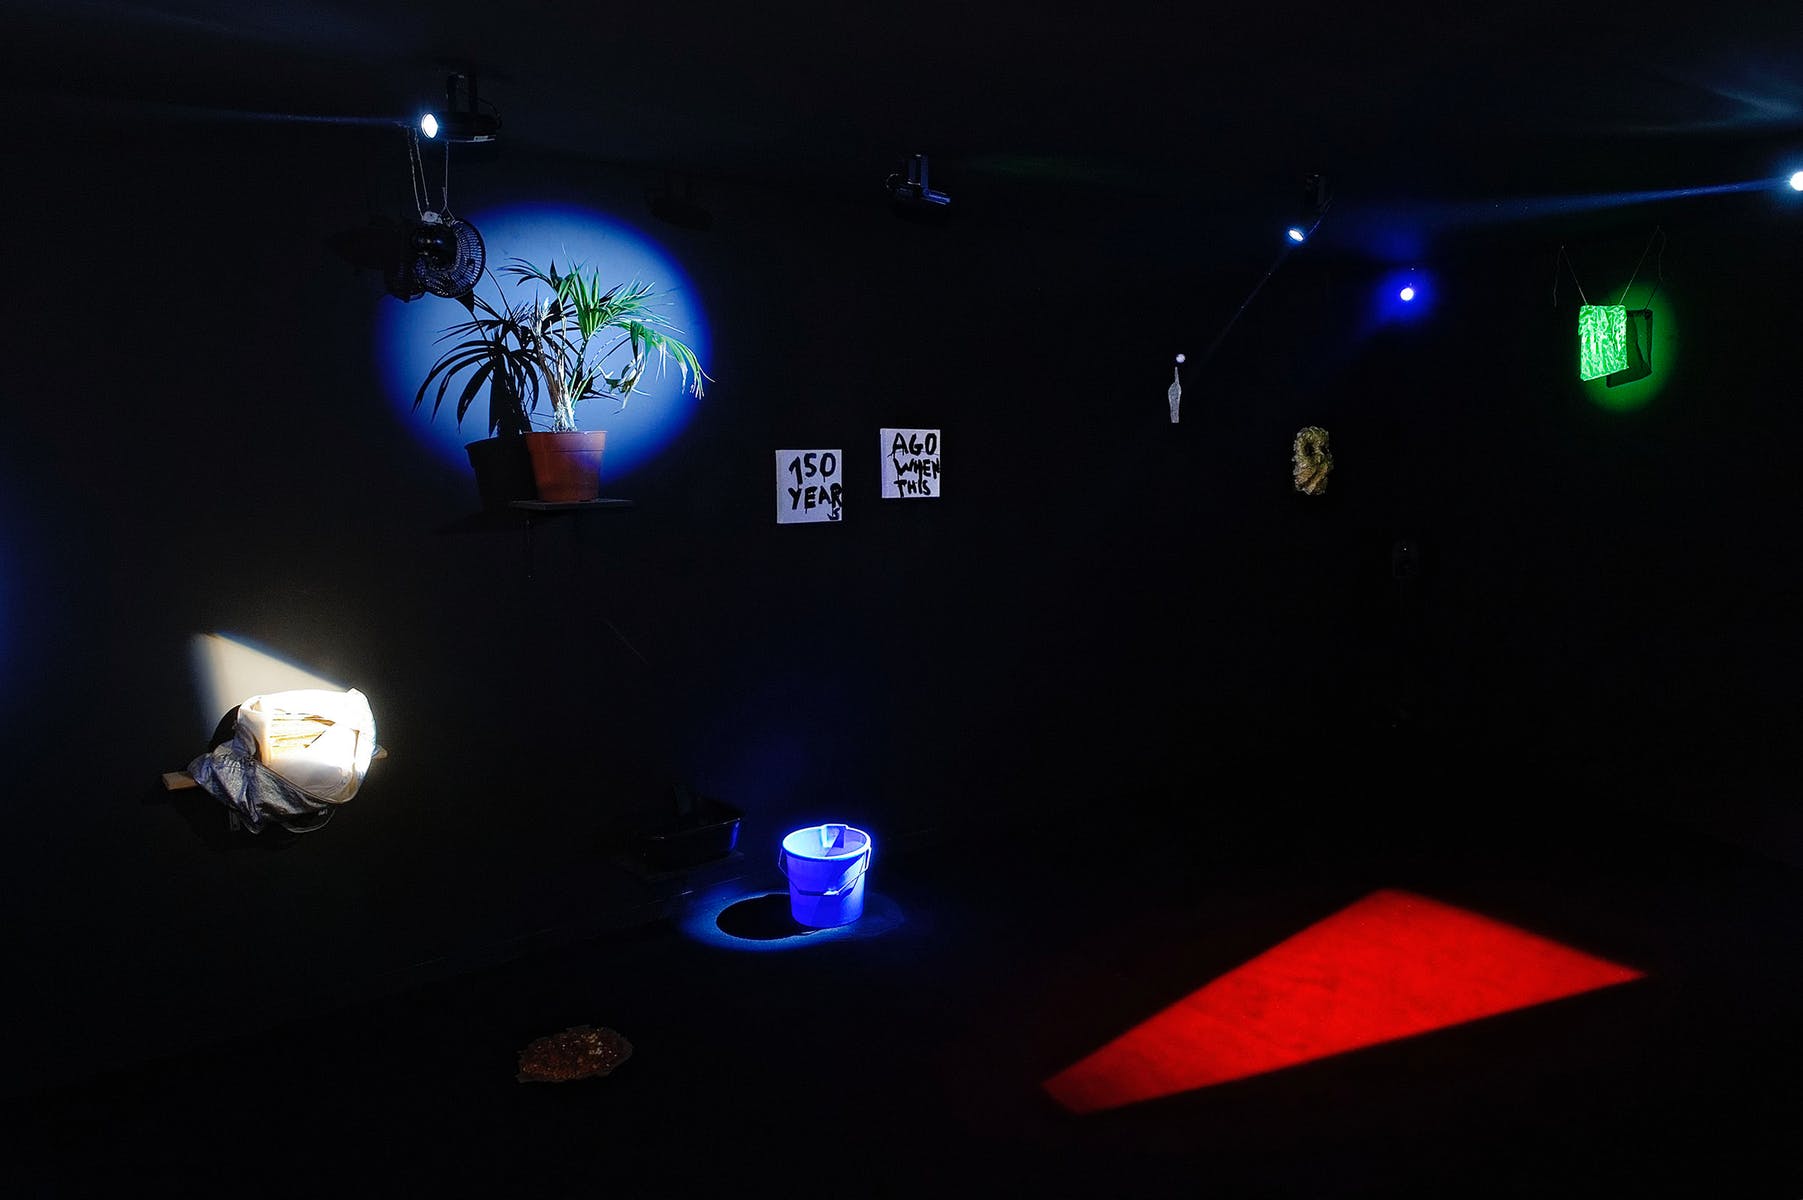
Two artworks I have been thinking about recently are : Laszlo Moholy-Nagy, Light Prop for an Electric Stage (Light-Space Modulator) (right) as well as the exhibition of Laure Prouvost, They Are Waiting For You (right below). I am thinking of producing a tool for organizing a spatial narrative and guiding attention in a space.
Programmable Spotlight
Build a multi-axis spotlight which can guide the attention of a viewer trough a spatial narrative. I am interested in the reception of architecture and structuring the conditions of attention.
Process
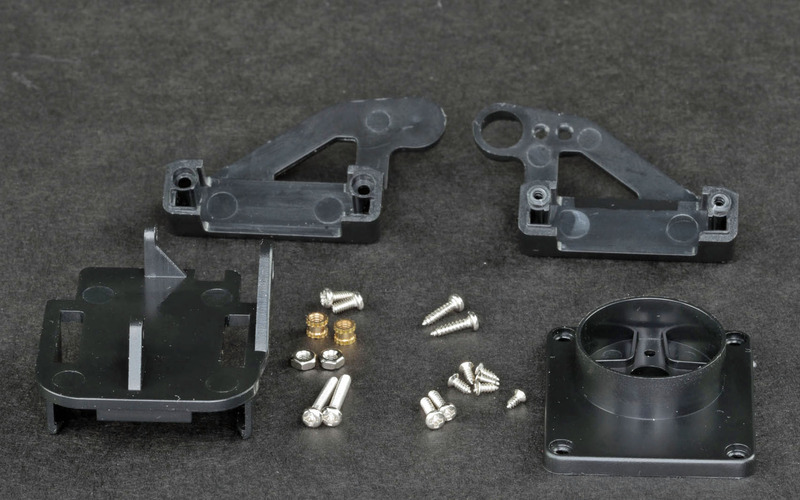
I began by looking up previous projects in Fab Lab and found David. C Taylor who made a programmable night light in 2016. From this I was able to learn that what I needed was a Pan-Tilt as it was called, and distributed by adafruit.
From this pre designed kit, I learned that what would likely be required for the actual spotlight would be two separate motors or servos, one mounted onto the other which would each be controlling movement in another dimension. I found a number of similar devices online, but am hoping to make something large enough to control a much more powerful and likely heavier light.
Rhino
Having worked in Rhino before, I decided to start there to mock up a basic design. I built a model similar to the one provided by adafruit. I didn’t work with grasshopper because I was curious to get learning Fusion.
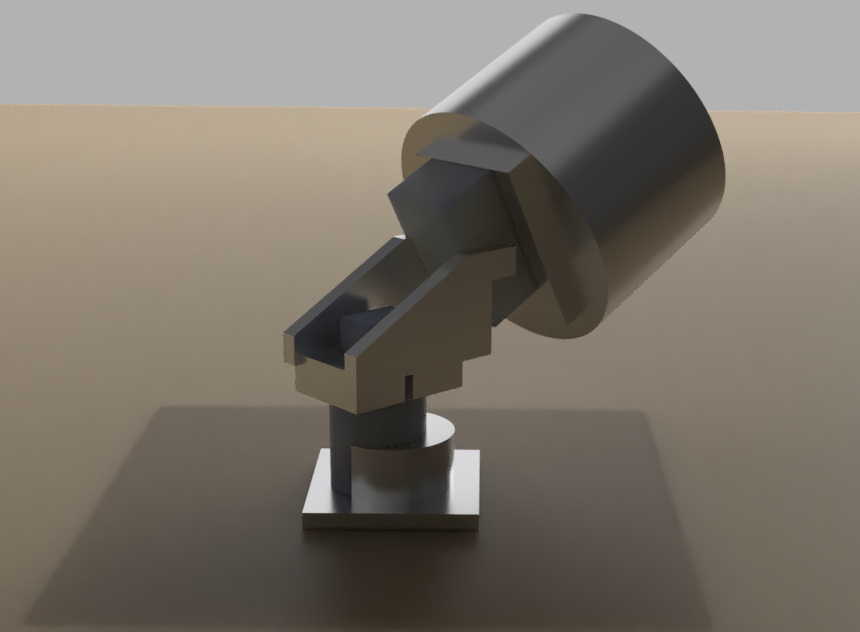
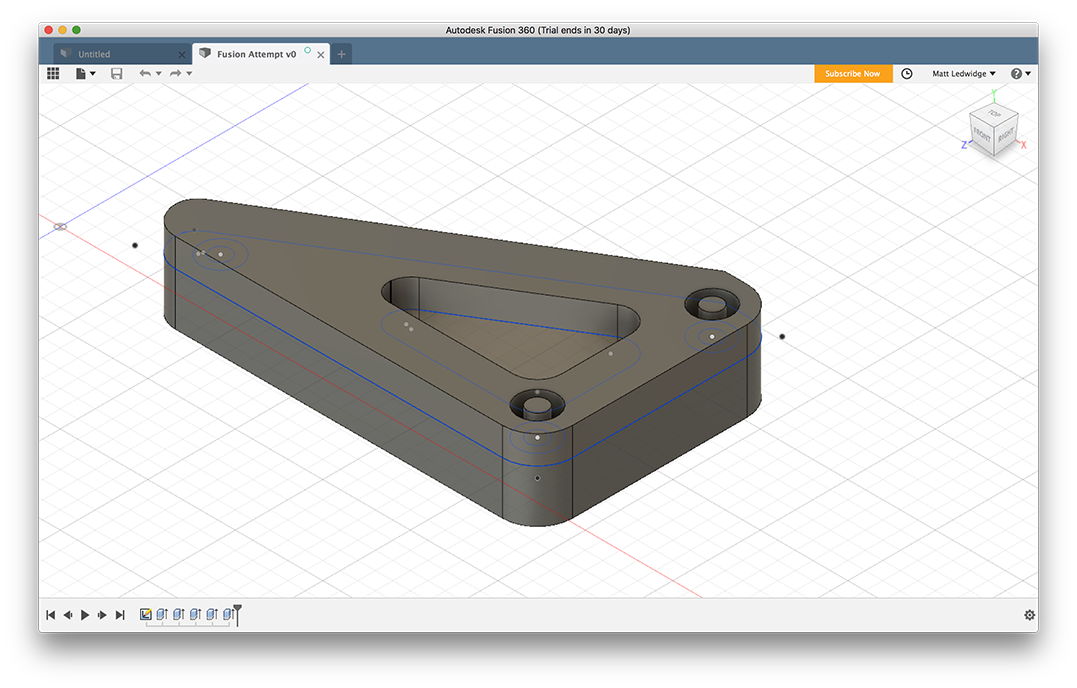
Fusion
I had never used Fusion before, but I was excited to experiment with the parametric tools. At first I found the viewport setup a bit confusing, but once I figured out the relationship between sketching and modeling it became much easier. Broadly found the interface a bit harder to move than Rhino sometimes, but it was much easier to learn more intuitively by trying out different tools.
I worked with the renderer and found it quite fast and powerful. There seemed to be only limited control over the lighting however. Decided to experiment with the animation and made a short video (above).


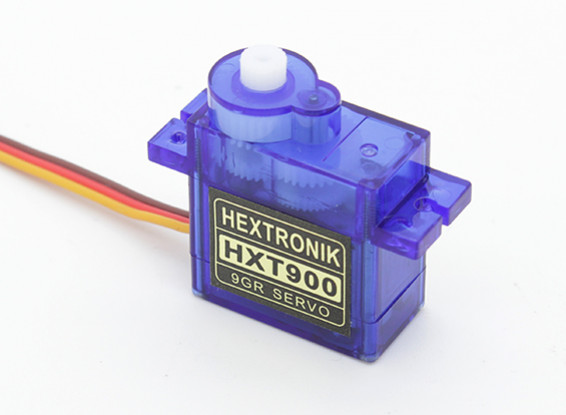
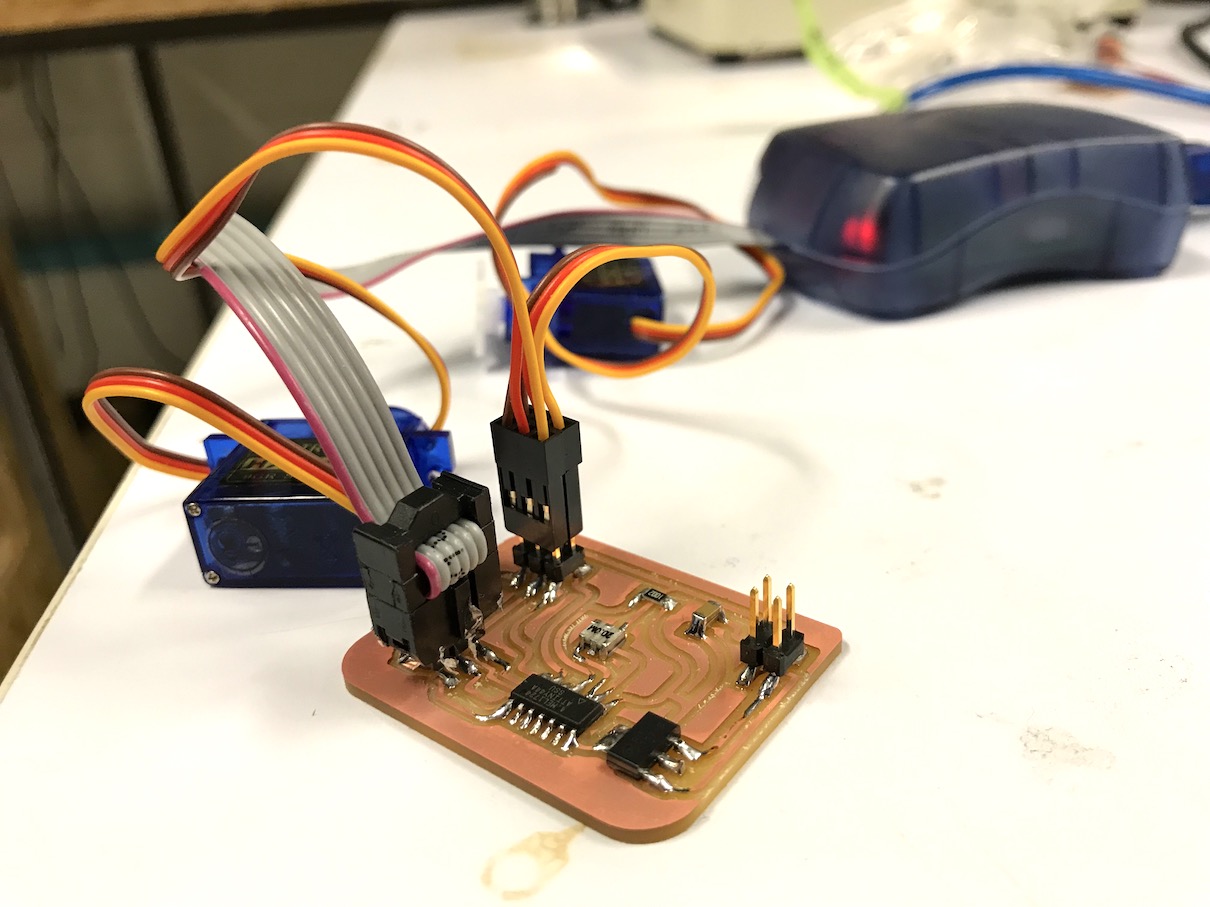
Making Servo Boards
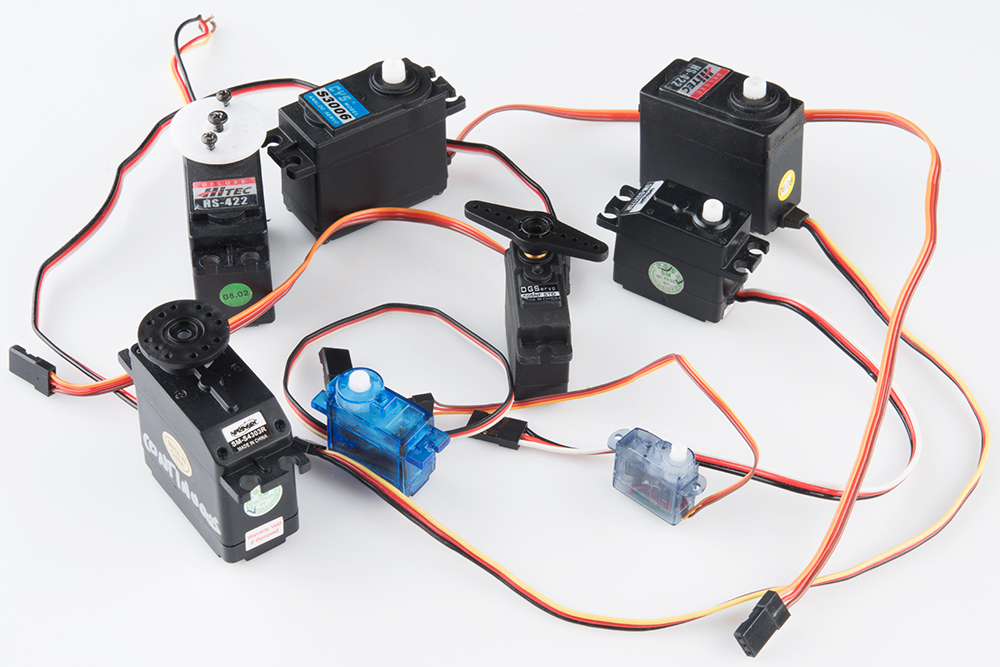
This week the assignment was to design and make a board to run an output device. I decided to try to make a servo motor, which should be able to help me for my final project for which I will need to drive two different motors seperately with specific sequenced controls. I wasn't sure which motor to use, but it seems servos have good fine control which would be more useful for what I want to do. I tried this week to make a basic version of what I would like to make for my final project, I ended up running into some issues which I will need to solve for my final project – specifically, need to figure out the question of powering larger motors safely which I found confusing to figure out this week from online.
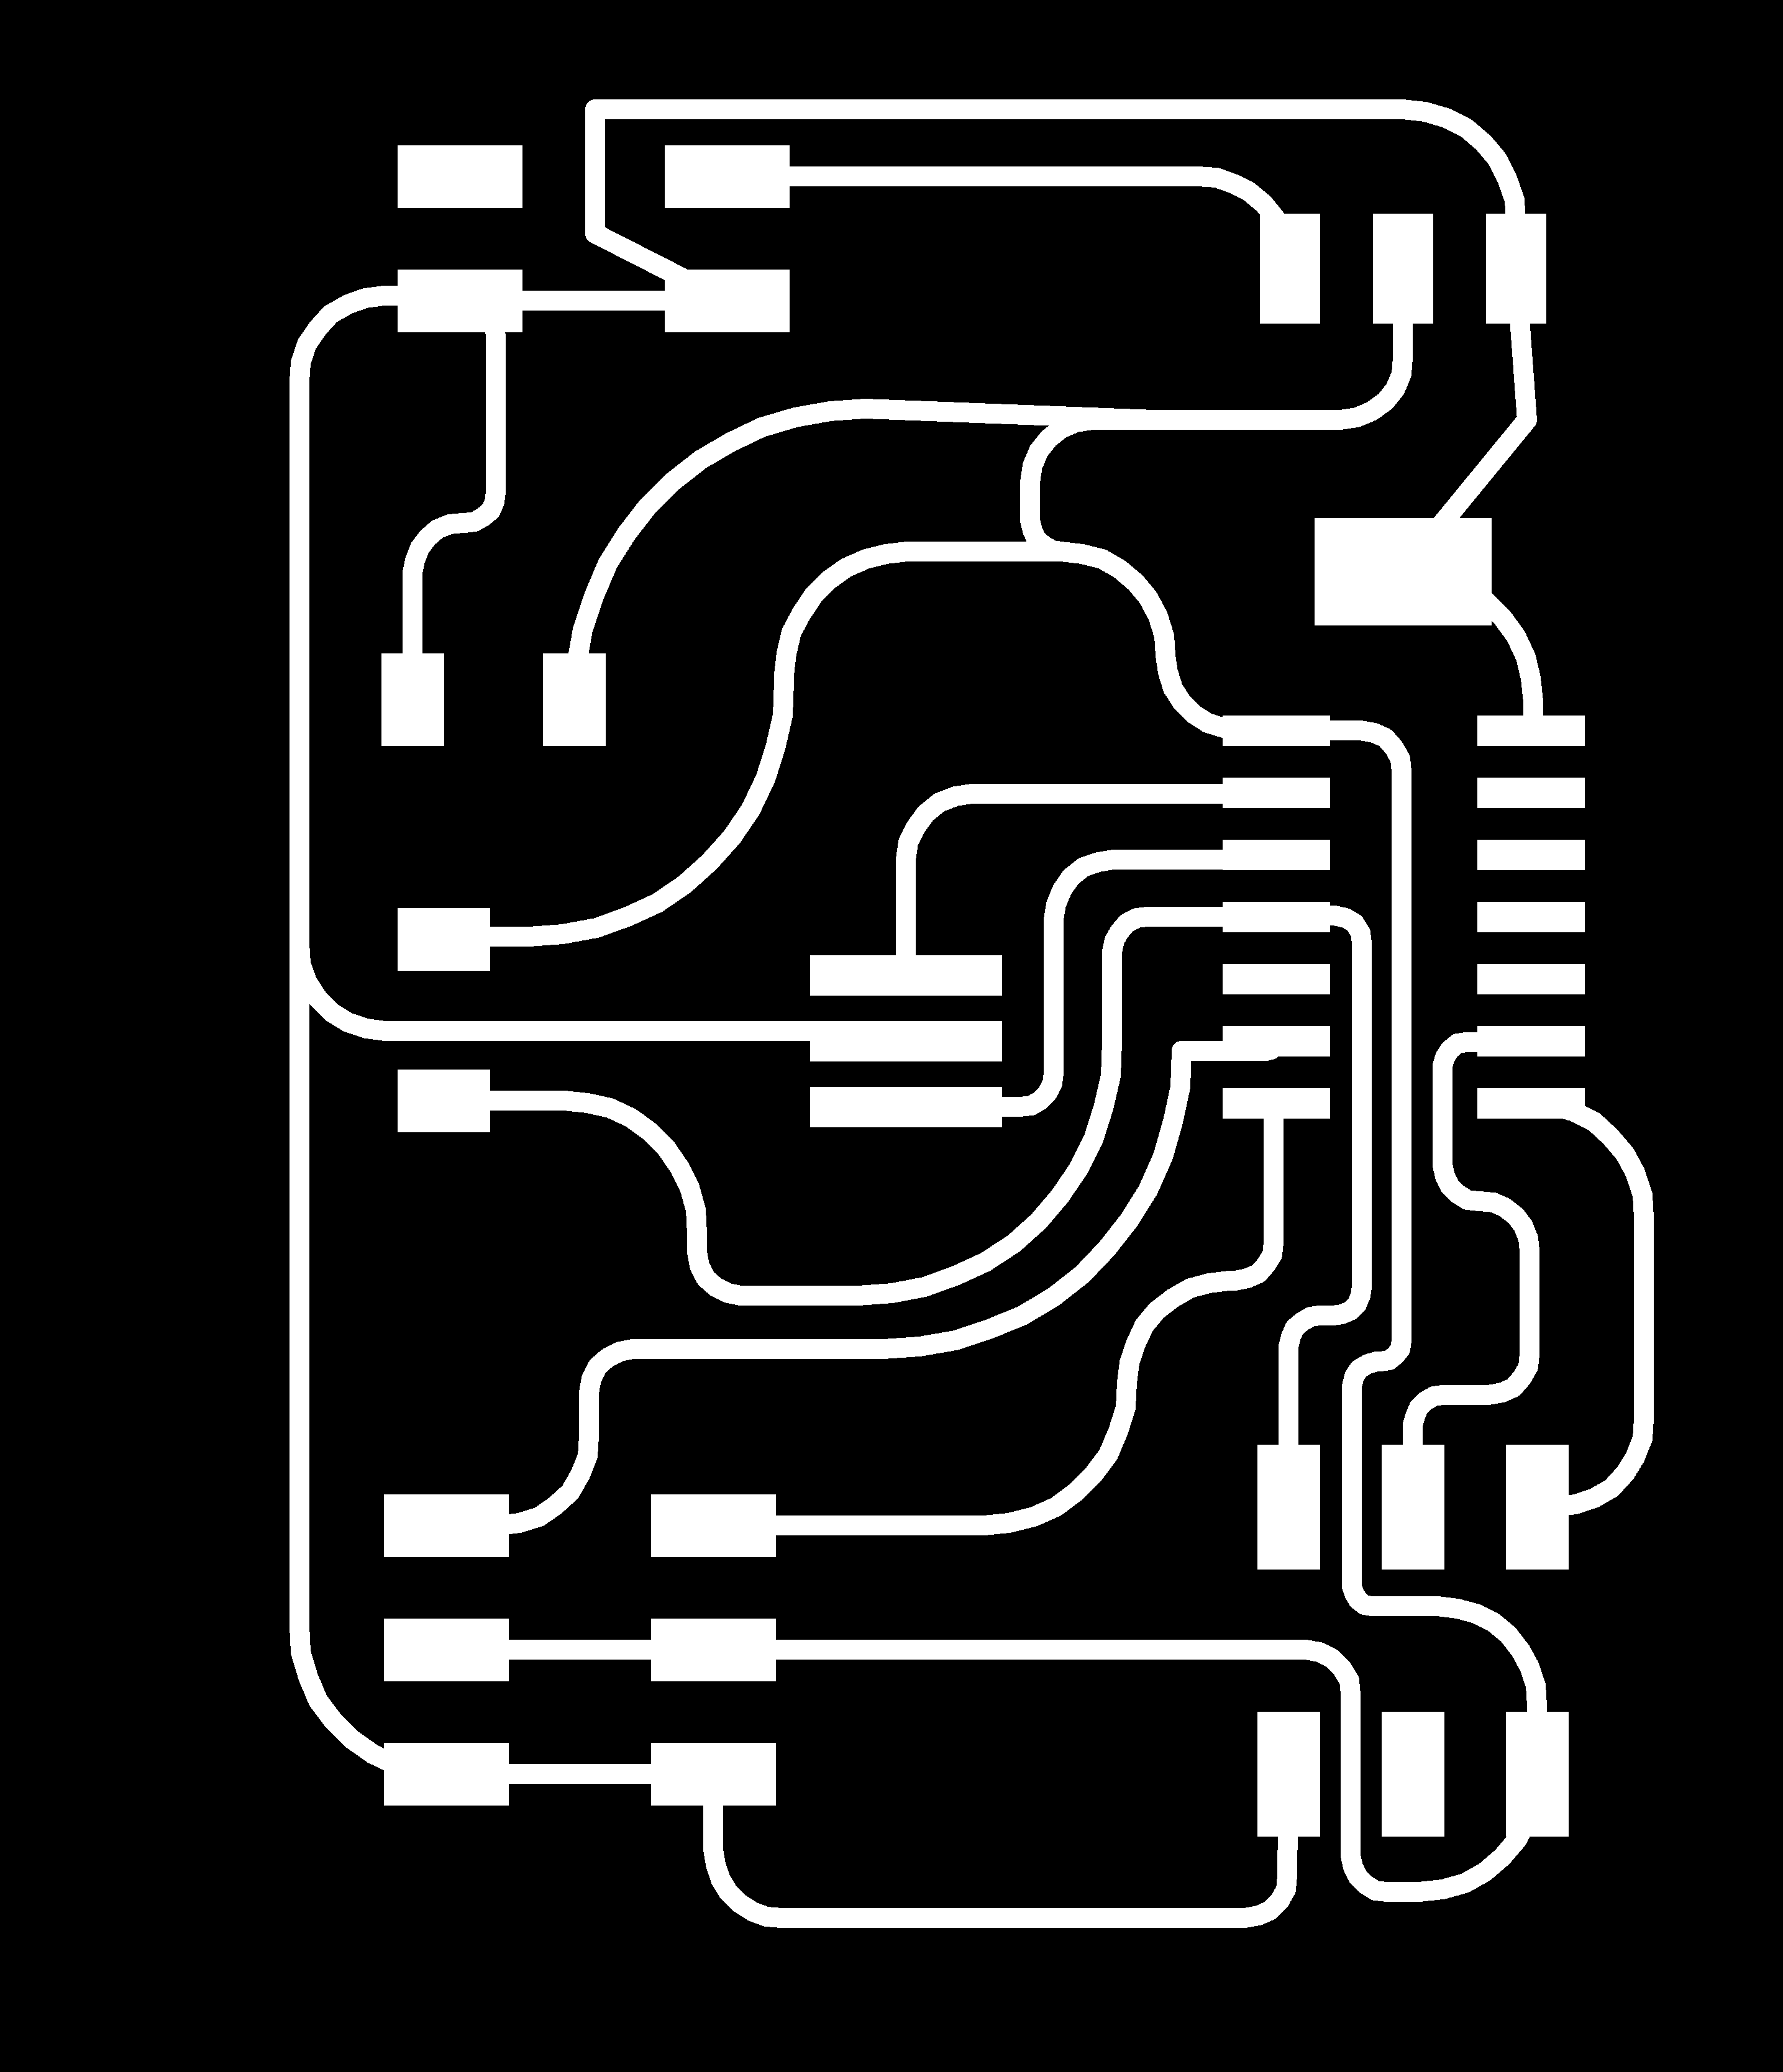

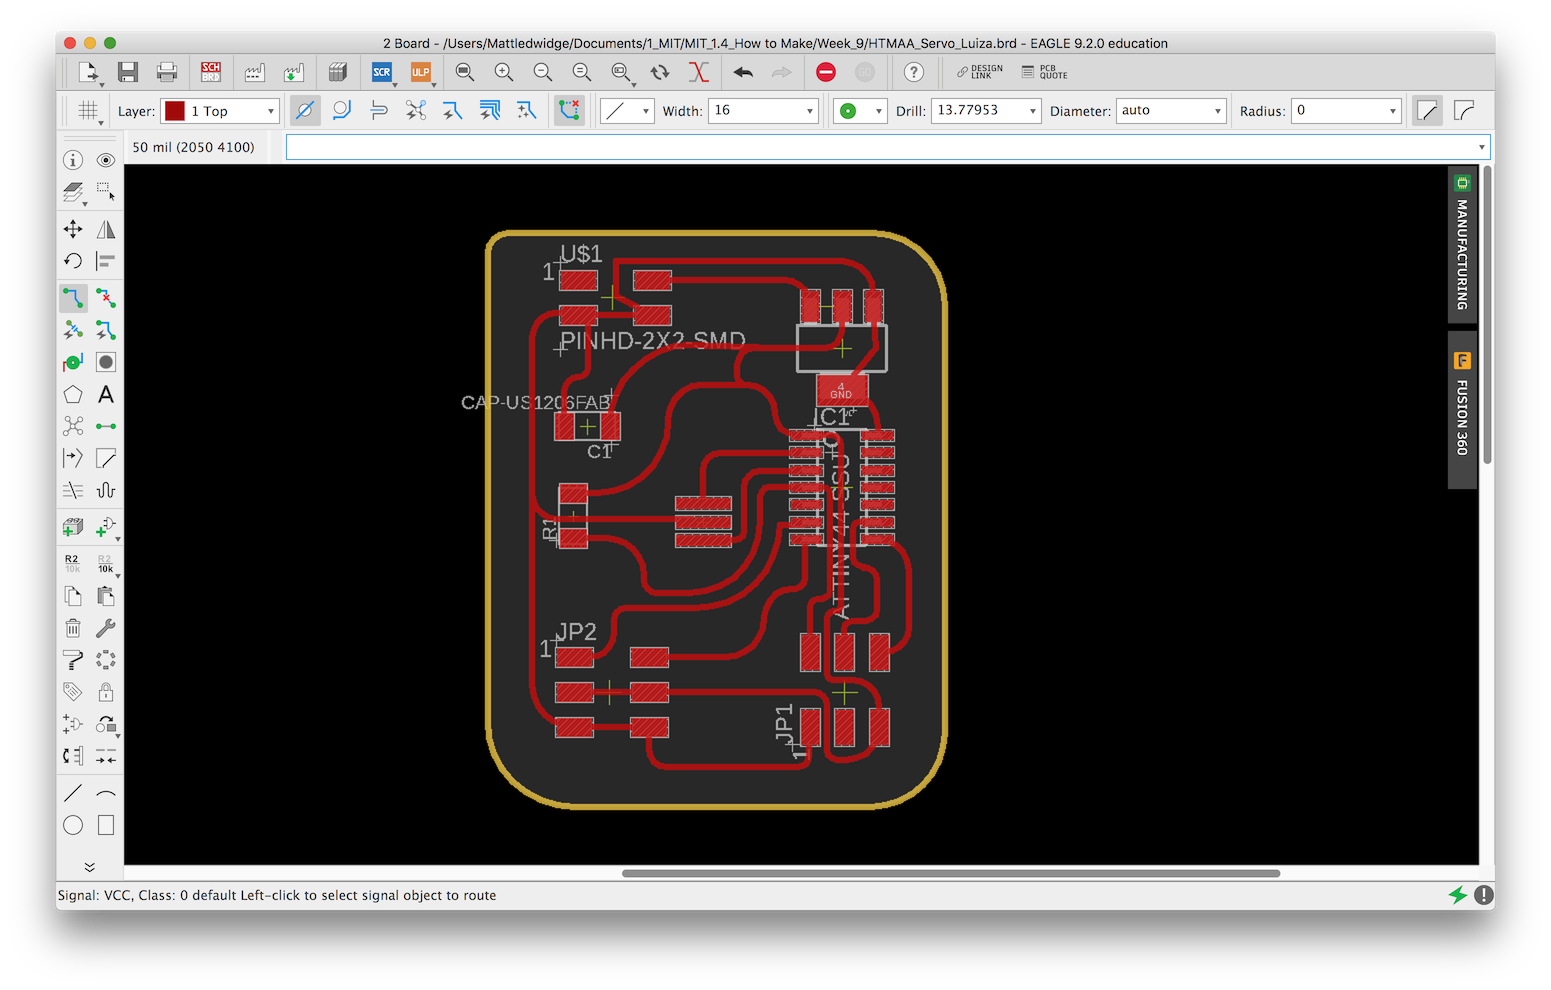
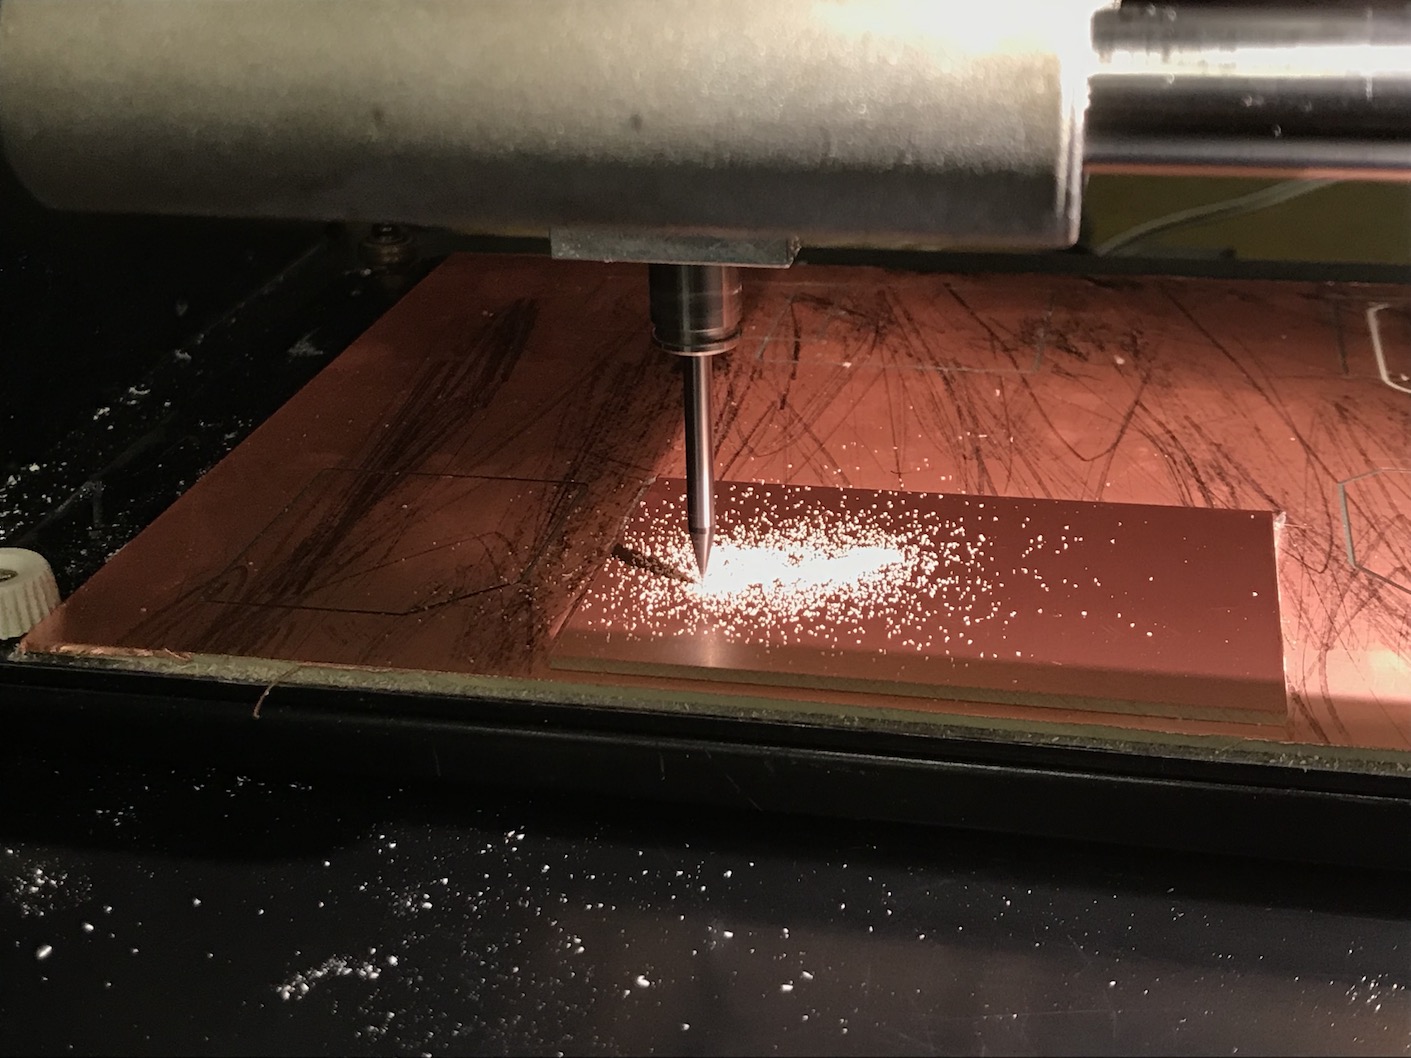
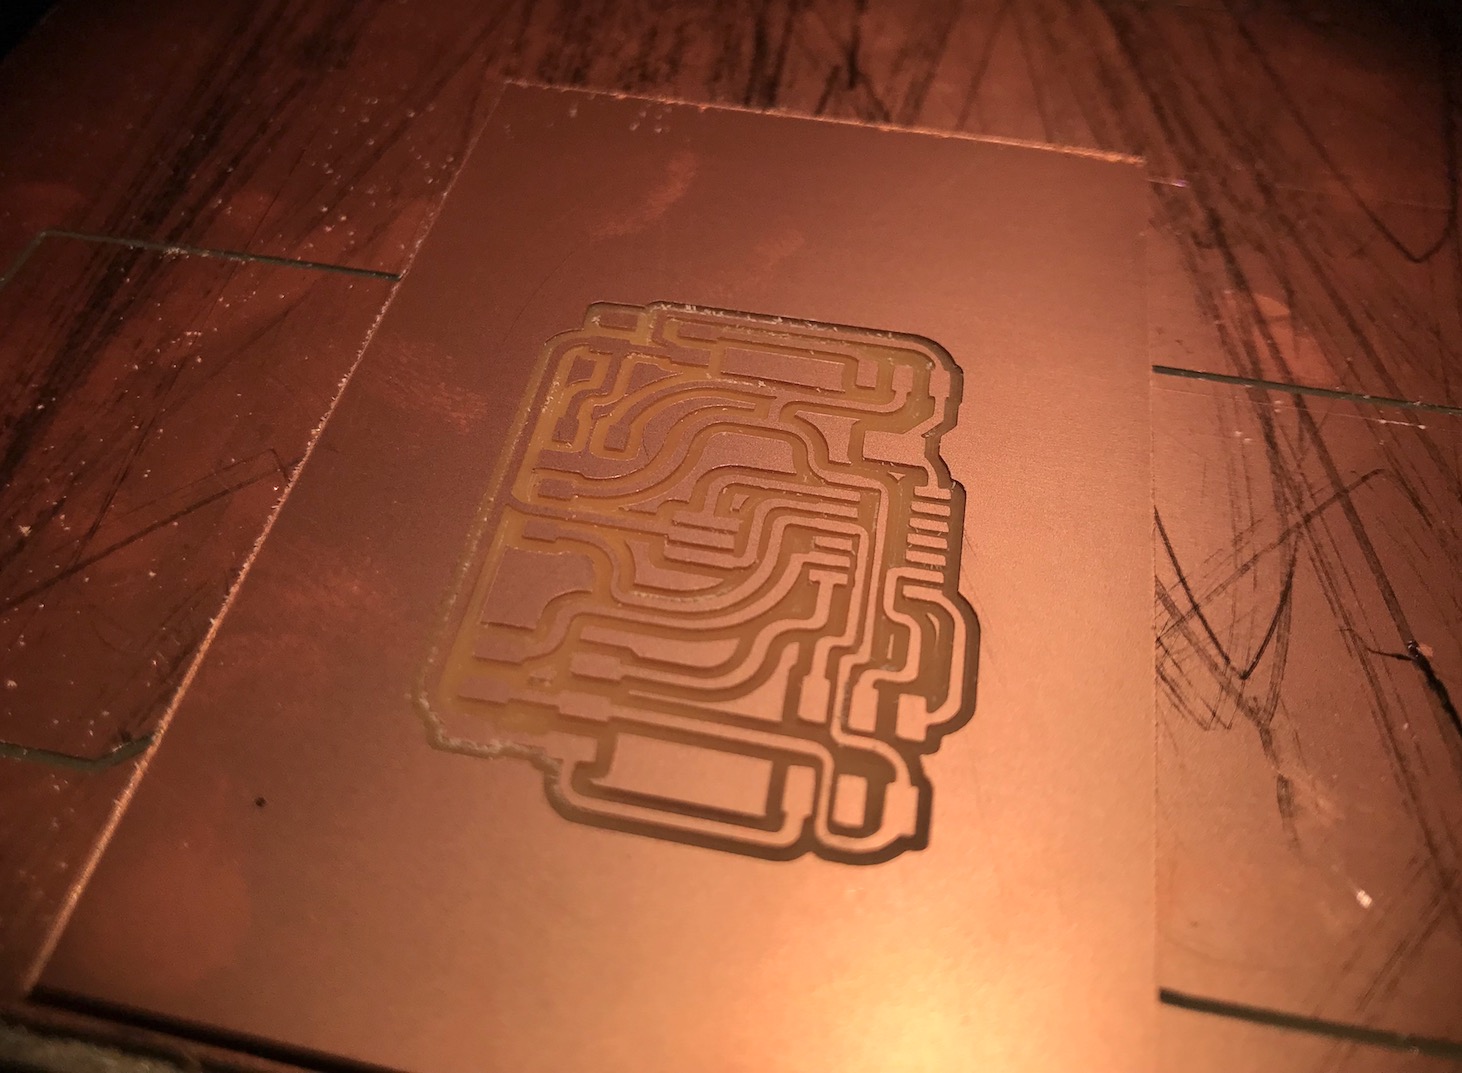
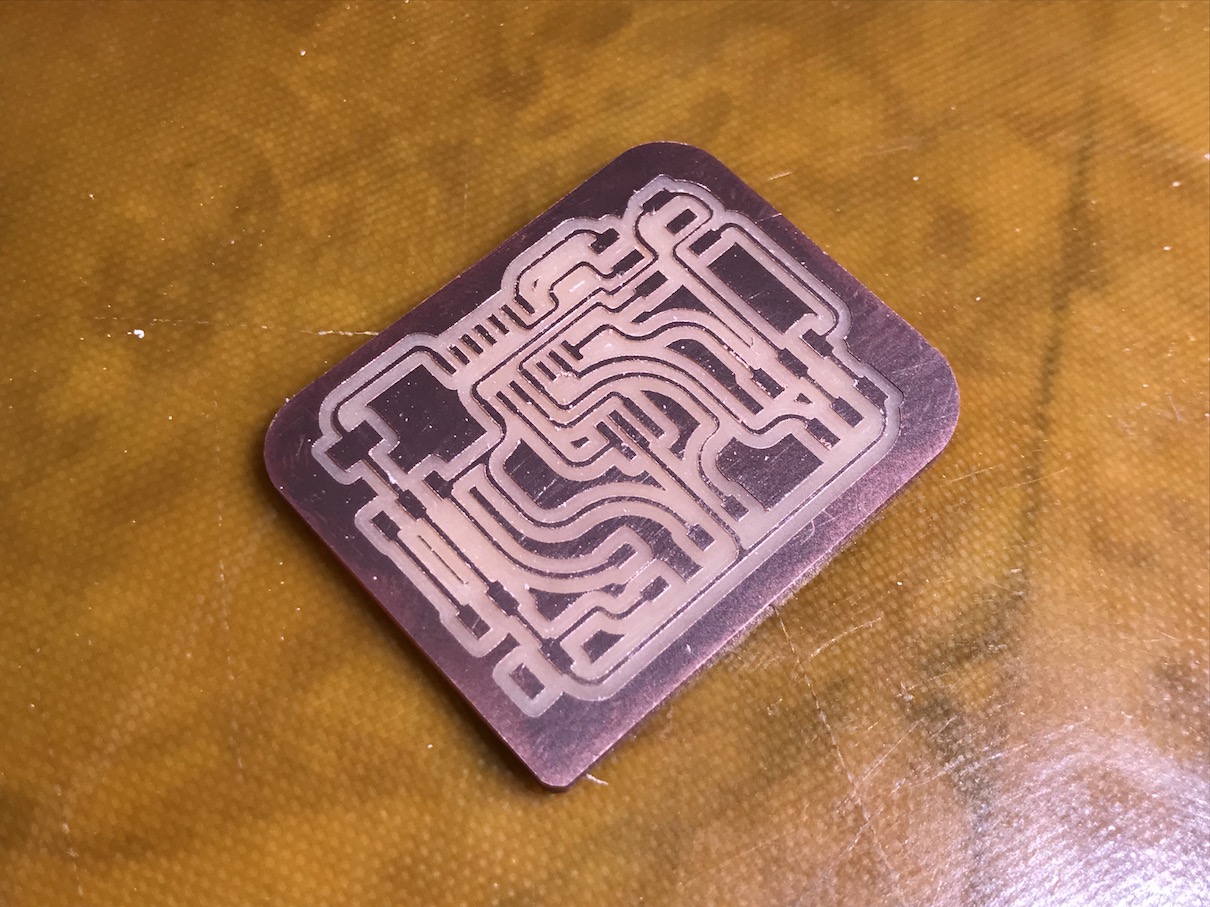
Drawing and Milling the Board
I drew the board from Niel's design on the website to start with. I moved around several components and had to rearrange certain parts in order for the pieces that were available in the lab to function correctly, for which I consulted the data sheets and pin arrangements.

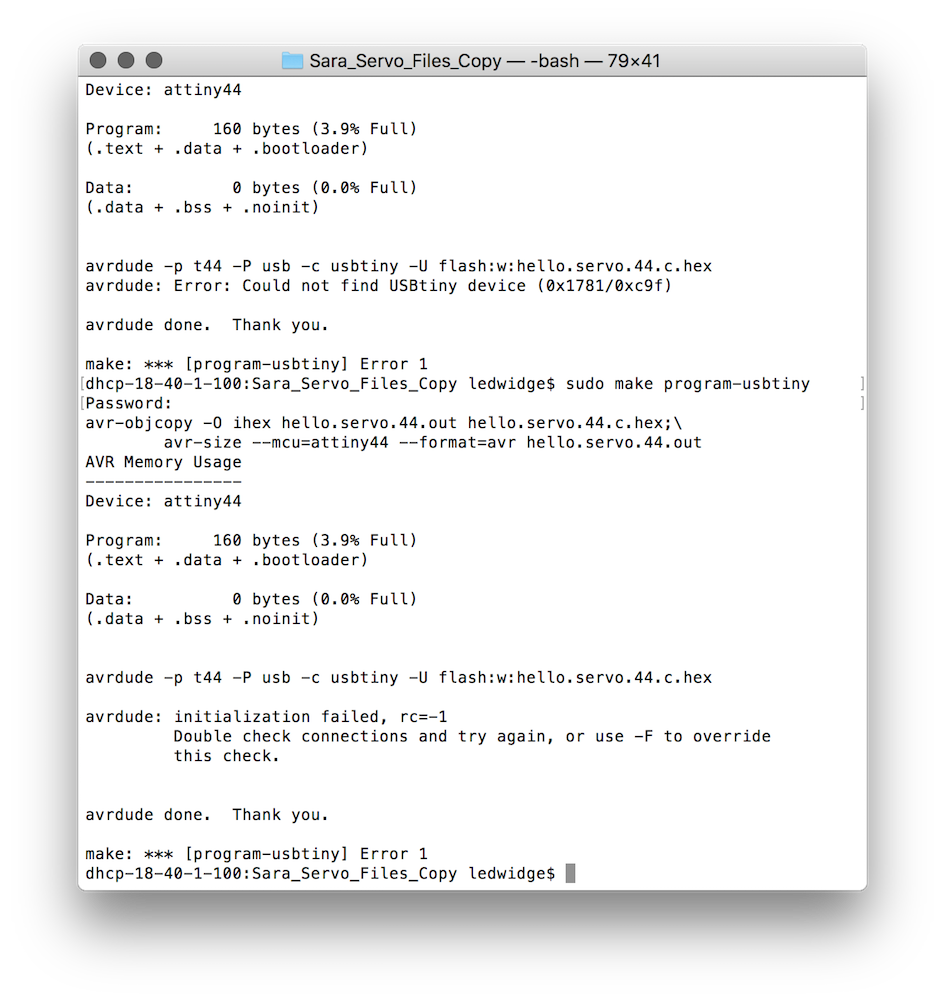
Programming
In attempting to program the board this week I set up the files and programmer, but was not sure how to get power to the board. It seems in the past from the tutorials that I found that people were using nine volt batteries, but these were unavailable in the lab intentionally. I plan to finish this board soon once I can figure out how to give it power. I think I also lifted some of the copper on my programmer because the light wasn't turning on, so I am going to try and get that fixed soon but for the moment will use the avrisp programmer.
Servo Controls
After my initial failure to make a functioning servo board, I decided to try again a couple of weeks later.
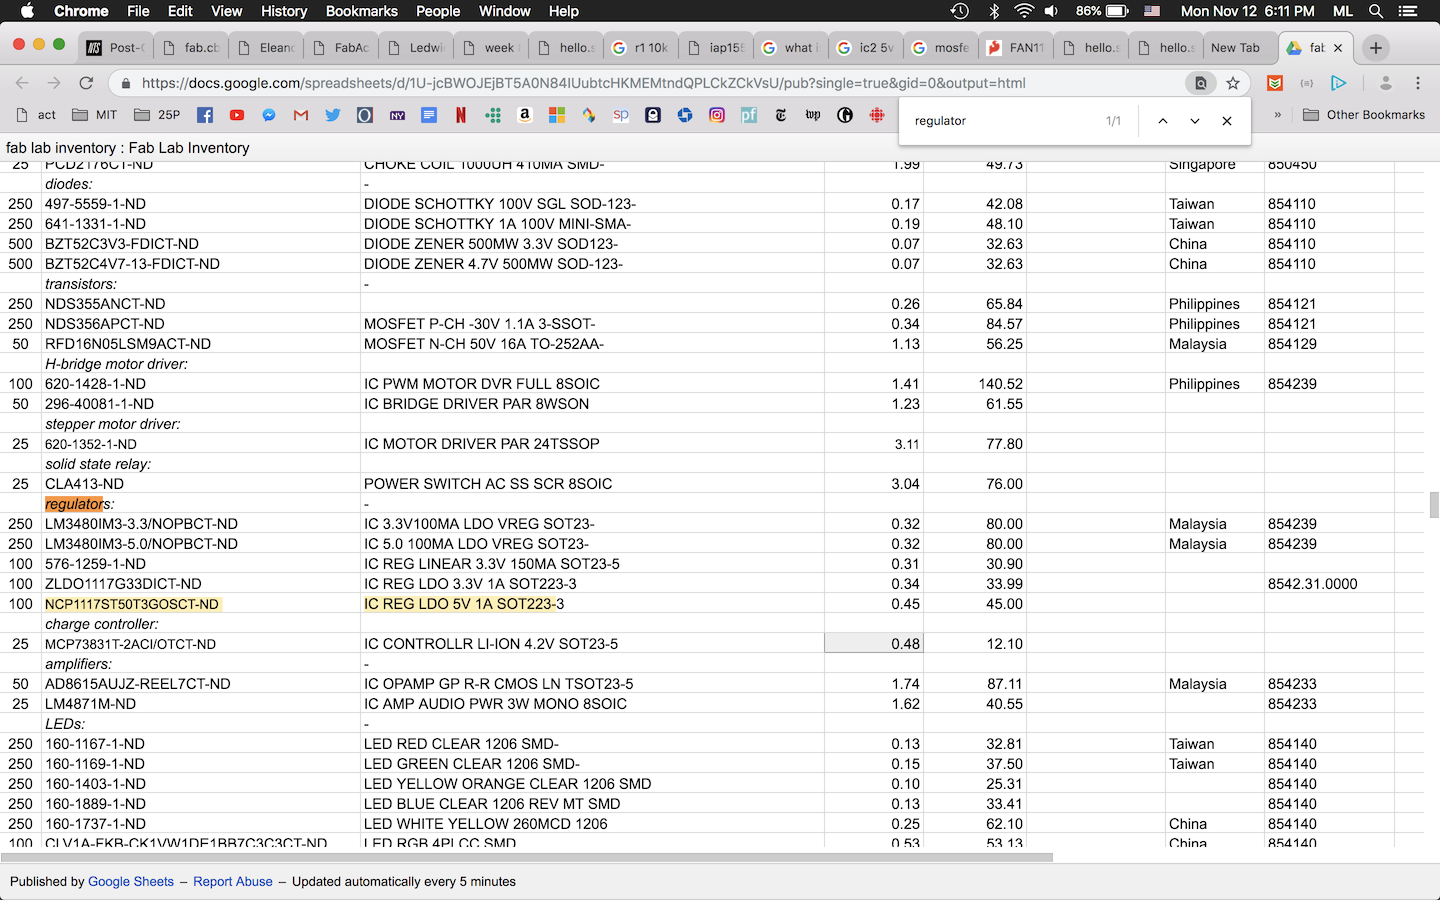
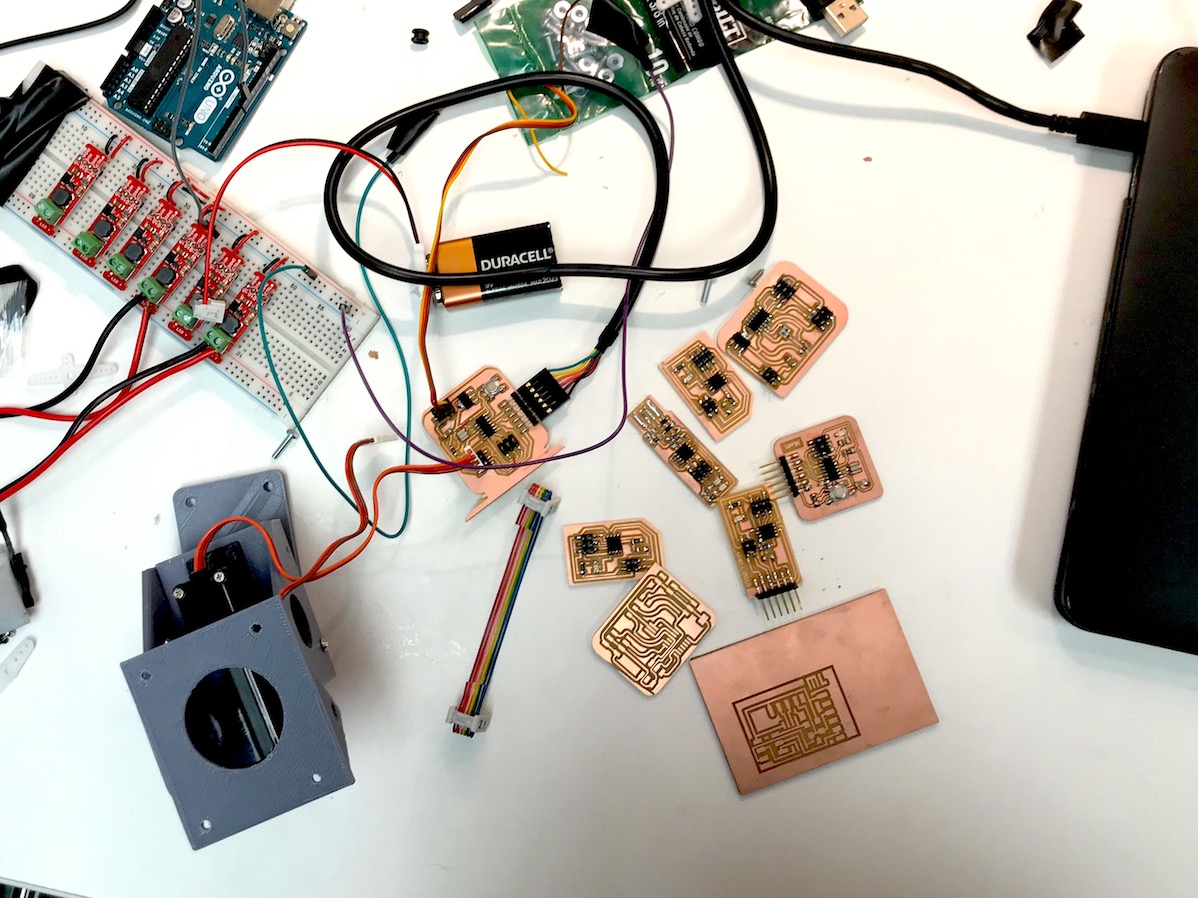
Processing – Arduino Communciation
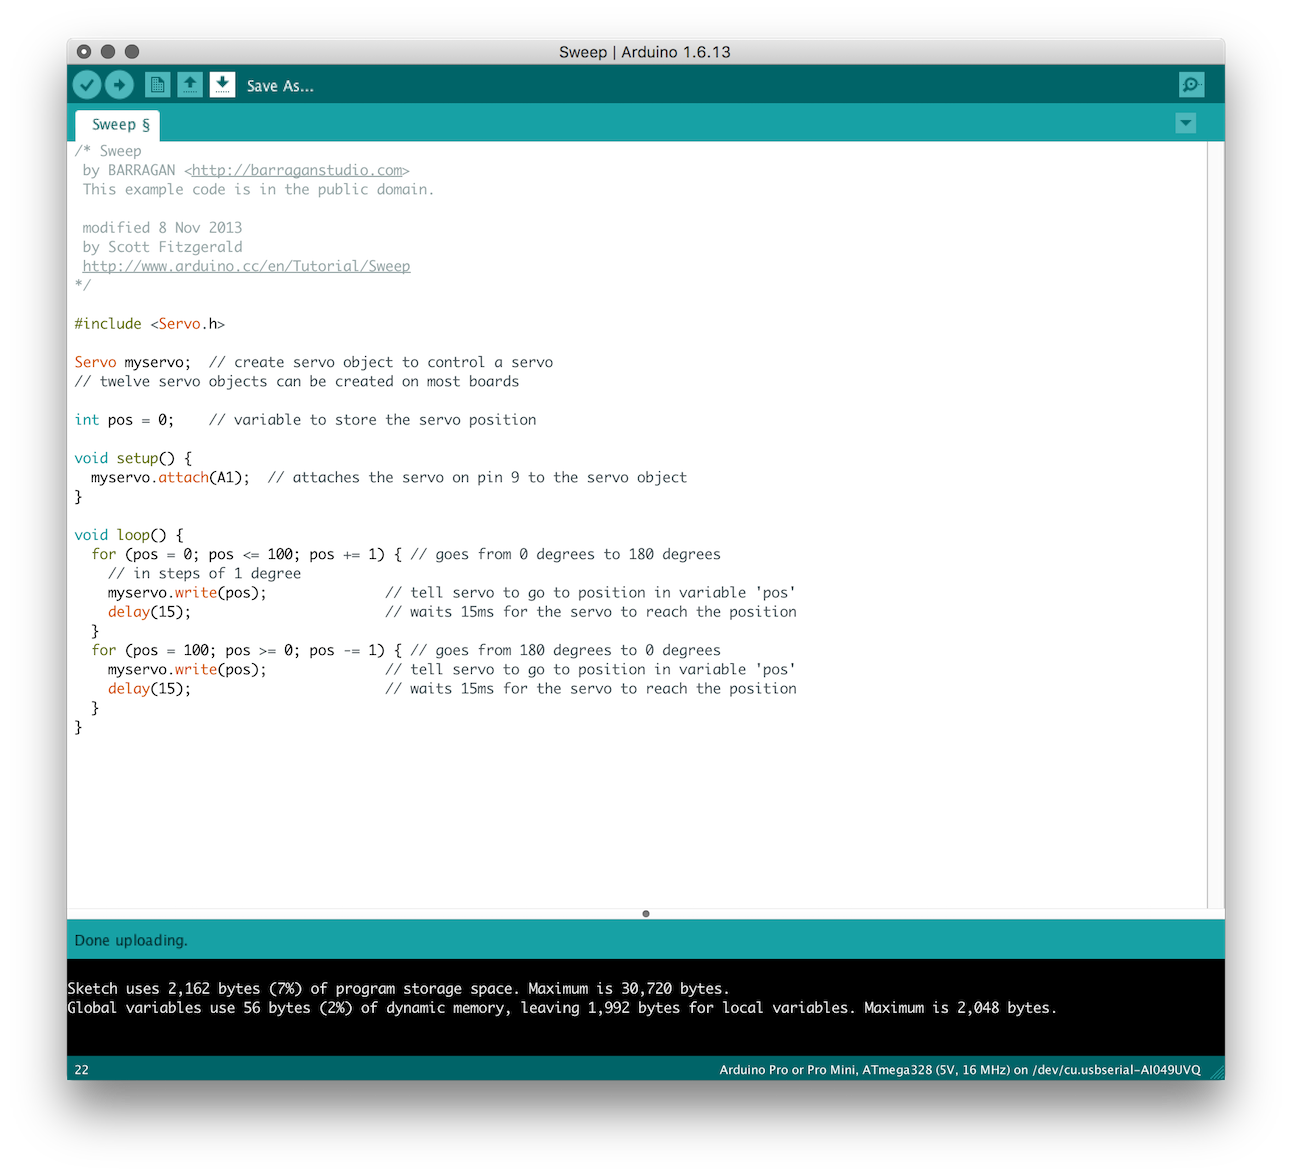
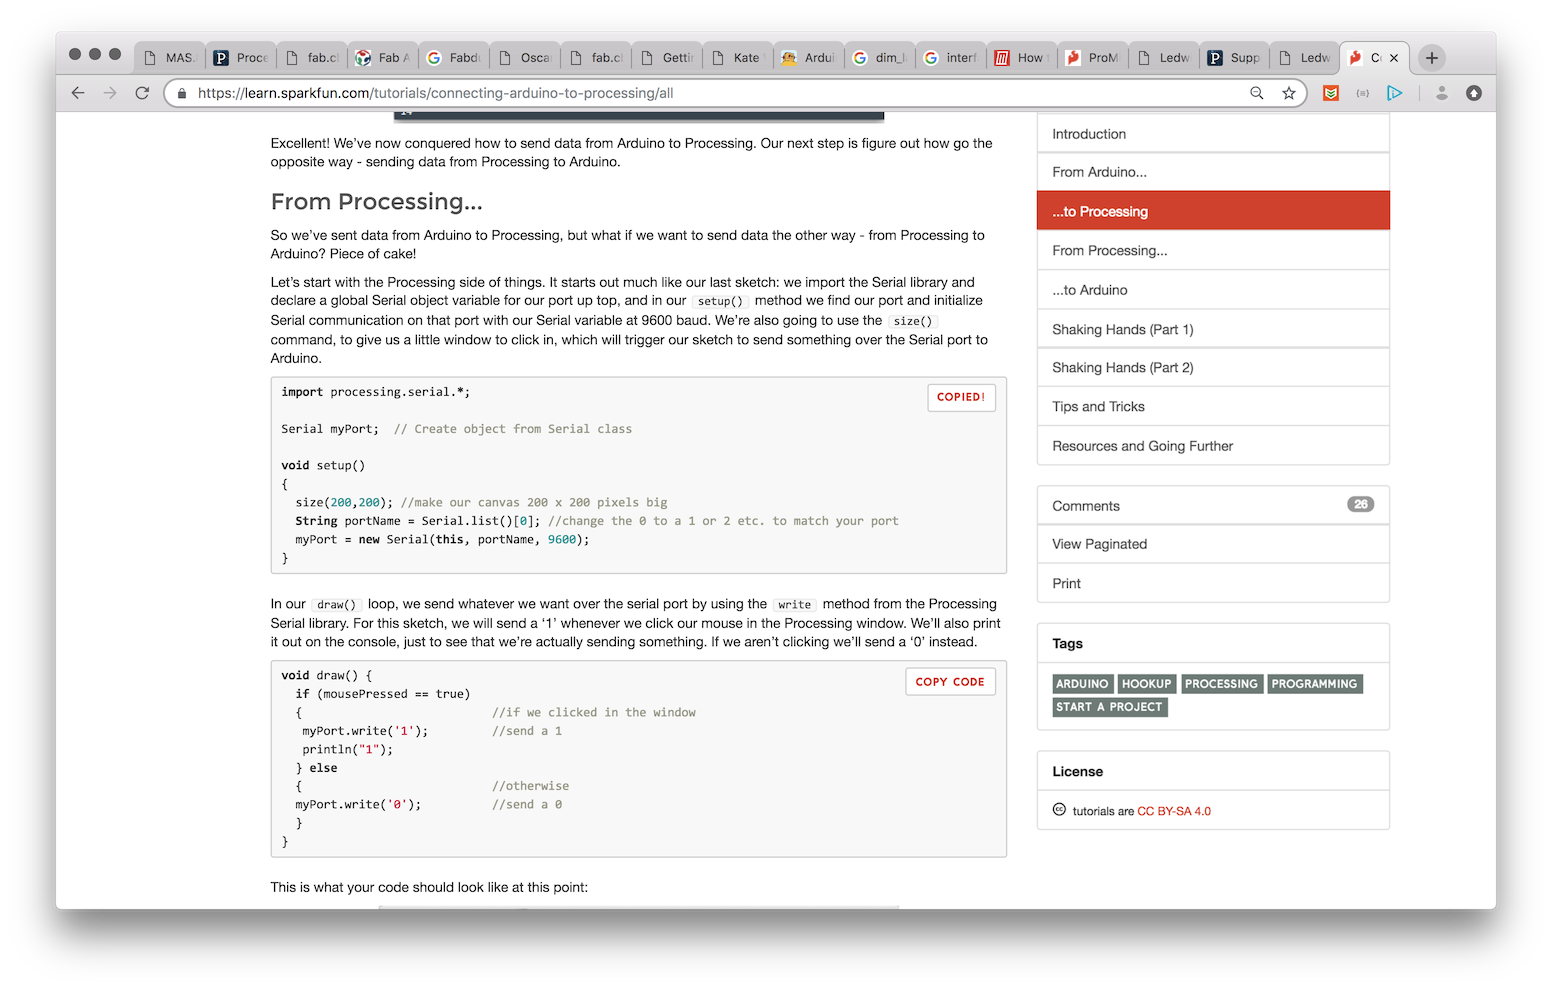
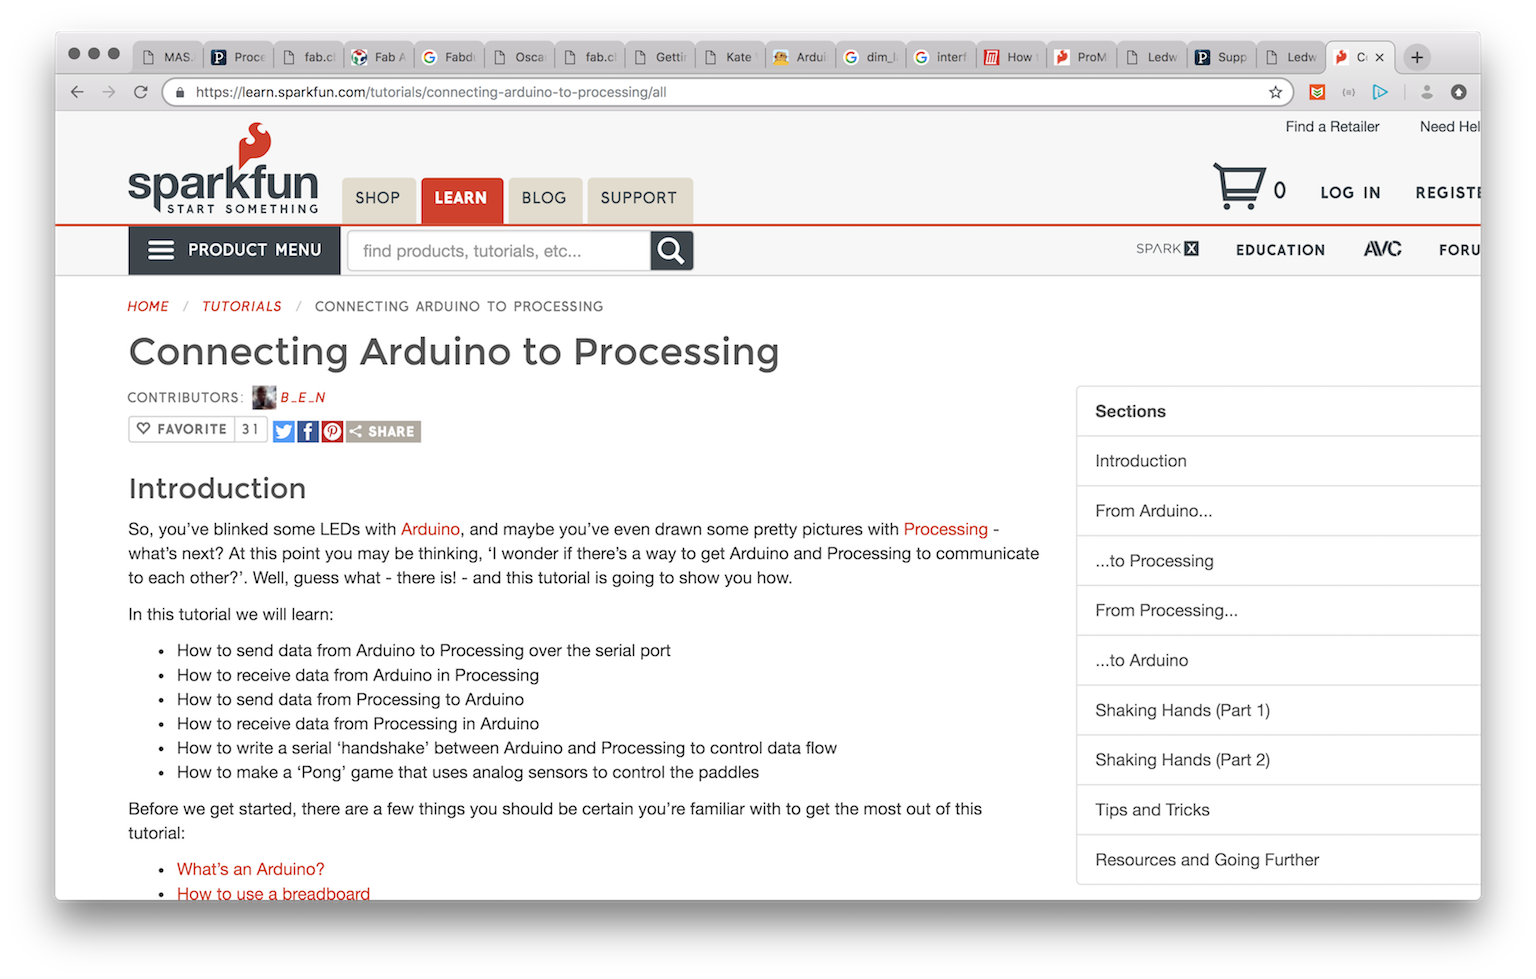
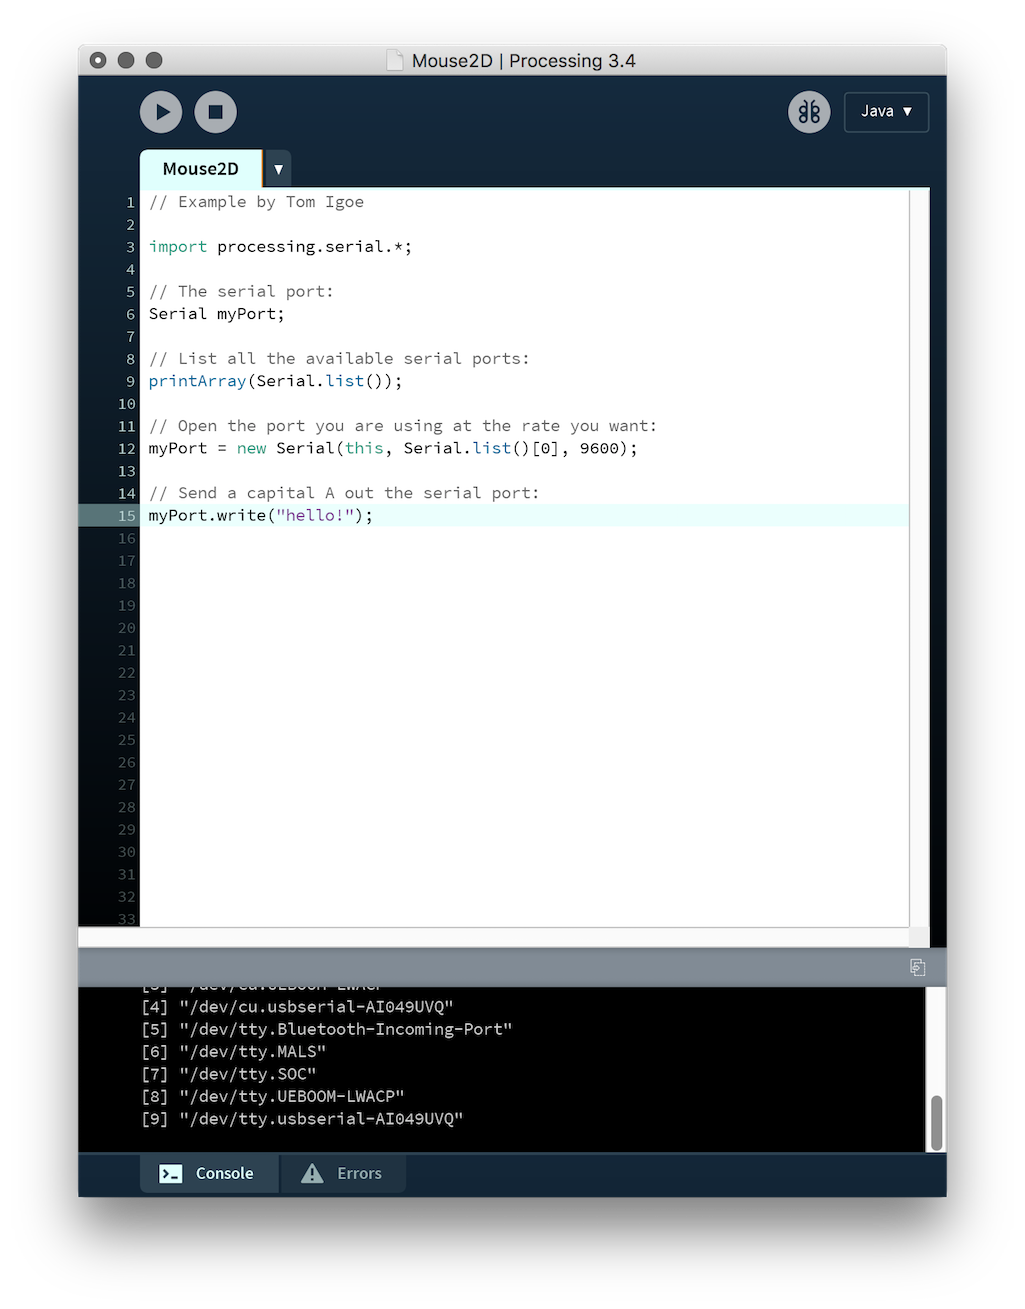
This was during the programming week – where I decided to see if I could make a program which would more easily allow me to control the motor for my final project. This was the initial intention anyway. I ended up not being able to use the previous board from output week and my programmer traces fell off unfortunately, so I decided to use an arduino branded microncontroller, which runs on an ATMEGA to try and focus on getting the programming side working. I managed to upload some sample code via the ardunio interface onto the board and have decent control of a servo motor. I also decided to try and use processing to make a graphic interface to work with it. I used various tutorials shown on the right to get serial and arduino to be able to talk to eachother throught the serial monitor.


Hardware: Success and Tragedy Strike With the Smell of Melted Microcontroller
Just as I was getting into the motors, at the time trying to get them to dance in sync to Superman by Laurie Anderson I smelled burning plastic. I realized very quickly that the power source from the wall I was using was outputting 12V, which sort of made sense when what I was doing was powering a whole back on LEDs for a different project, but with them gone I think it managed to overload the board. After this happened the Microcontroller on the board overheated very quickly when I would plug it in, which leads me to conclude that this particular Arduino is likely fried unfortunately. So, I didn't end up getting to make a user interface – but I think the arduino code which will just be a sequence of numbers will suffice for my needs.
Hardware Design
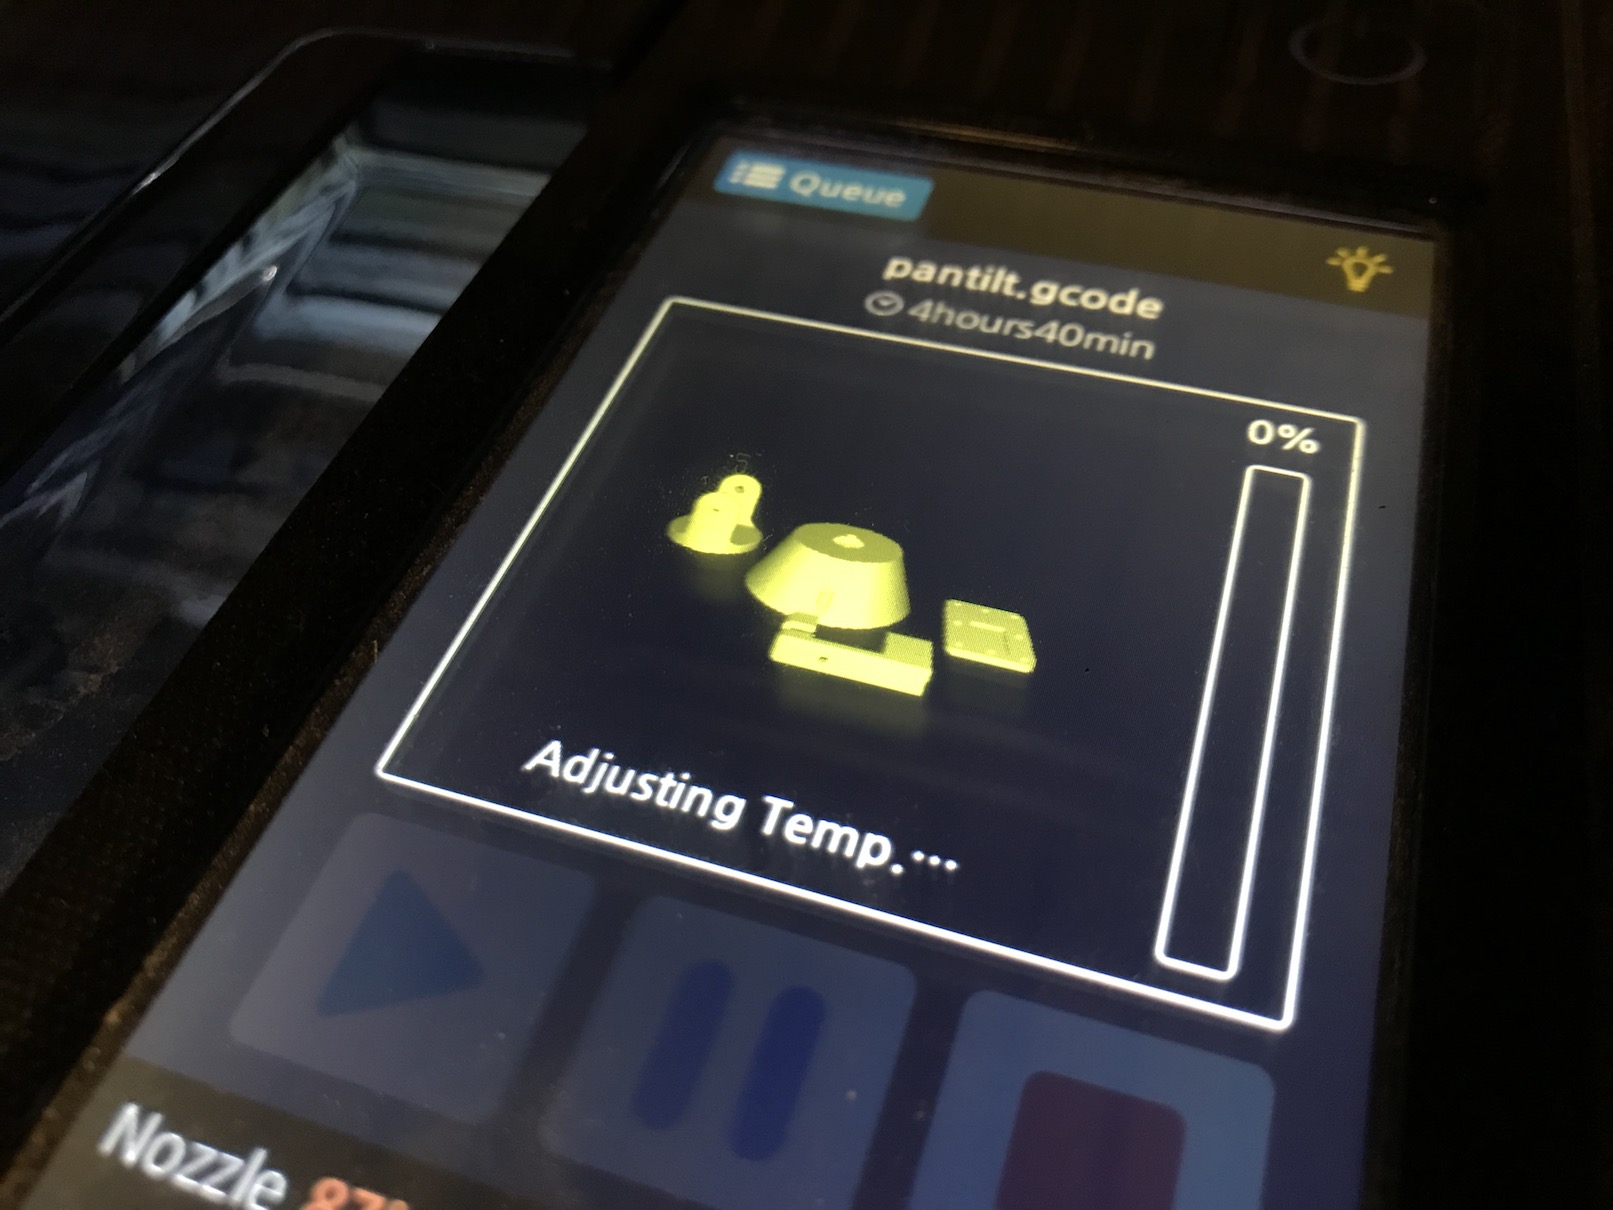
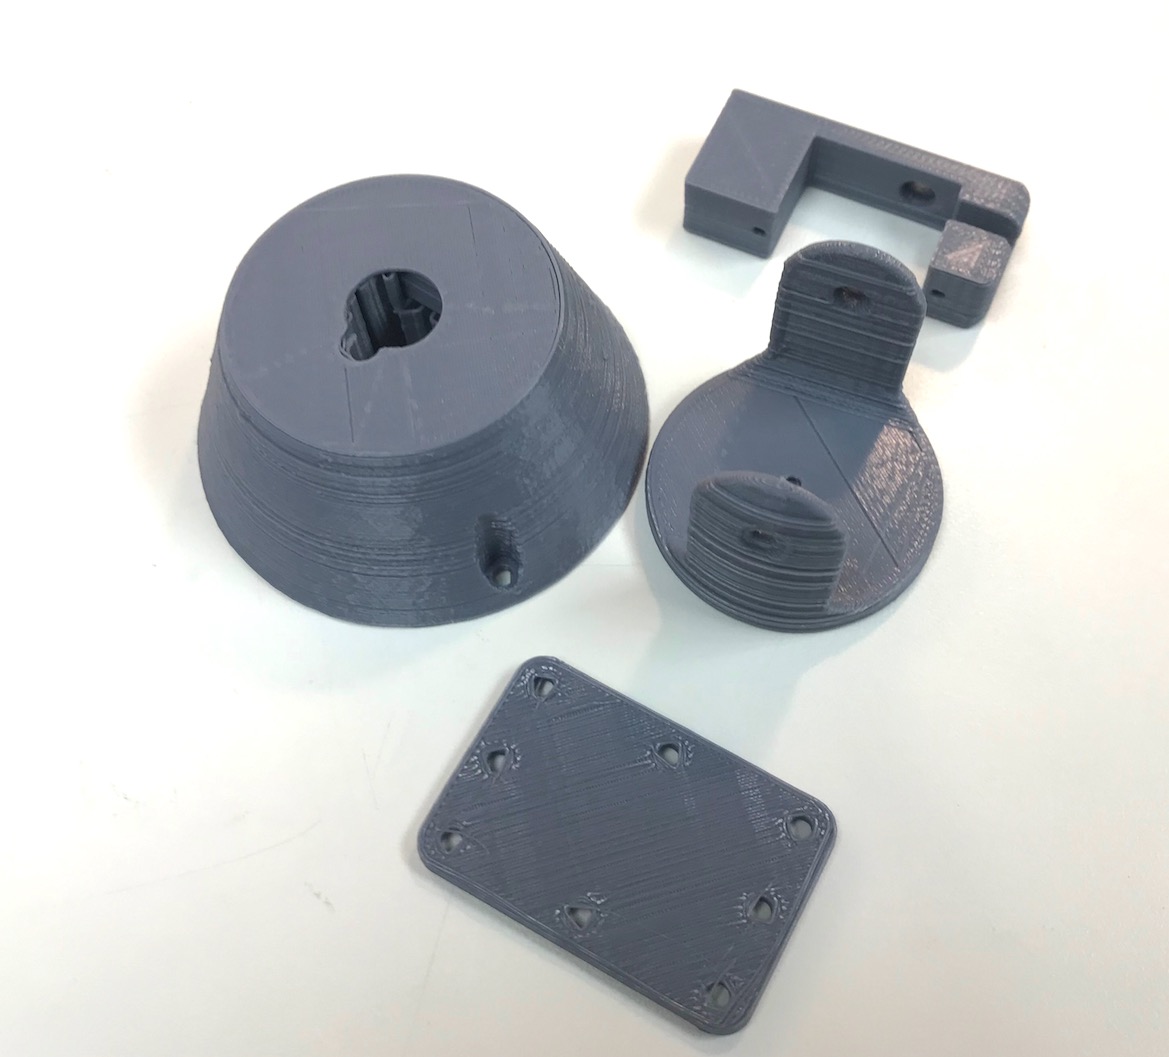
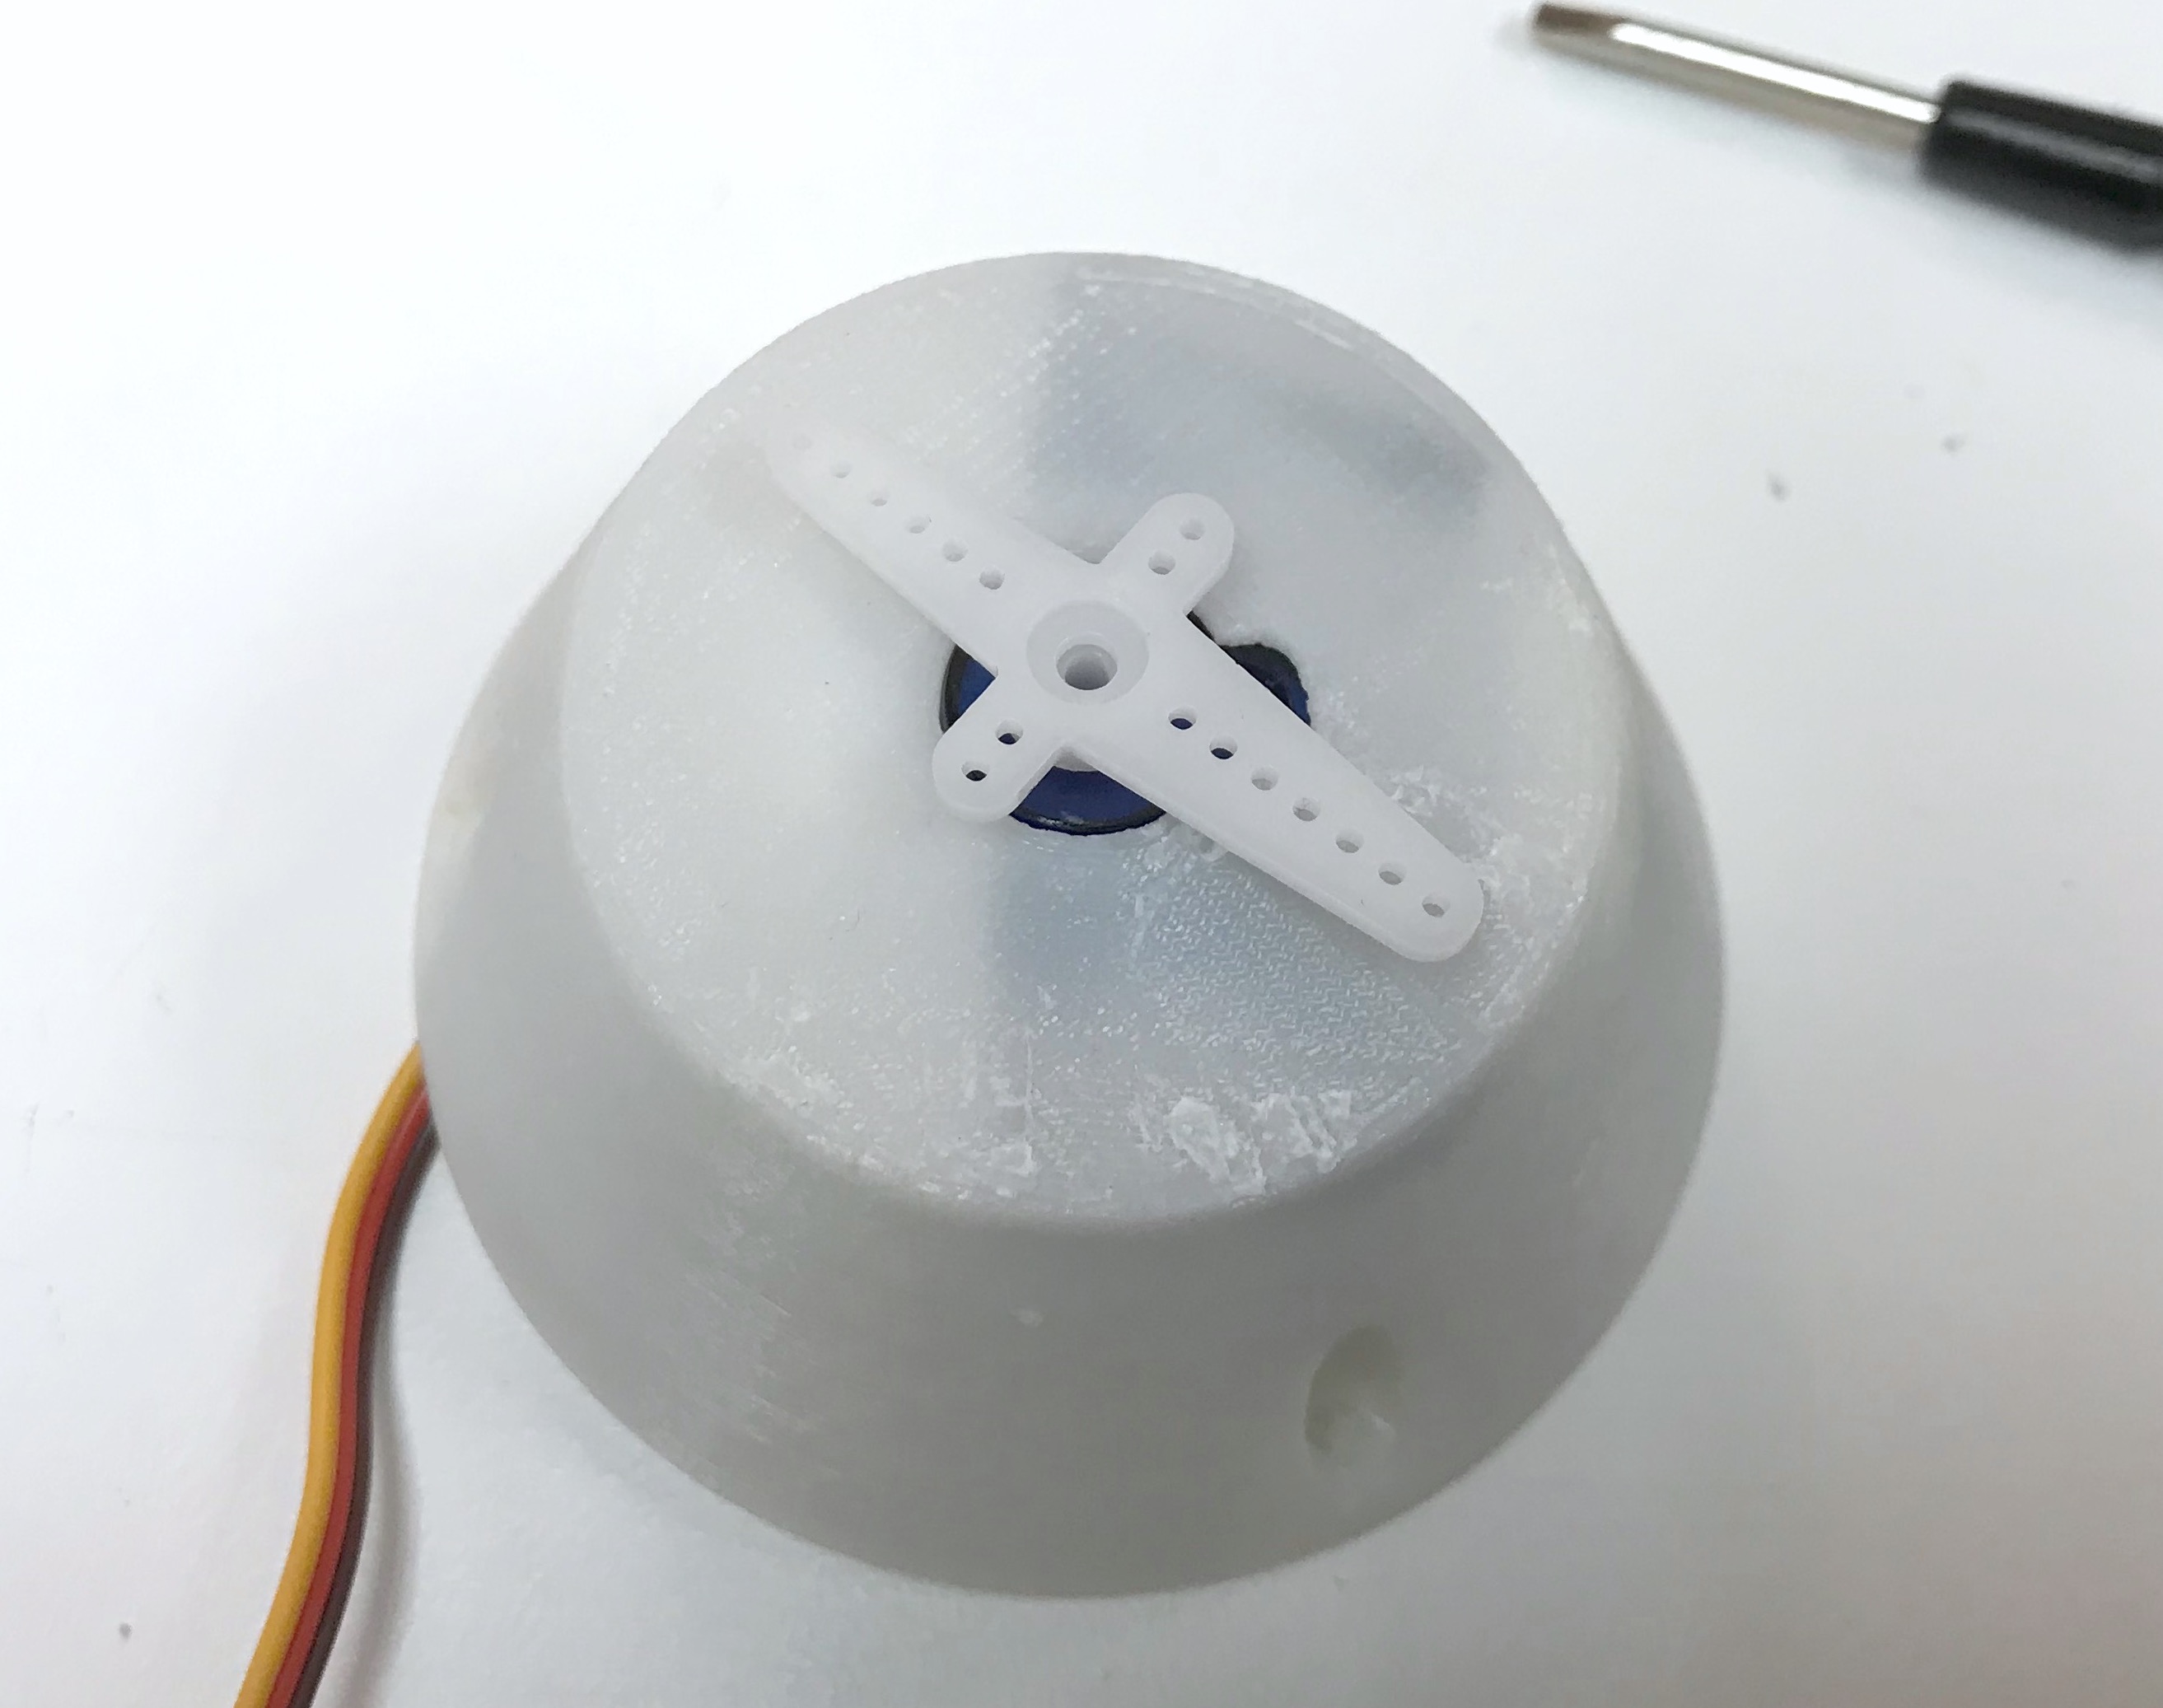
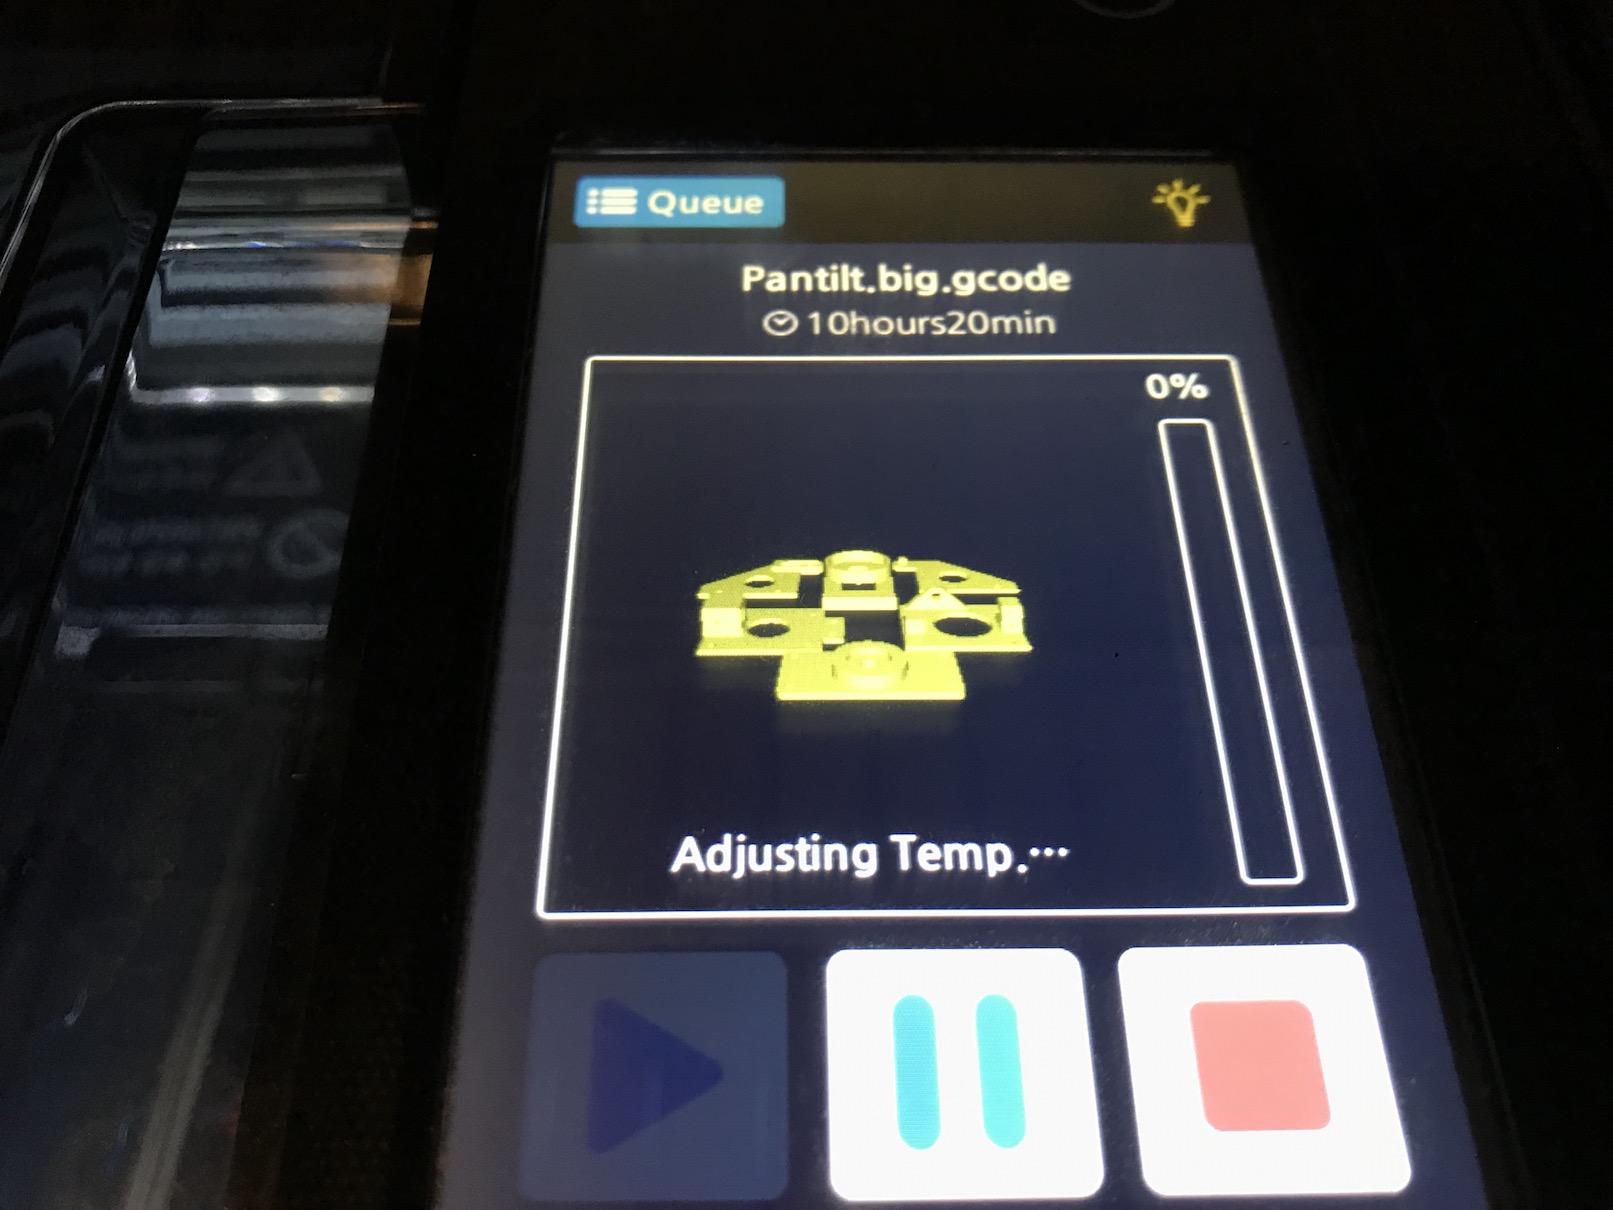
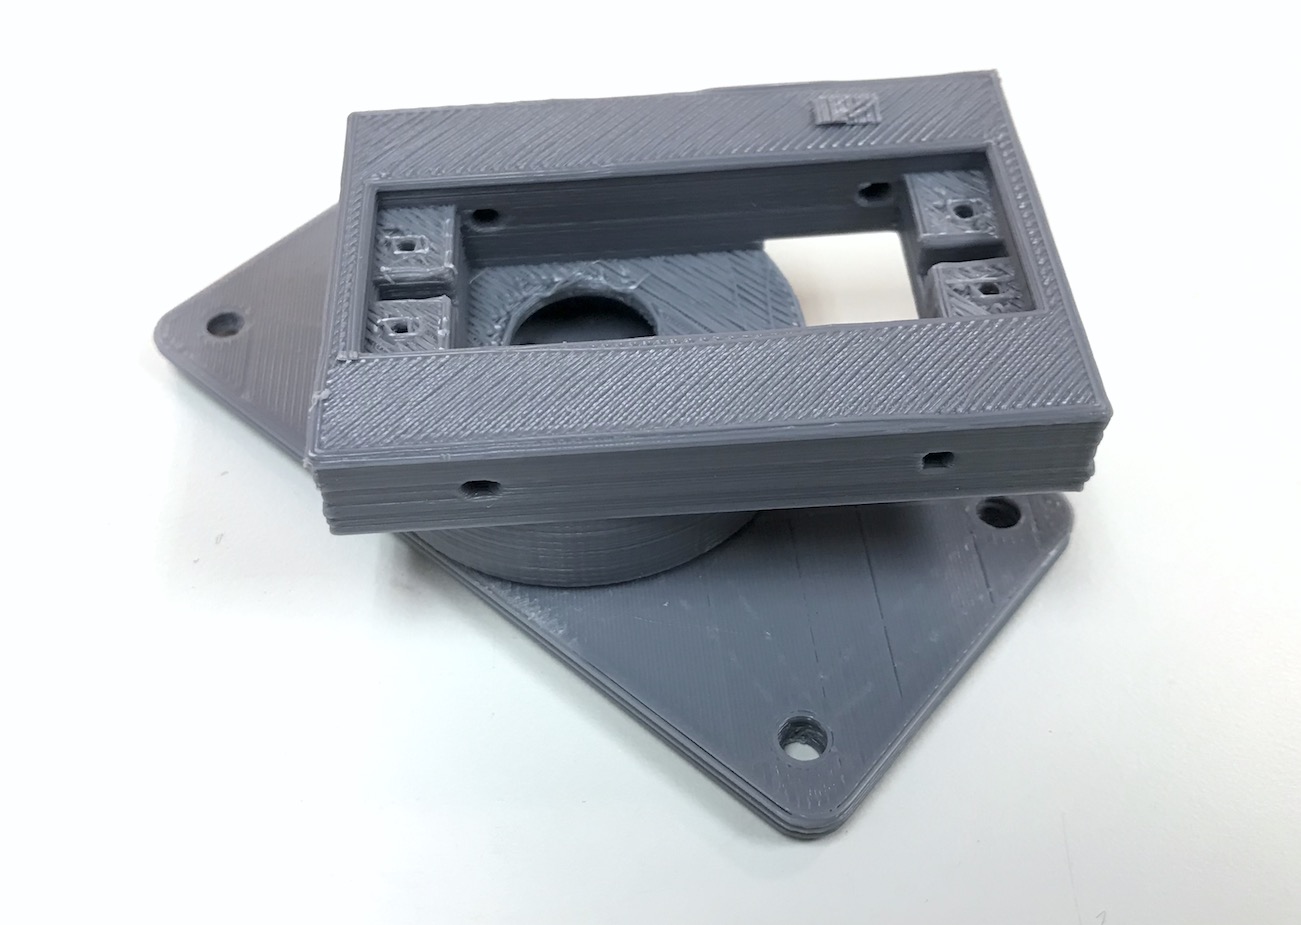
For the first attempt at the pan tilt mechanism I decided it made sense to borrow a design from the internet. I found a nice design from eltitomanolo which would work the the mini servos that I already had. I got a refresher from Rae on how to 3dWox machines and software works, and went off to a party while it did my work for me ( I highly recommend this). The prints came out a little bit low resolution, which was because I had sent it at the normal setting, but later I resent the bottom component at a higher resolution because it was really interfering with the mechanical properties. In general if I was doing it again I would have sent it all at higher resolution, as many of the screw holes and things were not very well formed which proved to be an issue.
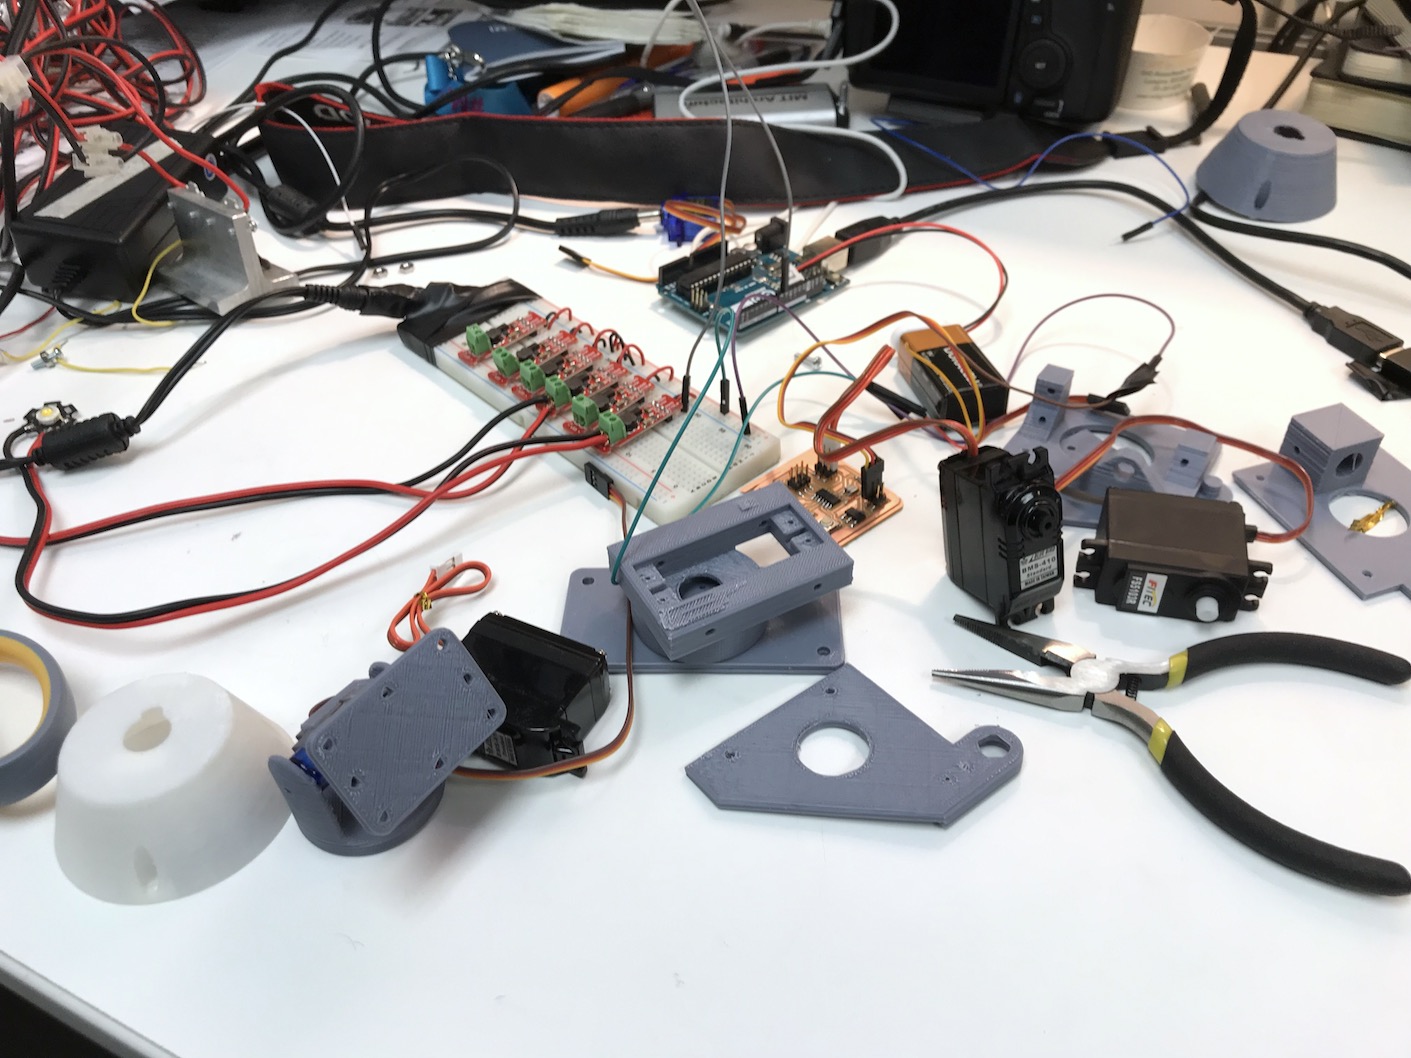
Testing
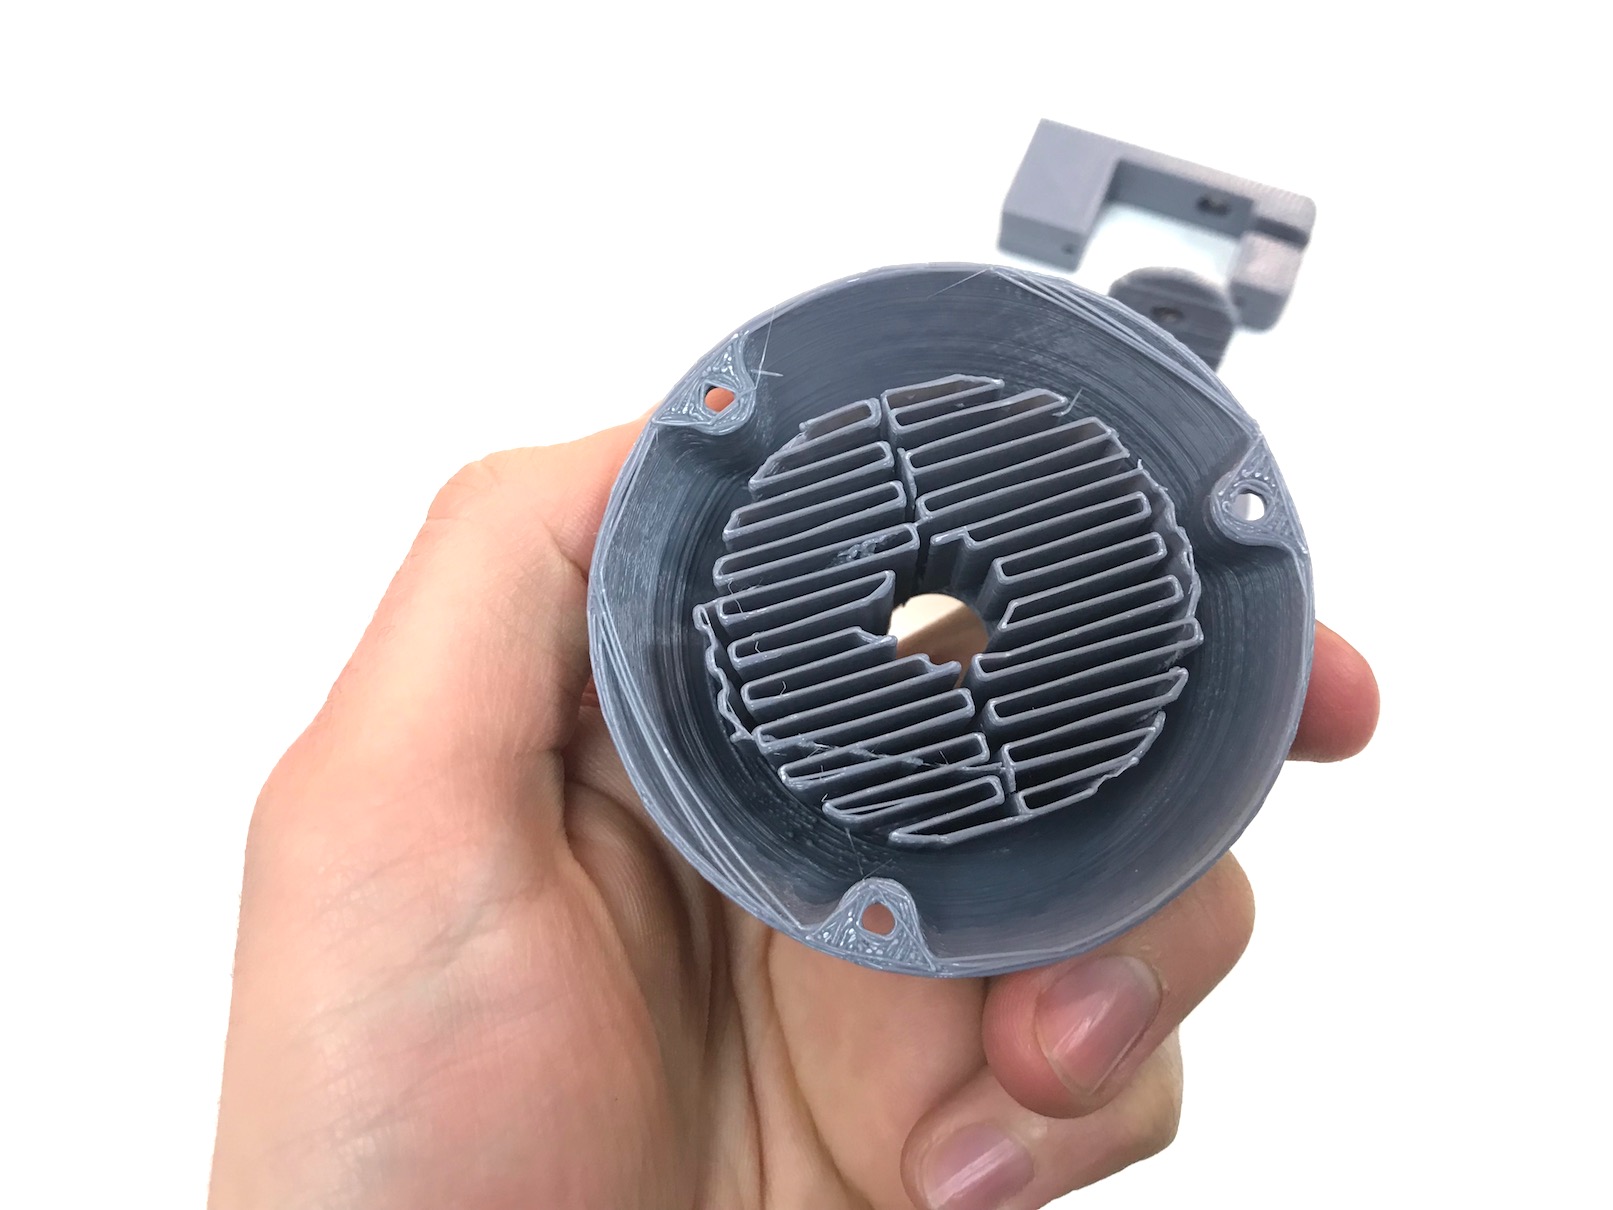
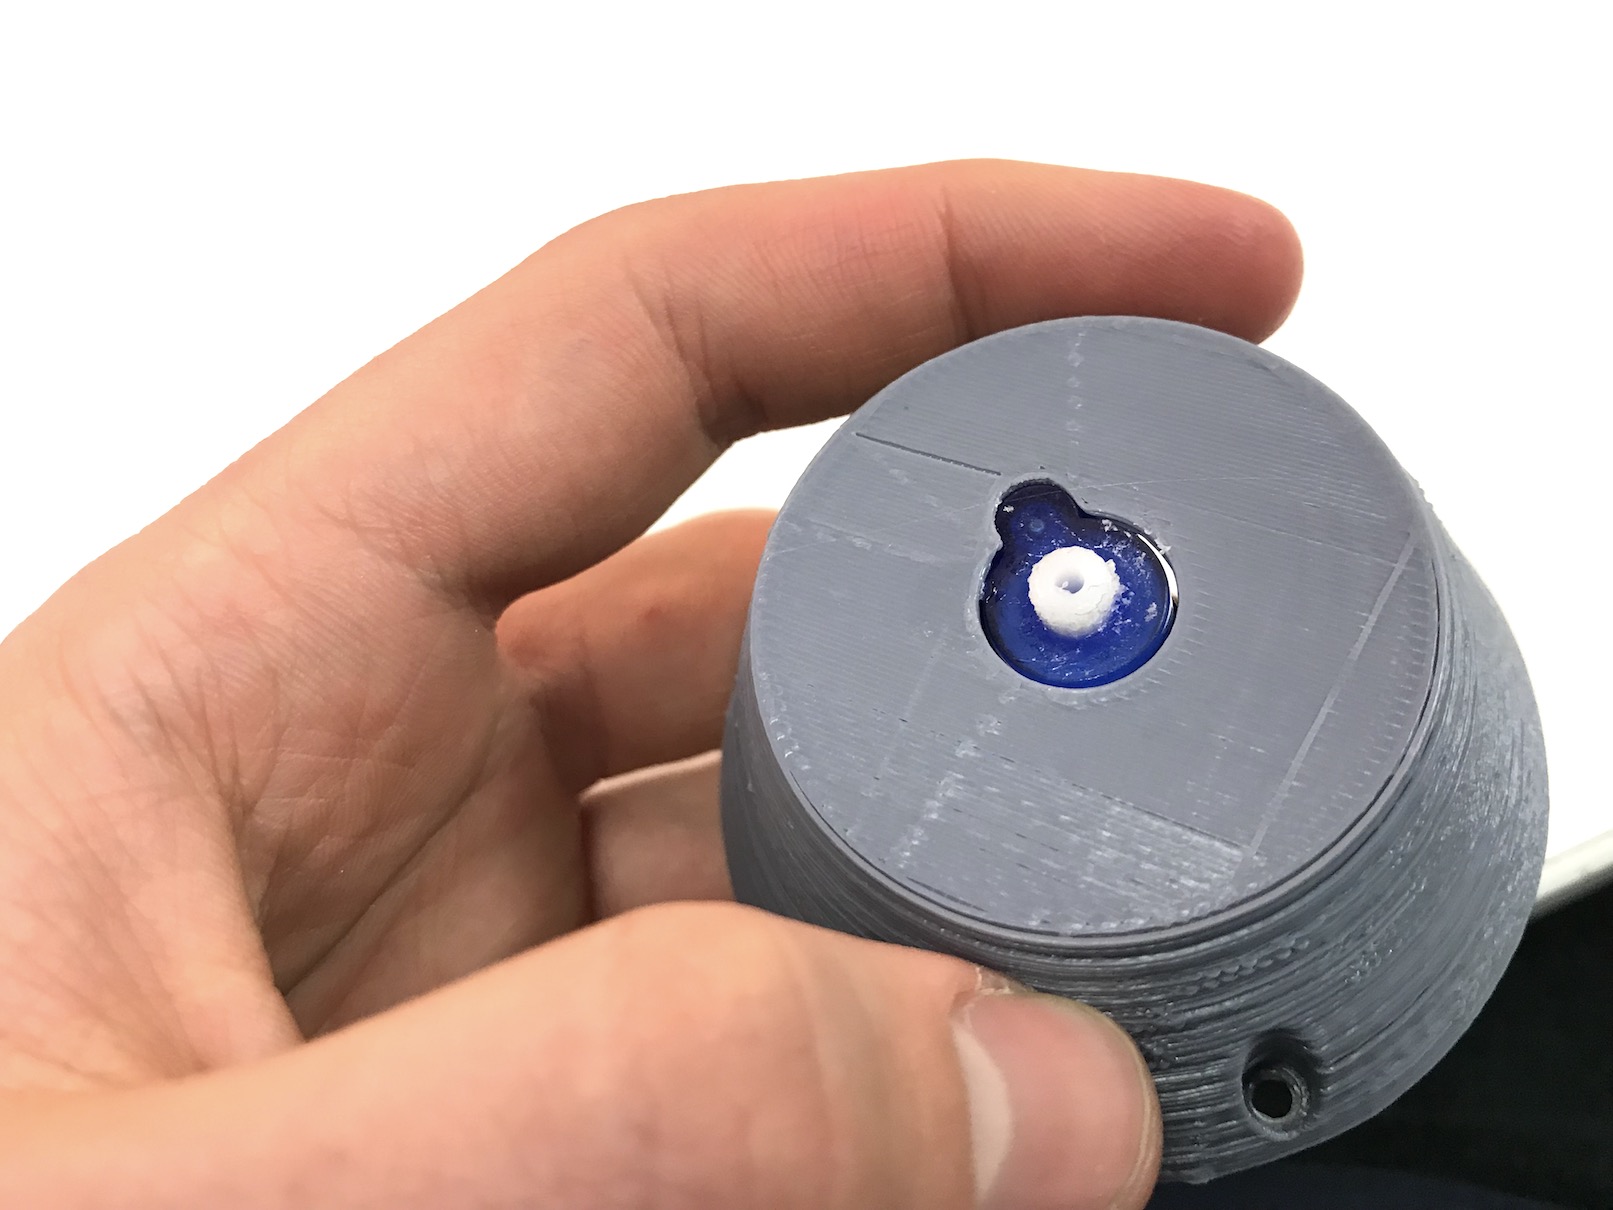
Once I got all the pieces together from the design I tested each servo motor on a board. Because of the low quality, and without the wing components it was hard to get the gears that the servos output to grab onto the printed material, so the resulting pan tilt was a little bit inconsistent. I was also having issues finding the right screws and with the screw holes that the printer had done themselves, so I decided to glue the components together instead. Unfortunately, as most of this work was done several hours past midnight I managed to put glue directly into the servo somehow. The next day I figured it made sense to just do a high resolution print for that part. Another issue came with the upper component which seemed not to fit very well. I ended up trying to pull the servo motor out from the component holding it and ended up breaking the part. I decided to switch over to the other pan tilt device I was making in parallel from this one which uses larger servos because I didn’t think the nine gram ones would be able to hold much weight.
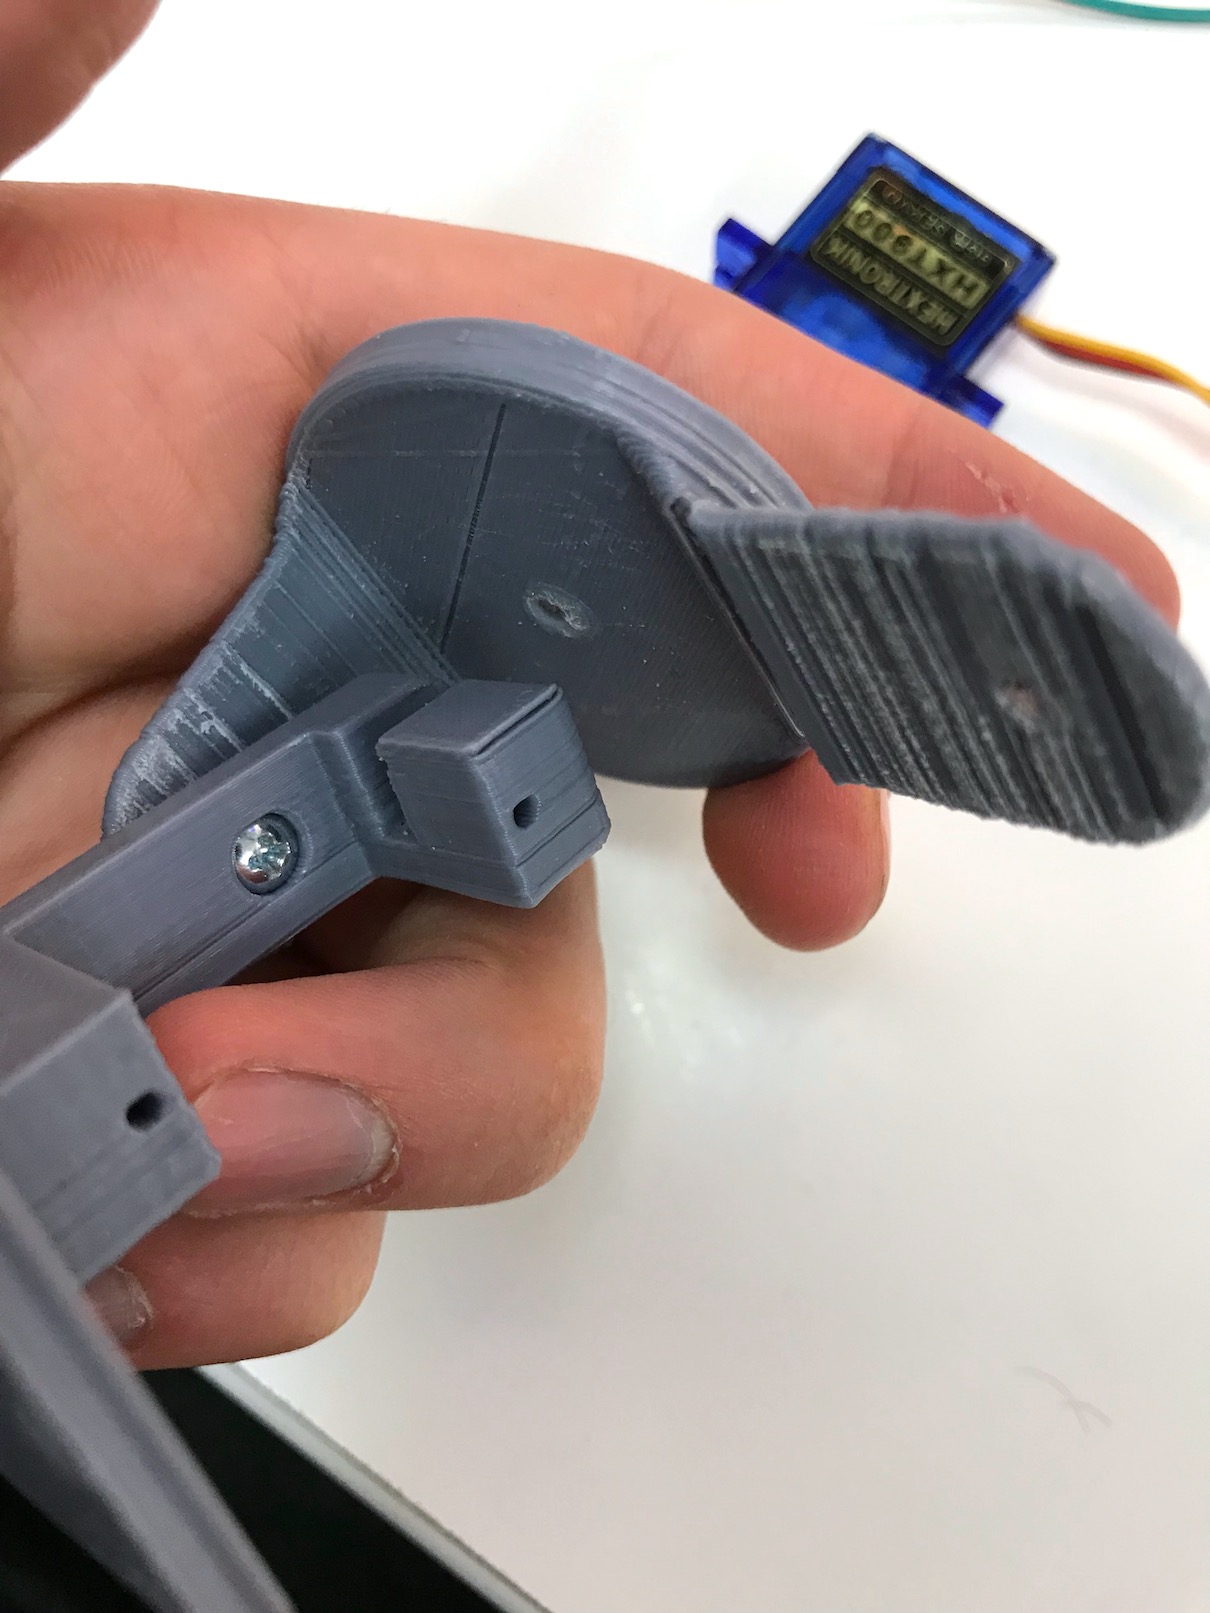
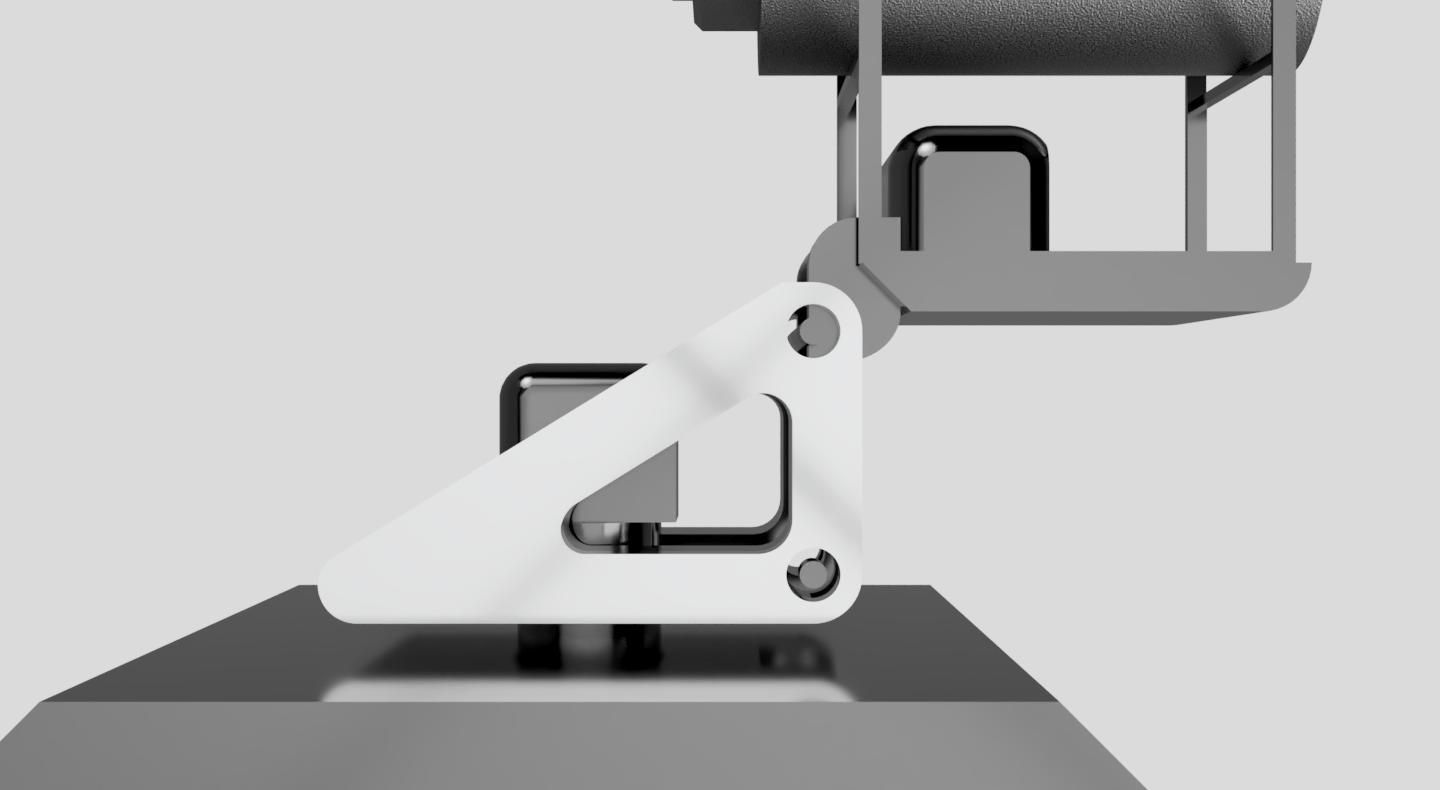
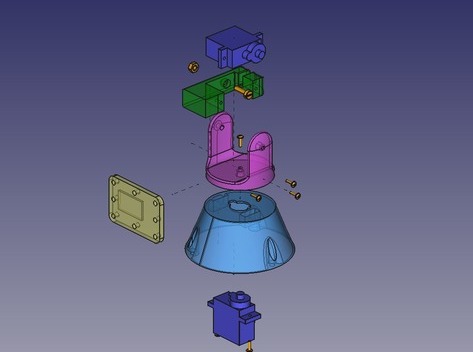
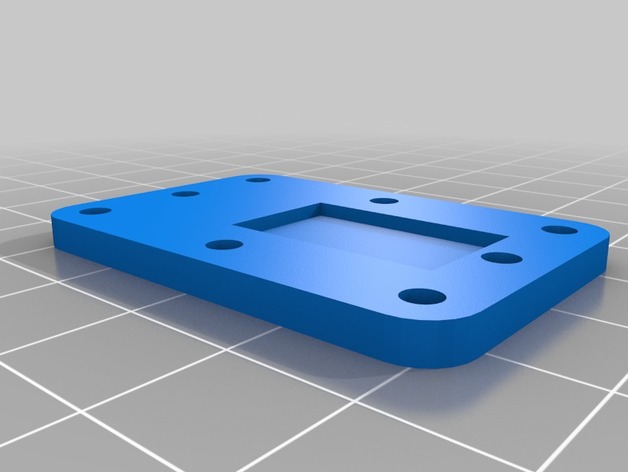
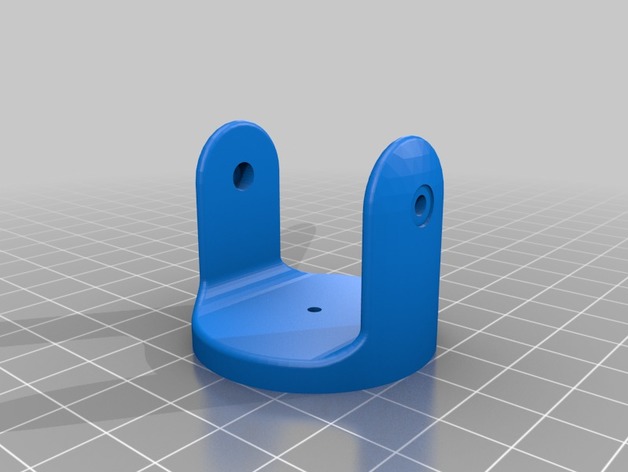
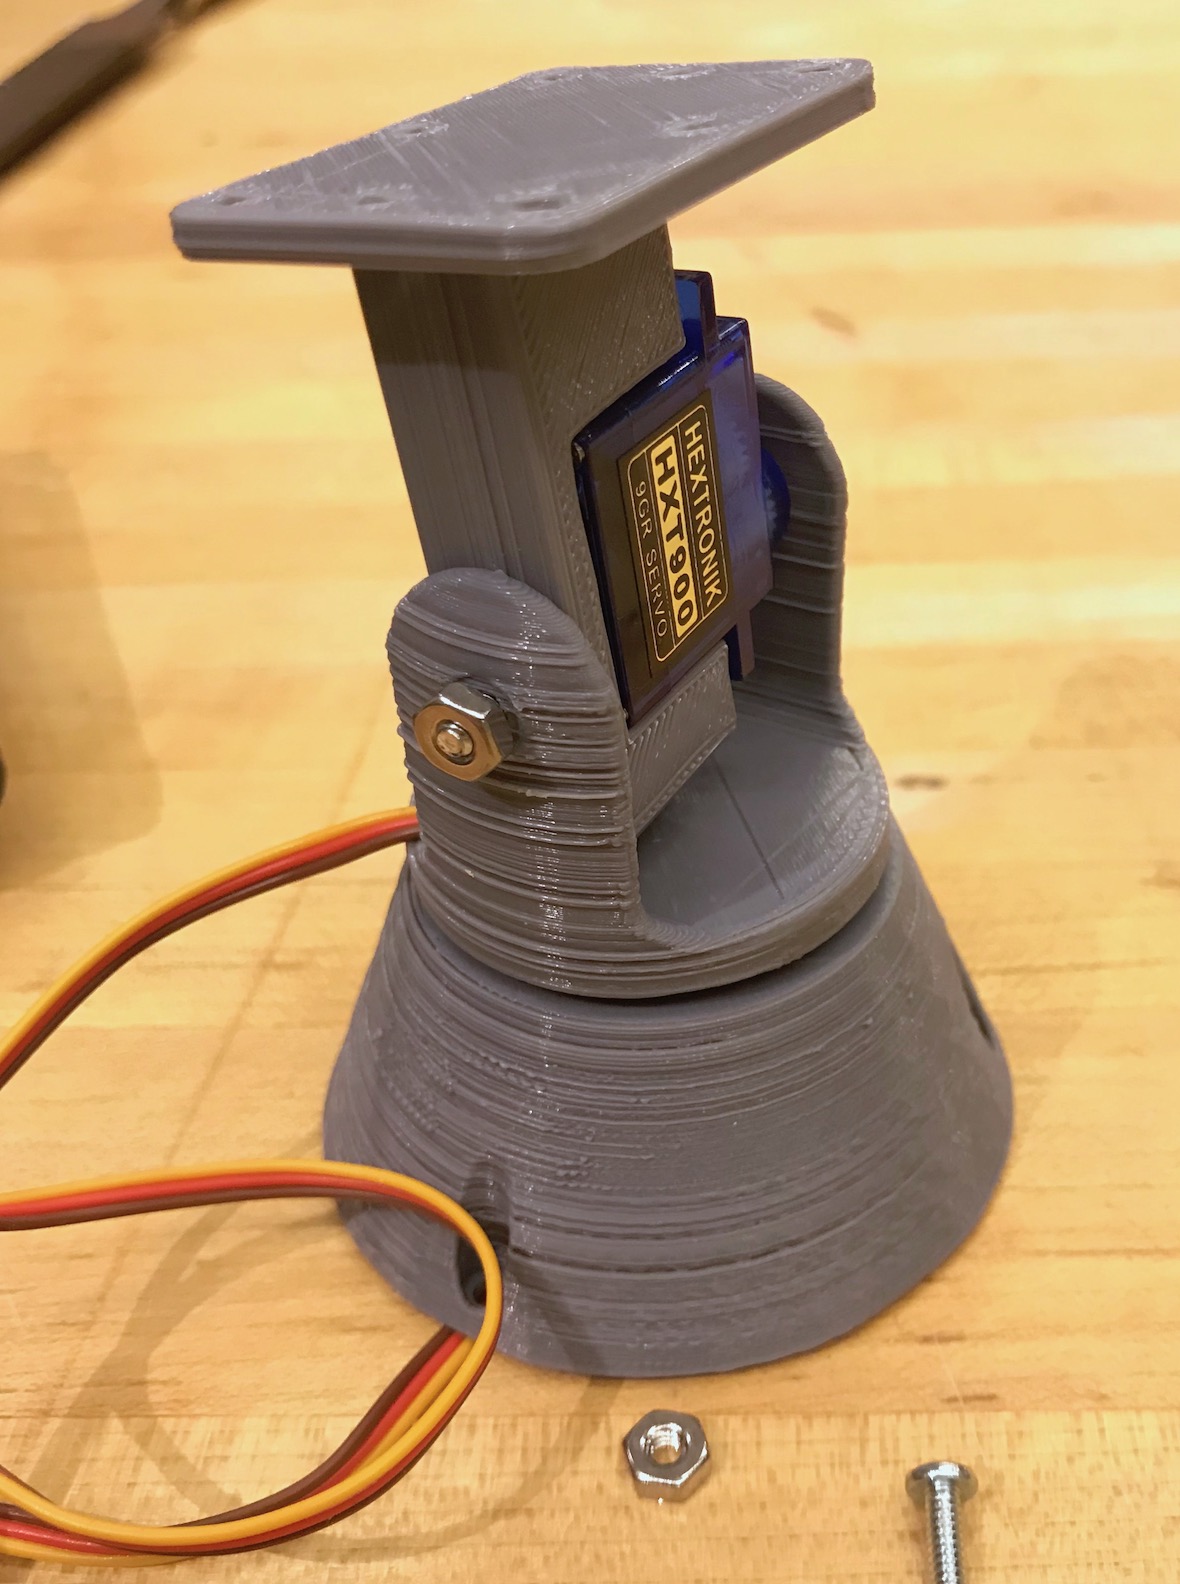
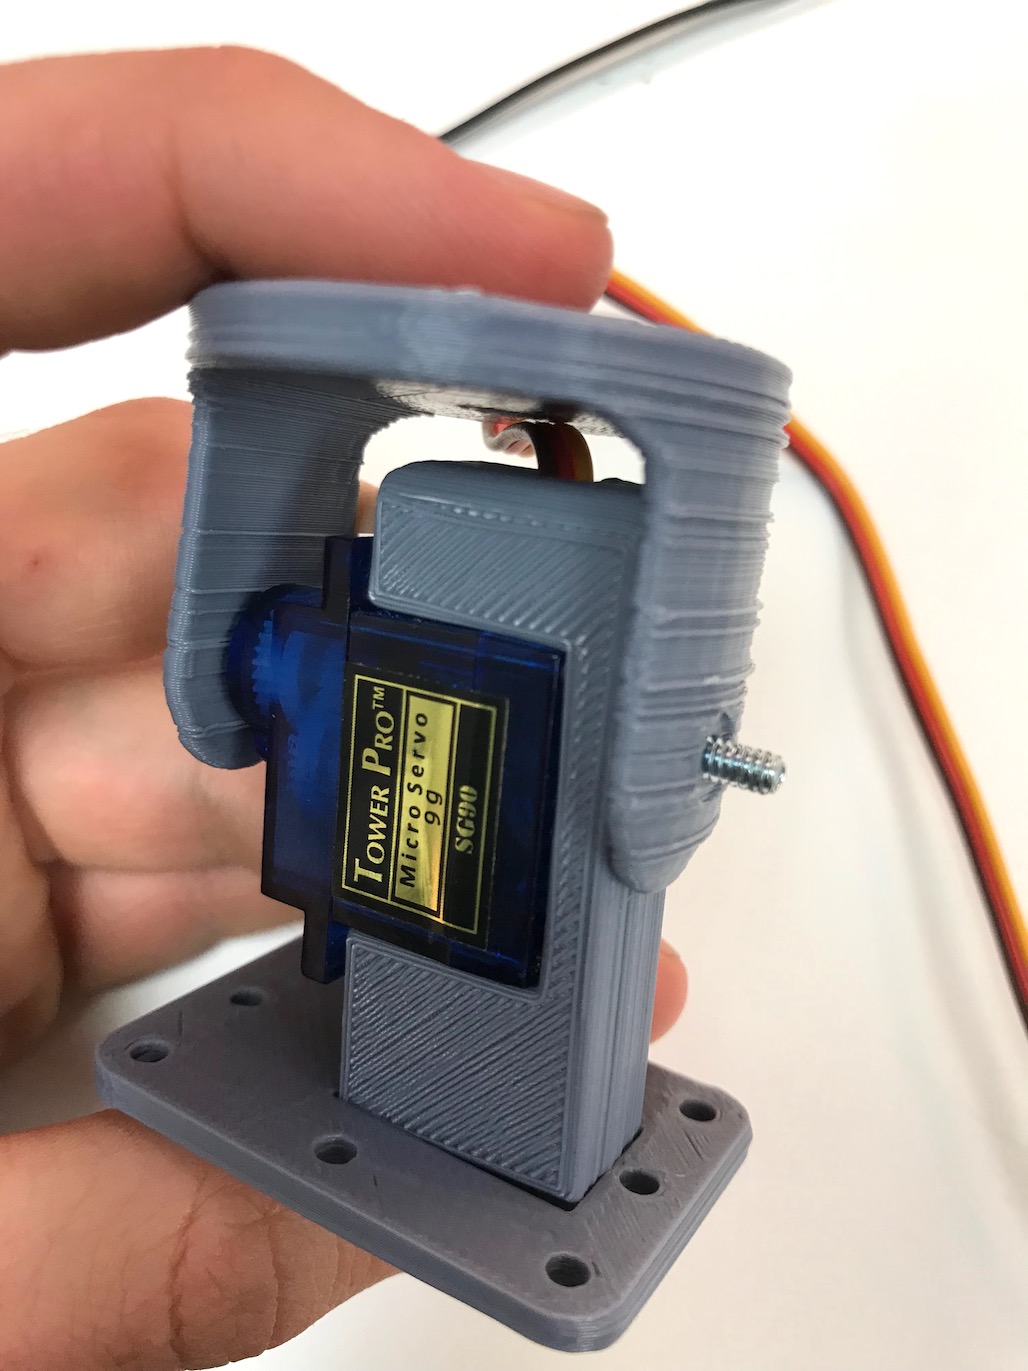
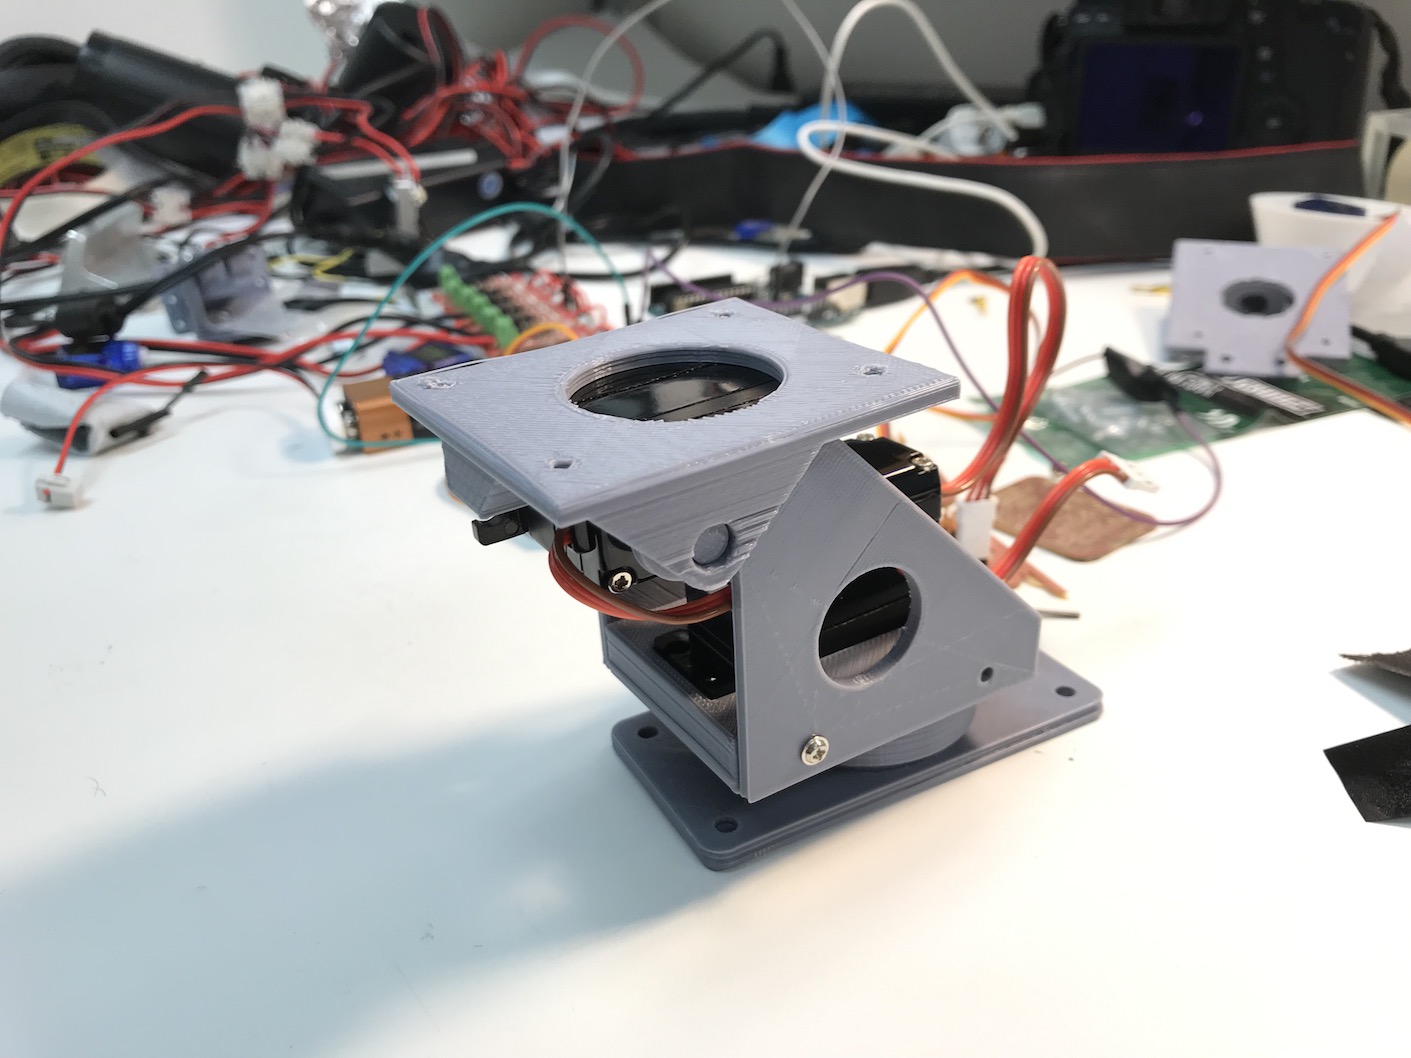
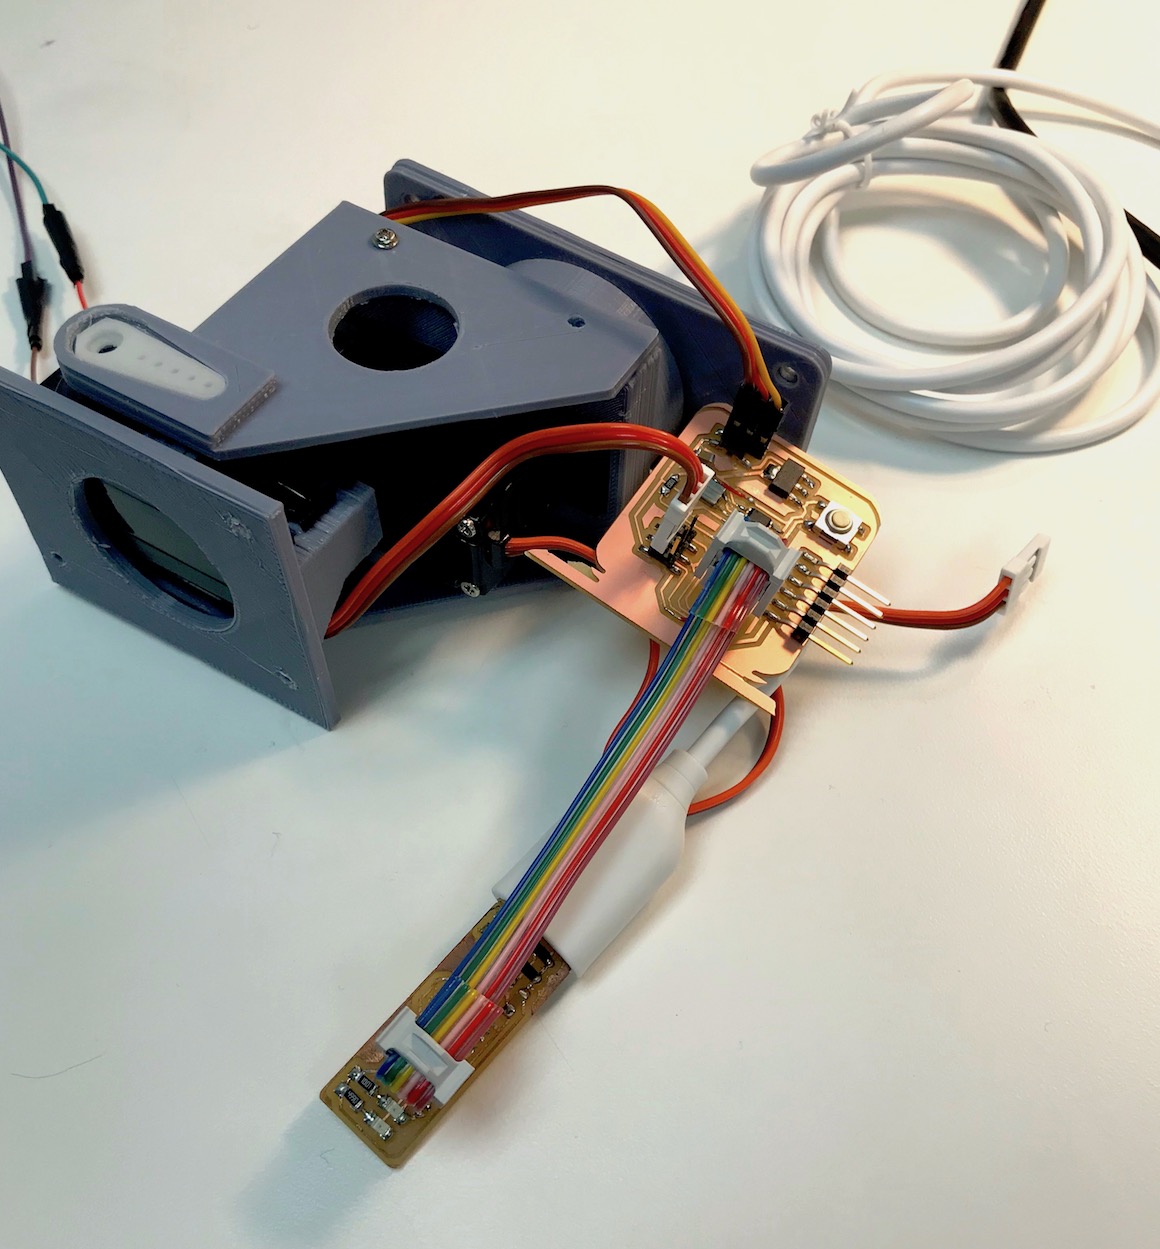
Second Hardware Attempt with Standard Servo
I decided to make another device with the standard, larger servo motors in case the mini servos wouldn’t be able to hold the weight of the spotlight I was hoping to use. On Thingiverse from the user named micrometer I found a simple design which was more similar to the initial renderings I made at the start of the course. I managed to print the components without any particular issues and after ensuring the parts were all functioning correctly, glued and screwed everything together.
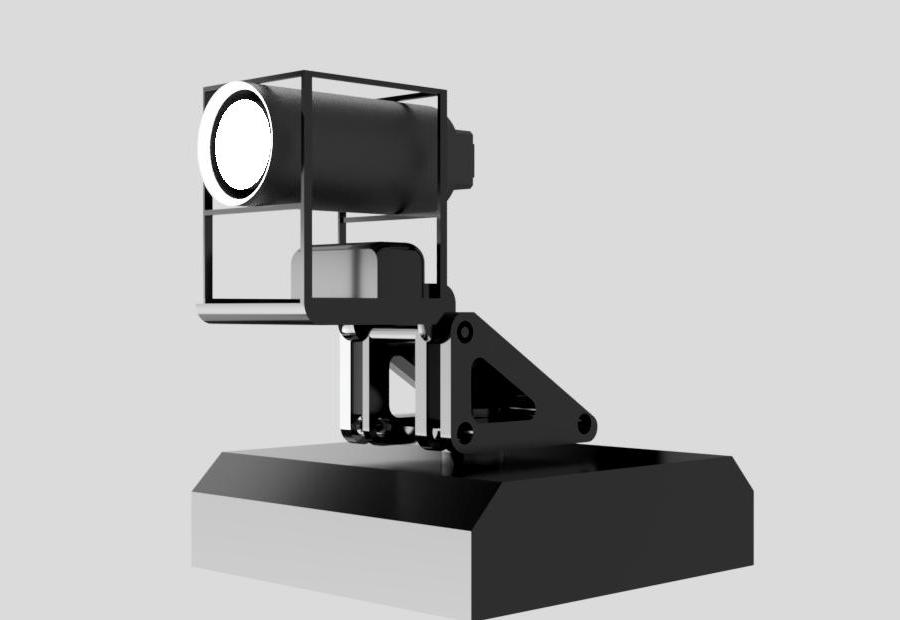
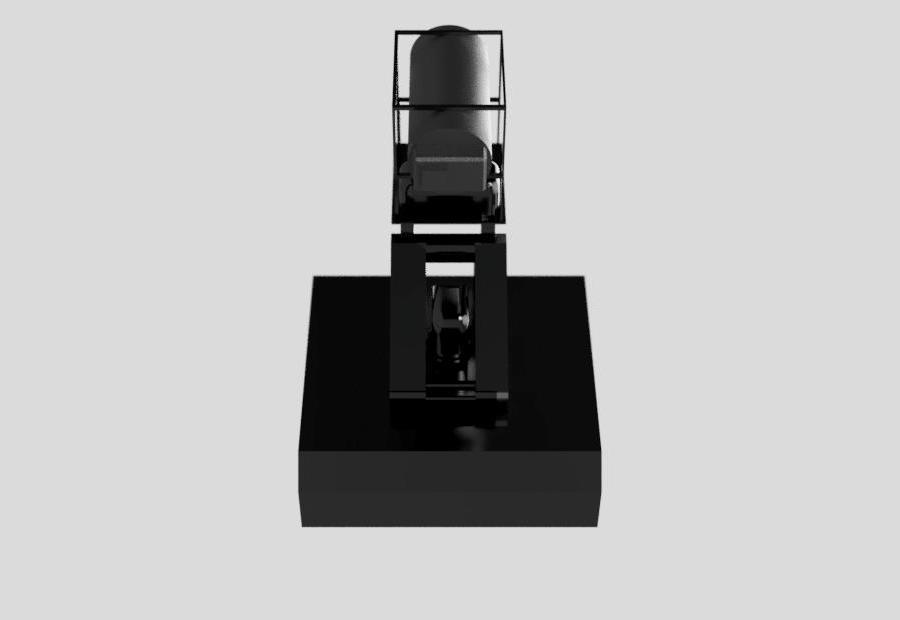
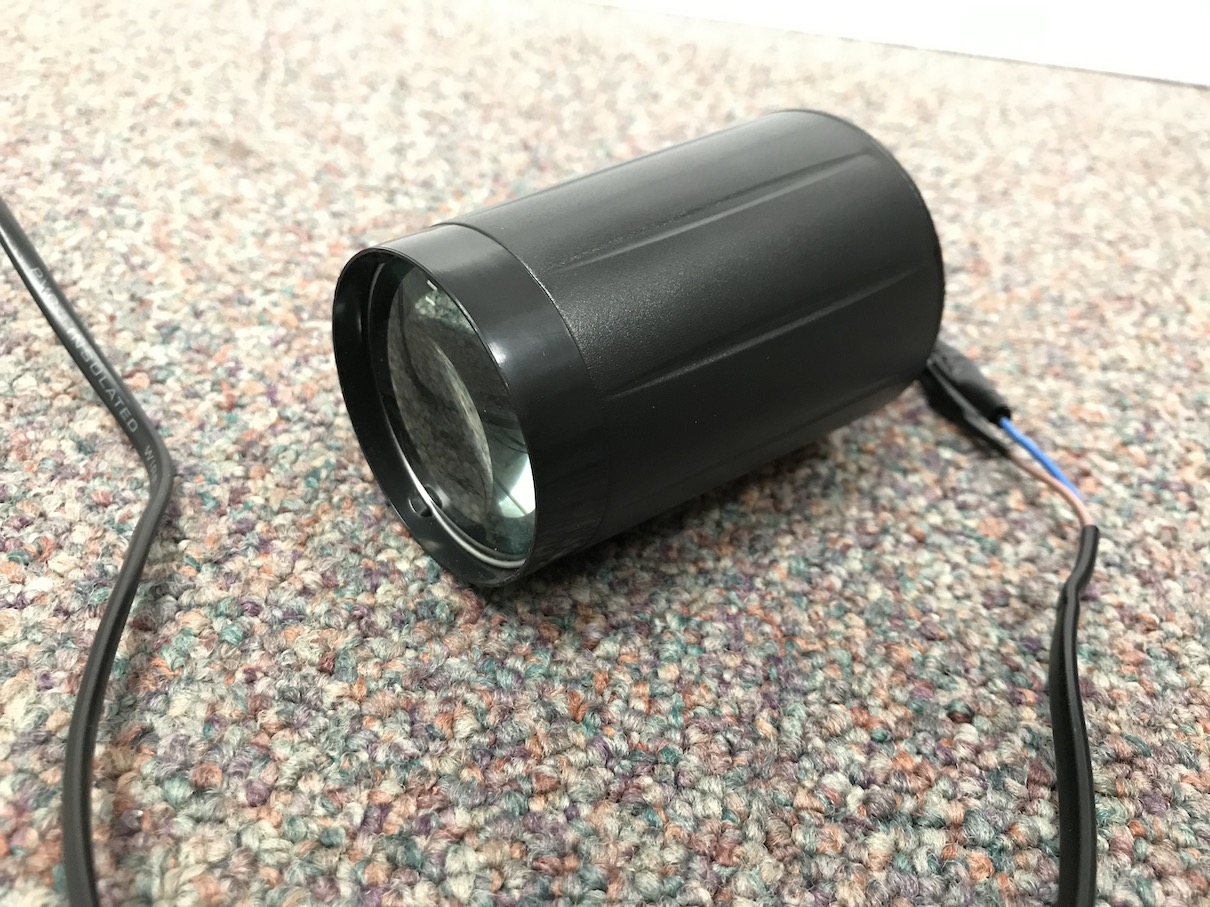
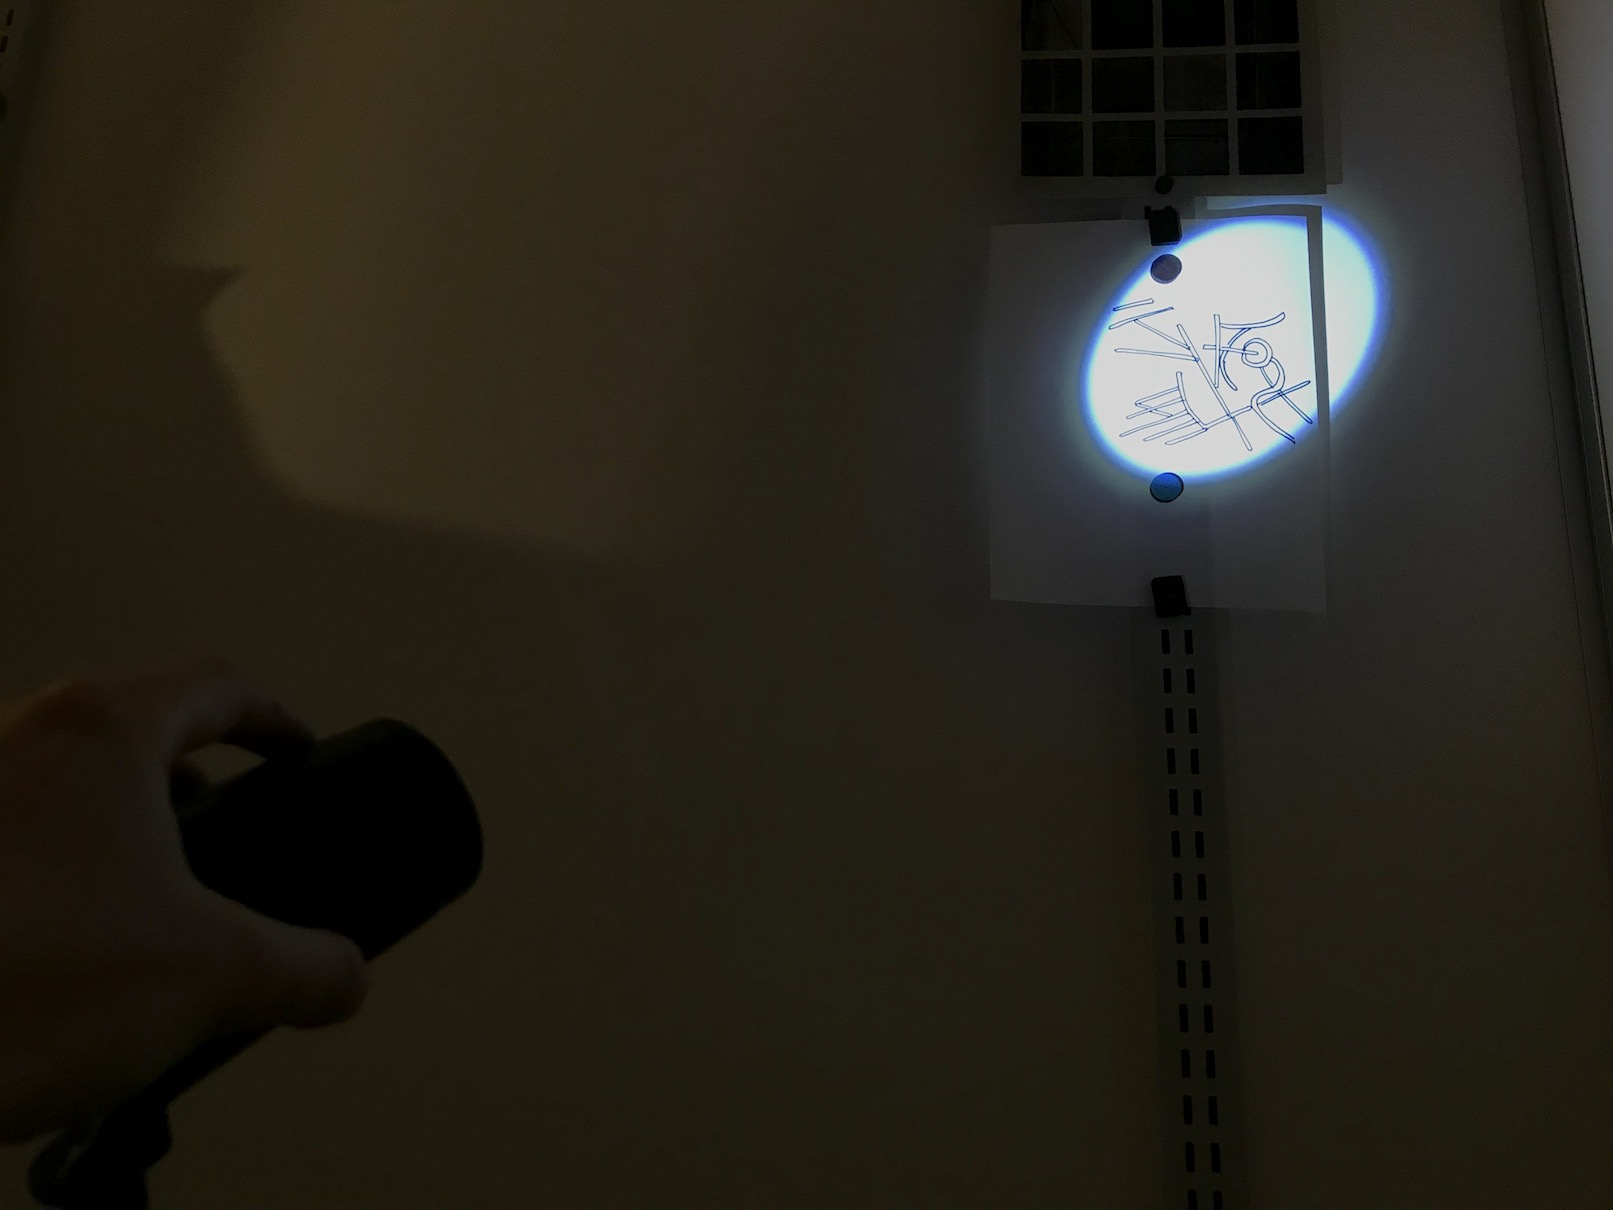
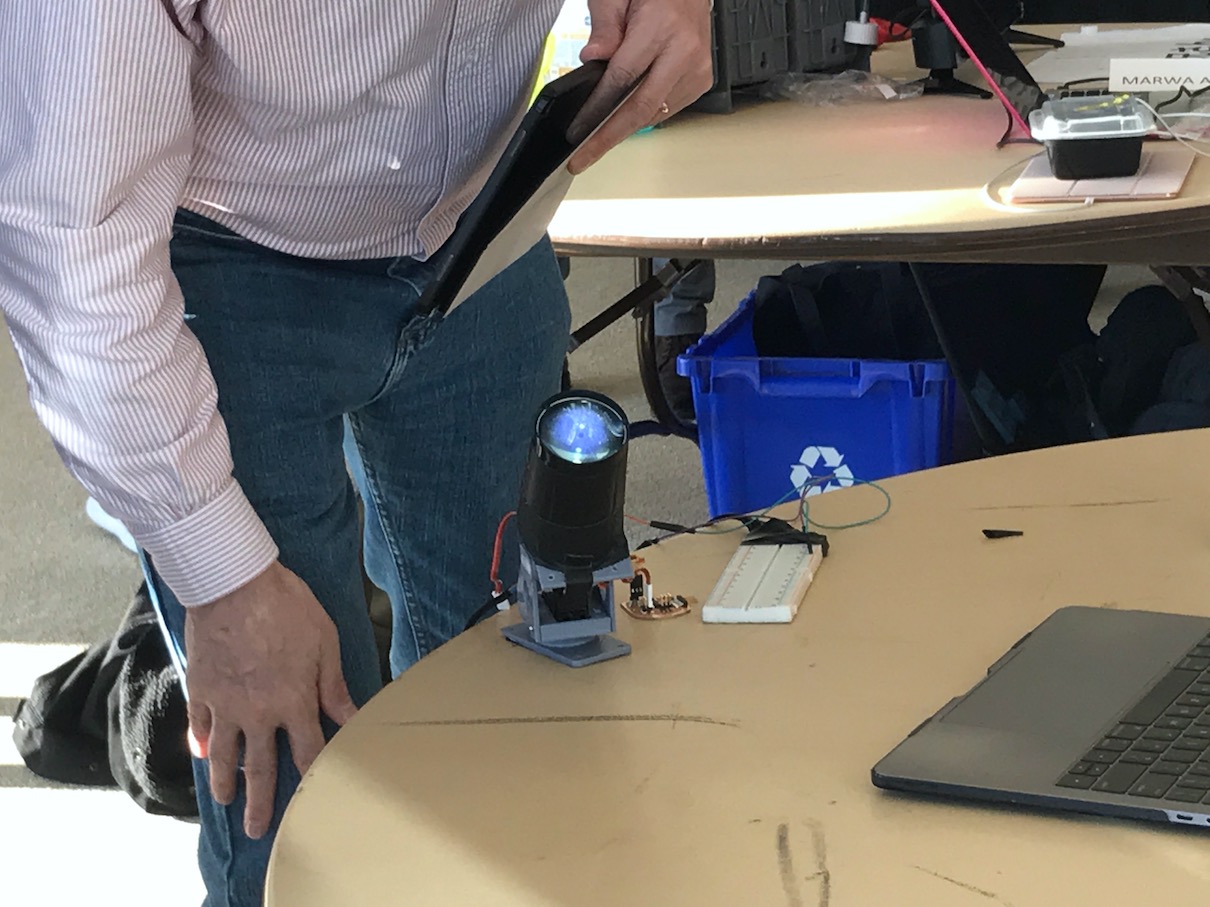
A Spotlight!
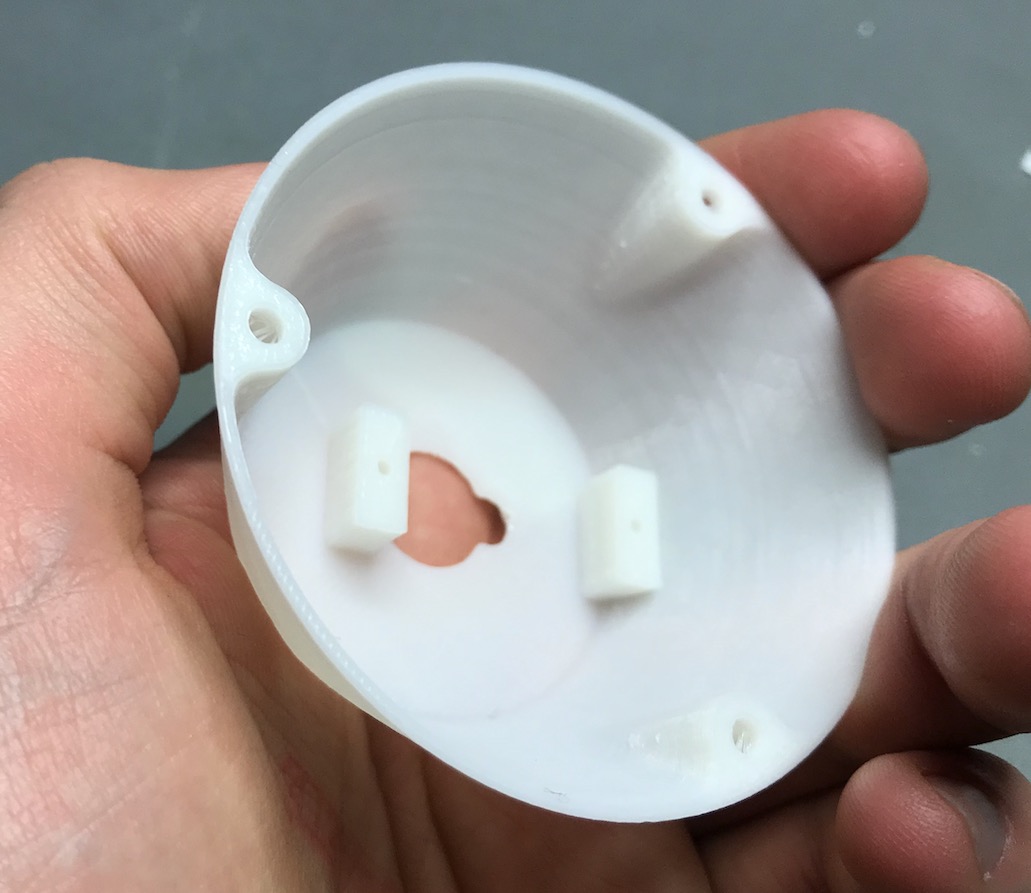
I bought a spotlight! On the Internet! I took it apart to be less bulky and center the gravity!
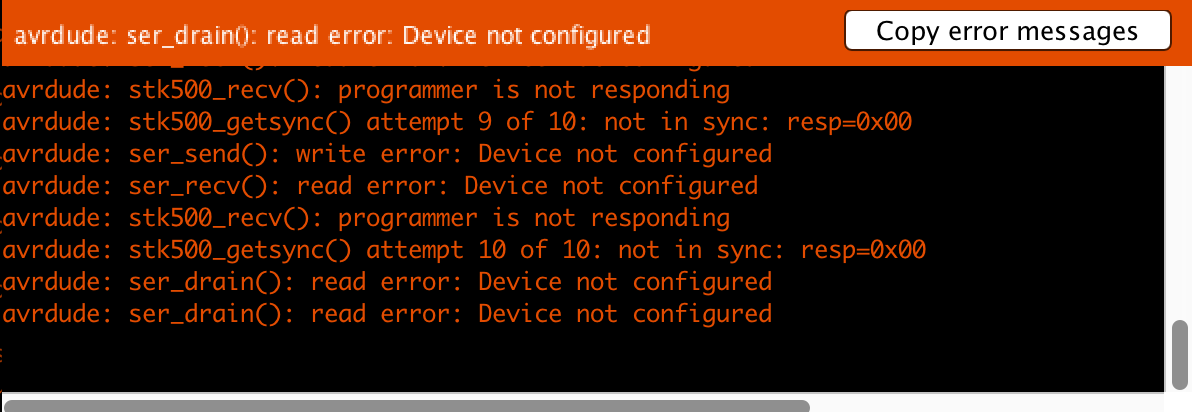
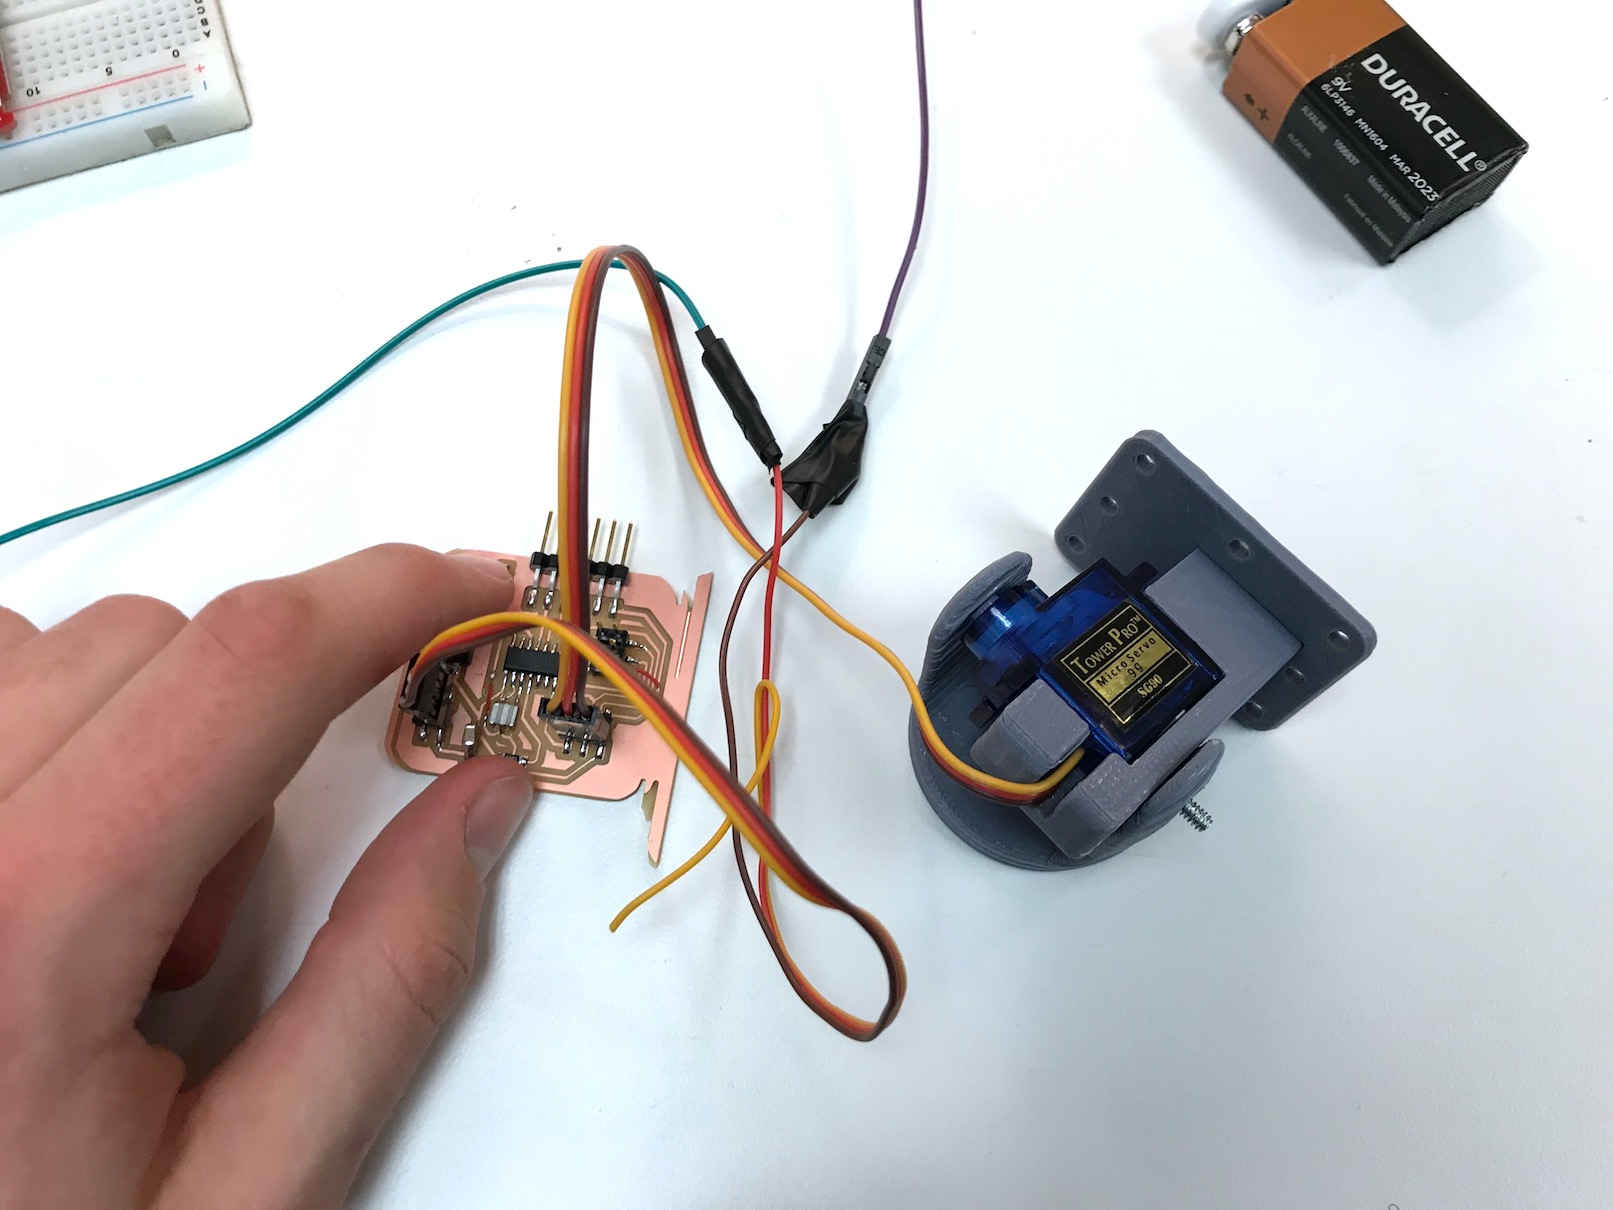
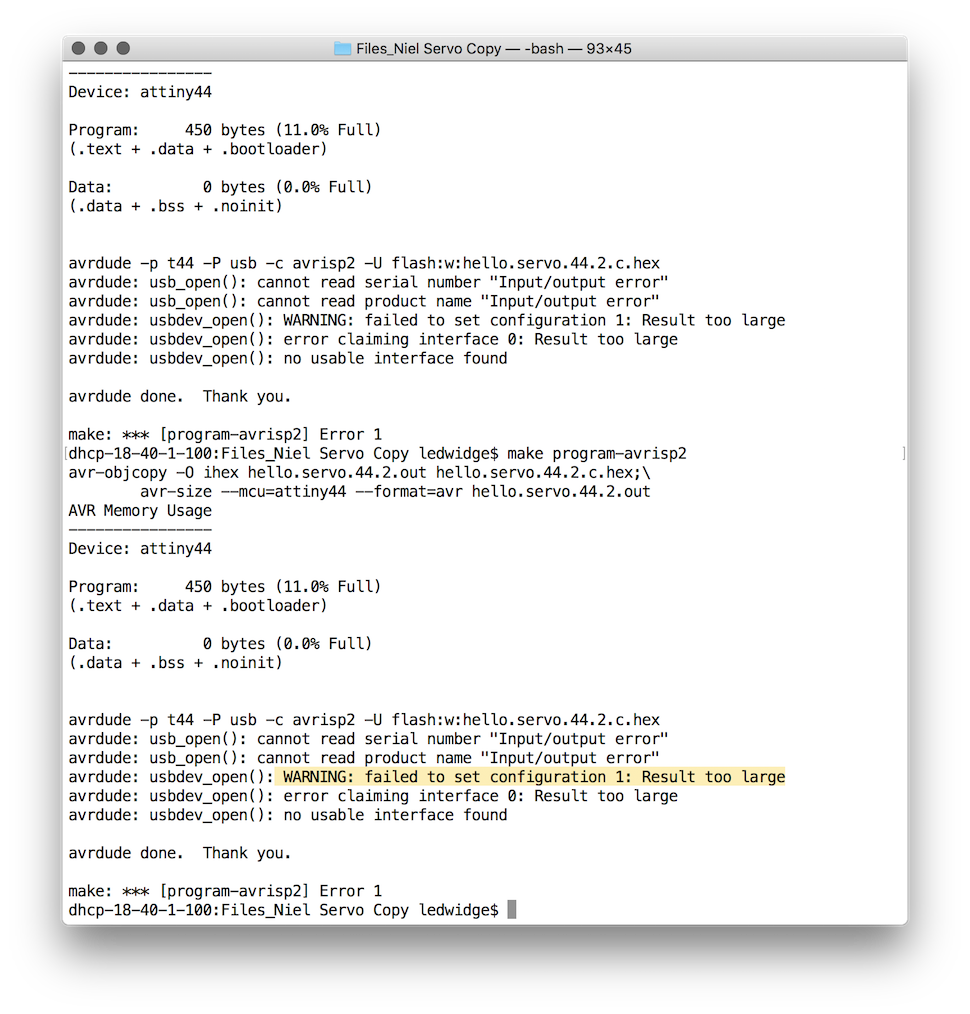
Issue Uploading New Code
I had managed to get some code working on the new board which would move the motors one at a time, so I was able to confirm that they both did in fact work. However in the last few days of class I tried numerous attempts to upload code to the board and was receiving a number of strange errors, show on the right which I was having a hard time making sense of. I believe the board is working and will hopefully be able to resolve this in the future, but unfortunately for the final presentation did not have it fully functioning.
Pulling Things Together
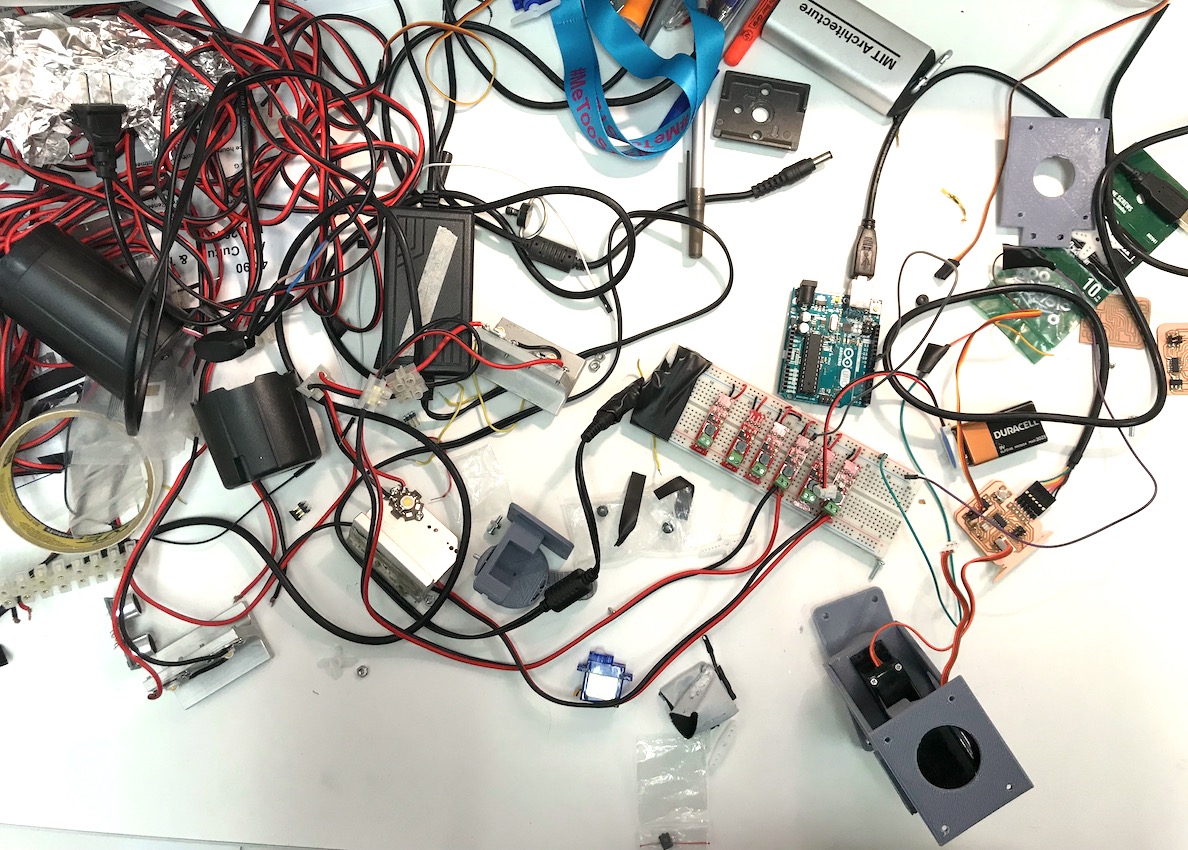
It Partially Works
Questions
What does it do?
It pans and tilts to direct a spotlight.
Who's done what beforehand?
A few people in the Fab network have previously done pan tilts and spotlights and the basic pan tilt mechanism is widely available online and used for different purposes.
What did you design?
For each component I adapted existing designs and figured out a way to make them all work together.
What materials and components were used?
Milled circuit board, two standard servo motors, 3D printed hardware, spotlight, tape, glue.
Where did they come from?
Everything but the spotlight came from the MIT labs. The metals and electronics likely originate in China. The spotlight came from a strange company called Kingso on Amazon, they seem to be one of these companies who sell a disturbing number of different products. They are also based in China
How much did they cost?
The spotlight cost twelve dollars. The other parts are likely collectively under a dollar in price.
What parts and systems were made?
All the parts and systems were made.
What processes were used?
CNC Milling, soldering, glueing, 3D Printing, taping, C
What questions were answered?
Was able to get a basic sense of what is possible for me to do myself. I feel more empowered going forward and have a better sense of how to go about orienting myself in a project like this in the future. Also got a basic sense of the aesthetic experience I was interested in achieving.
How was it evaluated?
At this level it achieved a basic functionality and allowed me to integrate what I learned over the semester.
What are the implications?
I think going forward I have a better sense of how to deal with certain things which had previously confused me about this type of electronics. I think developing a more robust and powerful system and some better front end interfacing for controlling the light would be ideal. Responding to my initial proposal it also allows me to think of more elaborate systems for the controlling of light and telling spatial narratives with these technologies. I have not yet had the opportunity to use it as a tool for application in other projects, but I hope with this project or future versions I will be able to experiment with it.