Week 5
Computer Controlled Machining
Overview
This weeks assignment is to make something big. We will be using CNC machines similar to the ones which mill the boards, but at a much larger scale.
Safety:is more significant this week. If the drill bit were to break it would be very dangerous.
Up/Down/Center Cutting Tools. This pertains to the directionality of the drill bit and how it will make burrs on one side or the other of the board. In order to avoid this, and to have smooth cuts on both sides, you can do multiple passes that only go partially in with two different ends.
Chip Load: This basically refers to the amount of material each bite is taking. This is similar to the cut depth when milling. It is calculated by the feed rate (inches per minute) / (RPM x number of flutes). It is important to get the correct amount, in either direction ( too much or too little)
Step-Over: Typically each pass will only be about half the tool size so you don’t get any ridges.
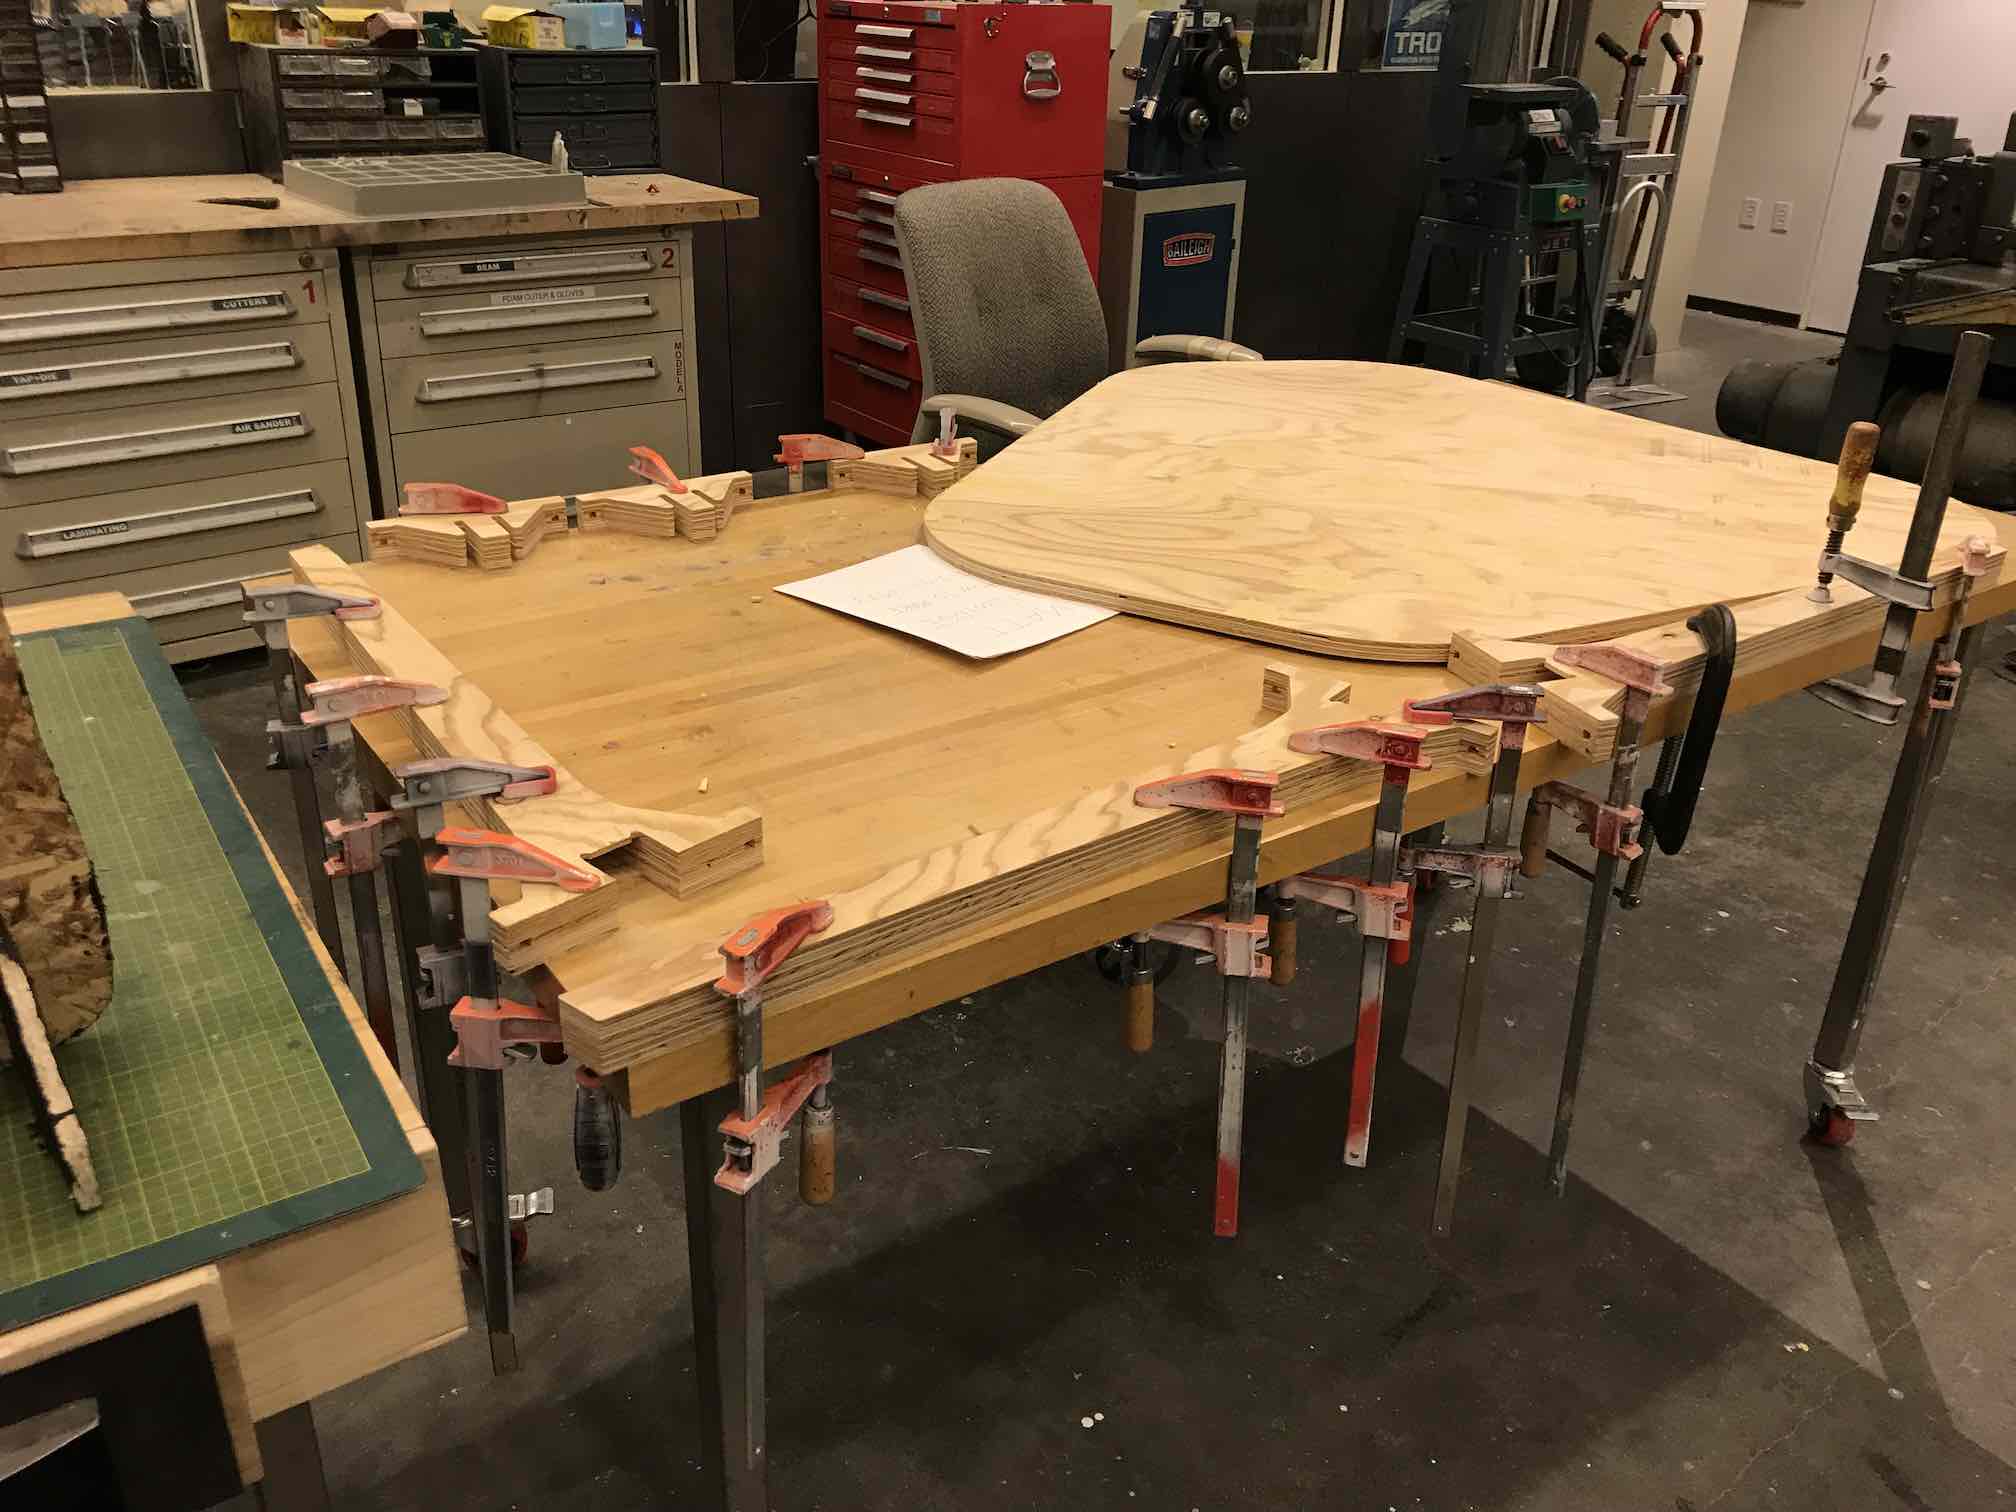
Fixturing: (How you hold down the material ) This week, with 4x8 plywood we will be using sliding bar clamps. This is an easy solution, but you need to be careful to make sure the board isn’t bowing or warping.SAFETY: What you can do to avoid this is just to screw it down to the bottom with a hand drill – just be absolutely sure that you aren’t going to CNC over it. More expensive machines also have vacuum beds which suck down your material, though require additional maintenance because they also pull sawdust and offcuts down. You can also use Carpet tape to hold things down.
Sacrificial Layer: This requires a lot of work to set up by the machine operator. It is replaced every few months, try not to cut into it too much.
Dust: Hazardous to breath! Can catch fire! How to Avoid: Do not run this too quickly, or allow parts to heat up too much.
Runout: Accounting for any slight off-centeredness in a rotating tool
Kerf/ Offset: Center of the tool compared with what you want
Rough vs. Finish Cutting: Rough cuts are big drops between levels and you can go and smooth it more carefully with finish cuts.
Cut order: Cuts inside other things, make sure you nest the cut order so that things don’t move while you try to cut them. Alternately you can add small tabs which can come loose when you are done.
Cut Air: Before actually cutting, run everything six inches above in the air to make sure it is working.
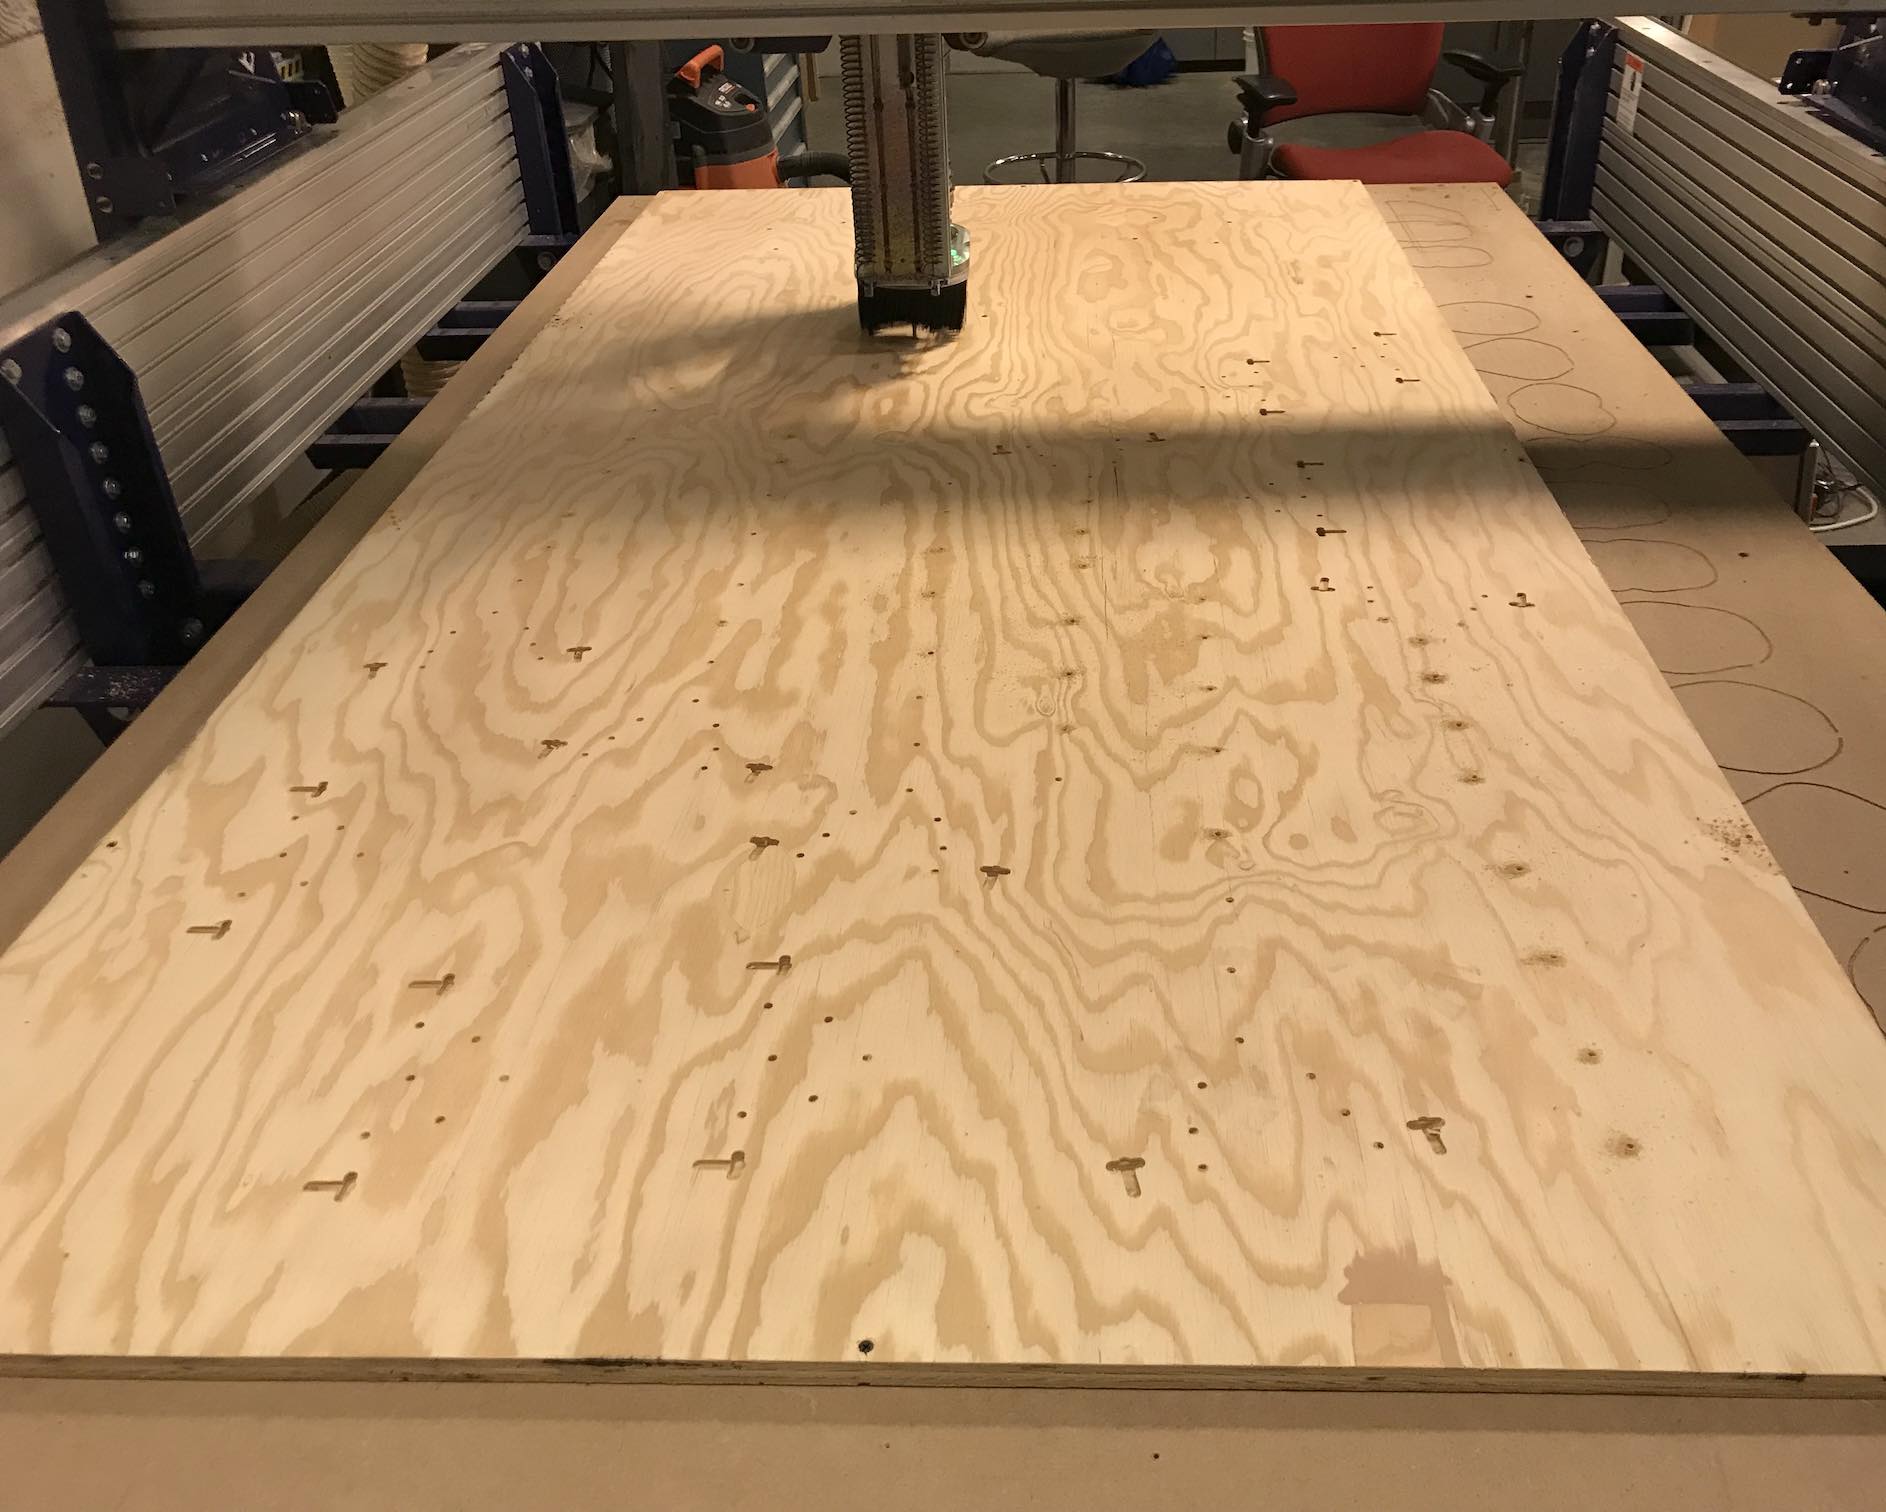
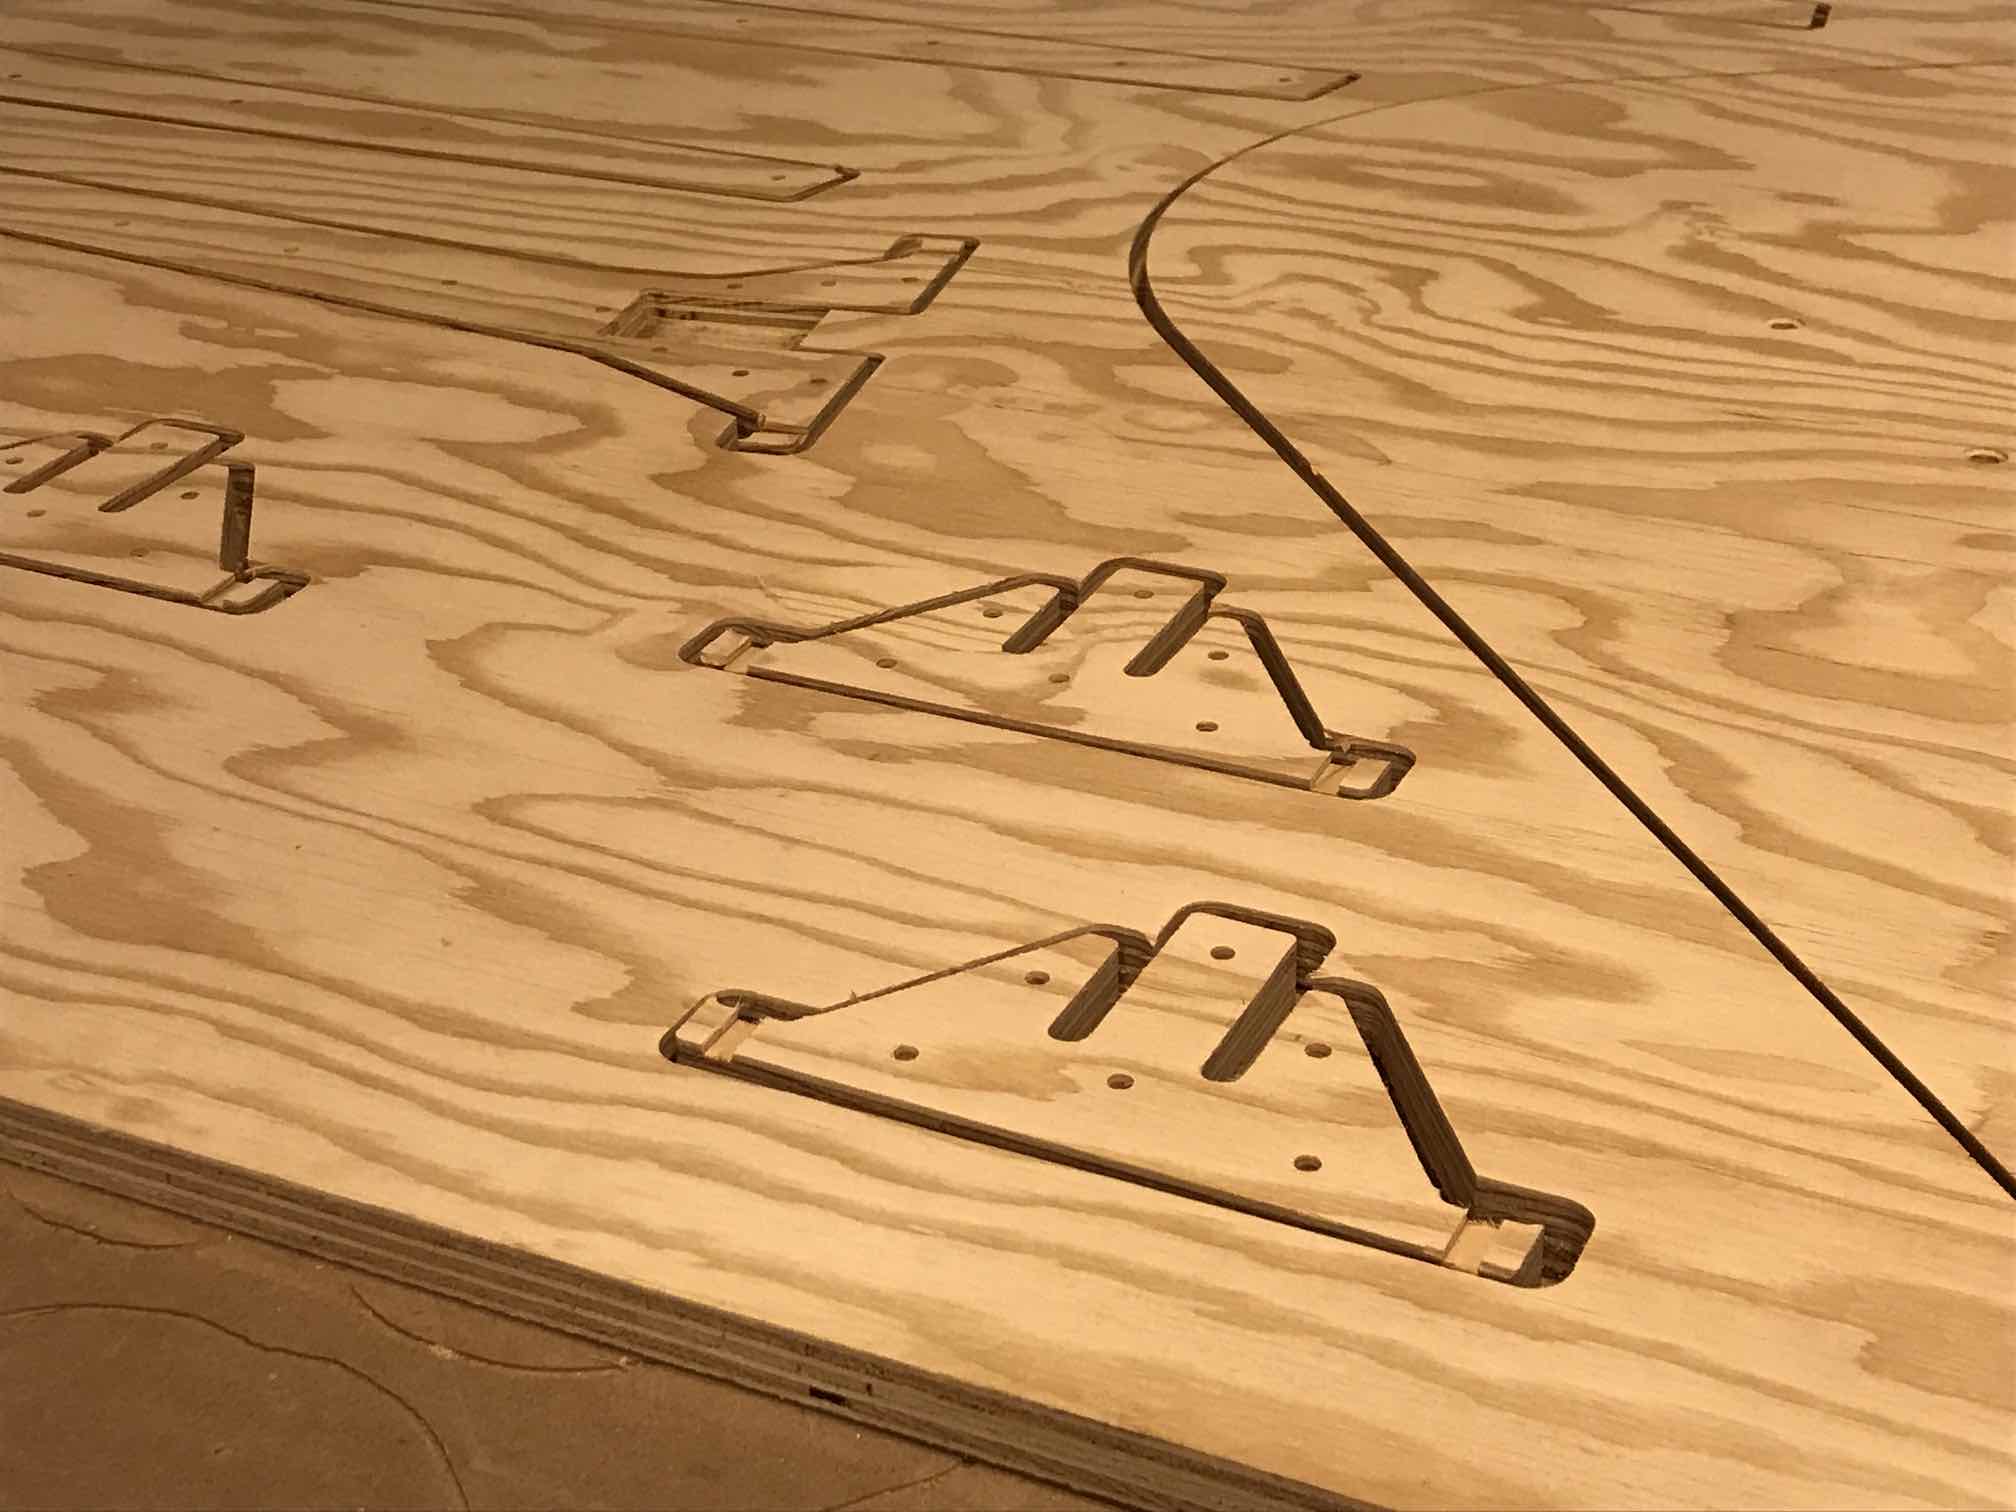
Table Design
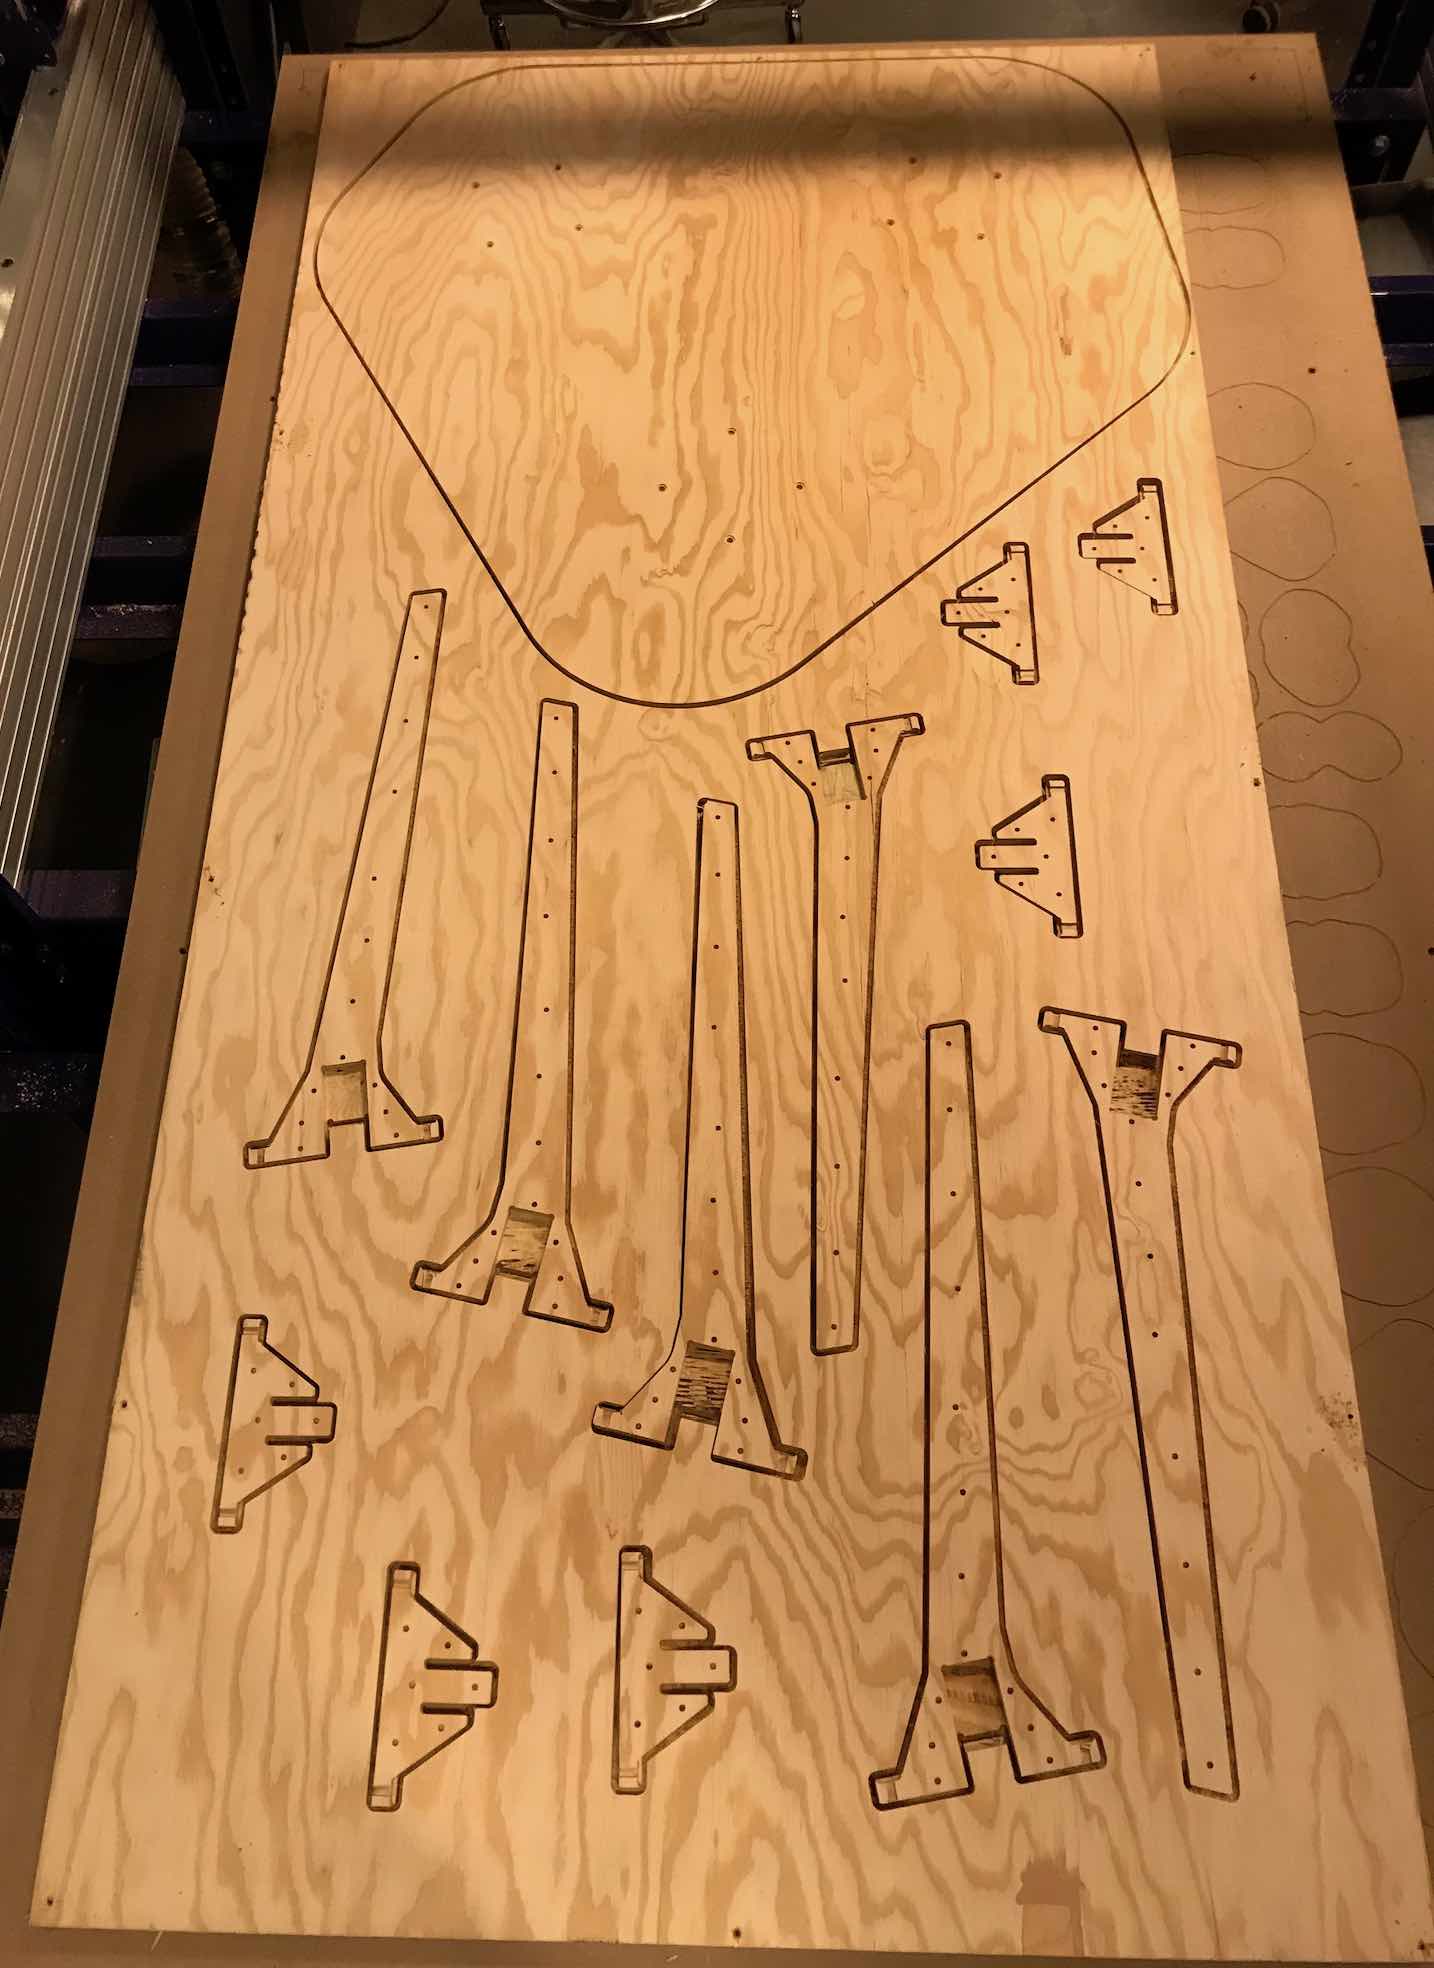
For the assignment I decided to make a table for my kitchen. I managed to get some AC Plywood which I thought would be nicer than than the OSB we were given to use in the shop. I also decided to use one of the designs from OpenDesk called the cafe table, as they seemed quite nice and I wanted to make sure to master to machine. The project proceeded fairly straightforwardly. It took some time setting up the design to be sure that no cuts would be too close to the edge and risk hitting any of the screws that were holding the wood down. The design I was using had a number of pocket cuts for some complicated joinery in the legs, so just needed to be sure that the dimensions were correct and translate from millimeters to inches.
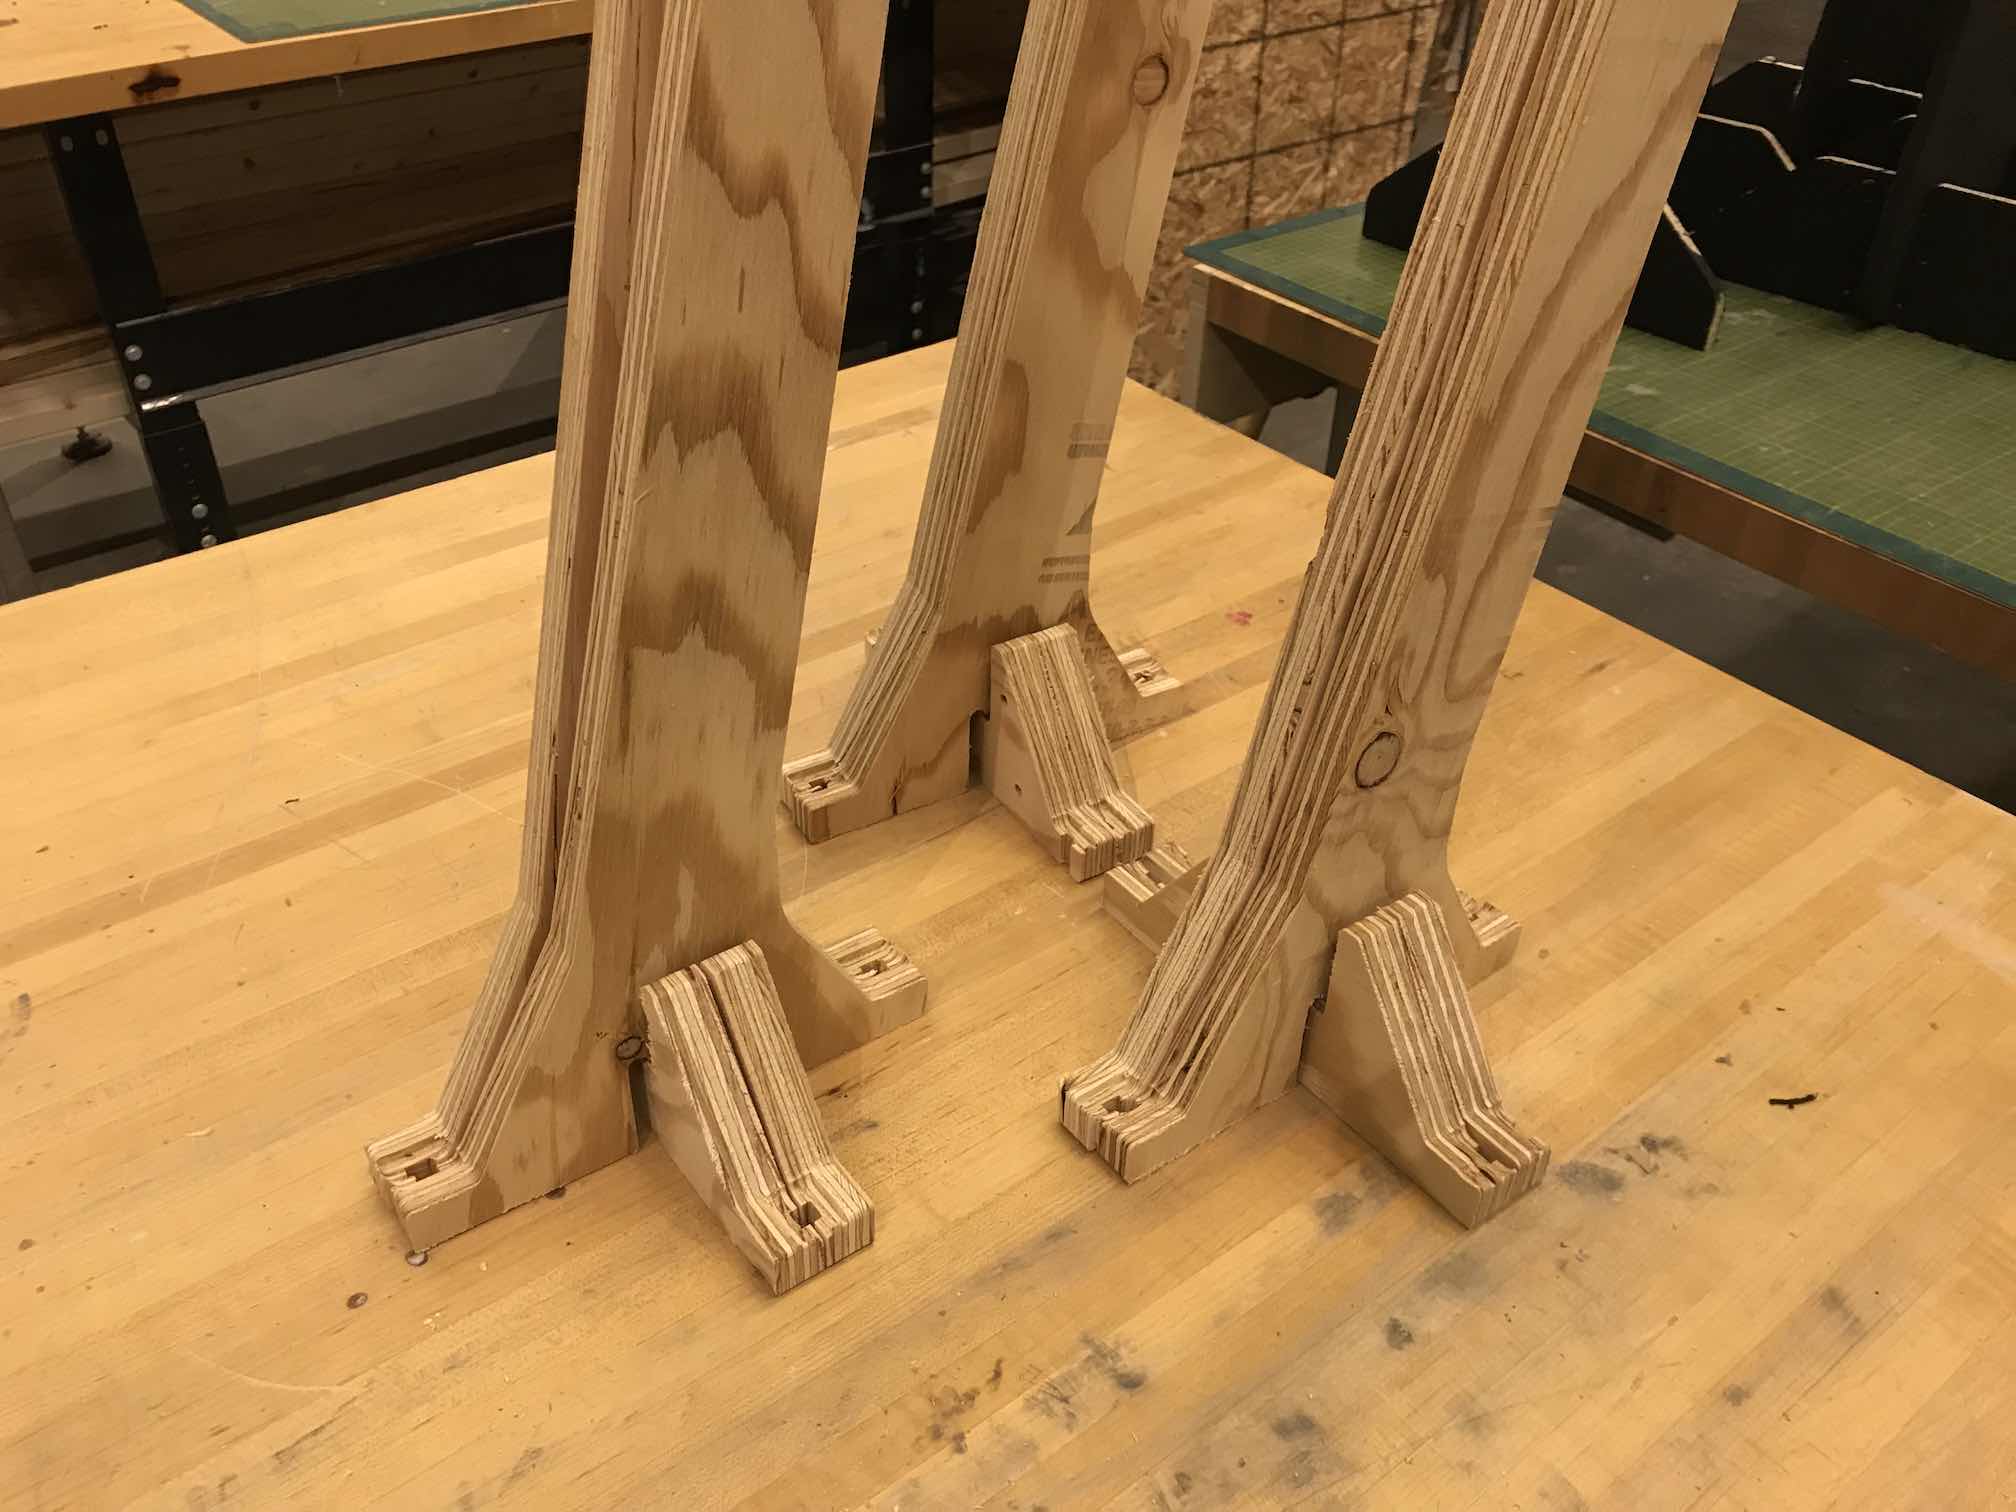
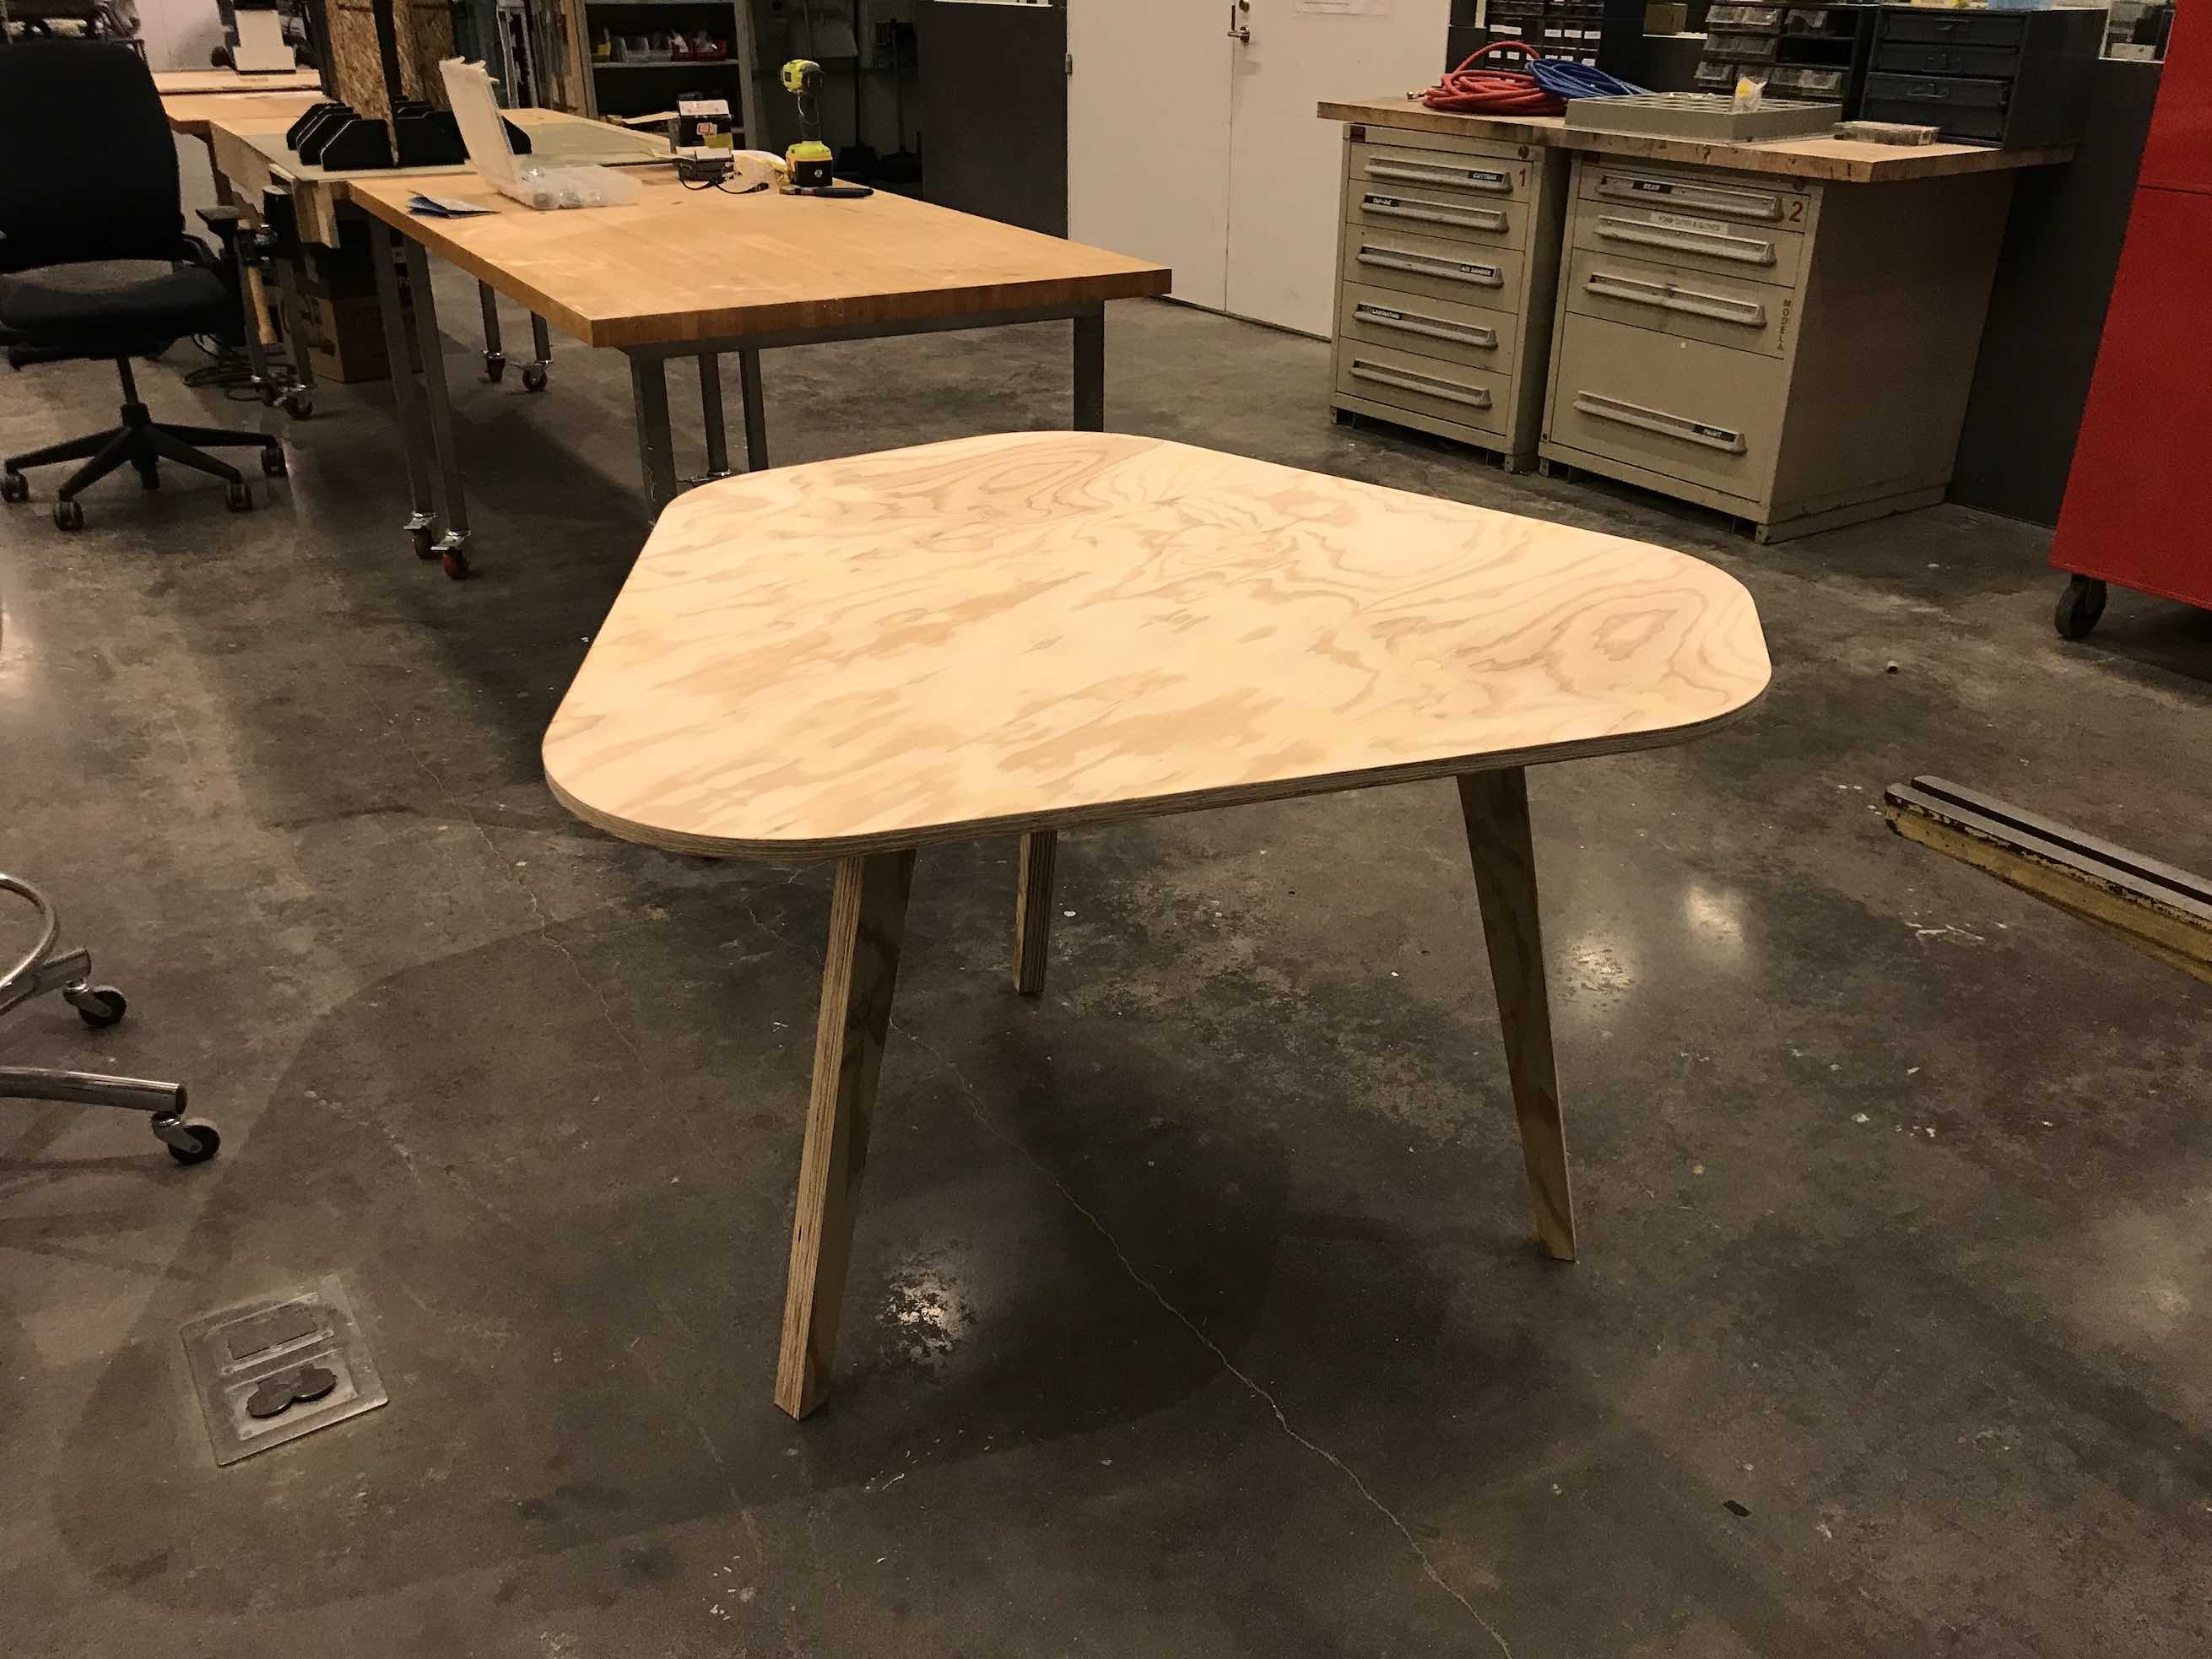
>I accidentally made all my cuts into the ‘A’ side of the wood which is the nicer side, which meant the ‘C’ side ended up being the table top. This required some extra work to fill some of the holes with wood filler, and some extra sanding. The legs are 1.5 inches thick by combining two sheets together with glue, which I set over night. After I had completed all that, I screwed it all together and it worked out well. Yay! A relatively straightforward thing!