Week 6: 10/10: computer-controlled machining
Assignments
- group assignment: test runout, alignment, speeds, feeds, and toolpaths for your machine
- individual assignment: make something big
Tools used: Fusion 360, AutoCAD, ShopBot 3 software, VectorPro, ShopBot, DeWalt orbital sander, GIMP
Week 6: 10/10: computer-controlled machining
Materials: A 4x8 foot piece of OSB wood
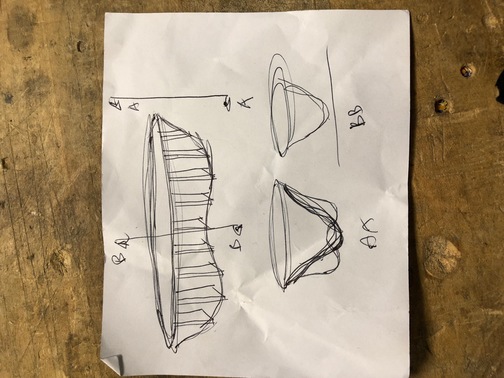
For this week's assignment, I made a coffee table for our apartment. This is an initial sketch.
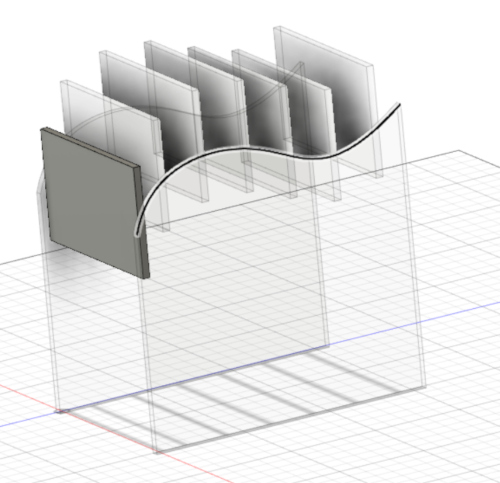
Initial experiment in Fusion 360.
Final design in Fusion 360
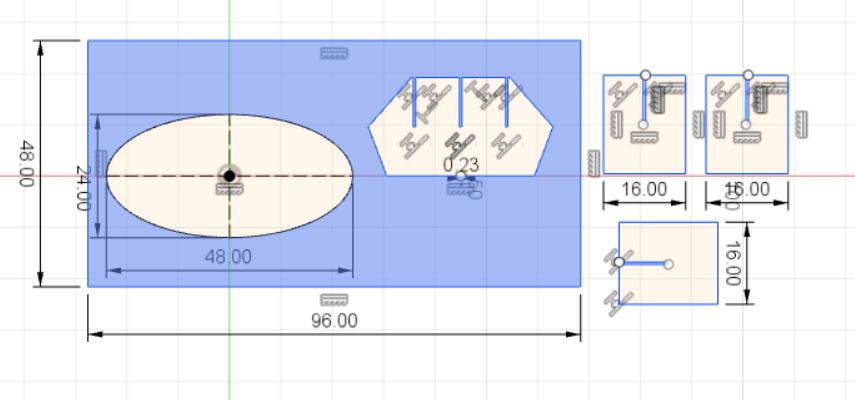
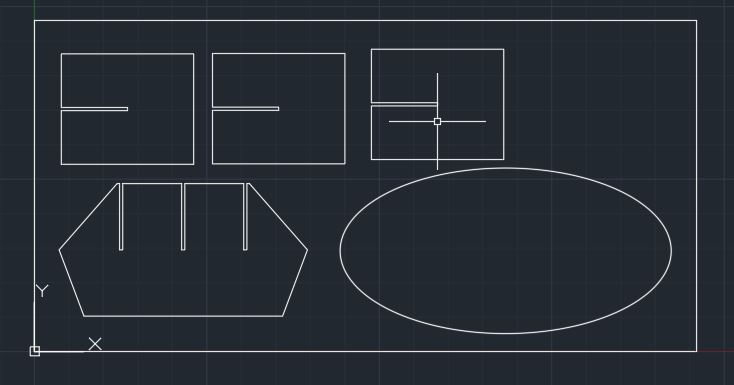
Layout of the design within the dimensions of the OSB wood in Autocad.
Notes on setting up the ShopBot milling machine
- Sacrificial layer - scar this a bit to make sure
- Wood screws to fasten the part on the MDF sacrificial layer
- Open vcarve Pro (Fab & FabClass18)
- Job setup 4’ x 8’
X axis is the long axis
Y the short
- Actual thickness 0.416 inch. Thickness is 0.52 to go deeper into the material with your toolpaths for a nice cut
- Always z on top of material (check)
XY origin by default on bottom left corner
Import DXF out of rhino
3 Selection tools: third is for moving, rotation
2 types of toolpaths:
Select all lines — edit — join to make DXF files suitable for milling
Pocket toolpath for hatch — create pocket toolpath — start dept is 0 cut depth 0.15
Tool database — verify the tool diameter — 1/4 inch tool
Cutting parameters — pass depth should not exceed the diameter of the tool. We choose 0.26 to make the clean cut
Step over 95%
Spindle speed 10,000
Feed rate 120 inches/min
Plundge rate 60 inches/min
Feeds and speeds understand them well
Program had a good help menu
Raster - left to right
Offset - smarter way - take a close look!
Keep at conventional / climb is trying to walk a wild dog
Calculate
Profile toolpath for cutting out all the way through
Machine vectors: select tool offside: outside, inside or on. Choose outside
Two passes
Gaps for slots (0.47 is a little wobbly, you want to be smaller - experiment with this)
0.46 for material thickness in sketch
Create fillets for T-bone and Dog-Bone to create square corners - to account for the tools limitations (rounded corners)
Machine executes in layers: pocket first, then profile
Floppy disk: save toolpath twice:
.sbp file in toolpath tab on right - floppy disk
.crv file
Notes on Shopbot3 software
- Open Shopbot3
- Turn on shopbot XY button
- Press reset (blue button) on desk
- Left/right with arrows
- Page up / page down keys to move tool up/down
- Attach collets into the tool - pay attention
Make sure you have enough tool sticking out
Needs to stick at least one inch out
Wrench to hold collet holder other wrench to slide tool up
Zero menu — zero 2 axes for x and y
Cutting in the air - zero it up high to test
Key pad — move manually to area where the cut approximate will be
Cuts menu - C2
Make sure to exit out of the keypad
Hit enter when above plate and ready to zero
Lay down metal plate — machine touches it twice to calculate the z axis
Remove metal plate
Get power to the spindle by putting key in the control box next and turn it — should say 10 for us - this says the exact spindle speed
Bring tool back close to XY for putting the magnetic dust collection tool on
File — part file load — select toolpath
Ignore the notepad message
Click start to load file
Press green button !!!!
Turn dust collector on
Hit OK on the prompt and it starts
Notes on using the Shaper tool
- Tape (3-4 inches in between)
- Max 2x2 feet - limited by how far
Hit scan
New scan
Press green button
Move left to right until thing turns blue
Decide where you want to cut (color code lines)
Insert usb
Decide where to place it
Z-touch to know where z=0
How deep to cut: 8’’
Cut on outside of tool
Cut - decide what tool you’re using
Turn vacuum on
Turn motor on on the machine
You can move along the line
Press green button to start cutting
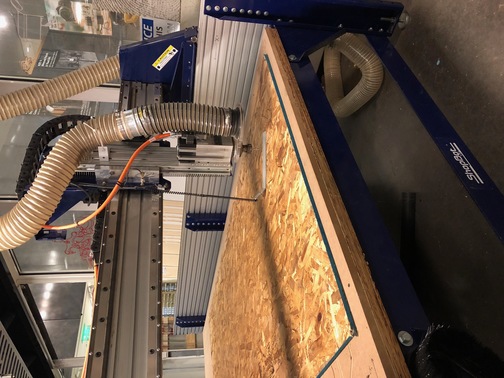
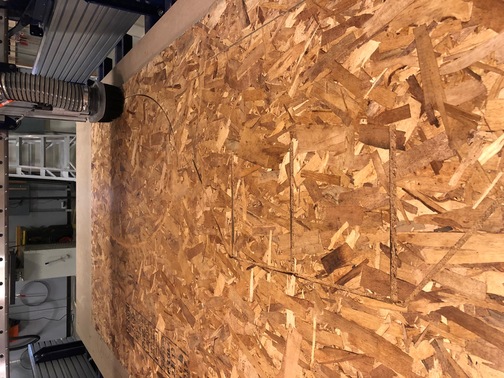
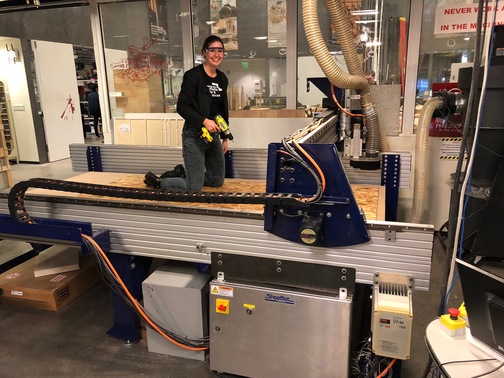
Start milling
Tricky button..
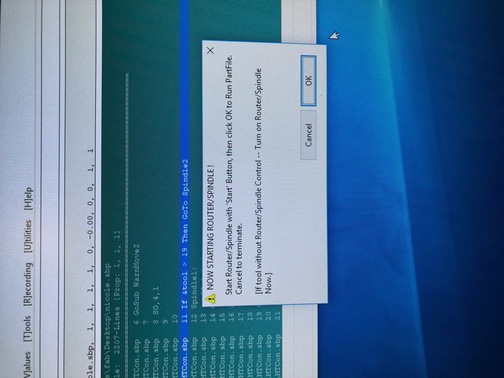
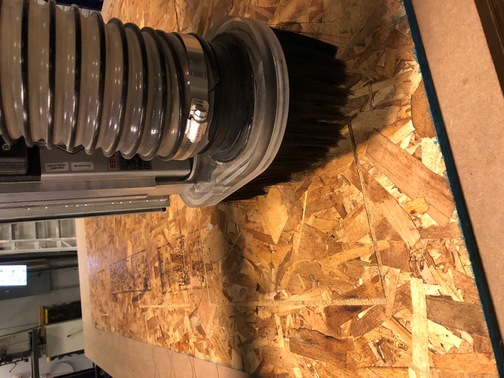
This happens when you forget to press the green button..
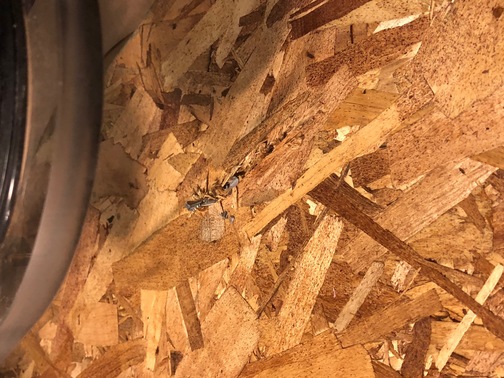
Recovery of the drill.
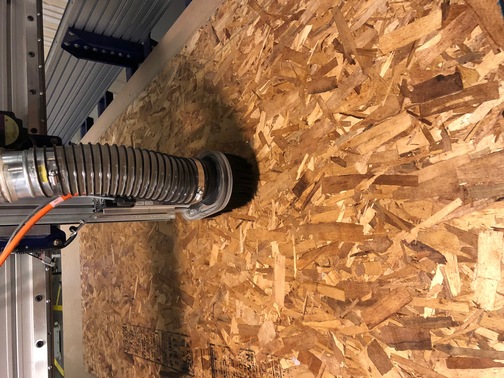
Successful machining of the file.
Weird error that showed up toward the end of the job..
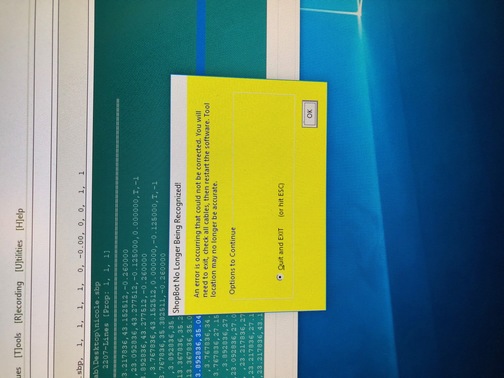
The machine ran into an unknown problem.
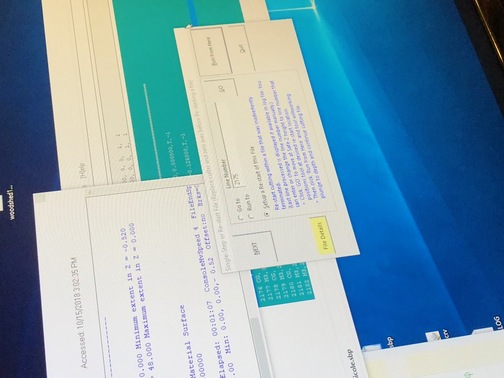
Tom removed the code of the part that was already milled, then we could resume the job.
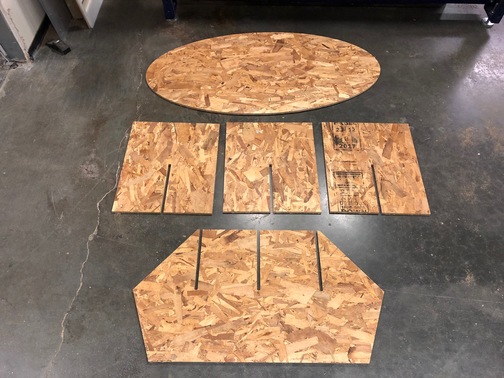
Removing the board from the sacrificial layer.
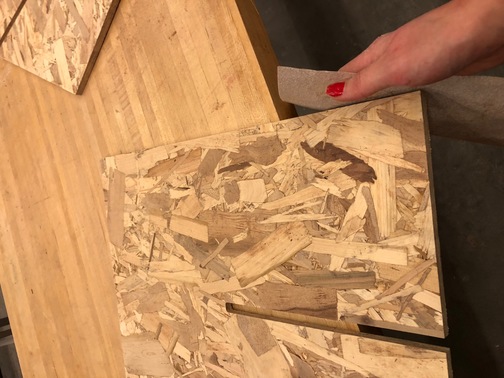
The final pieces!
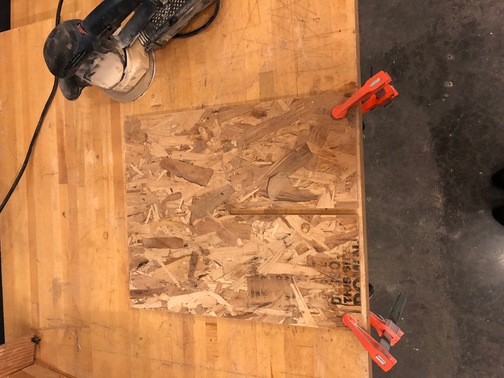
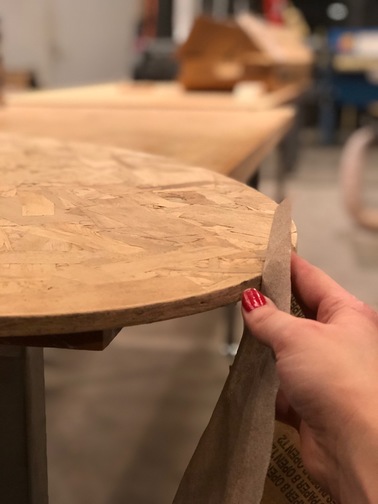
Sanding away the text and smoothening out the surface.
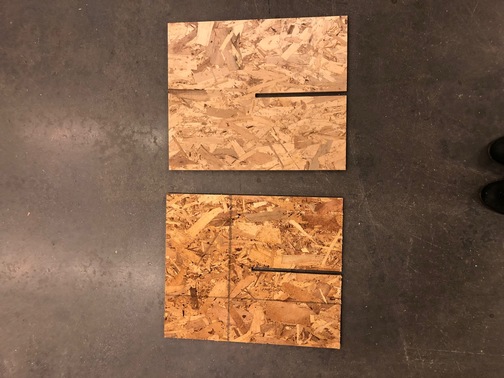
Before and after sanding.
Sanding all edges by hand.
Assembly of the parts for the base.
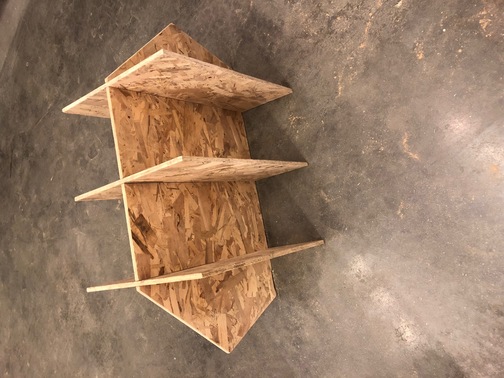
The result!

Downloads