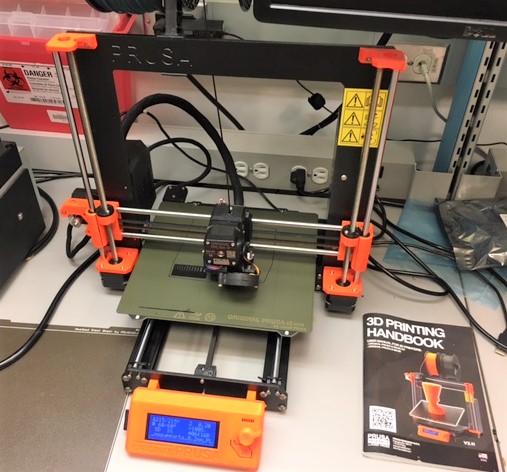
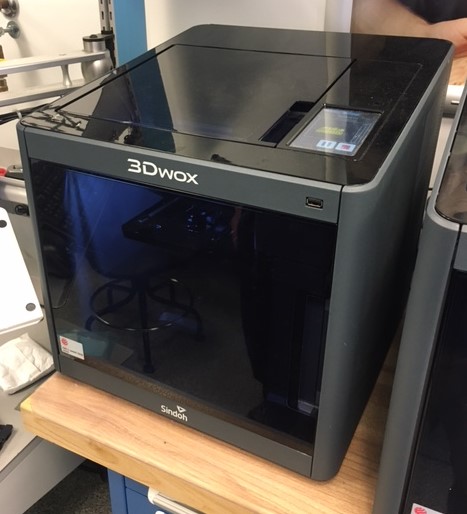
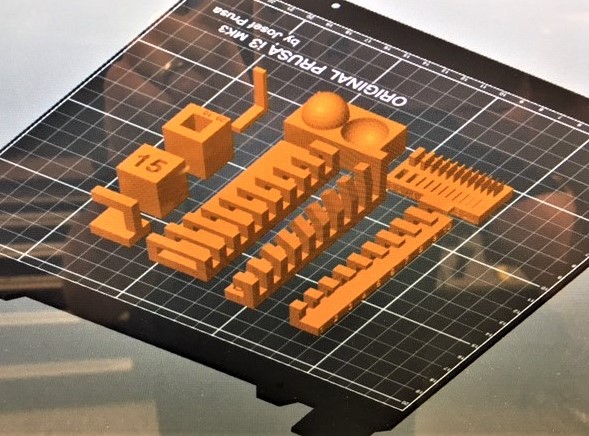
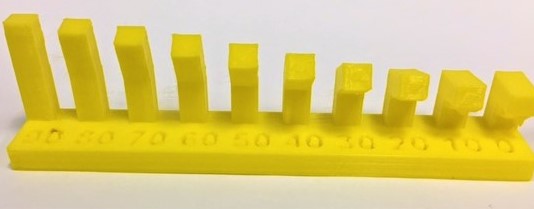
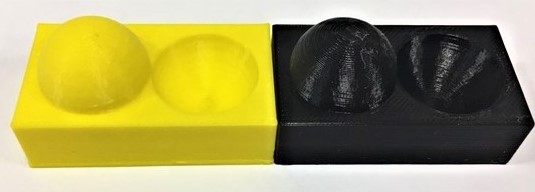
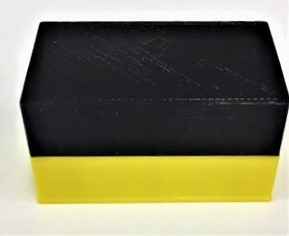
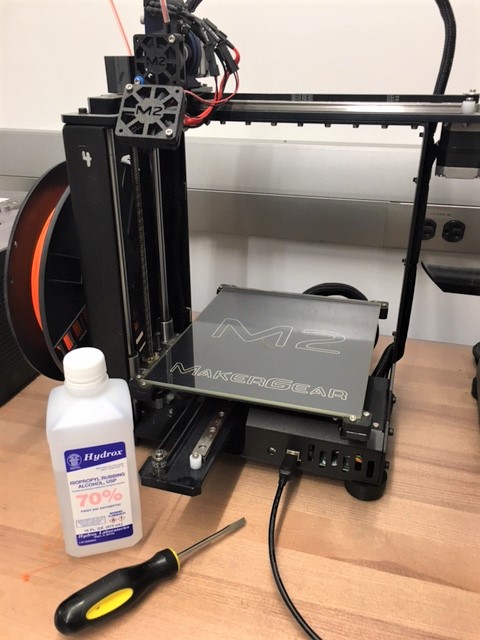
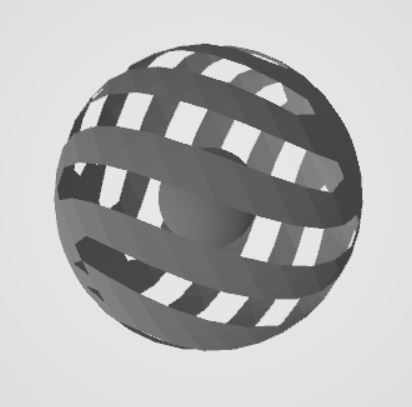
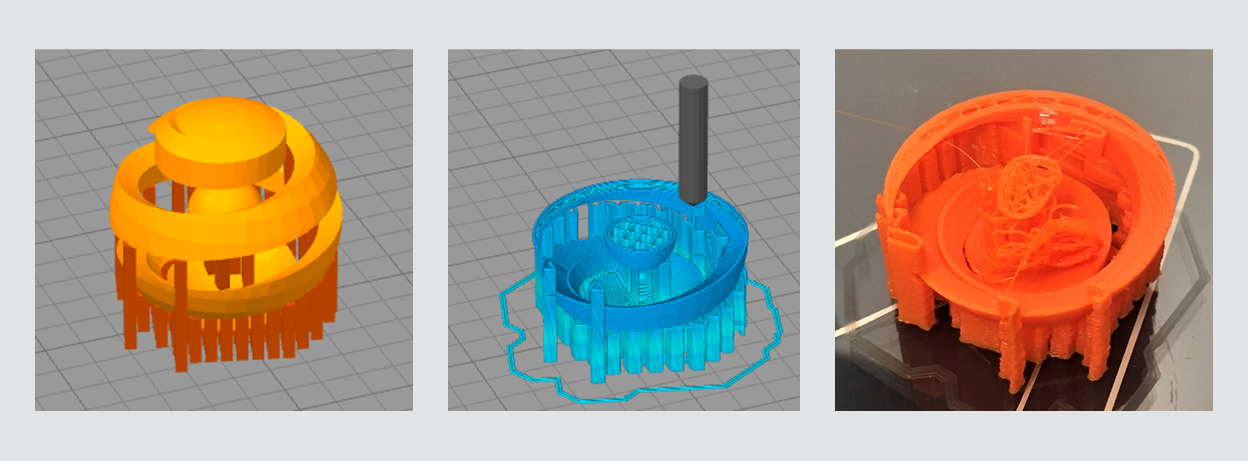
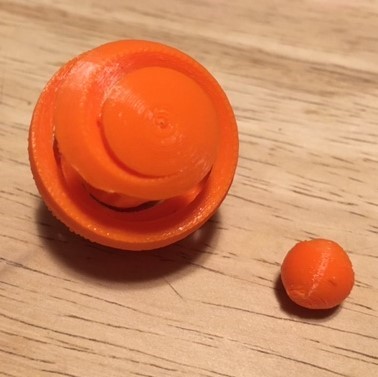
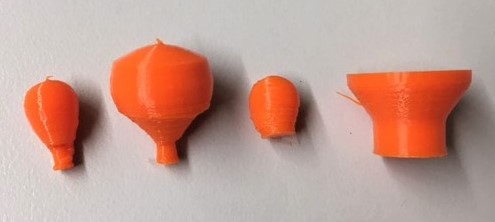
In preparing the MakerGearM2 for printing I started by cleaning the glass bed with acetone and reviewed the automated print settings for the installed PLA medium. I noticed the bed and extruder temperatures were set higher than the values used for the Prusa and the WOX in the EECS lab. The MakerGearM2 was set at 75 deg C for the bed and 220 deg C for the extruder, verse 60 deg C and 200 deg C for the other 3D printers. After conferring with others that had used the printer before, I decided to proceed with the higher values. I recognized that to successfully print my Ball-N-Ball design support structures would be necessary. However, I was concerned with the ability to remove support structures from the interior of my design, and the undesirable appearance left from removing the quantity of support structures generated by the MakerGearM2's slicer program. For my initial print attempt, I opted to manually generate support structures. The below series of images depict the manually generated supports and the resulting print, which was ended early. The printing of the outer ball progressed smoothly, but during initial construction of the inner ball it tipped over on its supports and fell on its side.

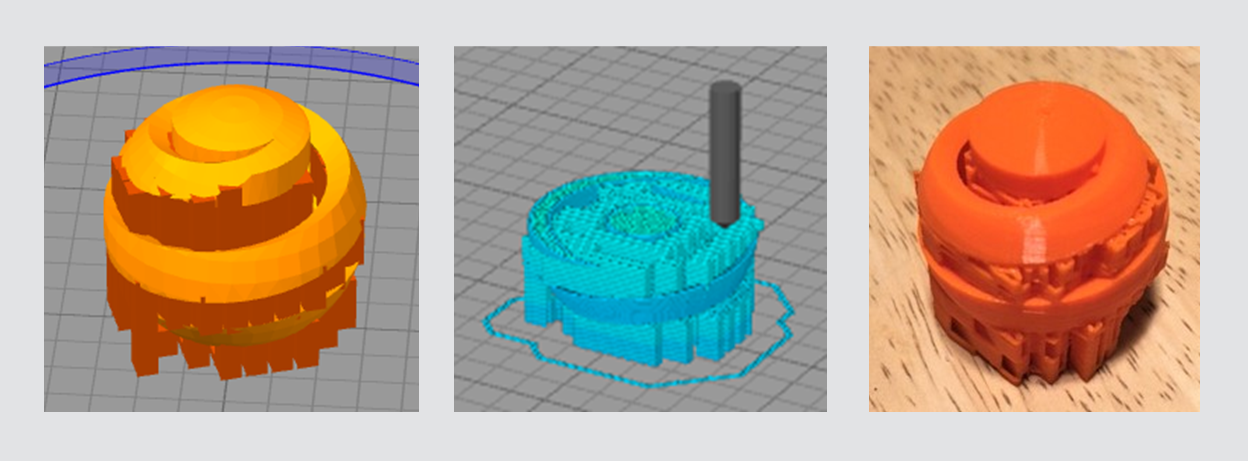
All in all, my manually generated supports were insufficient to support the inner ball. However, I did find that the support structure from the lower portion of the outer ball to remove seamlessly. After discovering this I decided to give the auto support feature a try during the next print. This time there was success with supporting the inner ball throughout the printing process, but the final product was densely packed with support structures that seemed rather daunting to remove.

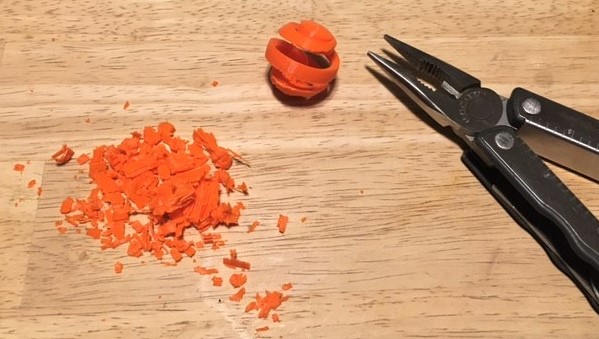
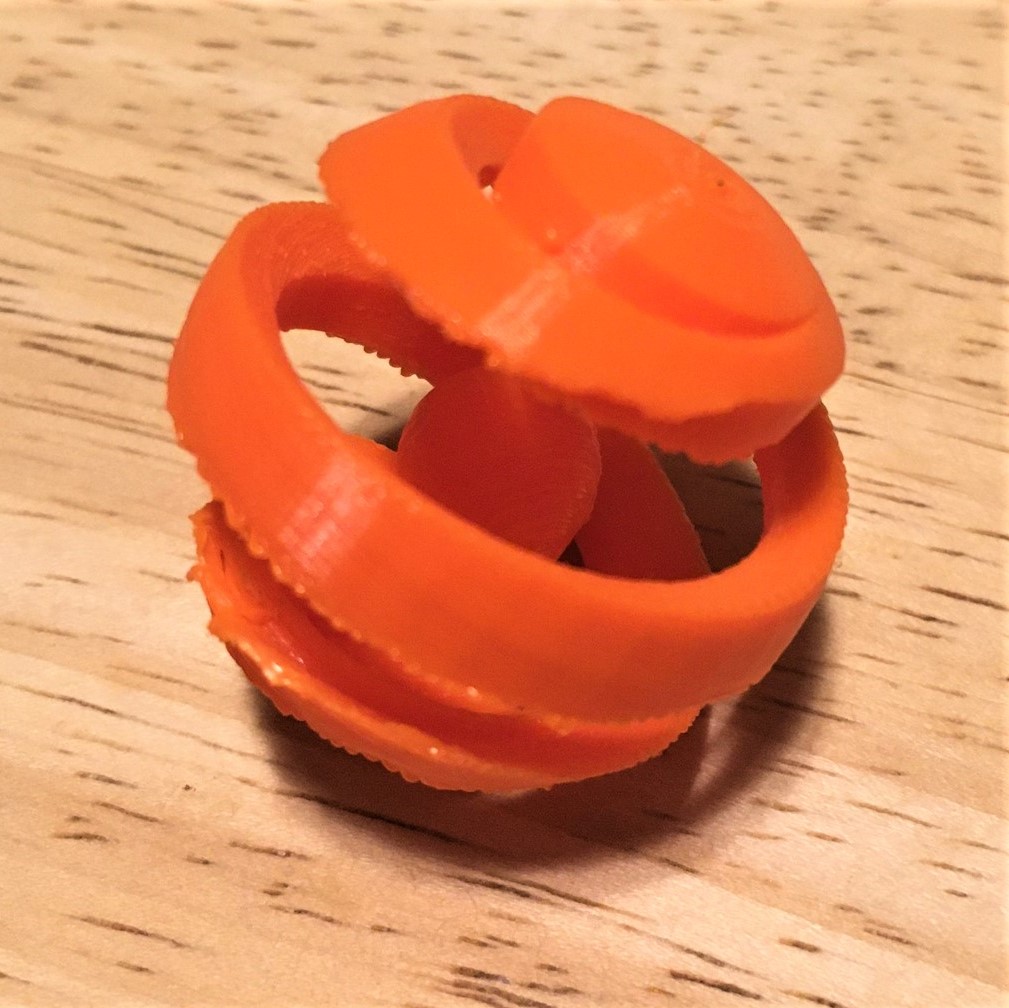
Now began the tedious task of support removal. As one would expect, removal of supports from the interior proved difficult, but doable if outfitted with a sound pair of needle nose pliers. I am fairly content with the final product, except the spiral design resulted in enough play of the outer structure that the inner ball could be removed. I guess I should have made the inner ball a bit larger. I would be hesitant to narrow the opening of the outer design spiral due to concerns of not being able to remove the inner support structure with needle nose pliers.
- Trust auto generated supports; they are designed for seamless removal.
